Follow us on Instagram for more fun ideas for kids!
Scroll down to watch the video below to see how to make this awesome Recycled Bottle Bubble Art With Kids. Make sure to subscribe to our YouTube channel for more fun videos
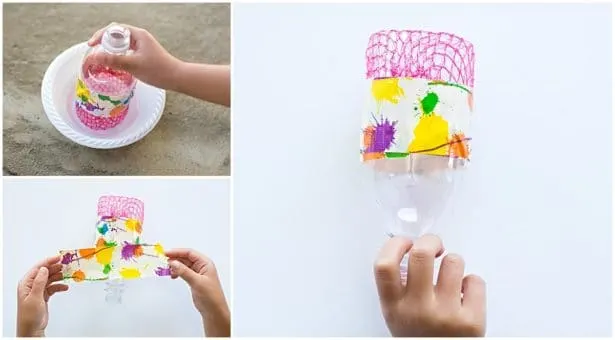
A couple of summers ago, we made a cool DIY Recycled Bottle Bubble Blower and it was a huge hit with the kids. Not only was it a fun way to blow bubbles, but it was a creative way to recycle plastic bottles and mesh fruit bags.
We put a twist on this popular post by making Recycled Bottle Bubble Art. We’ve tried bubble art before but not with our bottle blower and not on a large scale like this!
My daughter recently had a Girl Scout event and I was leading the activity on Earth Day and recycling so thought instantly back to our recycled bottle bubble blower.
I thought it’d be fun to incorporate a twist and make it a large scale collaborative art project with the girls.
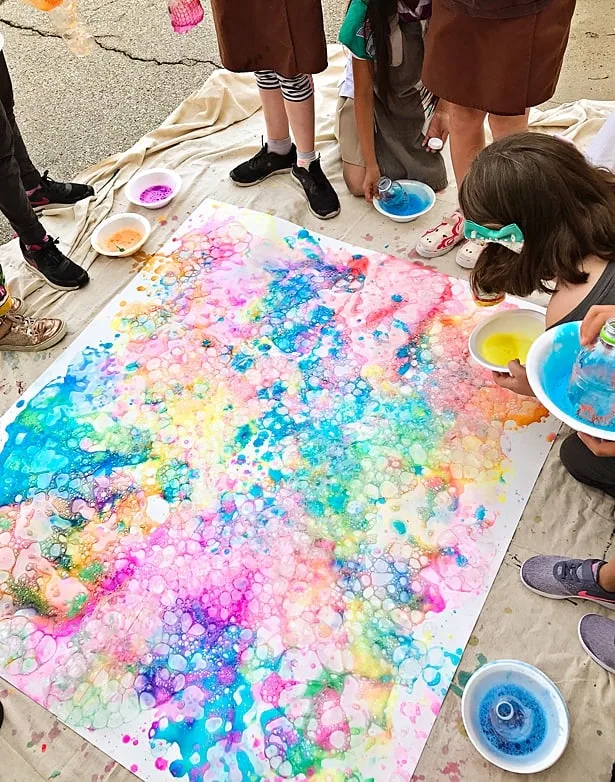
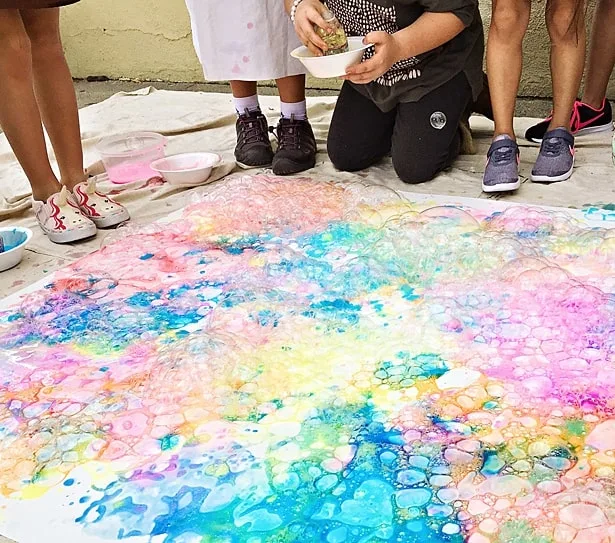
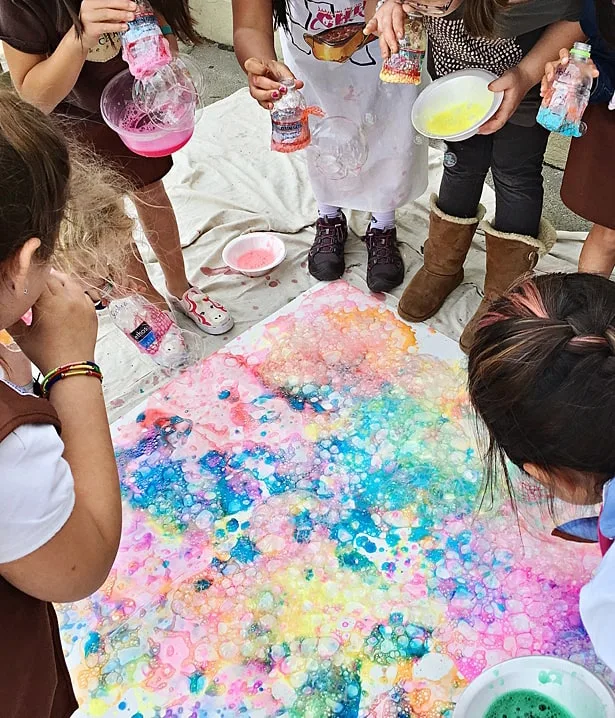
This was so simple to set up and SO much fun for the girls!
However there are some tips and tricks including what type of paint we used to get vibrant colors so read on below to get all the details.
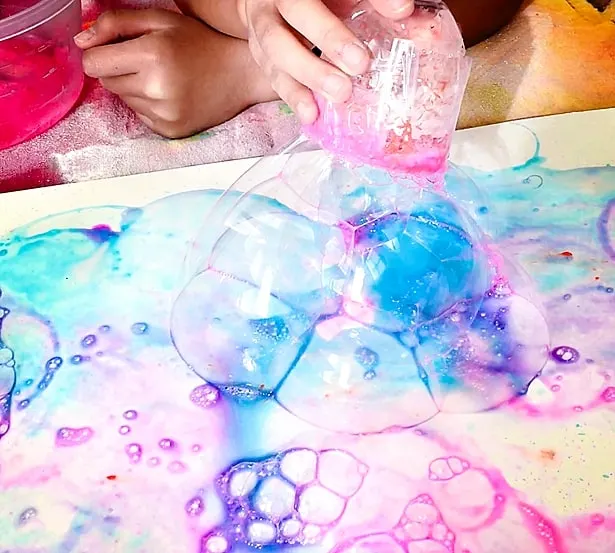
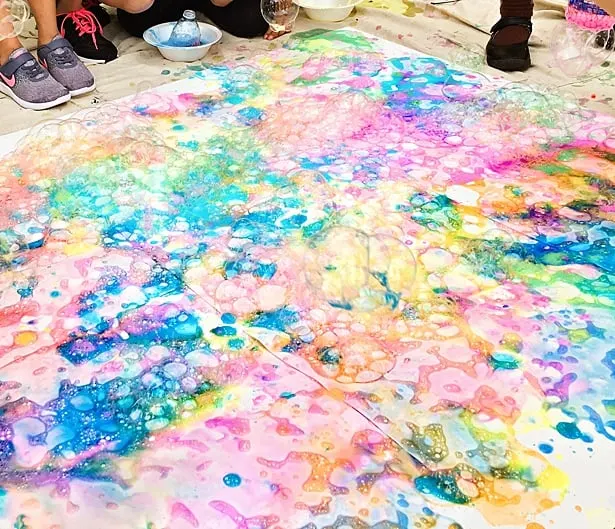
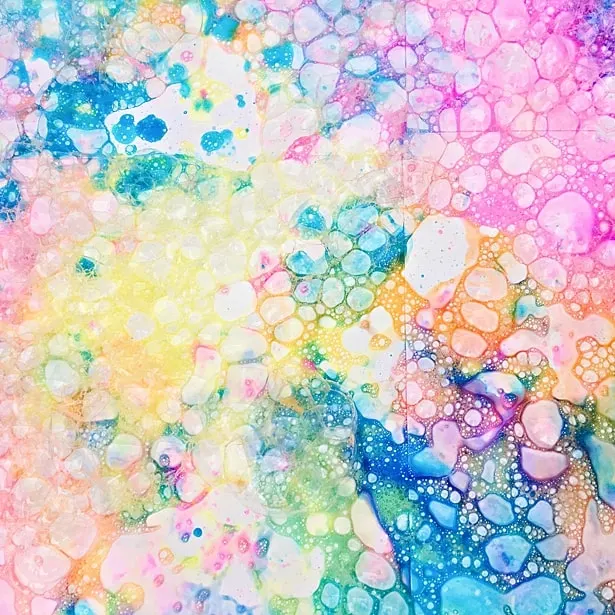
Recycled Bottle Bubble Art – Materials:
– Empty plastic bottles
-Mesh bags (like the type you get that hold fruits like oranges)
-Strong tape (like Duct tape or packing tape)
-Scissors
Read our DIY Recycled Bottle Blower post on how to make it.
You’ll also need bubble solution. You can make your own, but for a large scale project like this, we recommend buying a jug of good bubble solution.
Paints and papers:
-For vibrant colors, we recommend liquid watercolors
You’ll also need disposable bowls. It’s nice for each girl to hold on to a bowl for each color. And something to stir the watercolors with the bubble solution like a utensil or stick.
We also highly recommend doing this outdoors and laying down a paint drop cloth so the watercolors do not stain your concrete or anything else.
Make sure to ask kids to wear an old t-shirt or apron over their clothing to protect from paint stains.
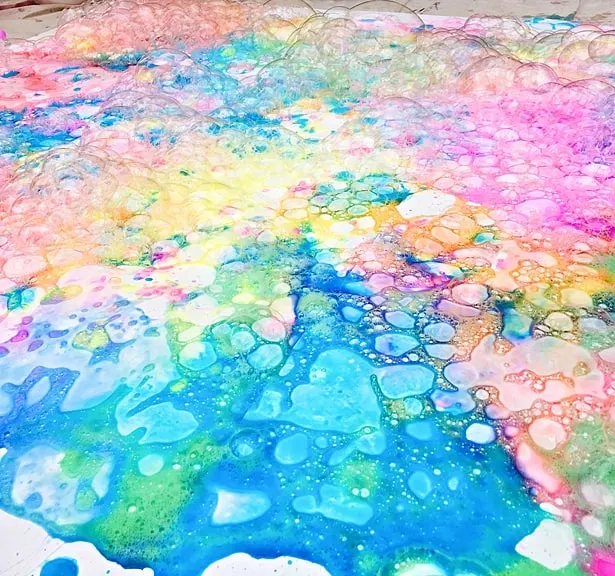

Bubble Art Instructions:
Step 1. Make your recycled bottle blower.
Step 2. Lay your drop cloth down outside. Tape large pieces of watercolor paper together, lay them down on the drop cloth.
Step 3. Give each child a bowl and add bubble solution. Add liquid watercolors to the bowl (one color per bowl) at a ratio of around 1:3. So 3 parts bubble solution, 1 part watercolors. You may need to experiment with this, but don’t overdo the watercolors as then it will be harder to make bubbles.
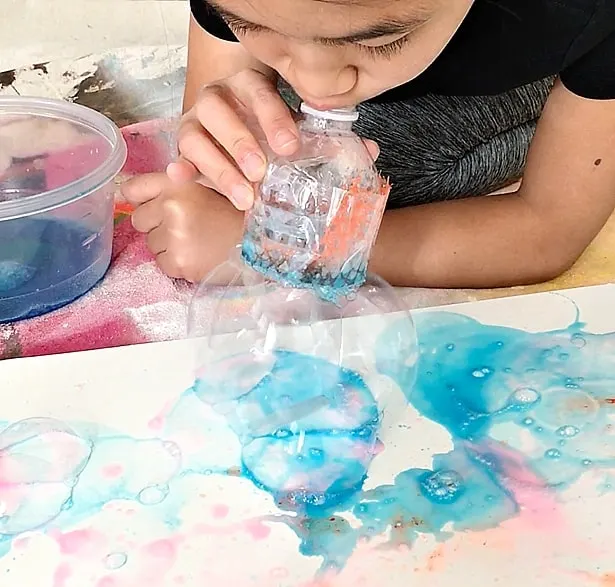
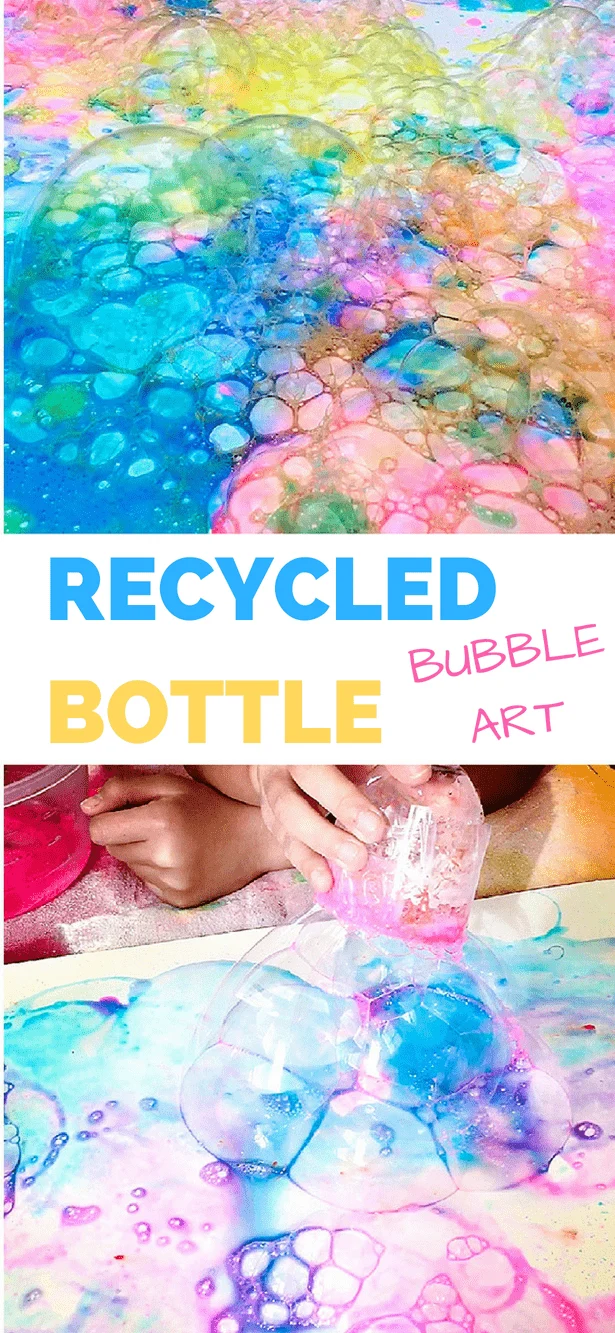
Step 4. Dip your bubble blower into the bubble water/paint solution then gently blow out onto the watercolor paper. It’s better to go slow and be low to the paper so the painted bubbles adhere to the paper. Repeat with many different colors.
**NOTE: Make sure children are supervised when doing this and that they are blowing OUT. Please do not attempt to do this art activity with young children who do not know the difference.
Since this is a bottle, it’s unlike straw art where it’s easier to blow in and but please still be careful in making sure children understand to always blow OUT.
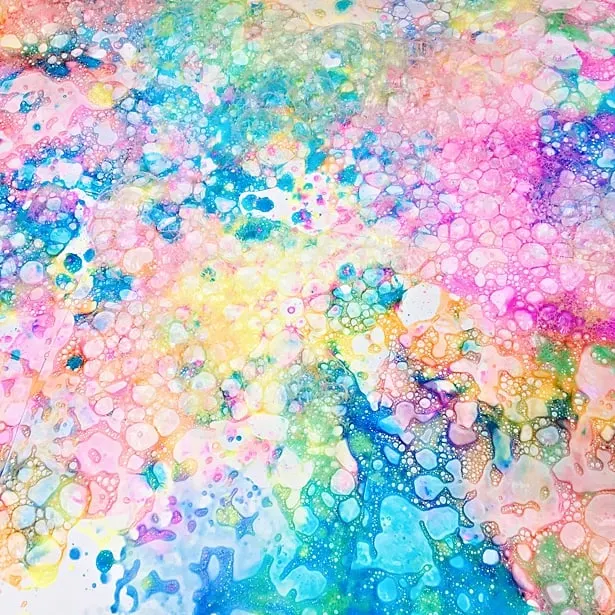
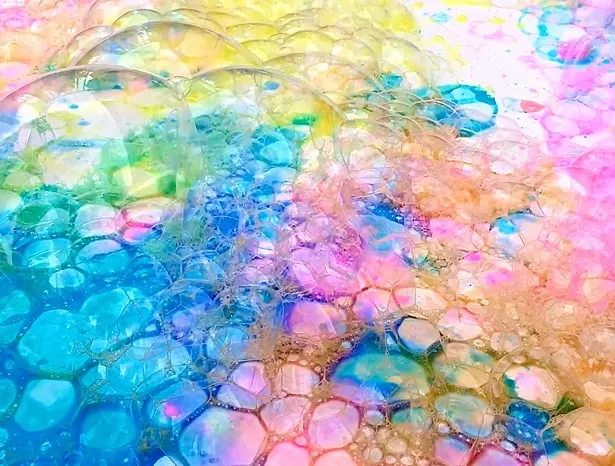
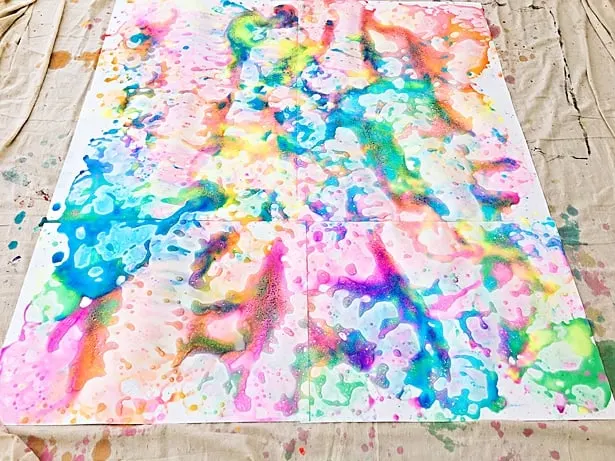
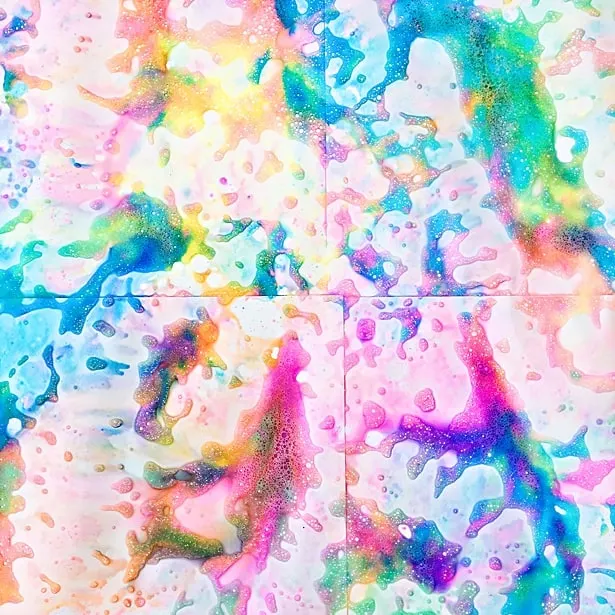
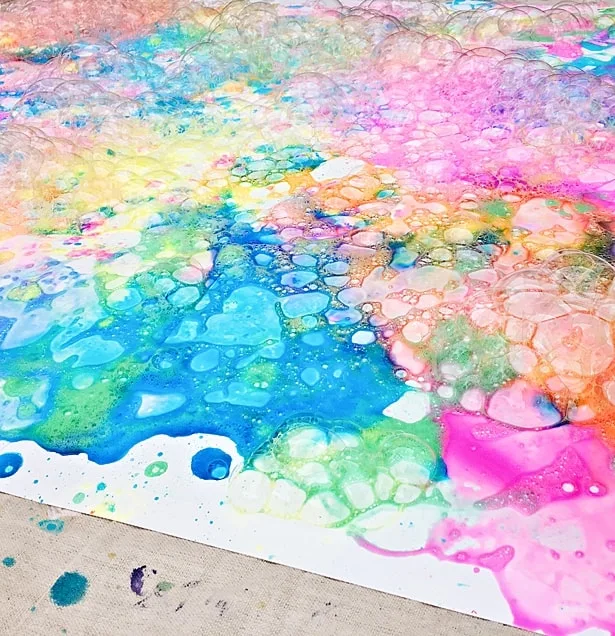
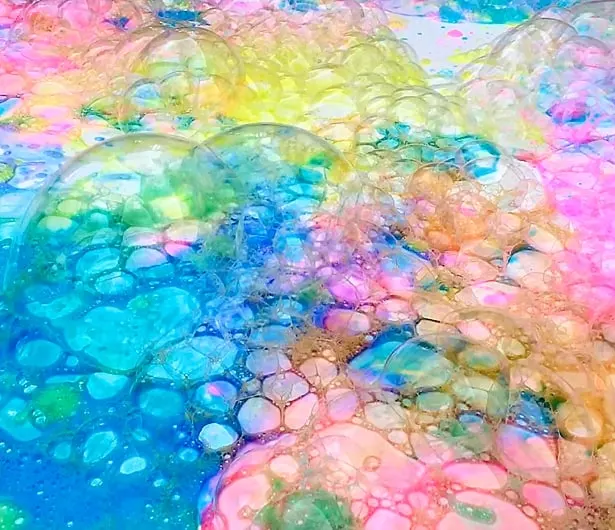
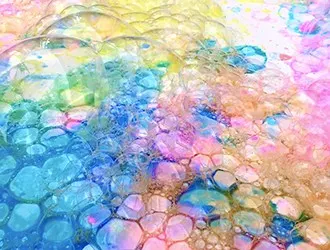
The top two photos are when the bubbles dissipate and dry. Isn’t this the most gorgeous and colorful art? It’s like a rainbow art explosion!
When you are done you want to wait overnight or until the paint dries completely. Just leave it outdoor and hope it doesn’t rain!
What can you do once it’s dried? Cut into note cards or postcards, cut into shapes to make buntings, garlands, decorate scrapbooks, or notebooks.
You can also laminate to make magnets or gift tags, etc. (We love this inexpensive laminator) You could also just cut and frame into art. The possibilities are endless!
A creative way to blow bubbles and makes a great large scale collaborative art project! Step 1. Make your recycled bottle blower. Step 2. Lay your drop cloth down outside. Tape large pieces of watercolor paper together, lay them down on the drop cloth. Step 3. Give each child a bowl and add bubble solution. Add liquid watercolors to the bowl (one color per bowl) at a ratio of around 1:3. So 3 parts bubble solution, 1 part watercolors. You may need to experiment with this, but don’t overdo the watercolors as then it will be harder to make bubbles. Step 4. Dip your bubble blower into the bubble water/paint solution then gently blow out onto the watercolor paper. It’s better to go slow and be low to the paper so the painted bubbles adhere to the paper. Repeat with many different colors. Make sure children are supervised when doing this and that they are blowing OUT. Please do not attempt to do this art activity with young children who do not know the difference. Since this is a bottle, it’s unlike straw art where it’s easier to blow in and but please still be careful in making sure children understand to always blow OUT. RECYCLED BOTTLE BUBBLE ART WITH KIDS
Materials
Instructions
Notes
Check out more creative ideas for kids.
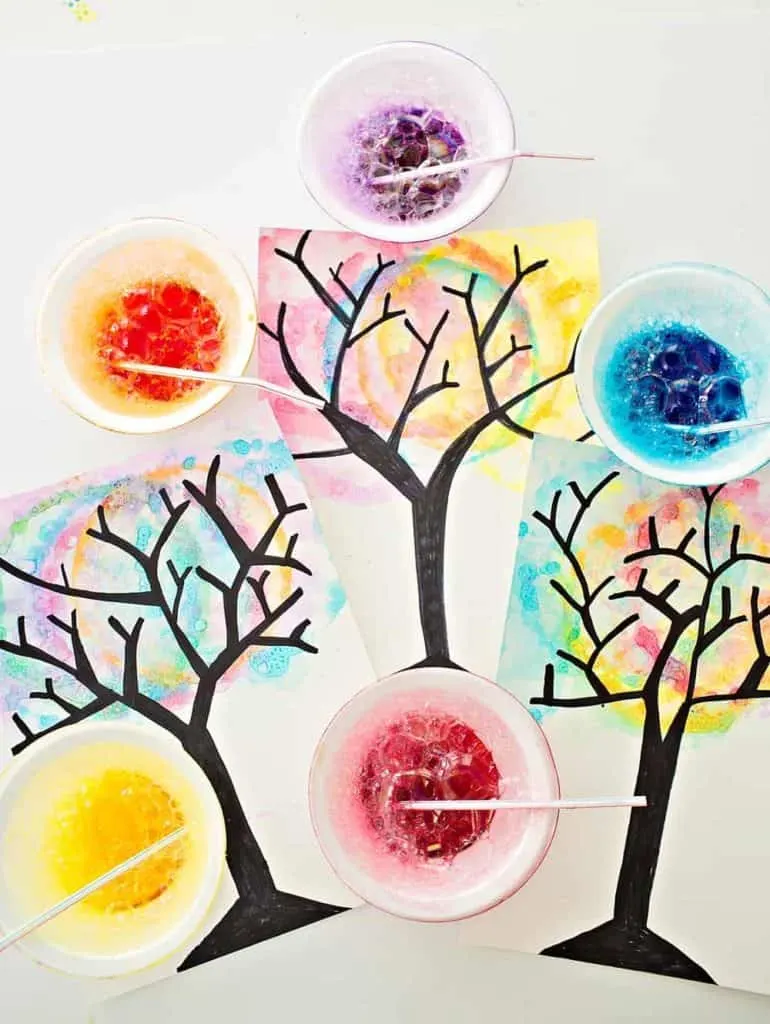
Make Watercolor Bubble Art Trees!
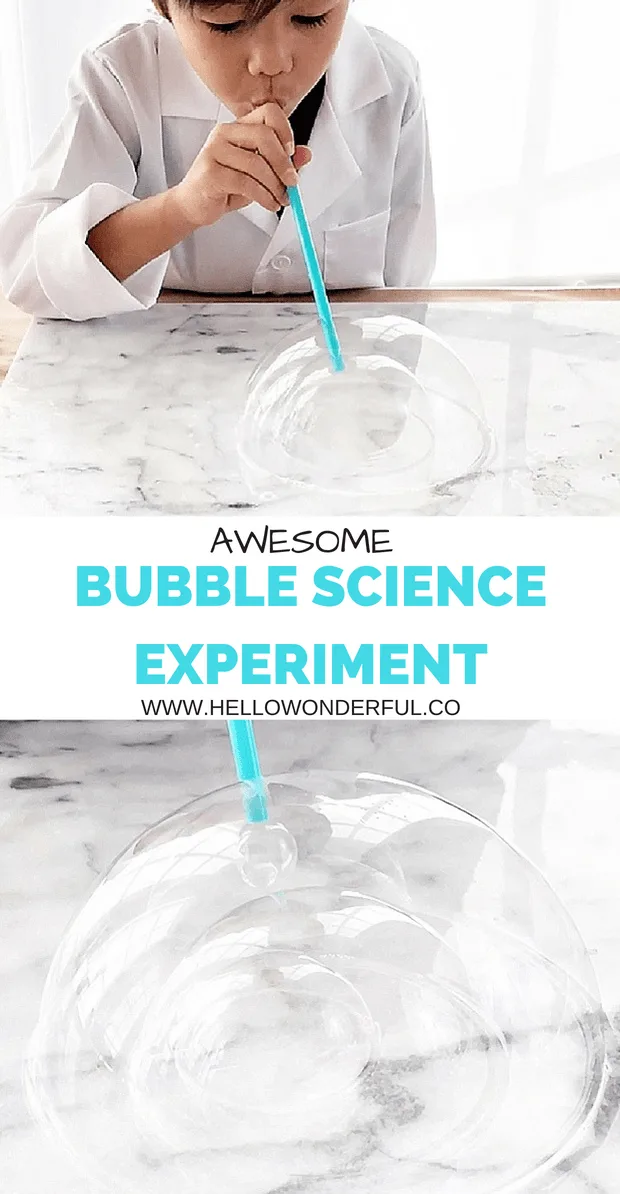
Take a look at our Bubble Science Experiment.
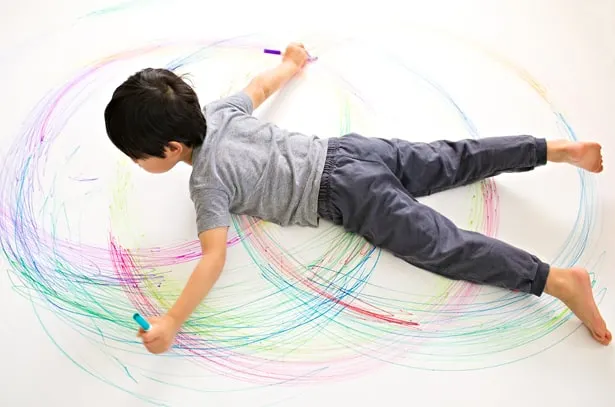
More giant art below like our Kid Size Spirograph Art
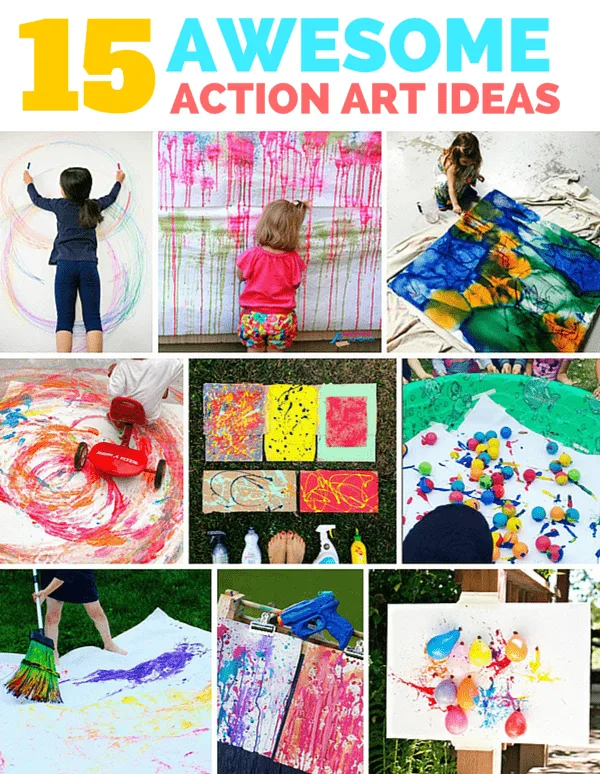
And fun Action Art Projects for Kids
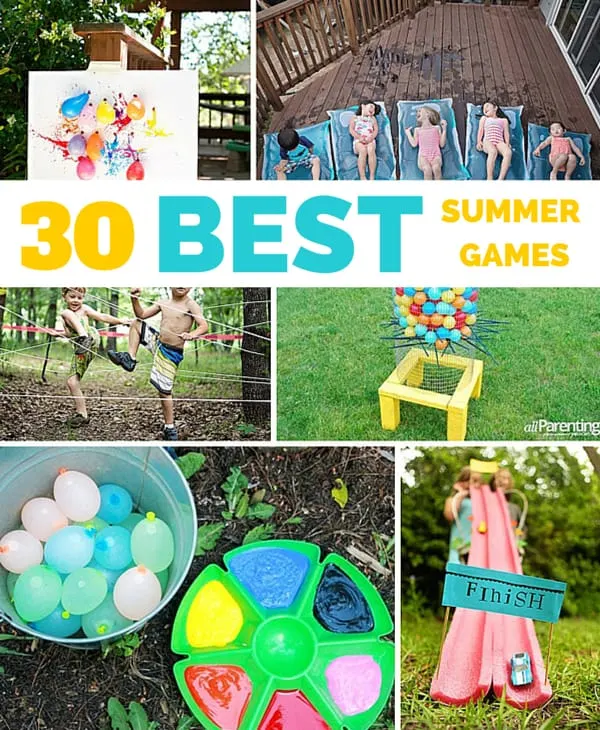
30 Best Summer Games and Fun
P.S. Have you checked out our new Unicorn Boxes?
Disclosure: Some of the links in the post above are “affiliate links.” This means if you click on the link and purchase the item, we will receive a small affiliate commission. Regardless, we give our promise that we only recommend products or services we would use personally and believe will add values to our readers.
Agnes Hsu is a mom of three and has been inspiring parents and kids to get creative with easy activities and family friendly recipes for over 10 years. She shares her love for creative play and kids food to her 2MM+ followers online. Agnes' commitment to playful learning and kindness has not only raised funds for charity but also earned features in prestigious nationwide publications.

