CUTE PINE CONE PENGUIN ORNAMENT CHRISTMAS CRAFT
Follow us on Instagram for more fun ideas for kids!
By using this site, you agree to our Terms of Use. This post may contain affiliate links. Read our disclosure policy. As an Amazon Influencer, I earn from qualifying purchases.
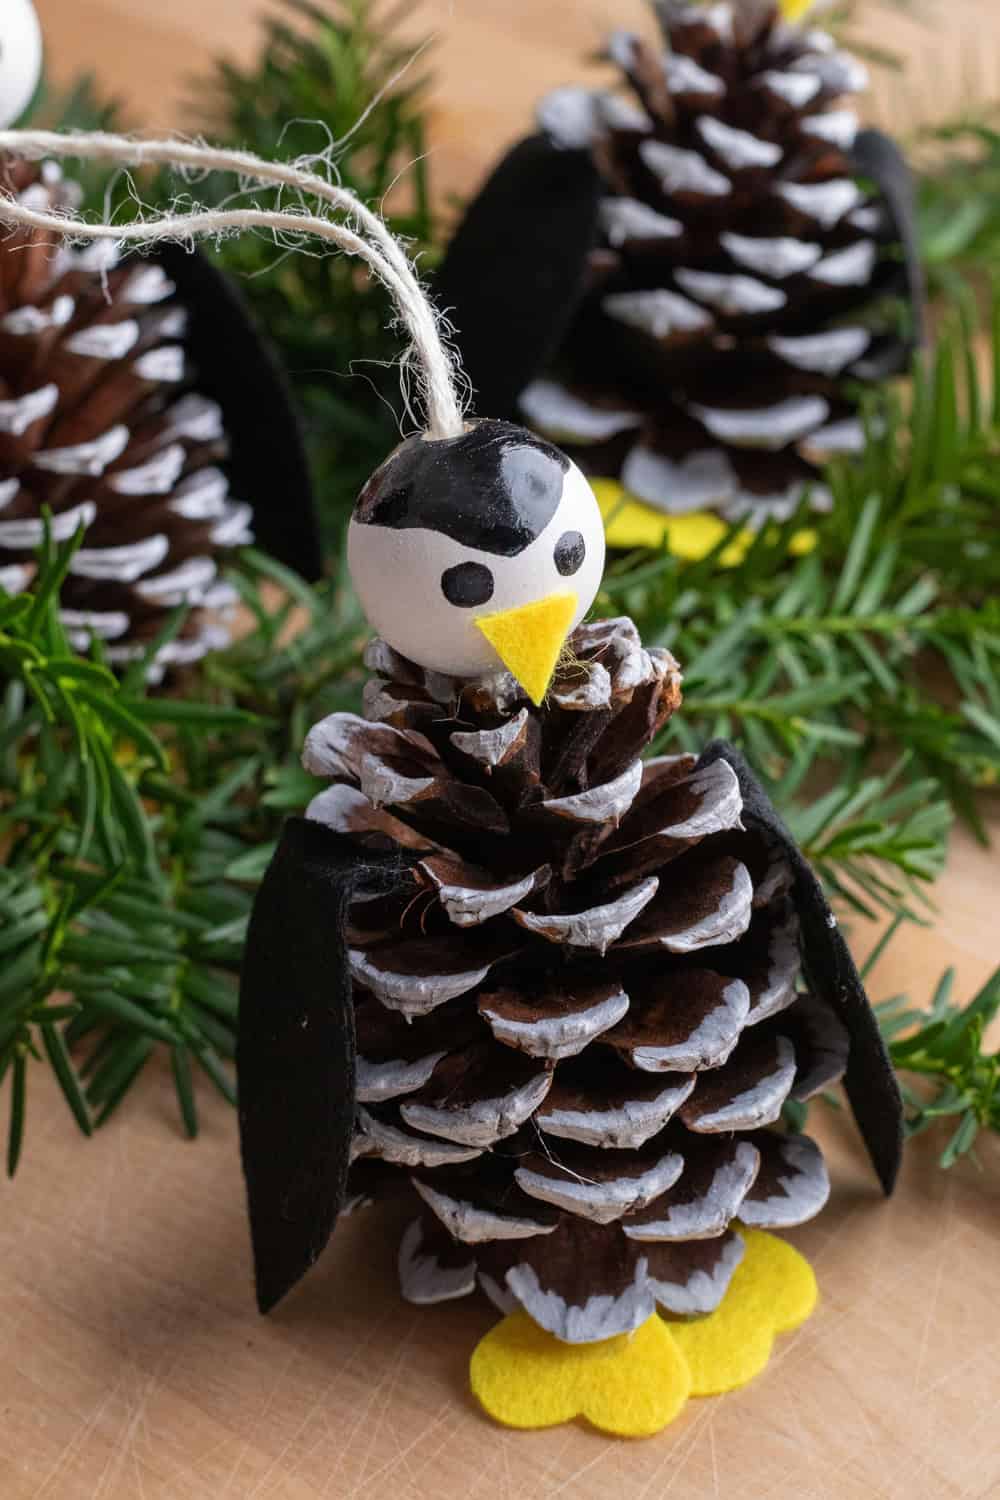
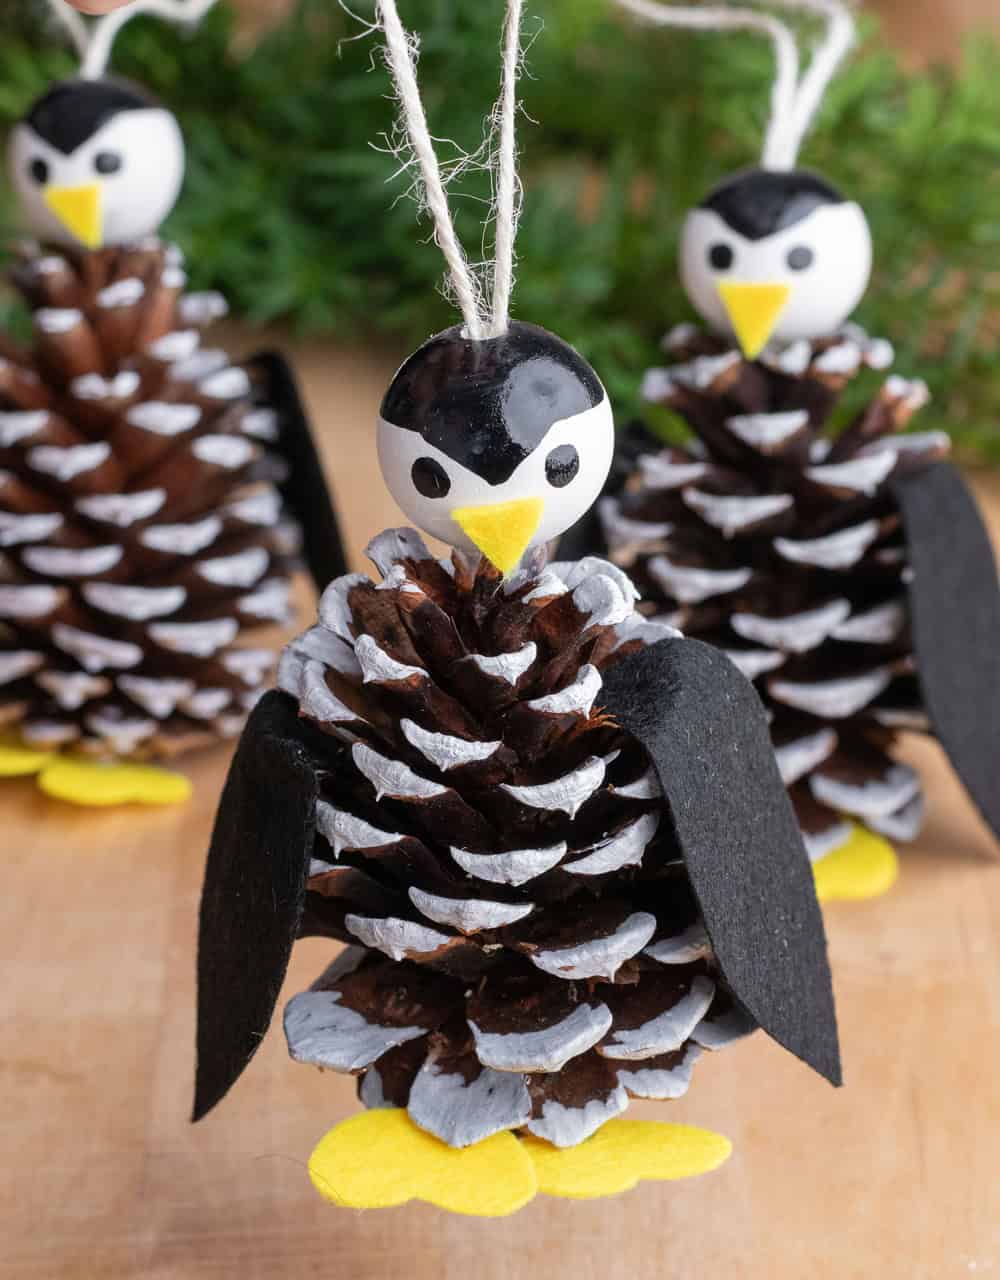
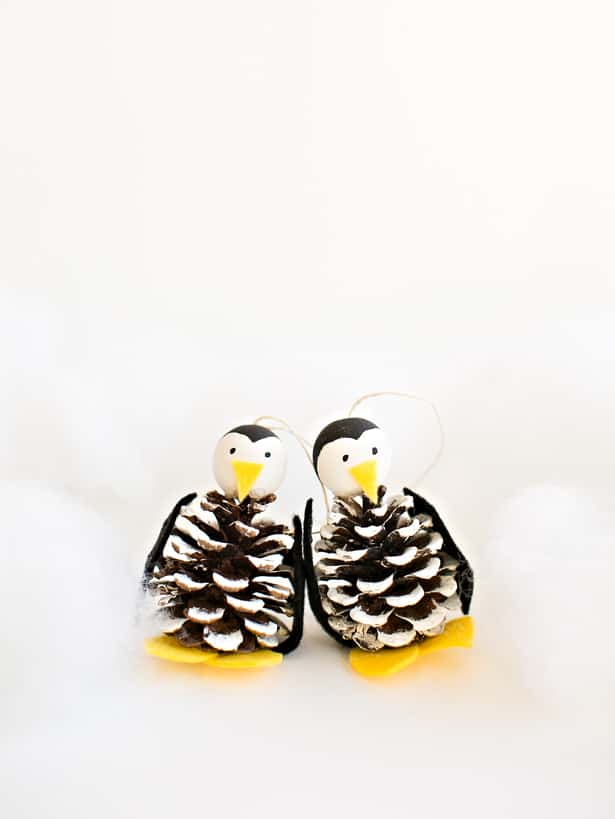
This Pine Cone Penguin Ornament is an easy and cute Christmas craft for kids.
Turn a pine cone penguin into a cute Christmas Tree ornament!
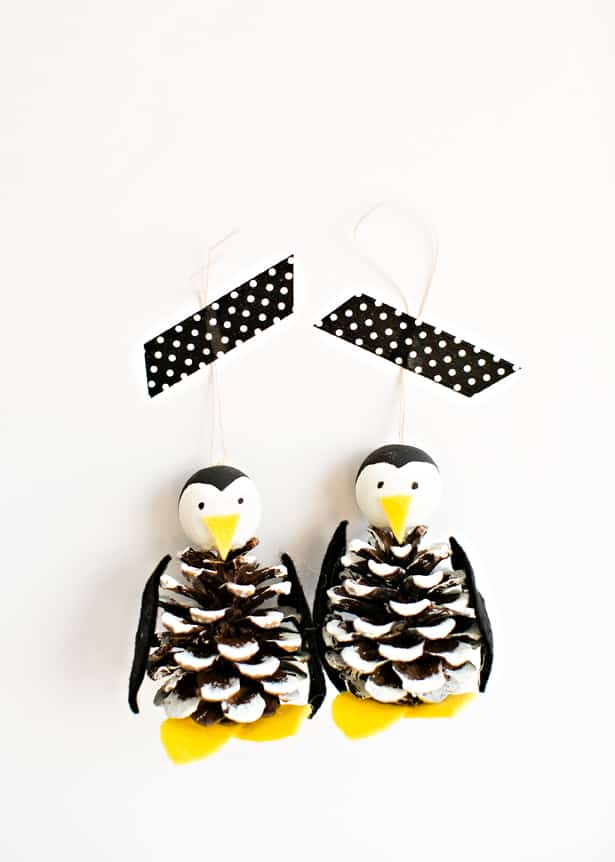
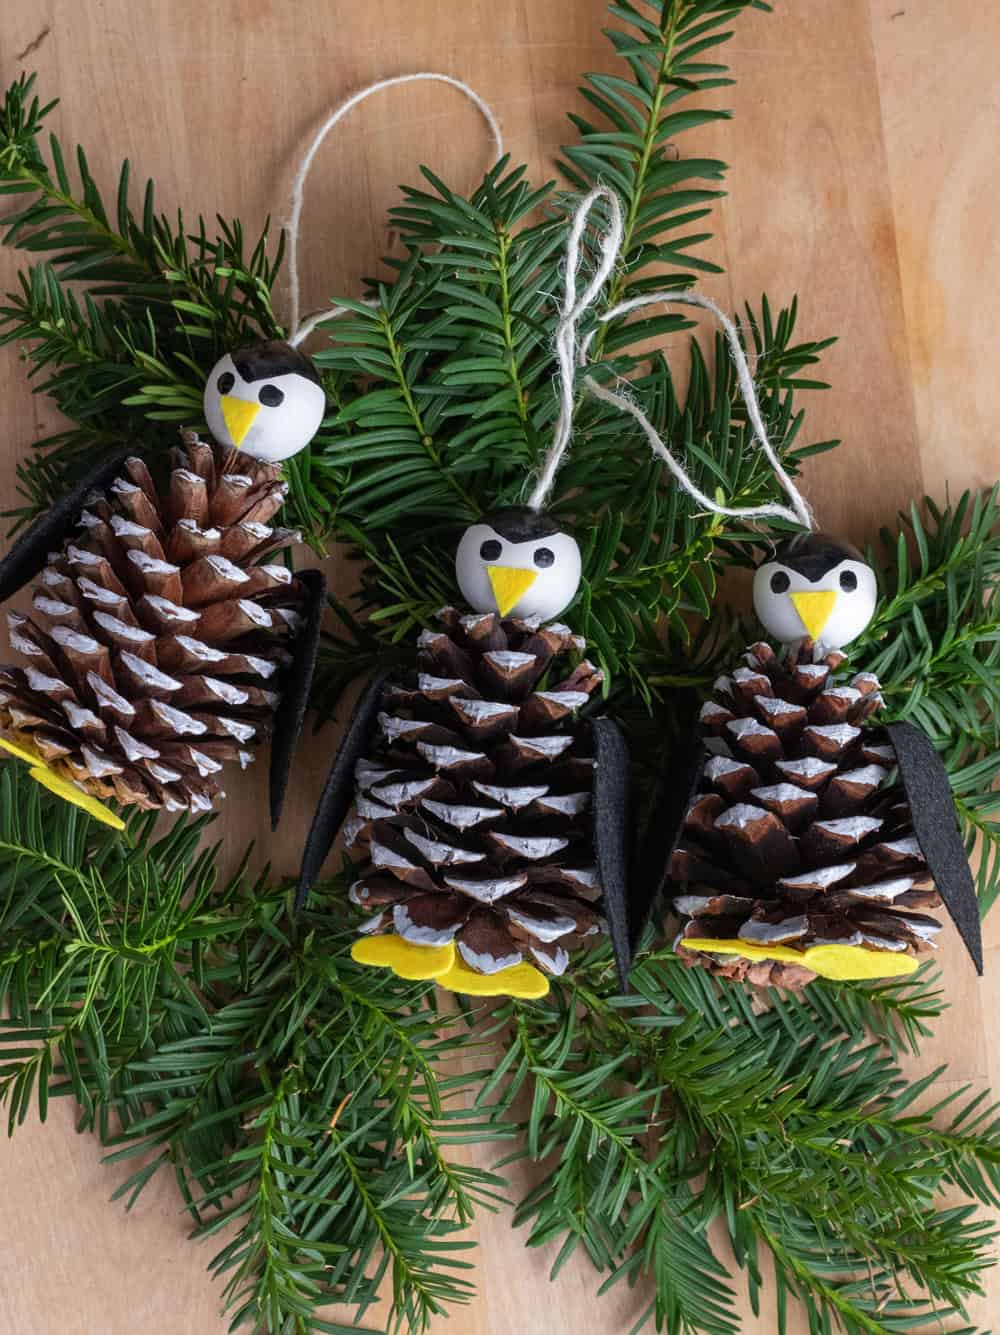
These adorable arctic creatures will add cute cheer to your Christmas tree this year and require just a few basic materials to make.
We love adding these to our favorite handmade DIY ornaments!
Note this post was originally published on Dec 2015 and updated Nov 2024. See our updated photos below and watch the video!

Pine Cone Penguin Ornaments – Materials
Penguin Ornament Craft – Materials
– Pine cones
– Black and yellow felt
– Black and white craft paint (or use paint markers)
– Paint brush
– Pencil
– 1-1.25″ wooden beads with holes
– String or twine
– Hot glue

how to make a penguin pine cone ornament
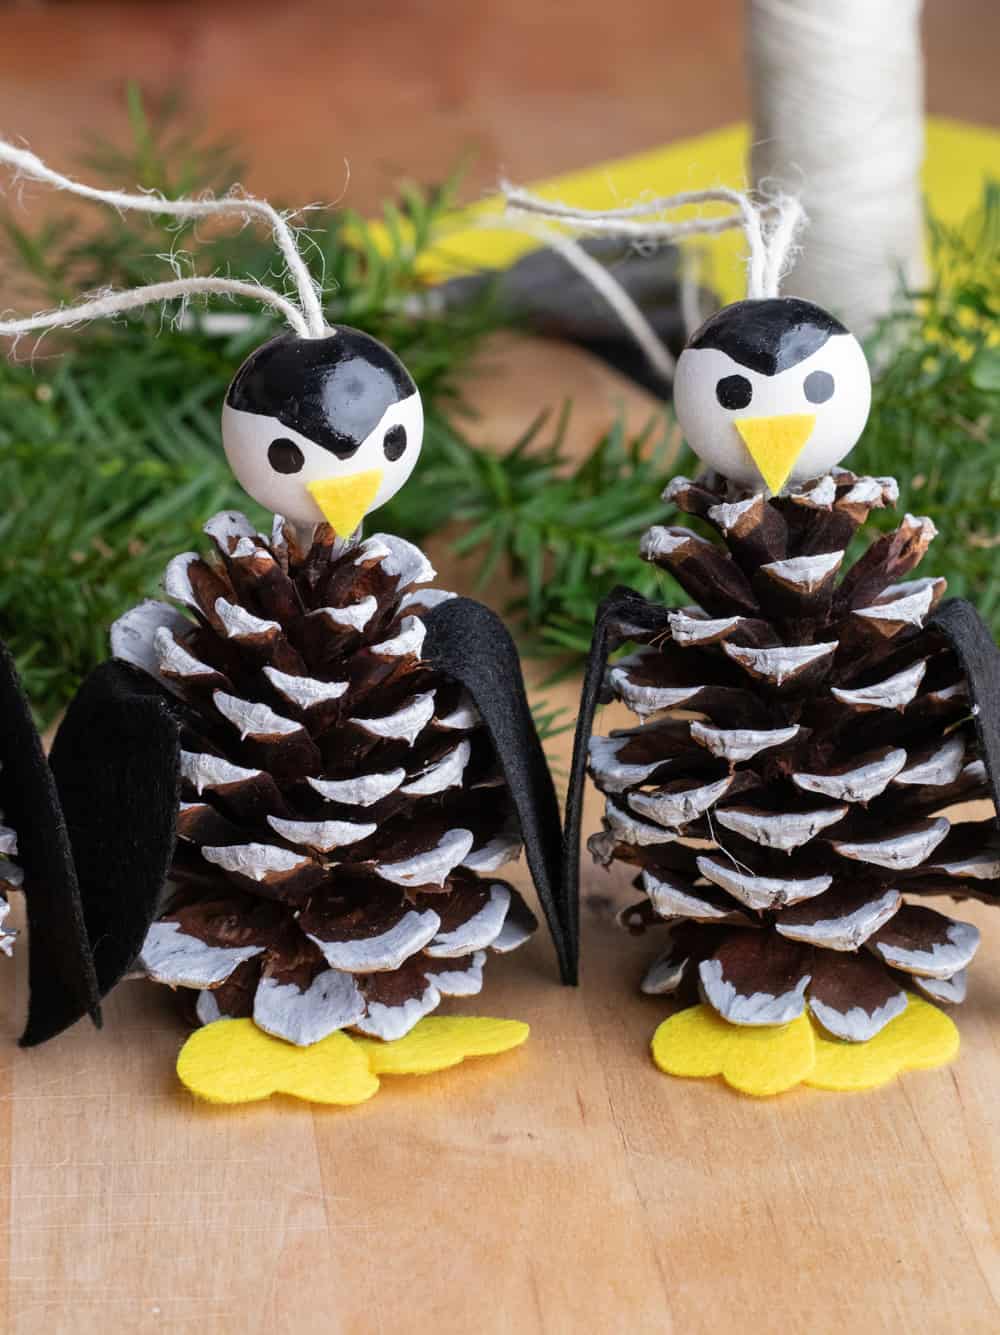
Step 1. Paint the tips of your pine cones white.
Step 2. Paint your wooden beads white – give them at least two coats. Allow to dry. Then draw the penguin’s head and eyes in pencil. Paint those in black.
Step 3. Cut out pieces of black felt for the wings and yellow felt for the feet. Tear drop shape – long for the wings, short for the feet. Hot glue those on your pine cones. Also cut a small triangle for the beak, hot glue that on the wooden bead.
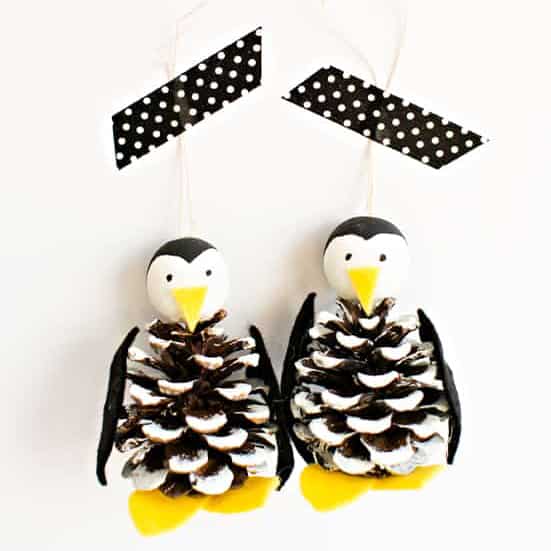
Step 4. Thread a piece of twine through your bead and secure the end with a large knot. Hot glue your bead to the pine cone. You’re done!
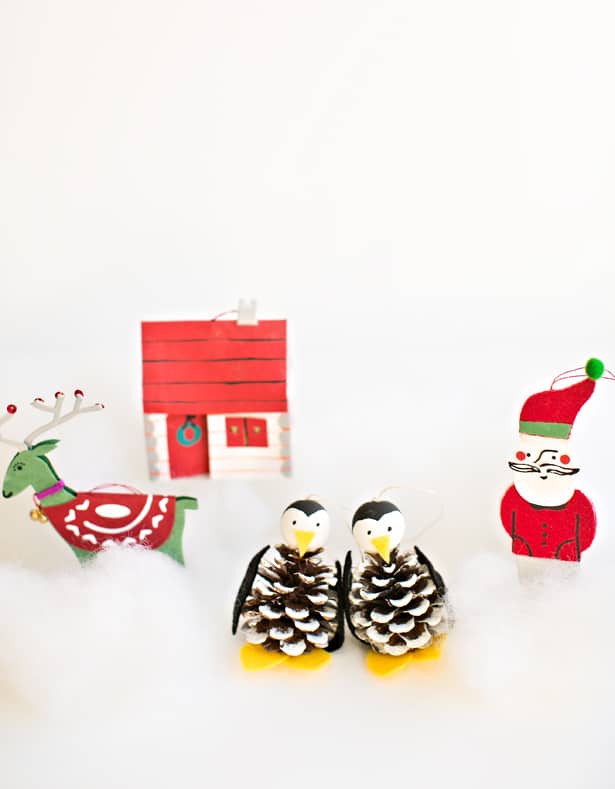
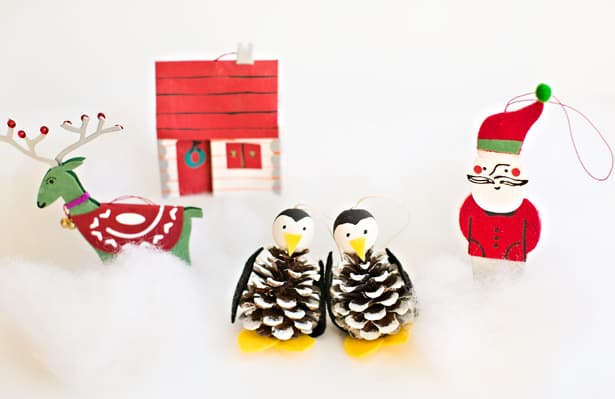
Aren’t these the cutest penguins you’ve ever seen? You can prop them along with other ornaments to create a fun winter scene.
CUTE PINE CONE PENGUIN ORNAMENT CHRISTMAS CRAFT
This Pine Cone Penguin Ornament is an easy and cute Christmas craft for kids. Watch our video and get the simple tutorial to make them.
Materials
- - Pine cones
- - Black and yellow felt
- - Black and white craft paint (or use paint markers)
- - Paint brush
- - Pencil
- - 1-1.25" wooden beads
- - String or twine
- - Hot glue
Instructions
Step 1. Paint the tips of your pine cones white.
Step 2. Paint your wooden beads white - give them at least two coats. Allow to dry. Then draw the penguin's head and eyes in pencil. Paint those in black.
Step 3. Cut out pieces of black felt for the wings and yellow felt for the feet. Tear drop shape - long for the wings, short for the feet. Hot glue those on your pine cones. Also cut a small triangle for the beak, hot glue that on the wooden bead.
Step 4. Thread a piece of twine through your bead and secure the end with a large knot. Hot glue your bead to the pine cone. You're done!