Brilliant Utensil Tray Sensory Play Hack
By using this site, you agree to our Terms of Use. This post may contain affiliate links. Read our disclosure policy.
Follow us on Instagram for more fun ideas for kids!
This utensil tray is a quick and easy way to set up a sensory small play for your kids in minutes! It's also super cheap and convenient to find.
If you've been following us for a while you'll know we love a good mom hack! Sensory play is one of our all-time favorite kid's activities. We first share this utensil tray sensory play hack on our Facebook page and it got such an amazing response we had to try it out for ourselves!
We've invested in the past with more expensive sensory tables and have also used inexpensive plastic bins or even cardboard boxes. You can never have too many sensory play ideas and so we are chalking this one up as one of our all-time favorite play ideas to date!
Why do we love this utensil tray play idea?
We love this utensil play idea for many reasons:
- it's cheap and inexpensive
- you can recycle old broken trays in your drawers (as long as they don't have gaping cracks)
- it's small and even a good portable size to add to a bag on the go
- the utensil compartments make natural great side sensory bins to separate your sensory play items (play dough, sand, small toys, etc)
- it's easy to clean
How do you set up a utensil sensory tray?
There really isn't any right or wrong way to do this. It makes the most sense though to keep different parts in their own small containers of the tray. Then let your child explore, mix and match howe they want.
I've also found that when I've set up sensory bins for play, sticking to a theme is a great way to engage play in a long time and also combine learning.
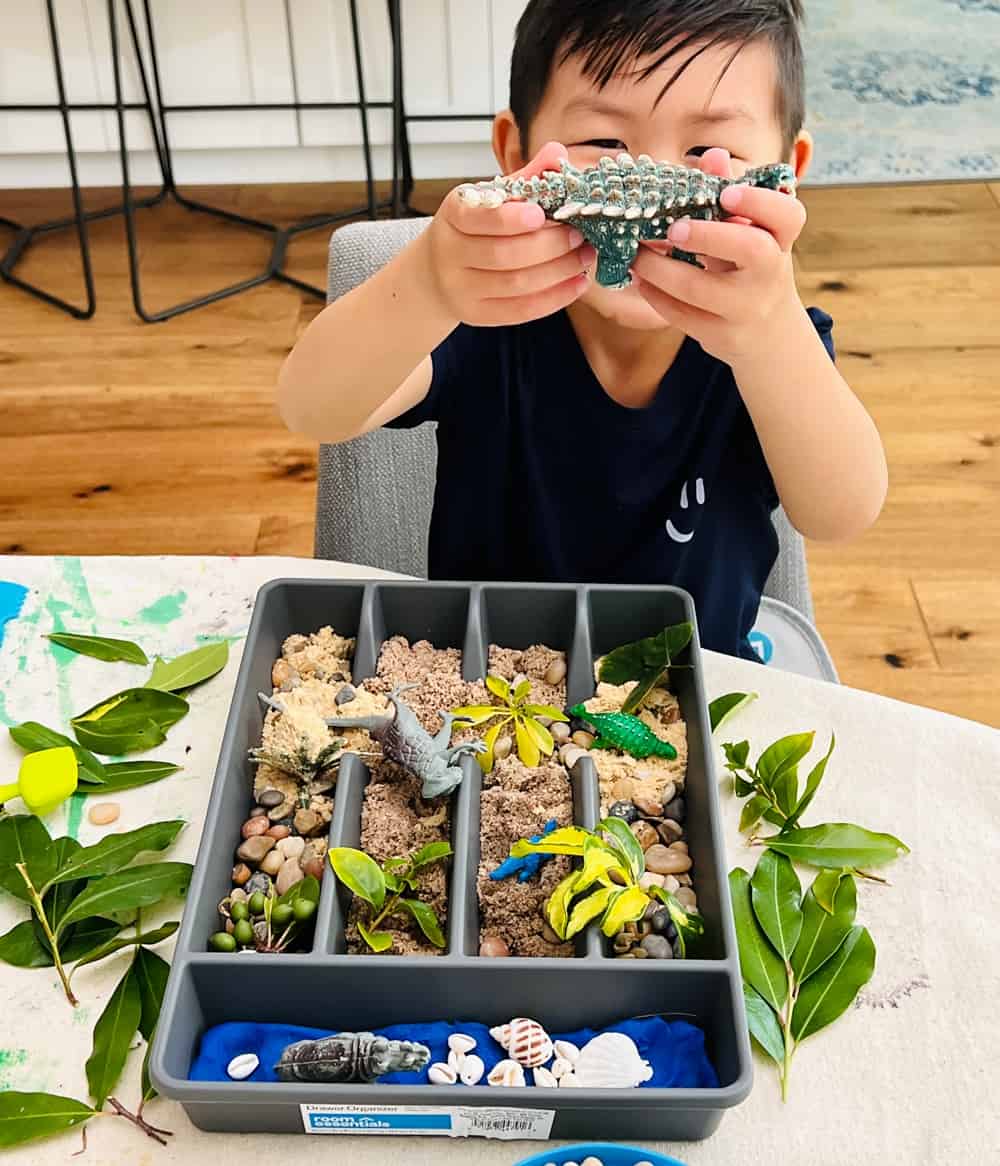
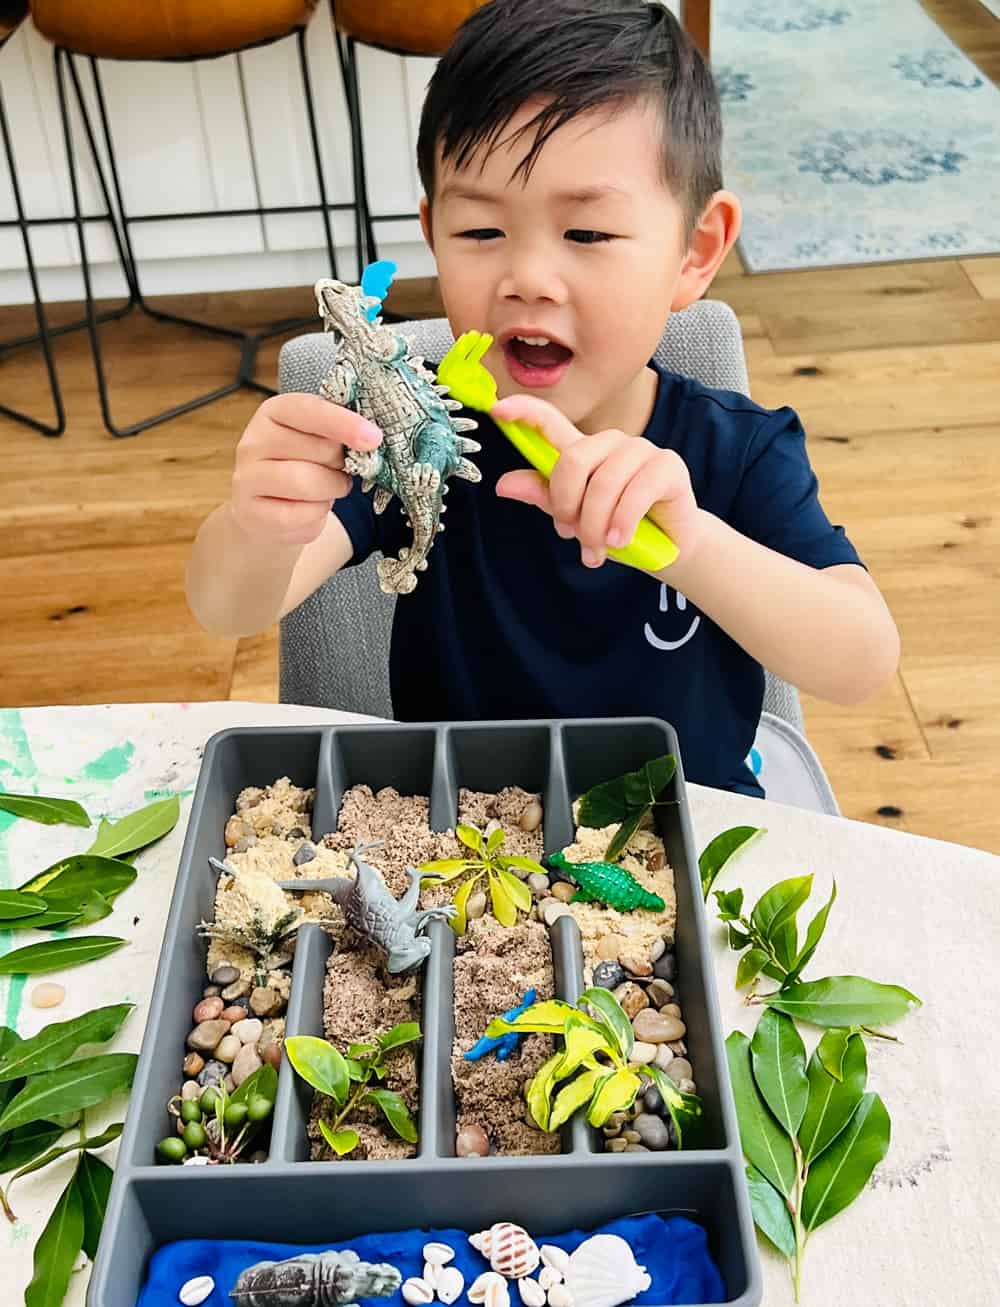
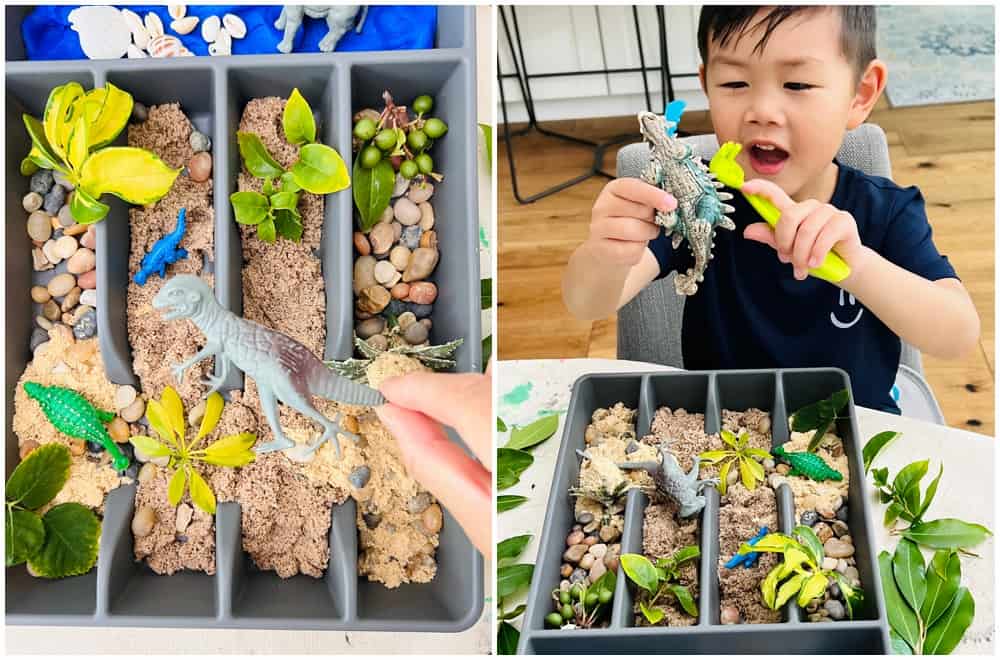
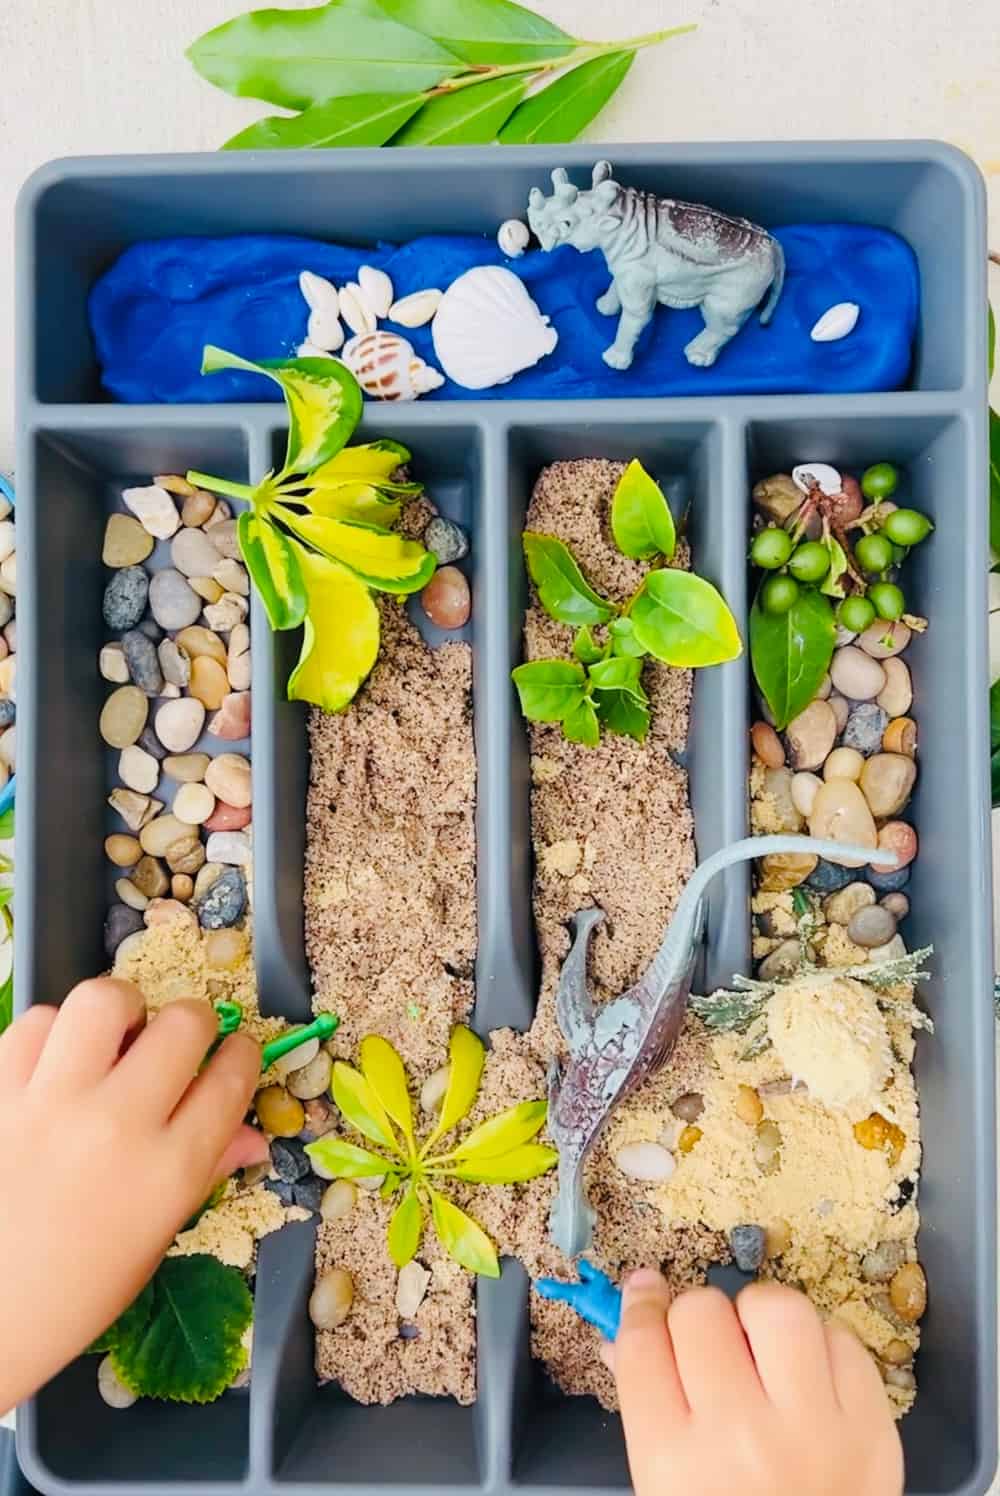
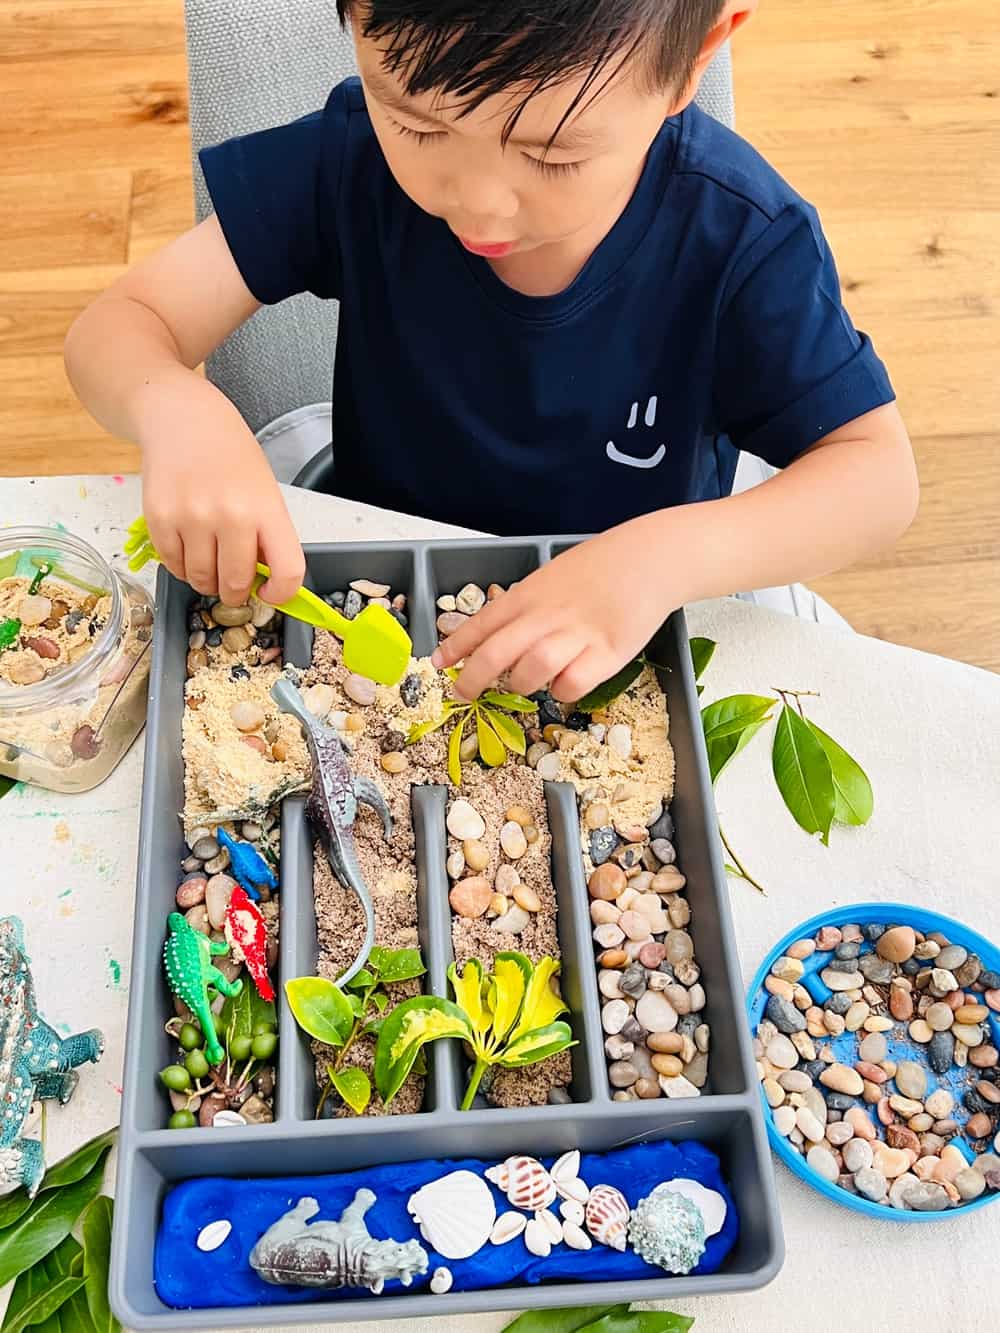
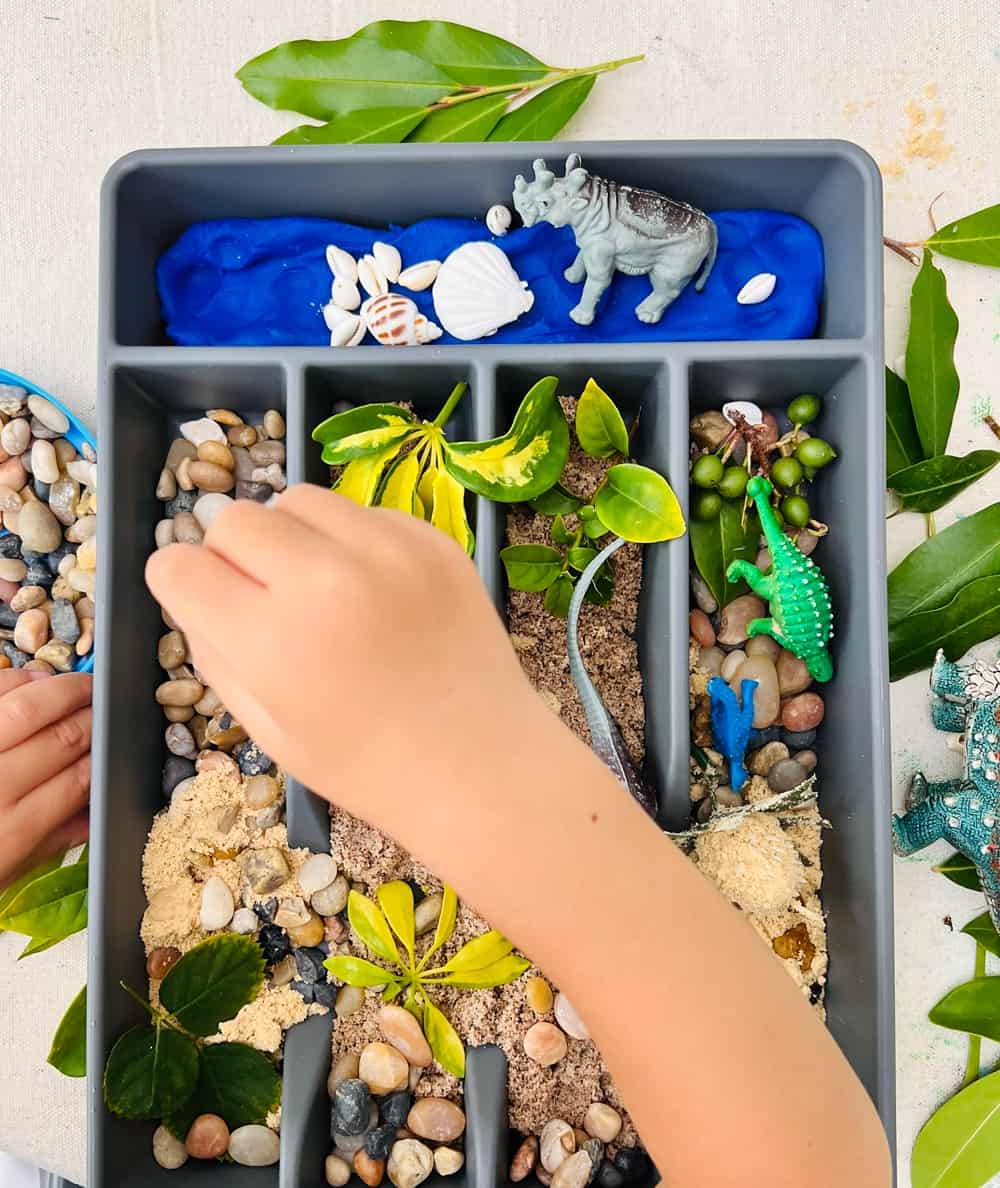
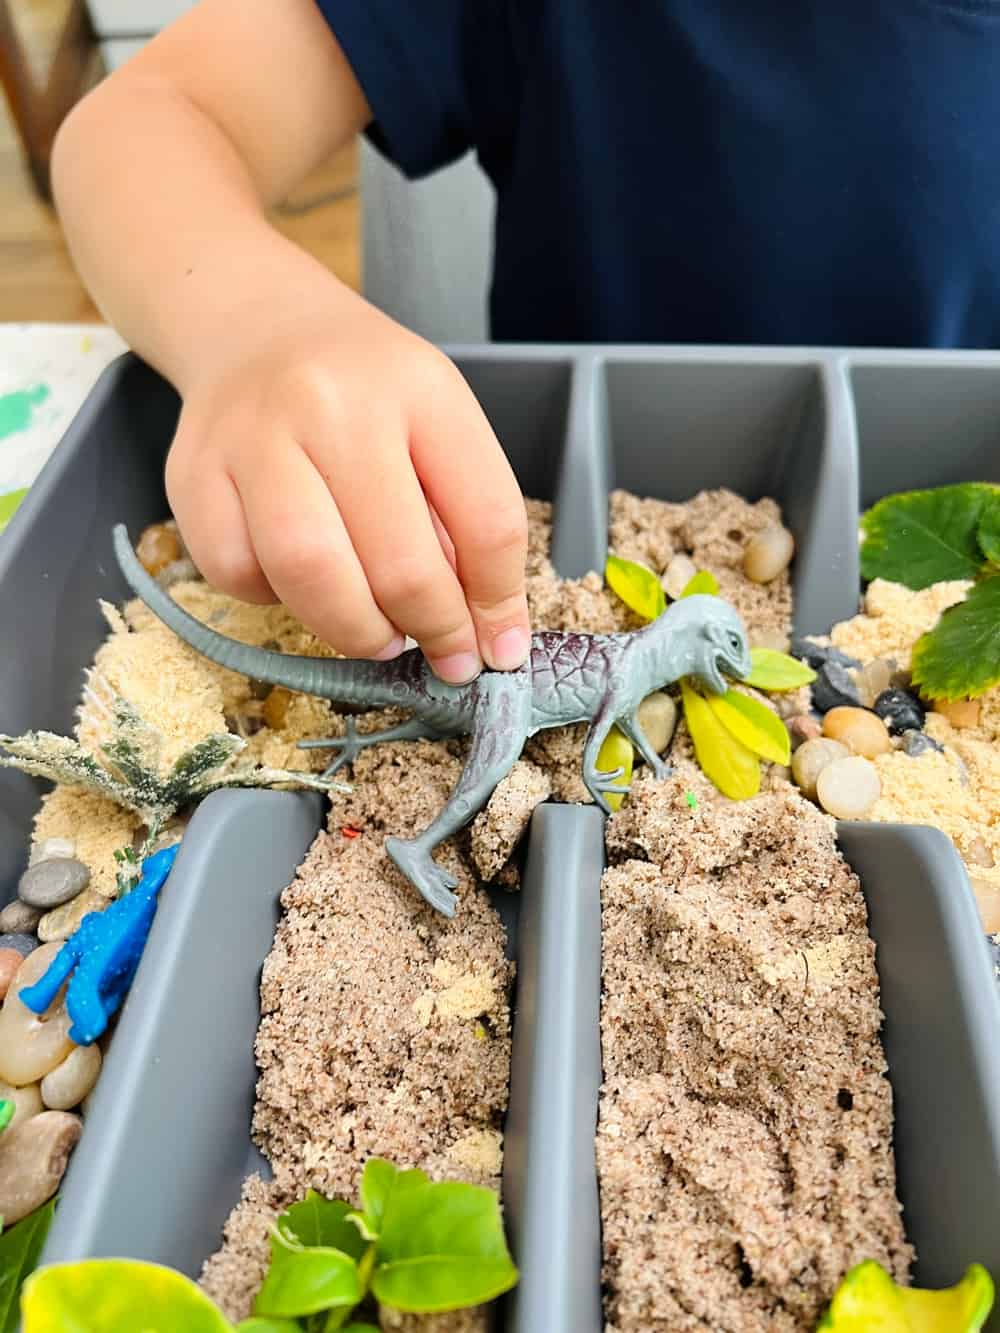
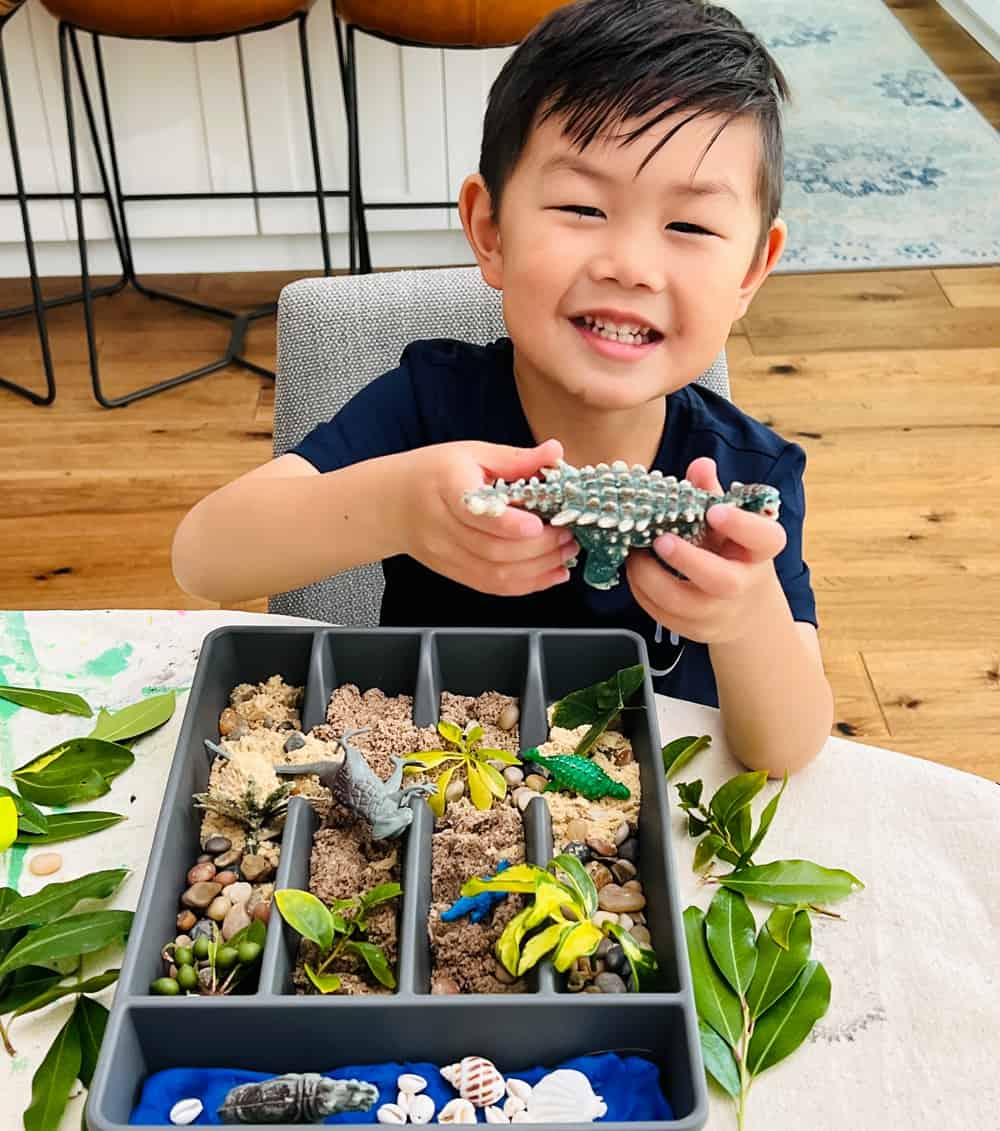
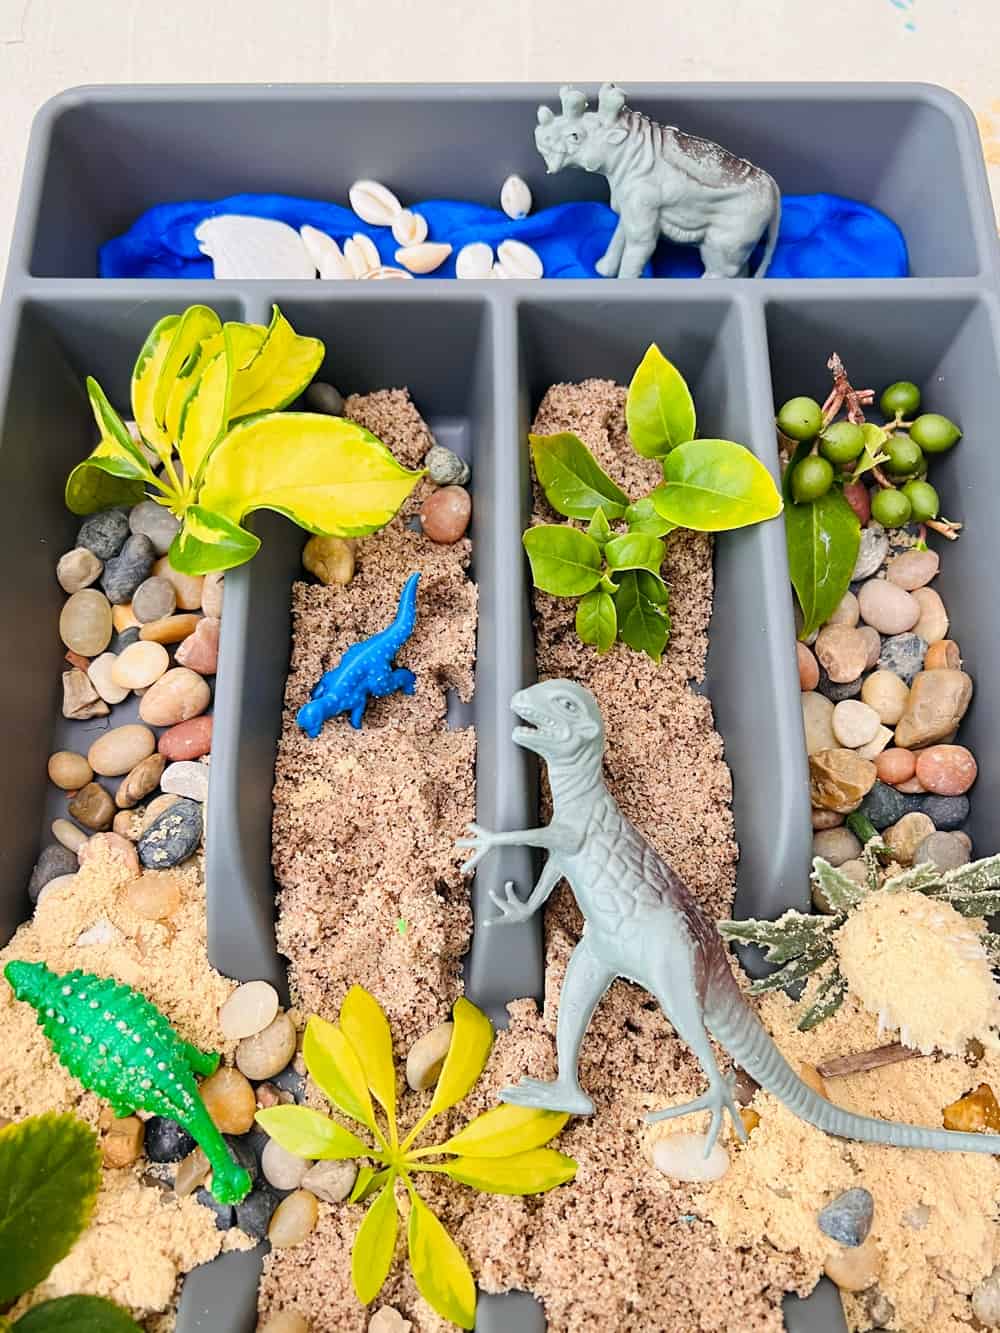
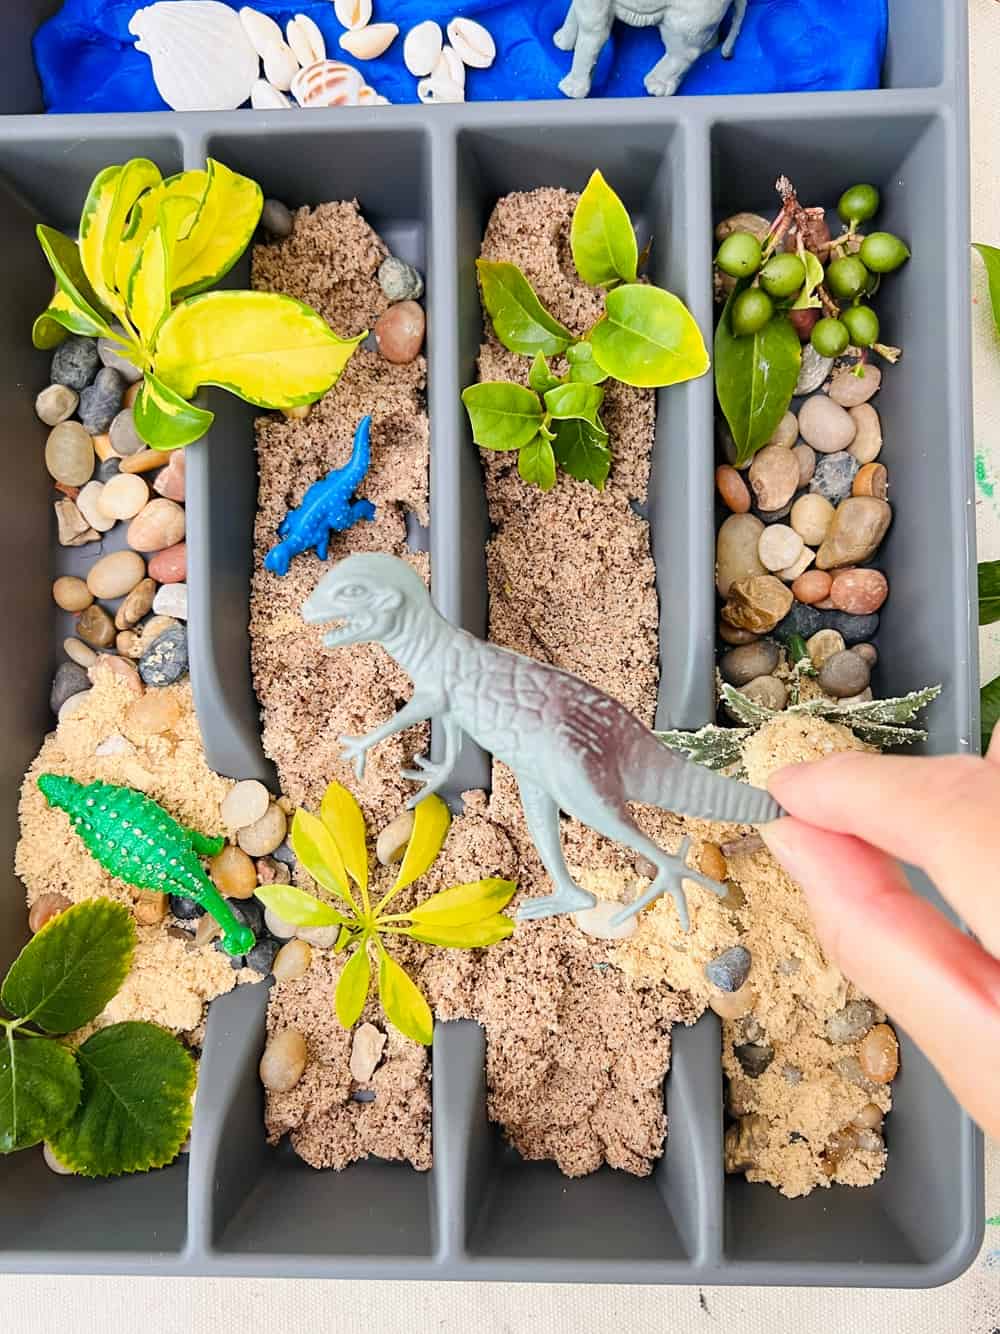
In this example, we set up a dinosaur small world with leaves, dino toys, sand and rocks. You could talk to your child about all the different dinosaurs that existed. And also pair this sensory play with a few dinosaur books!
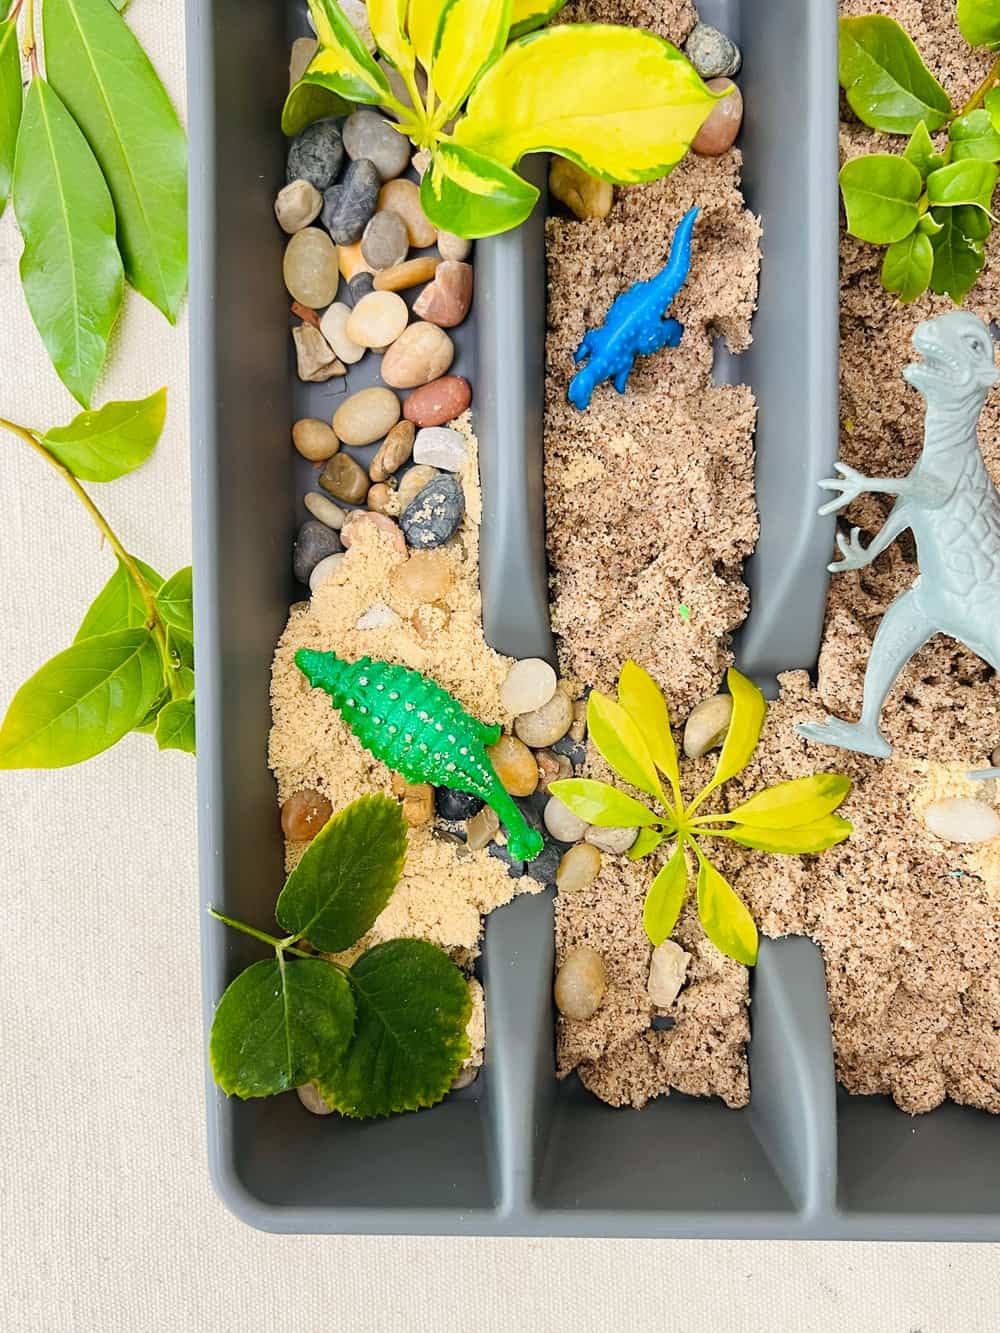
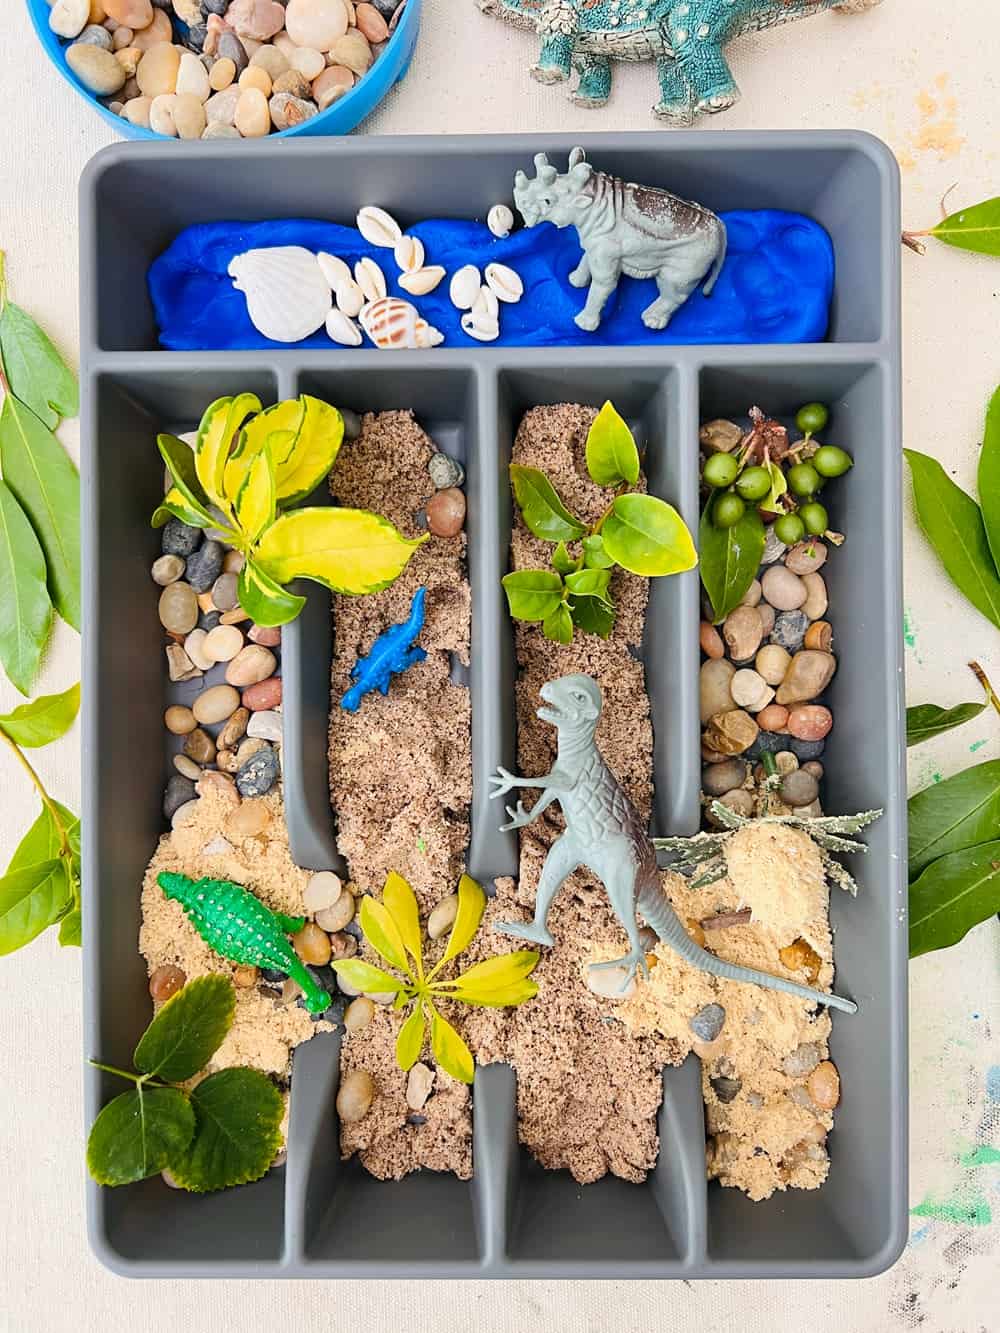
Utensil Sensory Tray - Dinosaur Version
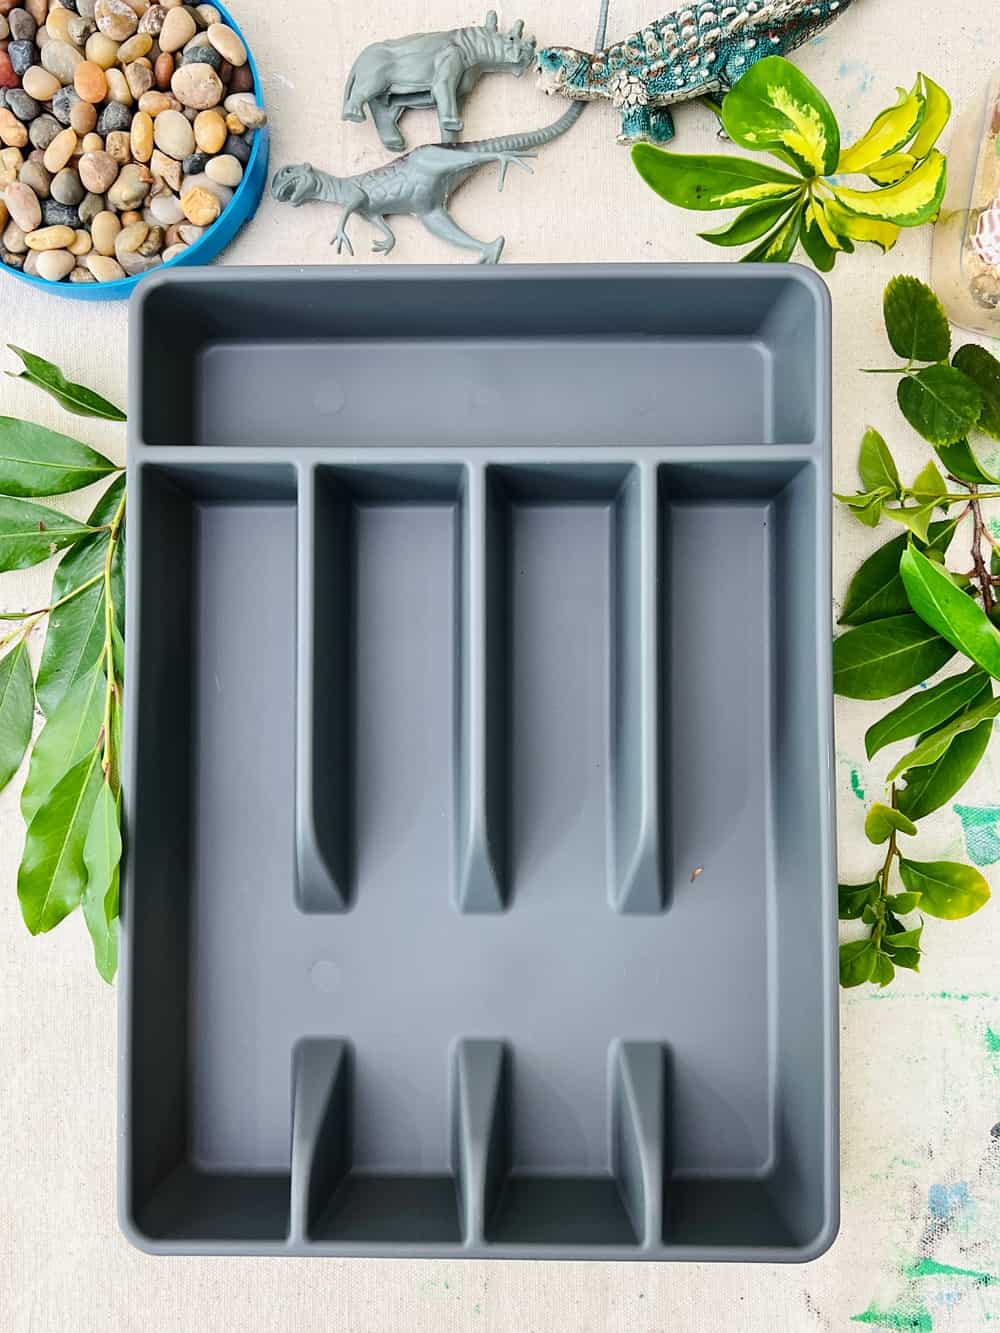
- Utensil Tray
- Kinetic sand (we found that holds its shape best for play over an again and is less messy but you can use regular sand)
- Play dough
- Small toy dinosaurs
- Plastic or real leaves (make sure to discard real ones after play as they will wither)
- Any additional small parts like beads, shells, or wooden small parts)
** make sure to supervise all play and not provide objects too small per the age of your child to prevent chocking hazards.
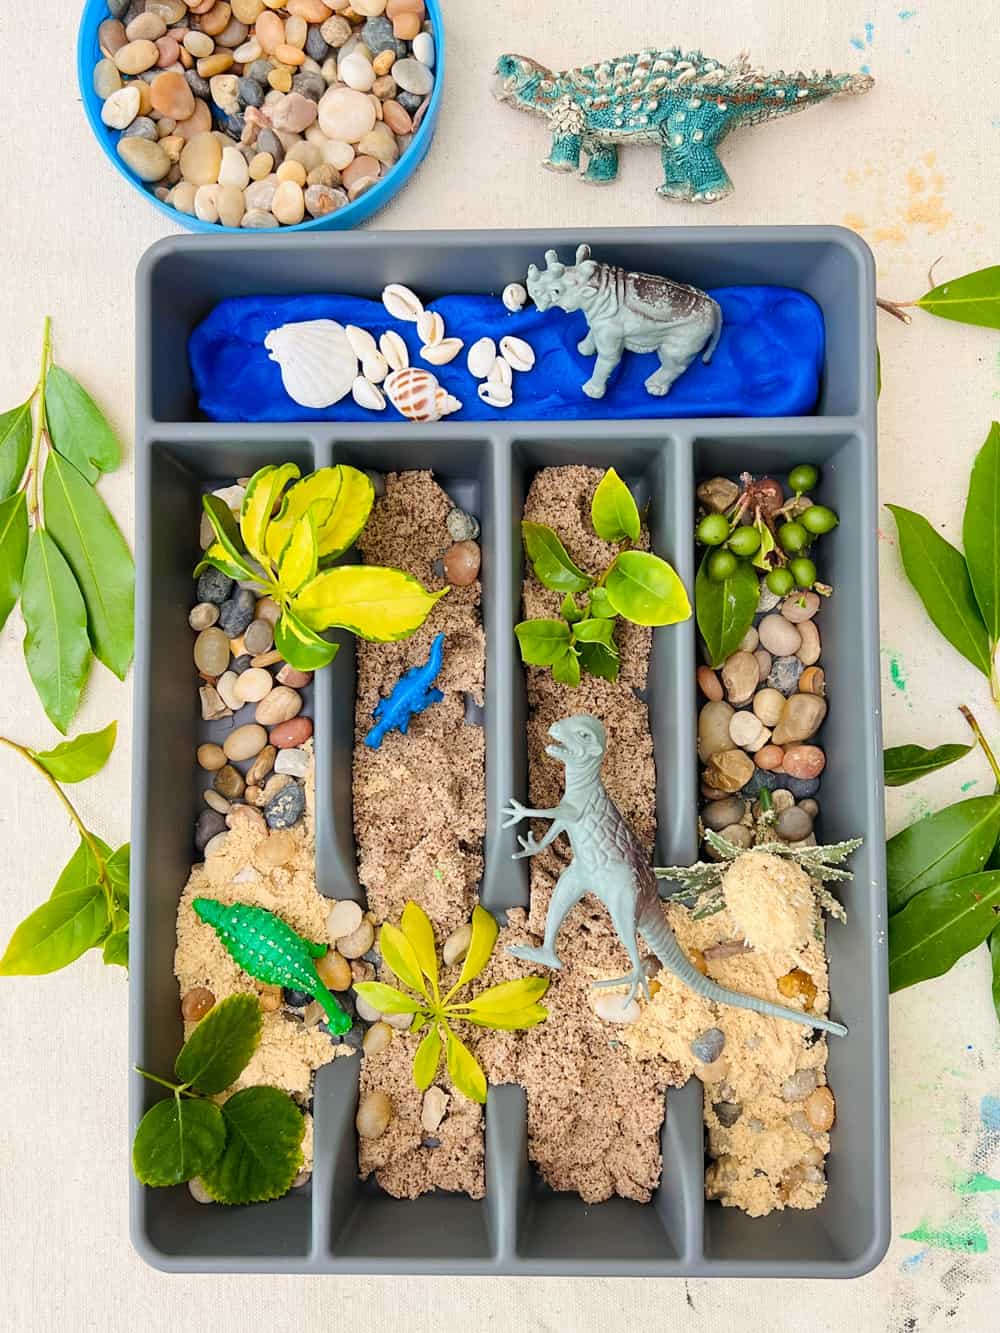
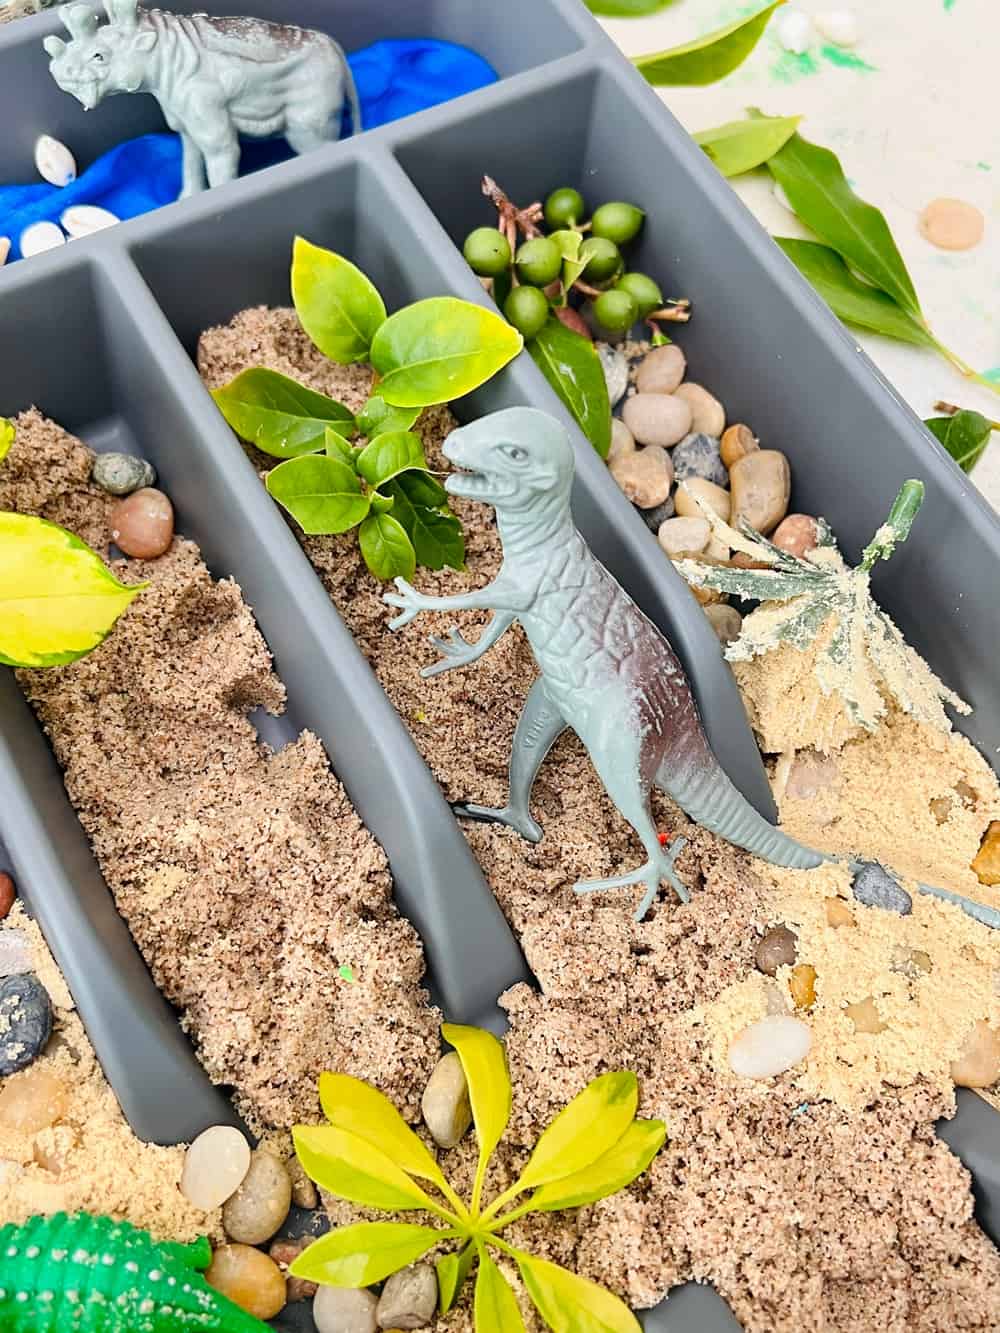
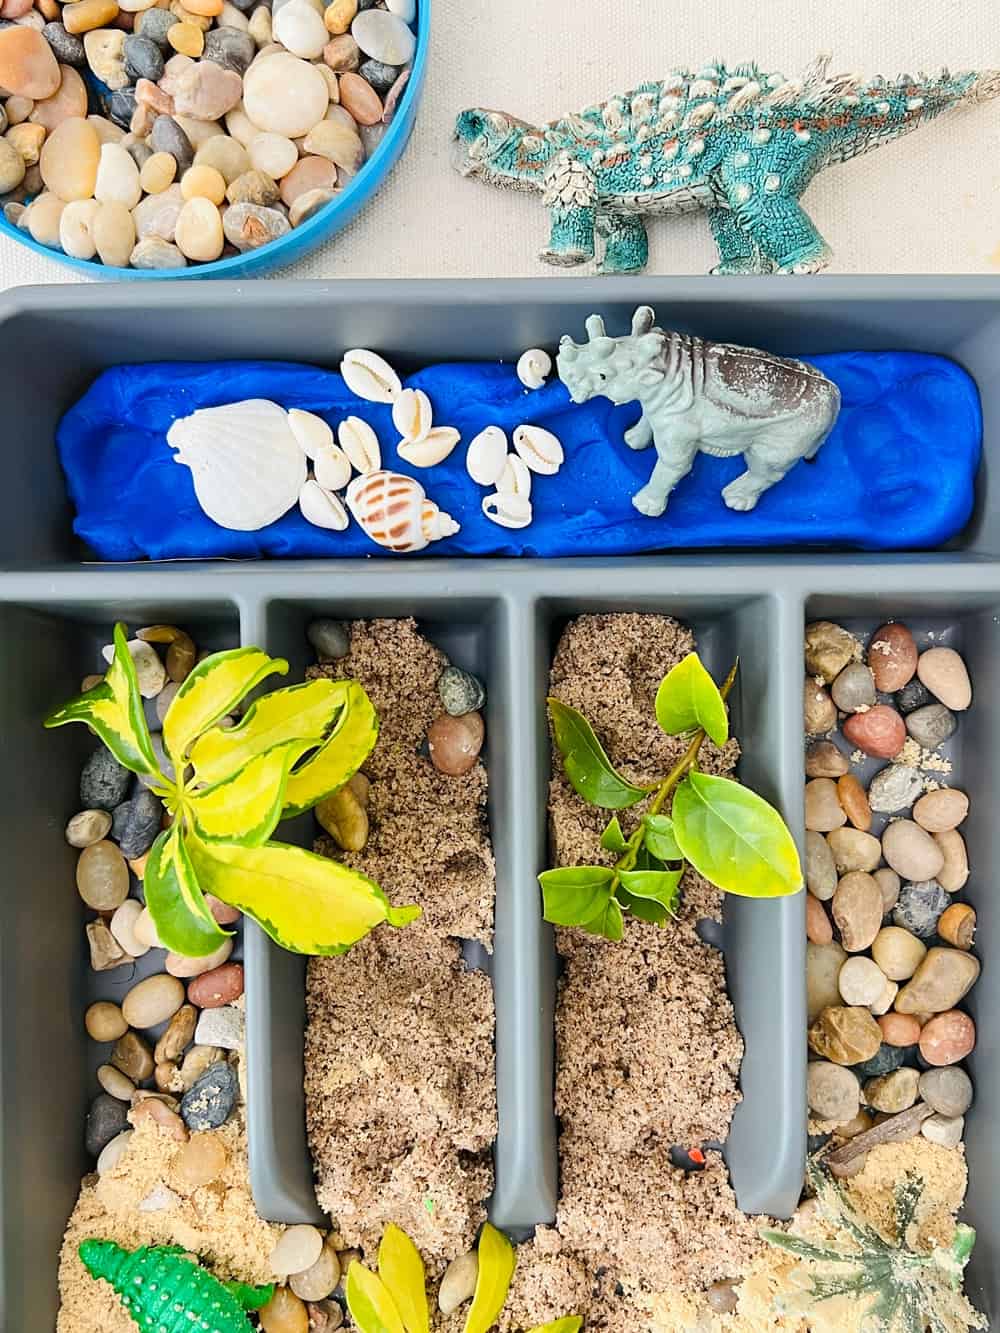
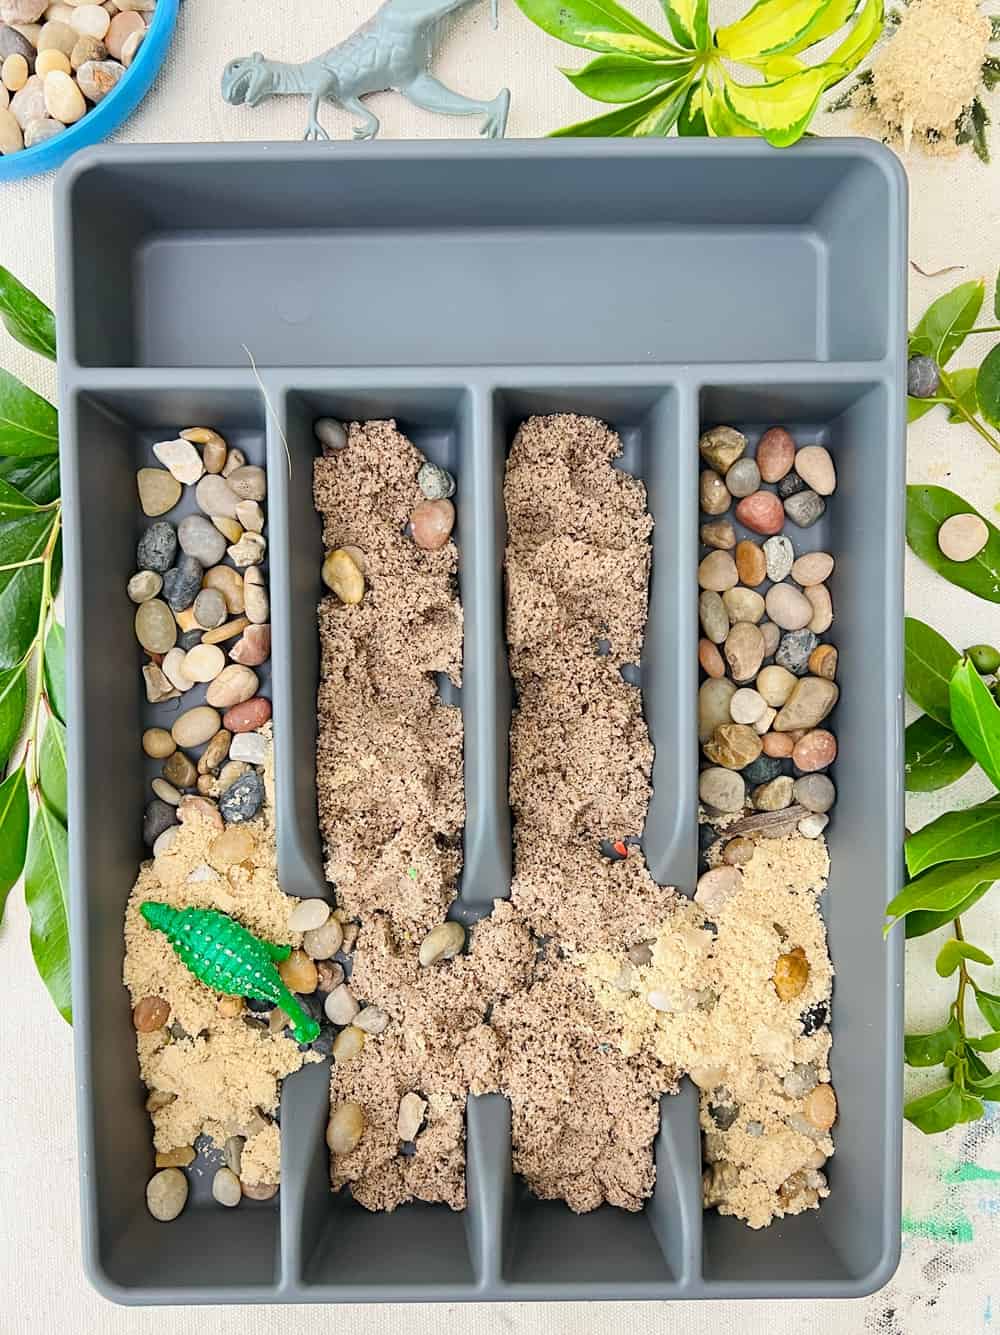
1. Add your sensory items in the utensil tray compartments. 2. Invite your child to play away! We used rocks, sand and playdough as our "river" but you could use any sensory play items you have on hand. Brilliant Utensil Tray Sensory Play Hack
Materials
Instructions