
25 Brilliant Craft Organization Tips
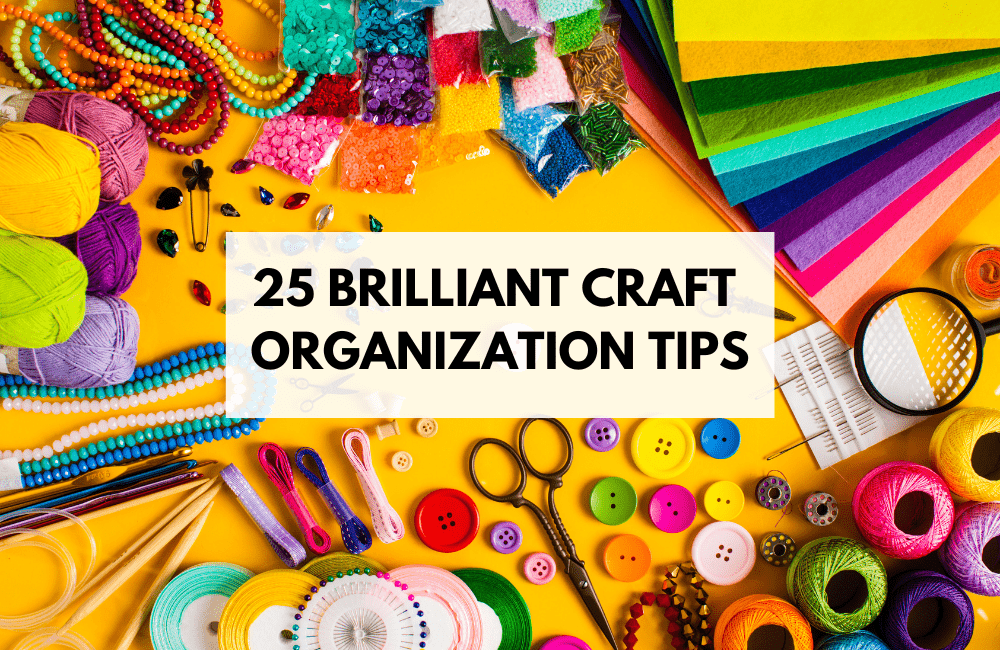
Photo credit: Canva
By using this site, you agree to our Terms of Use. This post may contain affiliate links. Read our disclosure policy.
By using this site, you agree to our Terms of Use. This post may contain affiliate links. Read our disclosure policy.
Follow us on Instagram for more fun ideas for kids!
Like most crafters, you probably have a lot of supplies. And if you’re like most people with a lot of art supplies, they’re probably not as organized as you’d like them to be.
Many people don’t realize how important craft organization is to the crafting process. An organized workspace can save time and money and make crafting projects more enjoyable.
You’re probably thinking, “I don’t have time to organize my craft supplies.” But the truth is, a little bit of organization can go a long way.
Crafts can be messy, and spending more time looking for supplies is easy than crafting.
If you’re unsure where to begin, think about these 25 ideas to help you improve your craft organization whether it’s at home or at your own art studio!
25 Brilliant Craft Organization Strategies for Crafters
1: Invest in a craft hanger
First, you can start organizing your creative area with a few straightforward suggestions. Any crafter knows that organization is key to a successful project.
A well-organized workspace not only saves time but also helps to reduce frustration levels and increase creativity.
Investing in a craft hanger is one easy way to organize your craft area. Craft hangers are specially designed to hold various supplies, including scissors, rulers, and pens.
They come in various sizes and styles to fit any need and can be hung on the wall or stored in a drawer. Best of all, they help keep your work area tidy by keeping all your supplies in one place.
2: Declutter your workspace
Starting a project is much easier when supplies are neatly stored and easy to find.
However, it’s easy for even the most organized crafter to let their workspace become cluttered over time. Taking the time to declutter your workspace can make a big difference in crafting.
Start by sorting through your supplies and removing anything you no longer use or need. Then, create a system for storing your supplies, making them easy to find when you need them.
3: Use drawer dividers and boxes to organize supplies
Craft dividers help to keep small items from getting lost in the depths of a drawer, and boxes are perfect for storing larger items like paper or fabric.
By keeping your supplies sorted and easy to find, you’ll be able to spend more time crafting and less time searching for supplies.
In addition, organizing your supplies can also help you save money by making it easier to find what you need and avoid duplicates.
4: Label everything
Labeling everything is one of the best methods to maintain order in your crafting area. This way, you’ll always know exactly where to find what you need.
You can use a label maker to divide your supplies by type, color, or project. For example, you might have a section for fabric scraps, another for yarn, and another for painting supplies.
Or, you might have a drawer for red items, one for blue items, and so on. Labeling will help you to stay organized and save time in the long run.
5: Store like items together
Another great helpful tip is to store items together. For example, keep your paints and brushes in one place and your disposable towels in another.
This will help you find what you need quickly and avoid searching through a jumble of supplies. Plus, it can be helpful to label each storage container so that you know exactly what’s inside.
With effort, you can maintain an organized crafting space that will make your project a breeze.
6: Hang tools on the walls or use pegboards to save counter space
To minimize counter space, tools can be mounted on the wall or used with peg boards. This not only looks more organized, but it can also help you to be more productive.
When everything is within easy reach, you’ll be able to work more quickly and efficiently.
Another advantage of this method is that it makes it easier to see what supplies you have on hand. No more rummaging through piles of stuff to find what you need!
You can save time and frustration by hanging tools on the walls or peg boards while improving your crafting area’s look.
7: Use baskets and bins to group items
Scattered tools and unfinished projects can make it difficult to find what you need and impossible to concentrate on your work.
However, organization can go a long way in transforming your space from chaos to calm.
Utilizing baskets and craft bins to arrange comparable items together is a quick and easy method to get started. For example, you might have one for painting supplies or one just for craft tools like scissors or glue.
Not only will this make it easier to find what you need, but it will also help to keep your work area tidy. So spend some time organizing your supplies before your next crafting session.
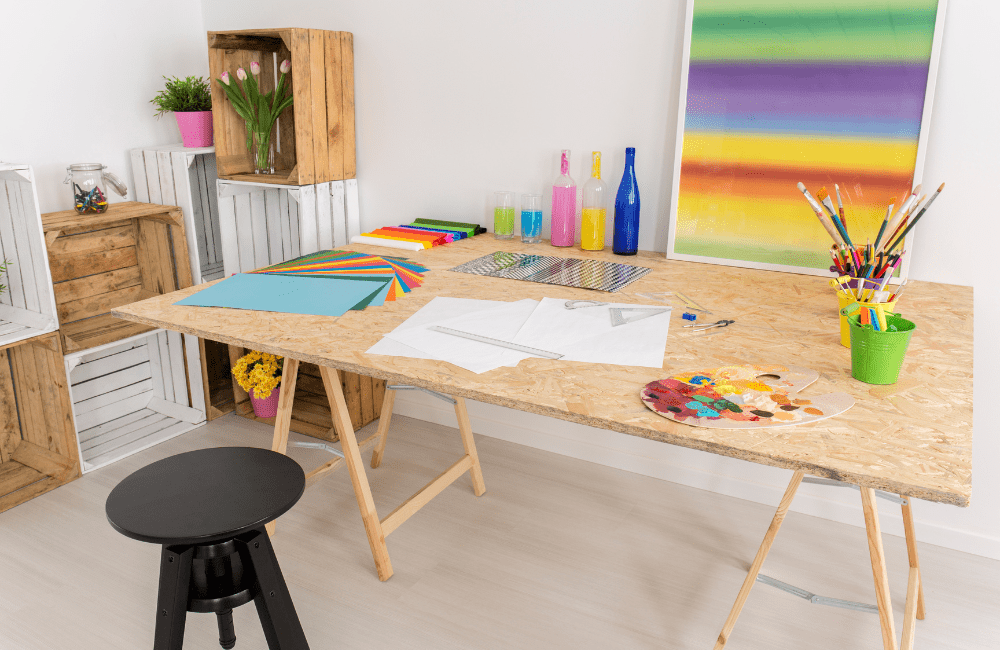
Photo credit: Canva
8: Keep a storage container near your crafting area for quick clean up
Another tip that has helped me immensely is keeping a storage container near your crafting area for quick cleanup.
This way, when you’re done crafting for the day, you can toss everything into the container and put it away later.
You’ll save time and maintain organization on your desk by doing this. So check it out and discover how much simpler your life as a crafter gets!
9: Donate or sell unused craft supplies
This decluttering method can help simplify your crafting space, making it easier to find the supplies you need and focus on the project.
When donating or selling unused craft supplies, ask for local donation options or search for online resale sites specializing in crafting supplies.
Frequently, you can locate someone who will take your unwanted stuff off your hands. This will not only help you clear your home of clutter or place of business.
10: Repurpose old containers and jars for organizing materials
With some imagination, old containers and jars can be repurposed into stylish and space-saving organizers for your craft supplies.
Beads, buttons, and other tiny things can be kept in many sizes and forms of glass jars. Empty coffee cans can be spray-painted and used to hold pens, pencils, and scissors.
Old tea boxes make great storage for patterned paper, and empty shoe boxes can be covered in fabric to create pretty storage bins for yarn and ribbon.
By repurposing common household items, you can improve your craft organization without spending a lot of money.
11: Make a list of what you have on hand before shopping for more supplies
When it comes to staying organized, one of the most important things you can do is keep track of what you have on hand.
That way, when shopping for new supplies, you’ll know exactly what you need and won’t end up with duplicates.
There are a few different ways to keep track of your supplies. For example, you can use a physical list that you keep with you or an app on your phone or computer.
You can also note what you have in your head, but this can be more difficult to remember. Whichever method you choose, make sure to update your list regularly.
12: Create a color-coded system
You can quickly and easily find what you need by designating a distinct color for each object class. For example, blue could be for yarn, red for fabric, and green for buttons.
This system can be beneficial if you have a lot of craft supplies. Not only will it save you time, but it will also help to keep your workspace clean and colorful.
As a result, if you’re searching for a method to organize your craft better, think about using a color-coded approach. It might be the secret to achievement.
It is beneficial for many people to utilize a label maker to create their labels. This way, they can easily change the colors as needed.
13: Take advantage of vertical space
If you’re short on storage space, take advantage of the vertical space in your room. This can be done by hanging wall shelves or using free-standing shelving units.
Shelves are a great way to store and organize craft supplies, and they can also help to keep your workspace tidy.
Several online videos can teach you how to install shelves if you’re unsure where to begin.
You can maximize your craft storage space and keep your supplies organized and within reach with a little effort. You might find that you have more space than you anticipated.
14: Use door and window treatments to conceal clutter
Curtains, shutters, and blinds can conceal clutter in your home. In addition, you can instantly hide any messy areas by simply hanging them over a door or window.
This is a fantastic method to make your home look better and more organized. If you’re feeling artistic, you can employ these treatments to make your room’s focal point.
For example, if you have a collection of vintage buttons, try hanging them on a curtain rod with some pretty ribbon.
They won’t just look fantastic; they’ll also be out of the way and simple to get to when you need them. You won’t believe the difference it makes.
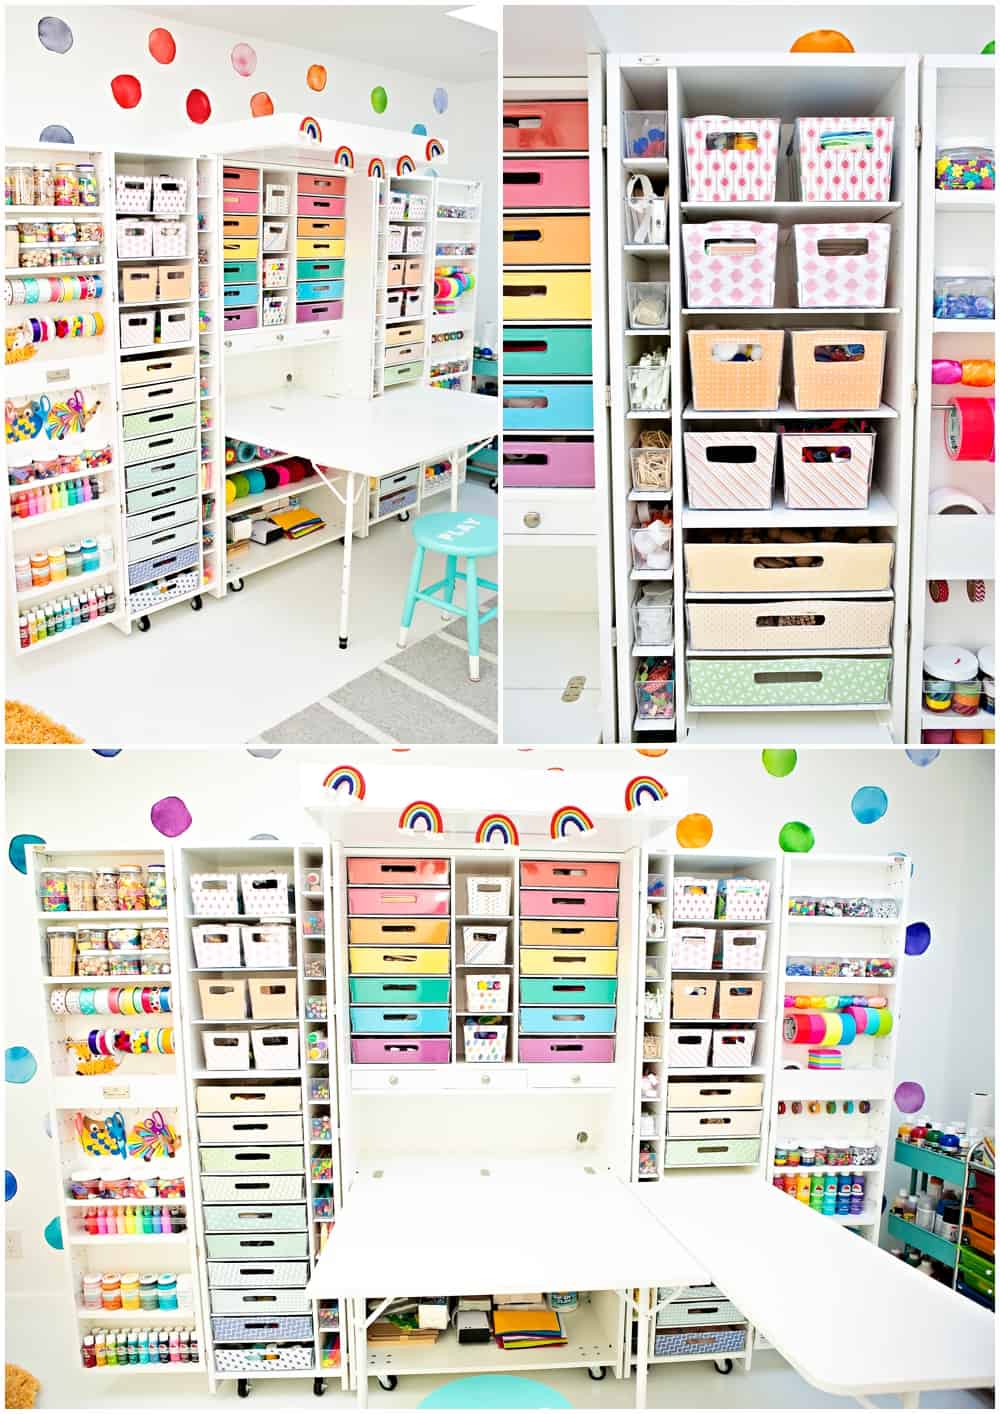
15: Build a custom craft closet or armoire
Both options are repurposing an old closet or piece of furniture or beginning from scratch with a kit. When planning your custom craft closet, consider what types of materials and supplies you will need to store.
You may also want to include features such as adjustable shelves, drawers, and doors with hooks for hanging tools.
By taking the time to create a well-organized space, you can ensure that your crafting projects will always be within reach.
Many people find this the best way to improve their craft organization. If you have the time and budget, a custom closet or armoire can make a difference.
You can also buy one like we did with the DreamBox, but it’s quite an investment to consider. However, we’ve found the return on expense to be worth it to keep an organized craft room.
16: Keep frequently used items within reach
Another way to keep your craft space organized is to keep frequently used items within reach. Store items that you often use in easy-to-access locations, such as on open shelves or bins within arm’s reach.
When hunting for materials, this will save you time and effort and lessen clutter.
Making a special place for their most-used belongings is something that many people find to be beneficial. Place a small desk or table close to your workspace to accomplish this.
Then, you can store all of your essentials within reach and keep them organized.
17: Invest in a good quality crafting table or desk
A crafting table is among the most essential pieces of furniture for any crafter. It provides a sturdy surface for cutting, measuring, and assembling projects.
It also offers ample storage space for your essential tools and supplies. Investing in a good-quality crafting table is a must if you are serious about crafting.
You may discover the ideal one to suit your demands and budget by selecting various styles and sizes. Before deciding, take the time to shop about and compare prices.
Then, with some work, you can locate the ideal crafting table to assist you in your efforts.
18: Add extra shelving, hooks, and racks as needed
Adding extra shelving, hooks, and racks as needed ensures that your craft supplies are always within easy reach.
And when everything has its own designated spot, it becomes much easier to keep your work quicker and think about what you need.
Additionally, quickly seeing all of your resources can inspire new creative ideas for you.
Many people find that adding a few extra shelves to their craft space makes a difference. Look online if you’re unsure of where to begin.
19: Use clear plastic storage containers to see what’s inside
Clear plastic storage containers can easily see what’s inside and find what you need. These containers are relatively inexpensive and can be found at most department stores.
If you’re serious about improving your craft organization, invest in a few clear plastic storage containers and try them.
You can always return to your old storage methods if you don’t love them. But chances are, you’ll be surprised at how much difference they make.
20: Group items by project
Another great way to organize your craft supplies is to group them by the project. This way, you can easily grab all the supplies you need for a specific project without searching.
Furthermore, grouping your supplies by the project can also help to save time and frustration while completing a job; you need to find a specific piece quickly.
So next time you’re looking for a way to organize your craft supplies, consider grouping them by the project – it might save you some time and headache.
21: Store out-of-season ornaments and décor in labeled boxes
Keeping out-of-season materials in boxes and labeling is one of the greatest ways to maintain the organization of your craft supplies. You won’t have to sift through a muddle of random items each time you want to start a project because you’ll always know where to find what you need.
For example, if you’re a scrapbooker, you might have a box for summer-themed paper and embellishments and another box for winter-themed items.
If you’re a quilter, you might have a box for cotton fabric for summer and another box for wool fabric for winter. Whatever your craft of choice, labeled boxes can help you stay organized.
Photo credit: Canva
22: Take advantage of natural light when possible
Another simple way to improve your craft organization is to take advantage of natural light when possible. Natural light is not only bright and cheerful, but it can also help you better see colors.
If your craft room has no windows, consider adding a skylight or installing some LED task lighting. You’ll be astonished by how much has changed with a little more light.
This is one piece of organizational advice to help you appreciate your creative endeavors more.
But, of course, while you’re doing it, you should also consider putting some plants in your craft room. They not only have a pleasant appearance but can also improve your air-quality.
23: Keep your work area tidy and free of Dust
A cluttered desk or messy table can quickly sap inspiration, and finding the necessary supplies can be challenging when everything is in disarray.
That’s why it’s essential to keep your work area clean and free of Dust.
Regular dusting will not only help to keep your workspace looking neat, but it will also prevent your tools and supplies from becoming covered in a layer of grime.
In addition, Dust can also be harmful to your health, so it’s essential to keep it under control. A tidy workspace can aid in allergies, asthma, and other respiratory conditions.
24: Take breaks and stretch often to avoid fatigue
Anyone who works with their hands knows that fatigue can be a major problem. After a long day of painting, sewing, or sculpting, finding the energy to clean up your work area can be hard.
However, taking a few minutes to tidy your space can significantly affect productivity. A well-organized craft room will help you stay focused and motivated.
Another way to organize your craft room is to take breaks and stretch often. Taking a few minutes to rest your eyes and relieve muscle tension can help you avoid fatigue and maintain your focus.
In addition, stretching can help improve circulation and prevent cramps and stiffness.
25: Keep a trash can nearby to avoid making a mess
Lastly, keeping an attractive trash can close by is one of the greatest methods to keep your craft space neat. By doing this, you’ll avoid messing and simplify cleaning up after a project is finished.
In addition, it’s essential to have a designated place for your scraps. A scrap bin can help you stay organized and prevent your work area from cluttering.
You can easily keep your craft room clean and organized with a little effort. These simple tips will help you make the most of your space and get the most out of your projects.
Takeaway
Organizing your craft room can seem daunting, but it’s well worth the effort. A well-organized space will help you stay focused and motivated and make your projects more enjoyable.
These 25 organization tips will help you get started. From labeled storage containers to taking breaks often, there are plenty of simple ways to keep your craft room neat.
The key to success is often simply tidying up a few minutes each day. Then, with a bit of work, you can design a craft area that is both useful and fashionable.


