Paper Egg Chick Craft With Printable Template
By using this site, you agree to our Terms of Use. This post may contain affiliate links. Read our disclosure policy.
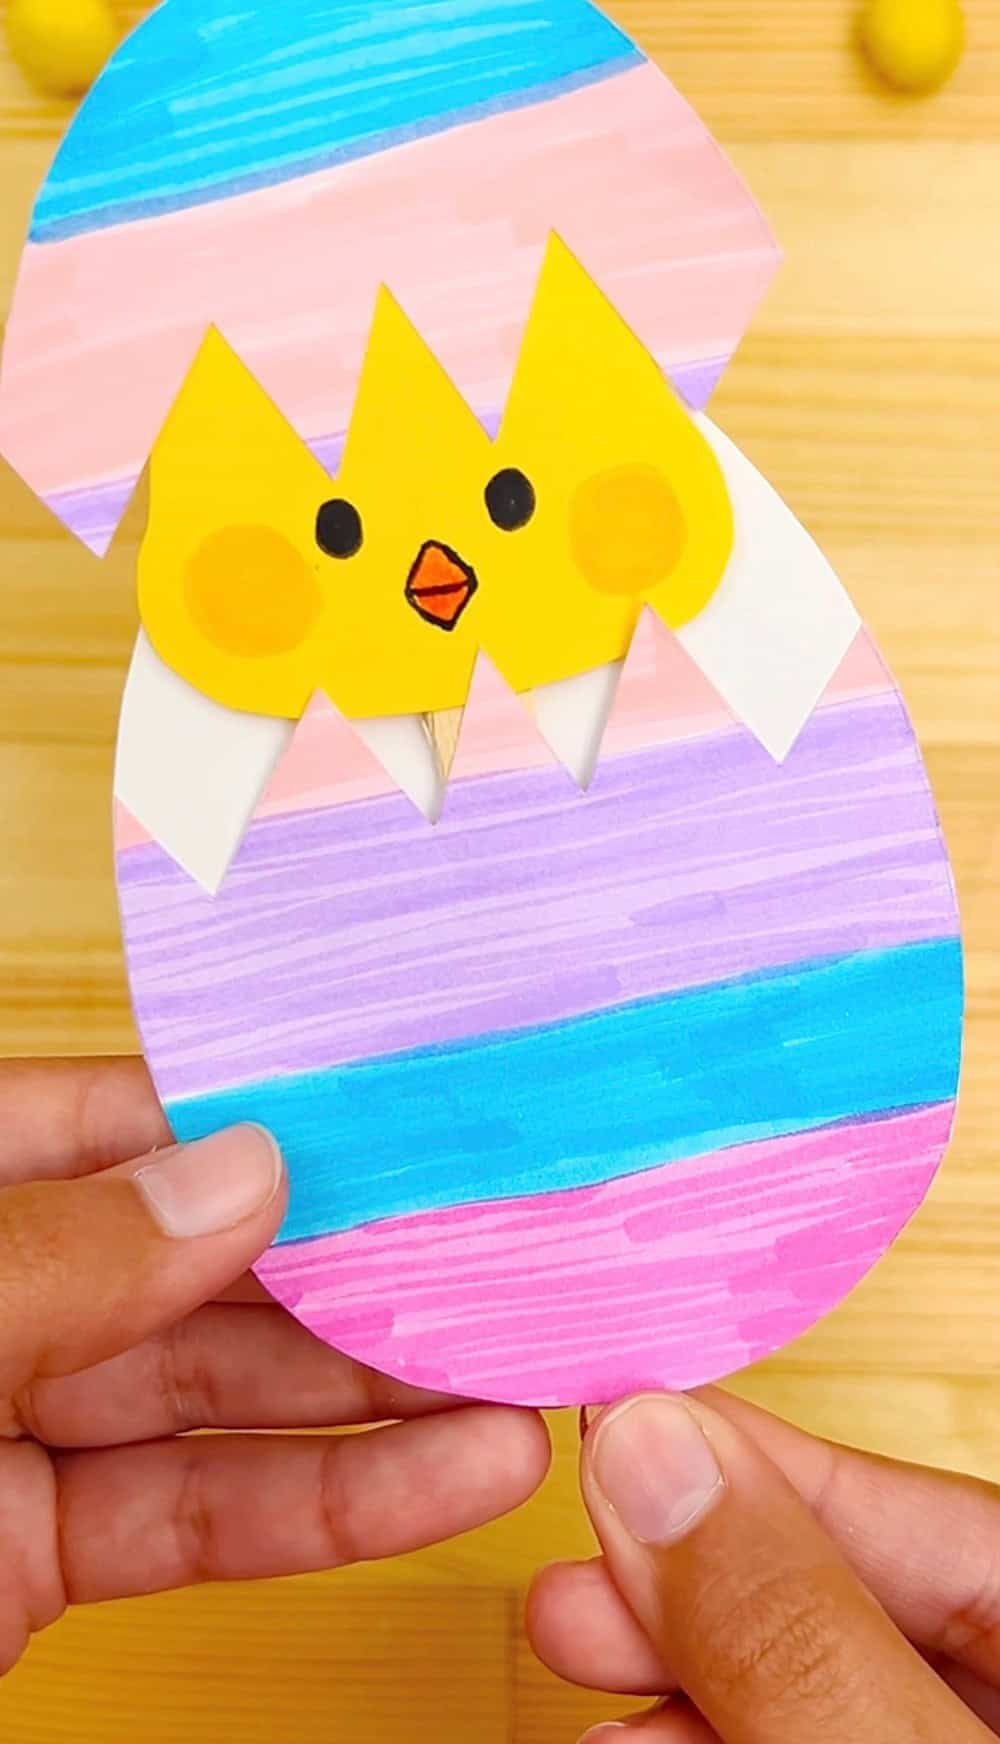
Make a cute chick popping out of a colorful egg with this easy printable Easter craft for kids, perfect for spring fun at home or in the classroom.
Spring is the perfect time to slow down and make something sweet with your kids, and this paper egg chick craft is as easy as it is adorable. Using our free printable, children can create a colorful little chick peeking out of a decorated Easter egg. It’s a fun way to add creativity while practicing cutting and coloring.
This Easter craft is great for classrooms, playdates, or a fun afternoon at home. Kids will love personalizing their eggs with bright patterns and bringing their cheerful chick craft to life.
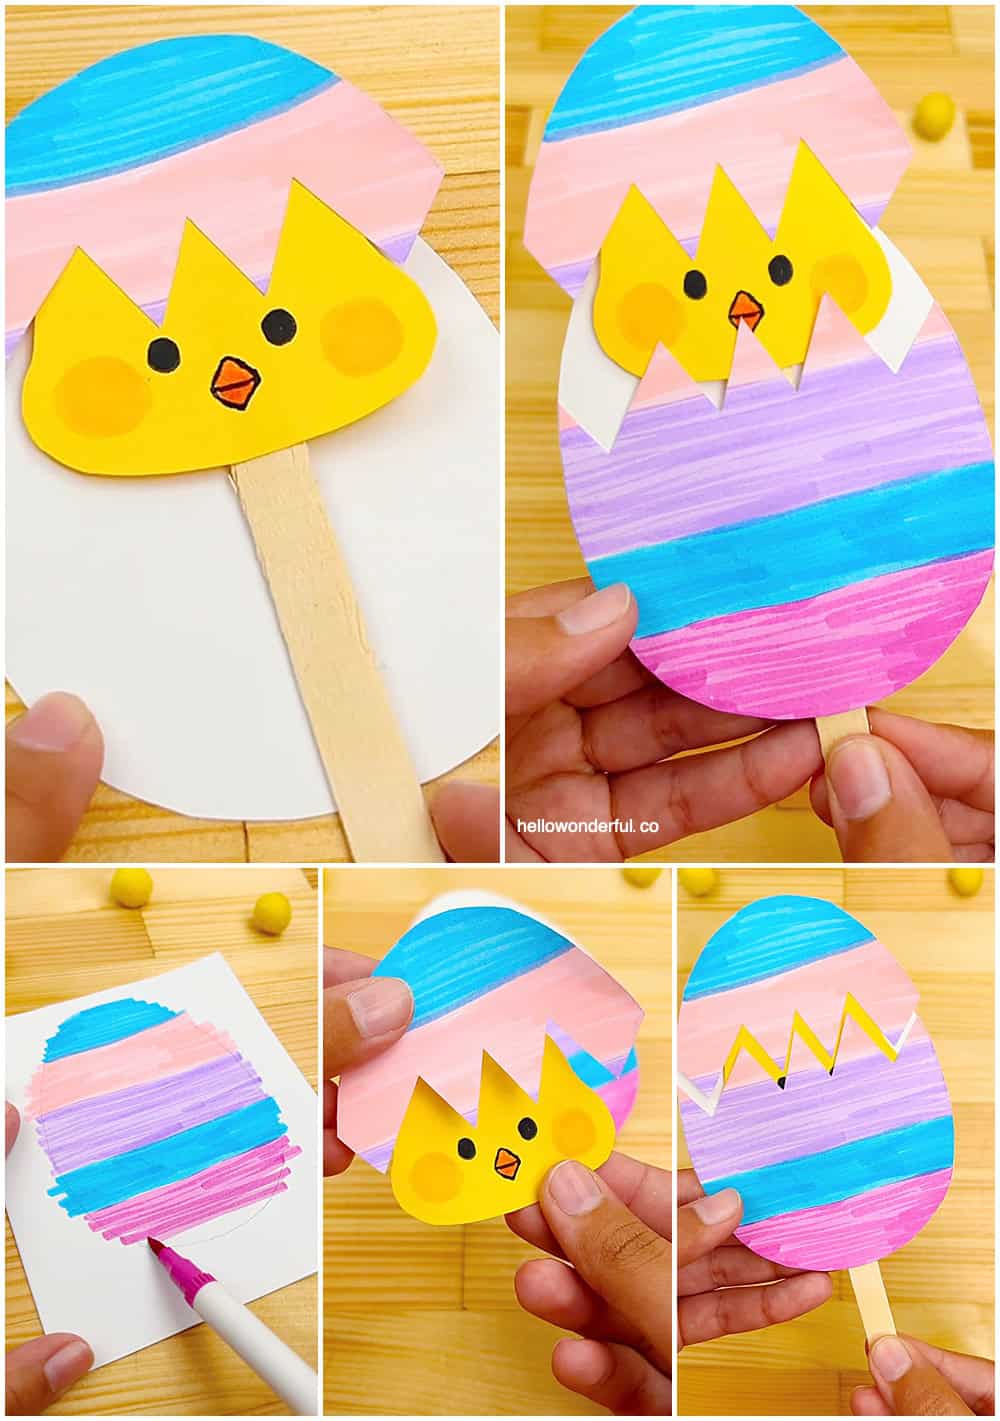
Paper Egg Chick Craft - Materials
- White cardstock
- Yellow paper
- Popsicle stick
- Glue stick
- Scissors
- Markers
- Free Printable egg and chick template (scroll below to download)
Instructions (watch the video in this post)
1. Print and Cut the Template
Print the template, which includes:
- One full egg outline with crack line
- Chick head template
- Cut out the full egg outline.
2. Trace the Egg Shapes
Take a 24x28cm white cardstock.
Trace the egg outline onto white cardstock.
Cut out both eggs.
You should now have two eggs:
- One plain egg (base)
- One egg that will be decorated and cracked
3. Decorate One Egg
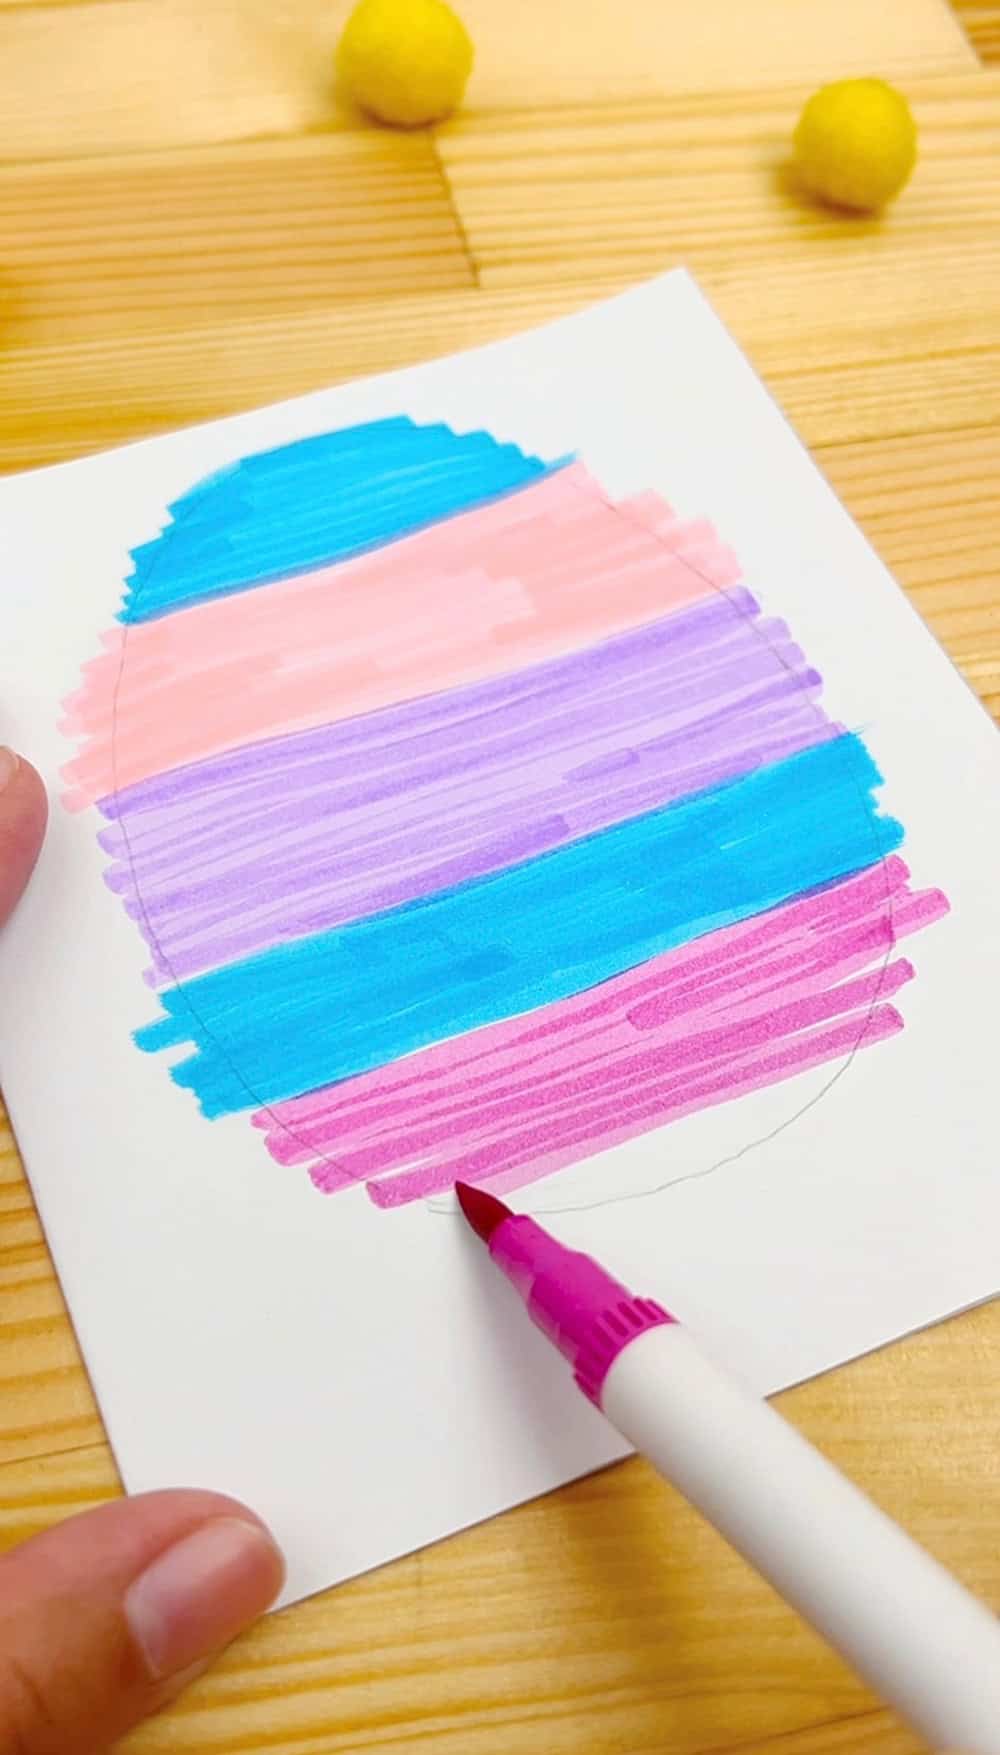
Using markers, draw horizontal pastel stripes across one egg only.
4. Create the Crack
Place the template back over the decorated egg.
Trace the zigzag crack line.
Cut along the crack line.
You now have:
- Top cracked piece
- Bottom cracked piece
- One plain full egg
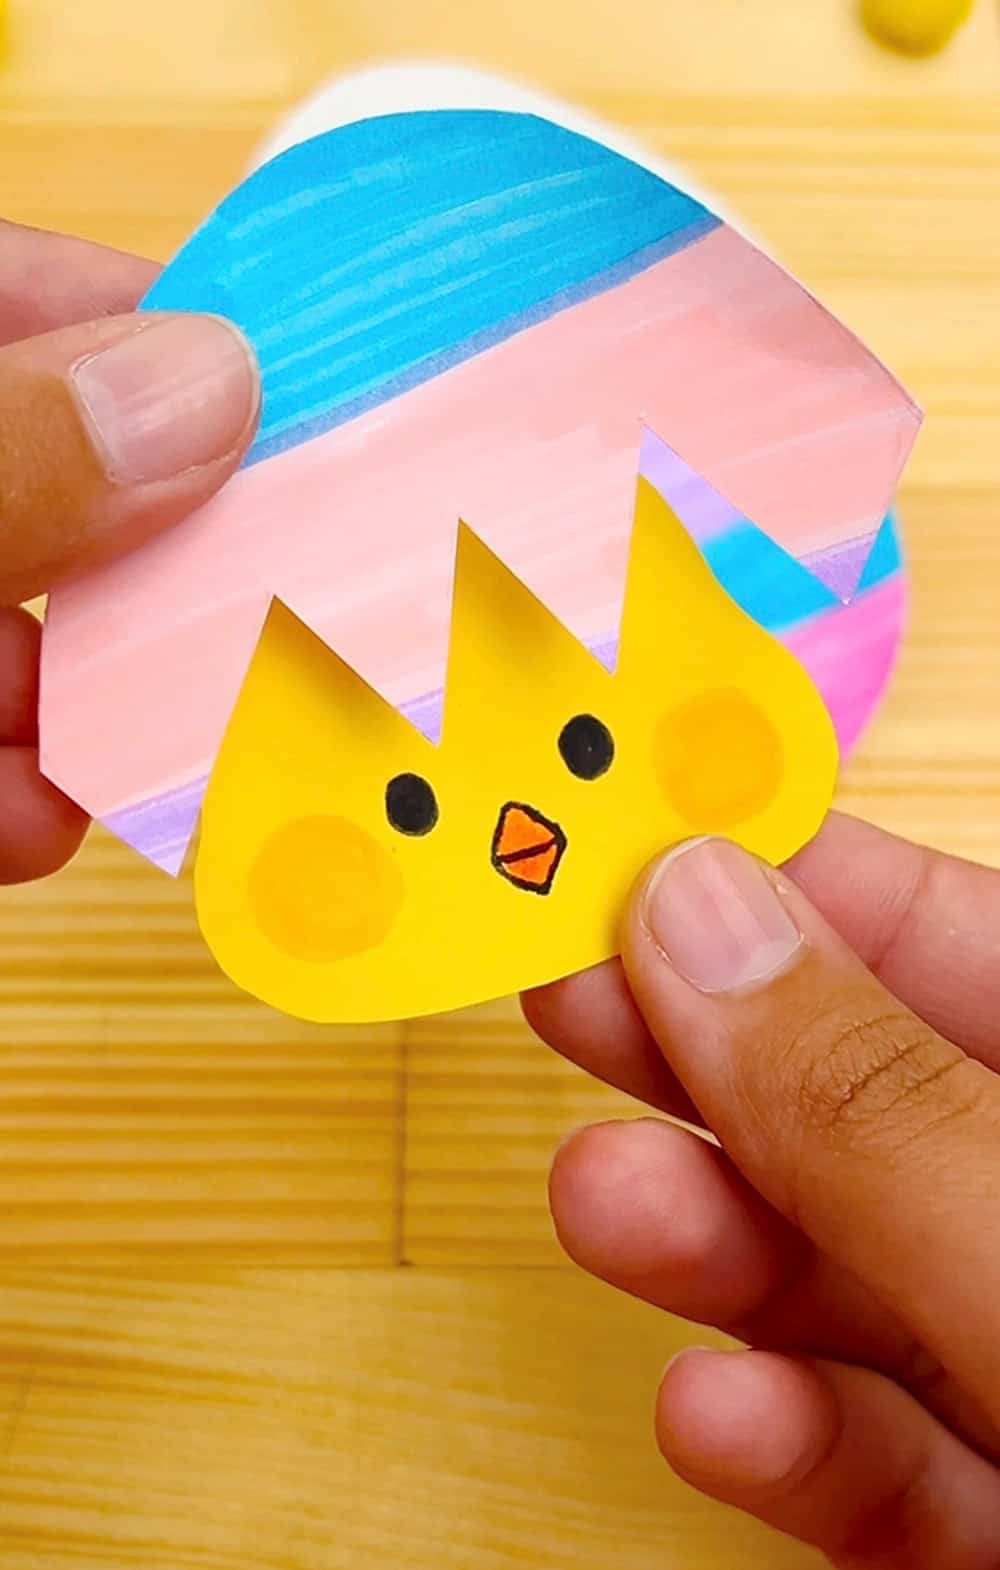
5. Make the Chick
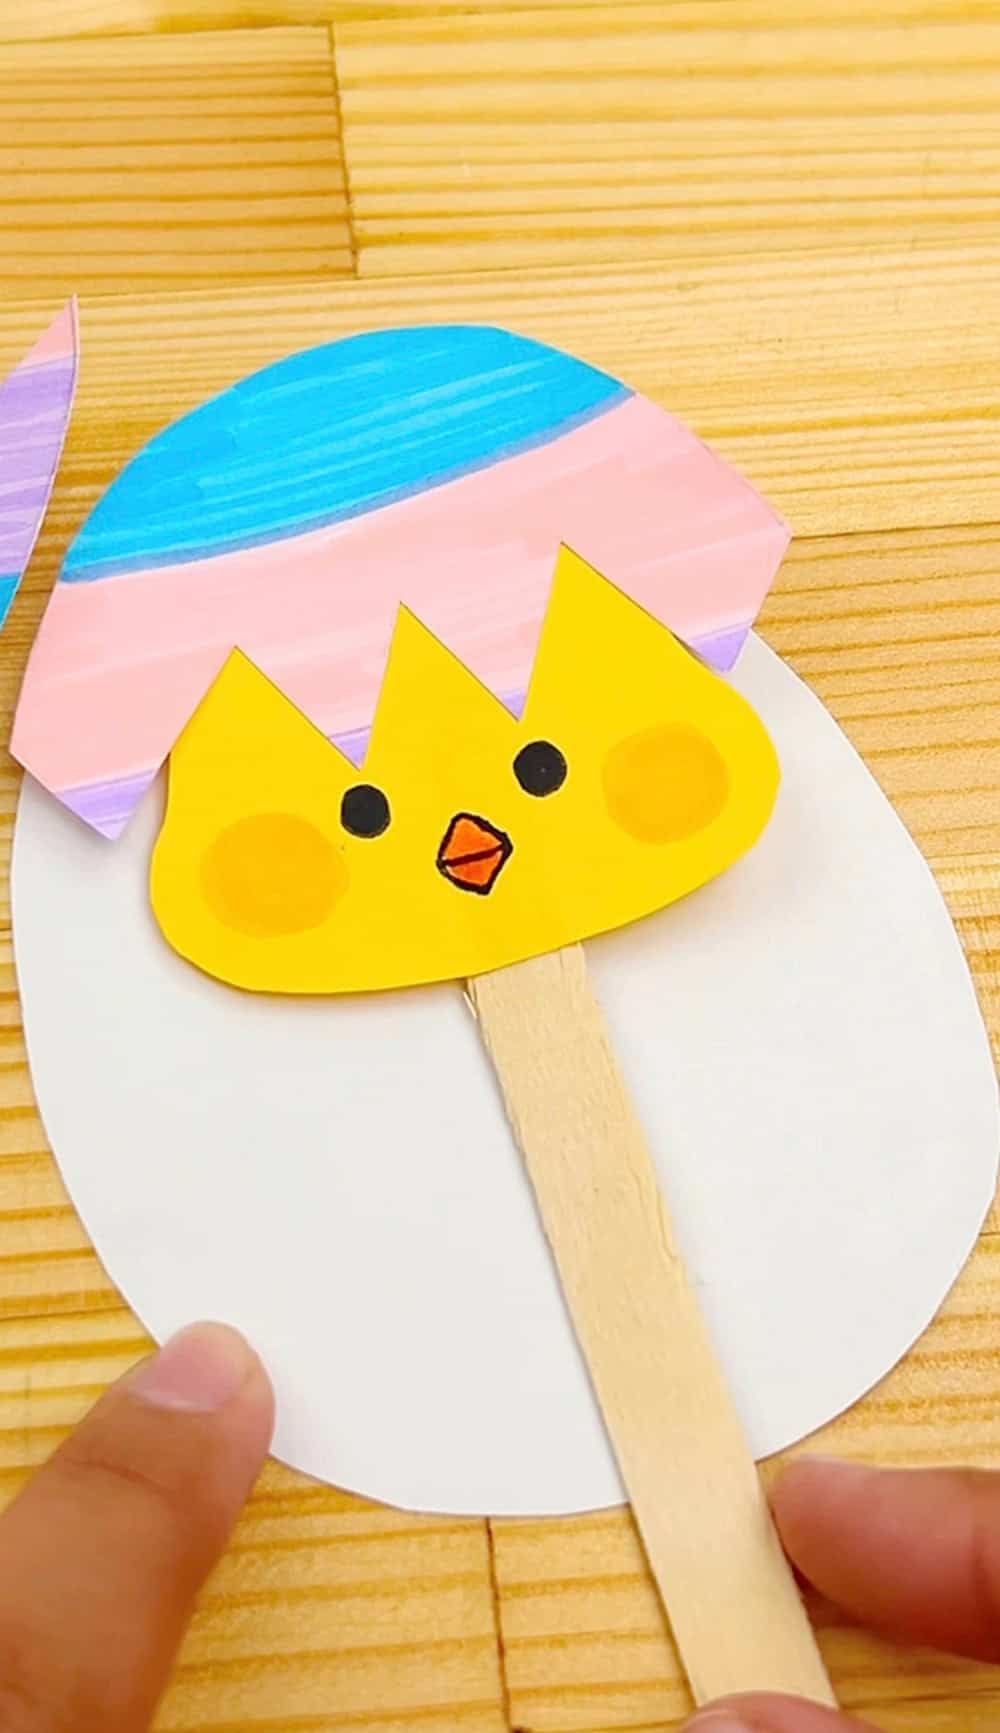
Trace the chick template onto a yellow paper and cut it out.
Draw two black oval eyes, a small orange triangle beak, two orange cheeks.
6. Attach the Popsicle Stick
Glue the chick head to the top of a popsicle stick.
7. Attach the Egg Pieces
Glue the top cracked egg piece to the front of the chick’s head.
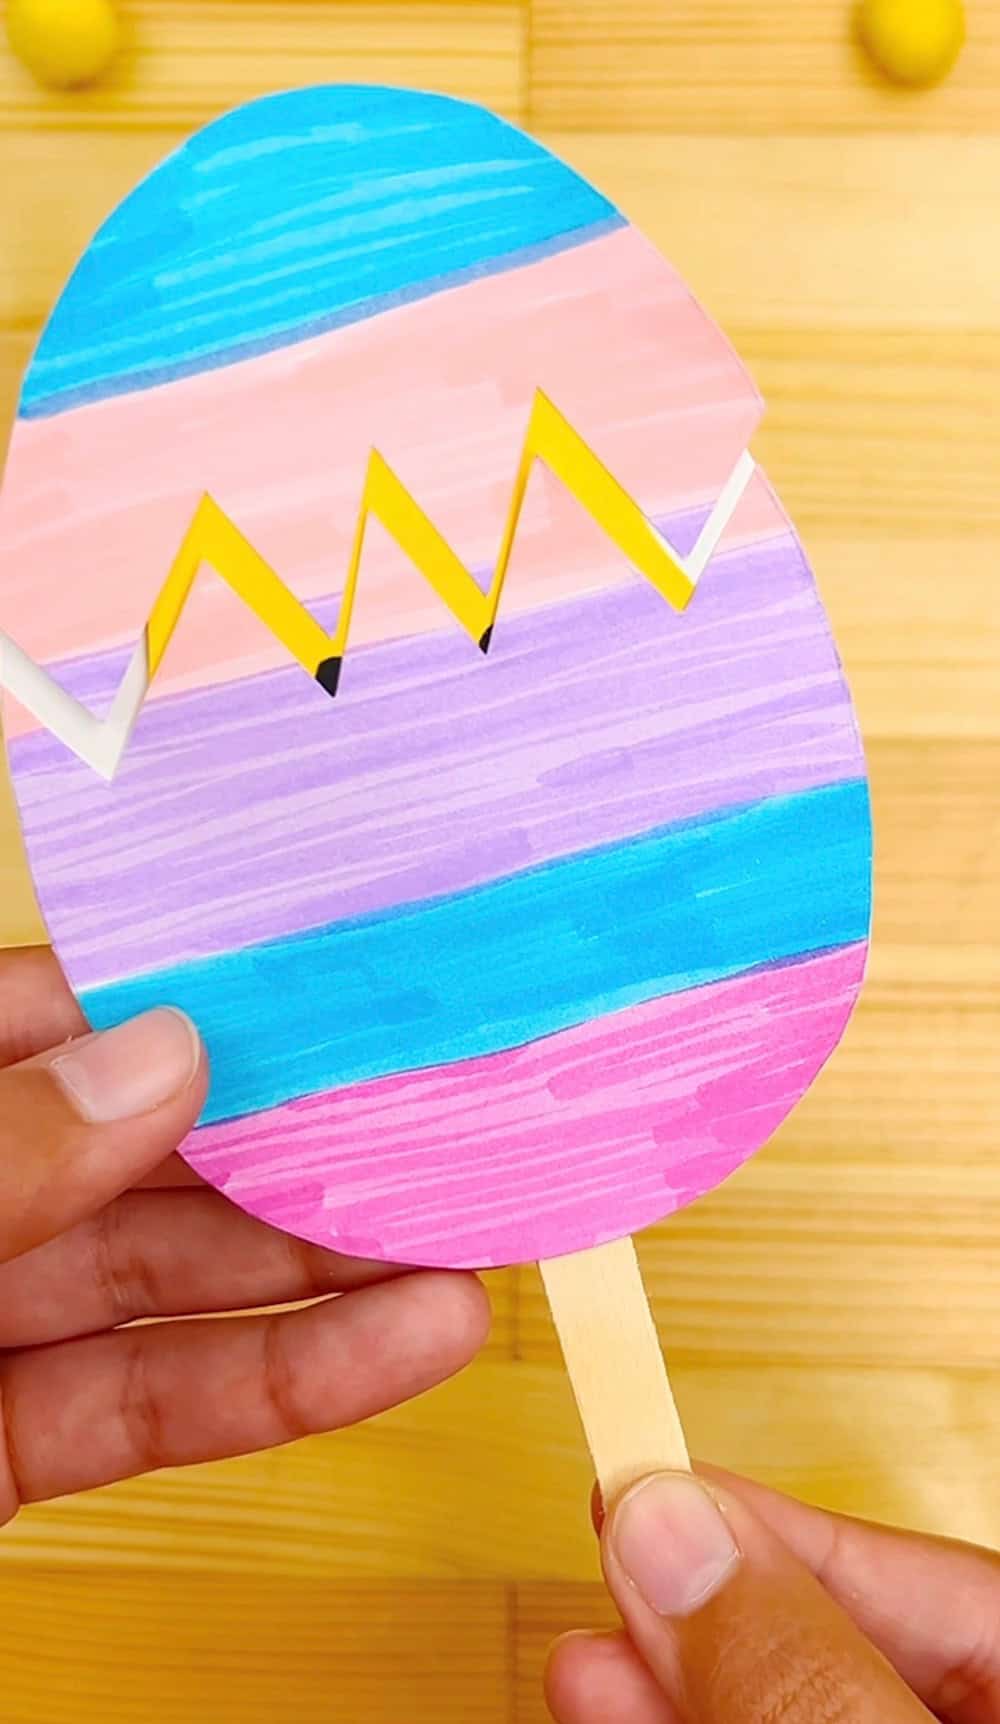
Glue the bottom cracked piece to the lower half of the plain egg, the glue should be applied on the borders only, creating a pocket.
Leave a small opening in the center of the bottom edge for inserting the stick.
8. Assemble
Insert the stick with the chick (with attached top shell) into the pocket from the top extending the stick out through the bottom opening.
How it works
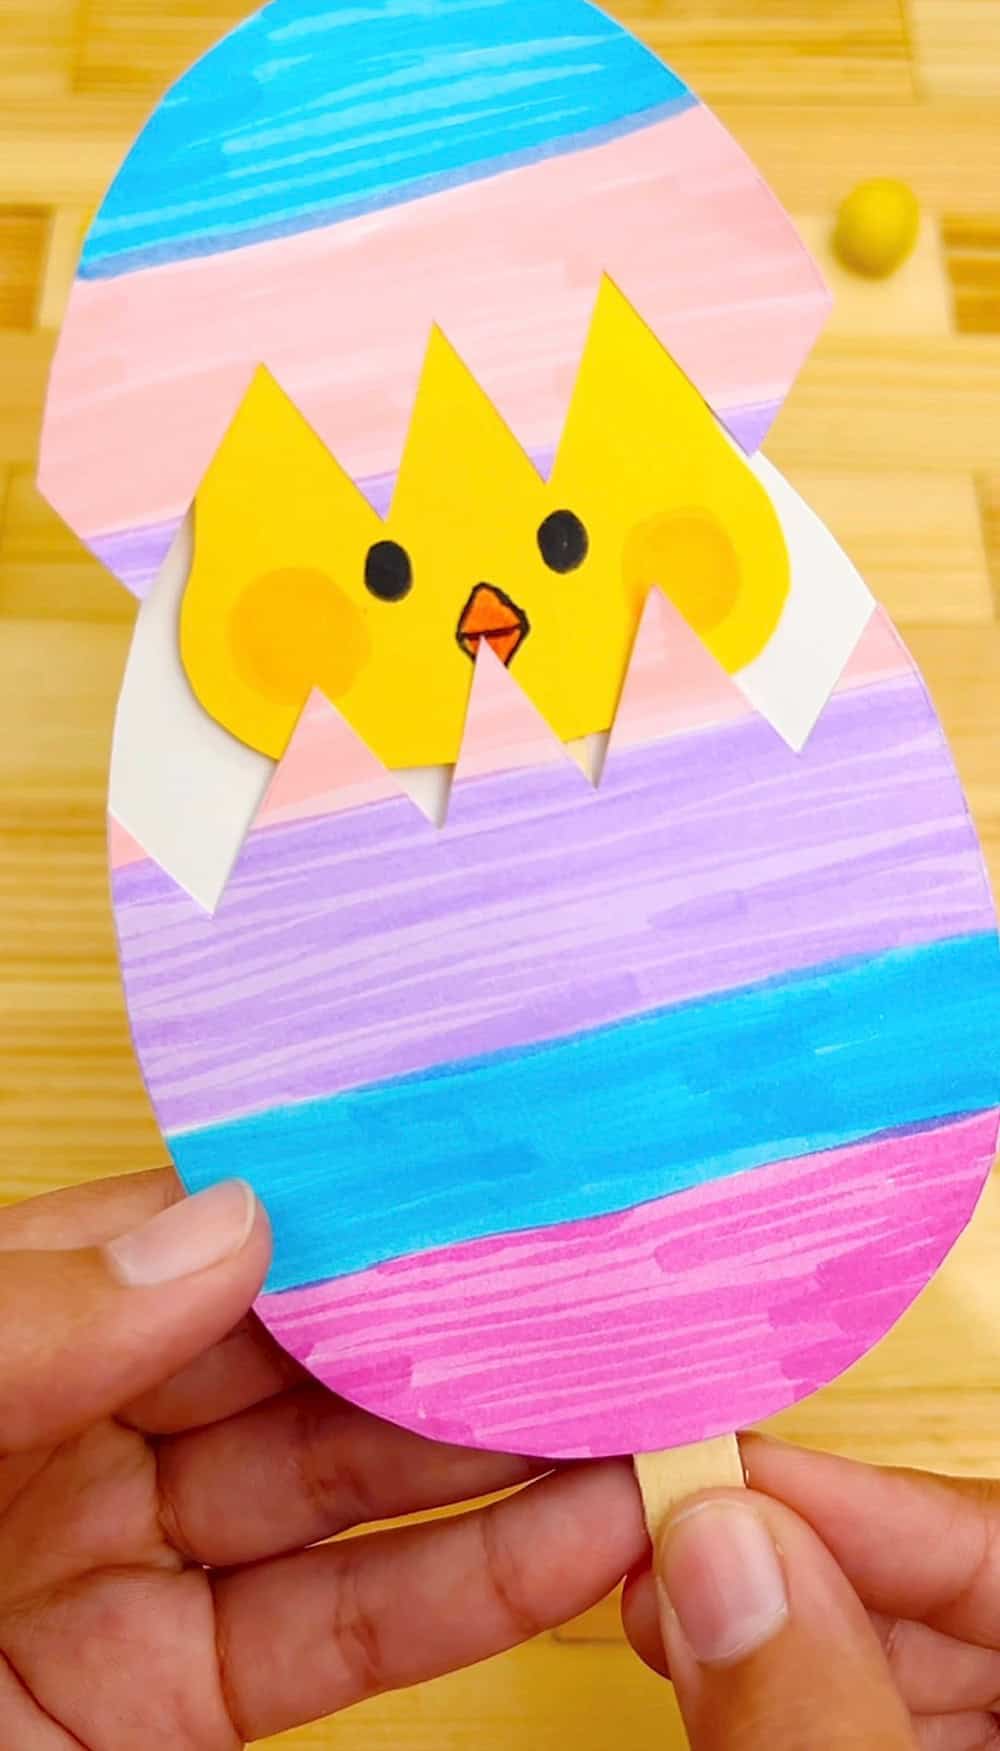
Push the stick up and the chick pops out of the egg.
Pull it down and the chick hides inside.
Slide the stick up and down to watch your little chick hatch over and over again. Have fun playing with your adorable Easter egg surprise!
Grab the FREE paper chick template!
Final thoughts:
This paper egg chick craft is a simple reminder that the most meaningful moments often come from the smallest projects. With just a few materials and a bit of imagination, you can create a joyful and cute Easter craft with your kids!