
Halloween Shaving Cream Art – Spooky Sensory Halloween Craft
By using this site, you agree to our Terms of Use. This post may contain affiliate links. Read our disclosure policy.
Check out my Plaeful Printables for kids play and learning!
Making Halloween Shaving Cream Art with Kids is a fun way to make Halloween art with just paint, shaving cream and our printable template!
Halloween’s around the corner, and it’s more than just costumes and candy. Why not get a bit messy and have fun with some shaving cream art? It’s a simple and fun project the kids will love. My kids LOVE this sensory art and we’ve done it many times with some seasonal themes like Valentine’s Day shaving cream.
This Halloween art is made even simpler with our printable template. Let’s dive in and make some spooky art!
Get the printable Jack O’ Lantern template
Get the printable Jack O’ Lantern template
Halloween Shaving Cream Art – Materials:
- Shaving cream
- Acrylic or washable paints (we used black and orange but you can use any colors)
- Toothpicks or small sticks for swirling colors
- White cardstock, watercolor paper, or any other type of sturdy paper
- A shallow tray or dish
- Squeegee or sturdy piece of cardboard (for scraping off excess shaving cream)
- Newspaper or paint dropcloth (for a mess-free workspace)
- Our printable pumpkin art
Get the printable Jack O’ Lantern template
INSTRUCTIONS
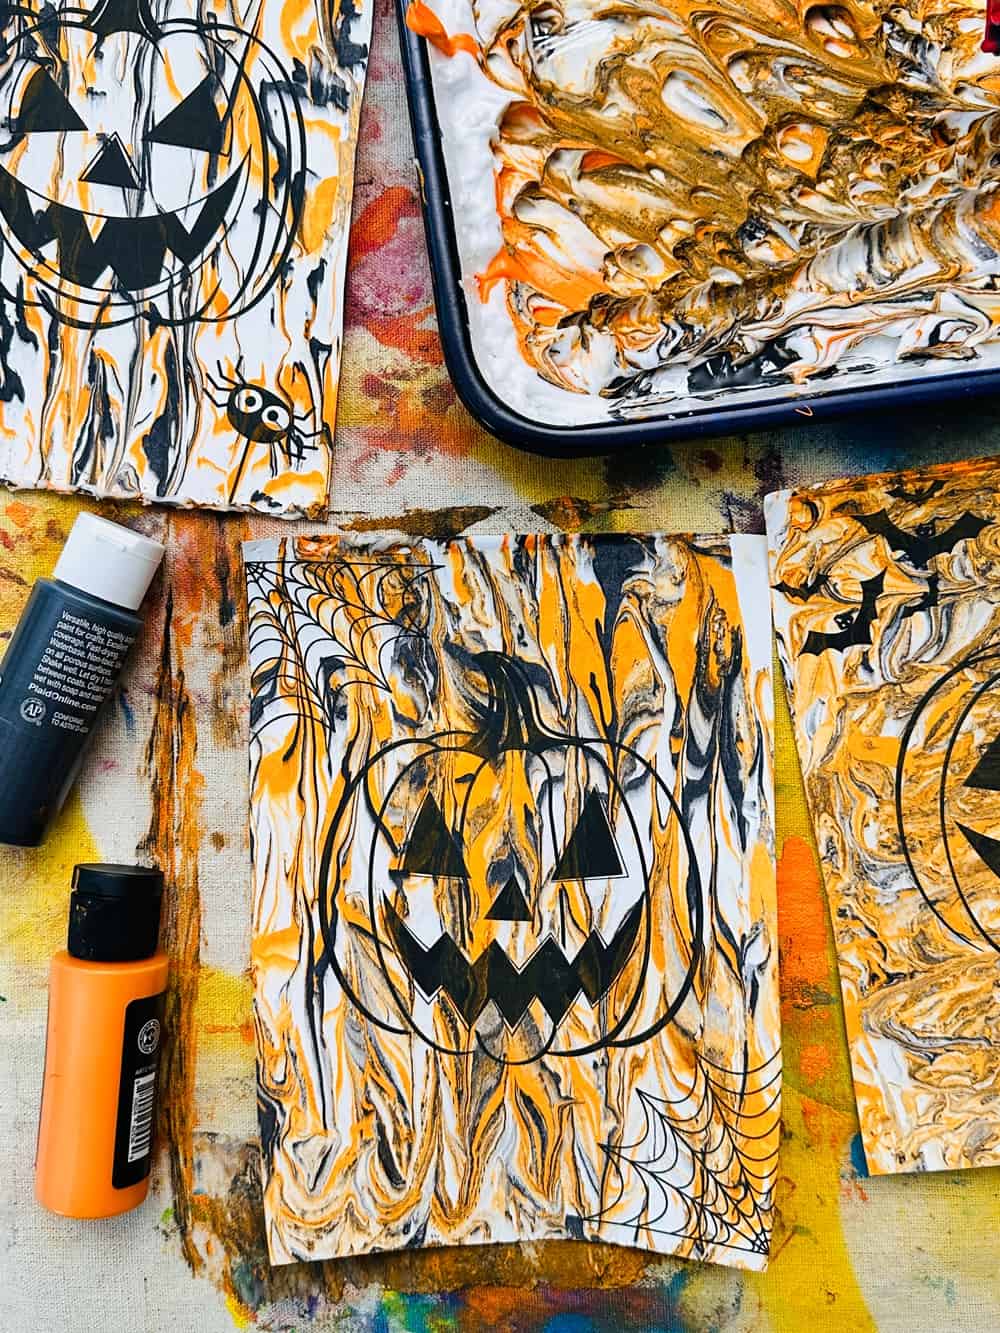
1. You will need our prinables, acrylic or washable paints (we used orange and black), shaving cream, a squeegee or something to scrape your art (a piece of cardboard works too!), a shallow pan and a paint dropcloth, or newspaper to keep your art area clean.
2. ‘Print out the templates. Cut them to size depending on how large your shaving cream pan will be.
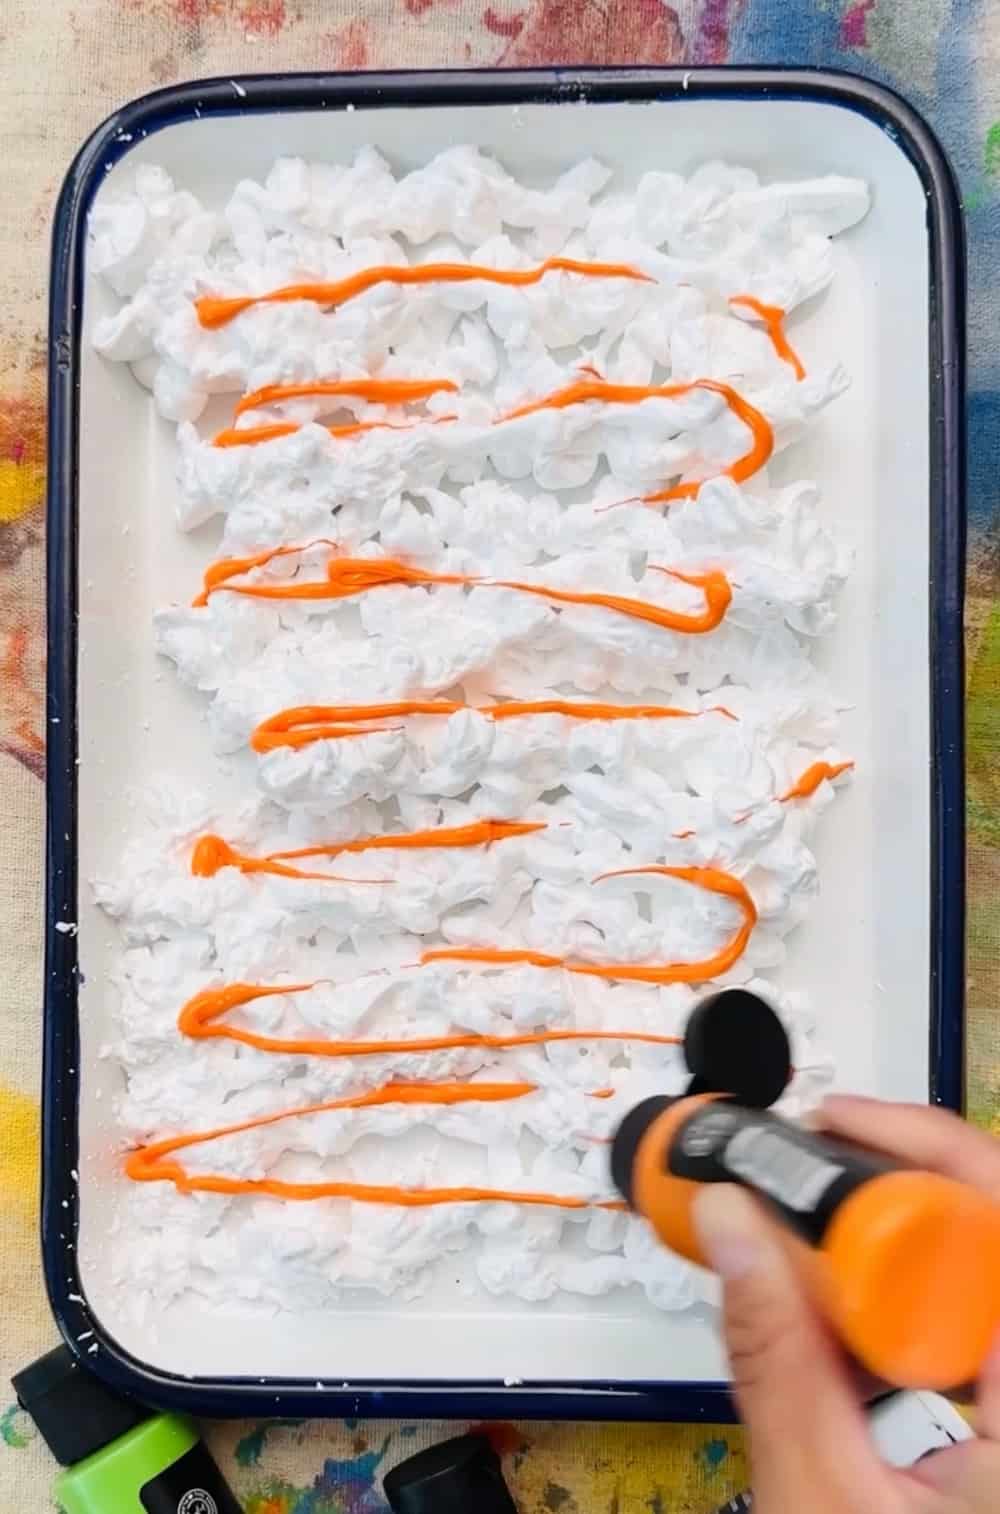
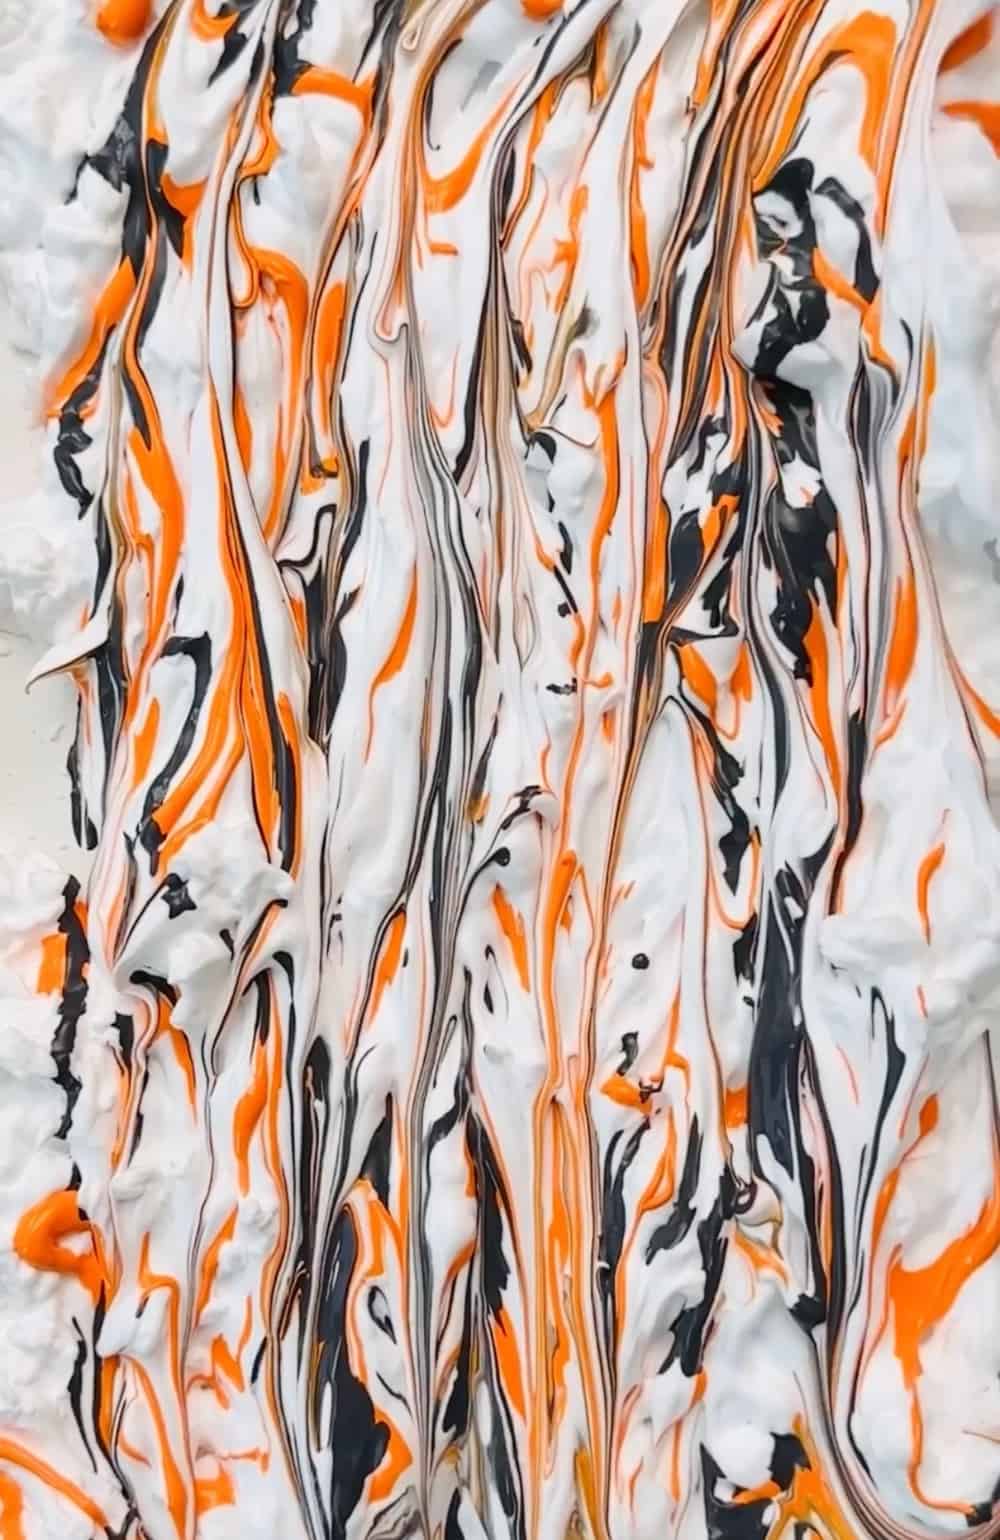
3. Add a layer of shaving cream to your shallow pan.
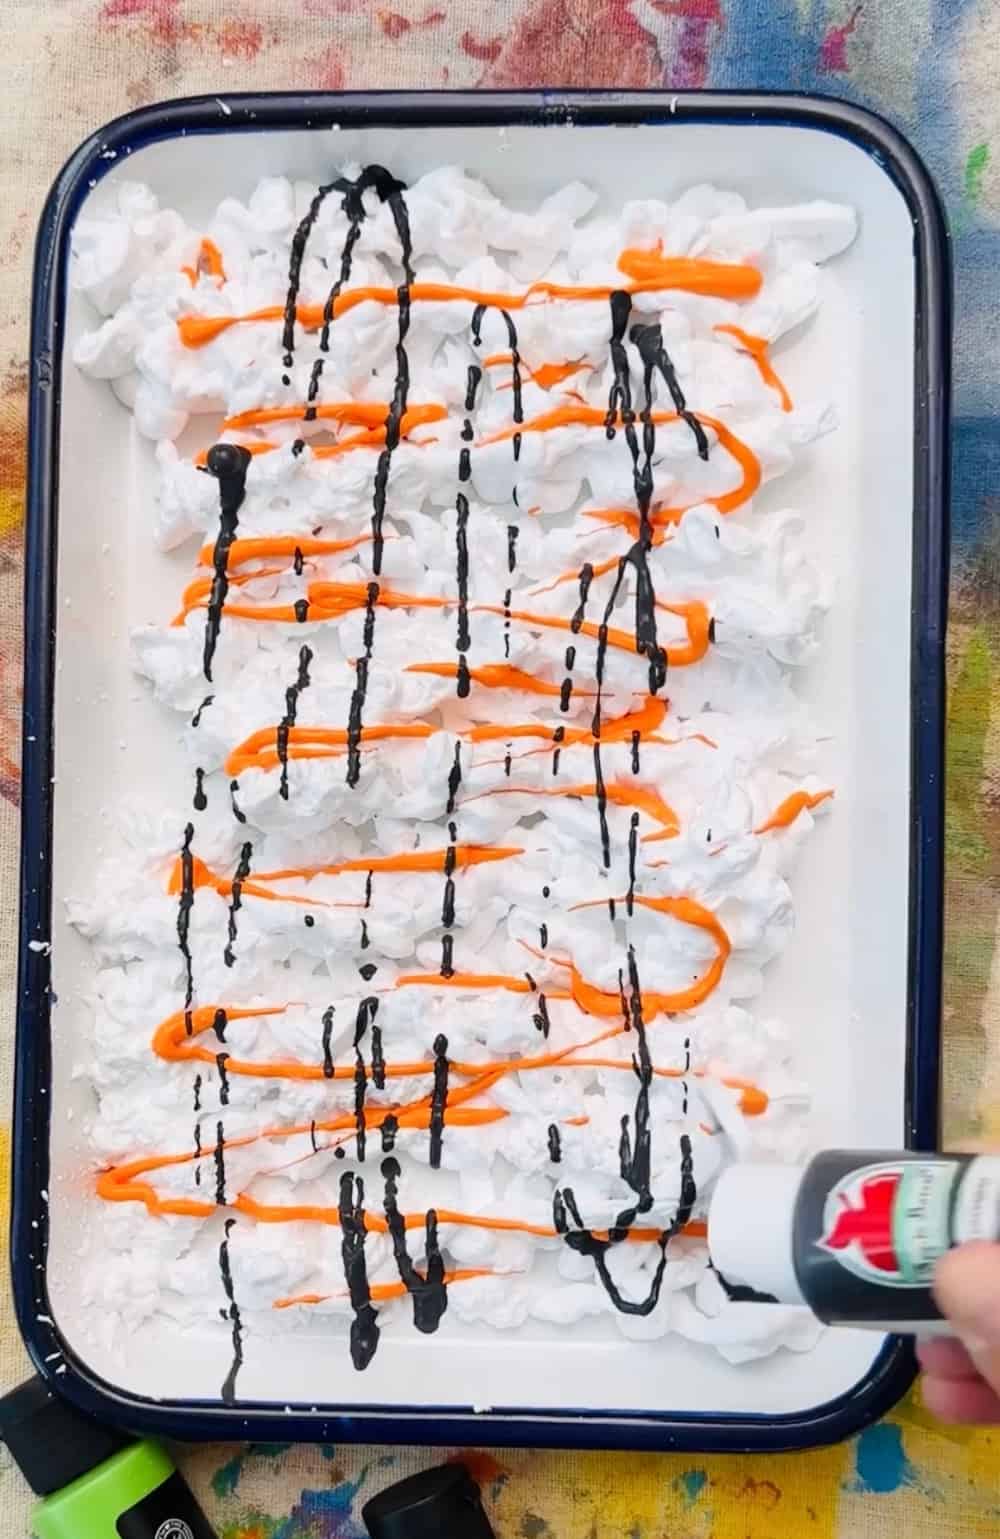
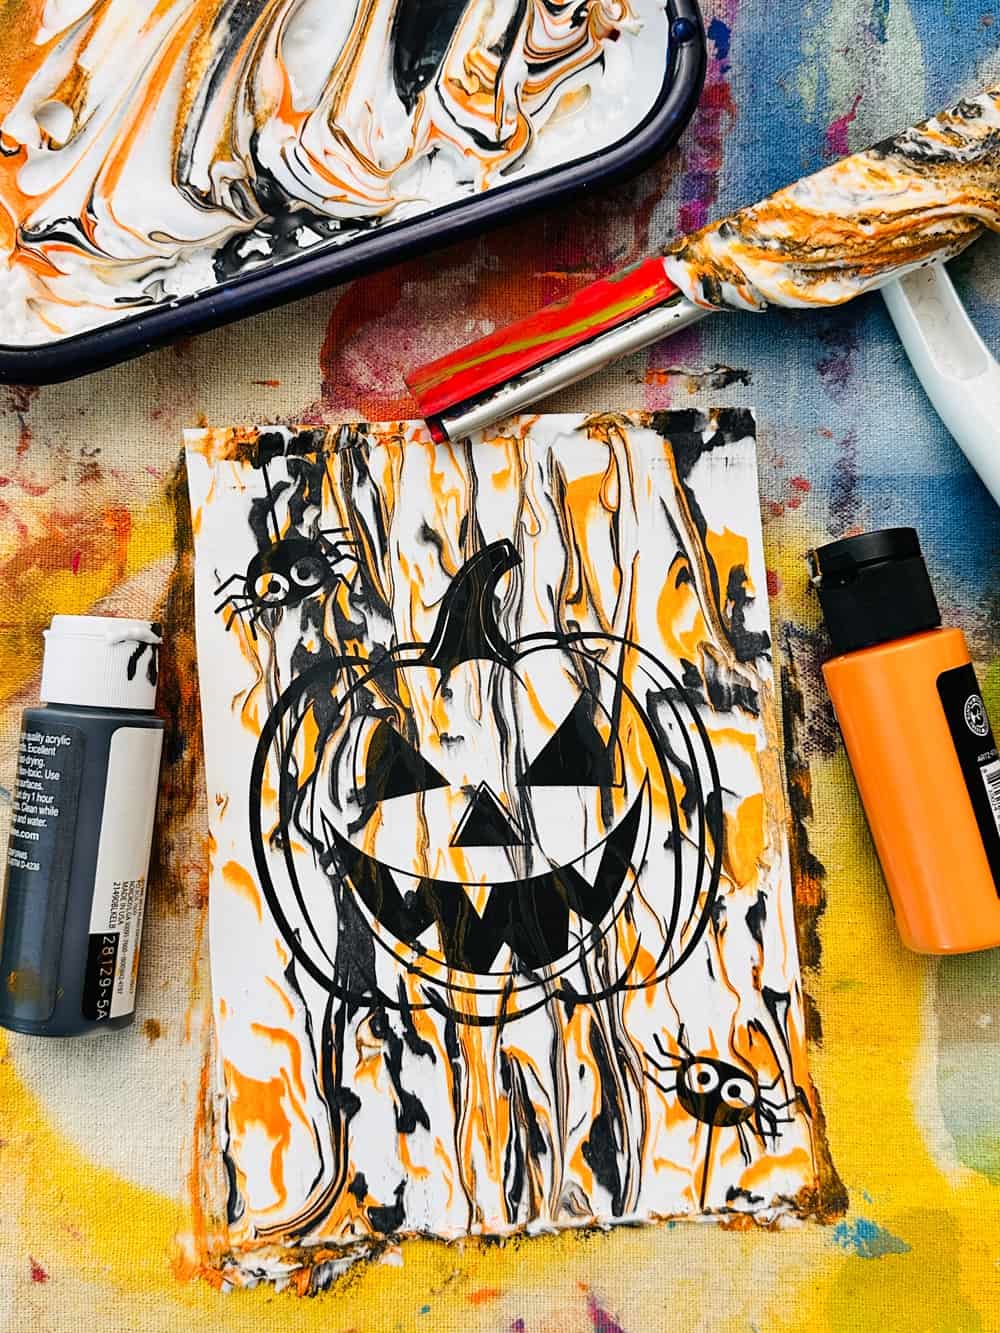
4. Drizzle orange paint, followed by black paint (you can use any colors you choose this is just the combination we used).
5. You can use a skewer or chopstick to spread the paint around.
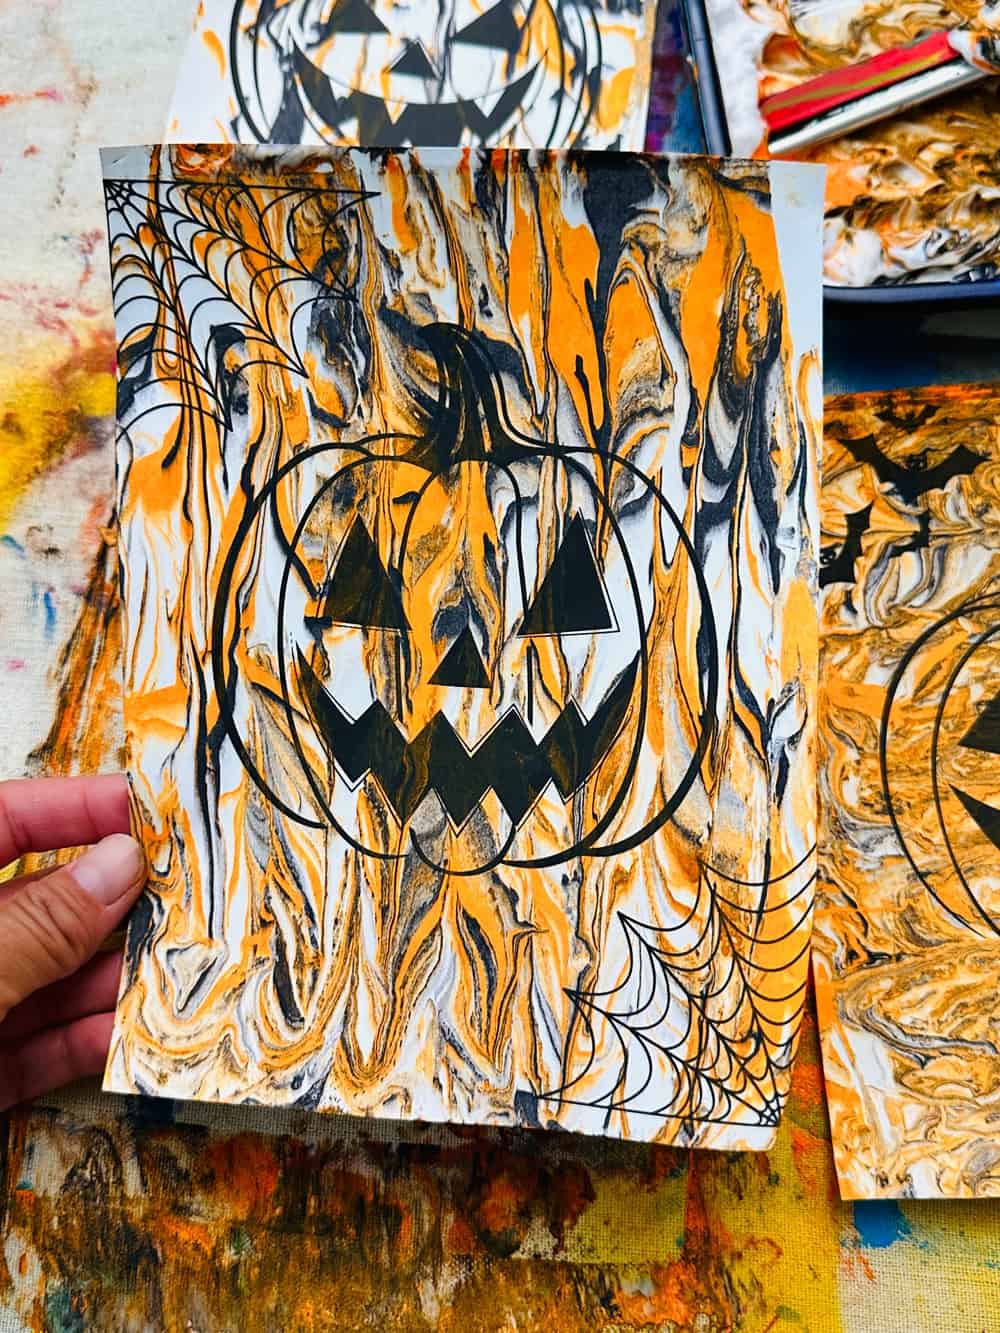
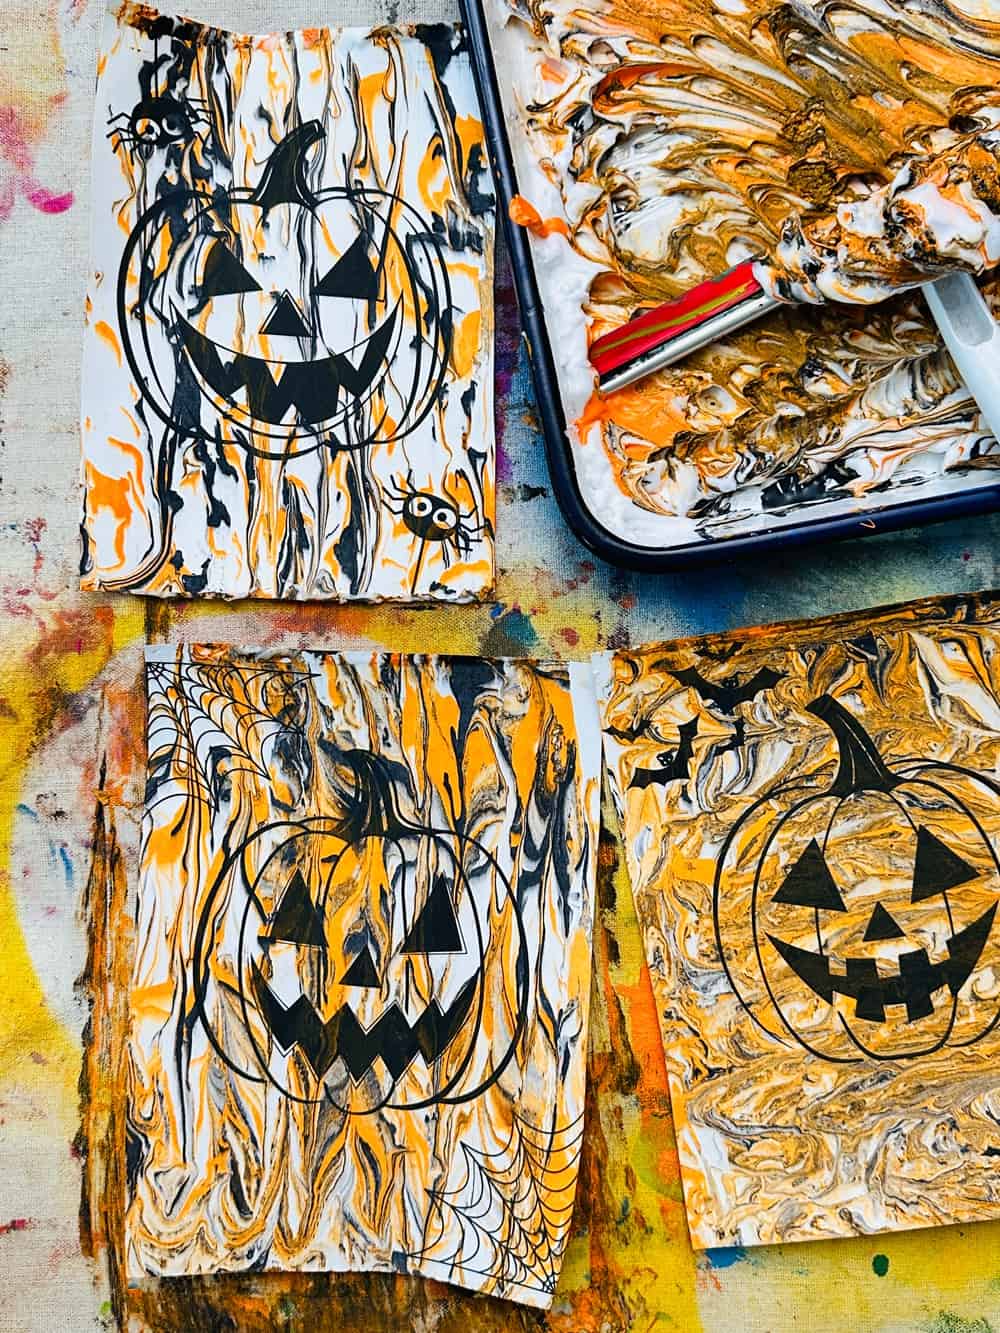
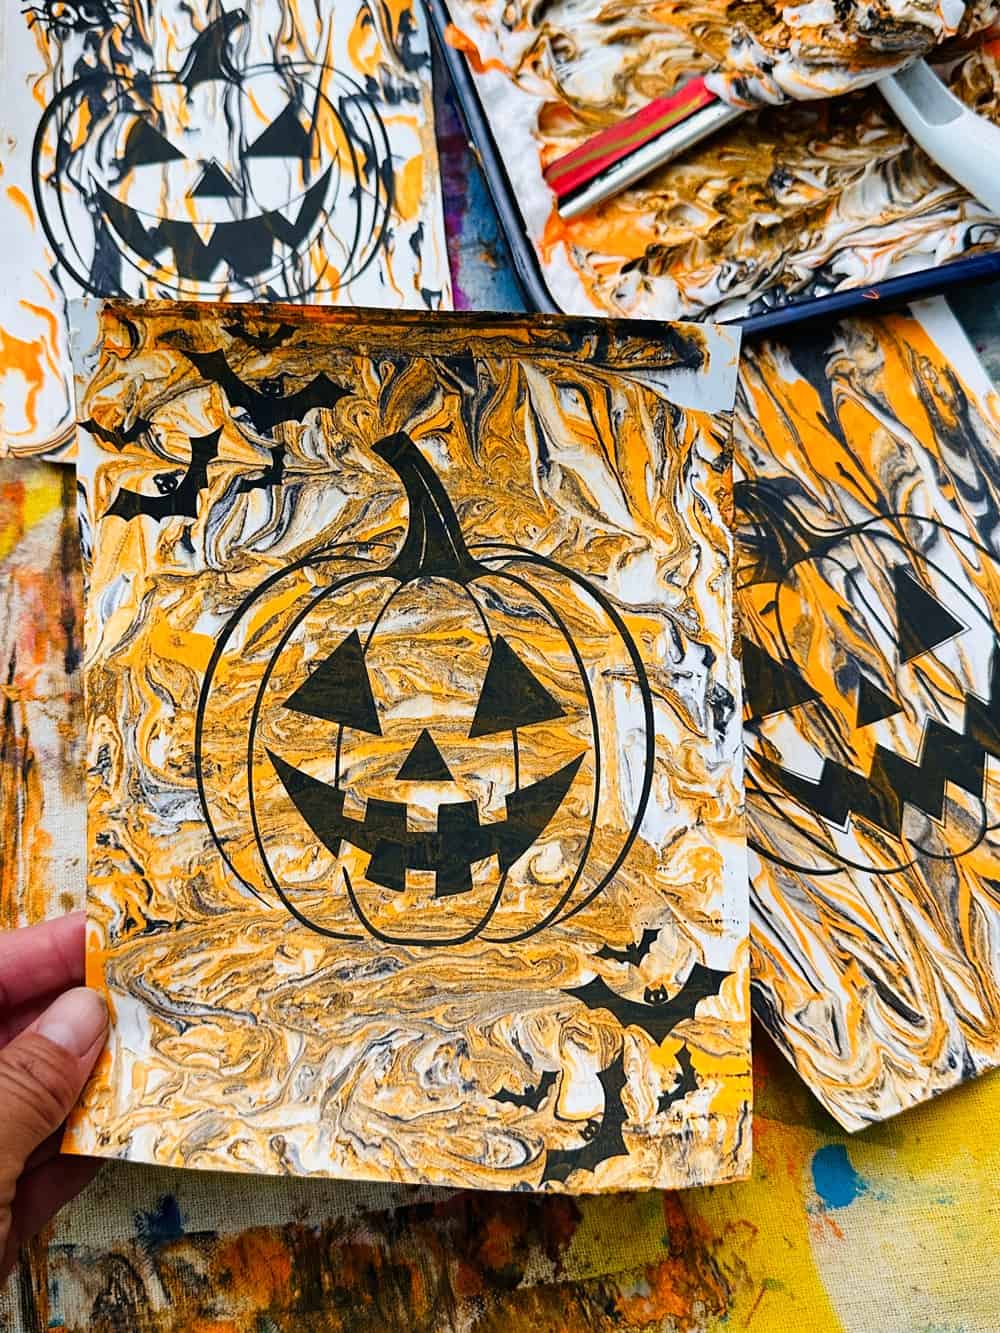
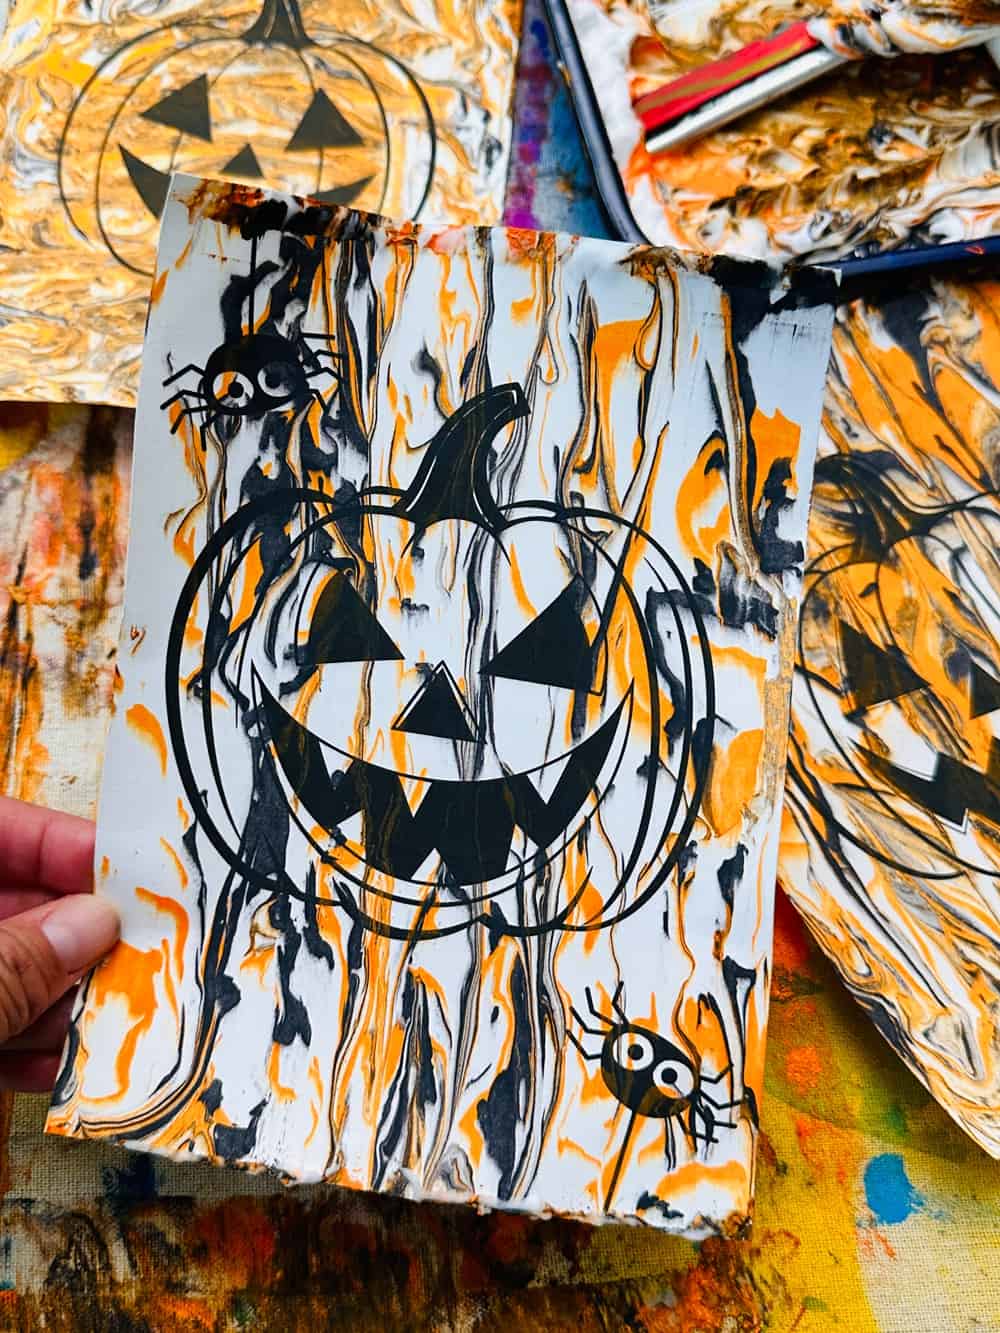
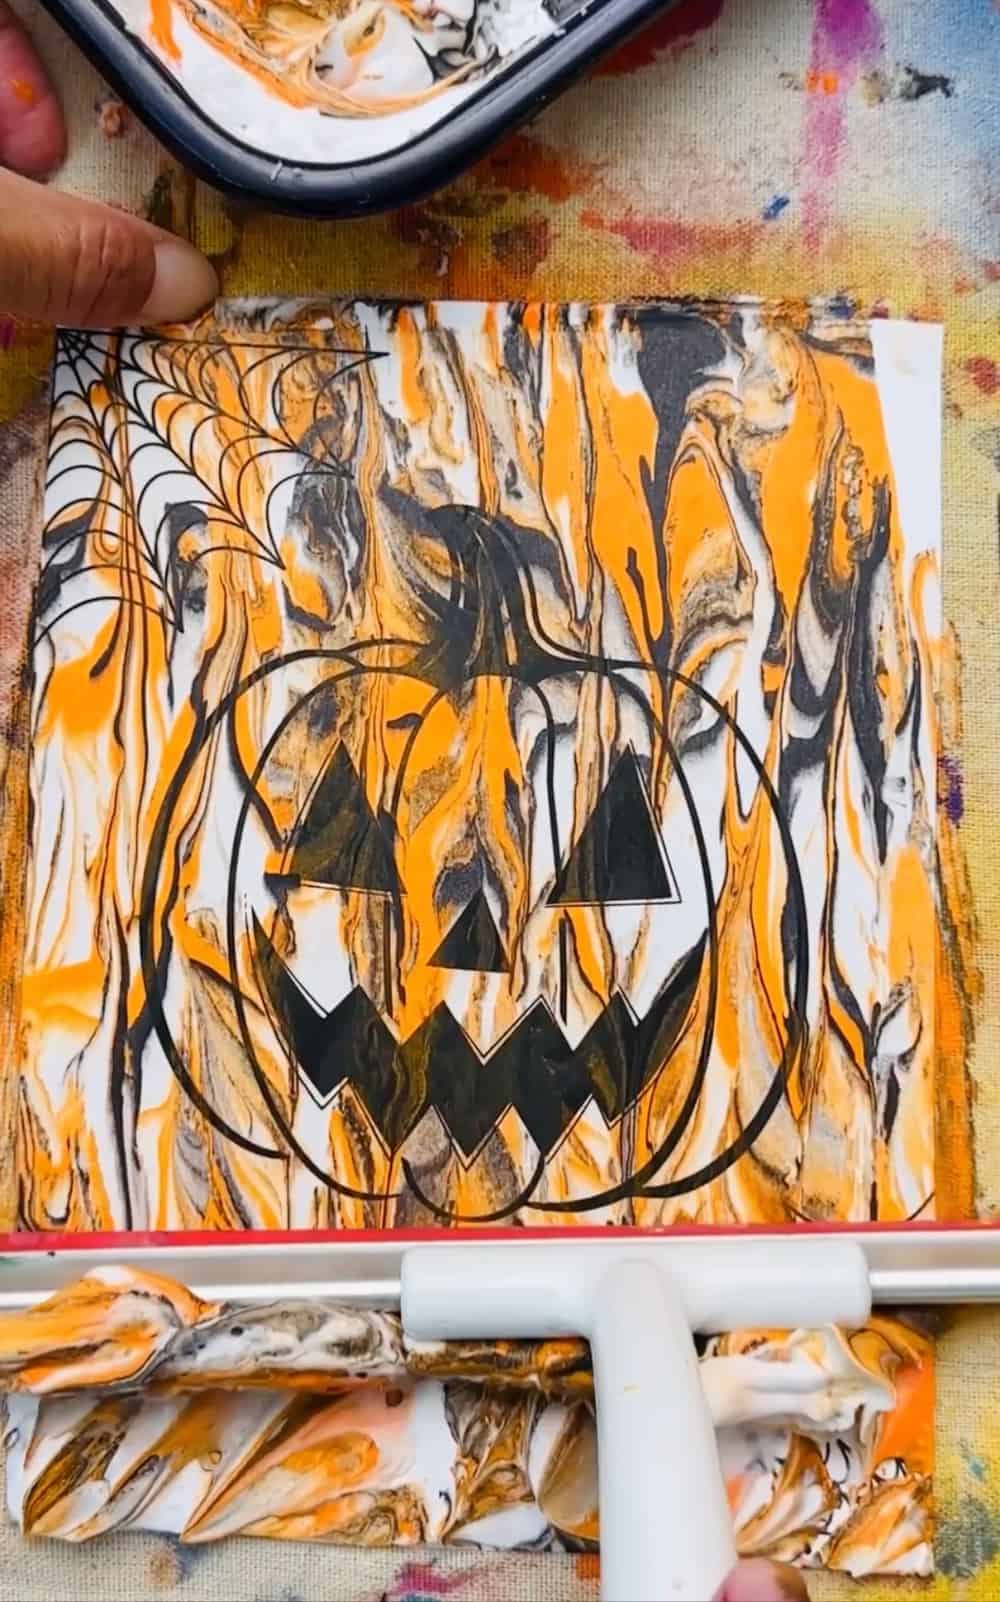
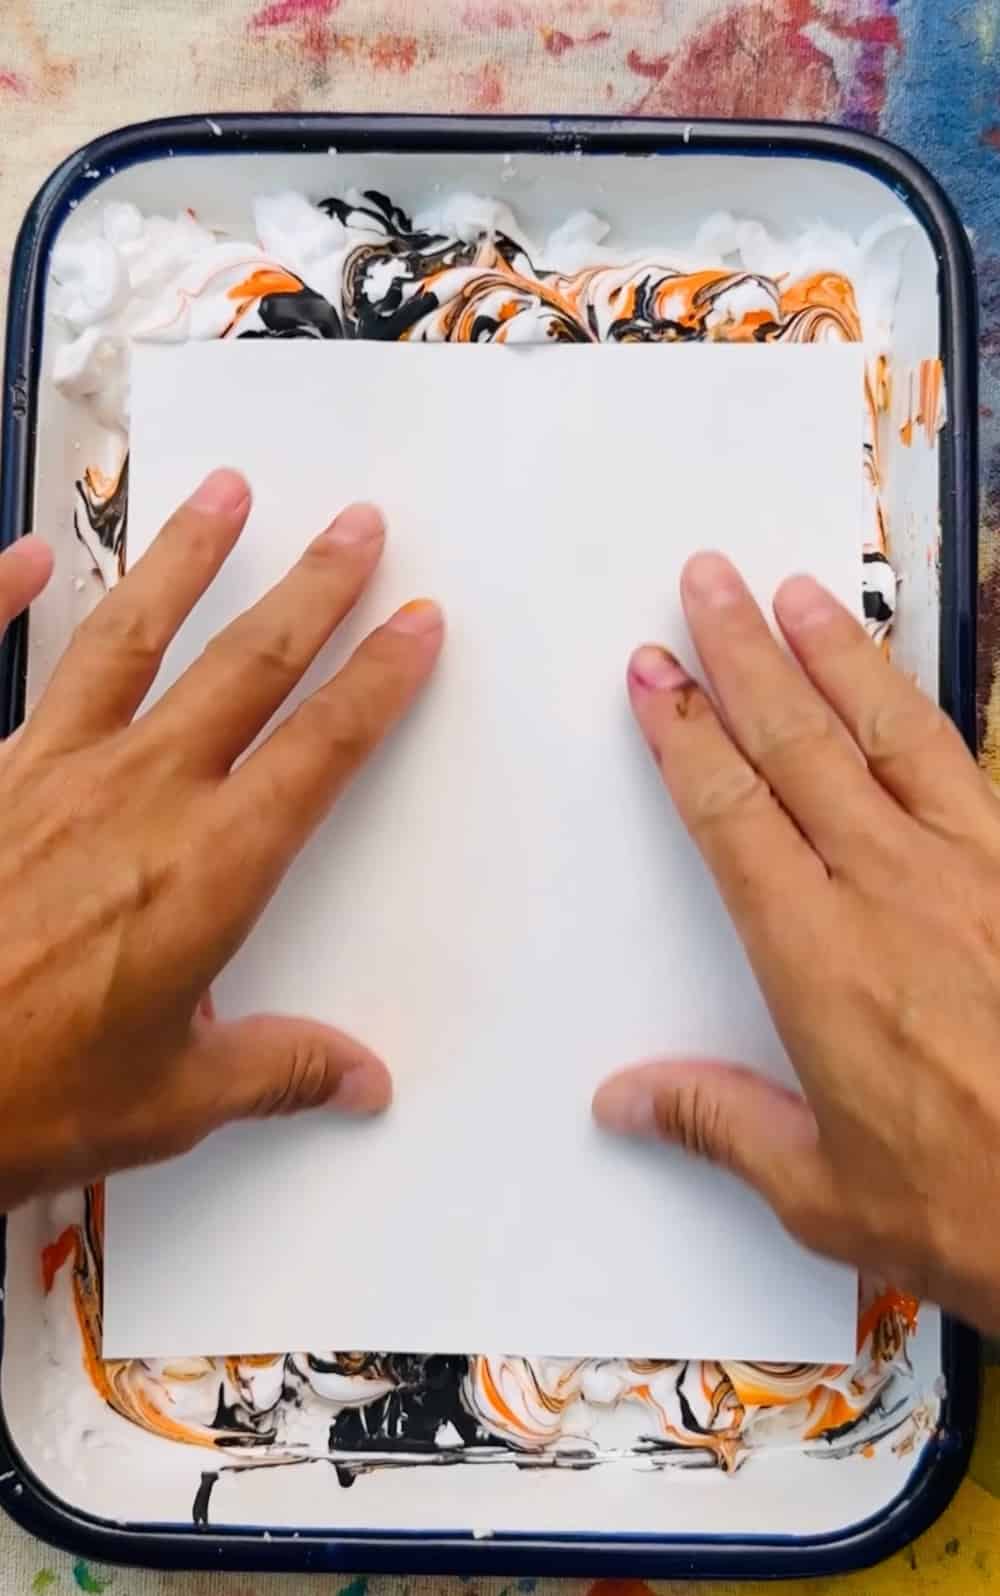
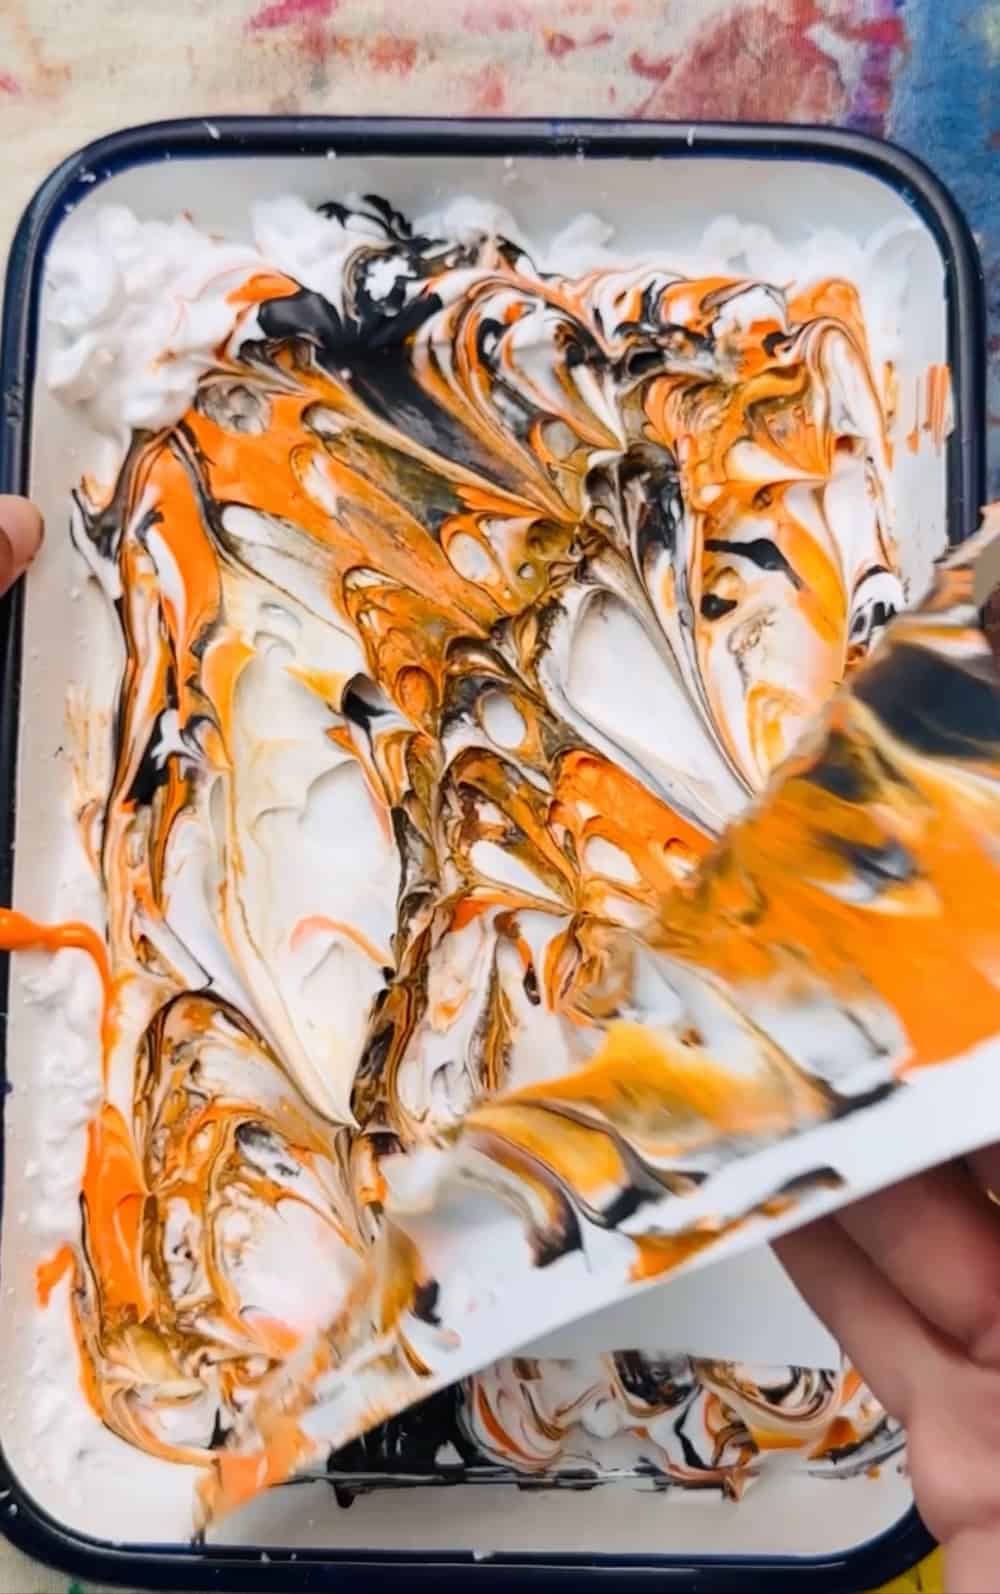
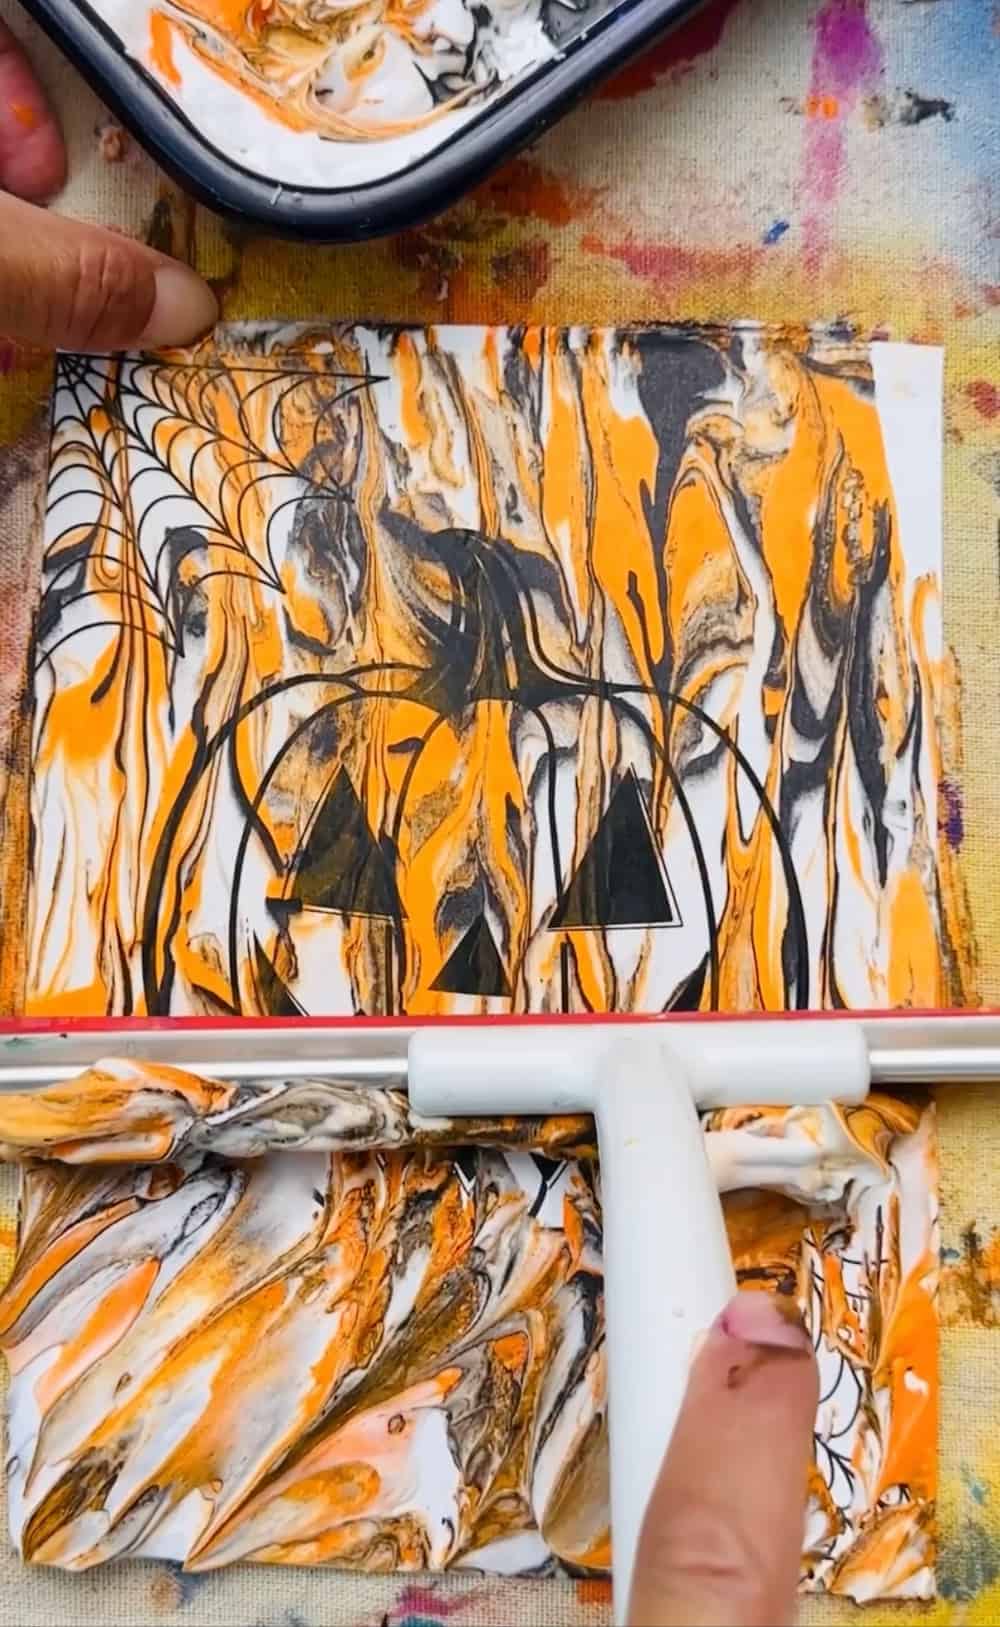
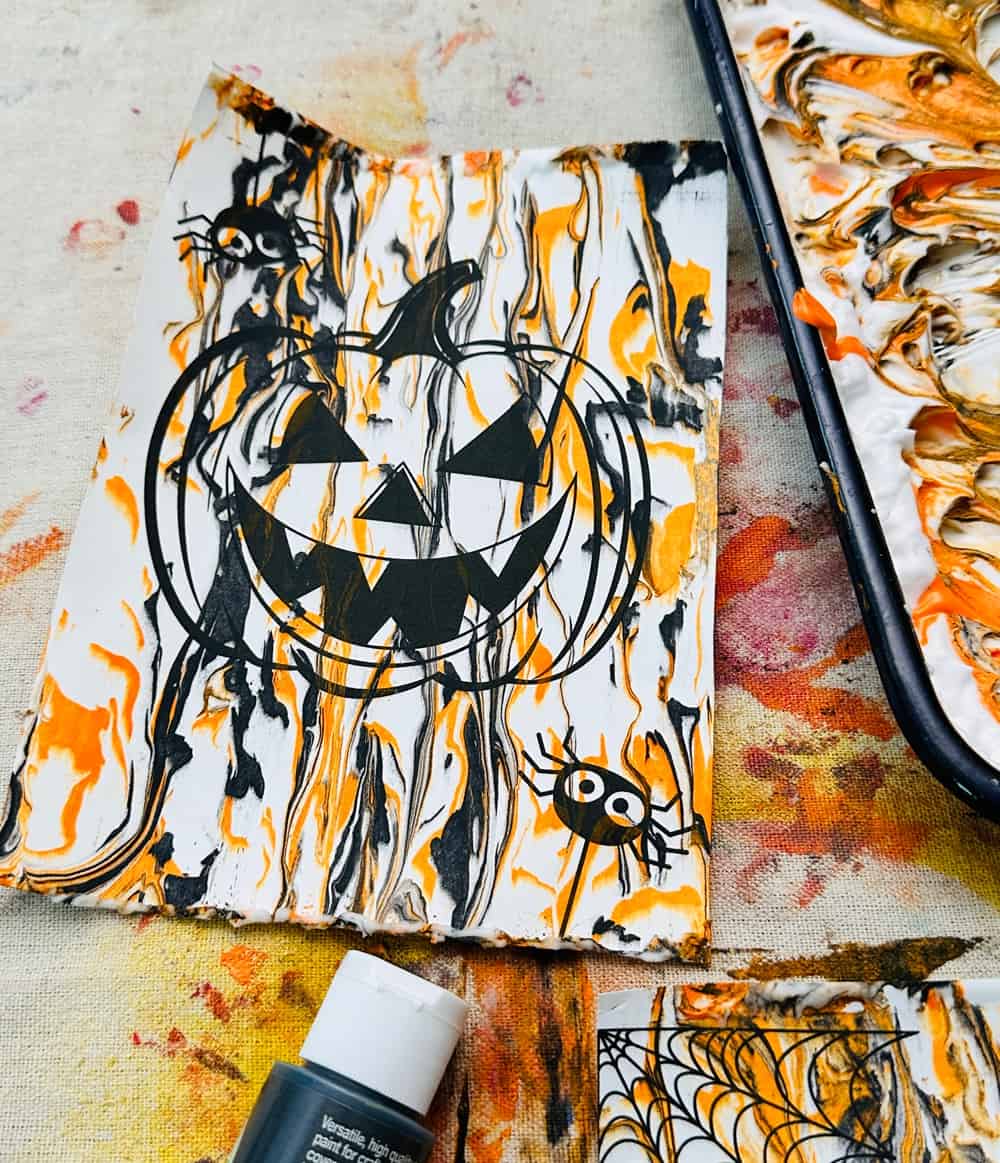
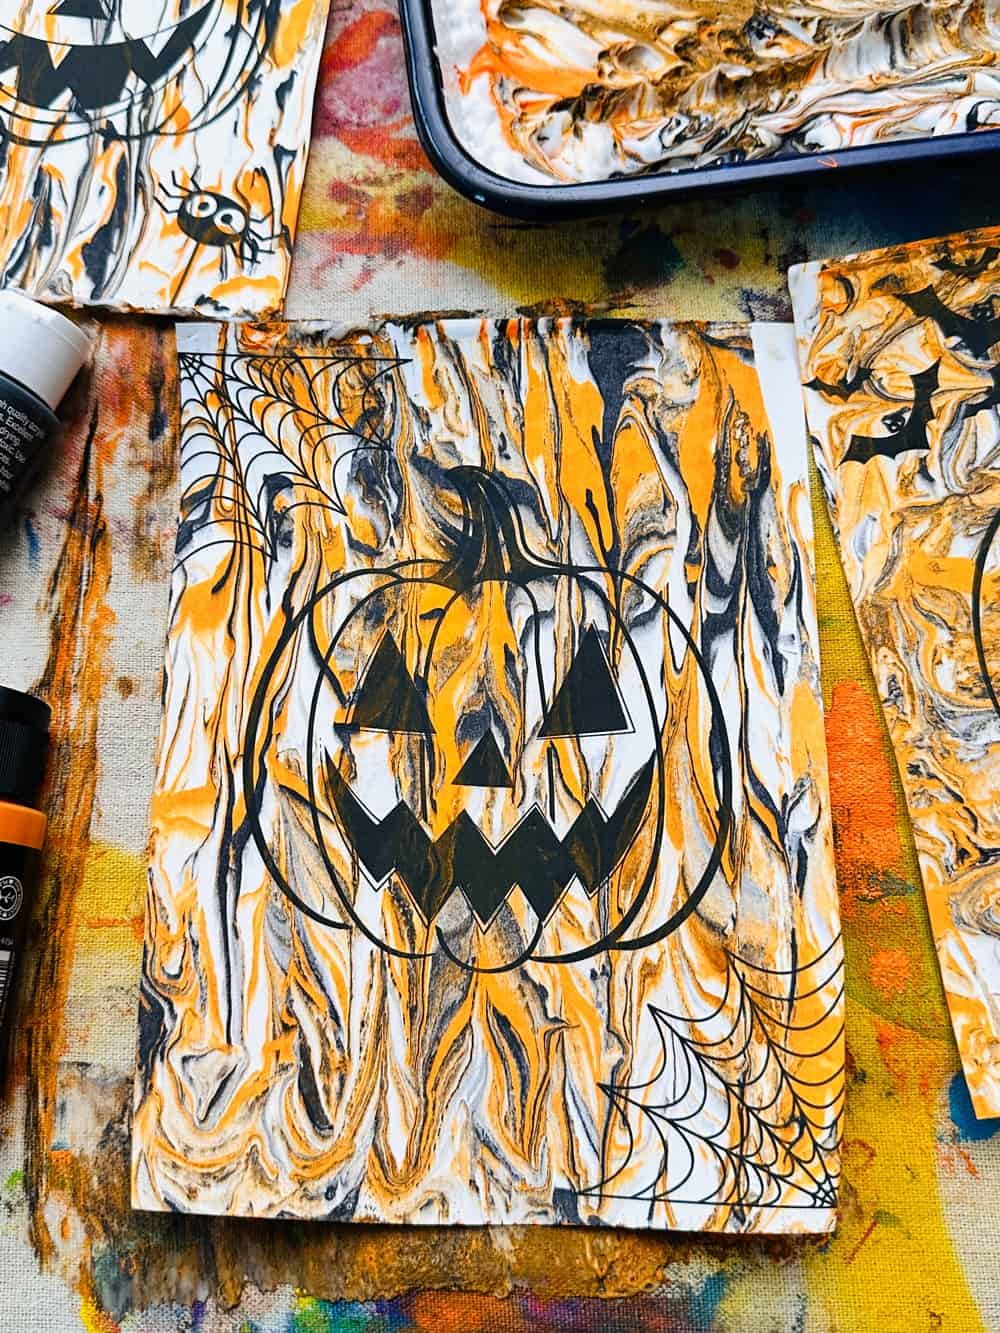
6. Carefully lay your print with the pumpkin face down. Gently press to adhere the paint and shaving cream. 7. Lift off your print and scrape off the shaving cream with your squeegee to reveal your marbled shaving cream art!
Get the printable Jack O’ Lantern template


Ideas For Your Shaving Cream Halloween Art
- Halloween Cards: Trim the artwork to make spooky Halloween greeting cards.
- Framed Art: Frame your favorites and use them as seasonal decor.
- Garland: Punch holes in the top corners and string them up as a festive Halloween garland.
- Gift Wrap: Use the larger pieces as unique gift wraps for Halloween treats.
- Halloween Bookmarks: Cut the art into thin strips to make spooky bookmarks. Cover with clear packing tape or laminate to preserve.
Get the printable Jack O’ Lantern template

Get the printable Jack O’ Lantern template
Conclusion:
Halloween shaving cream art is not only an excellent way for kids to unleash their creativity but also a unique opportunity to make a fun sensory art project! It’s a project that’s as much about the process as it is about the final result. These spooky cute marbled Jack O’Lanterns make fun cards and Halloween decor to dispay to get your little pumpkins excited for the season.
Halloween Shaving Cream Art - Spooky Sensory Halloween Craft

Making Halloween Shaving Cream Art with Kids is a fun way to make Halloween art with just paint, shaving cream and our printable template!
Materials
- Shaving cream
- Acrylic or washable paints (we used black and orange but you can use any colors)
- Toothpicks or small sticks for swirling colors
- White cardstock, watercolor paper, or any other type of sturdy paper
- A shallow tray or dish
- Squeegee or sturdy piece of cardboard (for scraping off excess shaving cream)
- Newspaper or paint dropcloth (for a mess-free workspace)
- Our printable pumpkin art
Instructions
1. You will need our prinables, acrylic or washable paints (we used orange and black), shaving cream, a squeegee or something to scrape your art (a piece of cardboard works too!), a shallow pan and a paint dropcloth, or newspaper to keep your art area clean.
2. 'Print out the templates. Cut them to size depending on how large your shaving cream pan will be.
3. Add a layer of shaving cream to your shallow pan.
4. Drizzle orange paint, followed by black paint (you can use any colors you choose this is just the combination we used).
5. You can use a skewer or chopstick to spread the paint around.
6. Carefully lay your print with the pumpkin face down. Gently press to adhere the paint and shaving cream. 7. Lift off your print and scrape off the shaving cream with your squeegee to reveal your marbled shaving cream art!


