

By using this site, you agree to our Terms of Use. This post may contain affiliate links. Read our disclosure policy.
Check out my Plaeful Printables for kids play and learning!
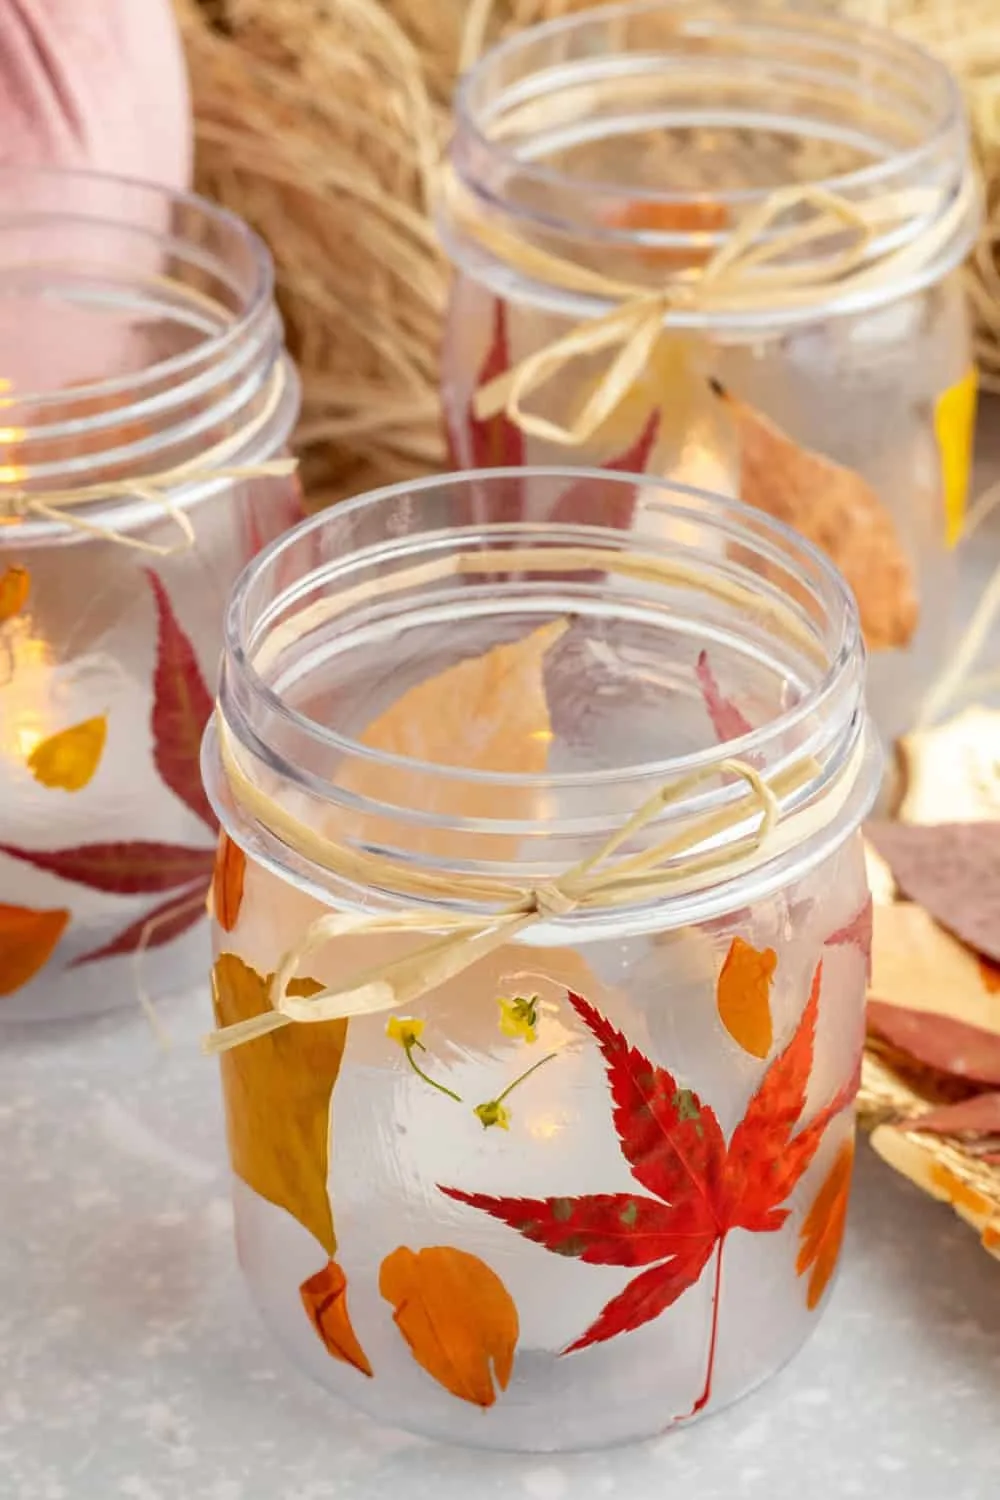
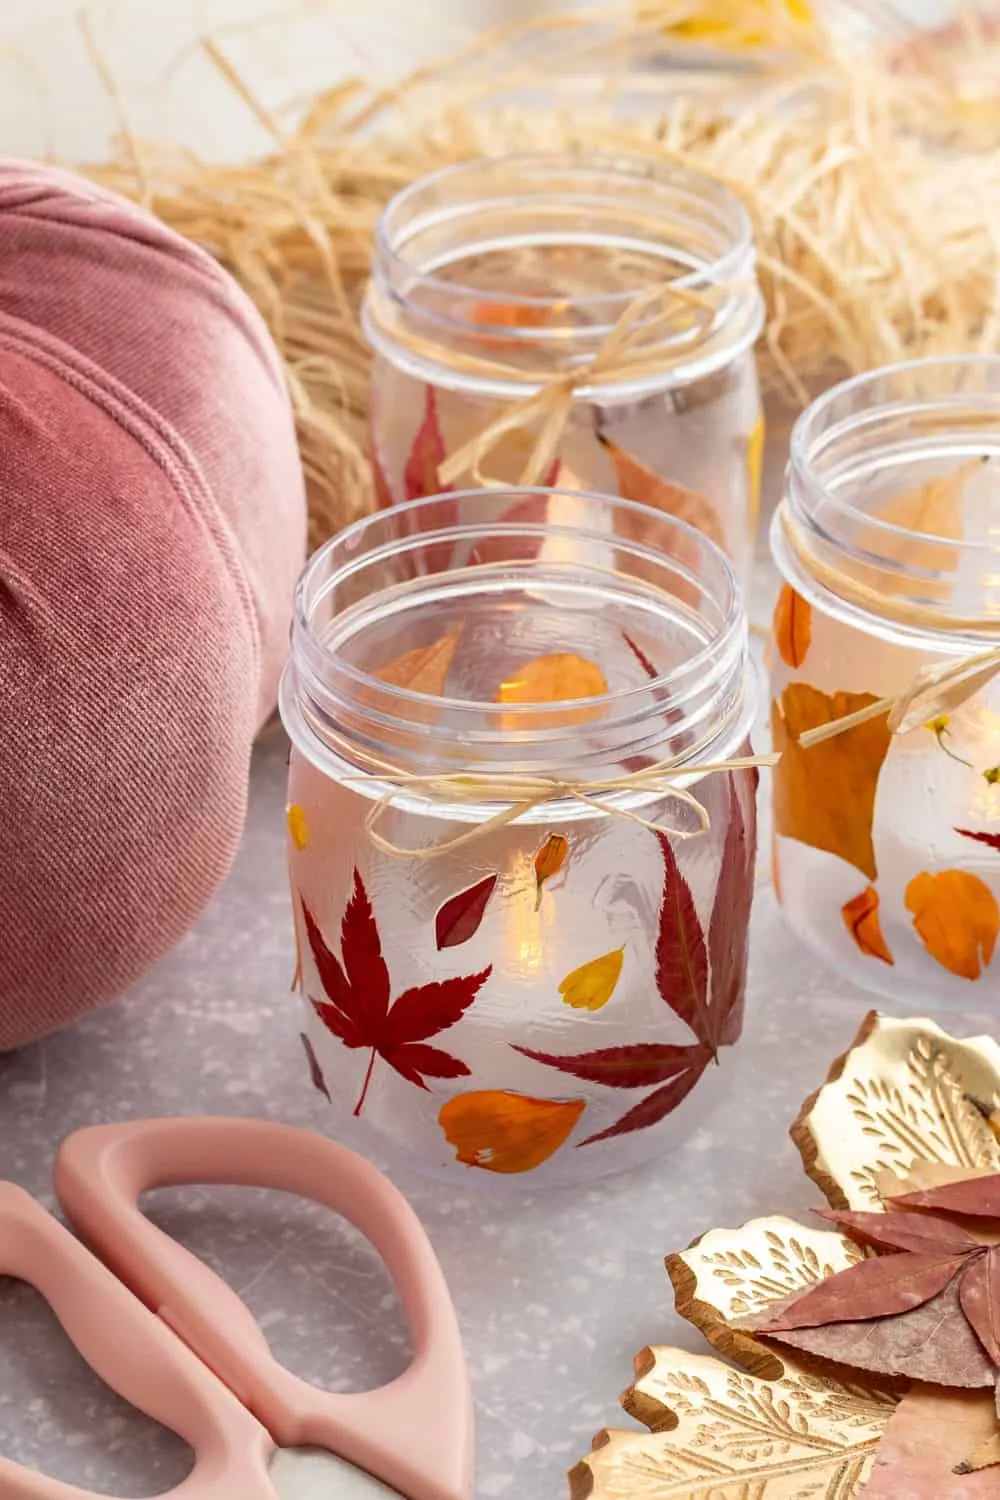
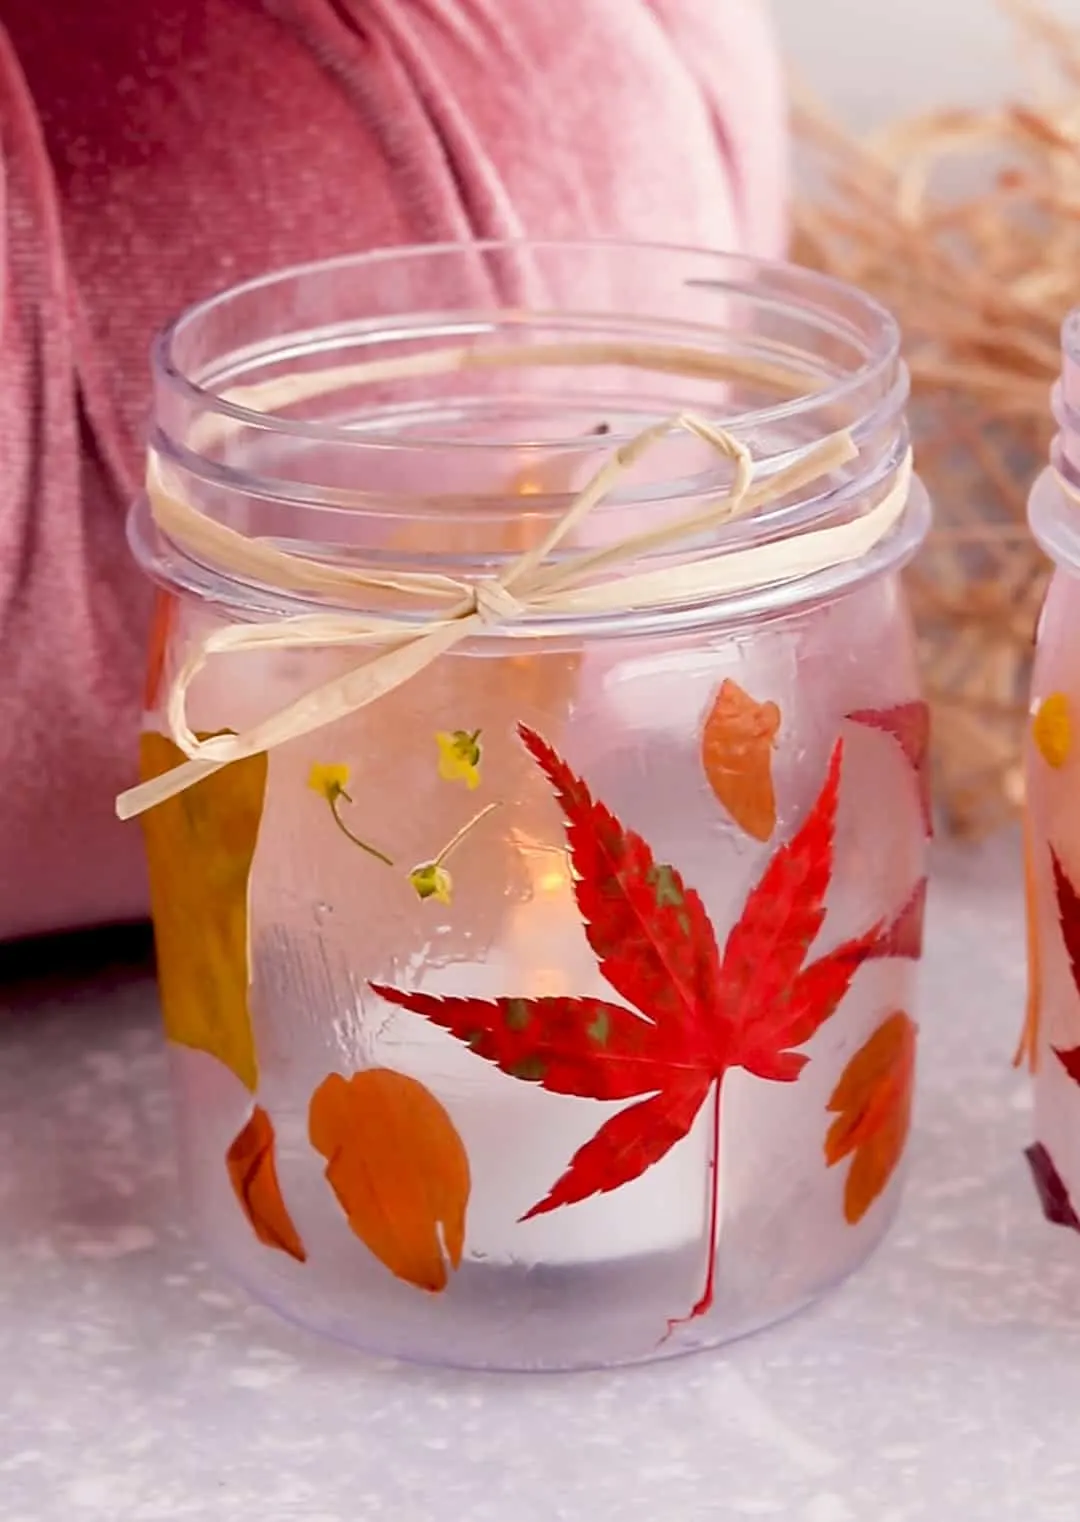
Celebrate autumn with these beautiful DIY Pressed Fall Leaf Jars. Recycle old jars, adhere pressed leaves with Mod Podge, and add an electric tea light for a stunning fall lantern.
Fall is one of my favorite seasons for crafting! I love seeing fall leaves turn their pretty orange, yellows and reds. Creating pressed fall leaf jars is not just a fun way to celebrate the season; it’s also a great recycled craft that even your kids can take part in. All you need are some recycled glass or plastic jars, a touch of Mod Podge, and of course, those beautiful pressed fall leaves. These were inspired by our pressed flower jars we made that were such a hit!
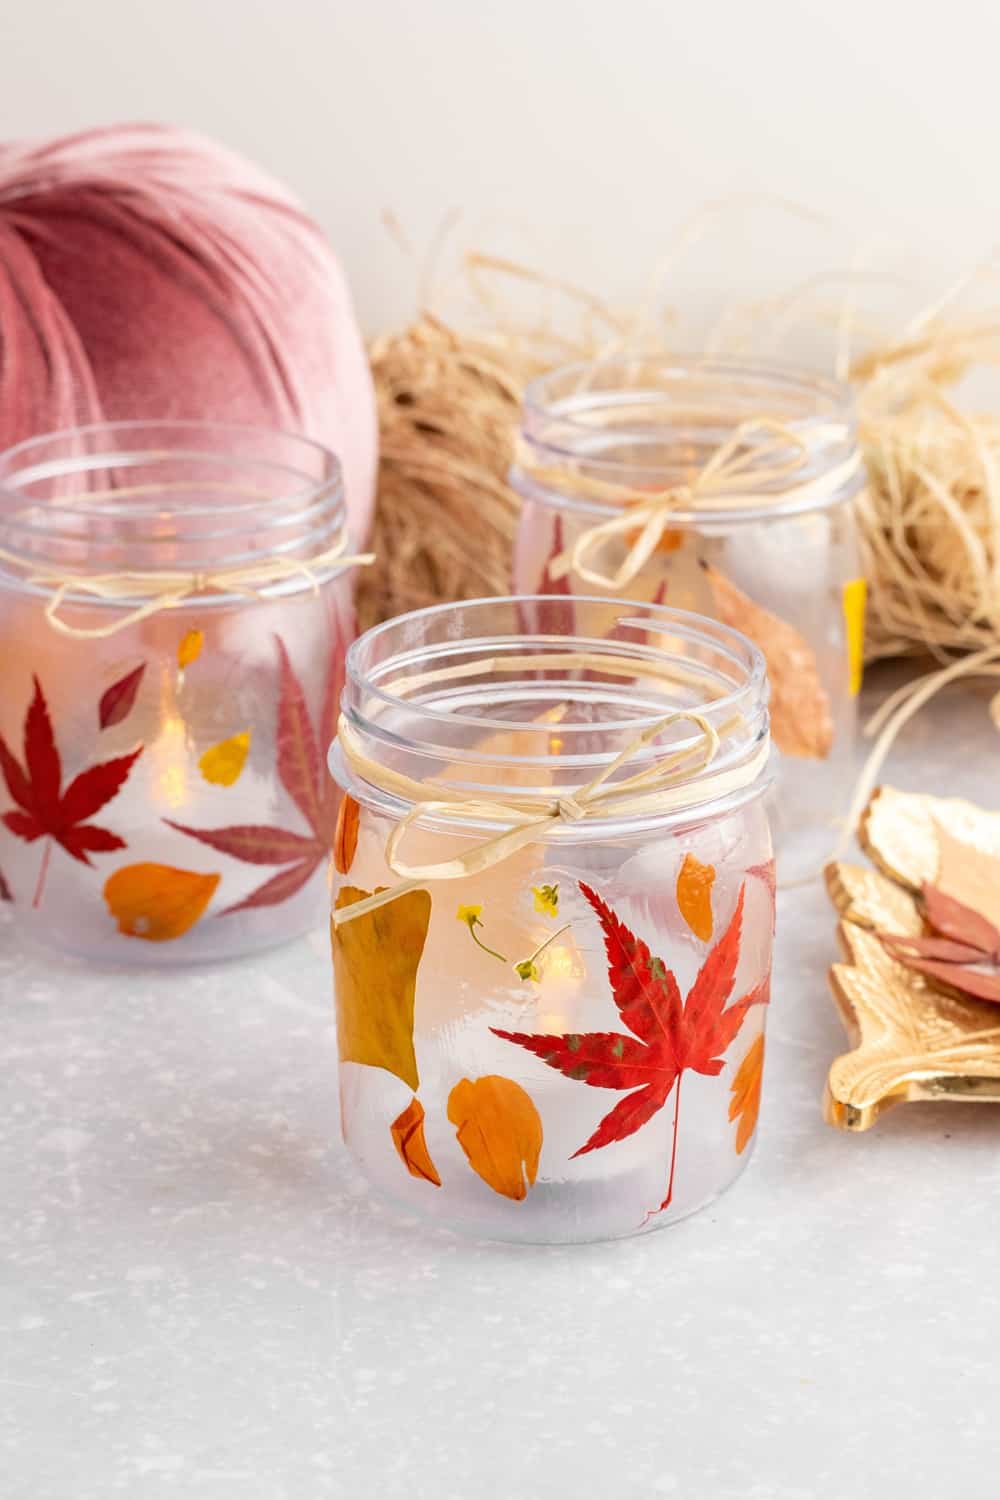
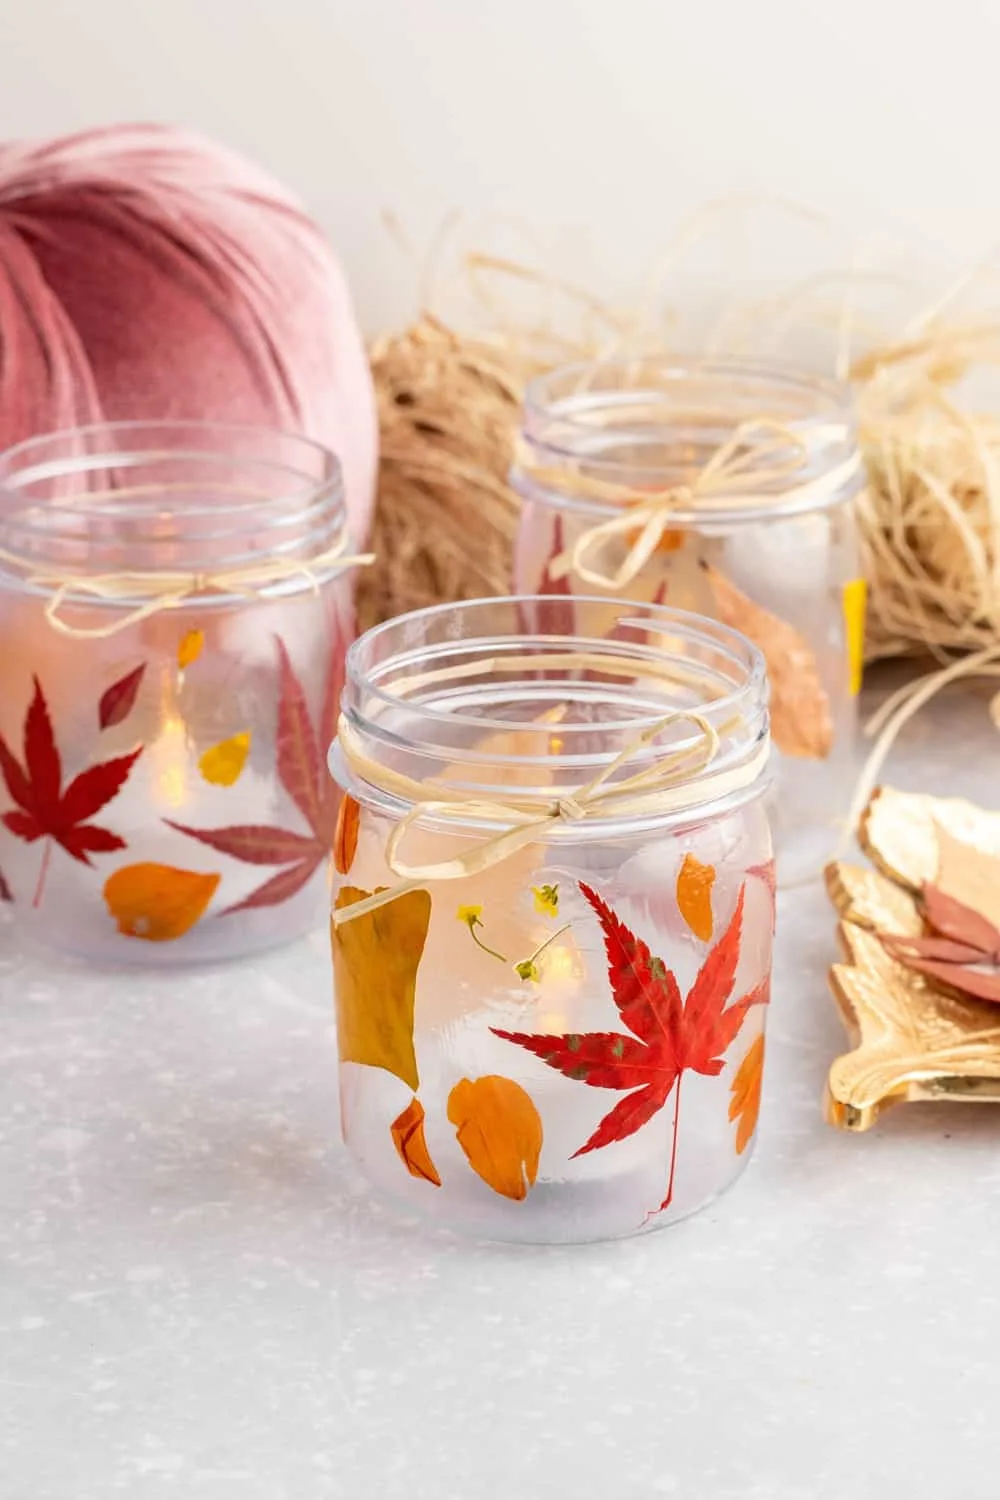
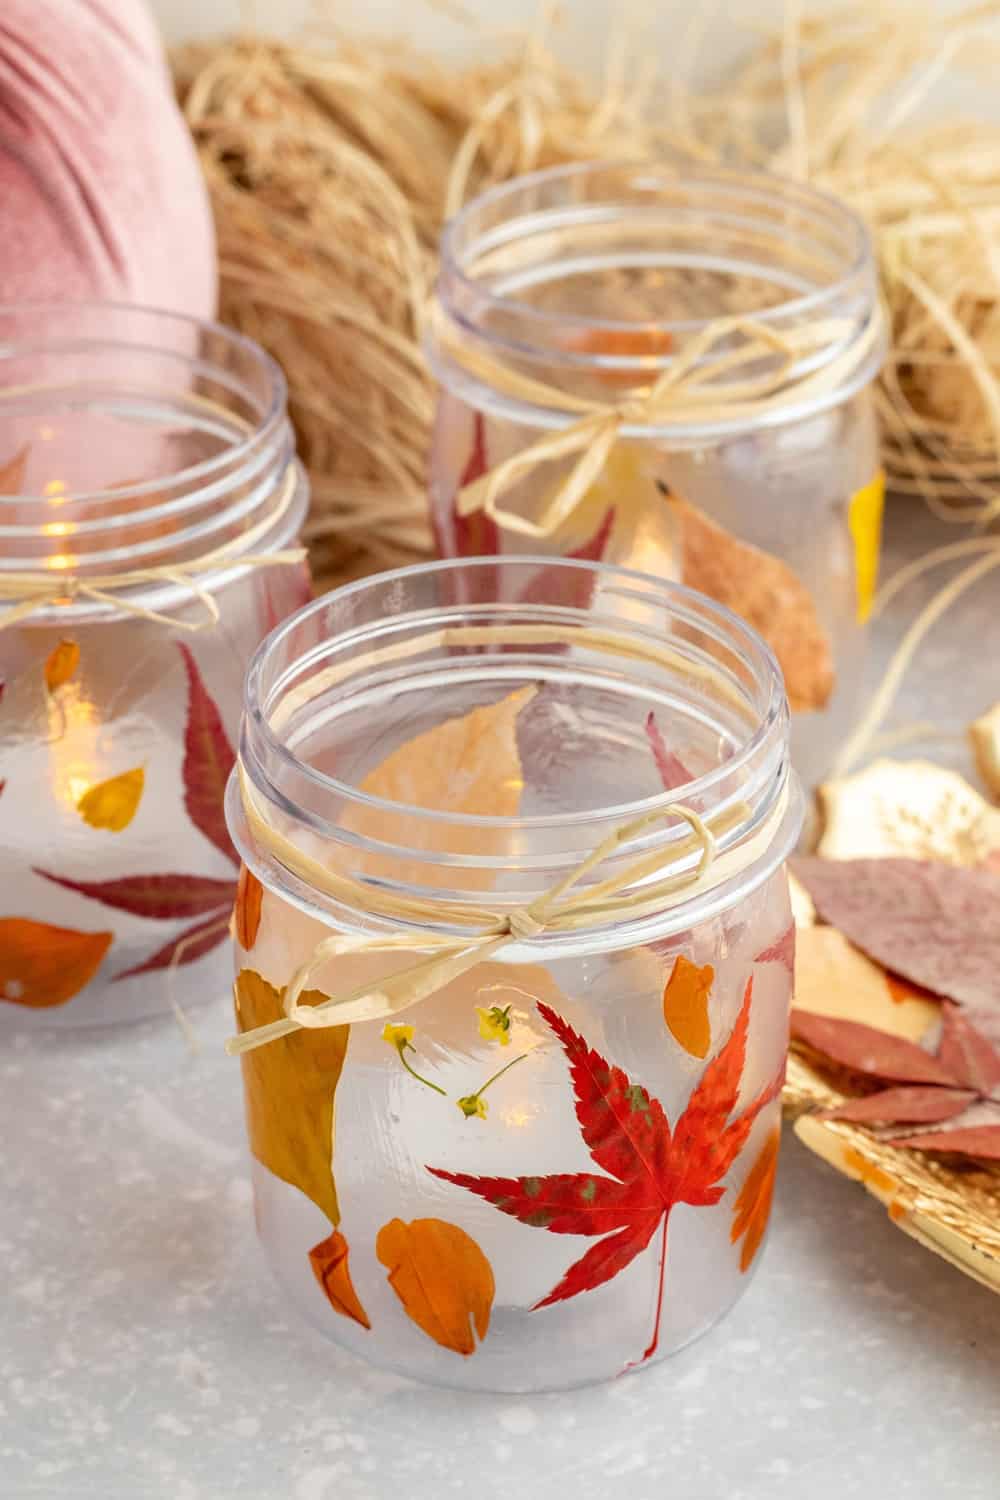
These gorgeous fall jars also make pretty lanterns you can display around the home and outdoor!

Pressed Fall Leaf Jars – Materials:
- Recycled glass or plastic jars (like these)
- Pressed fall leaves (make your own or get them here)
- Mod Podge
- Paintbrush
- Electric tea lights
- Optional: Twine or ribbon for decoration


How do you press leaves?
Pressing fall leaves is a great way to preserve their beautiful colors and shapes for art projects, scrapbooks, or even just for decoration. Here are some easy steps:
Steps:
Preparing the Leaves:
Collect Leaves: Choose leaves that are in good condition, clean, without holes or blemishes, and are relatively dry.
Pressing the Leaves:
Open a newspaper or piece of absorbent paper and lay it flat. If you’re using wax paper or parchment, you can layer this on top of the newspaper for easier removal later.
Place the leaves flat on the newspaper, making sure they don’t overlap. If leaves are curled, you might want to gently flatten them with a clean, flat brush.
Place another sheet of newspaper (and optional wax/parchment paper) over the leaves. If you’re pressing multiple layers of leaves, add additional sheets of paper and place the next batch of leaves on top.
Close the newspaper and place it in the middle of a heavy book, or stack more books, bricks, or other flat, heavy items on top. If you’re using a leaf press, tighten the straps to apply pressure.
Allow to dry:
Leave the leaves to press for at least a week. The time required may vary depending on the moisture content of the leaves.
After a week, carefully check the leaves to see if they are completely dry. If not, continue pressing them and check every few days.


Fall Leaves Jars – INSTRUCTIONS
Step 1: Collect and Press Your Leaves
If you are lucky enough to live in an area with beautiful fall leaves you can follow the steps above to press them. If no you can easily buy pressed fall leaves online.
Step 2: Prepare Your Jars
Make sure your jars are clean and dry. If you’re using glass jars that had labels, remove any glue residues. This ensures the Mod Podge will adhere properly.
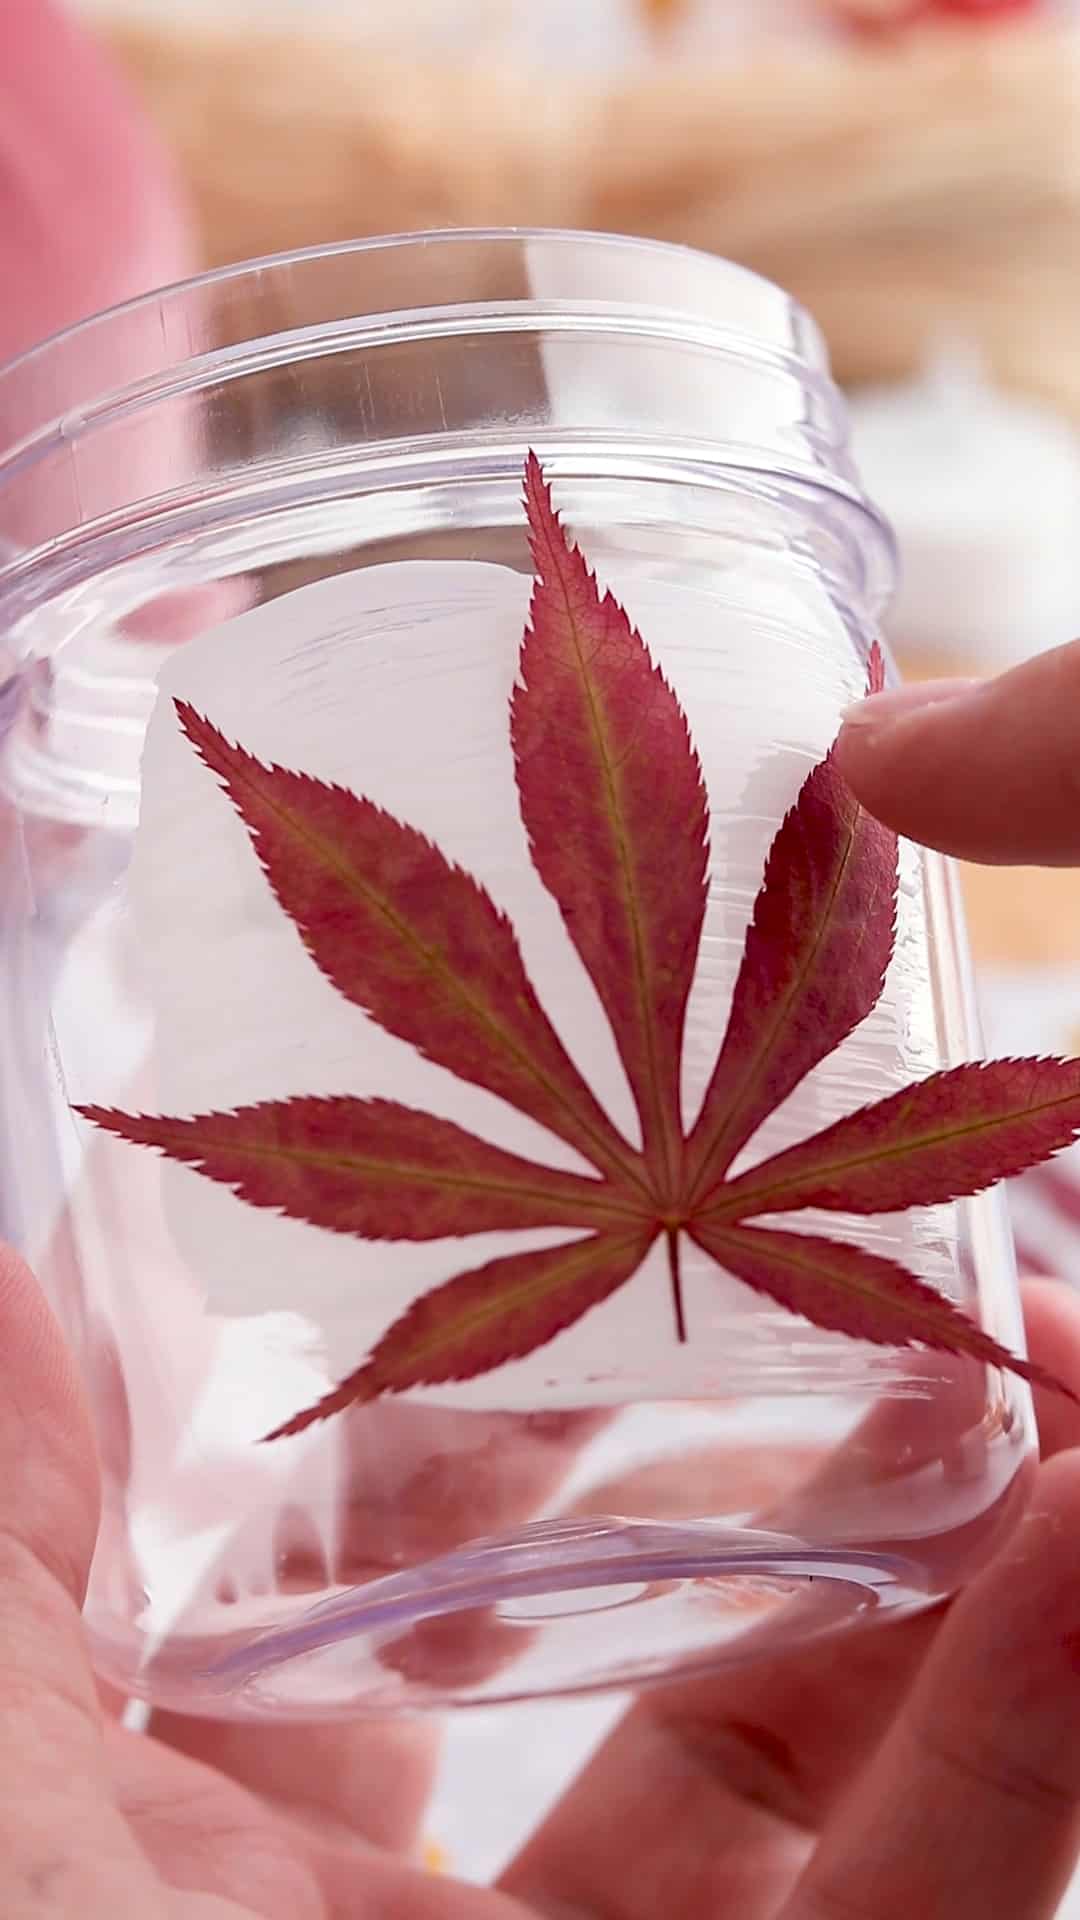
Step 3: Plan Your Design
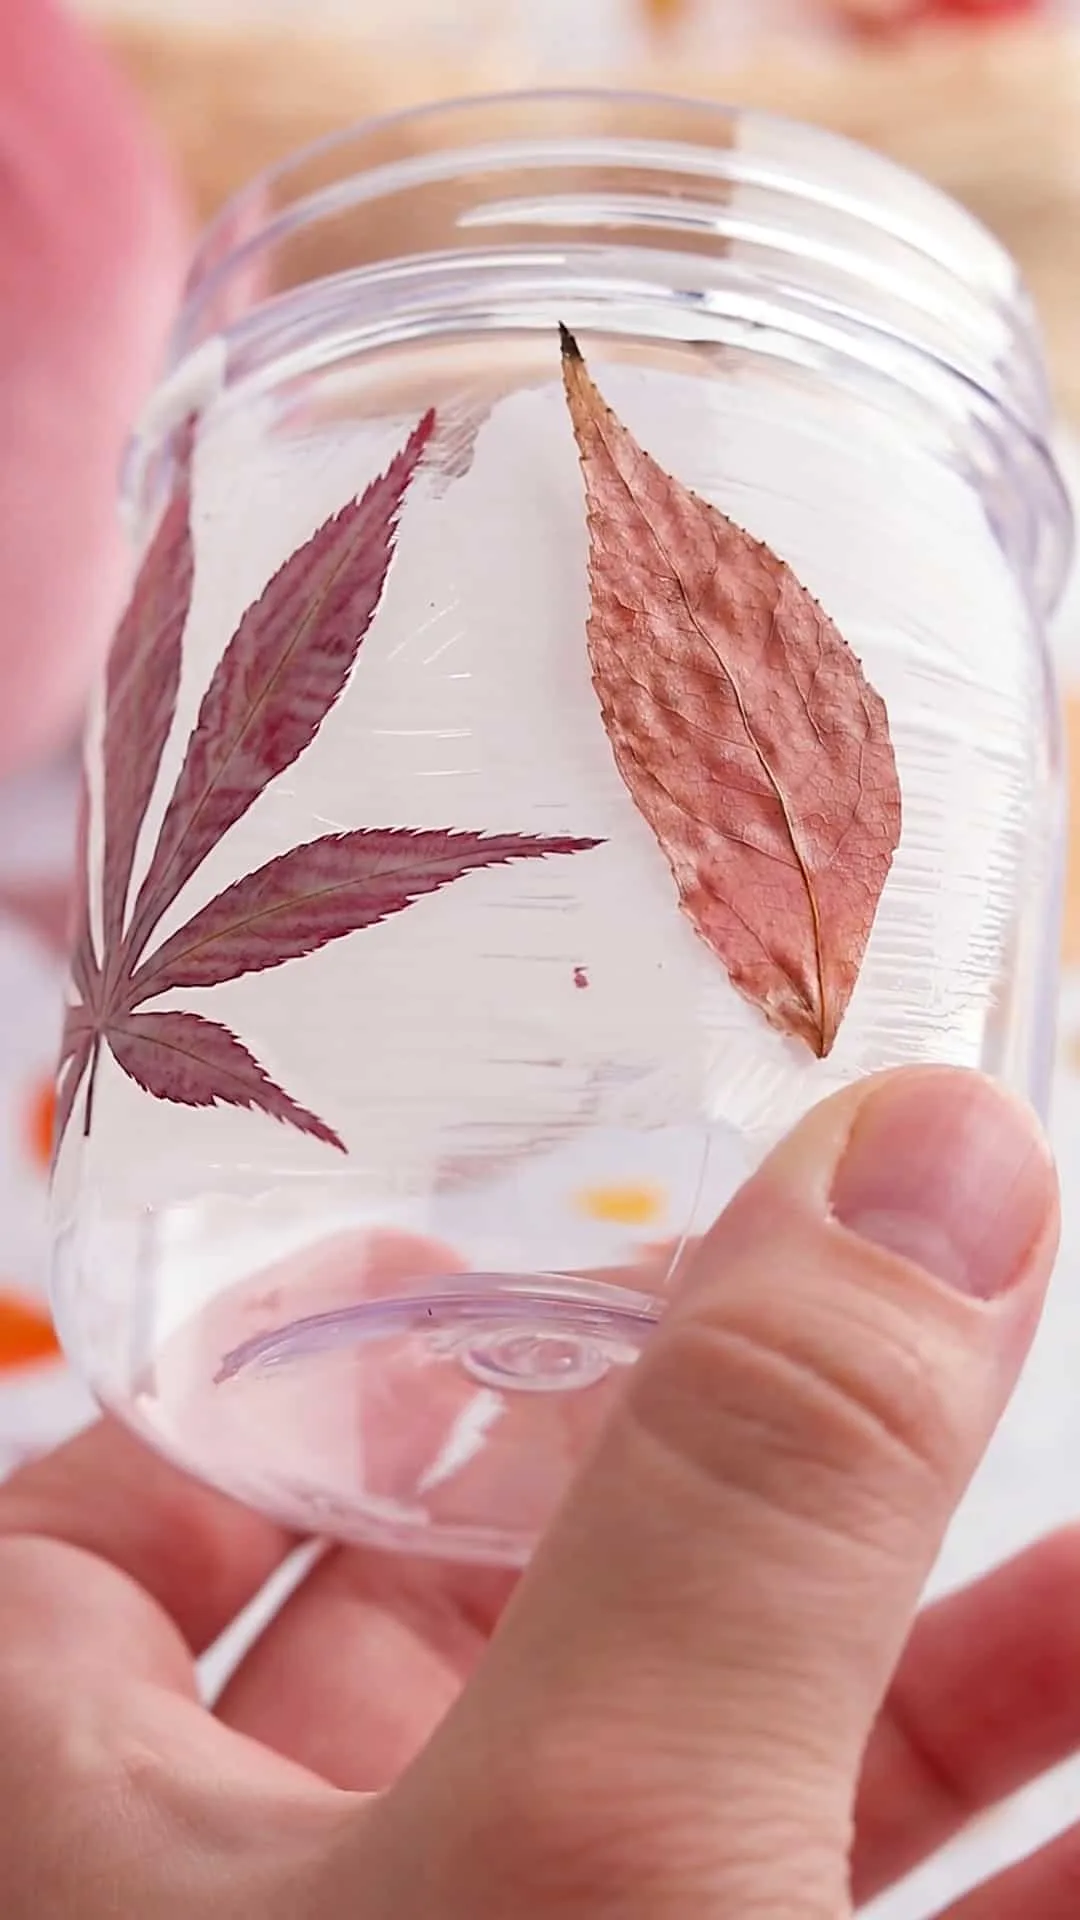
Before slathering on the Mod Podge, take a moment to arrange the leaves around the jar to get an idea of how they will look.
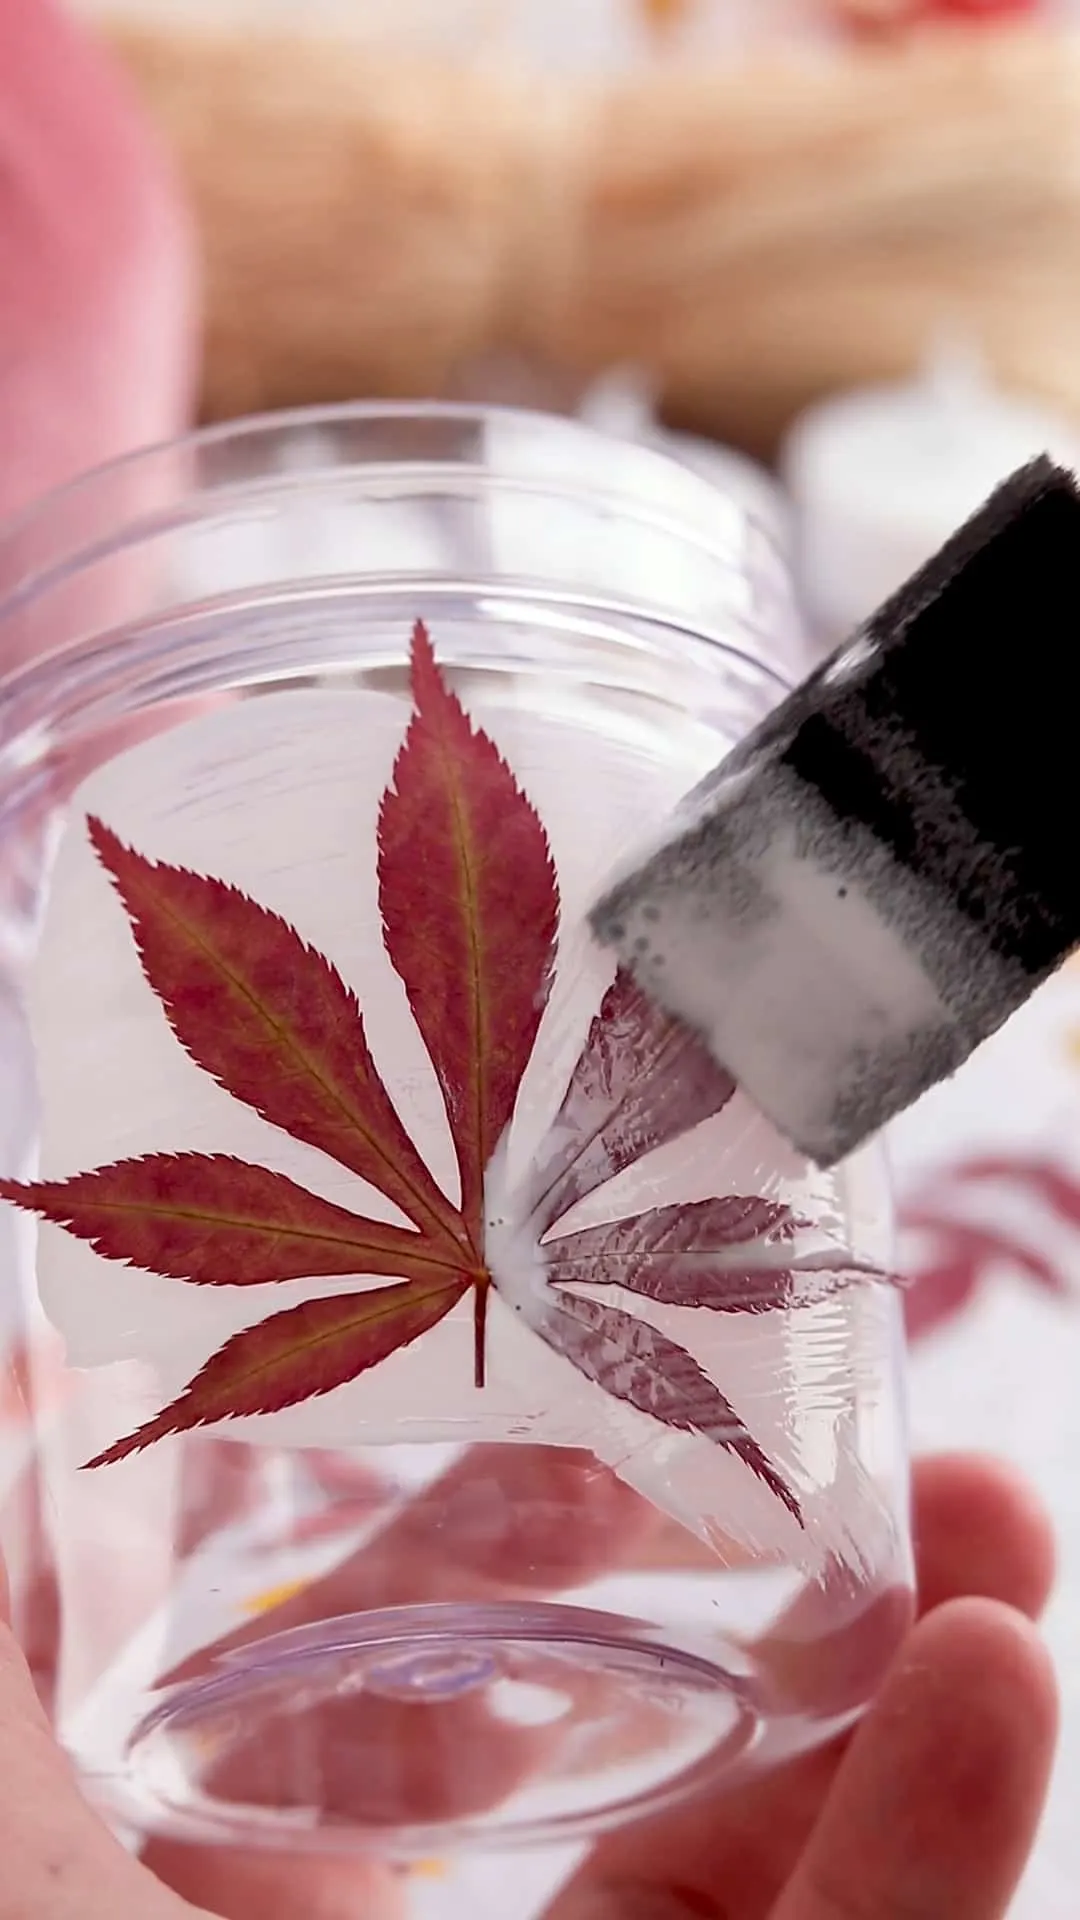
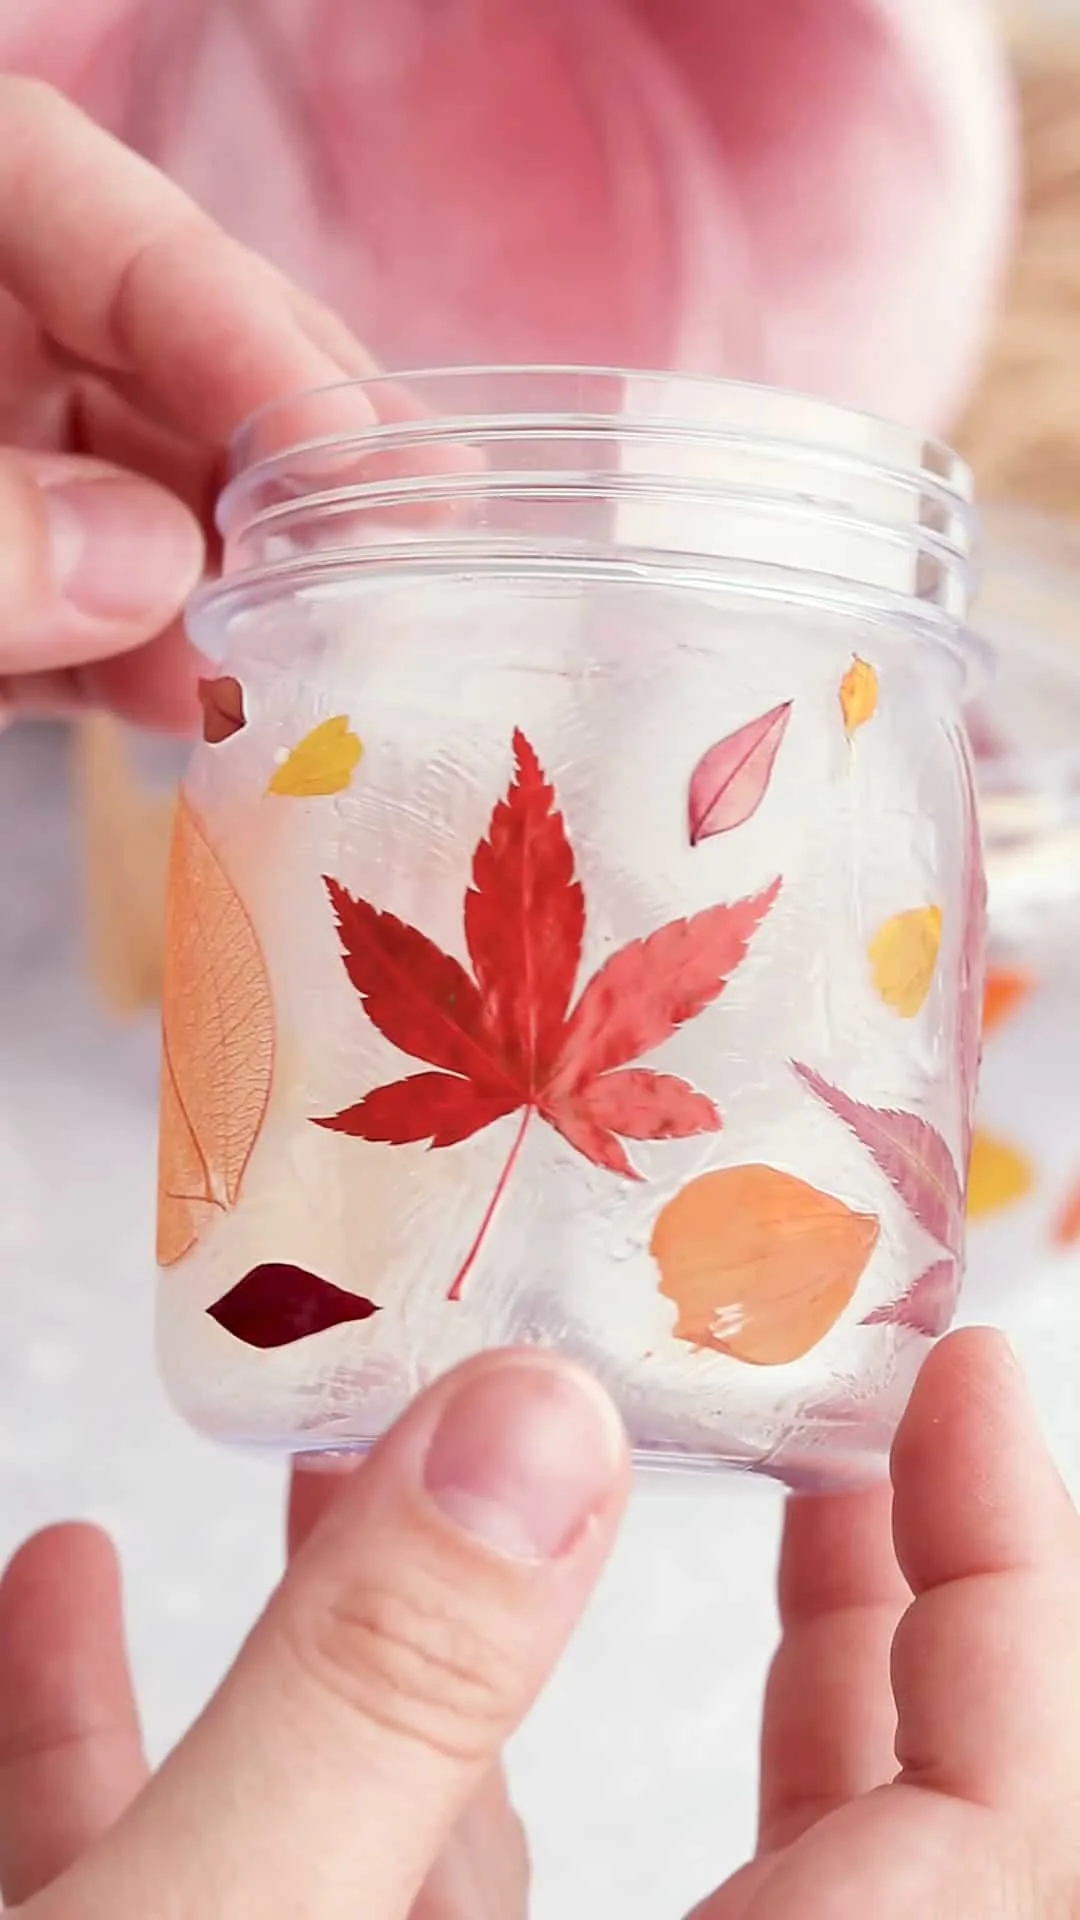
Step 4: Apply Mod Podge
Using a paintbrush, apply a thin layer of Mod Podge where you plan to place the first leaf. Stick the leaf onto the Mod Podge and gently press down, smoothing out any wrinkles or bubbles. Cover the leaf with another thin layer of Mod Podge. Repeat this process until the jar is covered to your liking.
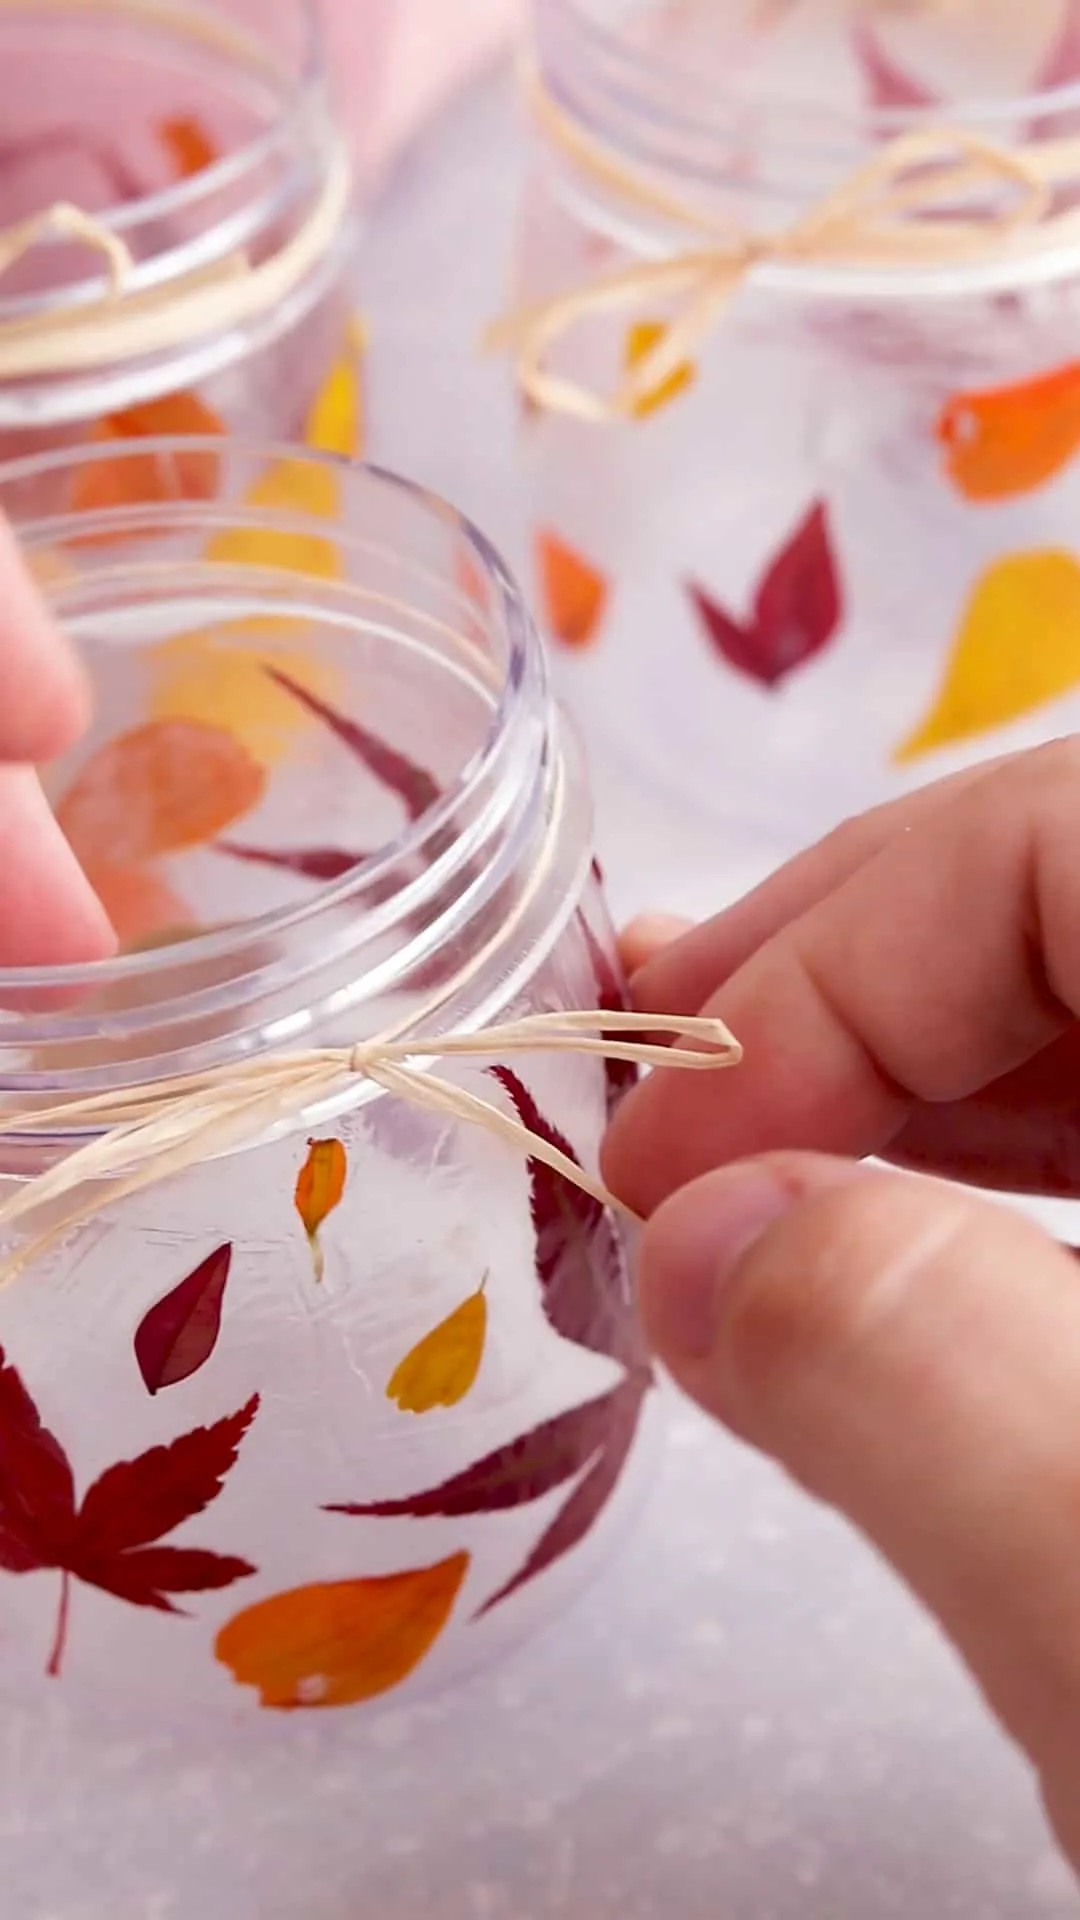
Step 5: Add Finishing Touches
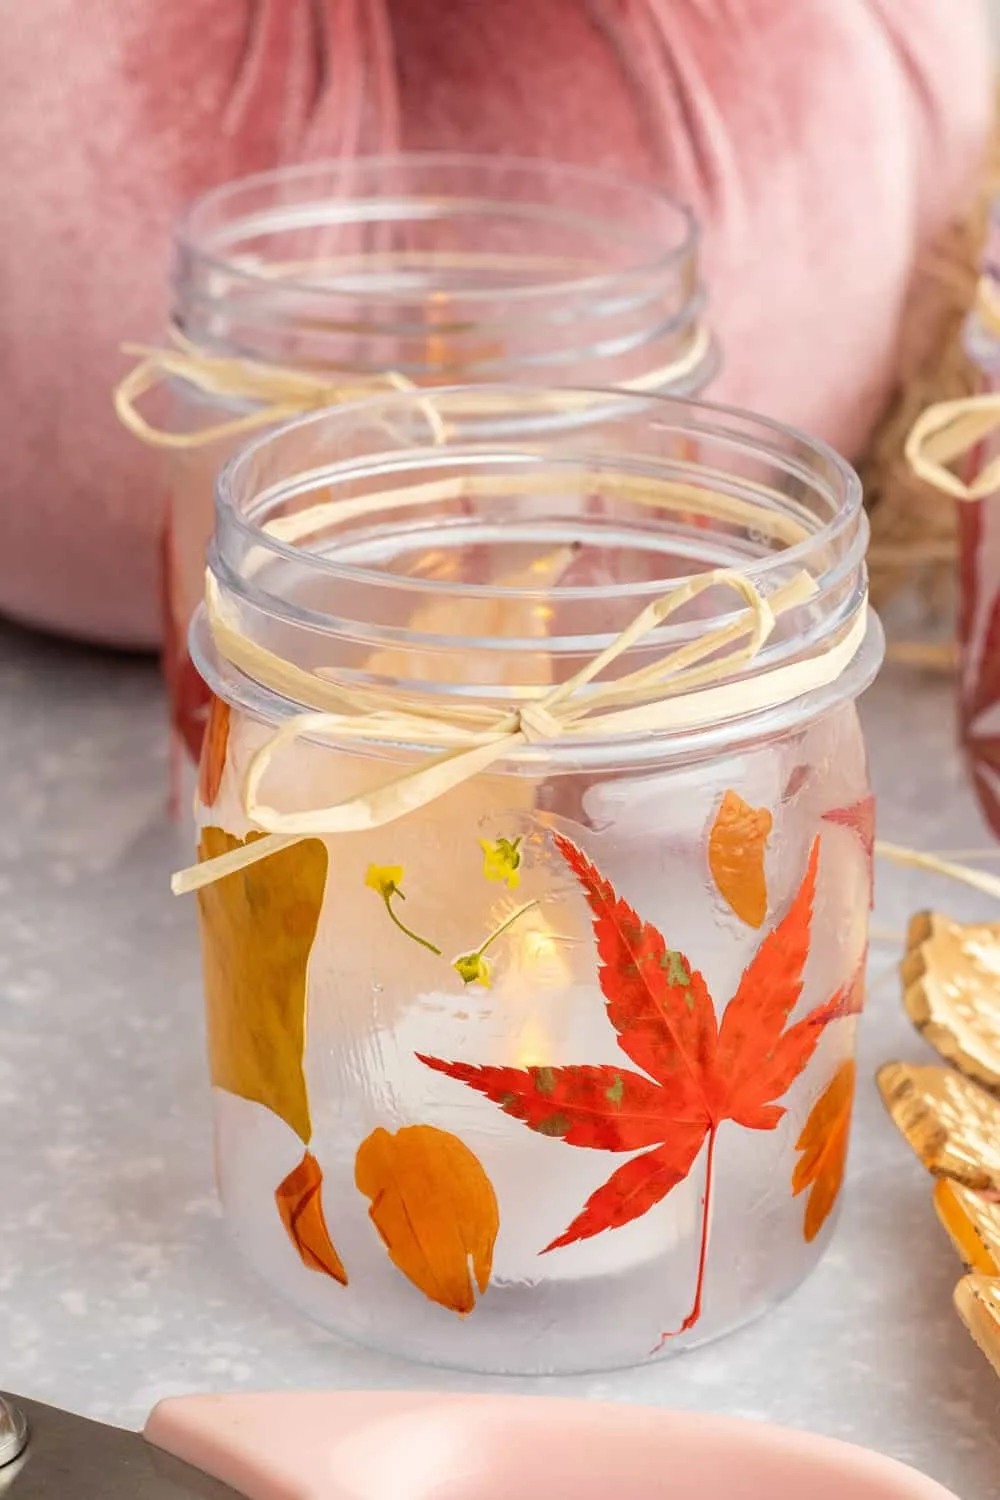
After all your leaves are in place and the Mod Podge has dried, you can add some optional decorations like twine or ribbon around the mouth of the jar.
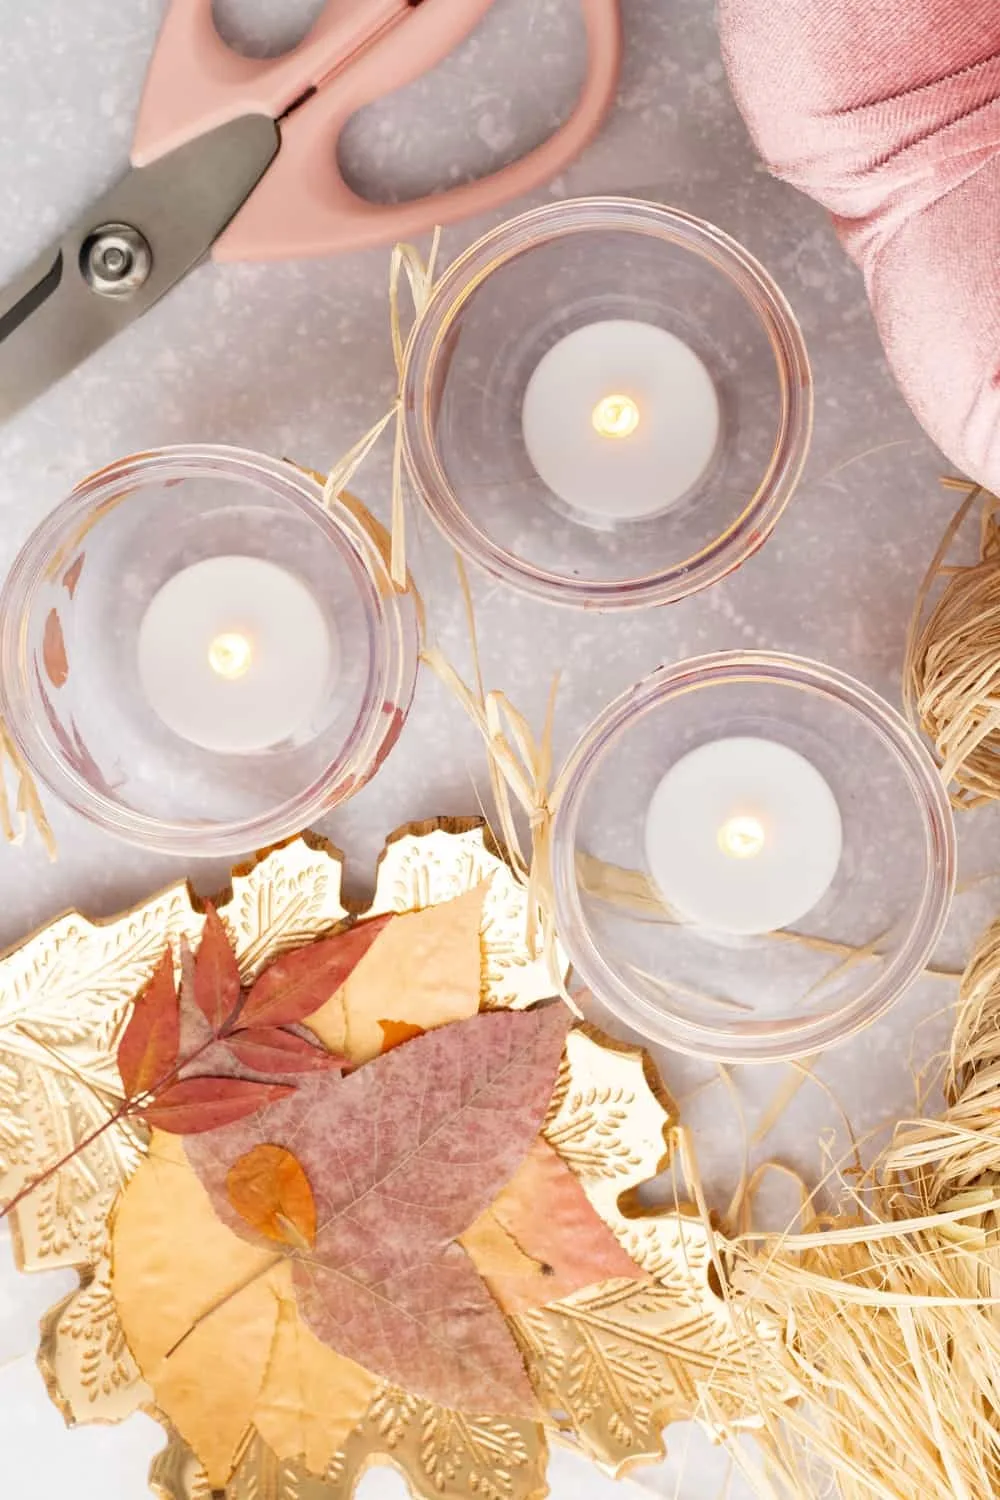
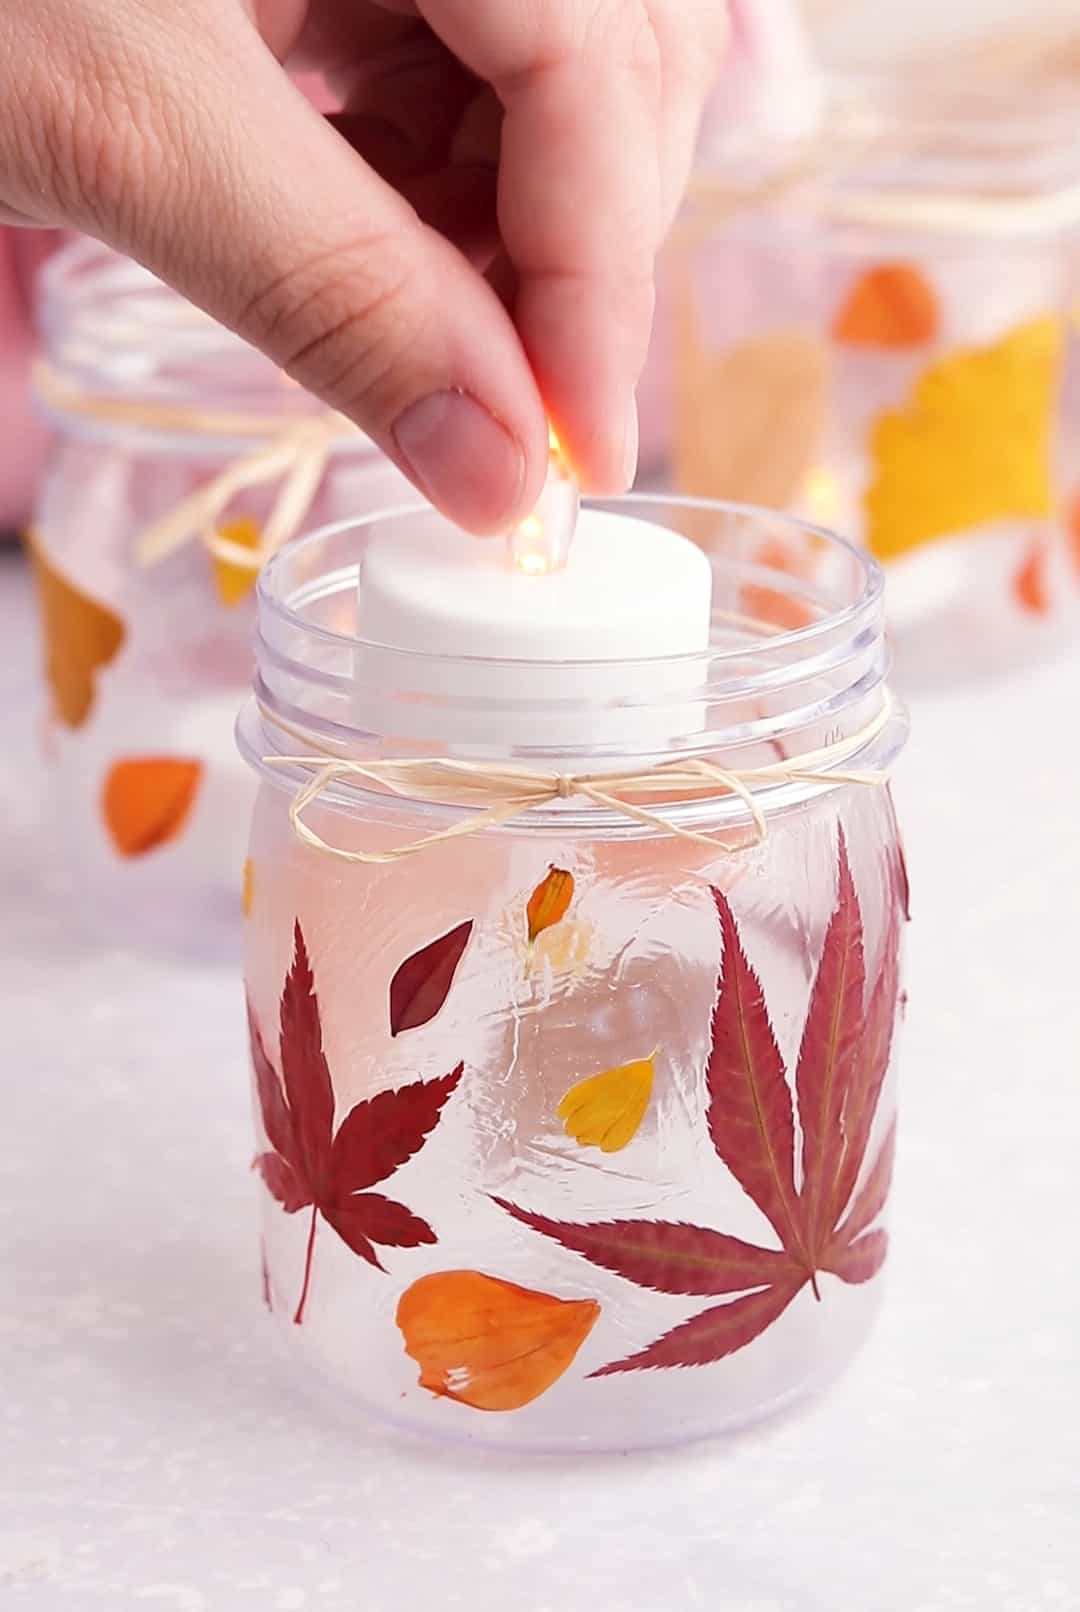
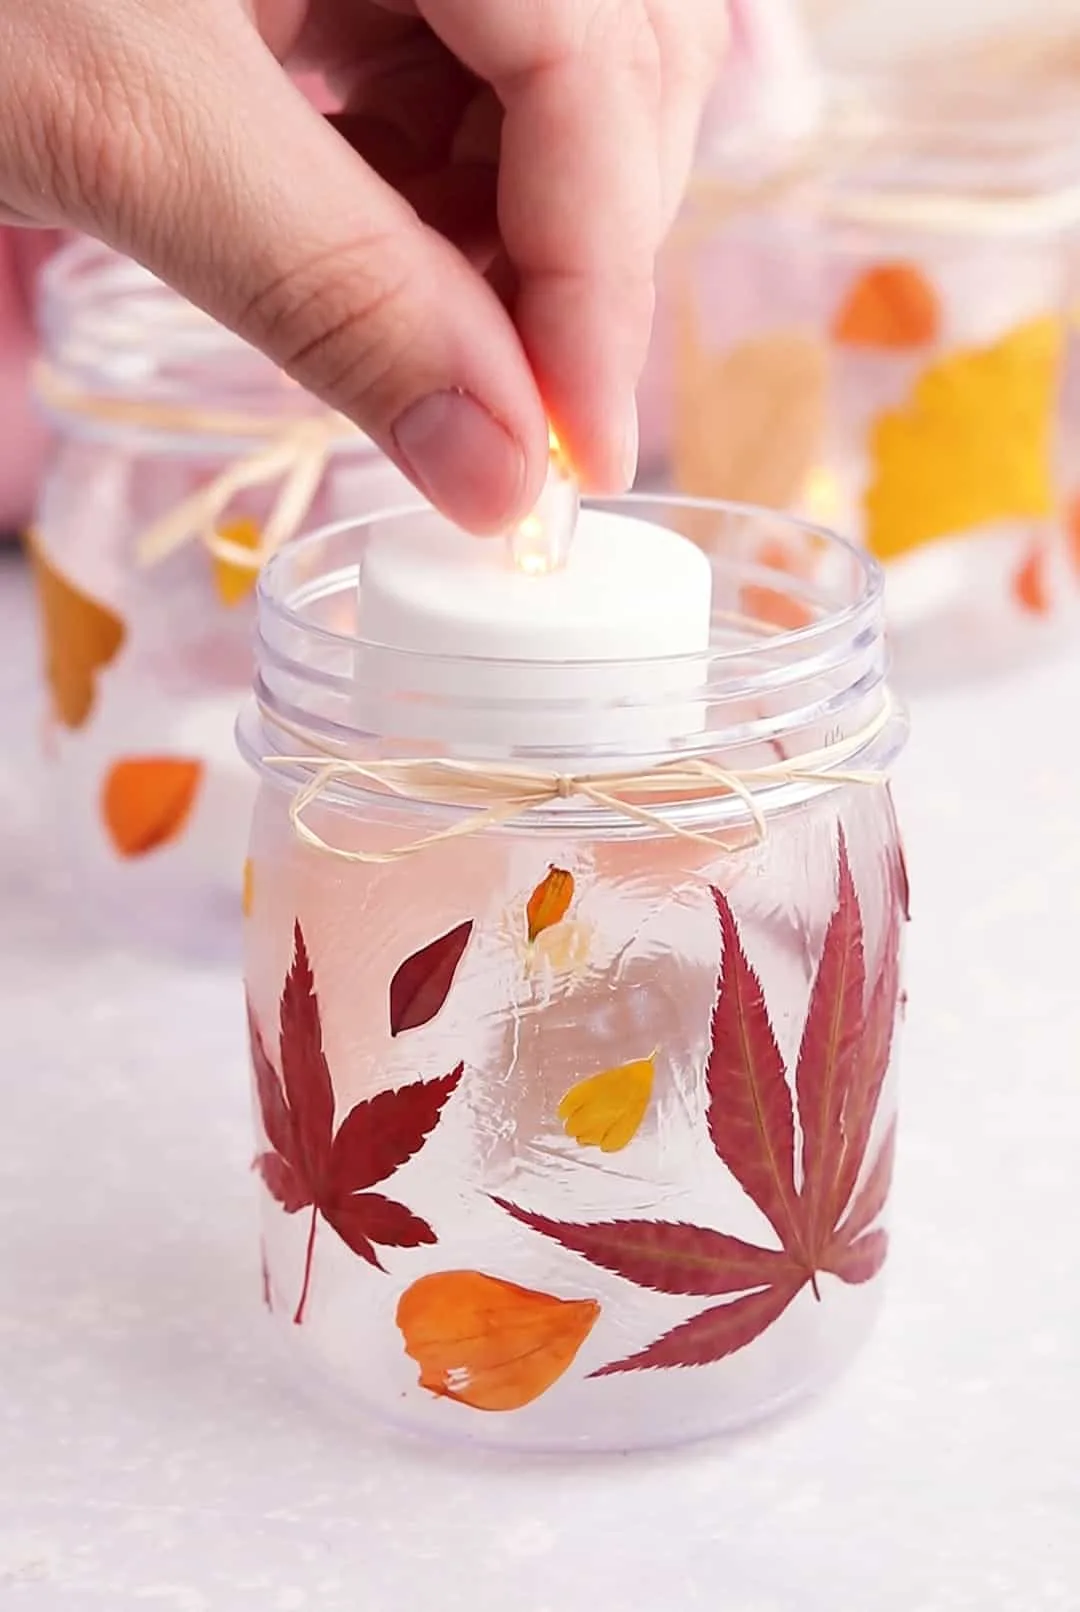
Step 6: Insert the Electric Tea Light
Once everything is dry and you’re satisfied with your creation, place an electric tea light inside the jar. Never use a real candle, as the leaves and Mod Podge are flammable.


Conclusion
These pressed fall leaf jars can serve as beautiful centerpieces on your dining table, or you could line them up on your windowsill for a warm and cozy effect. The flickering light shining through the colorful leaves captures the very essence of fall, creating a calm and inviting atmosphere. Kids will love making these gorgeous fall jars to celebrate autumn!

DIY Pressed Fall Leaf Jars - A Beautiful Fall Craft


Celebrate autumn with these beautiful DIY Pressed Fall Leaf Jars. Recycle old jars, adhere pressed leaves with Mod Podge, and add an electric tea light for a stunning fall lantern.
Materials
- Recycled glass or plastic jars (like these)
- Pressed fall leaves (make your own or get them here)
- Mod Podge
- Paintbrush
- Electric tea lights
- Optional: Twine or ribbon for decoration
Instructions
Step 1: Collect and Press Your Leaves
If you are lucky enough to live in an area with beautiful fall leaves you can follow the steps above to press them. If no you can easily buy pressed fall leaves online.
Step 2: Prepare Your Jars
Make sure your jars are clean and dry. If you're using glass jars that had labels, remove any glue residues. This ensures the Mod Podge will adhere properly.
Step 3: Plan Your Design
Before slathering on the Mod Podge, take a moment to arrange the leaves around the jar to get an idea of how they will look.
Step 4: Apply Mod Podge
Using a paintbrush, apply a thin layer of Mod Podge where you plan to place the first leaf. Stick the leaf onto the Mod Podge and gently press down, smoothing out any wrinkles or bubbles. Cover the leaf with another thin layer of Mod Podge. Repeat this process until the jar is covered to your liking.
Step 5: Add Finishing Touches
After all your leaves are in place and the Mod Podge has dried, you can add some optional decorations like twine or ribbon around the mouth of the jar.
Step 6: Insert the Electric Tea Light
Once everything is dry and you're satisfied with your creation, place an electric tea light inside the jar. Never use a real candle, as the leaves and Mod Podge are flammable.


Agnes Hsu is a mom of three and has been inspiring parents and kids to get creative with easy activities and family friendly recipes for over 10 years. She shares her love for creative play and kids food to her 2MM+ followers online. Agnes' commitment to playful learning and kindness has not only raised funds for charity but also earned features in prestigious nationwide publications.