
Follow us on Instagram for more fun ideas for kids!
By using this site, you agree to our Terms of Use. This post may contain affiliate links. Read our disclosure policy. As an Amazon Influencer, I earn from qualifying purchases.
Check out my Plaeful Printables for kids to play and learning
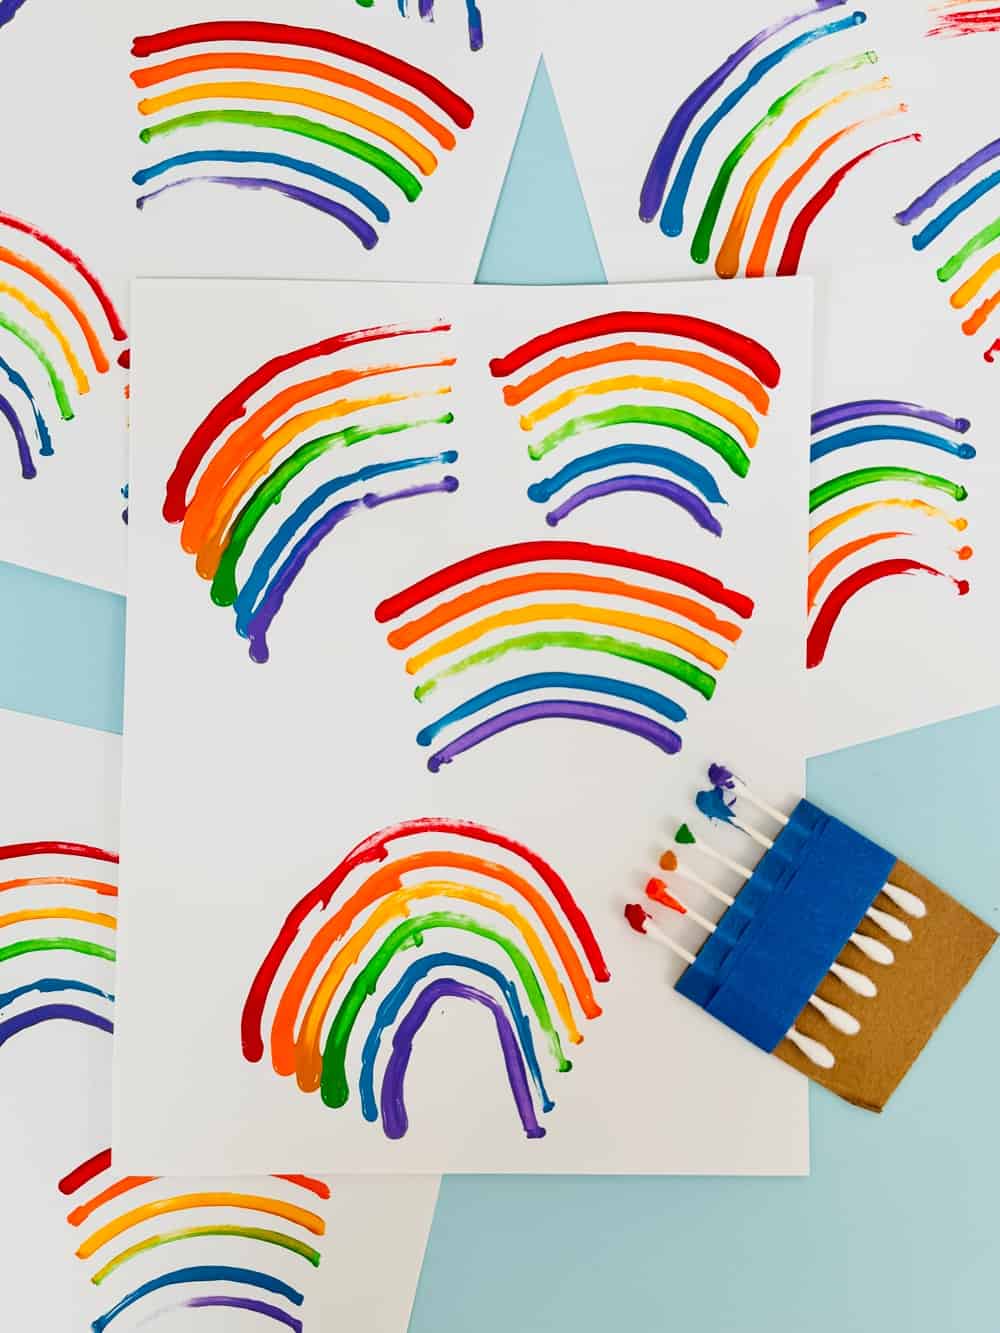
Create easy rainbow art with some Q-Tips, paint and paper! A simple rainbow scrape project great for all ages.
Rainbow crafts always brighten up our day and I hope your kids’ too! This Q-Tip Rainbow Craft is a simple art project that takes minutes to set up! It’s not just about stirring imagination, but also understanding colors, improving fine motor skills, and creating colorful rainbow art! We did it as part of our St. Patrick’s day celebration but this colorful art can be made any day of the year! Teach children about colors and coordination in a fun, engaging way. Read more elow about making painted rainbows using something as simple and handy as Q-Tips!

Q-Tip Rainbow Craft – Materials
- Q-Tips (6 for each color of the rainbow)
- Small piece of cardboard
- Tape (masking or painter’s tape is ideal)
- Paint (red, orange, yellow, green, blue, and purple) we used acrylic paint
- White cardstock


How to create Q-Tip Painted Rainbow:
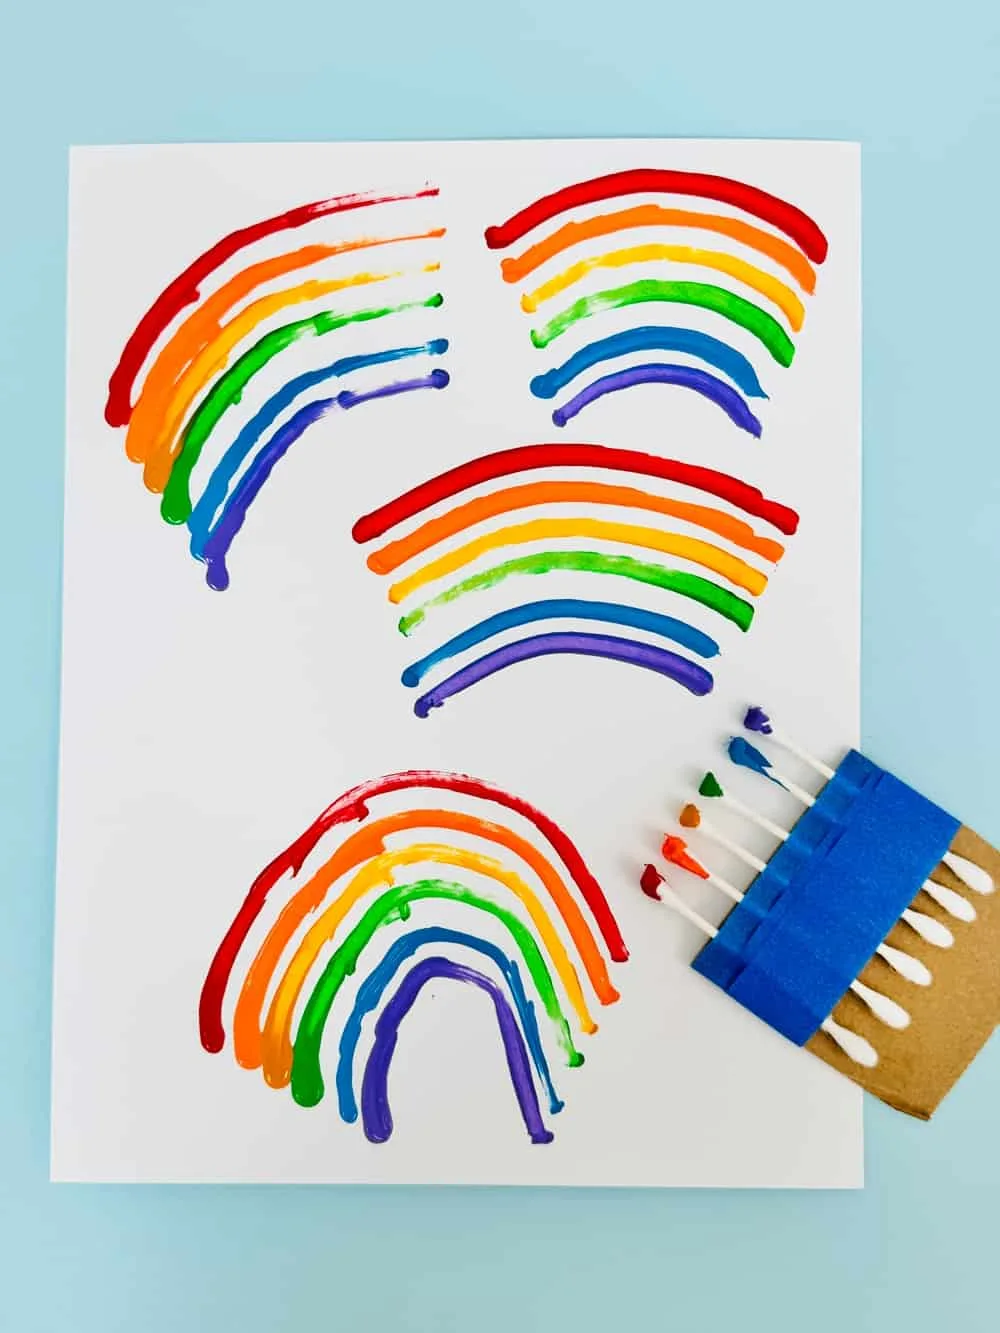
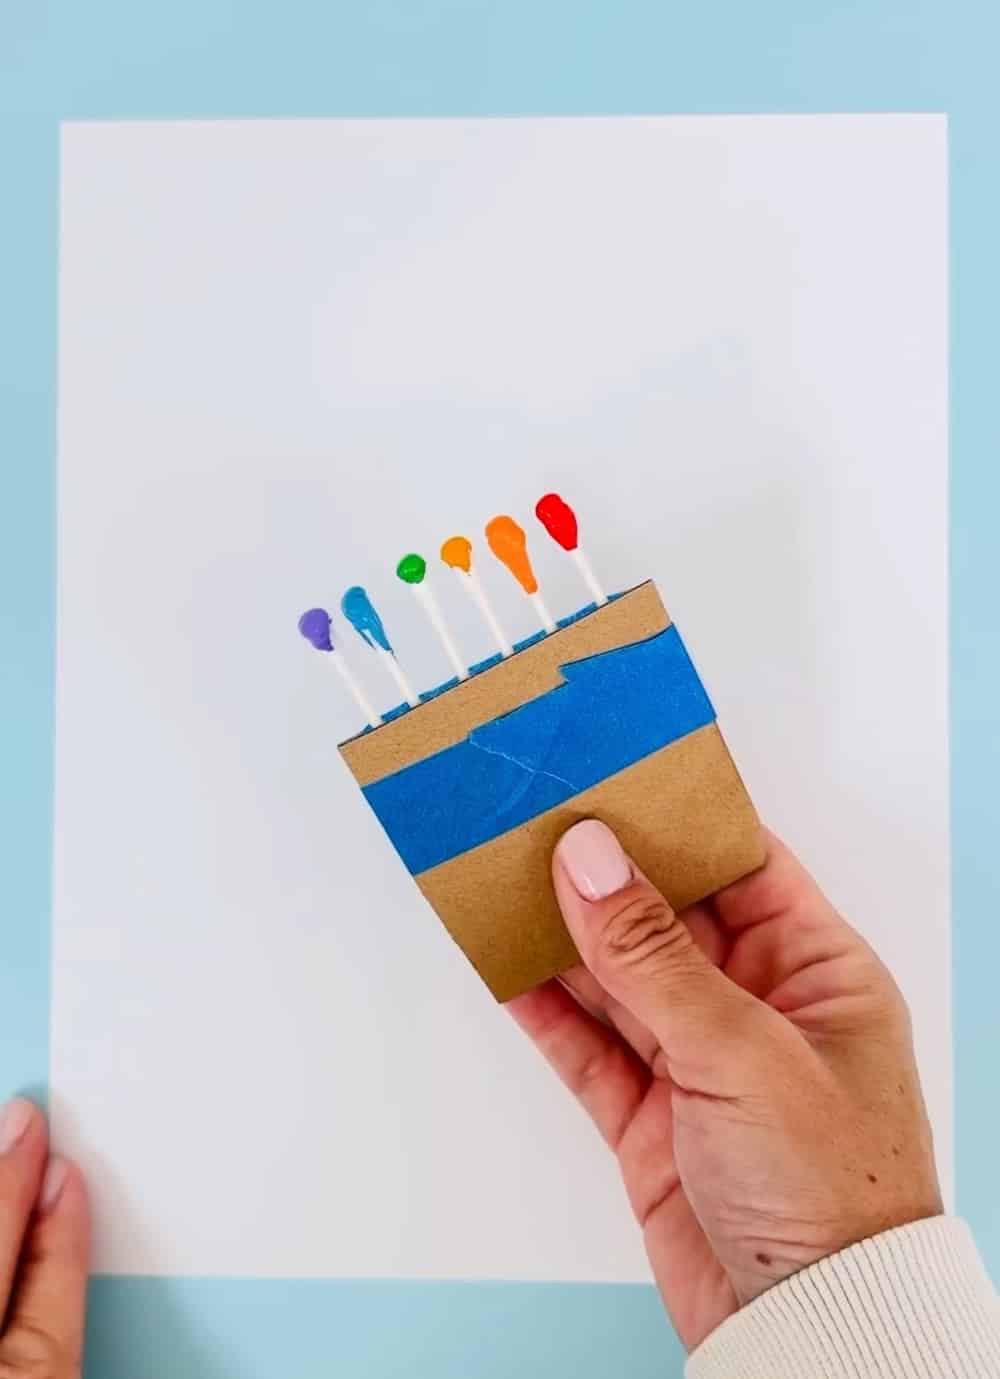
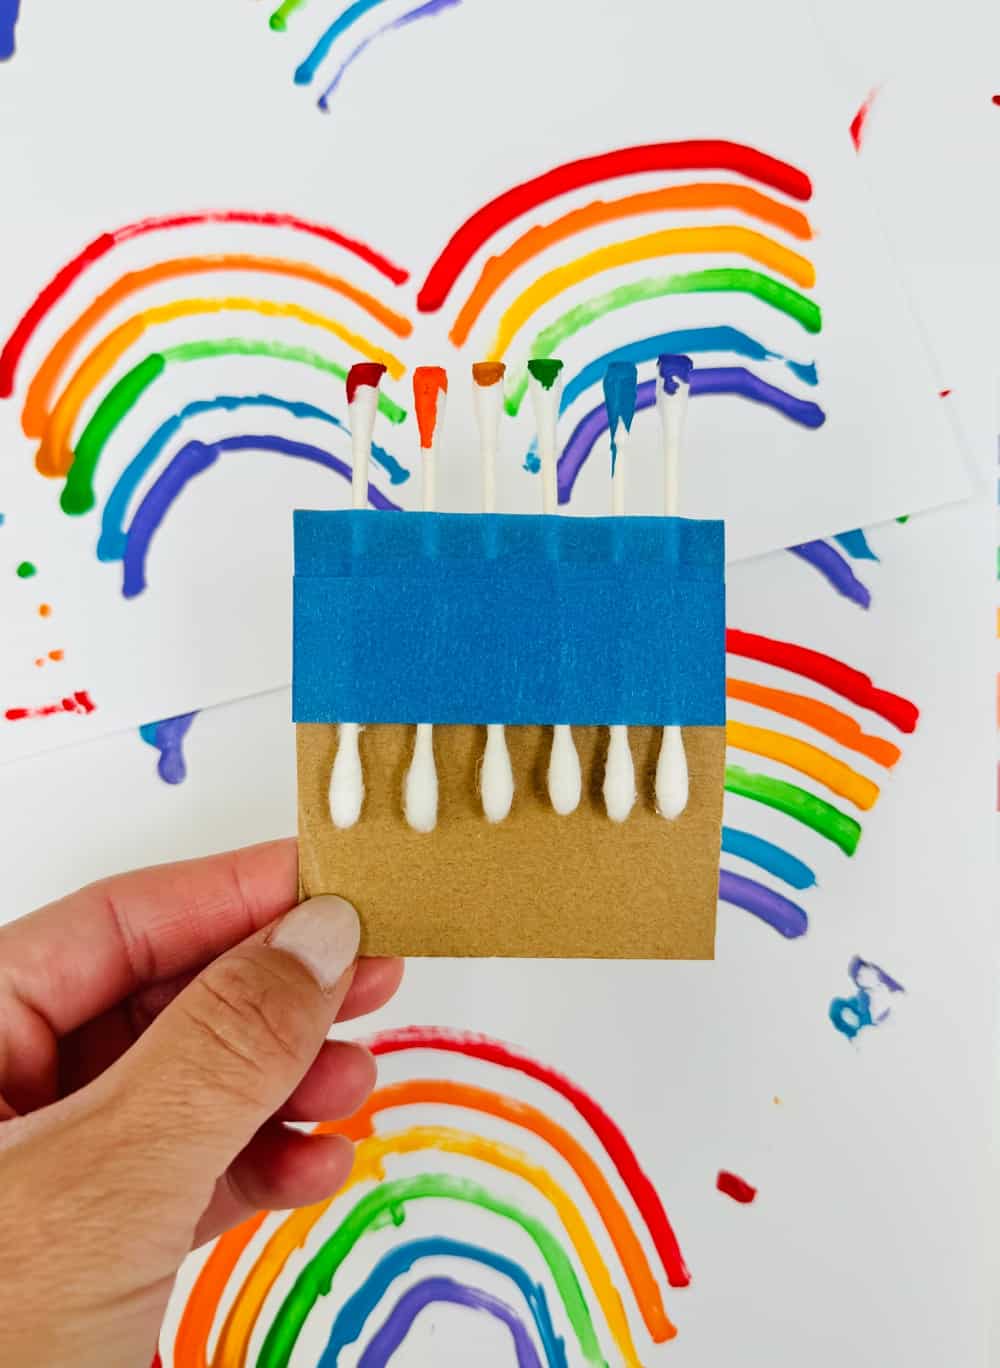
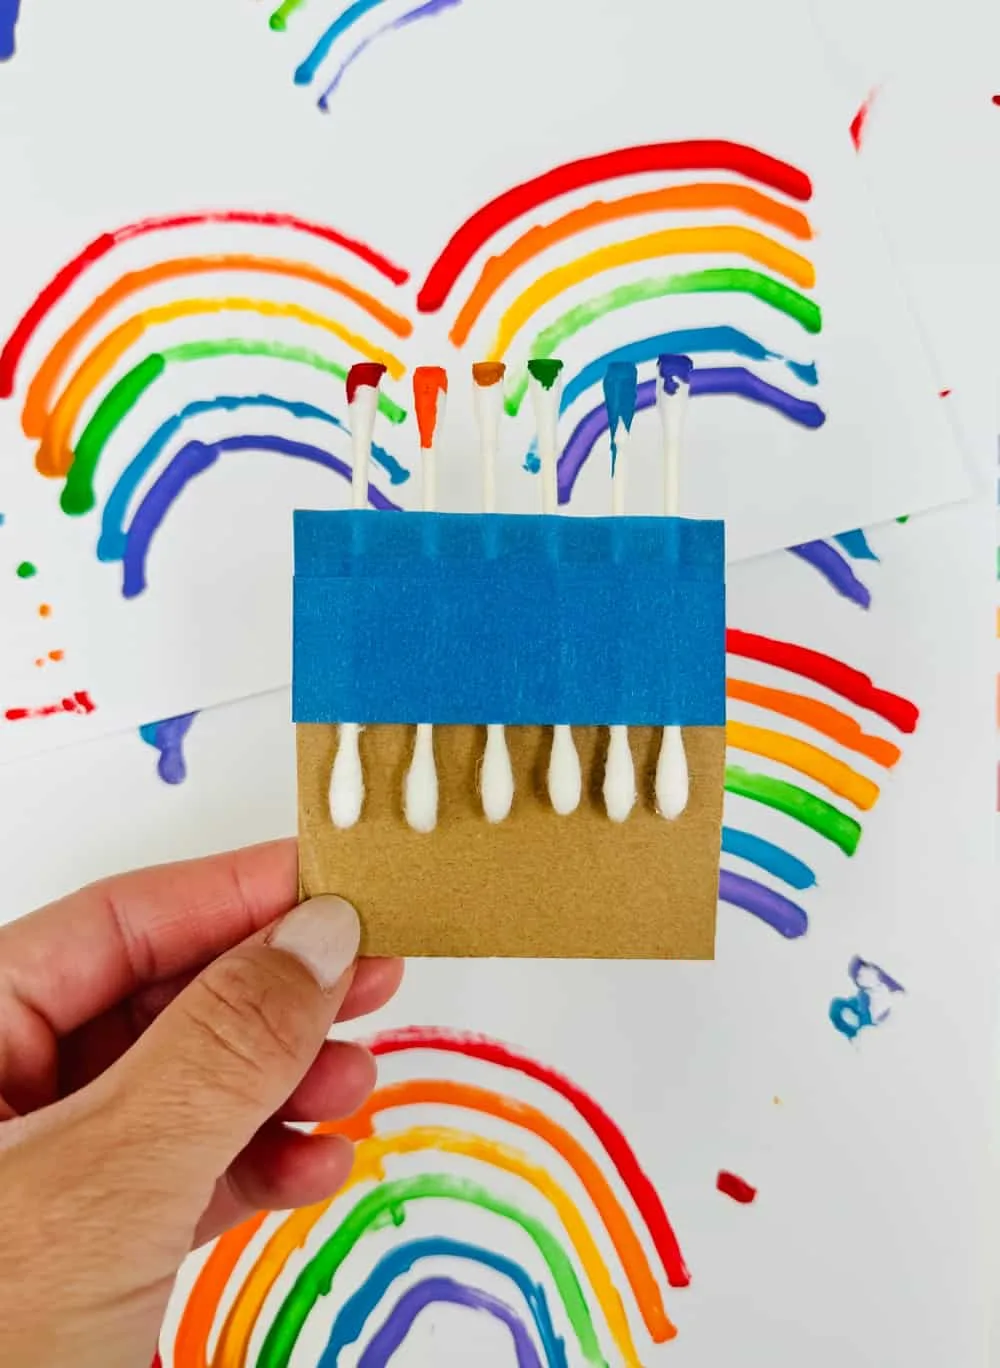
- Assemble Your Paintbrush: Take six Q-Tips and line them up side by side on the cardboard, making sure the cotton ends are even. Give about 1/2″ of space in between them. Tape them down firmly with the tape. This will be your rainbow paintbrush.
- Painting Time: Squeeze out a little of each color of the rainbow right on top of each tip.
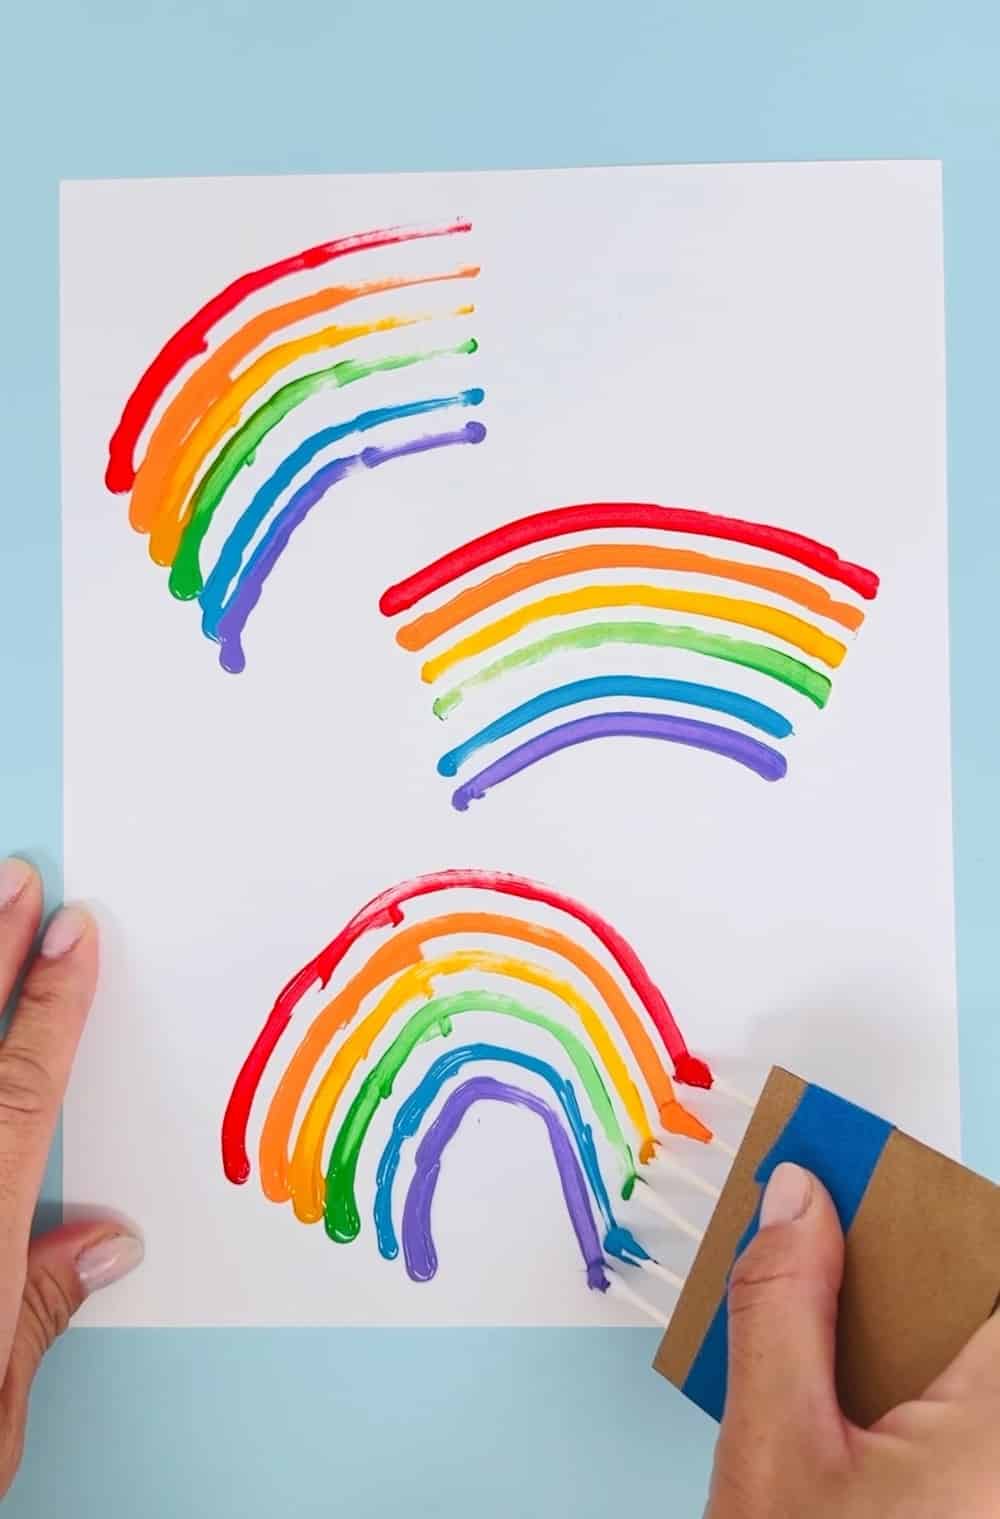
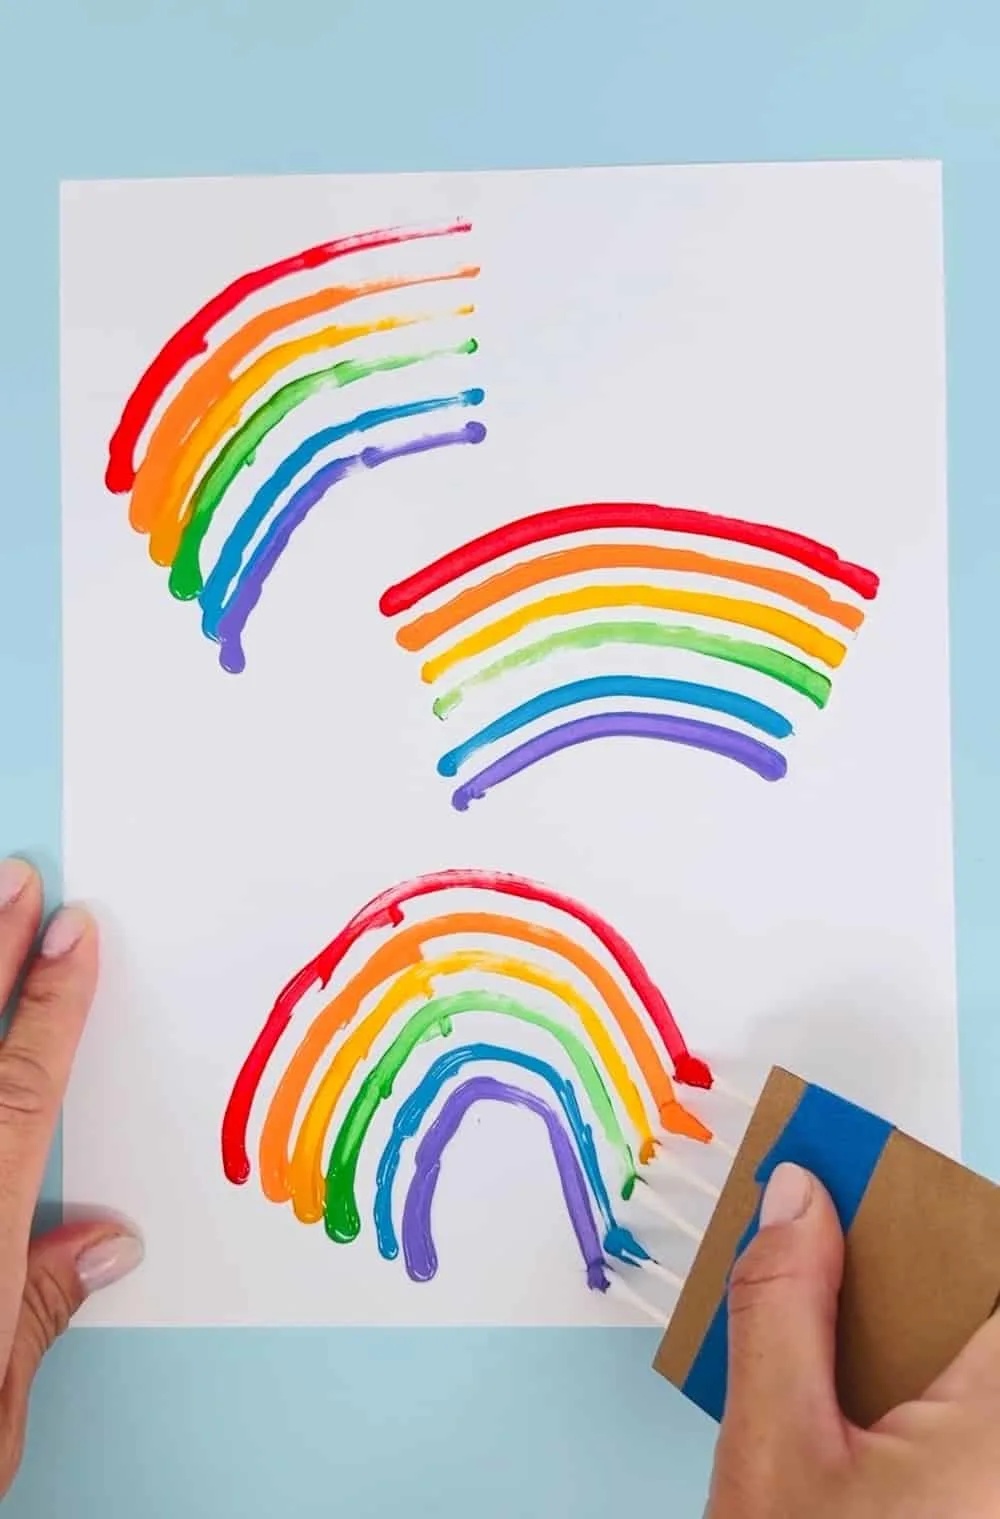
- Create Your Rainbow: Gently press the paint-covered Q-Tips onto your paper and sweep them across in a curved arch motion to create the rainbow. If you want a thicker rainbow, you can go back and add more paint to each tip and press down again.
What to do with your rainbow art
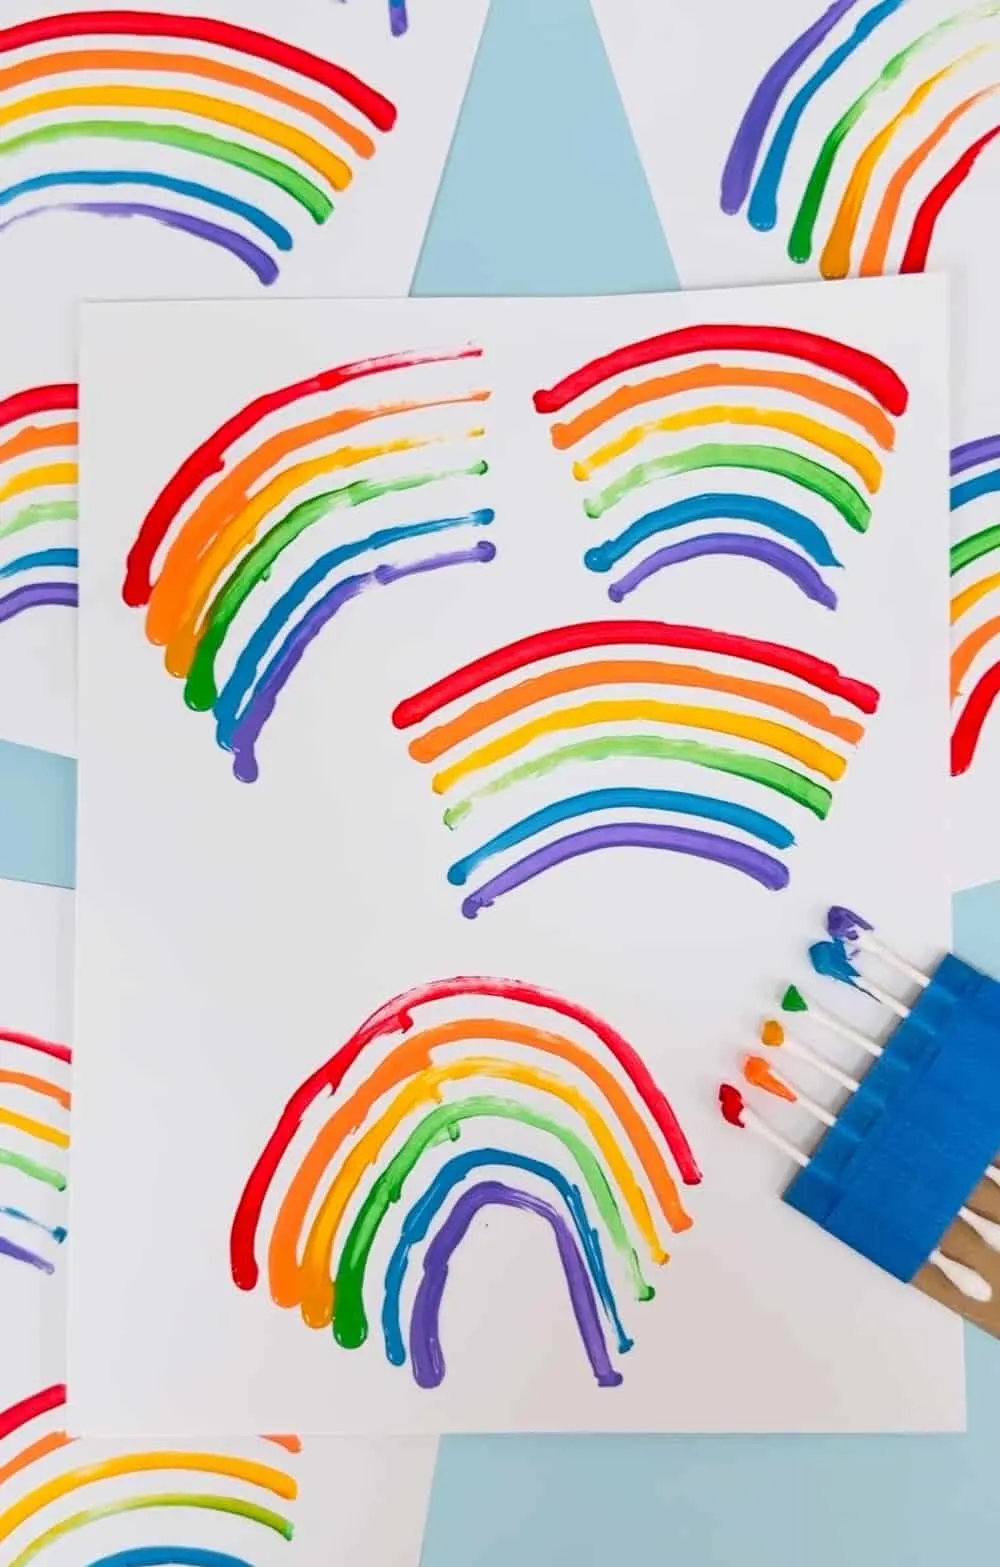
Once dry, your child’s Q-Tip painted rainbow is ready to be displayed proudly on the fridge, a bulletin board, or framed for their room.
Why This Is a Great Rainbow Craft for Kids:
- Simple: It doesn’t get much easier than this when it comes to setup and cleanup, especially if you’re looking for a mess-free project!
- Learning Colors: This activity is a fantastic opportunity for kids to learn about colors.
- Motor Skills: Coordinating the hand movement to create the arc of the rainbow is great for fine motor skill development.
- Creativity: Every rainbow will be unique, encouraging kids to embrace their individual creativity.
- Inexpensive: This craft uses materials that are readily available at home.
- Versatility: Not just rainbows, kids can use this technique to paint other designs too!
Final Thoughts
Creating rainbows with Q-Tips is an activity that can brighten any day and is a simple craft to introduce your little artists to the colors of the rainbow! Hope you try this beautiful rainbow art and enjoy the art process!
Q-Tip Rainbow Craft - Cute Rainbow Art For Kids


Materials
- Q-Tips (6 for each color of the rainbow)
- Small piece of cardboard
- Tape (masking or painter's tape is ideal)
- Paint (red, orange, yellow, green, blue, and purple) we used acrylic paint
- White cardstock
Instructions
- Assemble Your Paintbrush: Take six Q-Tips and line them up side by side on the cardboard, making sure the cotton ends are even. Give about 1/2" of space in between them. Tape them down firmly with the tape. This will be your rainbow paintbrush.
- Painting Time: Squeeze out a little of each color of the rainbow right on top of each tip.
- Create Your Rainbow: Gently press the paint-covered Q-Tips onto your paper and sweep them across in a curved arch motion to create the rainbow. If you want a thicker rainbow, you can go back and add more paint to each tip and press down again.


Agnes Hsu is a mom of three and has been inspiring parents and kids to get creative with easy activities and family friendly recipes for over 10 years. She shares her love for creative play and kids food to her 2MM+ followers online. Agnes' commitment to playful learning and kindness has not only raised funds for charity but also earned features in prestigious nationwide publications.