

By using this site, you agree to our Terms of Use. This post may contain affiliate links. Read our disclosure policy. As an Amazon Associate I earn from qualifying purchases.
Follow us on Instagram for more fun ideas for kids!
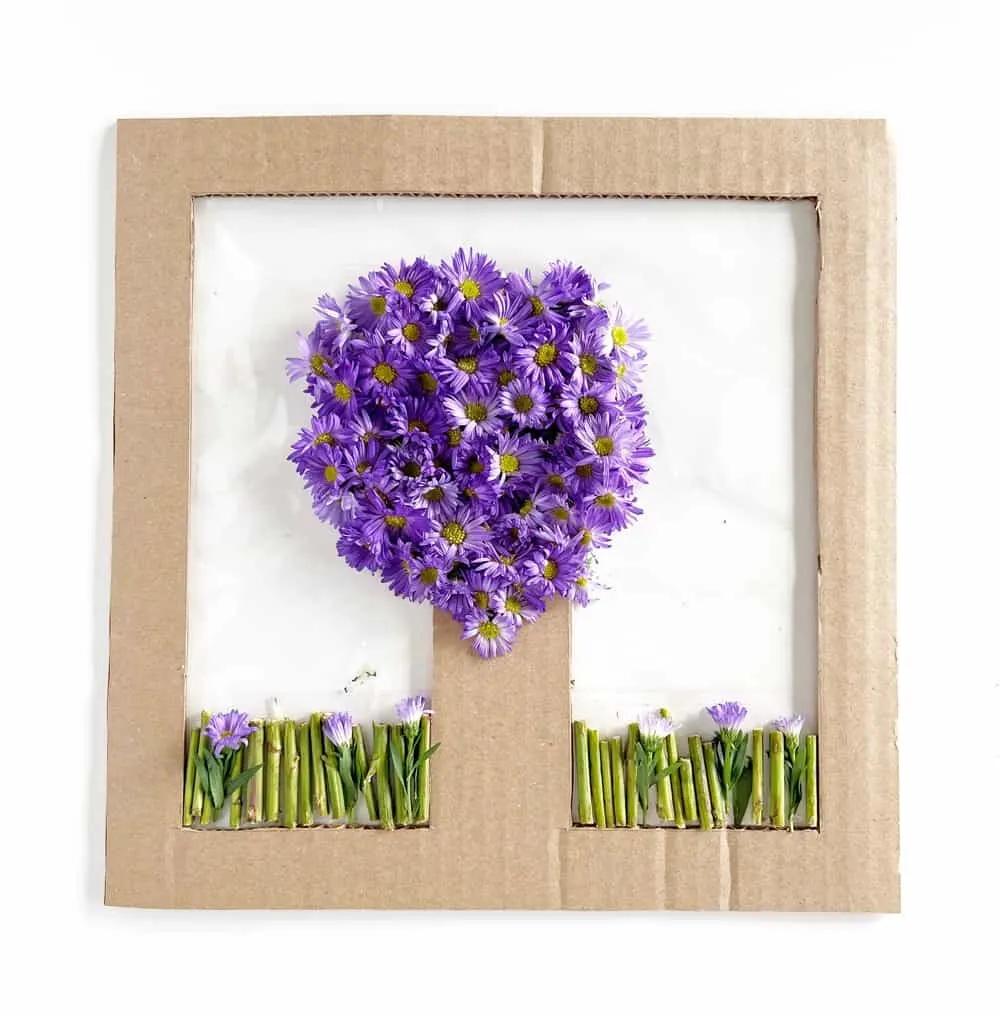
This Cardboard Flower Craft is an easy spring project for kids to make from nature items outdoors or even recycled flower bouquets.
With spring in bloom here, more sunshine and time spent outdoors these days, we made this easy Cardboard Flower Craft to celebrate the arrival of spring. Depending if flowers in your neighborhood are in bloom already, you can explore the outdoors and use those blooms and even green grass to make this beautiful craft. You can also recycled aging flower bouquets before the blooms are tossed for a fun recycled craft!
This craft was inspired by @Gaobai0328’s video on the app Douyin.


What do you need to make this cardboard flower craft with the kids?
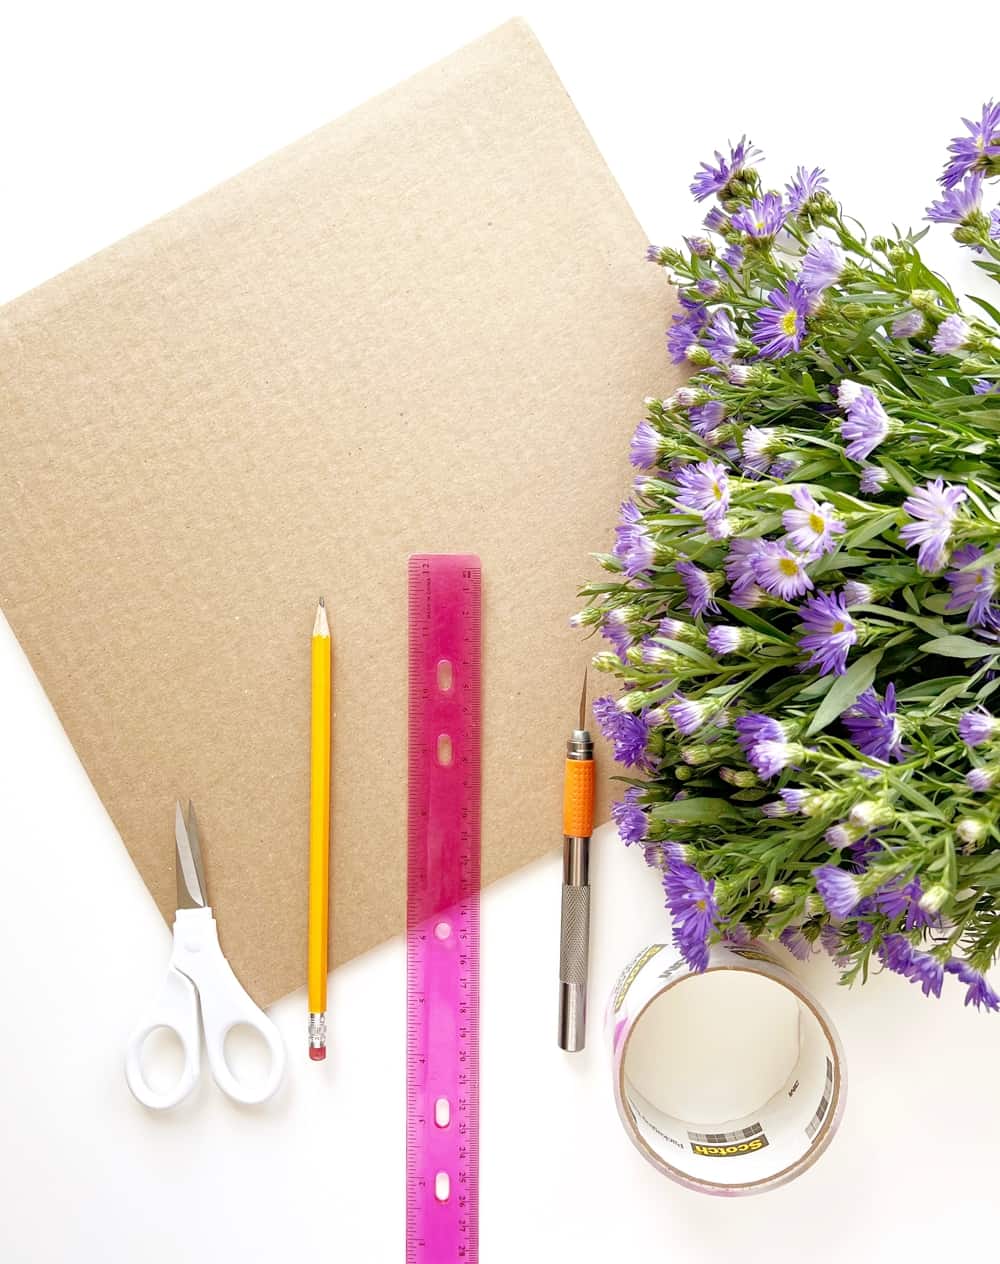
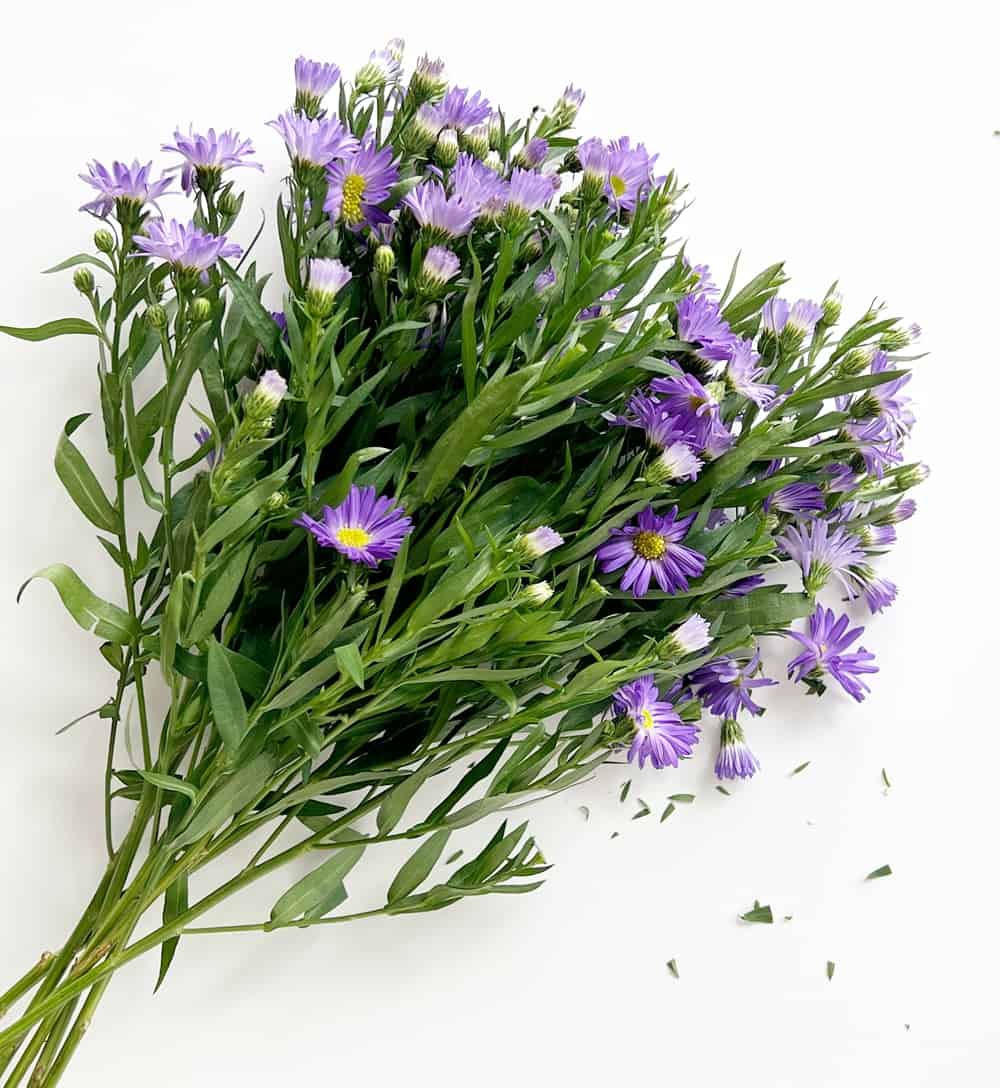
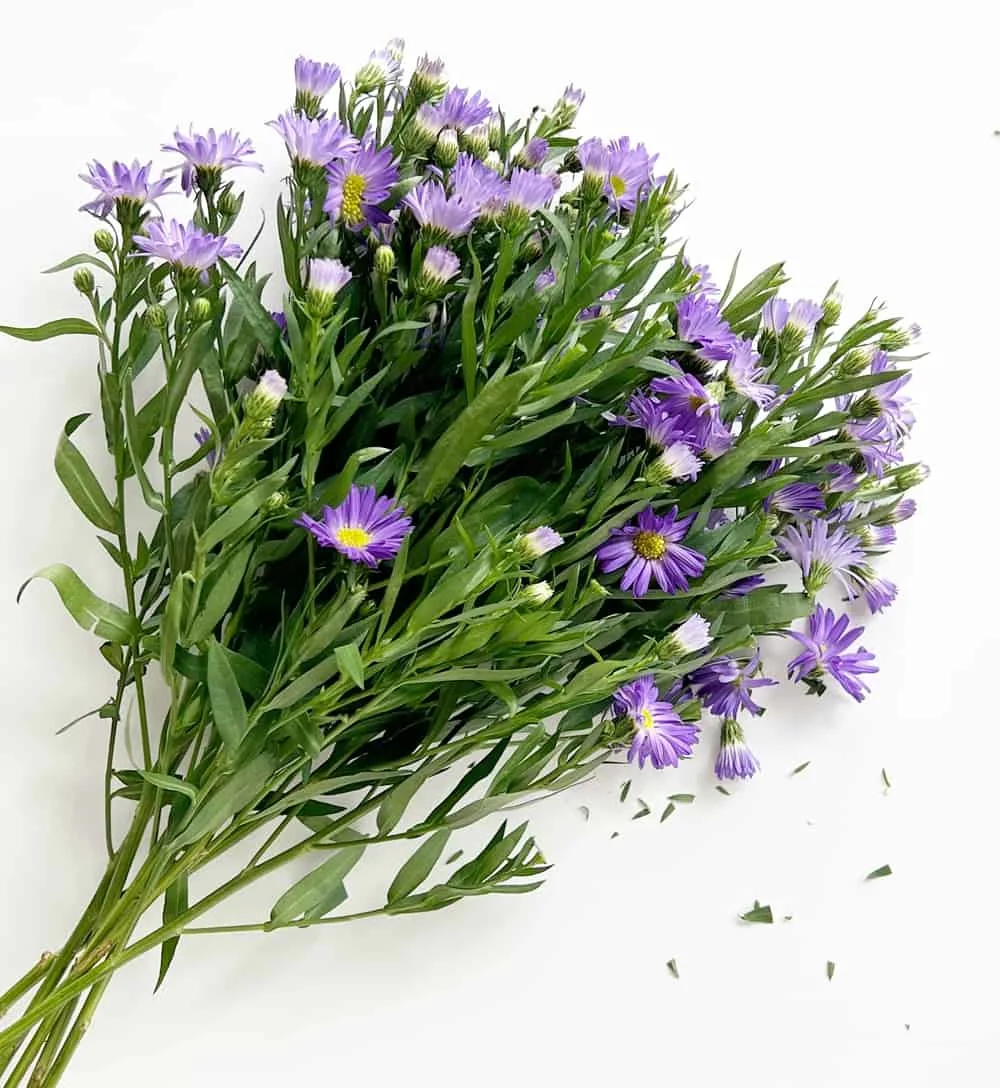
Most of the materials used for this craft we already had at home like cardboard. You can use scissors or an exacto knife and cutting mat to cut the cardboard. Since the flowers aren’t in bloom just yet, we just used a couple of inexpensive bunches from Trader Joe’s floral section to show this off. This is a beautiful tree craft with endless possibilities!
What can you do with your finished flower craft?
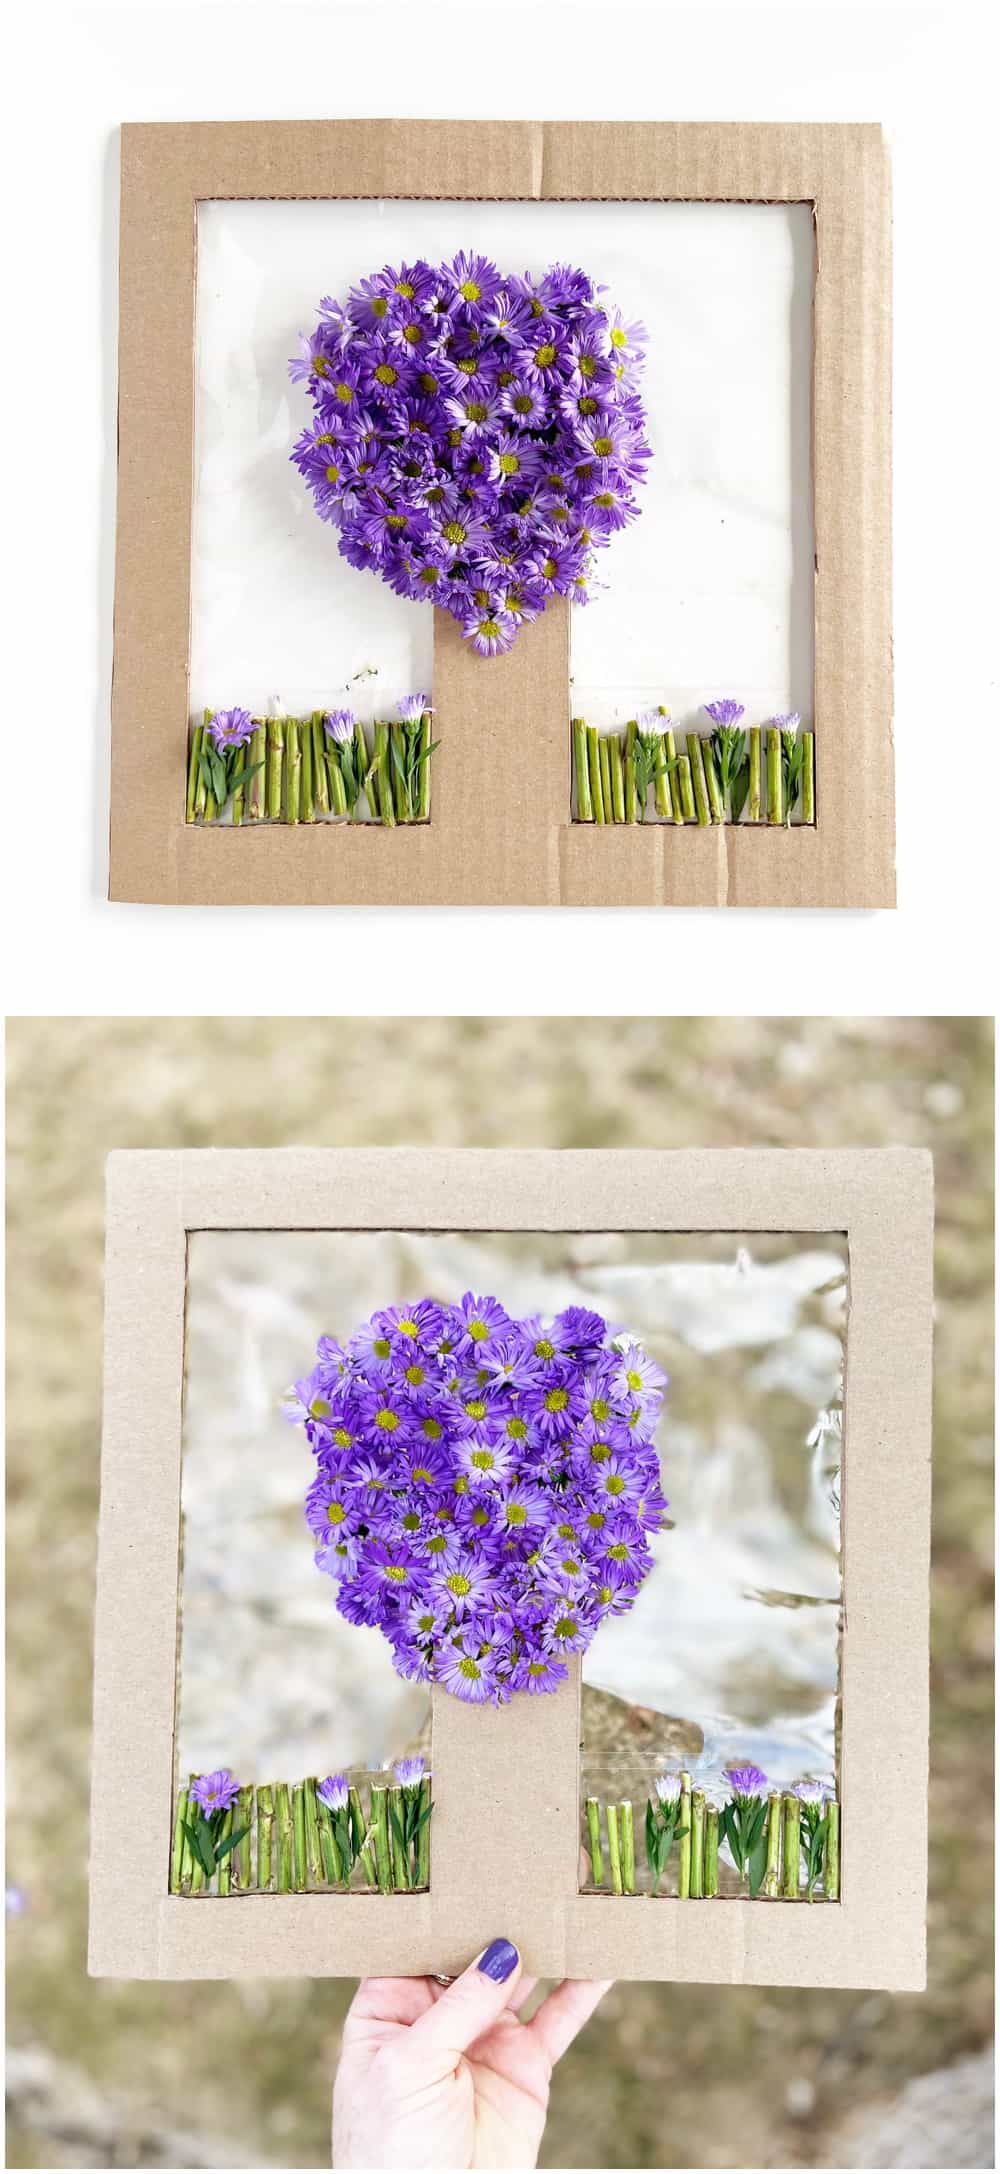
This craft would look wonderful in one of the kids windows, hanging, taped to the window, or sitting in the window frame. Make a smaller version as a centerpiece on gift wrapping or even a handmade flower card.
With Mother’s Day coming up, these would make beautiful handmade cards with craft flowers if you wanted it to last.
Cardboard Flower Craft – Materials
Cardboard
Pen or Pencil
Ruler
Scissors
Flowers


How do you make the Cardboard Flower Craft?
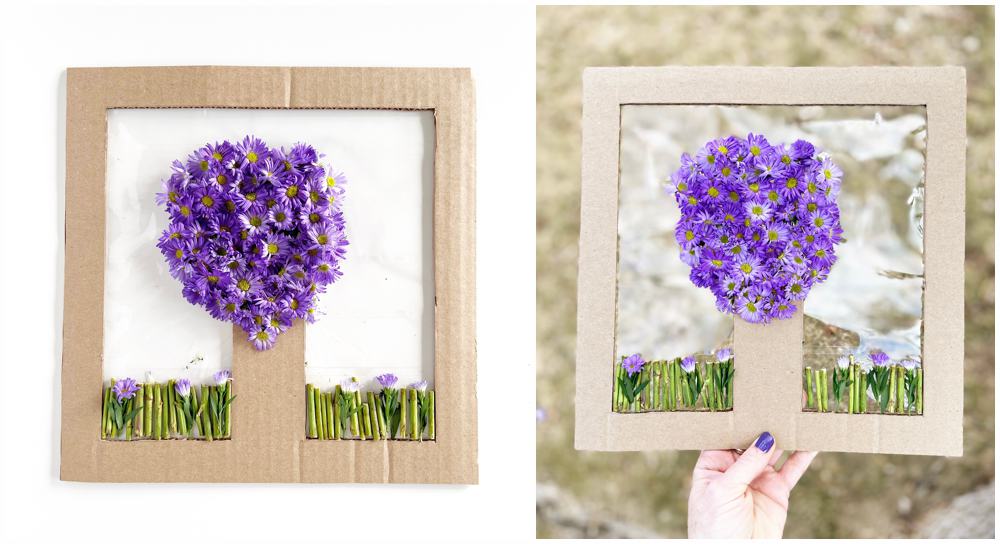
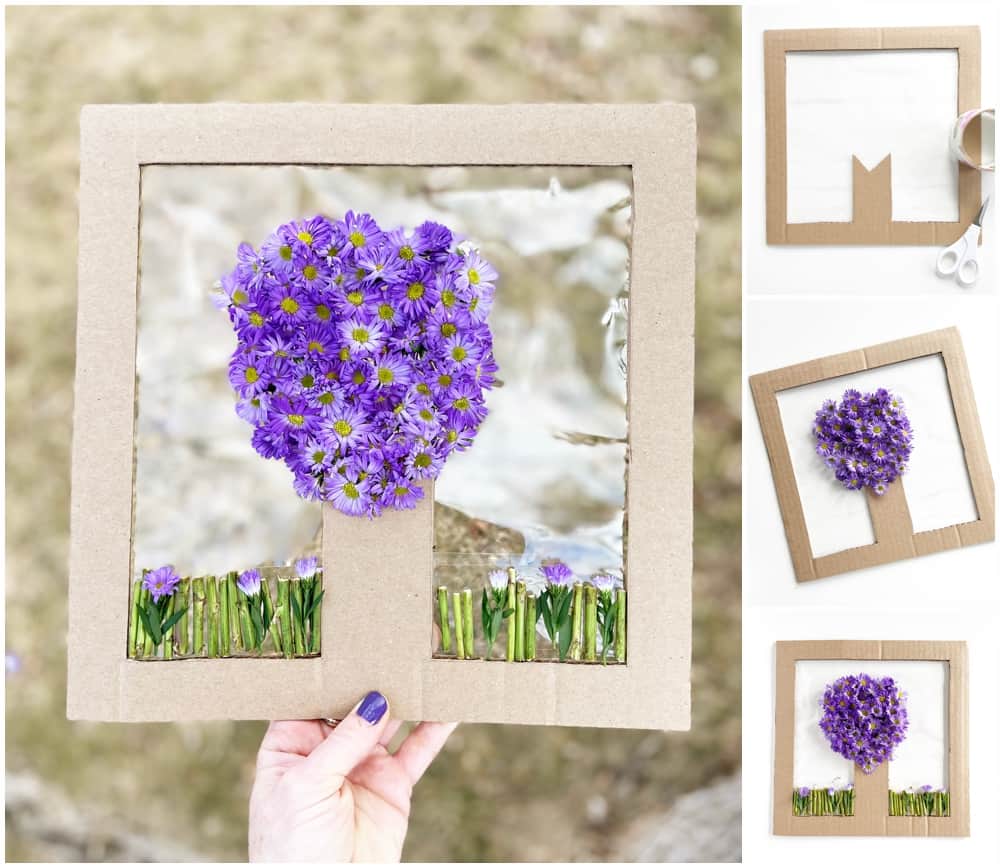
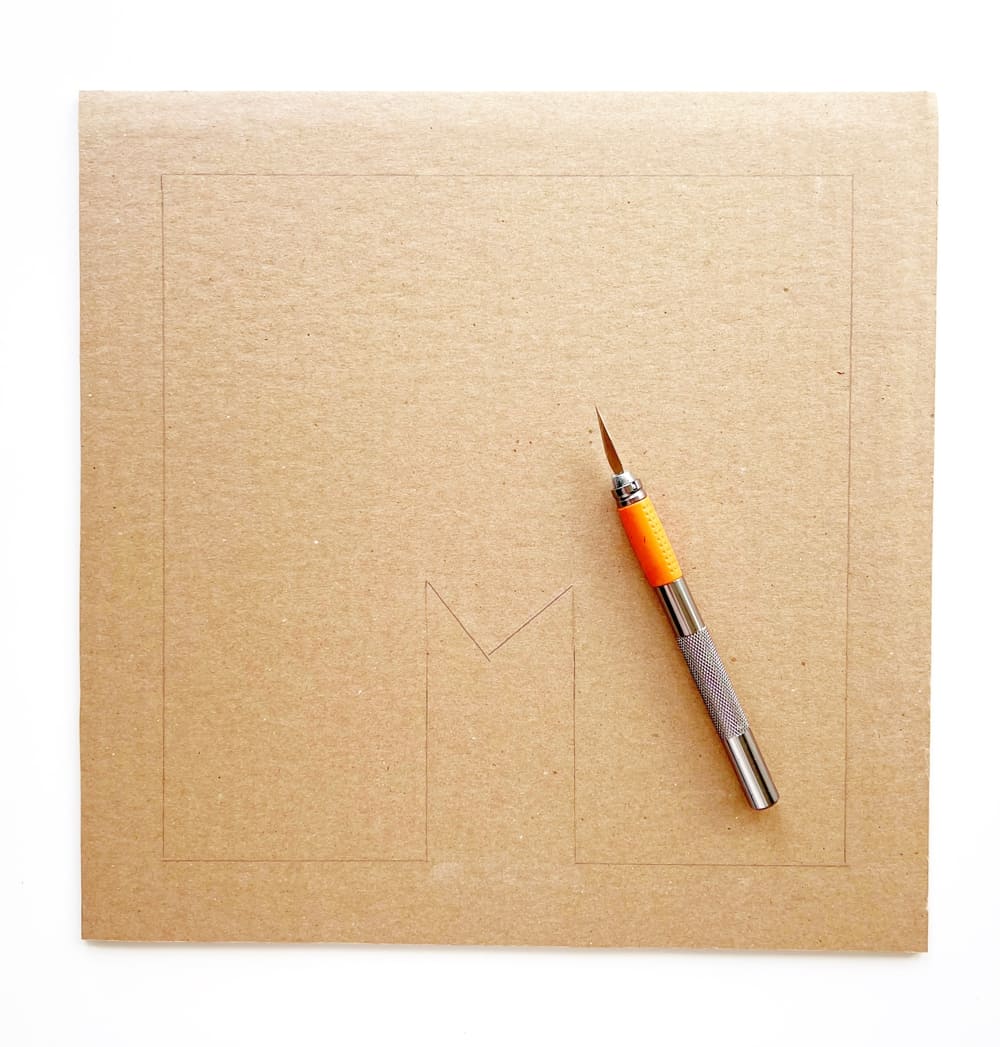
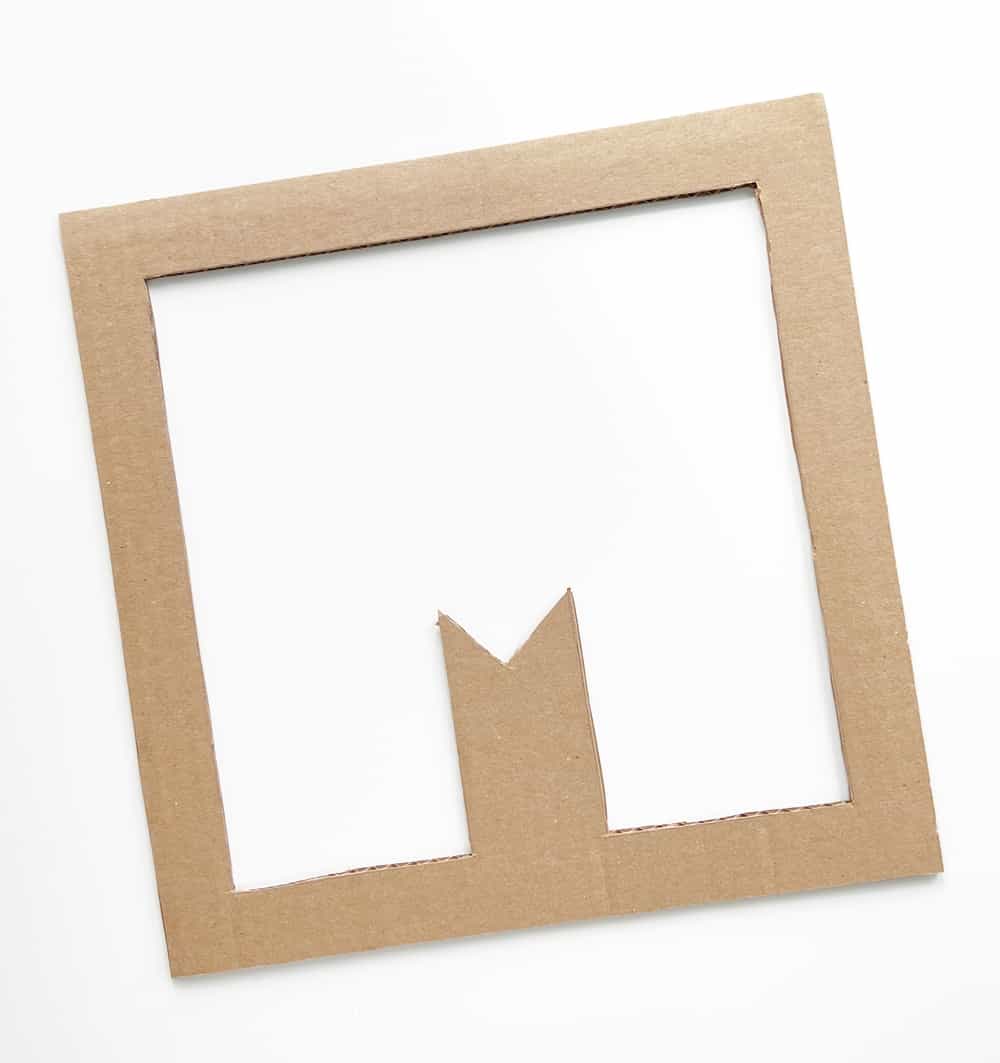
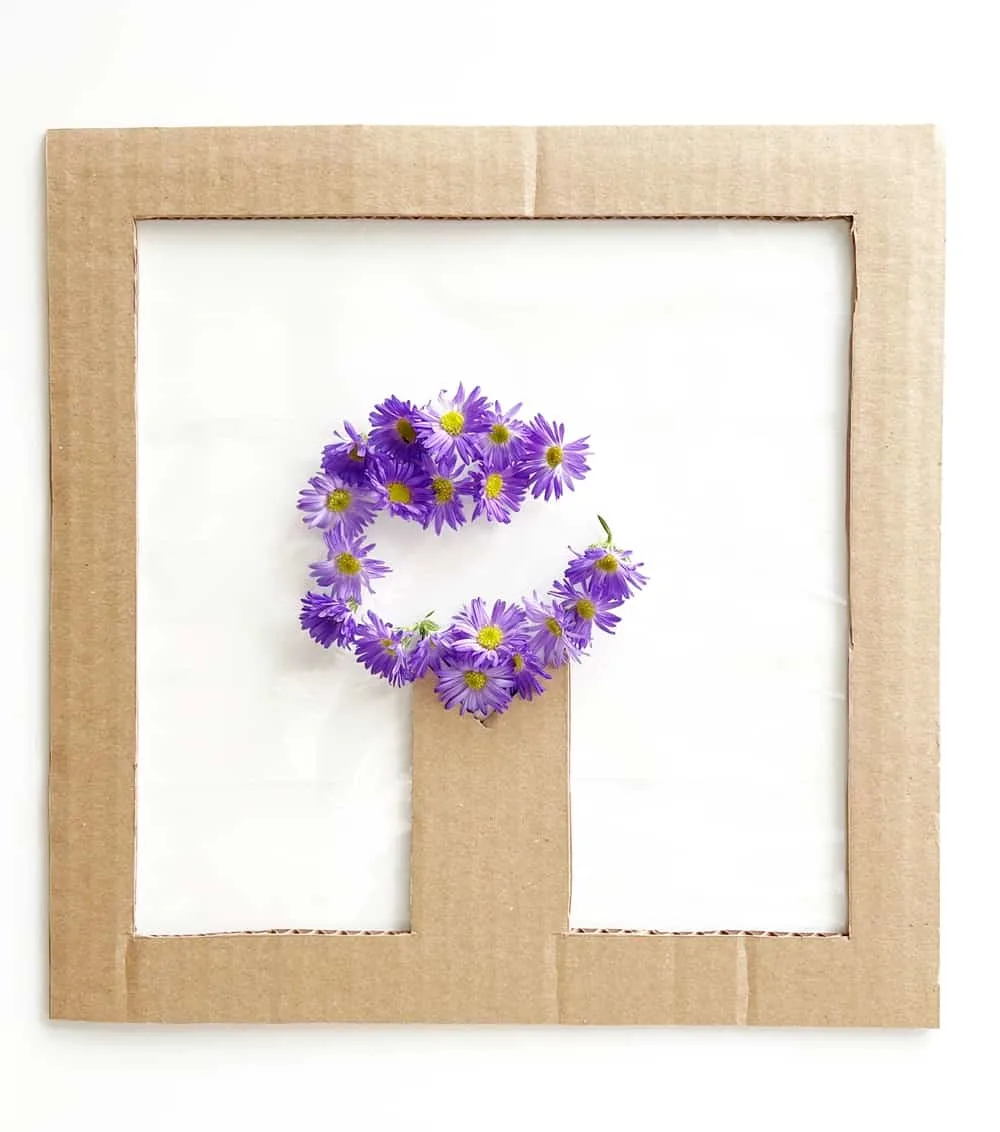
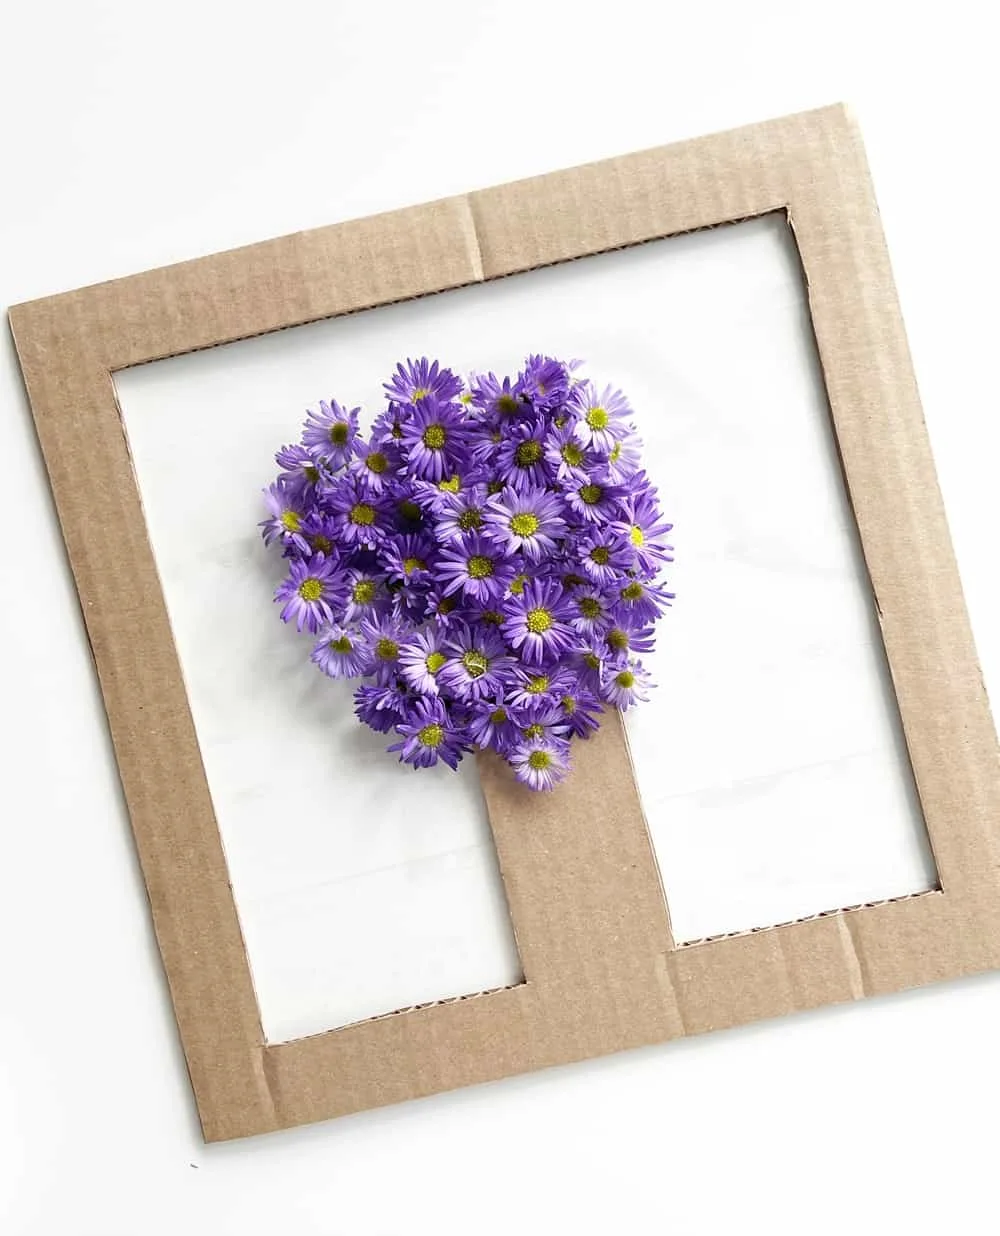
Find a box or packaging materials of cardboard and cut to a 12″ x 12″ square with scissors or Exacto knife. You can make this smaller or larger, depending on how many flowers you have.
With a pen or pencil, draw a line on the inner side, about ruler width all the way around to create a frame.
Also draw the stump/root and 2-3 short branches at the top of the root. Your cutout will represent and look like a fancy letter M.
Using an Exacto or craft knife, cut out along the lines, remove cut part as a whole and you’ll create a frame.
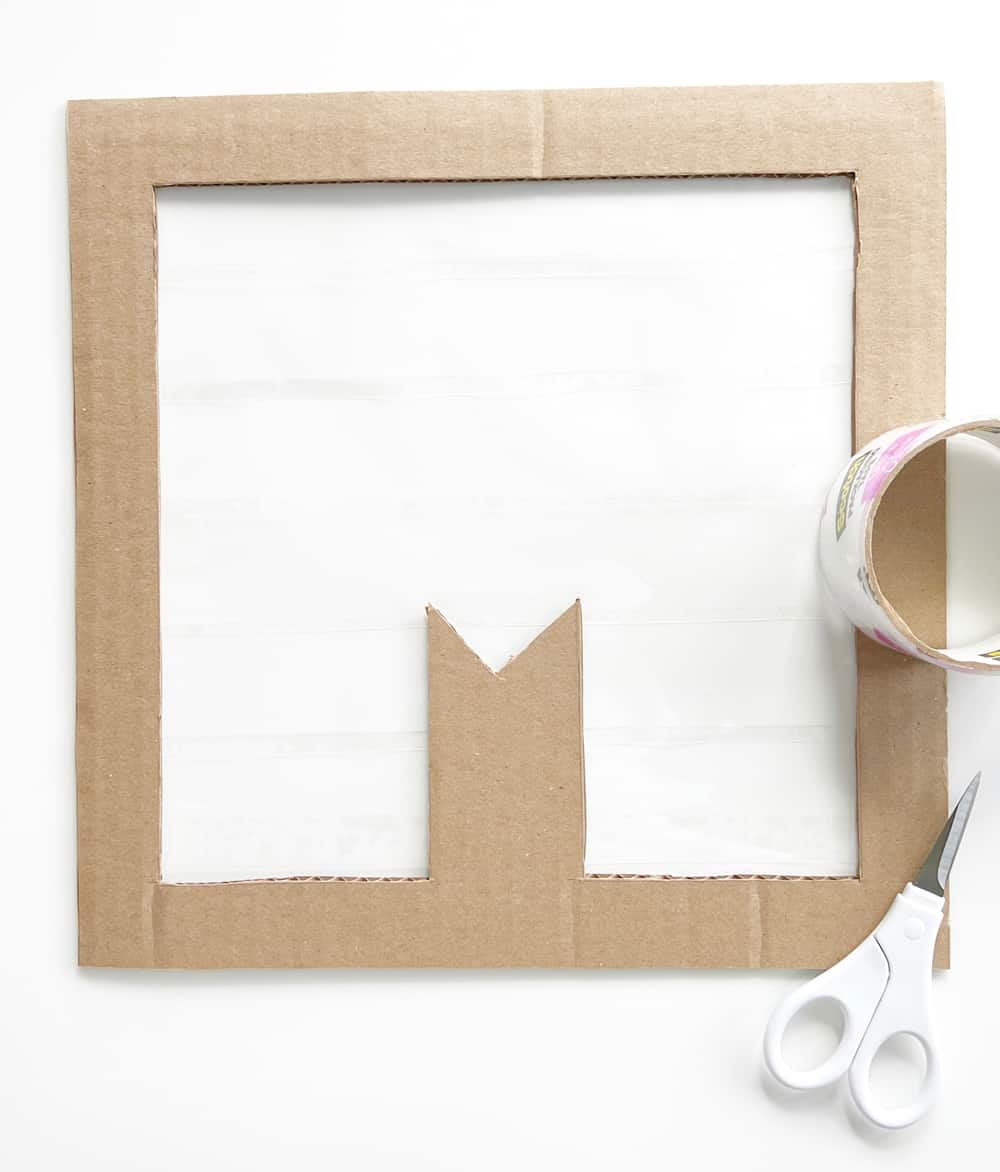
Flip frame over and one layer at a time, cut and adhere a layer of clear packaging tape to backside of frame, top. Overlap each row just a little and keep adding rows of tape until you’ve covered the entire frame.
Flip back over to the front side and it will be sticky.
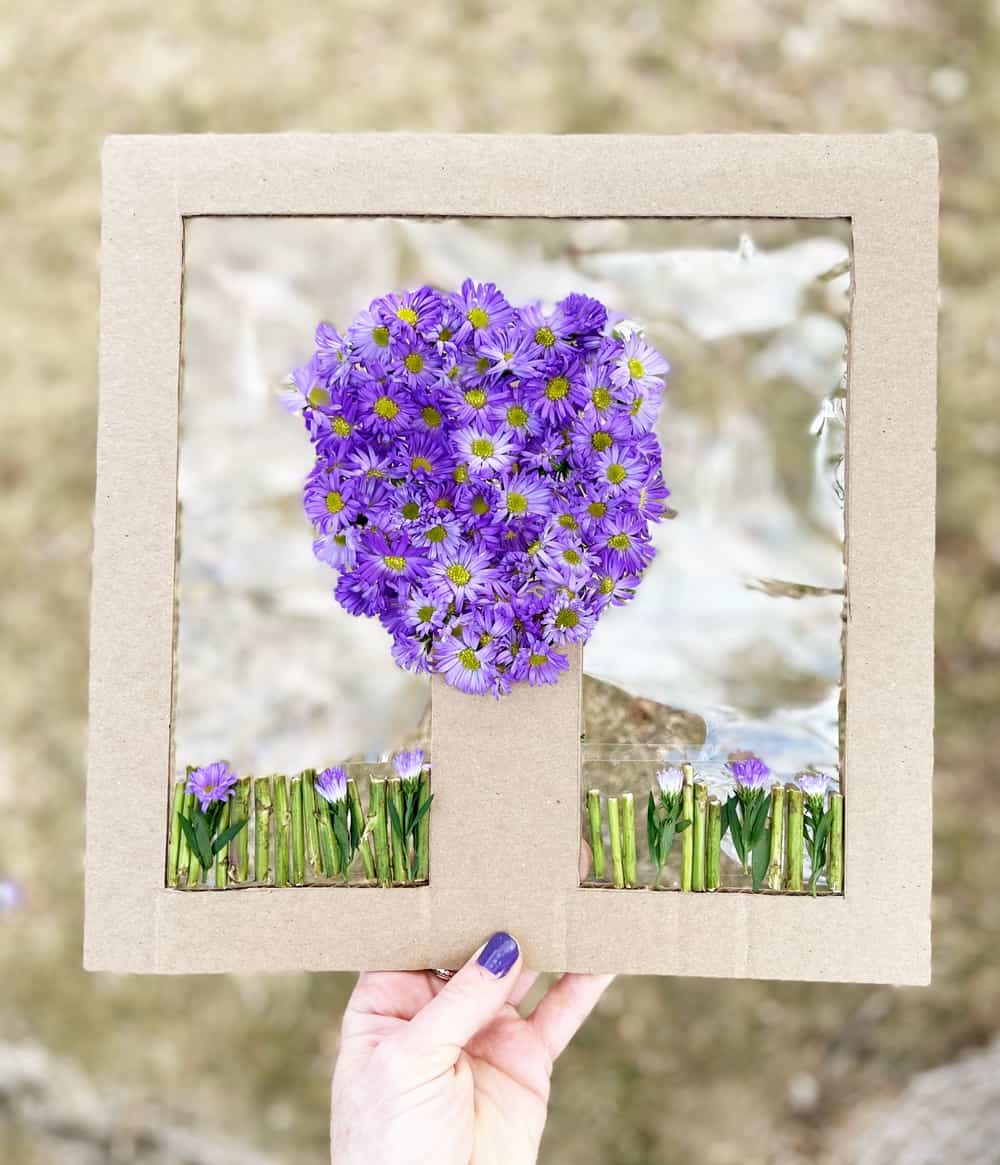
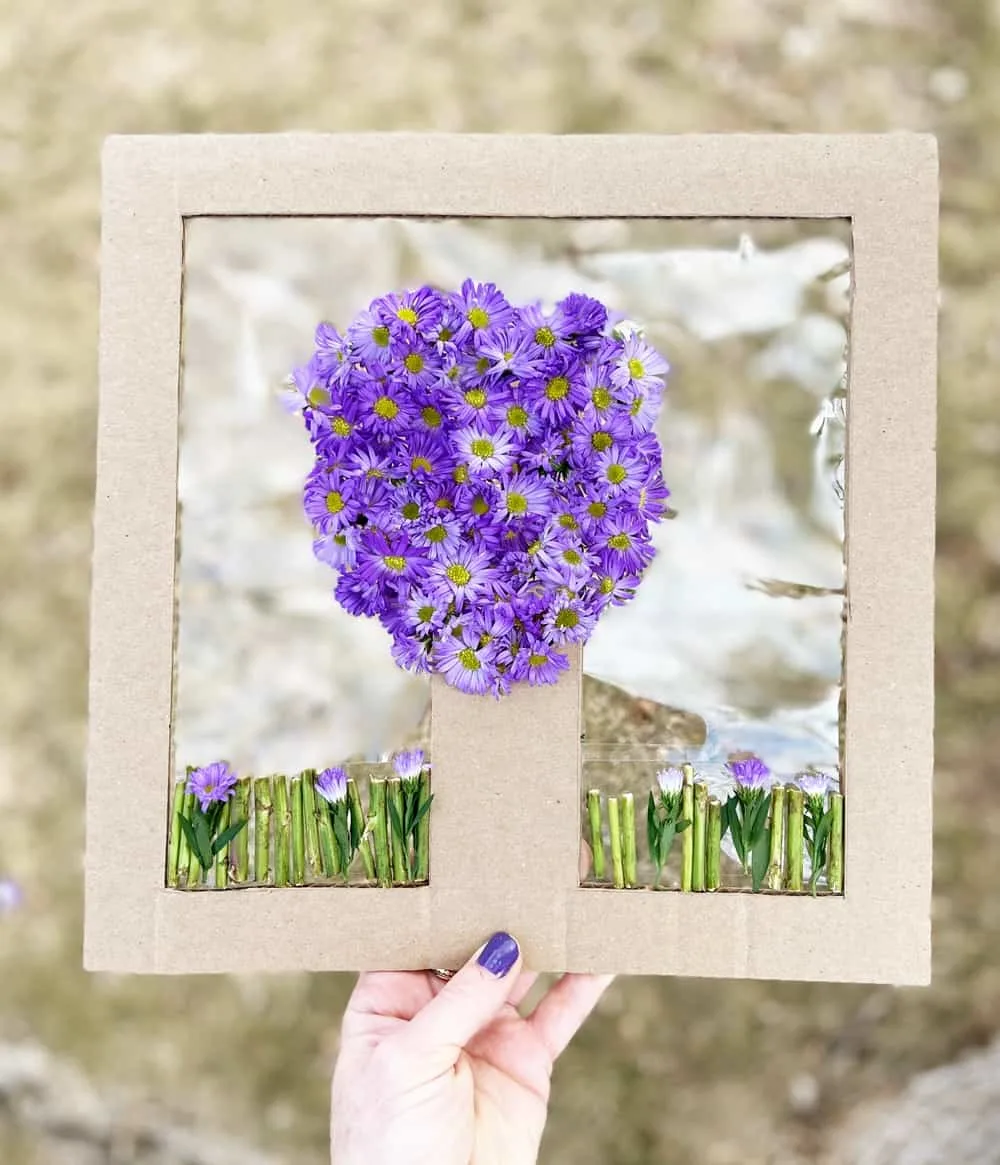
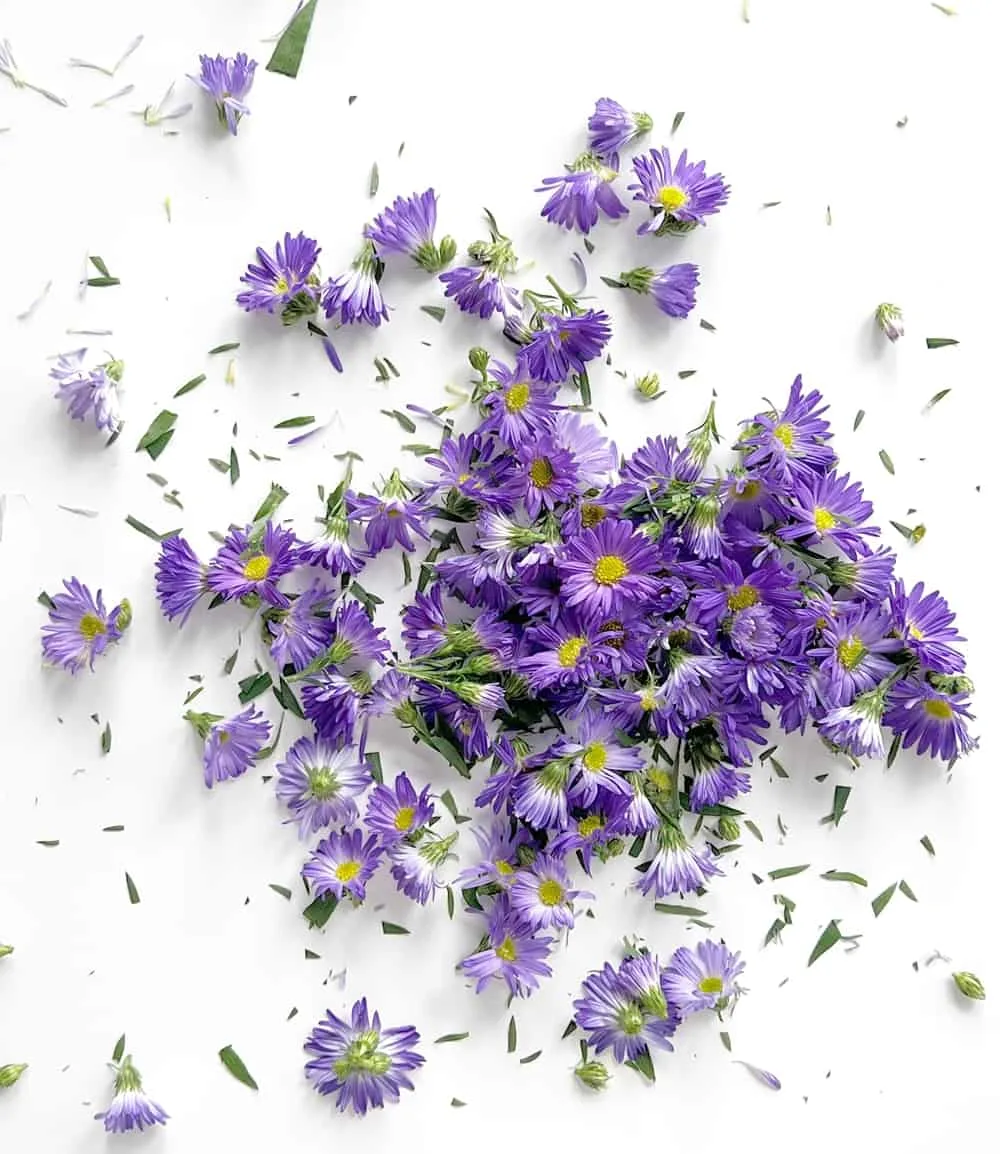
Trim the blooms from your flowers with as flat of bottom as possible and add each flower to the top of the flower in a circular shape. Press lightly for the blooms to adhere.
Cut smaller parts of the flower or the stem to create another small flower patch along the bottom, on both sides of the flower. You could also use leaves from any blooming trees in your area for the bottom, representing the ground and transition from winter to spring.
Watch the video in this post
Step 1. Find a box or packaging materials of cardboard and cut to a 12" x 12" square with scissors or Exacto knife. You can make this smaller or larger, depending on how many flowers you have. Step 2. With a pen or pencil, draw a line on the inner side, about ruler width all the way around to create a frame. Step 3. Also draw the stump/root and 2-3 short branches at the top of the root. Your cutout will represent and look like a fancy letter M. Step 4. Using an Exacto or craft knife, cut out along the lines, remove cut part as a whole and you'll create a frame. Step 5. Flip frame over and one layer at a time, cut and adhere a layer of clear packaging tape to backside of frame, top. Overlap each row just a little and keep adding rows of tape until you've covered the entire frame. Flip back over to the front side and it will be sticky. Step 6. Trim the blooms from your flowers with as flat of bottom as possible and add each flower to the top of the flower in a circular shape. Press lightly for the blooms to adhere. Step 7. Cut smaller parts of the flower or the stem to create another small flower patch along the bottom, on both sides of the flower. You could also use leaves from any blooming trees in your area for the bottom, representing the ground and transition from winter to spring.This Cardboard Flower Craft Is A Fun Spring Activity For Kids
Instructions
Sunflower Shaving Cream Activity


Agnes Hsu is a mom of three and has been inspiring parents and kids to get creative with easy activities and family friendly recipes for over 10 years. She shares her love for creative play and kids food to her 2MM+ followers online. Agnes' commitment to playful learning and kindness has not only raised funds for charity but also earned features in prestigious nationwide publications.