
By using this site, you agree to our Terms of Use. This post may contain affiliate links. Read our disclosure policy.
Follow us on Instagram for more fun ideas for kids!
Making tissue paper butterflies is a great way to encourage creativity and imagination while also celebrating spring with kids.
Spring is in the air and it’s the perfect time to get crafty with your kids! One fun and easy springtime project that kids of all ages will love is making tissue paper butterflies. This colorful butterfly craft is a great way to get your kids excited about the changing seasons while also encouraging their creativity and imagination.
Whether you’re looking for a fun indoor activity or just want to add some springtime charm to your home, this is the perfect project for you and your little ones.


What do you need to make tissue paper butterflies?
This project could not be simpler which is why I’m so excited to share it with you today! You’ll need just 3 easy supplies I bet you already have at home; tissue paper, and pipe cleaners. Yep, that’s all you’ll need to create these gorgeous fluttering beauties.
Follow the step-by-step video in this post to create beautiful and unique tissue paper butterflies that are sure to bring a smile to everyone’s face.
As always, I recommend using high-quality materials (don’t skimp and use tissue paper that is flimsy and will tear easily). This will ensure your tissue butterflies last a while.
Feel free to to take your time to ensure that each butterfly is crafted with care and precision. With a little bit of patience and a lot of imagination, you and your kids will have a wonderful time creating these whimsical decorations that will brighten up any room in your home.
Tissue Paper Butterflies – Materials:
- Tissue paper in various colors
- Scissors
- Pipe cleaners
How to decorate your paper butterflies
There are so many fun ways to adorn your tissue paper butterflies! Here are some fun crafty ideas:
- add googly eyes for fun looks
- Thread beads through the antennas (which makes a great fine motor skills activity)
- Glue buttons to the center of the pipe cleaners.
- Glue glitter to the wings or have kids draw or the tissue paper before cutting them into wings


How to display your tissue butterflies?
- Hanging mobile: Create a whimsical mobile by hanging tissue paper butterflies from a wire hoop or a stick. Or just use glue dots. You can use different sizes and colors of butterflies to create a cascading effect.
- Wall decor: Arrange your tissue paper butterflies in a pattern on a blank wall for a unique and colorful decoration. You can create a butterfly wall mural or simply add a few butterflies as an accent piece.
- Gift wrapping: Add a special touch to your gift wrapping by attaching a tissue paper butterfly on top of your gift wrap instead of a bow. This is a great way to make your gift stand out and add a personalized touch.
- Table centerpieces: Create a stunning and unique centerpiece for your table by arranging tissue paper butterflies in a vase or a bowl. You can add some flowers or greenry to create a beautiful nature display.
- Window display: Hang your tissue paper butterflies from the ceiling or attach them to the window frame. This is a great way to add some color and life to your windows.
- Party decorations: Use tissue paper butterflies as part of your party decor. You can hang them from the ceiling or use them as cute table centerpieces or favors.

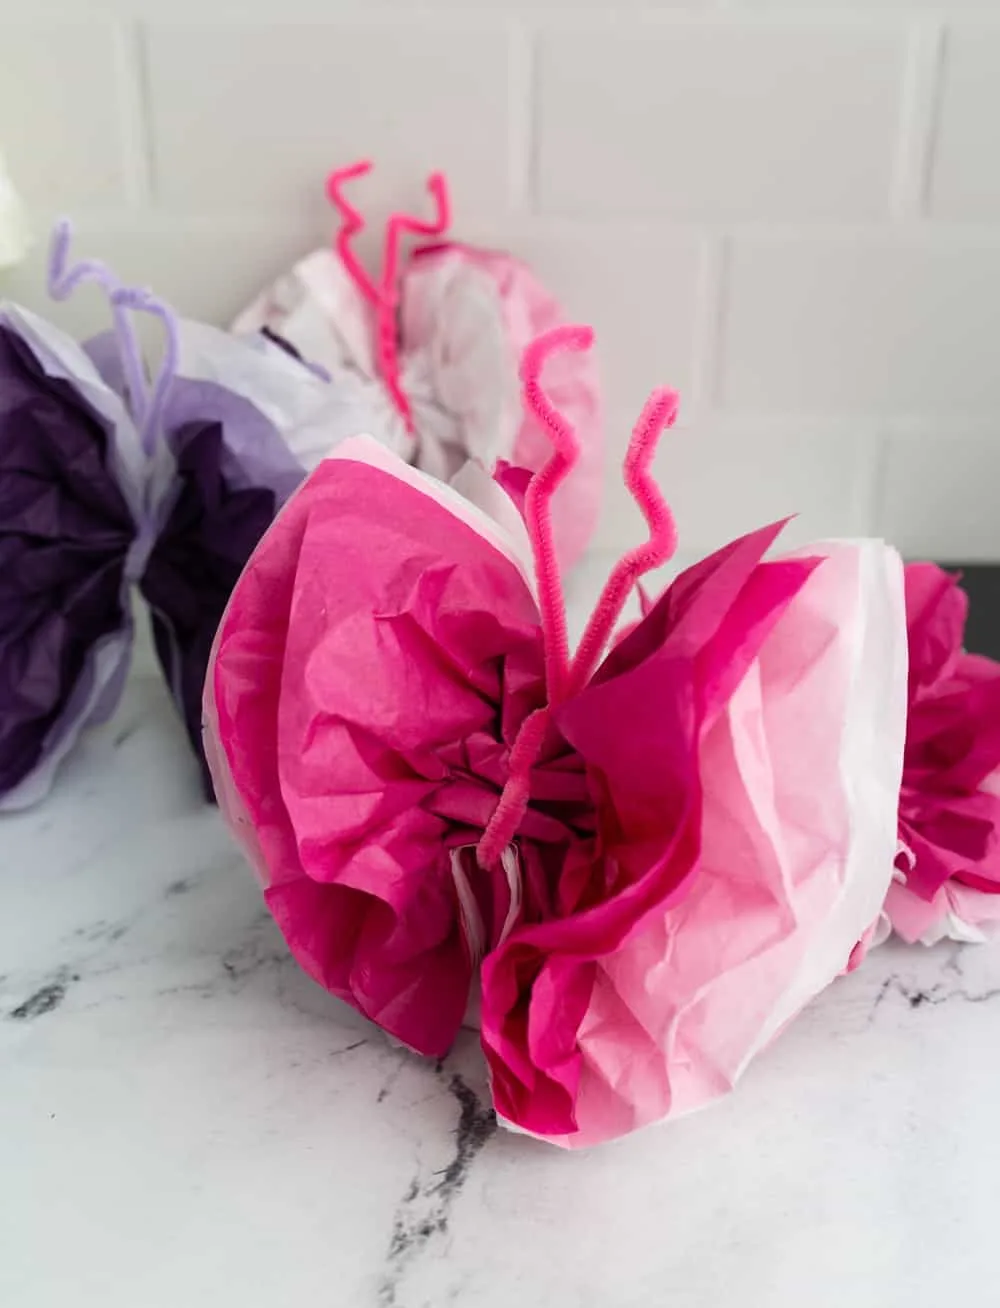
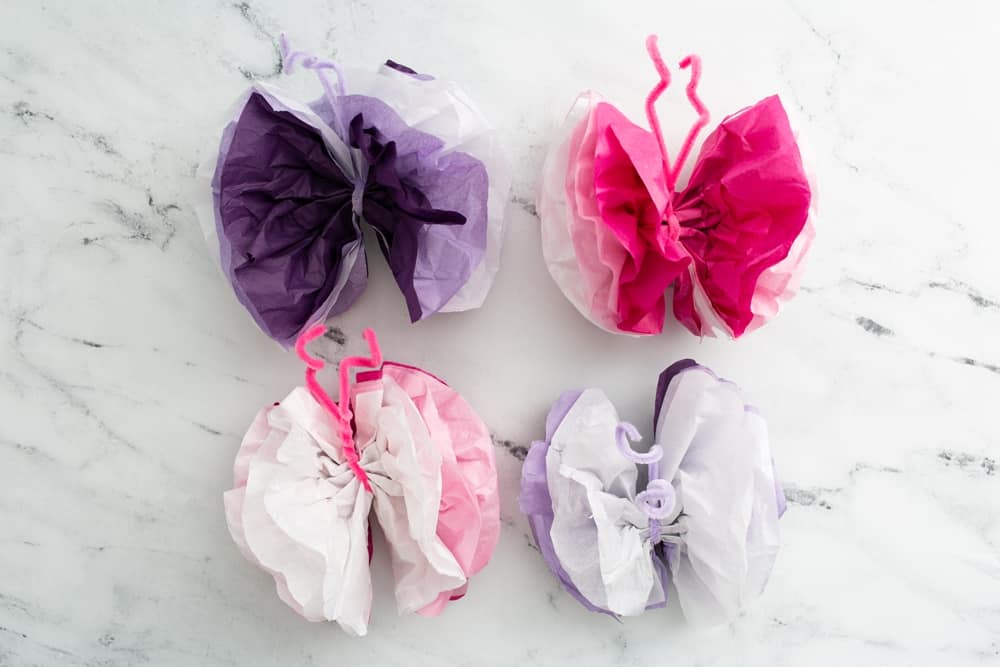
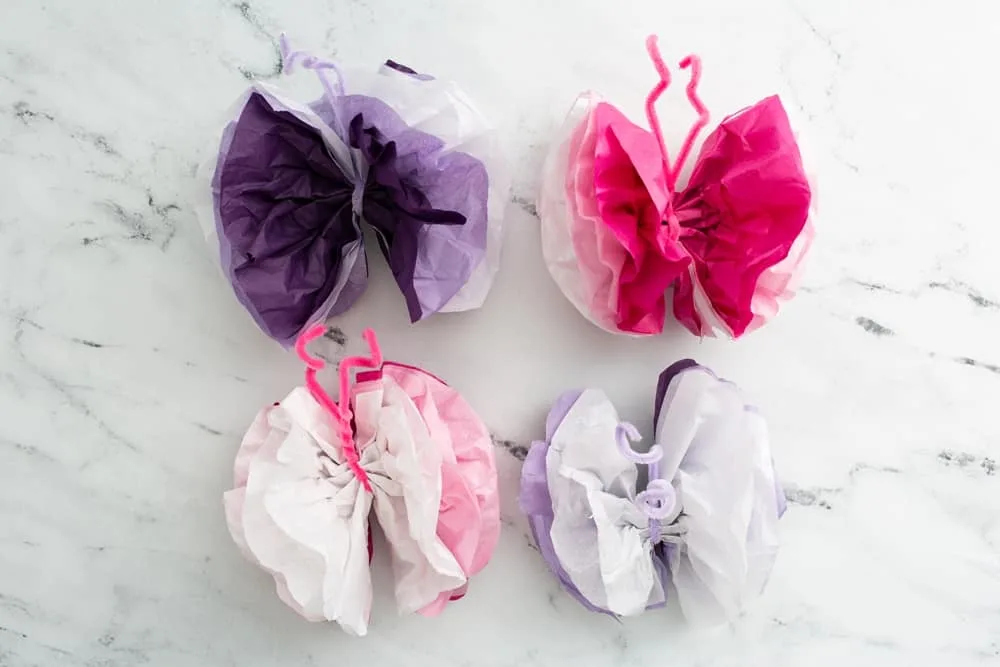
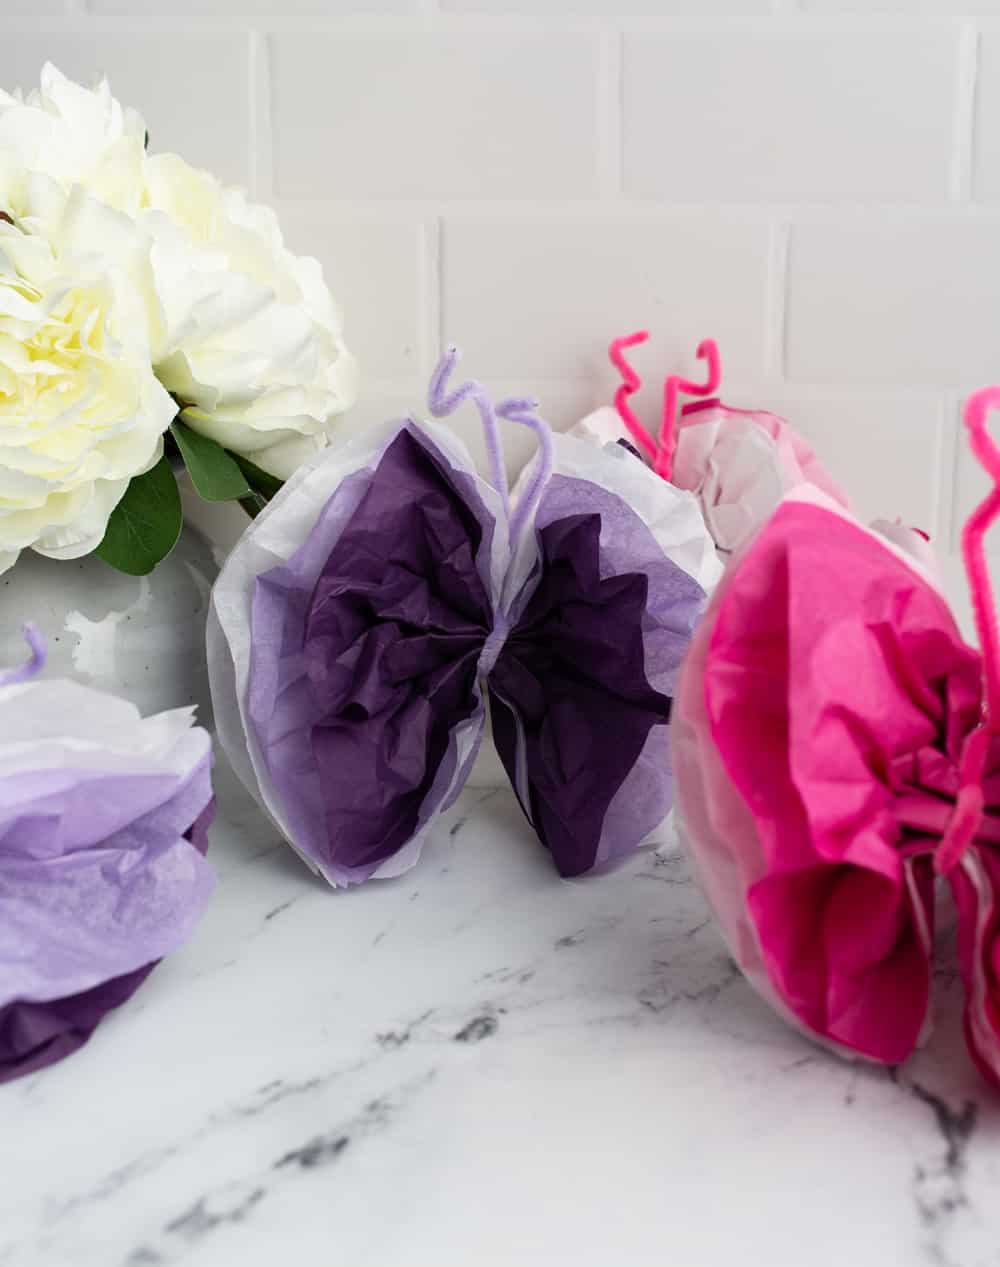
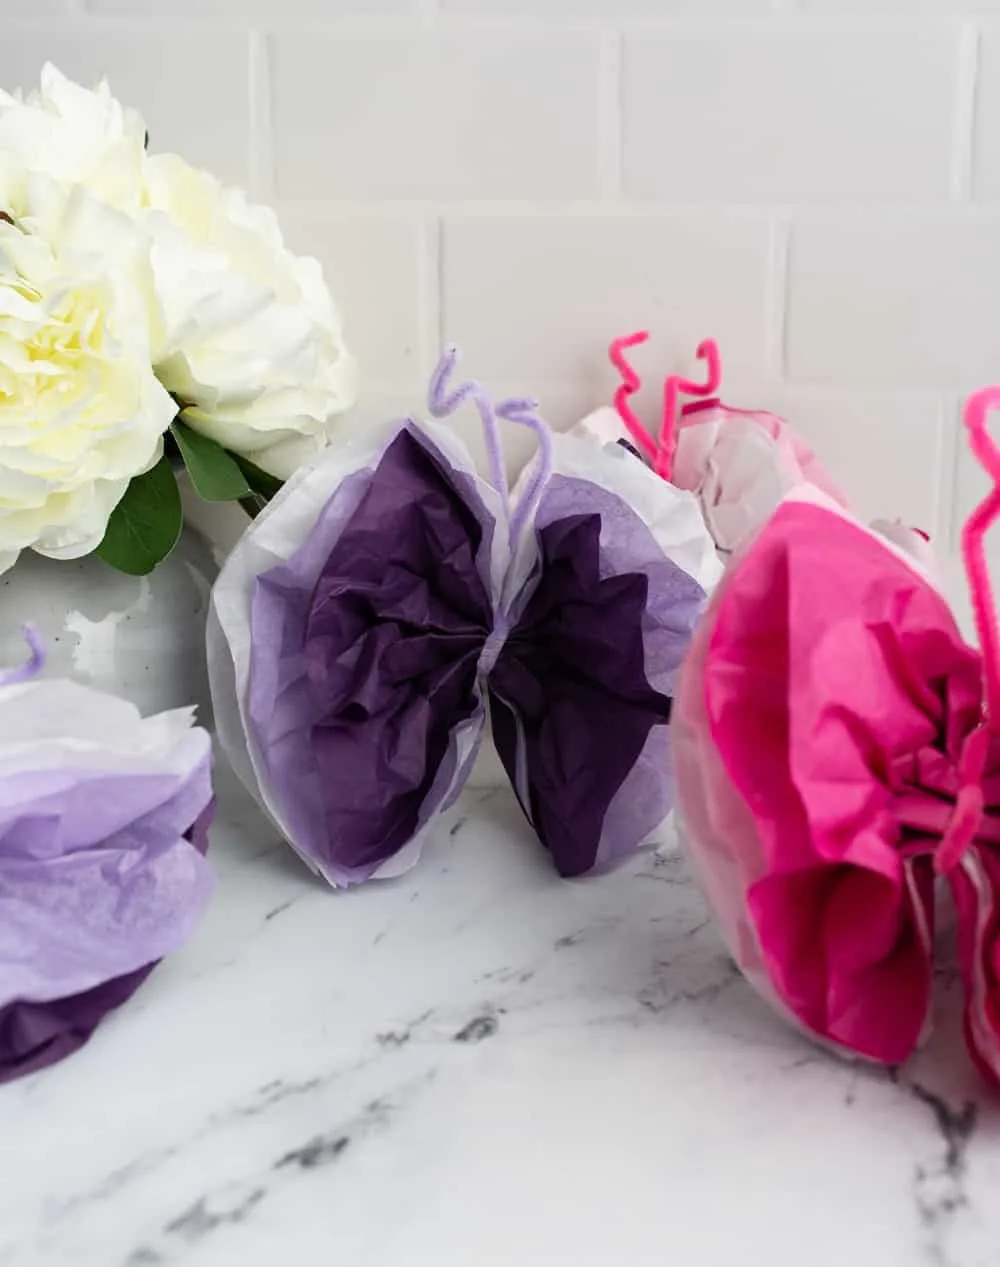
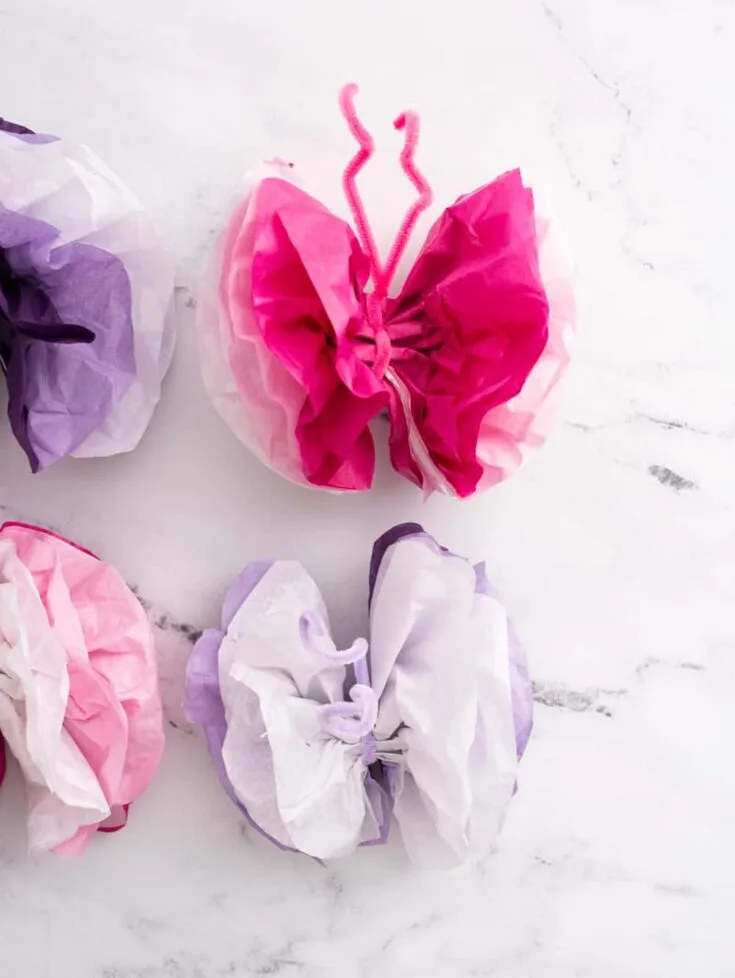
How to make tissue paper butterflies
(watch the video on this post – it’s the easiest way to watch step-by-step how to make these beautiful butterflies!)
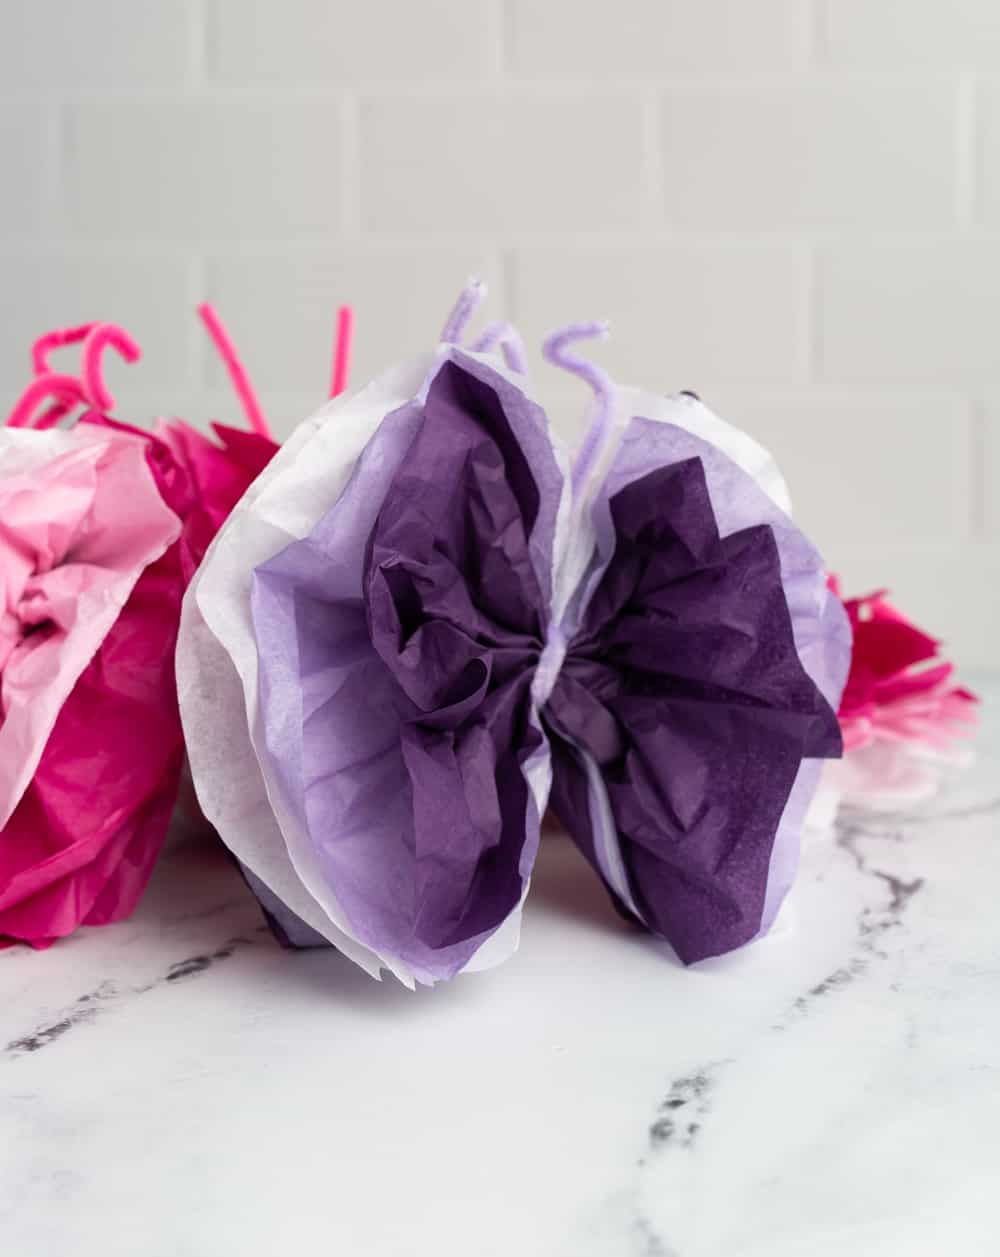
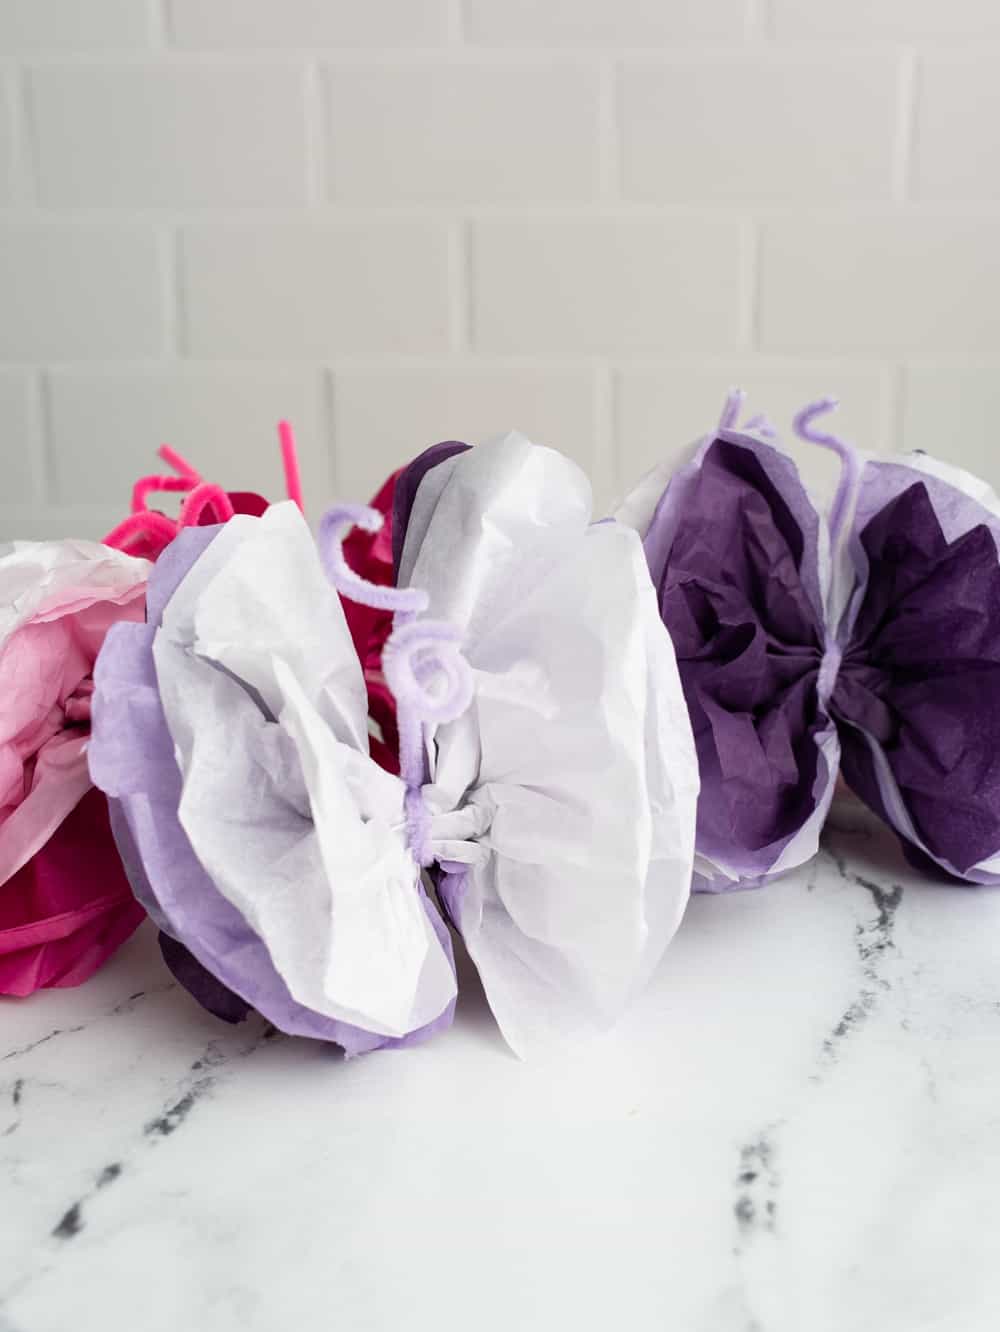
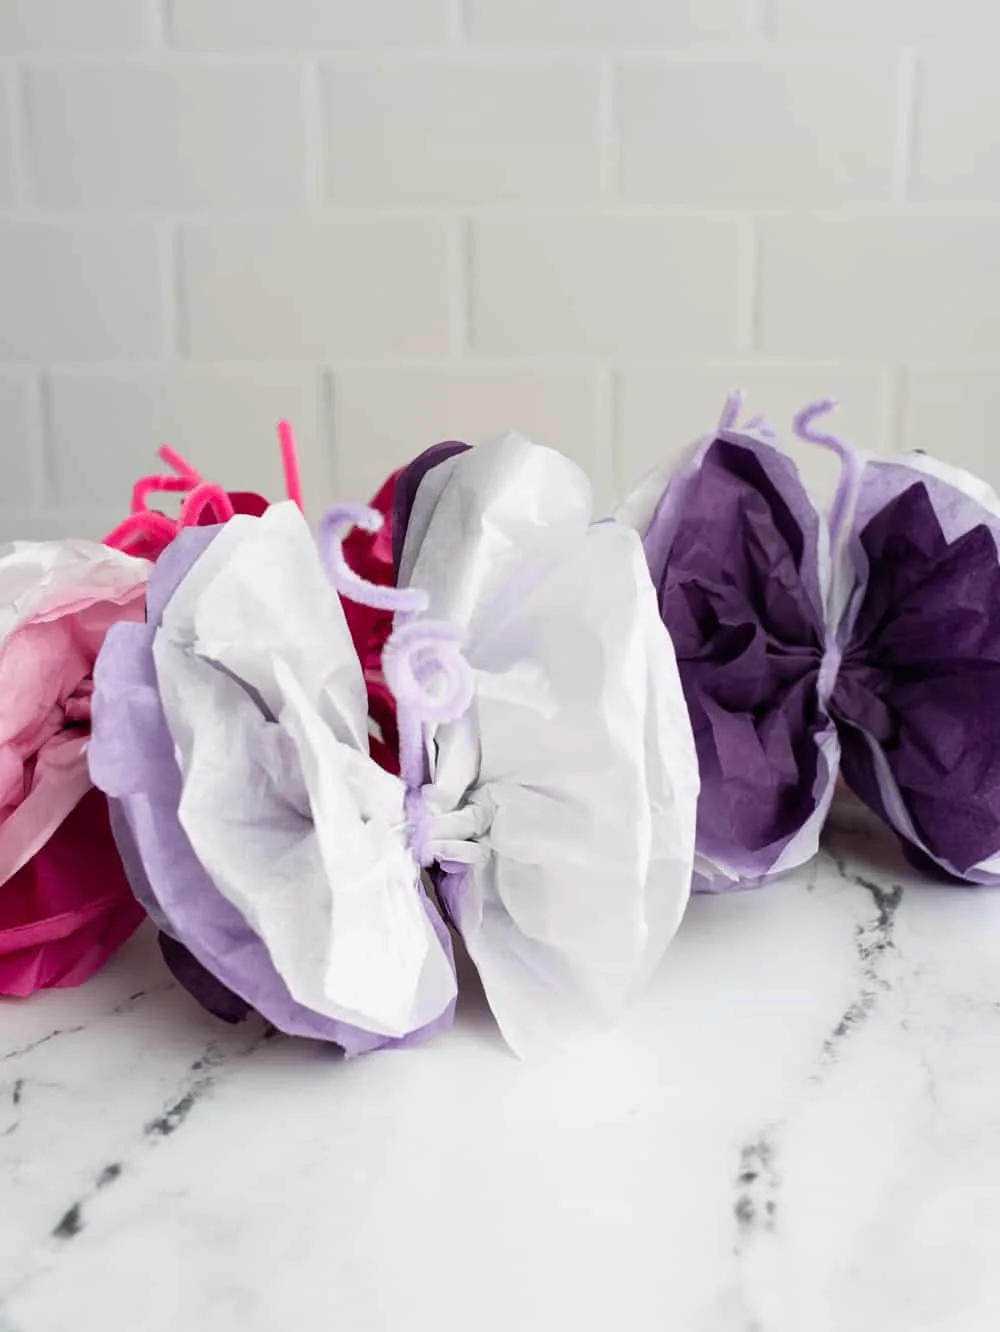
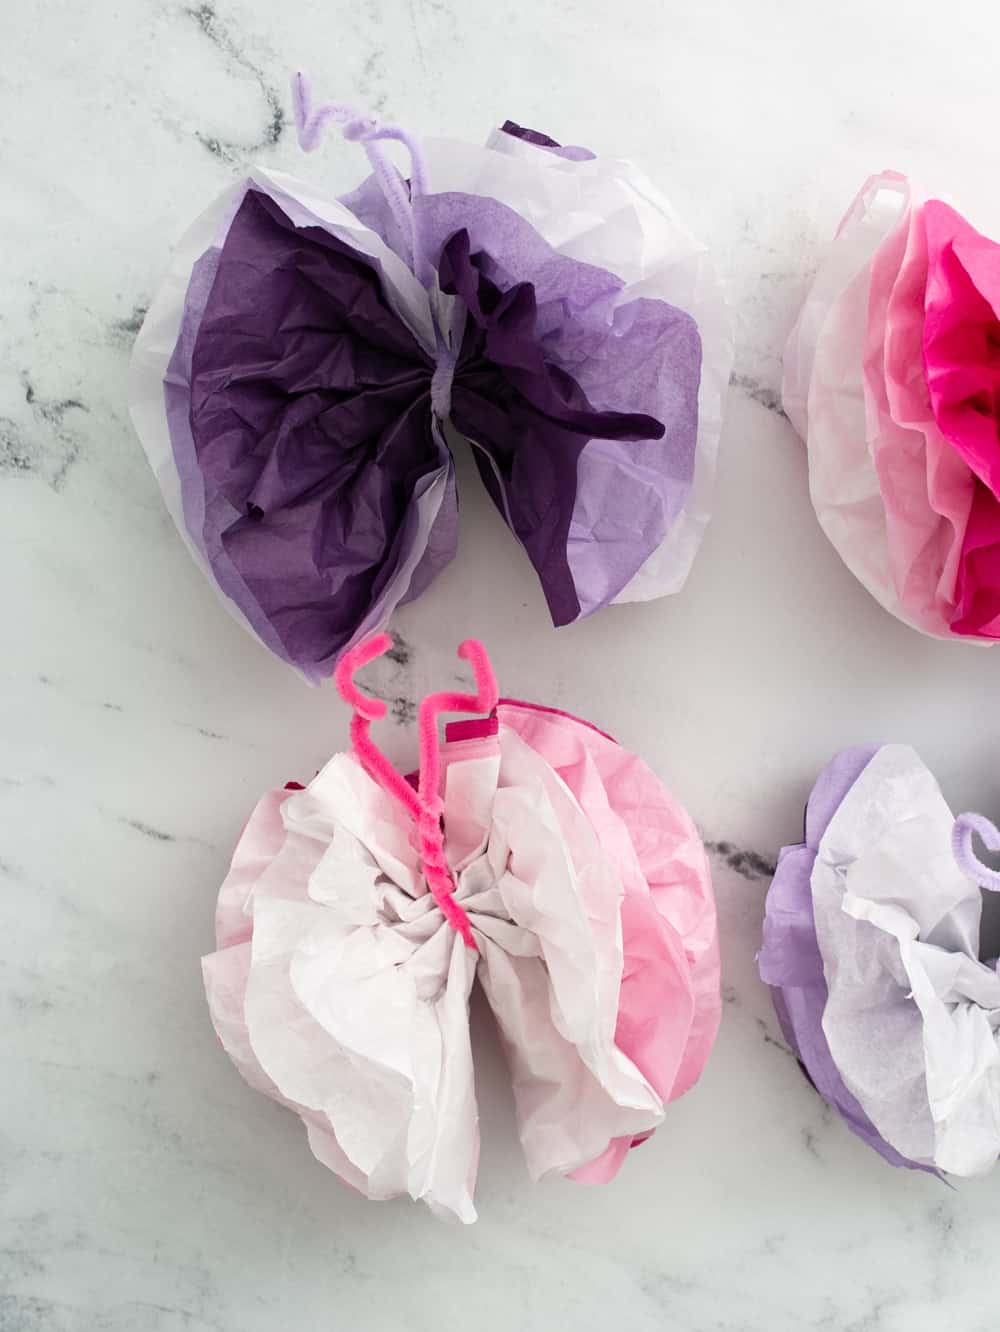
To give an overview you’ll place several sheets of tissue paper on top of each other (at least 4) and cut into a square (you can make these any size square but they have to be a square shape). Then you will cut into a wide funnel shape where the top is less wide than the bottom.
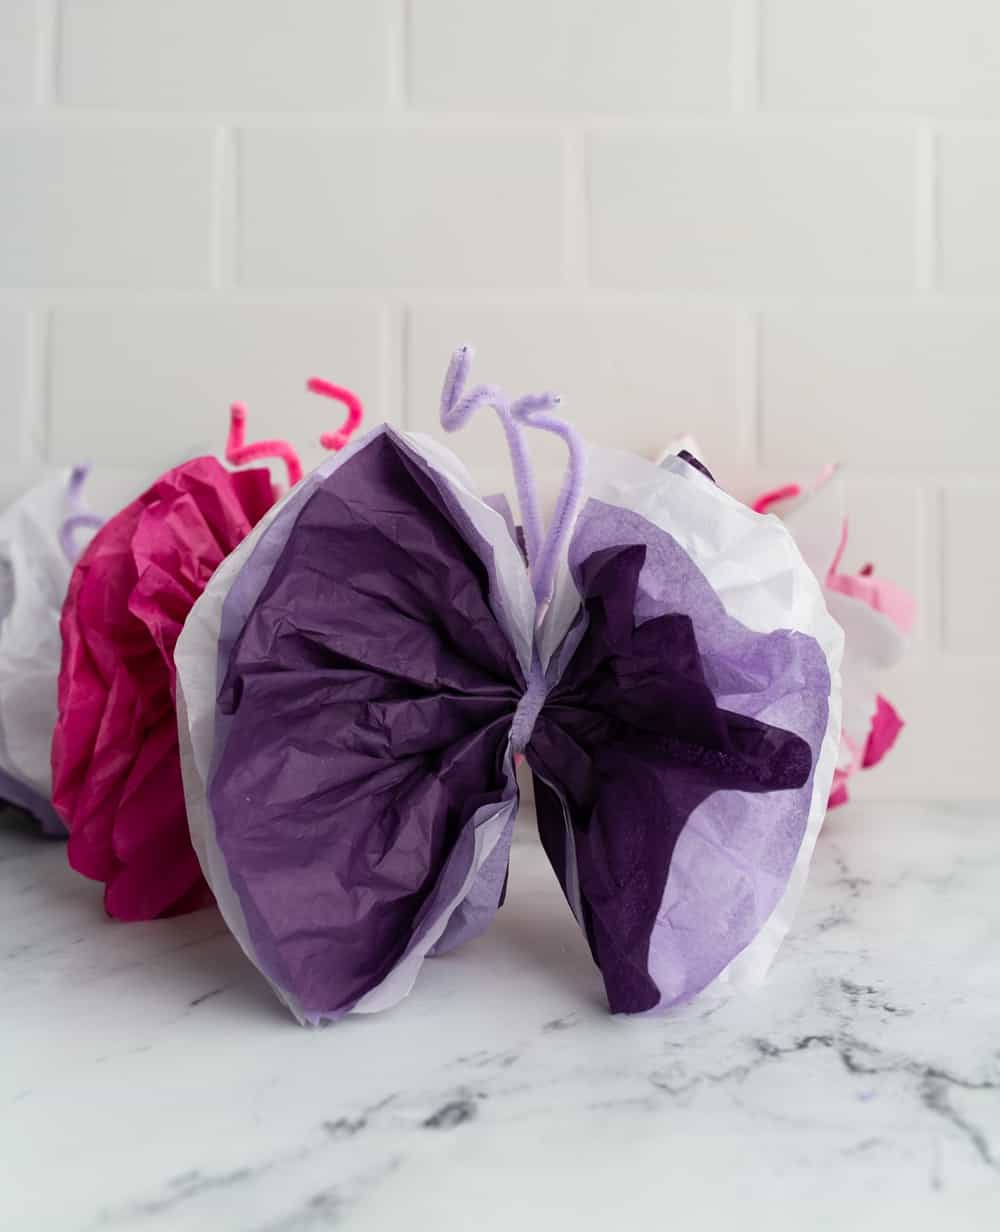
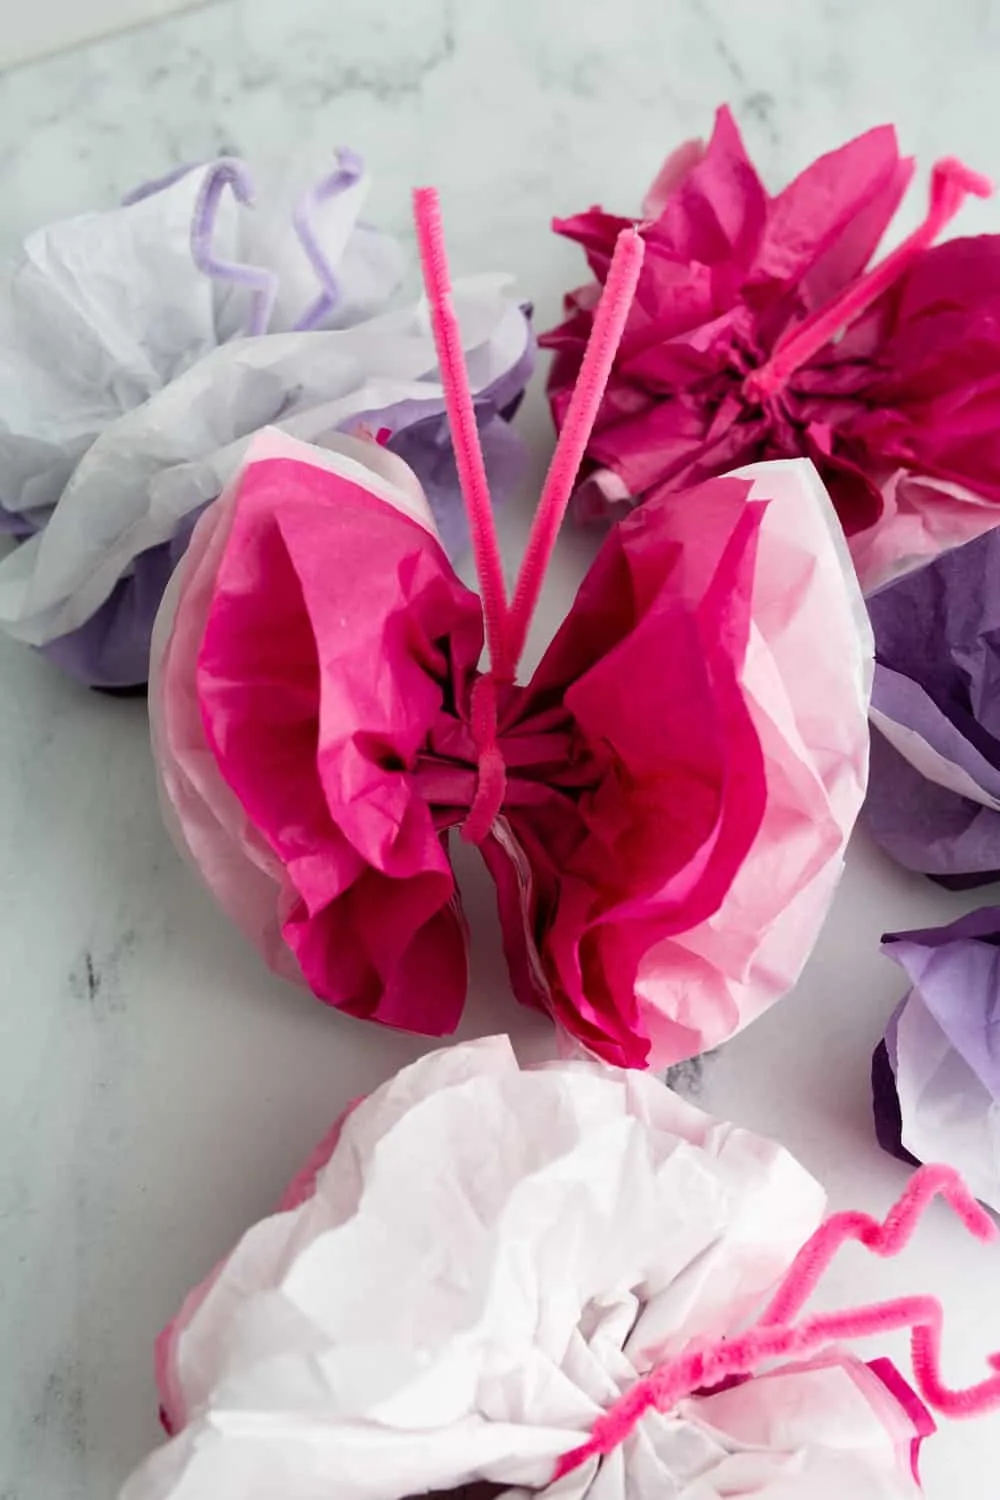
Start creating accordion folds and pinch the butterfly center together Snip and round off one end of the larger wings and do the same for the opposite wing.
Then tie a pipe cleaner securely around the center. Make sure it’s long enough to have antennas that you leave up or curl.
Carefully separate each tissue paper so they are full and fluffy. Enjoy fluttering around with your butterfly!
DIY Tissue Paper Butterflies

Materials
- Tissue paper in various colors
- Scissors
- Pipe cleaners
Instructions
(watch the video on this post - it's the easiest way to watch step-by-step how to make these beautiful butterflies!)
To give an overview you'll place several sheets of tissue paper on top of each other (at least 4) and cut into a square (you can make these any size square but they have to be a square shape). Then you will cut into a wide funnel shape where the top is less wide than the bottom.
Start creating accordion folds and pinch the butterfly center together Snip and round off one end of the larger wings and do the same for the opposite wing.
Then tie a pipe cleaner securely around the center. Make sure it's long enough to have antennas that you leave up or curl.
Carefully separate each tissue paper so they are full and fluffy. Enjoy fluttering around with your butterfly!


Agnes Hsu is a mom of three and has been inspiring parents and kids to get creative with easy activities and family friendly recipes for over 10 years. She shares her love for creative play and kids food to her 2MM+ followers online. Agnes' commitment to playful learning and kindness has not only raised funds for charity but also earned features in prestigious nationwide publications.