
Create a Jaw-some Paper Plate Shark Craft for Kids!
By using this site, you agree to our Terms of Use. This post may contain affiliate links. Read our disclosure policy.
Follow us on Instagram for more fun ideas for kids!
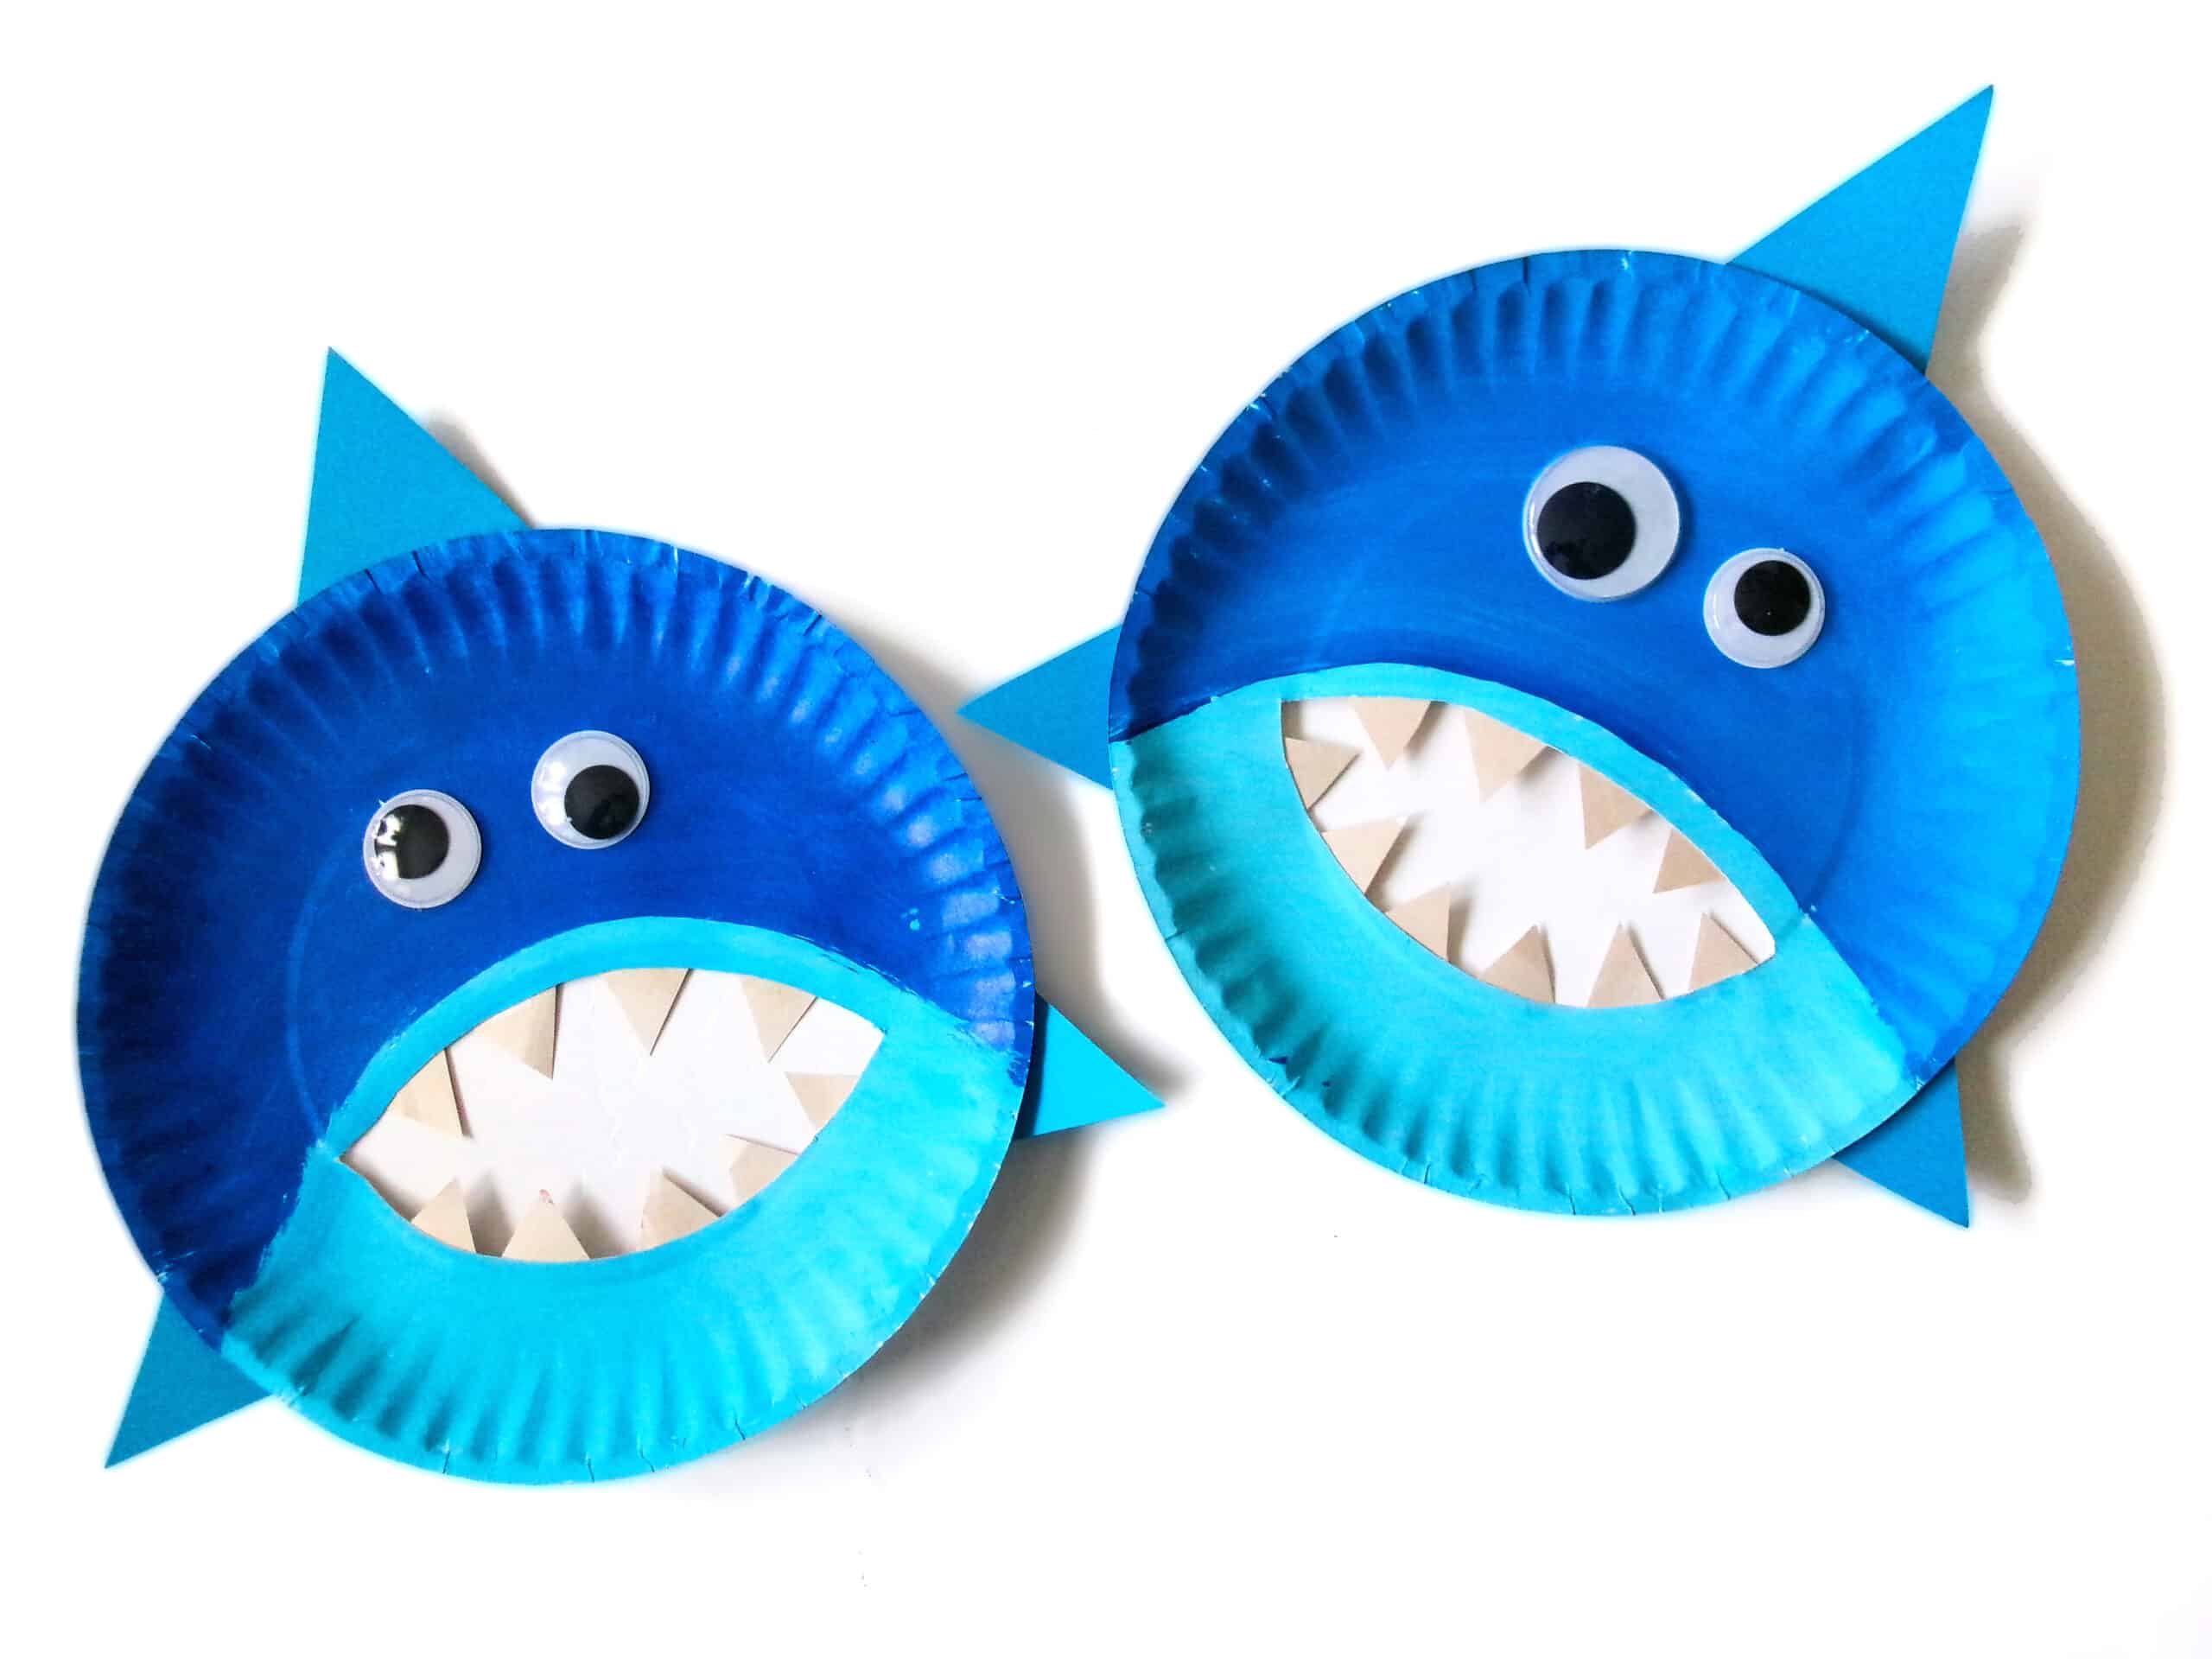
Engage in a fun ocean craft with your kids this summer by transforming a paper plate into a playful shark! With just paint and paper, this easy project offers a hands-on, creative experience for your little sea explorers.
As the summer heat continues, many parents are looking for engaging indoor activities to keep their little ones entertained and we've got the perfect one for you! Today, we're diving deep into the ocean to create this fun and simple paper plate shark craft perfect for celebrating shark week!
Here's how you can transform an everyday item (paper plate) into an adorable (and not too scary) shark. We promise this fun and easy craft project will keep your little ones hooked!
Ways to embellish or play with your shark craft
Let's make this ocean craft even more interactive and creative! Here are some ways to embellish your shark paper plate craft and turn it into a fun playtime activity:
- Textured Skin: Use a sponge instead of a paintbrush to give your shark a textured skin effect. Dip the sponge in paint and dab it on the paper plate to create this unique look.
- 3D Teeth: Instead of cutting out flat teeth from construction paper, why not make 3D teeth? Cut large white straws into small pieces, flatten one end, and glue the flattened end onto the plate.
- Sparkly Fins: Use some glitter glue to trace over the fins of the shark and make them sparkle. This can give your shark a touch of glamour and make it stand out.
- Paper Eyes: Instead of googly eyes, you can create more of a Kawaii look by making your own paper eyes. You can even draw on sleepy eyes or ones with eyelashes!
- Shiny Scales: Apply some silver or blue sequins to the shark's body to create a shimmering scales effect.
- Shark Puppet: Glue a popsicle stick to the back of the plate to turn your shark into a puppet. Kids can use it to act out their favorite shark tales or create their own under-the-sea adventures.
- Fish Friends: Create some small paper plate fish or other ocean creatures to accompany your shark. This can expand the play into an entire under-the-sea adventure!
- Shark Story Time: Use this craft project as a springboard for learning more about sharks. Read a shark-themed book together, then use the paper plate sharks to act out the story.
Remember, the goal is to let your kids' imaginations run wild. Let them explore different materials and ideas. Encourage them to come up with their own ways to embellish the shark and make it truly unique.
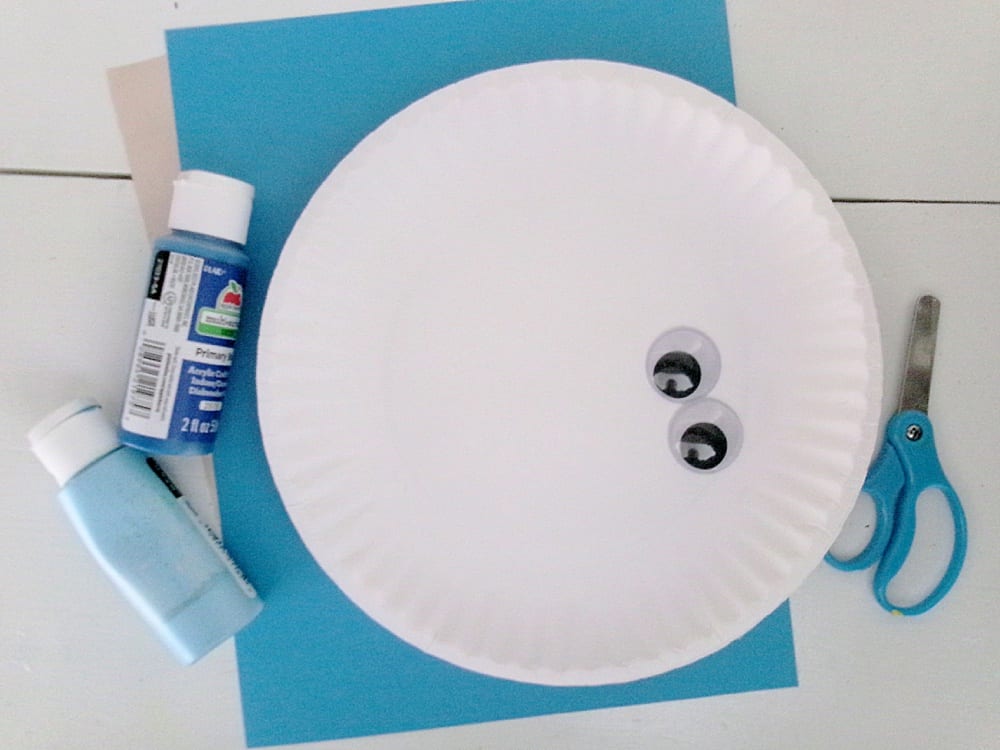
Shark Paper Plate Craft - Materials:
Paper plates
Acrylic paint - dark blue, light blue
Cardstock - blue, silver or white
Googly eyes, medium
Glue stick
Scissors
Instructions
Create a Jaw-some Paper Plate Shark Craft for Kids!

Materials
- Paper plates
- Acrylic paint - dark blue, light blue
- Cardstock - blue, silver or white
- Googly eyes, medium
- Glue stick
- Scissors
Instructions
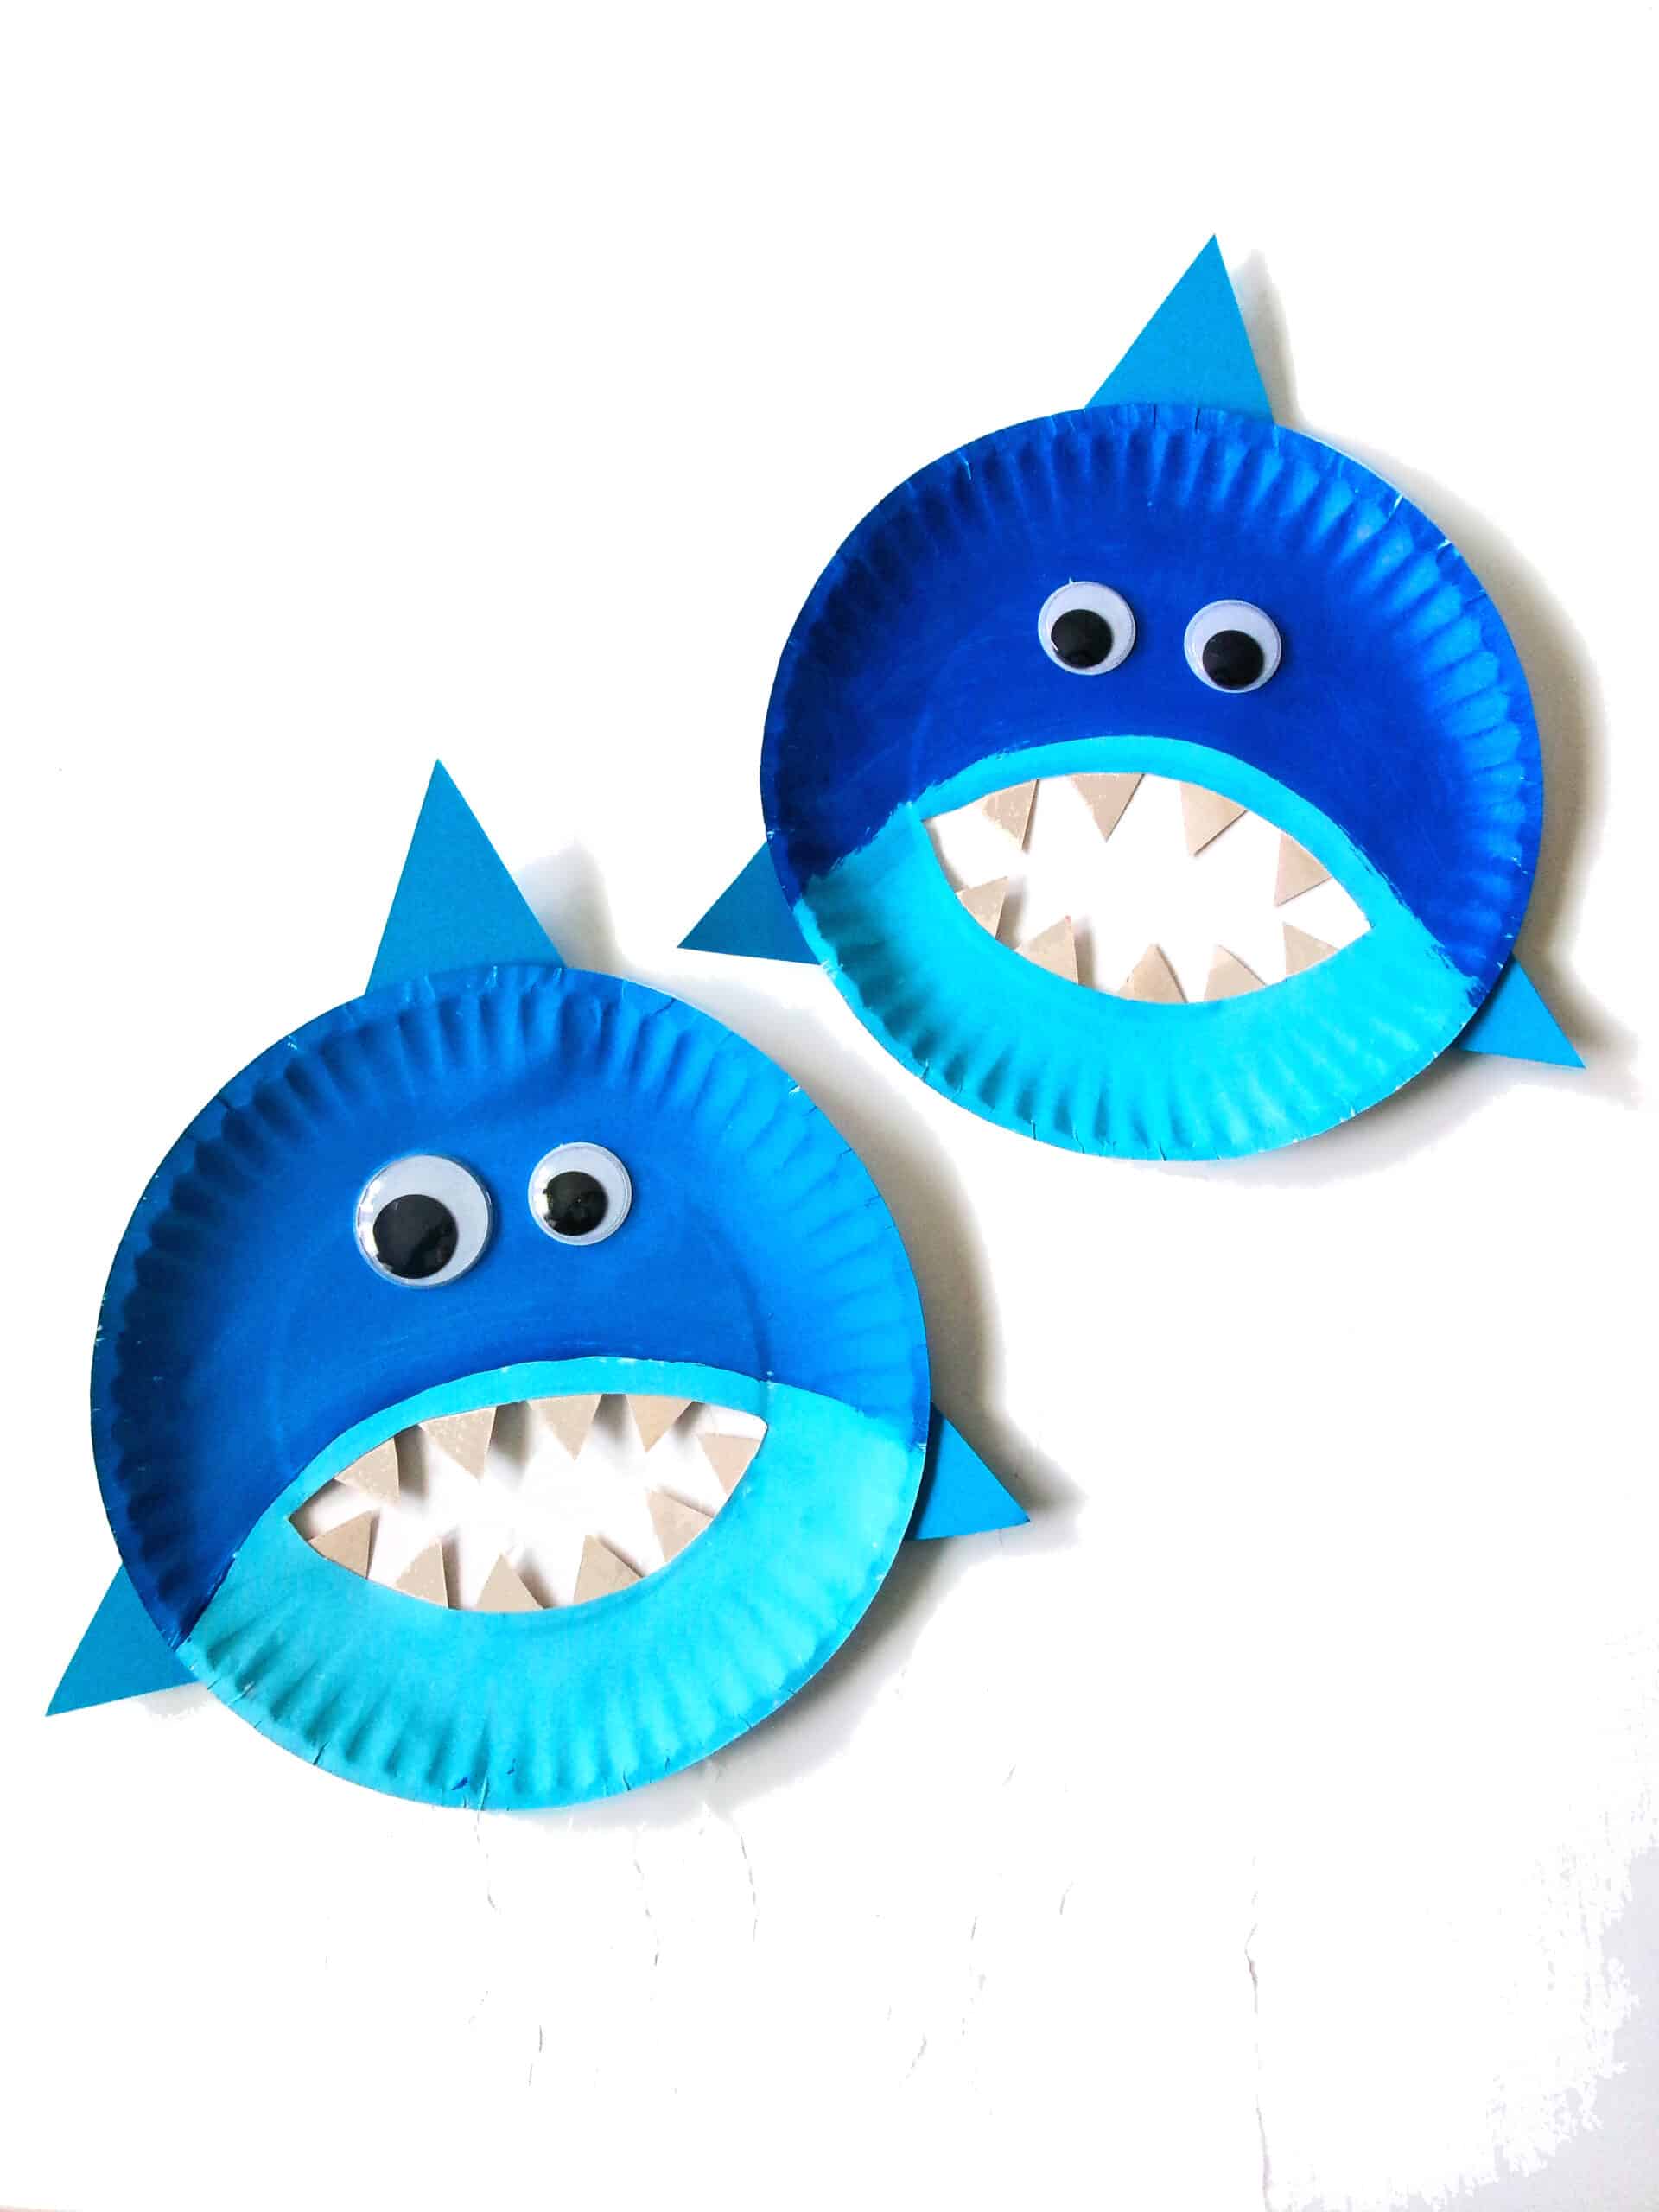
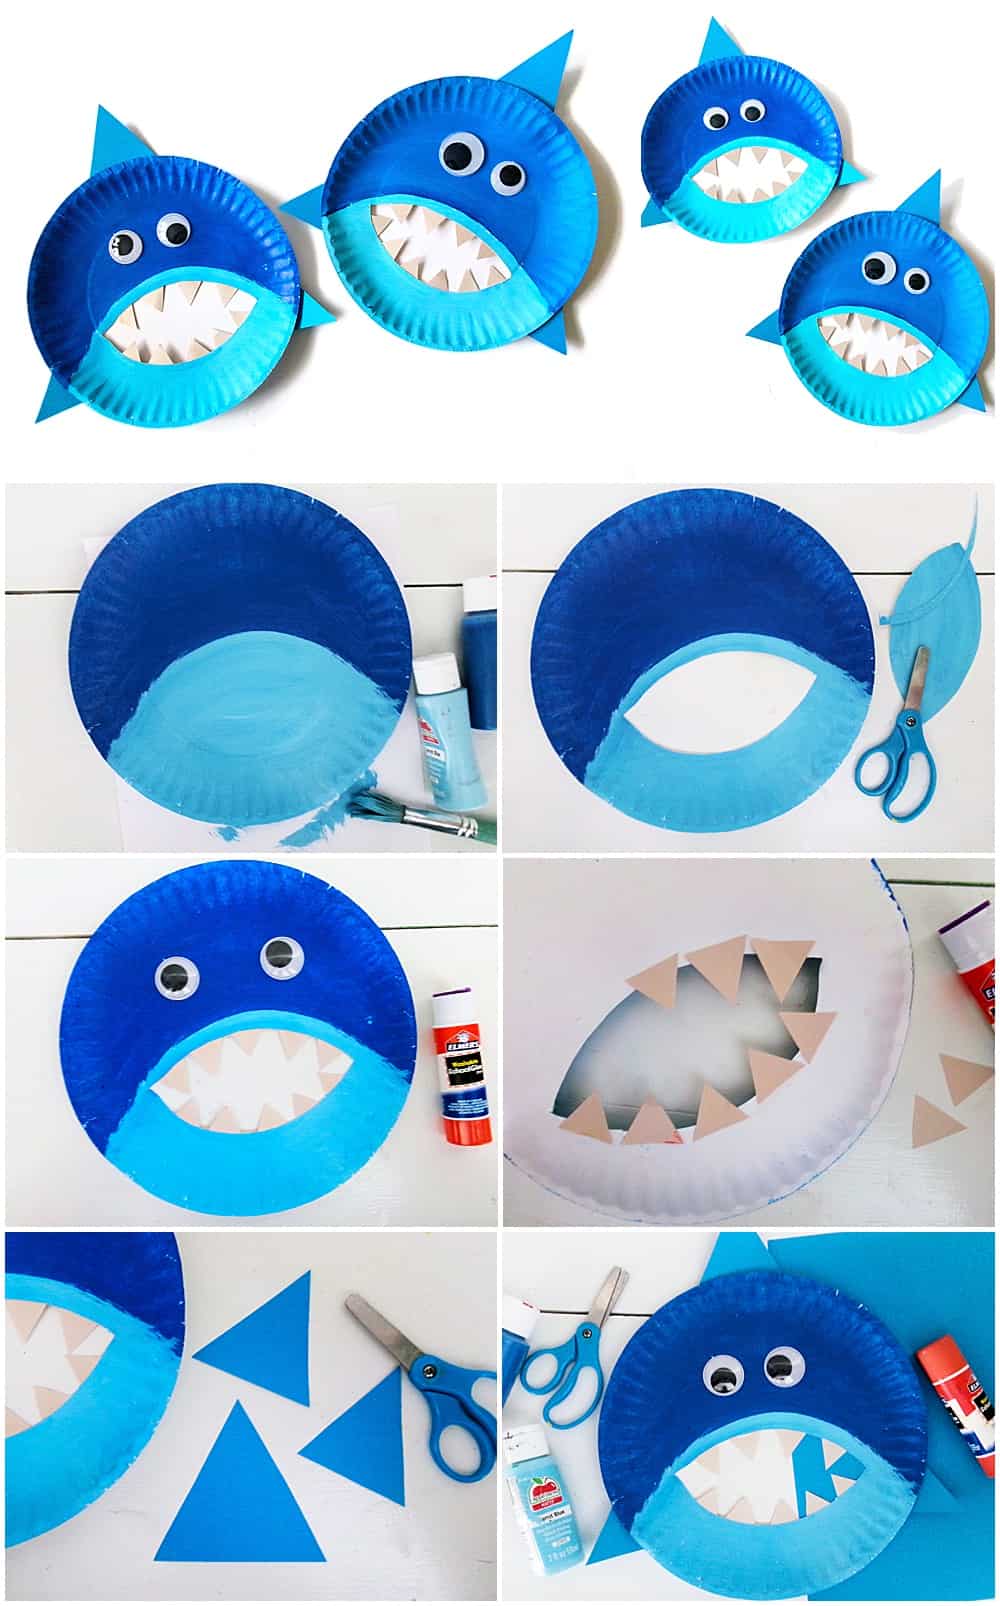
1. Begin by painting the top half of a paper plate dark blue. Leave the bottom half unpainted. We left the bottom half in a half kind of oval shape, but to make it easier for little ones you can just do half and half.
2. Paint the bottom part a lighter blue color. Let all the paint dry.
3. Now, when all the paint is completely dry, have an adult carefully cut out a mouth shape from the lighter blue part of the paper plate.
4. Add googly eyes to the top, darker blue part.
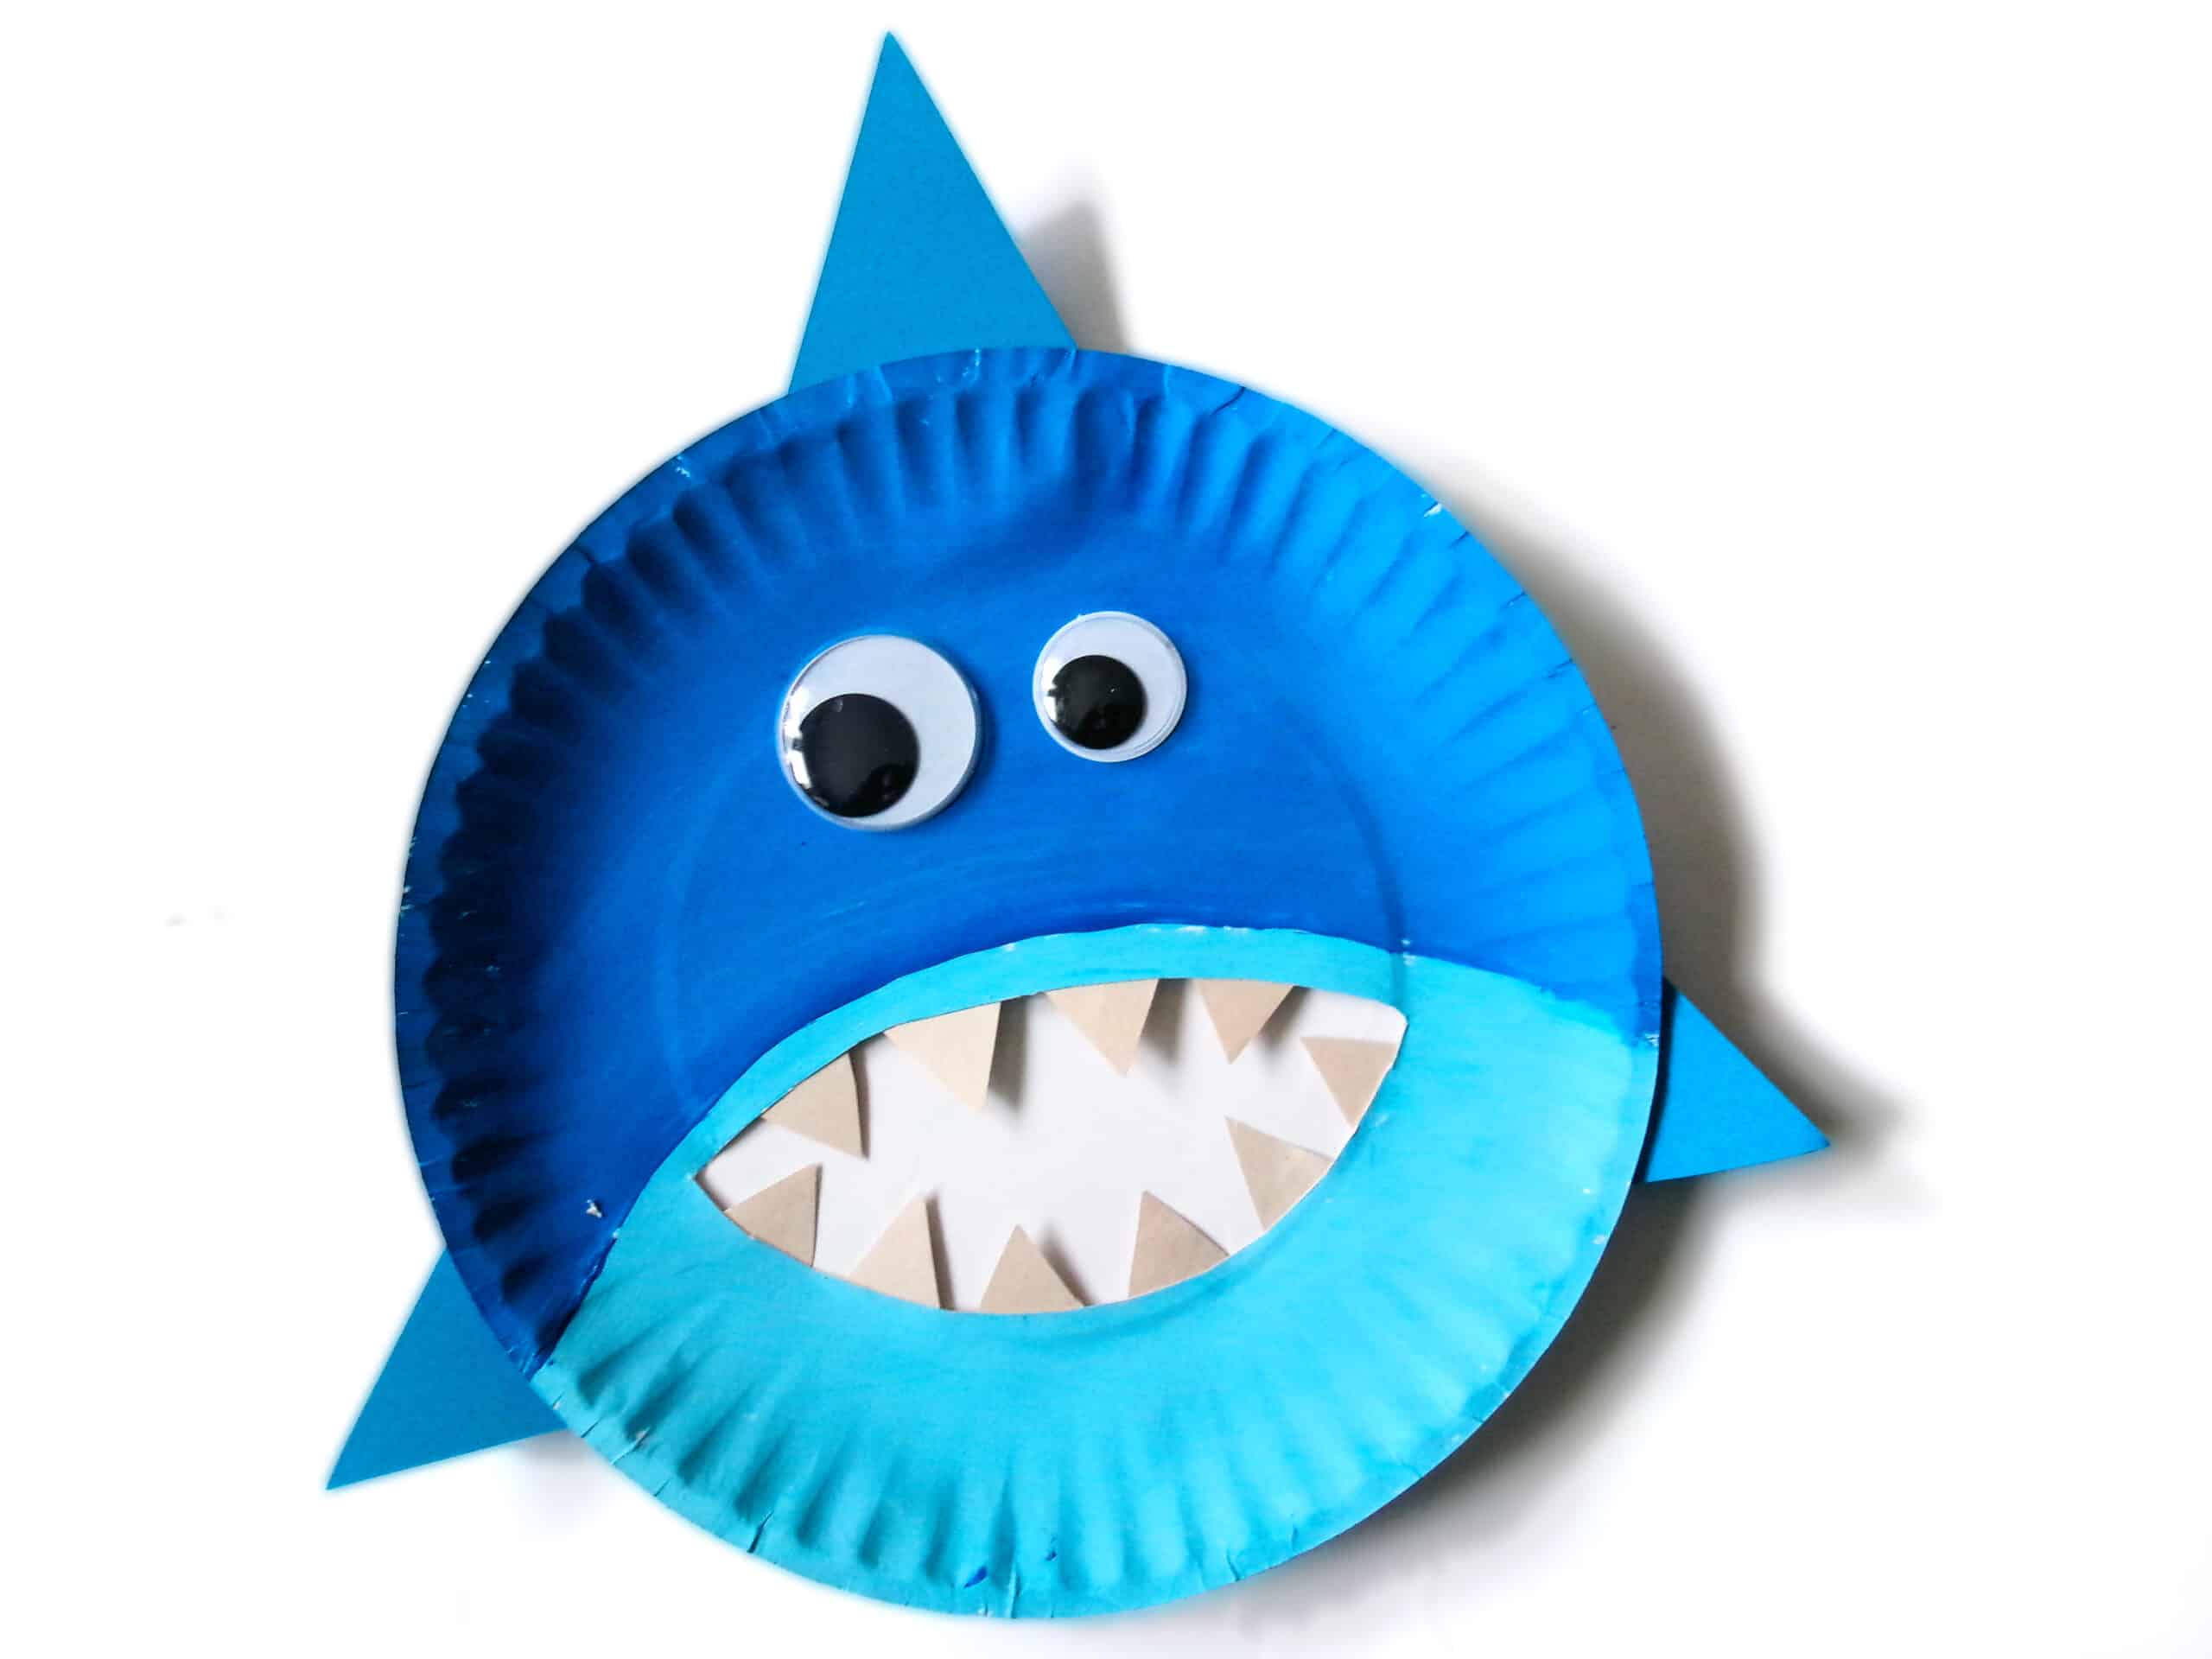
5. Next, cut some smaller triangles from silver or white cardstock.
6. Glue the triangles to the back of the mouth section of the paper plate for the shark’s teeth.
7. Then cut three larger triangles out of blue cardstock.
8. Glue one of the triangles to the top of the paper plate.
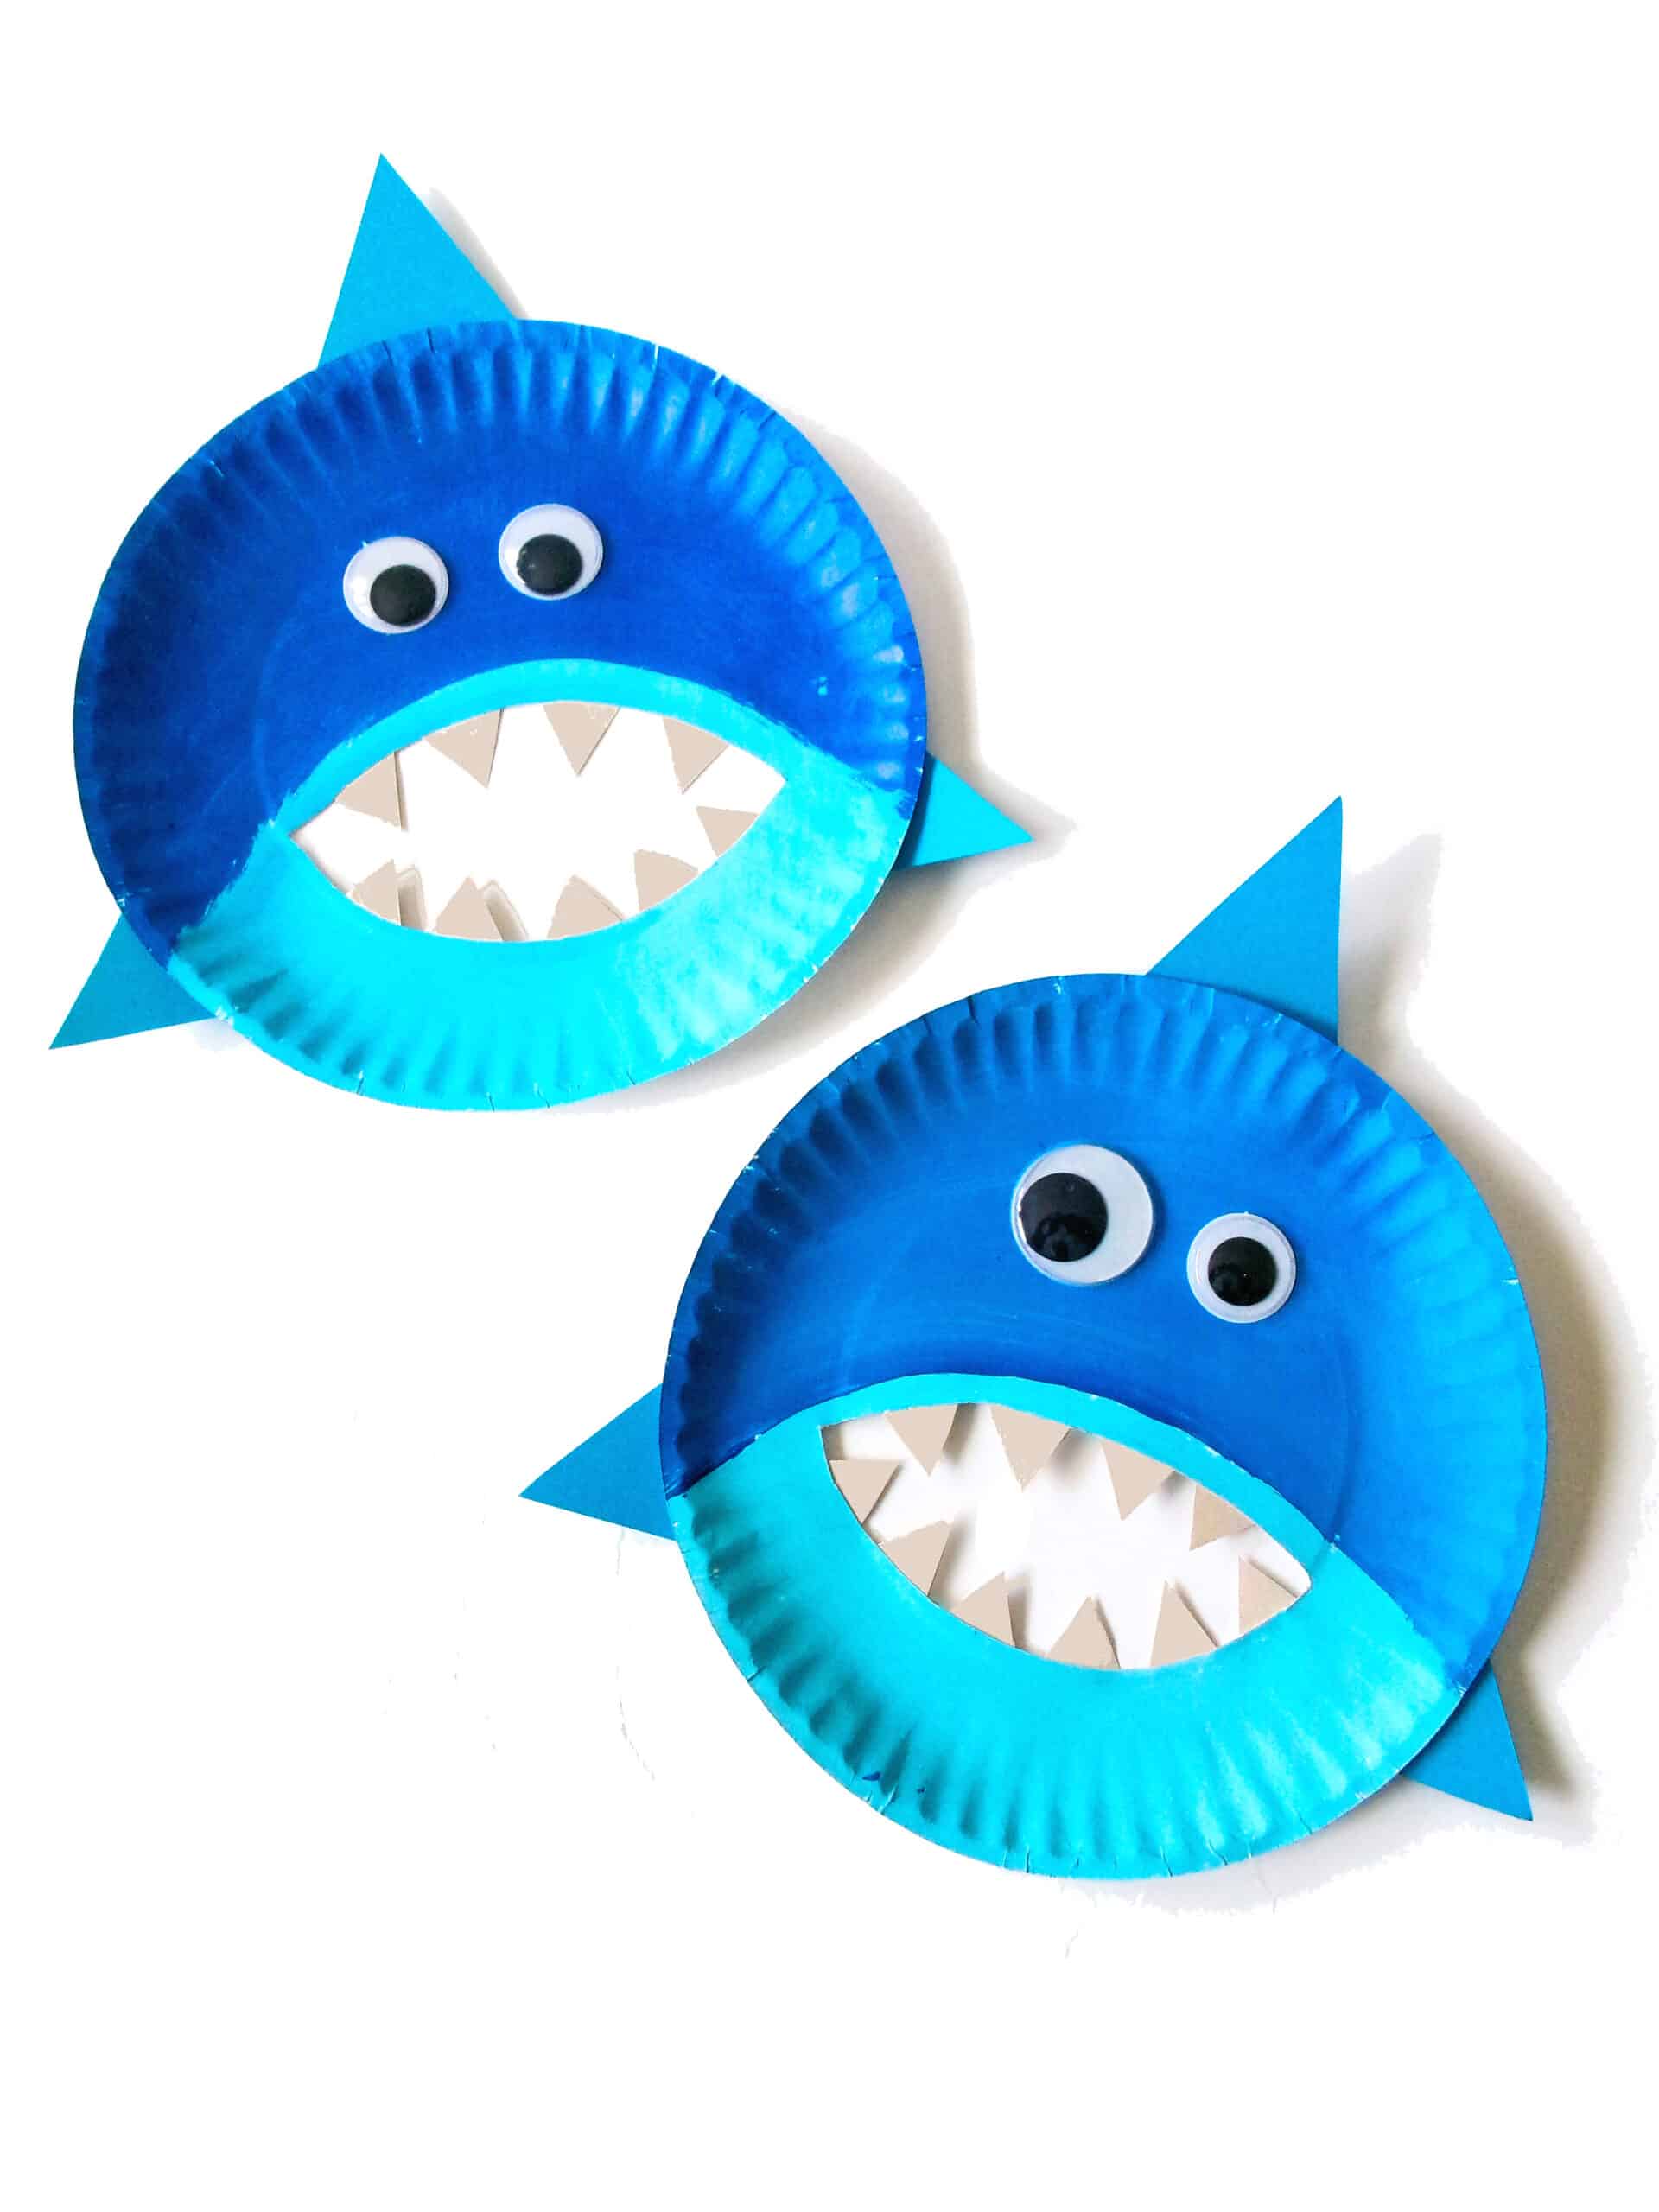
9. Finish the shark by gluing the last two triangles to the sides of the paper plate and your shark is ready to rule the ocean!
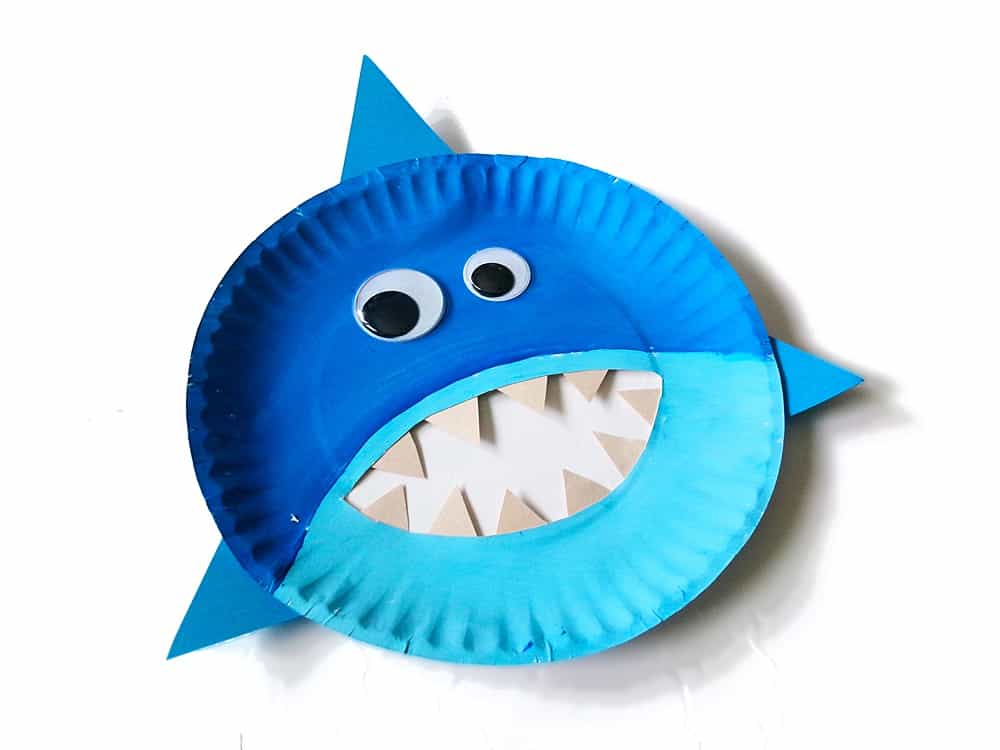
Final Thoughts
And there you have it – your very own shark paper plate craft! This is a great activity for a rainy day, a themed party, or just to learn and have fun. Not only does this craft project encourage creativity, but it also provides an excellent opportunity to teach children about these fascinating sea creatures.


