Spooky Fun: How to Paint Halloween Rocks
By using this site, you agree to our Terms of Use. This post may contain affiliate links. Read our disclosure policy.
Follow us on Instagram for more fun ideas for kids!
Halloween is just around the corner, and what better way to get into the festive spirit than with a creative and family-friendly activity? Painting rocks is one of our all-time favorite activities to do with kids. It's cheap, and requires very few materials but has endless creative possibilities!
Painting Halloween rocks with kids lets them express their artistic expression with the spookiness of the season! Whether you plan to decorate your garden with spooky cheer, create Halloween-themed gifts, or simply have fun with your little ones, this post will provide you with tips, tricks, and inspiration to make Halloween-painted rocks a fun fall project for the whole family!
Halloween Painted Rocks - Supplies
- acrylic paints (or paint markers, chalk markers)
- paint brushes
- old newspaper, drop cloth or table covers
- smooth rocks
- clear sealant
How to paint Halloween Painted Rocks
1. Gathering Supplies: Before diving into the painting adventure, make sure you have all the necessary supplies. You'll need smooth rocks (you can find them outdoors or buy them from a craft store or online), acrylic paints in Halloween colors (black, orange, purple, green, etc.), paintbrushes of various sizes, and a water cup for rinsing brushes.
If your kids are too little to handle paint brushes we absolutely LOVE Posca Paint pens for fine details and brilliant paint colors in a pen format.
For much younger kids, simpler designs using chalk markers work great too!

2. Safety First: Ensure that you set up a safe painting area. Lay down newspapers or old tablecloths to protect surfaces from paint splatters. Use washable, non-toxic acrylic paints, especially if young children are involved. Keep a damp cloth nearby for quick clean-ups and remember to dress everyone in old clothes or aprons.
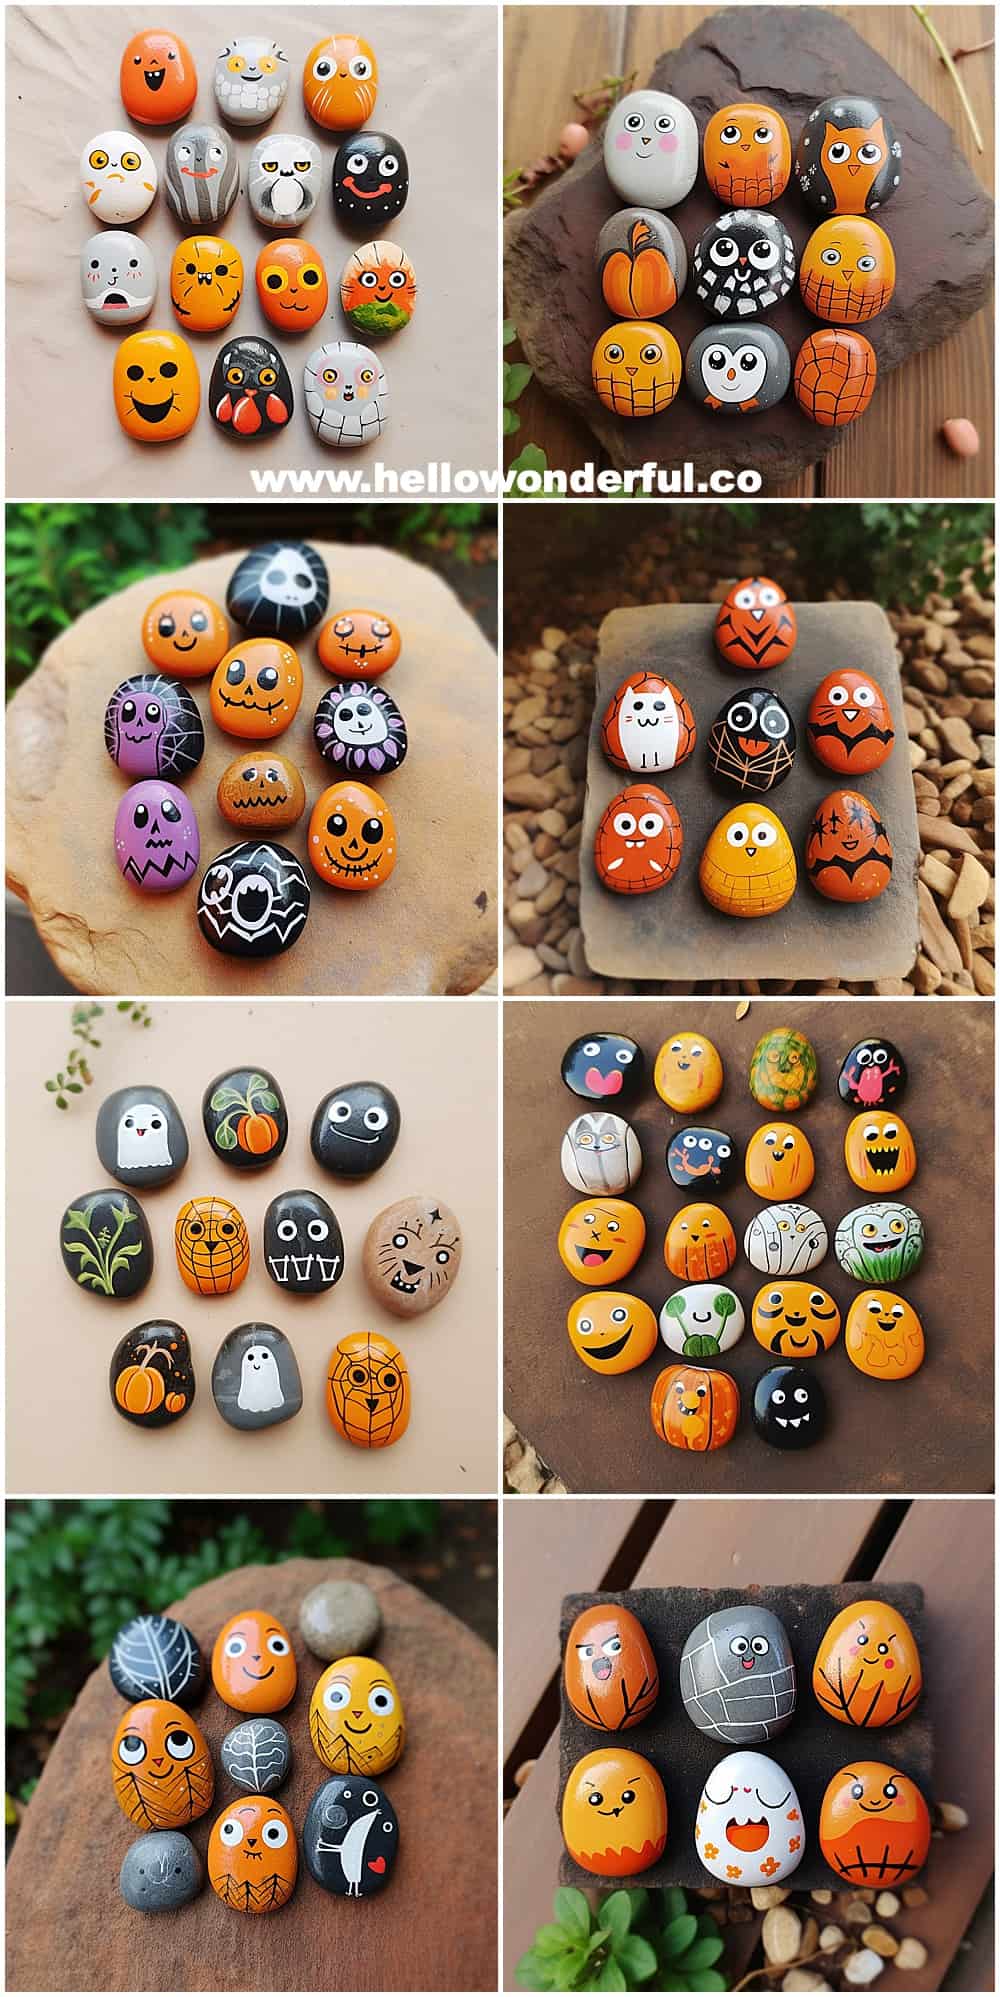
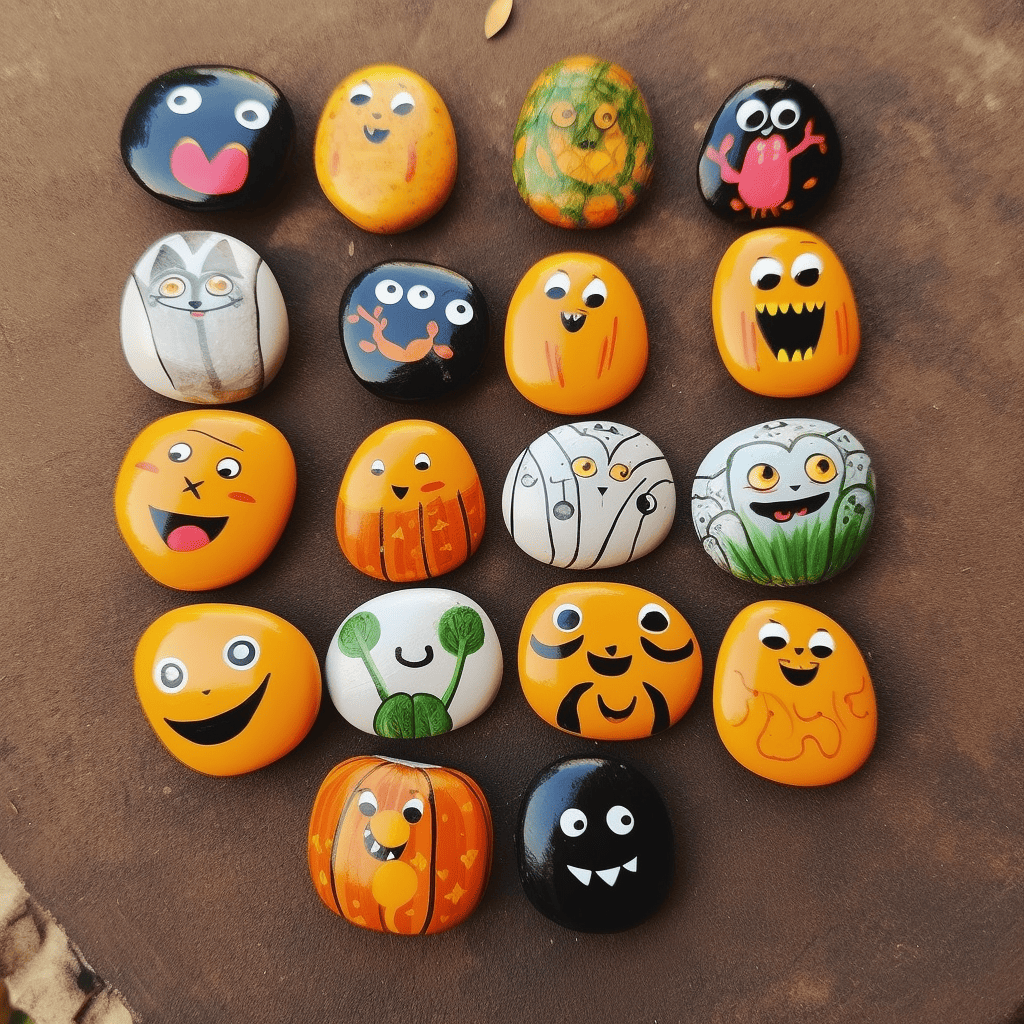
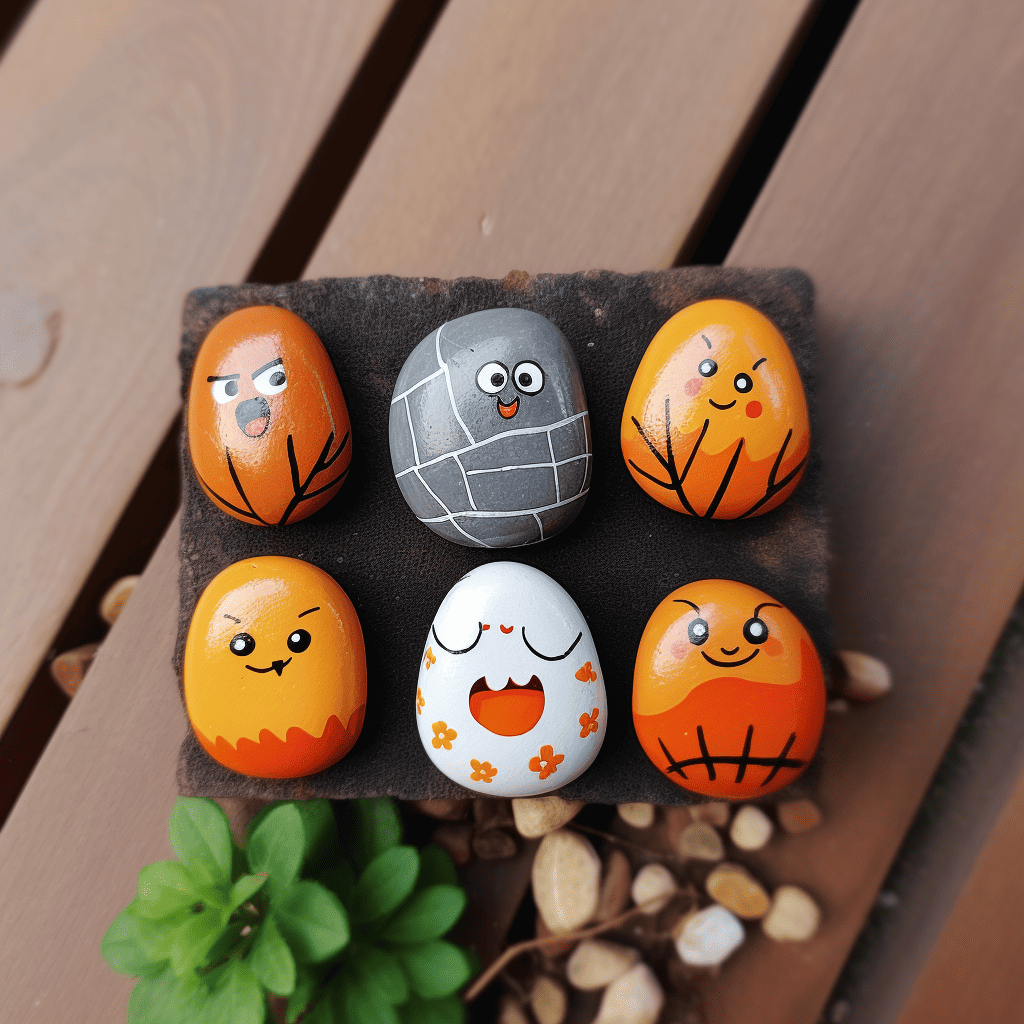
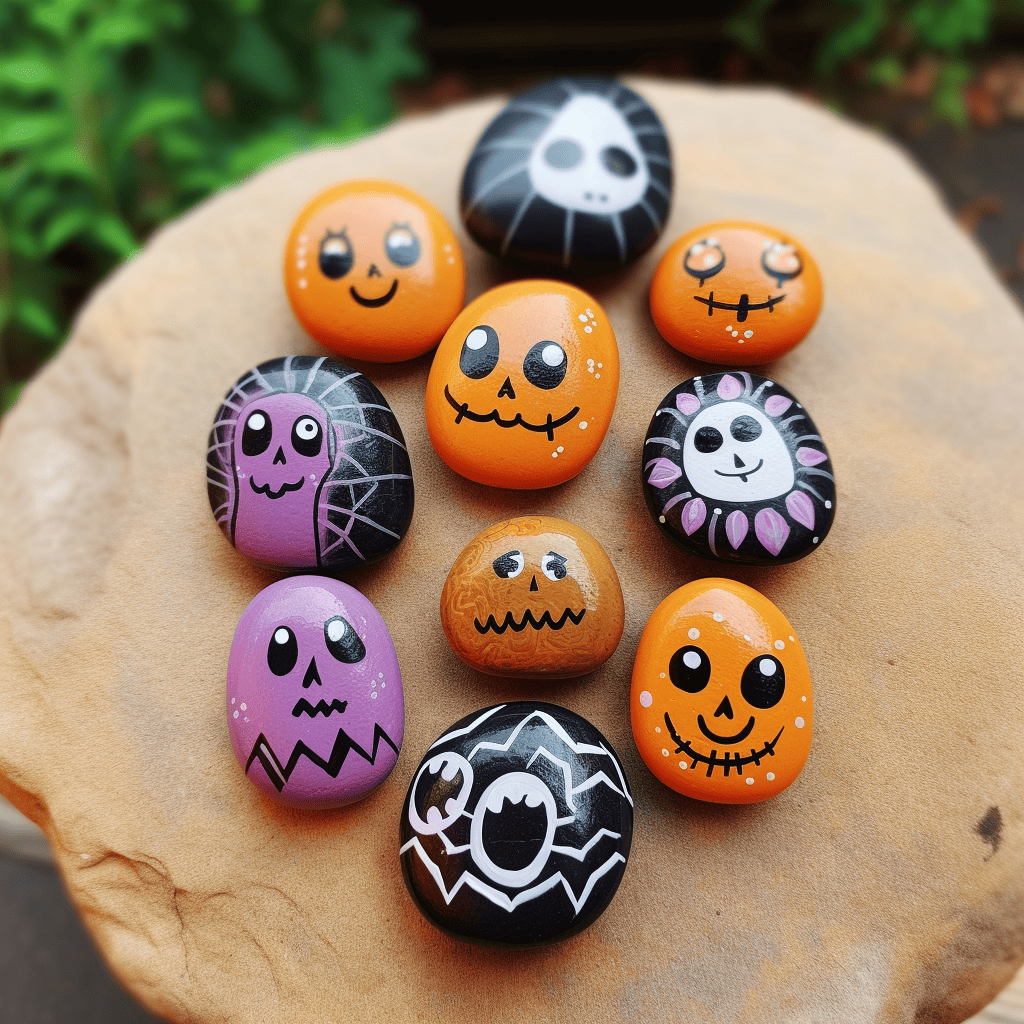
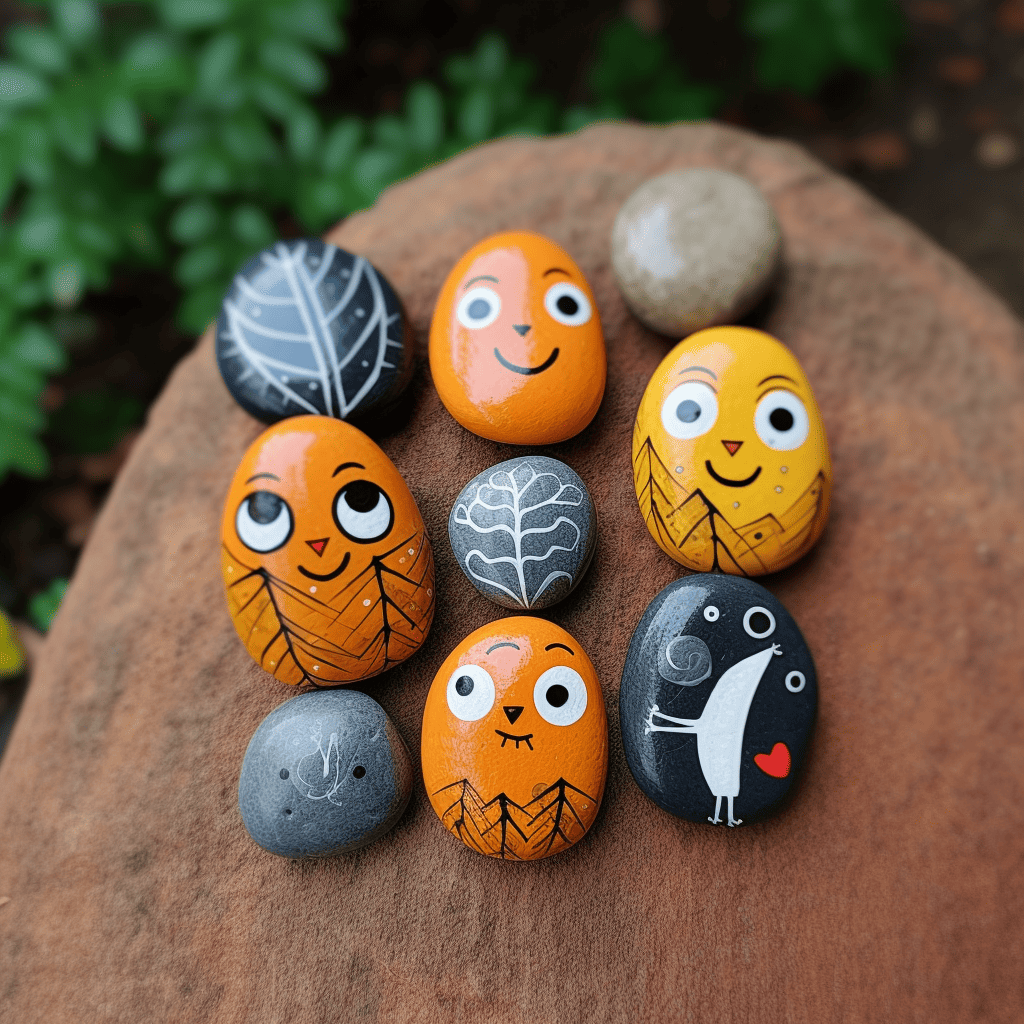
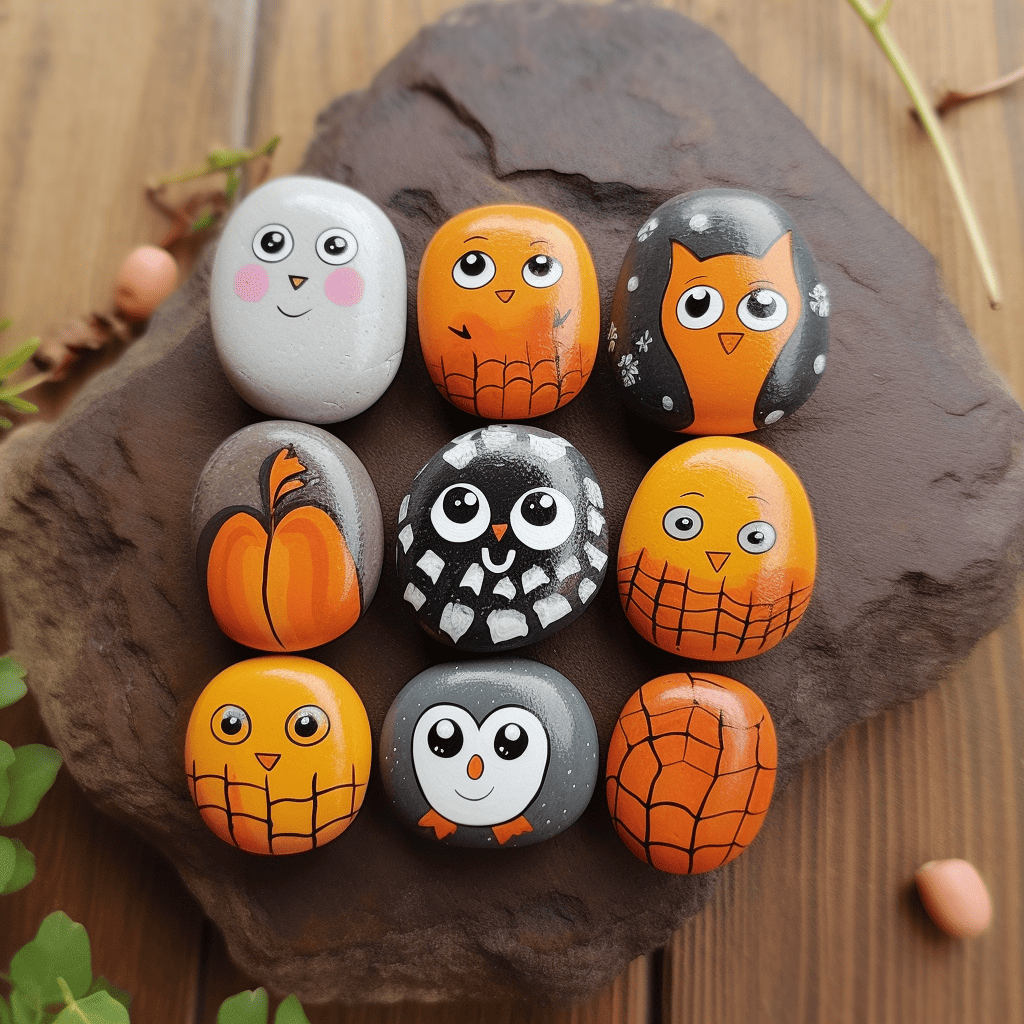
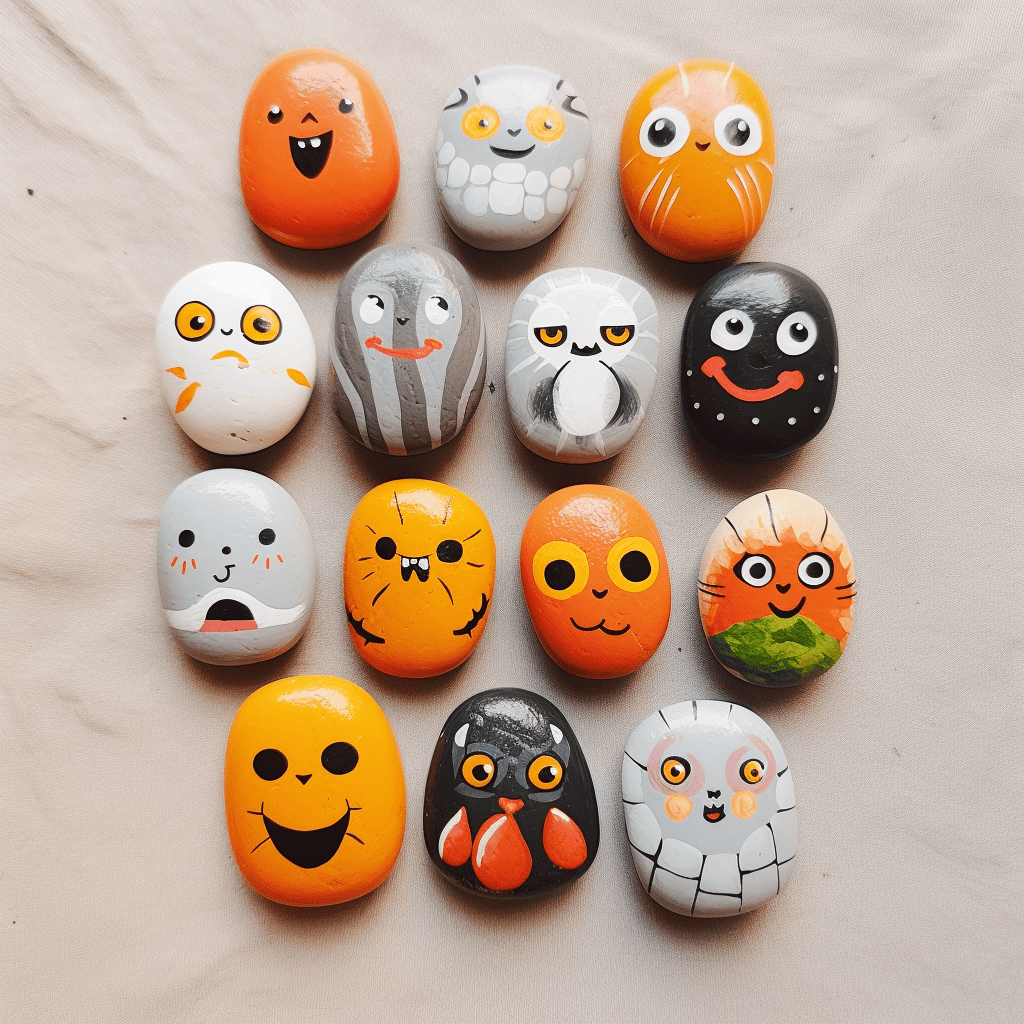
3. Halloween Rock Ideas: Let the Halloween spirit inspire you and your kids with these creative rock painting ideas:
a. Spooky Faces: Paint ghostly faces, witches, vampires, or Jack-o'-lanterns on the rocks. You can even make a set of matching rocks to create a rock family of spooky characters!
b. Boo-tiful Messages: Write fun Halloween phrases like "Boo!", "Trick or Treat," or "Happy Halloween" on the rocks using a contrasting color.
c. Creature Feature: Create creatures like spiders, bats, or black cats with glowing eyes to add a touch of mystery to your rock collection.
d. Glow-in-the-Dark: Use glow-in-the-dark paint to add an eerie glow to your Halloween rocks. Charge them up under a bright light, and they'll glow in the dark, adding an extra level of spookiness to your decorations.
4. Let Creativity Flow: Encourage your kids to come up with their own unique Halloween rock designs. There are no limits to what they can create, and it's a fantastic way to boost their imagination and self-expression.
5. Tips and Tricks: a. Base Coat: it helps by applying a base coat of white paint to the rocks before adding the Halloween colors. This will help the colors stand out vibrantly, especially if the rocks are darker shades.
b. Layering: Teach your kids about layering colors to create depth and dimension in their designs. Lighter colors should be applied first, and darker colors can be added on top once the first layer dries.
c. Use Toothpicks: For fine details like eyes or thin lines, use toothpicks instead of brushes. They offer more control and precision for tiny features.
d. Seal the Deal: Once the paint is completely dry, protect the designs with a clear sealant like this low odor sealant we've used before. This will ensure the longevity of your Halloween rocks, making them weather-resistant and ready to spook visitors for years to come. Make sure to use a UV spray if placing the rocks outdoors.
Spooky Fun: How to Paint Halloween Rocks

Painting Halloween rocks with kids is a spooky fun way to celebrate the season while fostering creativity and family bonding. With these tips and tricks, your little ones will have a spooktacular rock collection in no time!
Materials
- acrylic paints (or paint markers, chalk markers)
- paint brushes
- old newspaper, drop cloth or table covers
- smooth rocks
- clear sealant
Instructions
- Gather your supplies and create a safe space by laying out tablecloths or newspapers to paint your rocks.
- Look for Halloween inspiration like the ones we posted or use your own spooky imagination!
- It's often helpful to paint a base white coat and then layer colors over it. Make sure you let each colors dry before the next coat.
- When your Halloween painted rocks are done, use a clear sealant to seal them which will help the paint adhere and not chip off. Use a UV spray if placing the rocks outdoors.
Final Thoughts:
Painting Halloween rocks with kids is a spooky fun way to celebrate the season while fostering creativity and family bonding. With these tips and tricks, your little ones will have a spooktacular rock collection in no time to add a touch of Halloween magic to your home!