

By using this site, you agree to our Terms of Use. This post may contain affiliate links. Read our disclosure policy. As an Amazon Influencer, I earn from qualifying purchases.
Check out my Plaeful Printables for kids to play and learning!
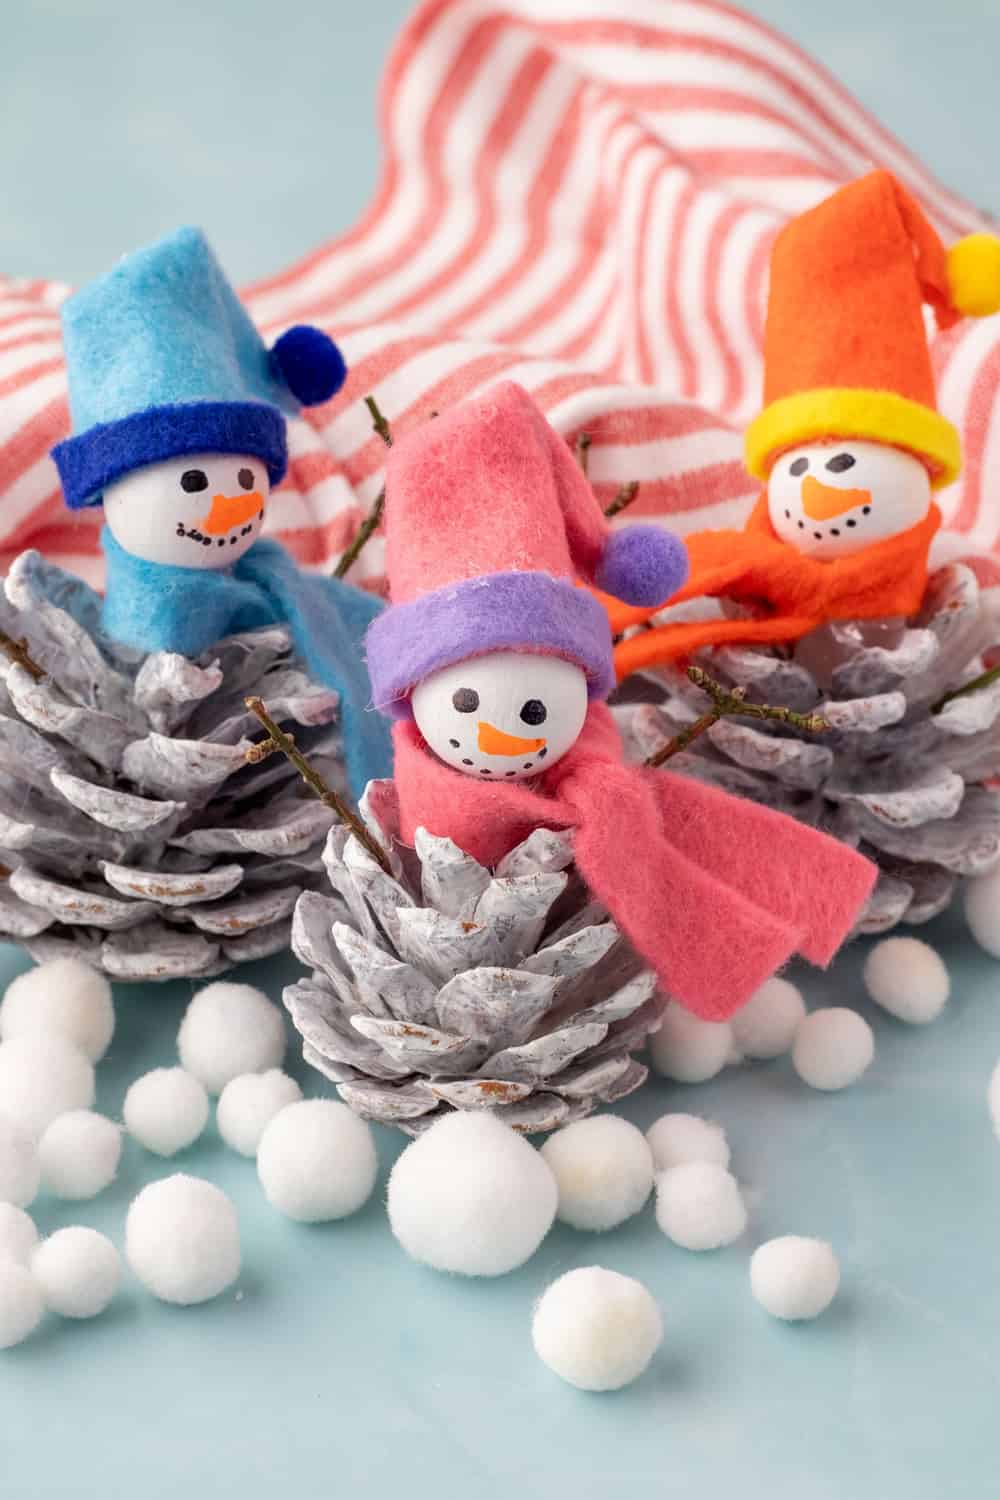
Create a charming pine cone snowman family, complete with painted faces and felt hats. A festive winter craft activity enjoyable for both kids and adults!
This adorable snowman pine cone craft is a fun Christmas craft for kids! You can use these pine cones as DIY ornaments or winter decor. They would also make adorable gift toppers or holiday favors! We decided to make a fun pine cone family to set out on our winter mantle but you can make as many as you’d like!
The best part is decorating them in colorful outfits like felt hats and colorful scarves! We adore making pine cone crafts for the holidays like these pine cone trees and pine cone penguins. Hope you enjoy our latest pine cone craft!


Snowman Pine Cone Craft – Materials
- Pine cones
- White paint and paintbrush
- Wooden beads (for the snowmen’s heads)
- Paint markers (for face details)
- Colored felt (for the hats and scarves)
- Mini pom poms
- Scissors
- Hot glue gun
- Twigs for the arms
- String (optional to hang as ornaments)


Pine Cone Snowman Instructions:
Watch the video in this post
Step 1: Gather Pine Cones Collect some pine cones from nature or you can buy some at many craft or grocery stores during the holiday season.
Step 2: Paint the Pine Cones Using white paint, cover the entire pine cone to give it a snowy appearance. You might need to apply two coats if you want to achieve a solid white color. Allow the paint to dry completely.
Step 3: Prepare the Snowmen’s Heads Take wooden beads that are proportional to the size of your pine cones and paint them with white paint. Once dry, use paint markers to add cute faces to your beads.
Step 4: Assemble the Snowmen Glue the wooden bead on top of the pine cone.
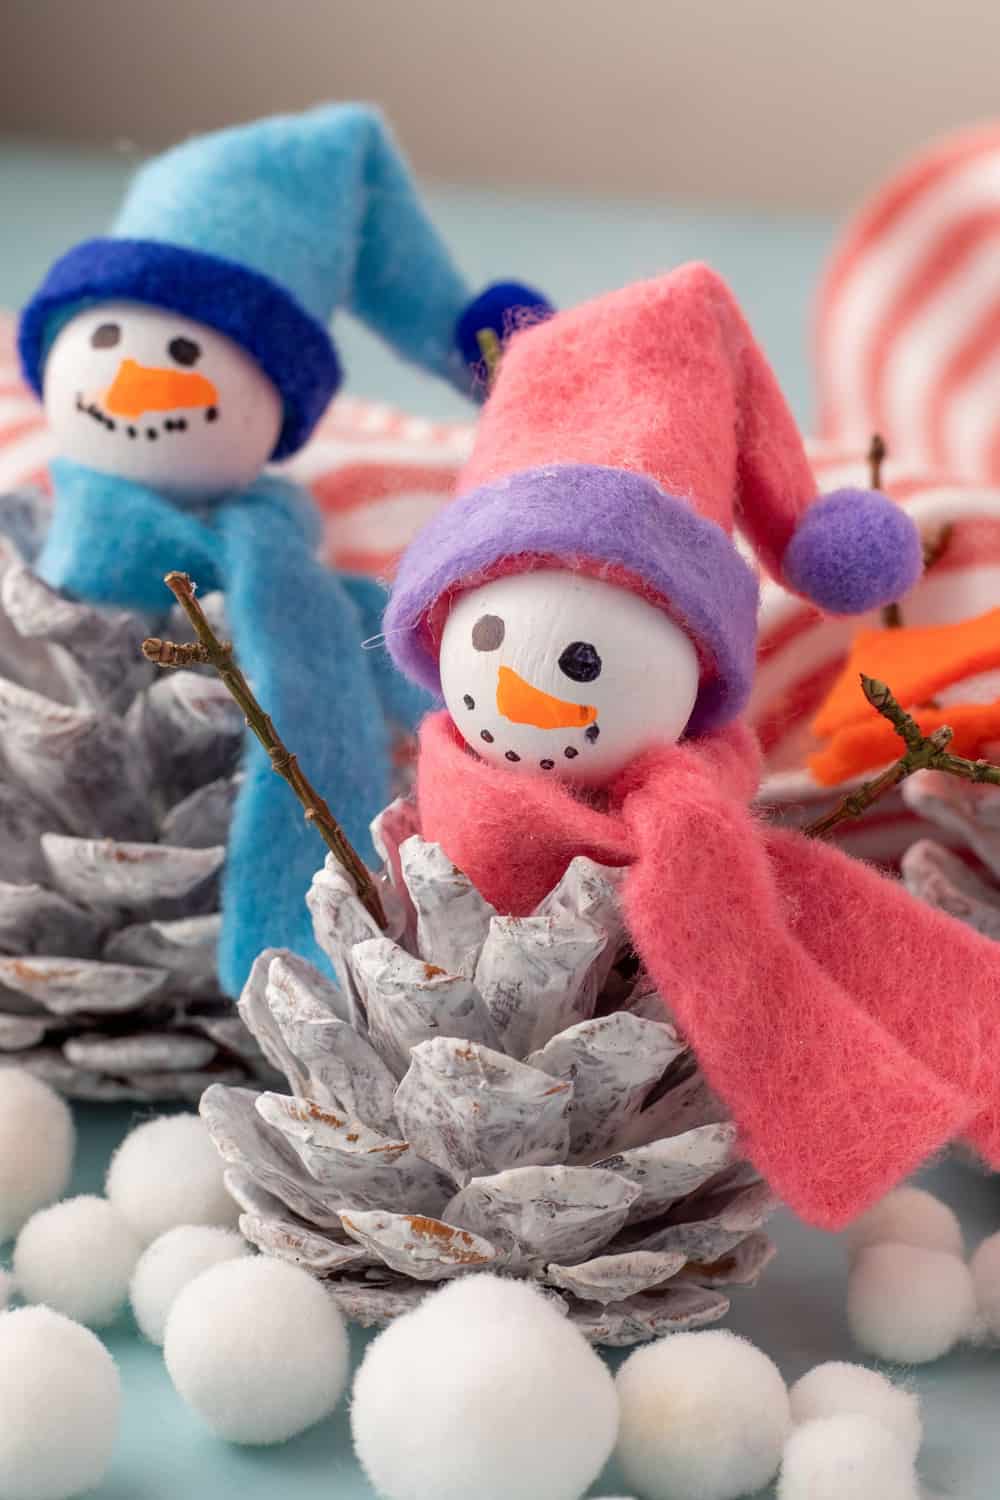
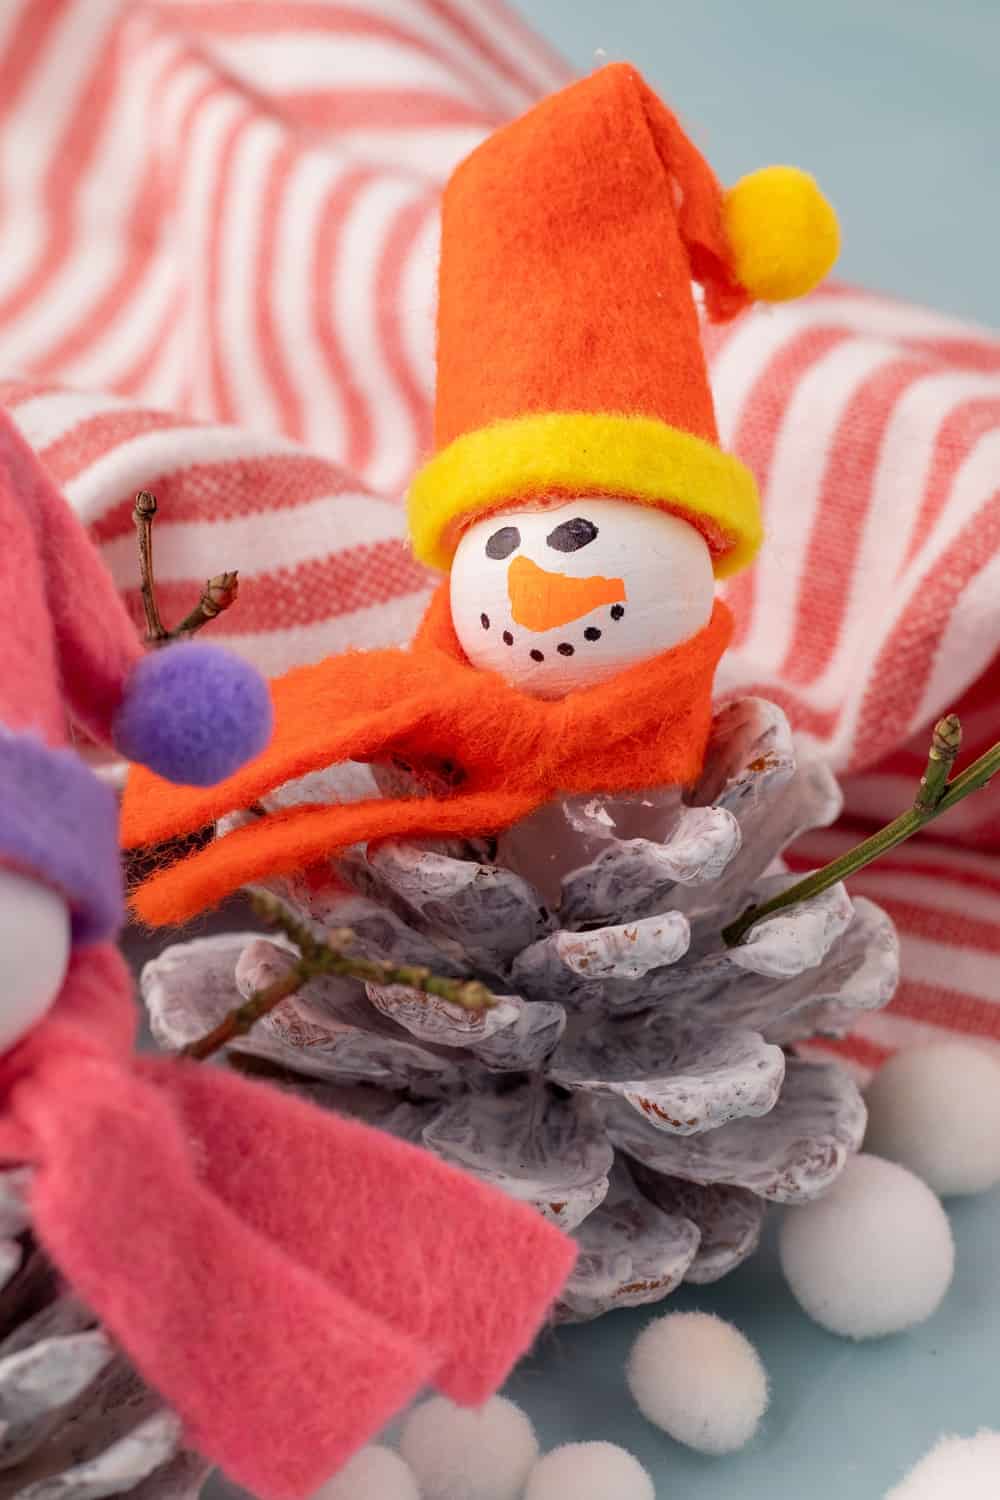
Step 5: Craft the Hats Cut felt into a semi circle and roll it to create a cone shape. Secure with hot glue. Then take a strip of felt to make a border for the hat. We pointed the felt hat downwards a bit and hot glued that in place. Finally, we added a tiny pom pom to the end.
Step 6: Attach the Hats Attach the hat to the top of the wooden beads with more glue.
Step 7: Add a Scarf Cut a small strip of felt to serve as a scarf and wrap it around the “neck” of your snowman. Secure it with glue.
Step 8: Add arms Add tiny twigs as arms!
Optional: If you want to turn these into ornaments Cut a piece of string, make a loop, and glue it to the top of the hat. This will allow you to hang your snowman ornament.


Conclusion
Place your snowman family around your home for a festive winter look, or hang them on your Christmas tree as homemade ornaments.
Kids will especially love making these ornaments! Make sure to add personal touches to your snowman family, like different colored scarves or buttons to make them uniquely yours. Happy crafting and enjoy your new pine cone snowman family!
Create a charming pine cone snowman family, complete with painted faces and felt hats. A festive winter craft activity enjoyable for both kids and adults! Step 1: Gather Pine Cones: Collect some pine cones from nature or you can buy some at many craft or grocery stores during the holiday season. Step 2: Paint the Pine Cones: Using white paint, cover the entire pine cone to give it a snowy appearance. You might need to apply two coats if you want to achieve a solid white color. Allow the paint to dry completely. Step 3: Prepare the Snowmen’s Heads: Take wooden beads that are proportional to the size of your pine cones and paint them with white paint. Once dry, use paint markers to add cute faces to your beads. Step 4: Assemble the Snowmen: Glue the wooden bead on top of the pine cone. Step 5: Craft the Hats: Cut felt into a semi circle and roll it to create a cone shape. Secure with hot glue. Then take a strip of felt to make a border for the hat. We pointed the felt hat downwards a bit and hot glued that in place. Finally, we added a tiny pom pom to the end. Step 6: Attach the Hats: Attach the hat to the top of the wooden beads with more glue. Step 7: Add a Scarf: Cut a small strip of felt to serve as a scarf and wrap it around the “neck” of your snowman. Secure it with glue. Step 8: Add Arms: Add tiny twigs as arms! Optional: If you want to turn these into ornaments Cut a piece of string, make a loop, and glue it to the top of the hat. This will allow you to hang your snowman ornament.Cute Snowman Pine Cone Craft


Materials
Instructions


Agnes Hsu is a mom of three and has been inspiring parents and kids to get creative with easy activities and family friendly recipes for over 10 years. She shares her love for creative play and kids food to her 2MM+ followers online. Agnes' commitment to playful learning and kindness has not only raised funds for charity but also earned features in prestigious nationwide publications.