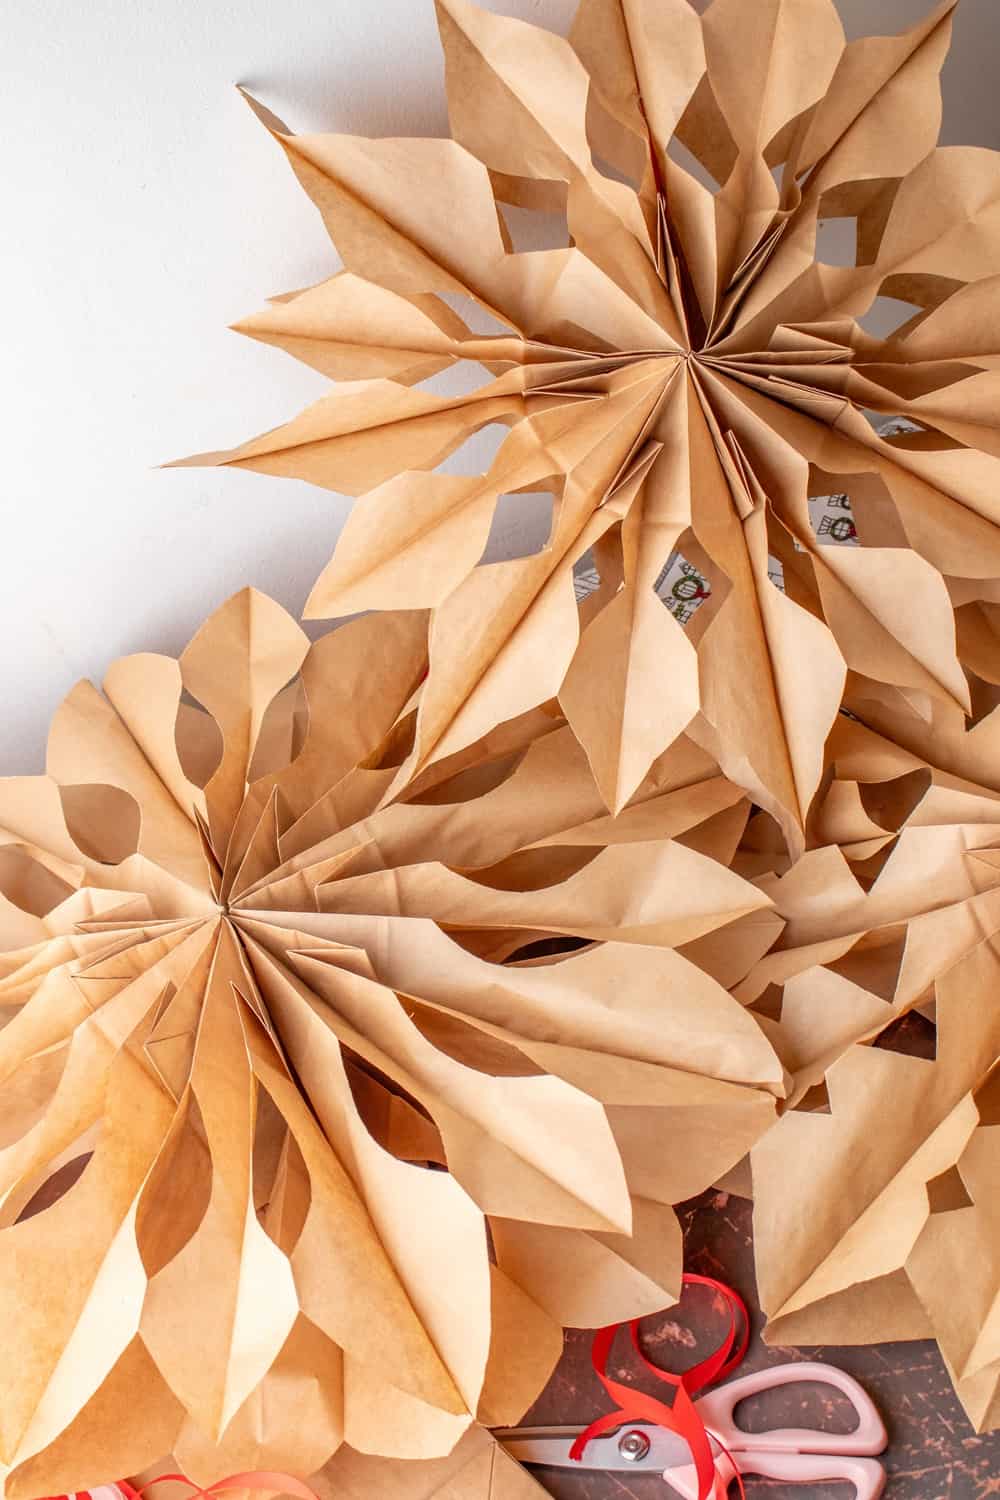
How to Make Paper Bag Snowflakes: A Beautiful DIY Winter Decor

By using this site, you agree to our Terms of Use. This post may contain affiliate links. Read our disclosure policy. As an Amazon Influencer, I earn from qualifying purchases.
Check out my Plaeful Printables for kids play and learning!
- Paper lunch bags (you’ll need 8 per larget snowflake)
- Scissors
- Hot glue gun
- Ribbon
Step 1: Flatten and Stack
Start by flattening out the lunch bags. You’ll need eight bags for each snowflake. Once flattened, stack them one on top of the other, making sure the edges line up neatly.
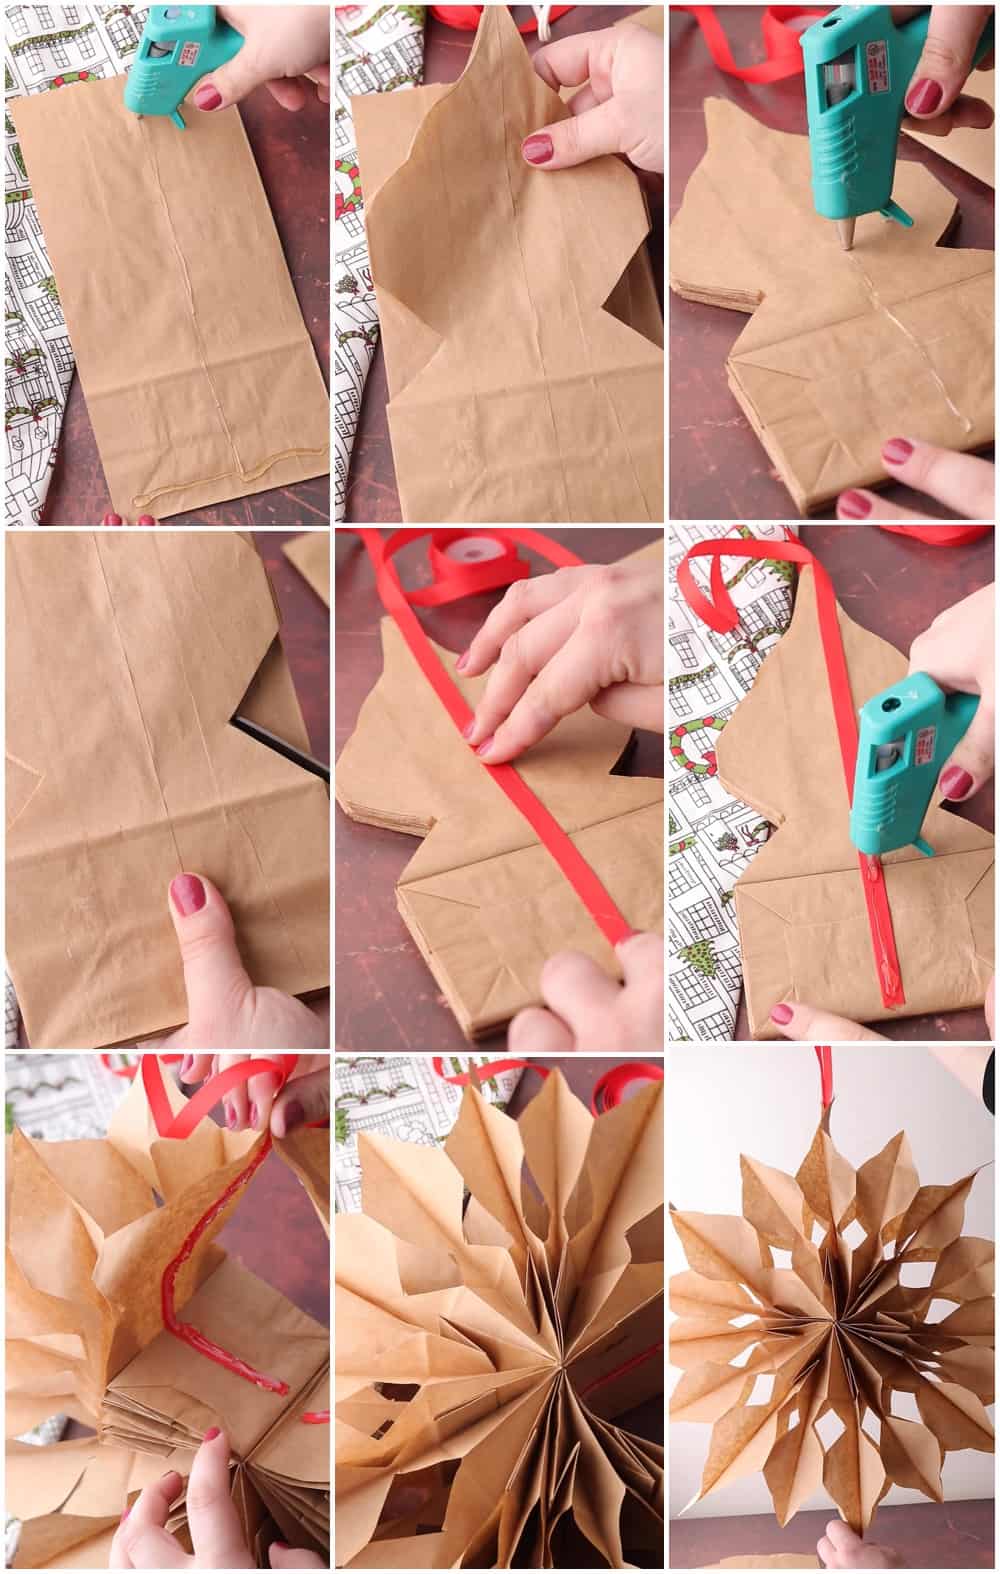
Step 2: Glue Together
Using your glue stick or hot glue gun, apply a strip of glue down the middle of the bag, from the top to the bottom of the bag and then a line across the bottom making an upside down T shape. Repeat and glue 4 bags down.
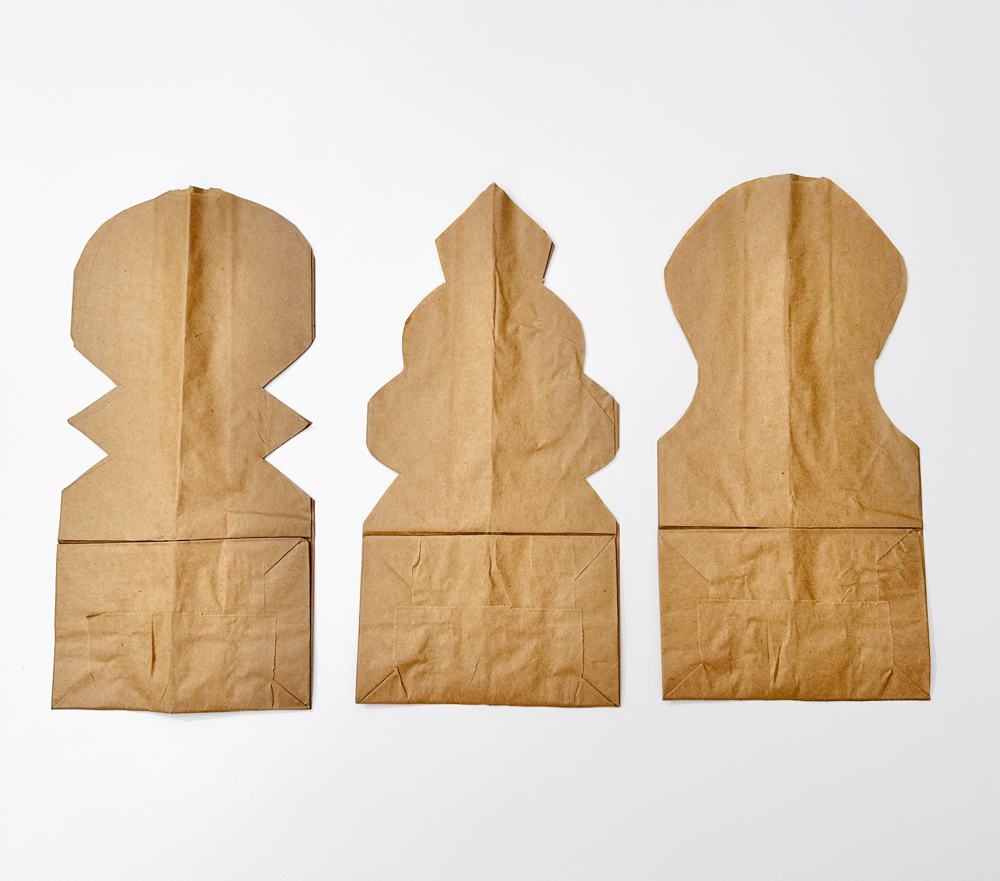
Step 3: Cut the Snowflake Design
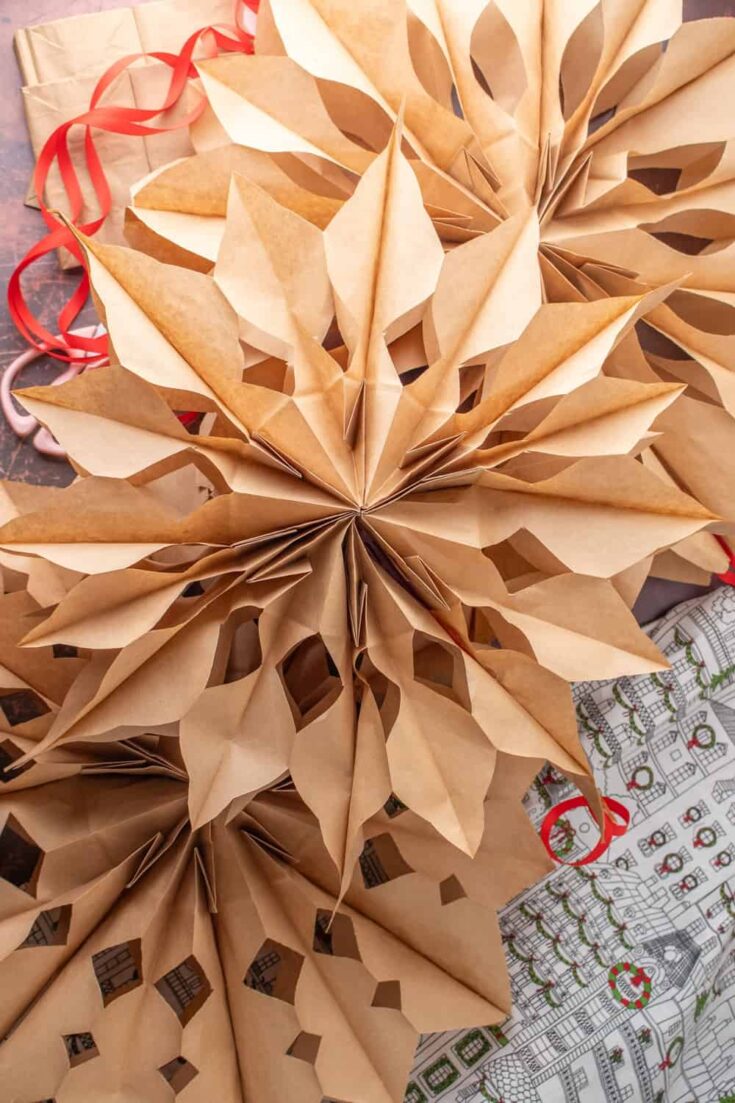
With your scissors, start cutting your snowflake shape from the 4 pressed down bags. Then repeat the above step to glue down 4 more bags. Use your first cut snowflake as a template to trace out the second batch of bags. and glue those together. Watch the video in this post to see what we mean.
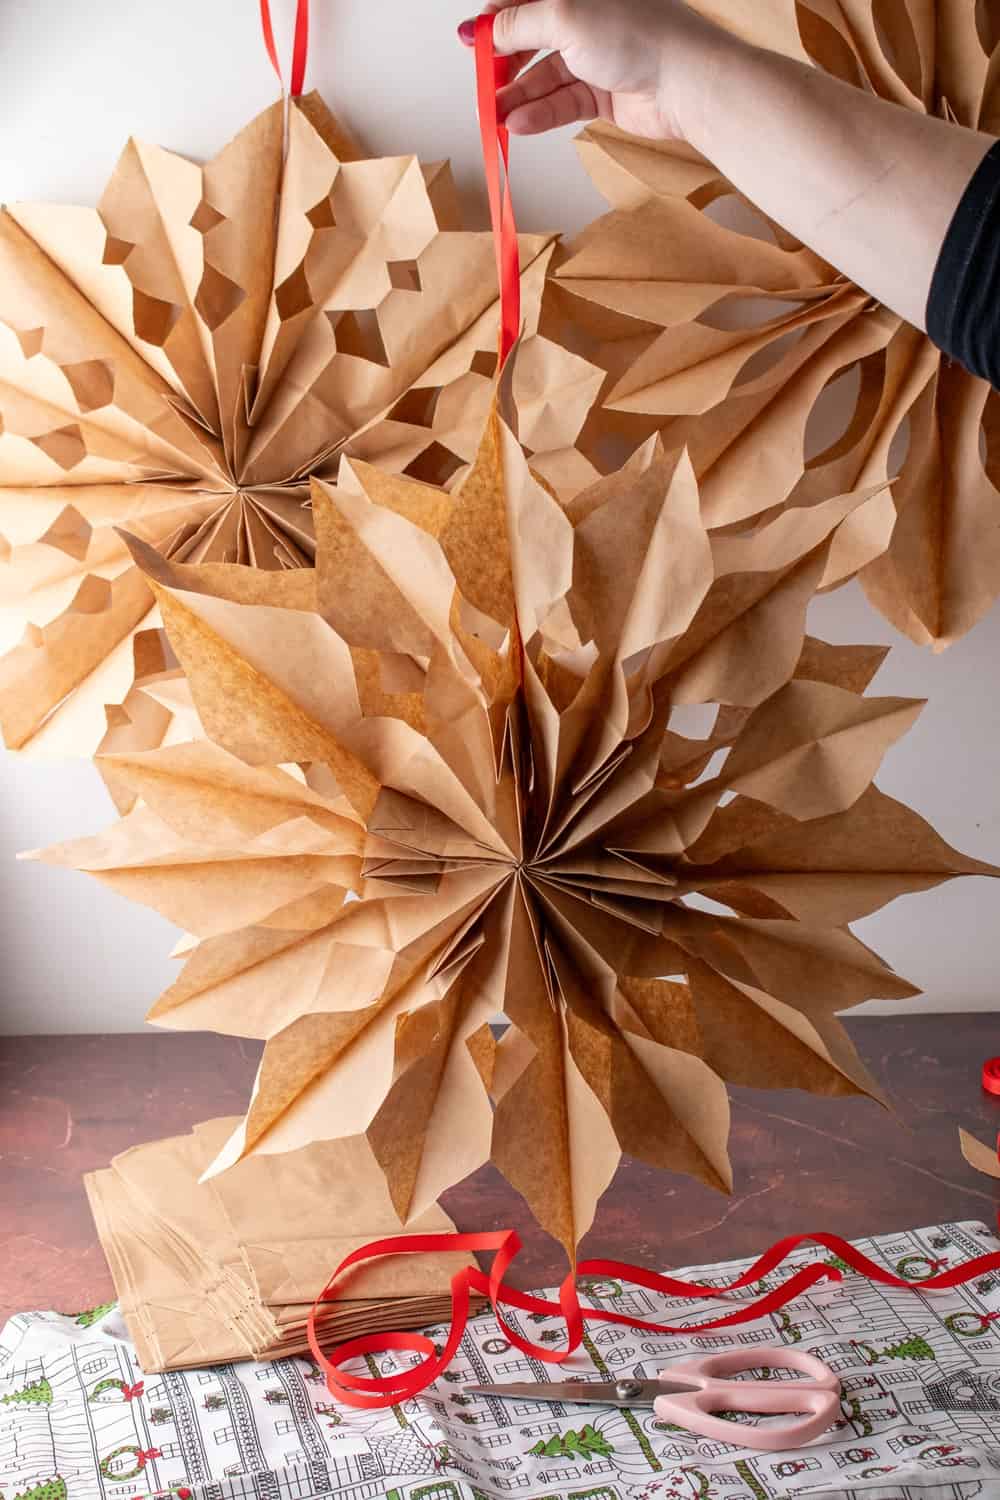
Step 4: Unfold Your Creation
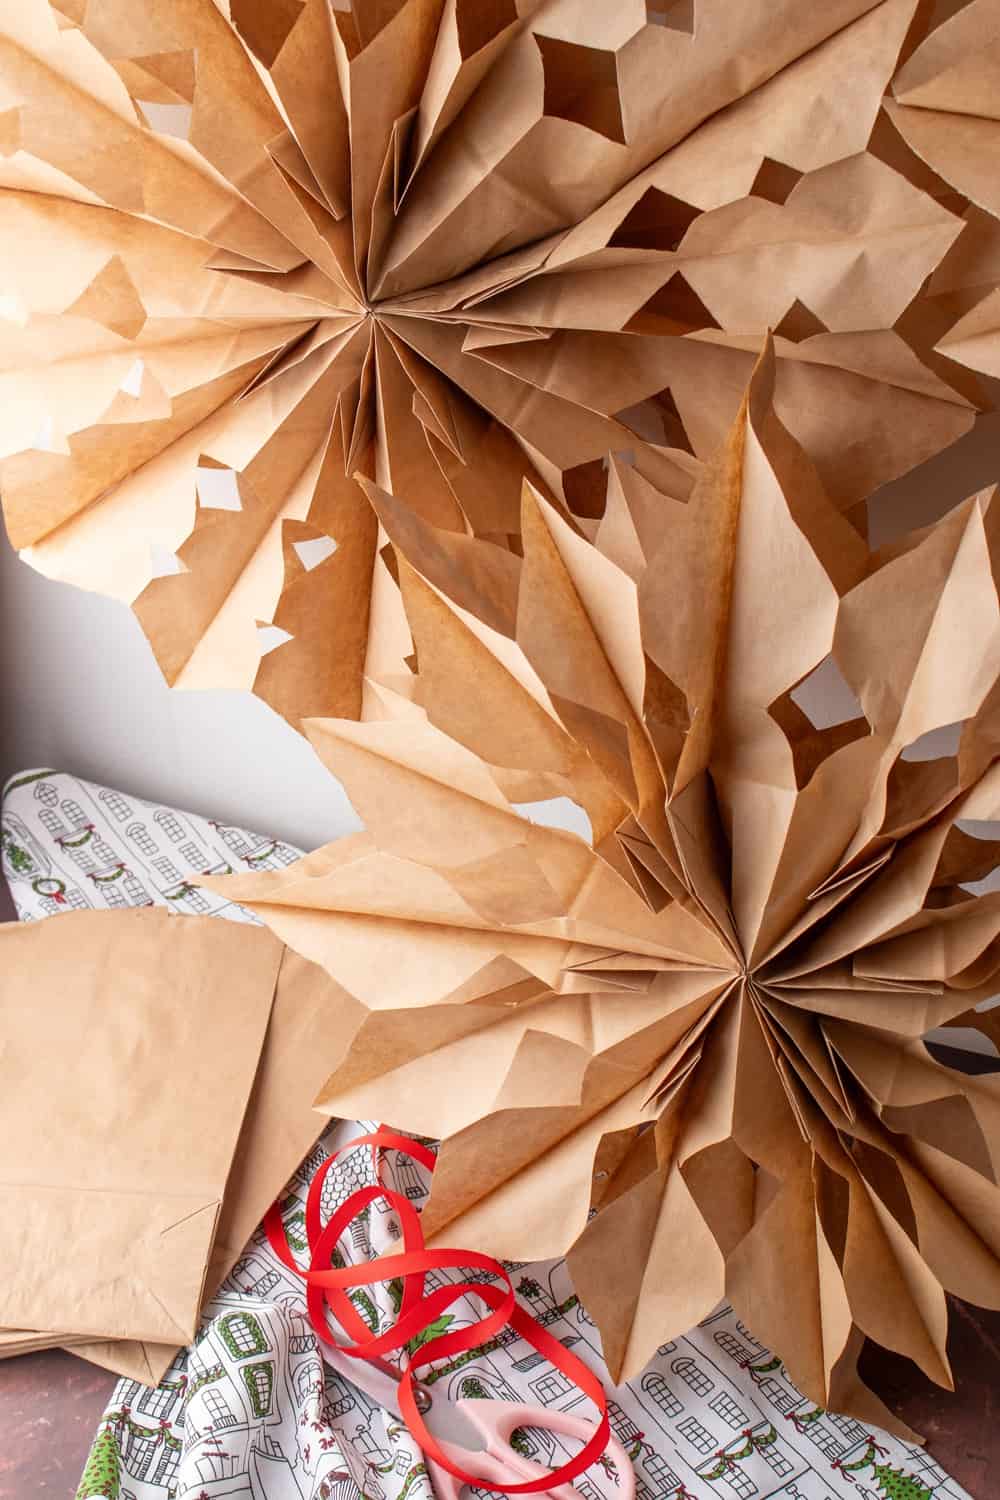
Once you’ve finished cutting, place a strip of hot glue down one end and add a string of ribbon. Do the same on the other side. Add ANOTHER strip of glue on TOP of one ribbon then carefully fan out the bags, bringing the first and last bags together to form a circle. Press down your glue to form your beautiful snowflake.
Step 5: Tie the Ribbon
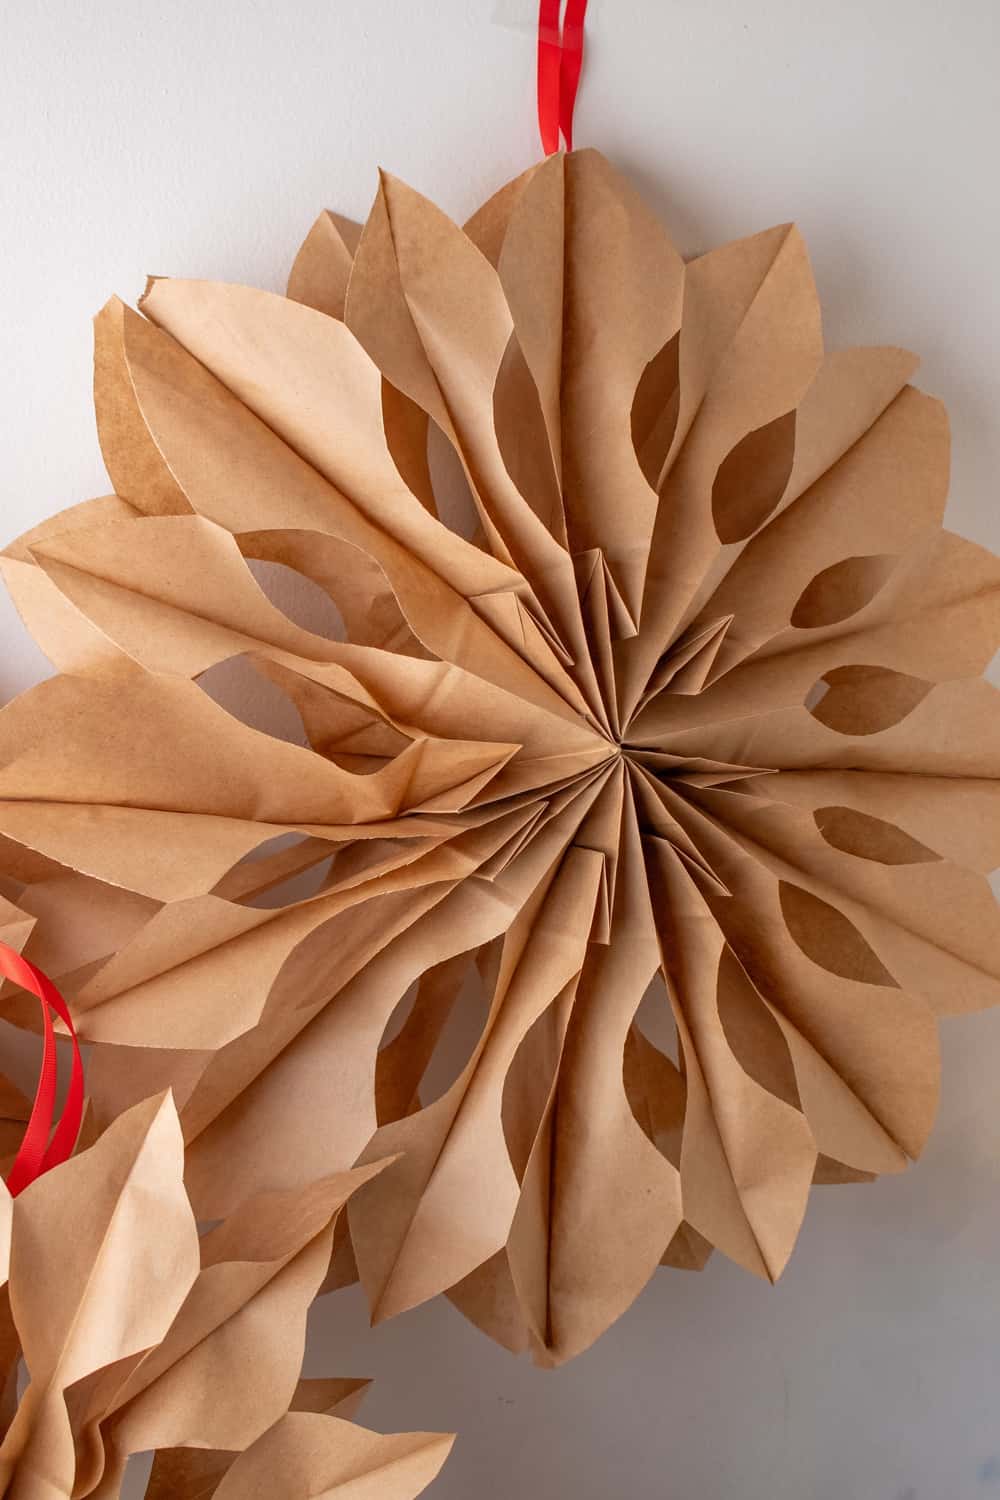
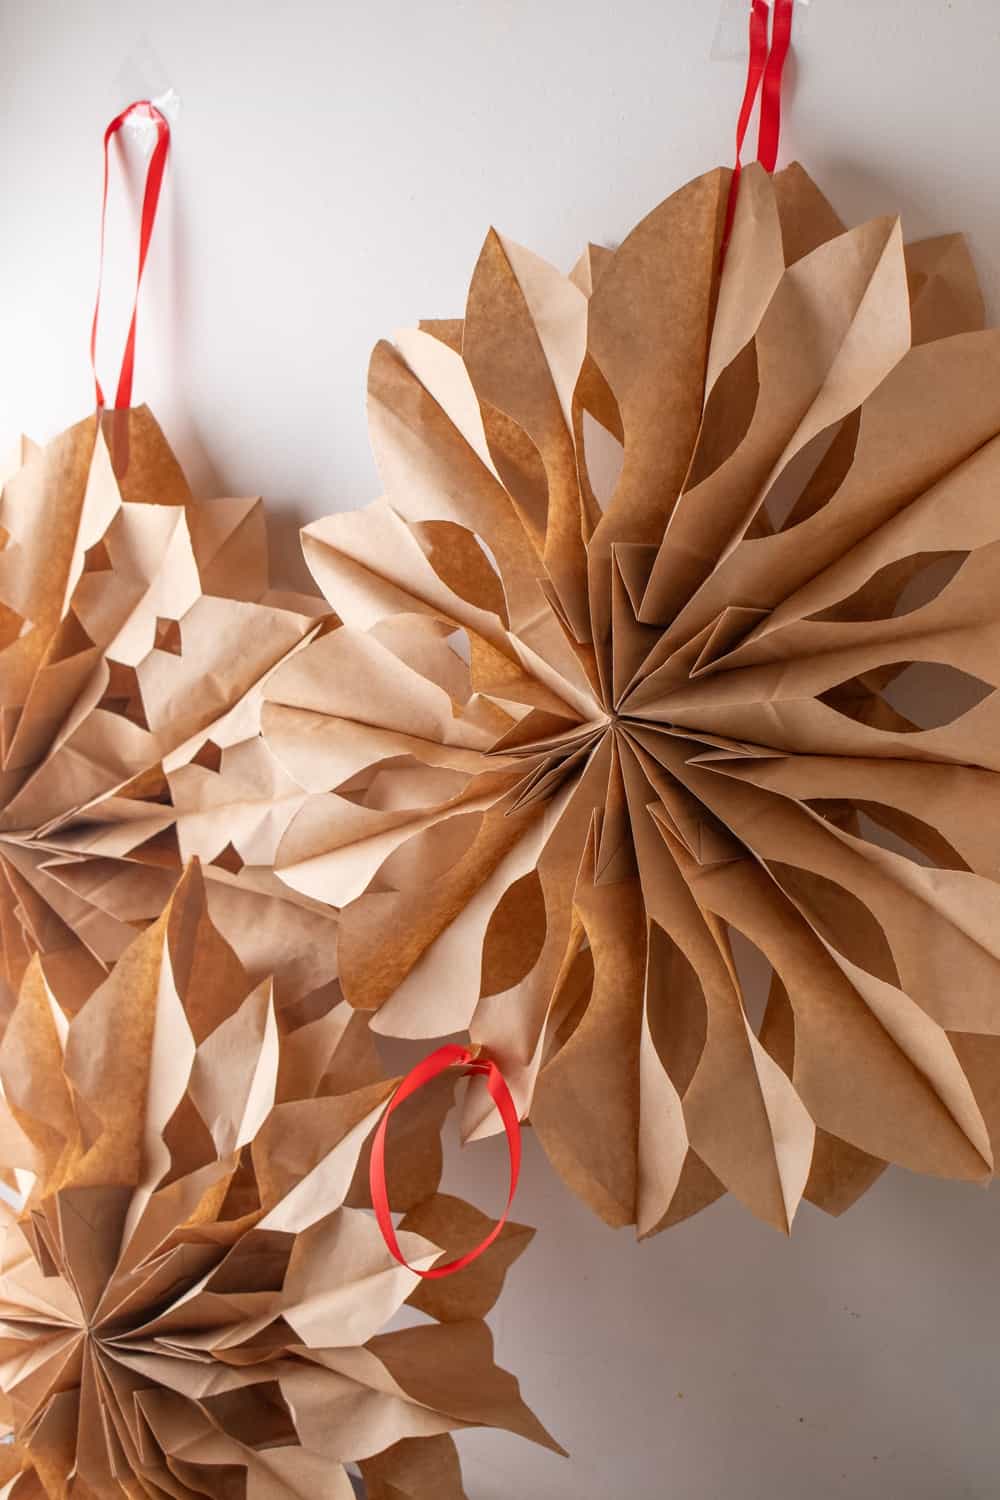
Gather the two strings together and tie to make a loop so you can hang your snowflake easily from a hook.
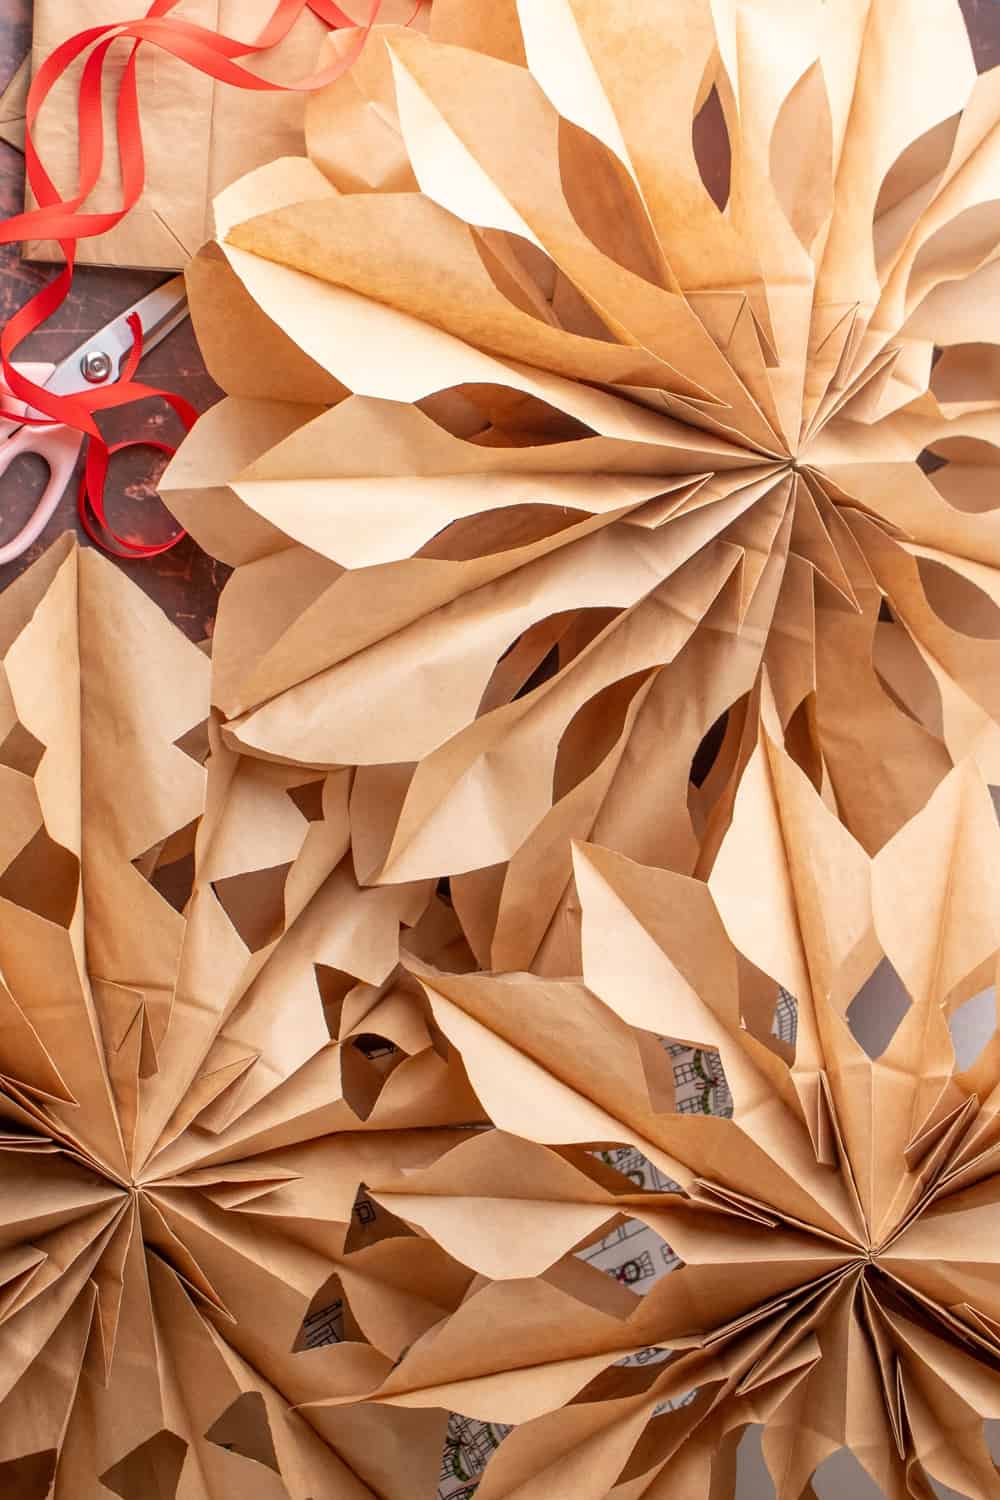
Step 6: Decorate and Display
This is where you can get creative. Leave your snowflake plain for a classic look or decorate with glitter, paint, or markers. You could match your snowflakes to a color theme or make each one unique. Hang them in windows, from the ceiling, or on the walls. These snowflakes make for a festive touch to any room or a charming winter backdrop.
Final Thoughts
Creating winter decor doesn’t have to be fancy or complicated. Grab a bunch of lunchbags and colorful ribbons and get your kids involved in creating your own winter wonderland right at home! I love how impressive these are once strung up around the home!
Create beautiful paper snowflakes from lunch bags with this easy, eco-friendly craft, perfect for a DIY winter home decor. Start by flattening out the lunch bags. You’ll need eight bags for each snowflake. Once flattened, stack them one on top of the other, making sure the edges line up neatly. Using your glue stick or hot glue gun, apply a strip of glue down the middle of the bag, from the top to the bottom of the bag and then a line across the bottom making an upside down T shape. Repeat and glue 4 bags down. With your scissors, start cutting your snowflake shape from the 4 pressed down bags. Then repeat the above step to glue down 4 more bags. Use your first cut snowflake as a template to trace out the second batch of bags. and glue those together. Watch the video in this post to see what we mean. Once you’ve finished cutting, place a strip of hot glue down one end and add a string of ribbon. Do the same on the other side. Add ANOTHER strip of glue on TOP of one ribbon then carefully fan out the bags, bringing the first and last bags together to form a circle. Press down your glue to form your beautiful snowflake. Gather the two strings together and tie to make a loop so you can hang your snowflake easily from a hook. This is where you can get creative. Leave your snowflake plain for a classic look or decorate with glitter, paint, or markers. You could match your snowflakes to a color theme or make each one unique. Hang them in windows, from the ceiling, or on the walls. These snowflakes make for a festive touch to any room or a charming winter backdrop. How to Make Paper Bag Snowflakes: A Beautiful DIY Winter Decor
Materials
Instructions
Step 1: Flatten and Stack
Step 2: Glue Together
Step 3: Cut the Snowflake Design
Step 4: Unfold Your Creation
Step 5: Tie the Ribbon
Step 6: Decorate and Display