
Fun and Easy Rainbow Paper Plate Snail Craft

By using this site, you agree to our Terms of Use. This post may contain affiliate links. Read our disclosure policy.
As an Amazon Influencer, I earn from qualifying purchases.
Check out my Plaeful Printables for kids play and learning!
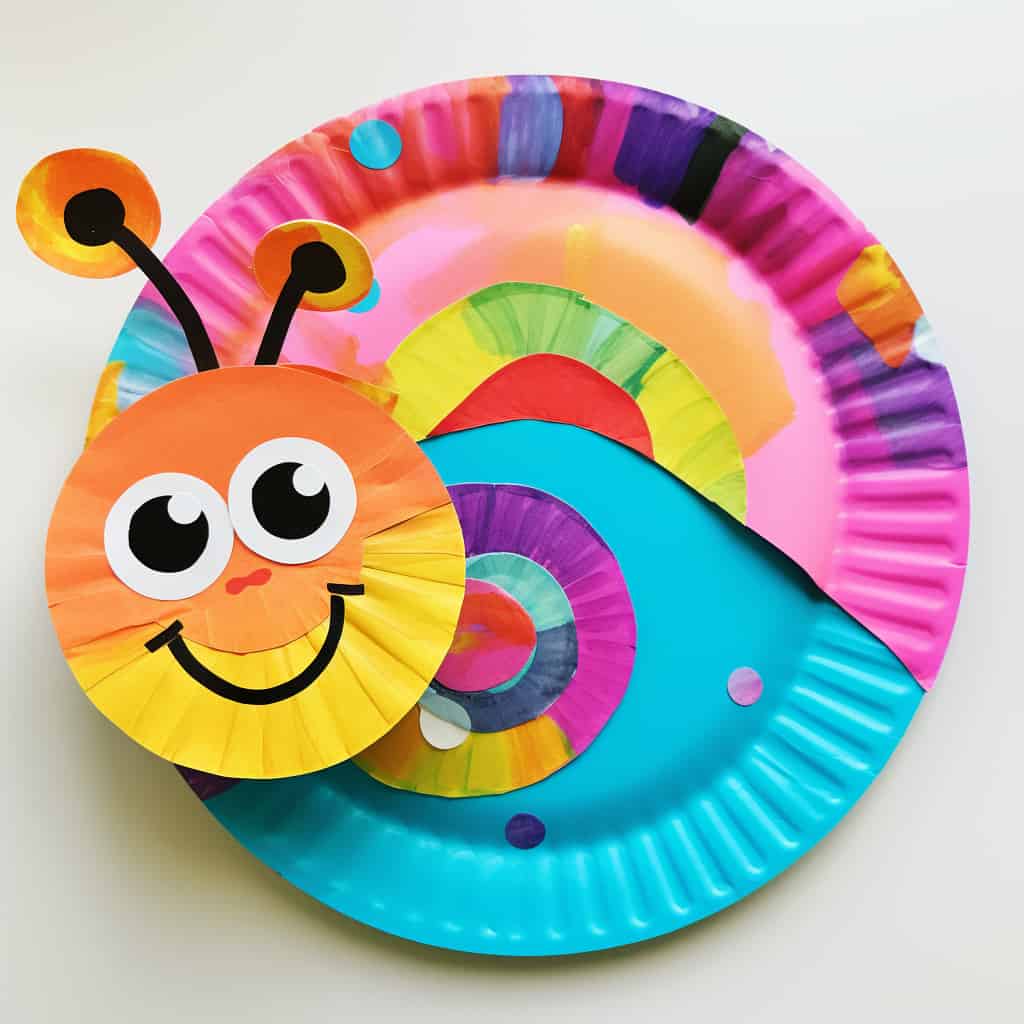
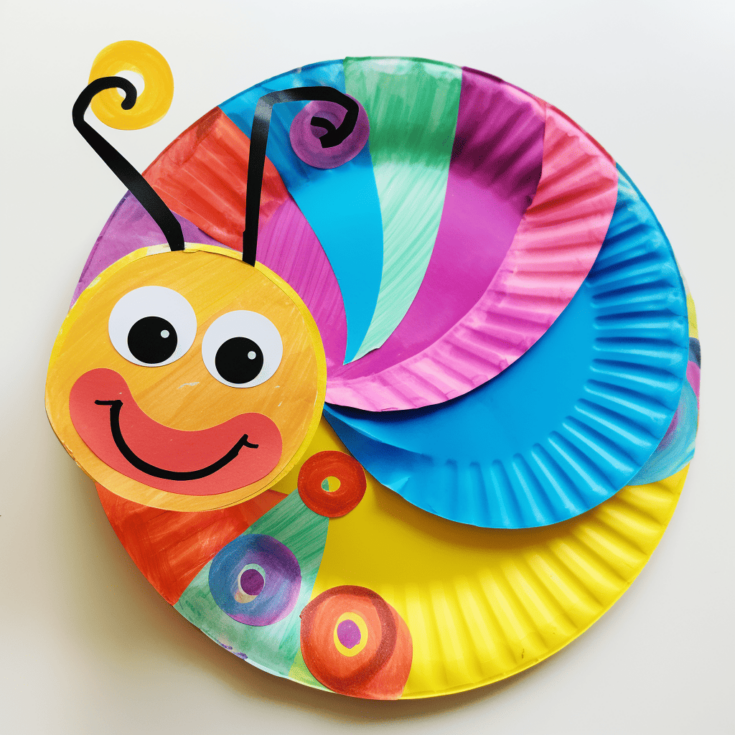
Turn paper plates into colorful snail art using everyday materials and simple art supplies for an easy art project for kids
My kids love snails and for many, they are fascinating creatures to study! Today, we’re going to walk you through an adorable project creating this cute rainbow paper plate snail. This craft is not only fun and easy but also utilizes simple materials you likely have around your house. Recycled crafts are some of our favorite projects as well as paper plates for their simplicity. Let’s dive into this colorful rainbow craft!
Rainbow Paper Plate Snails – Materials
- Paper plates
- Paint (rainbow colors) We like these acrylics
- Paintbrushes
- Black, white and and colored construction paper or cardstock
- Googly eyes (optional) or paper eyes
- Glue or tape
- Scissors
- Markers or paint markers
INSTRUCTIONS:
- Preparation: Lay out all your materials on a crafting table or a protected surface. This ensures that the kids have everything they need within reach, and it makes the clean-up process easier.
- Paint the Plate: Start by painting strips of paper plate in a rainbow pattern. You can either paint straight lines of each color, or opt for a more swirled effect. You can alternate by painting plates and cutting colored paper. Allow the paint to dry thoroughly.
- Decorating the Snail’s Body: Decorate the body with colorful swirls.
- Creating the Snail’s Head: Cut out a circle from the colored construction paper for the snail’s head. For added detail, you can cut out a smiling mouth and glue it onto the head.
- Antennae Magic: Cut out two thin strips from the black construction paper for the antennae. Curl them at the top to give them a playful twist. Glue them to the top of the snail’s head. Glue on colorful details.
- Eyes: If you’re using googly eyes, glue them onto the head. If not, you can cut out white circles from construction paper and add smaller black circles in the center to make eyes.
- Assemble Your Snail: Attach the snail’s head to the front of the spiral body using glue or tape.
- Drying Time: Make sure to give your snail ample time to dry, especially if you’ve added a lot of glue or paint.
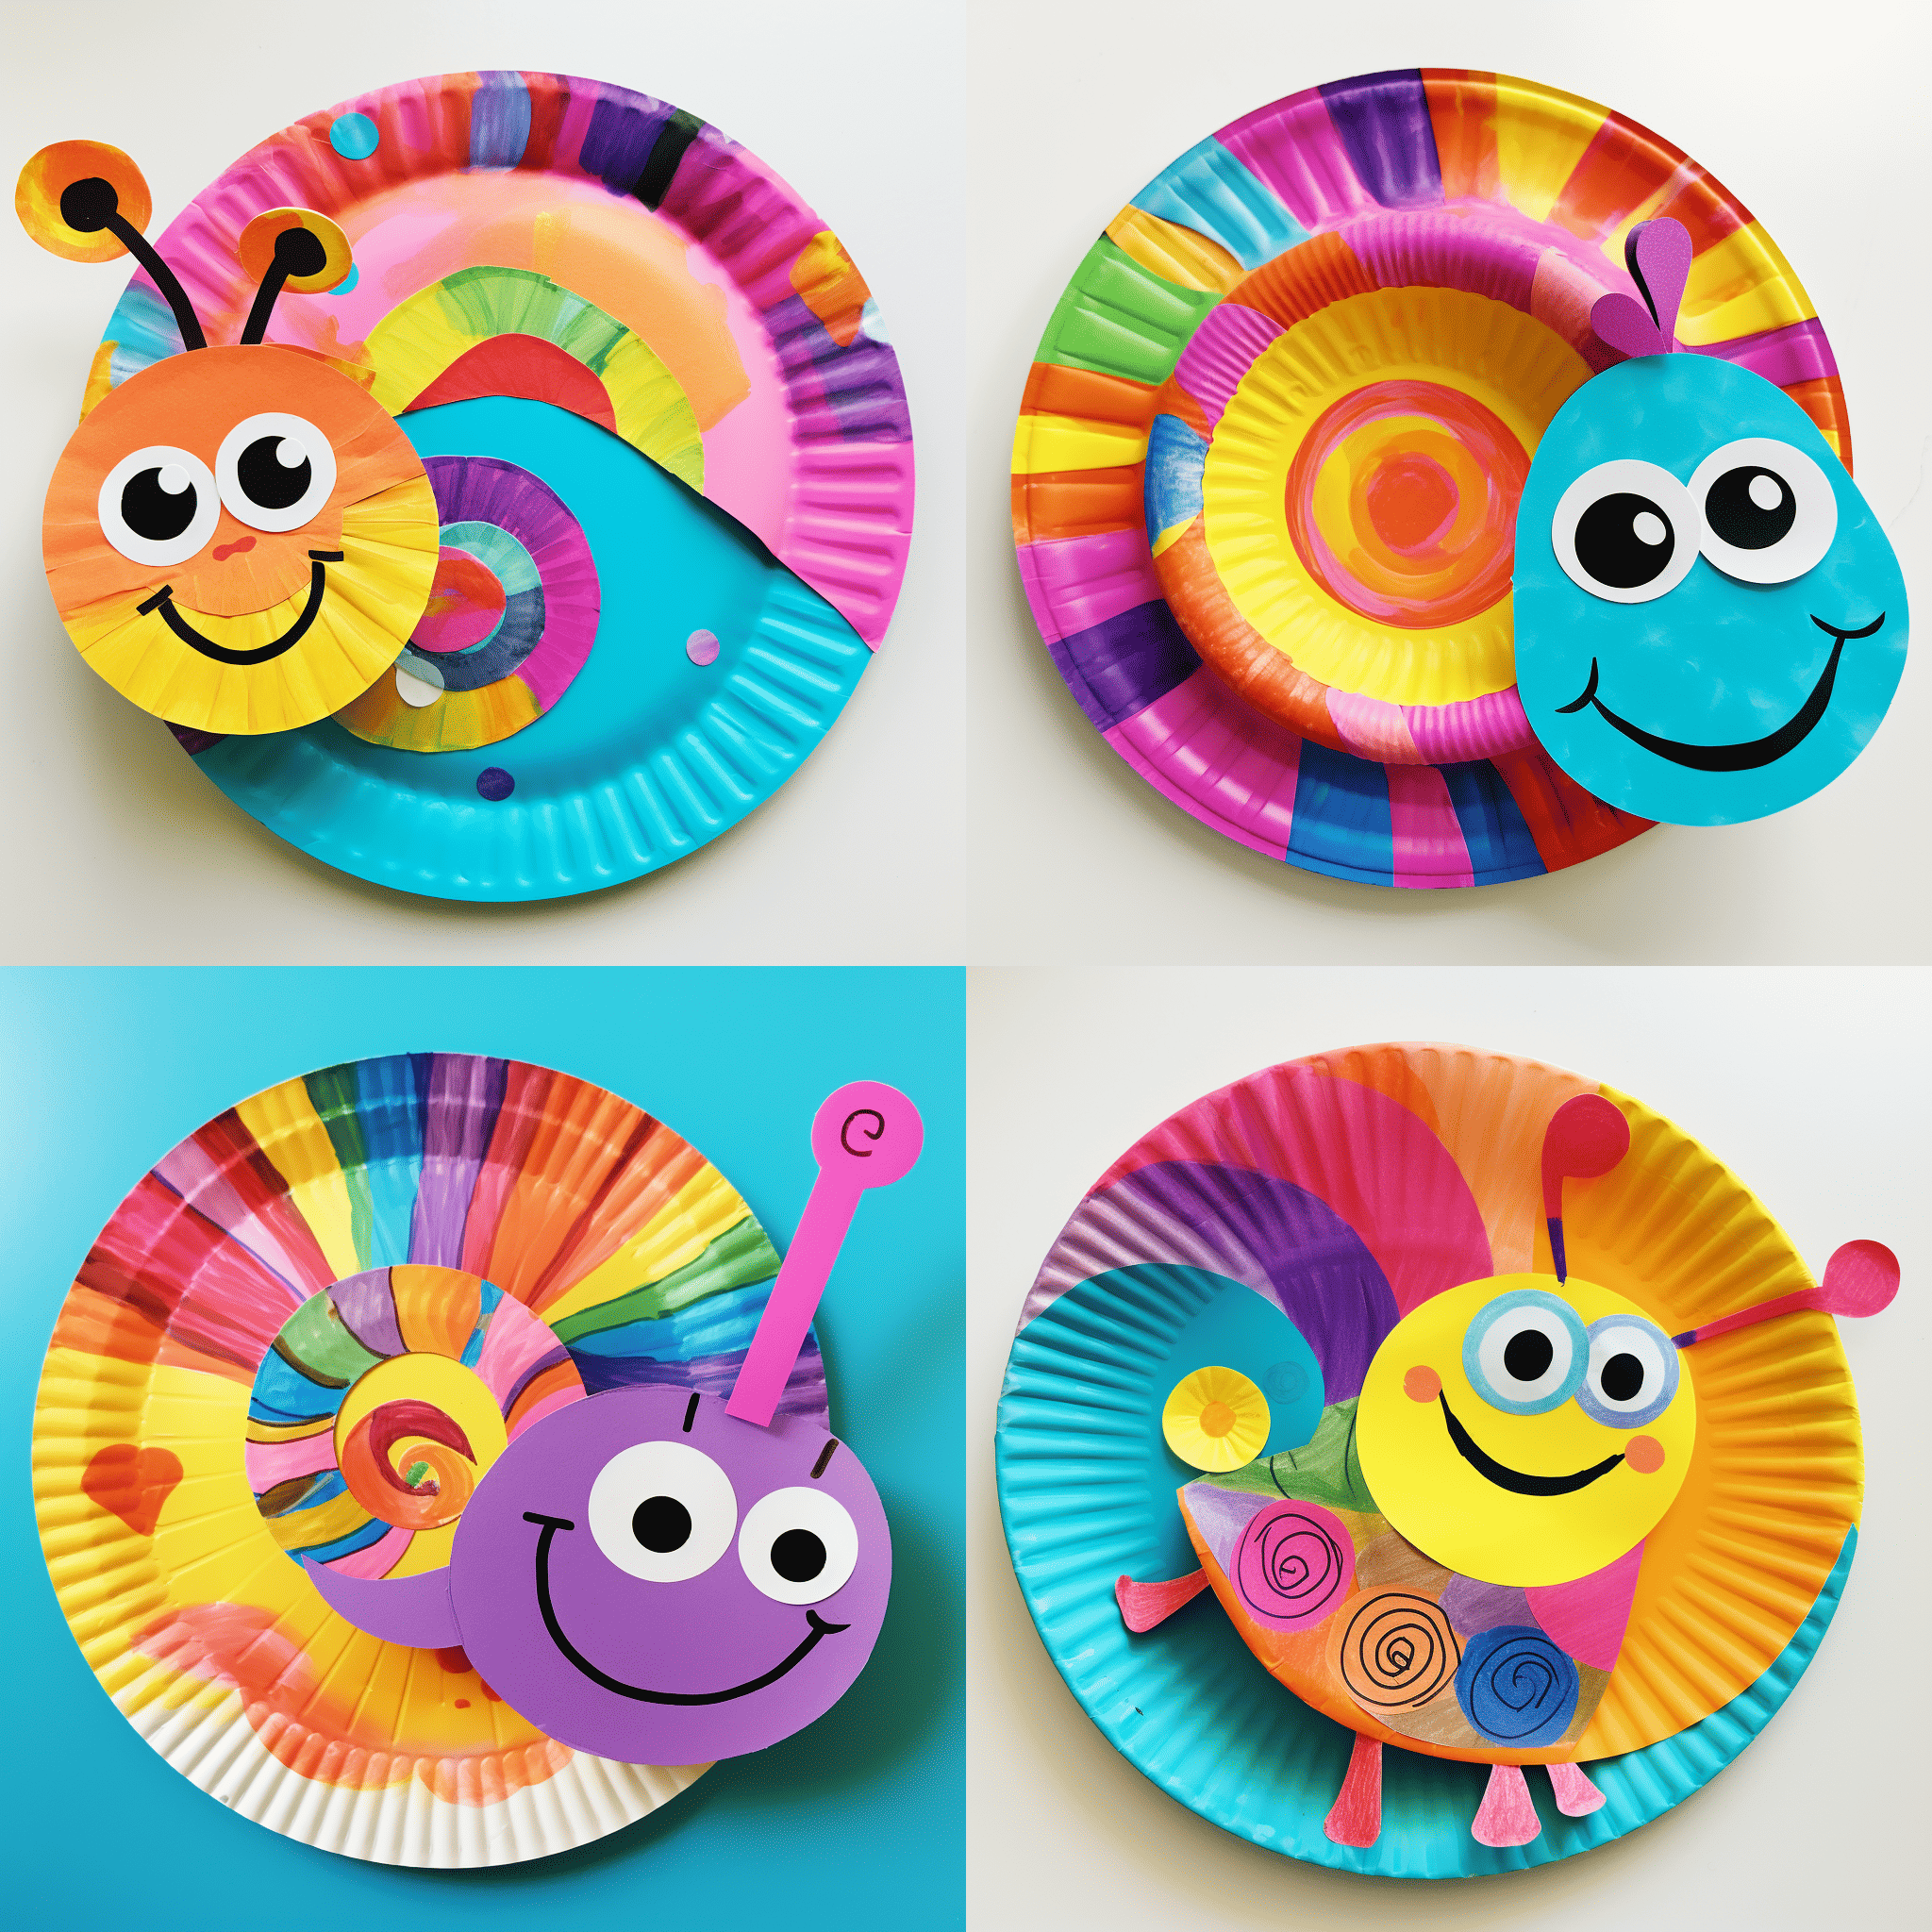
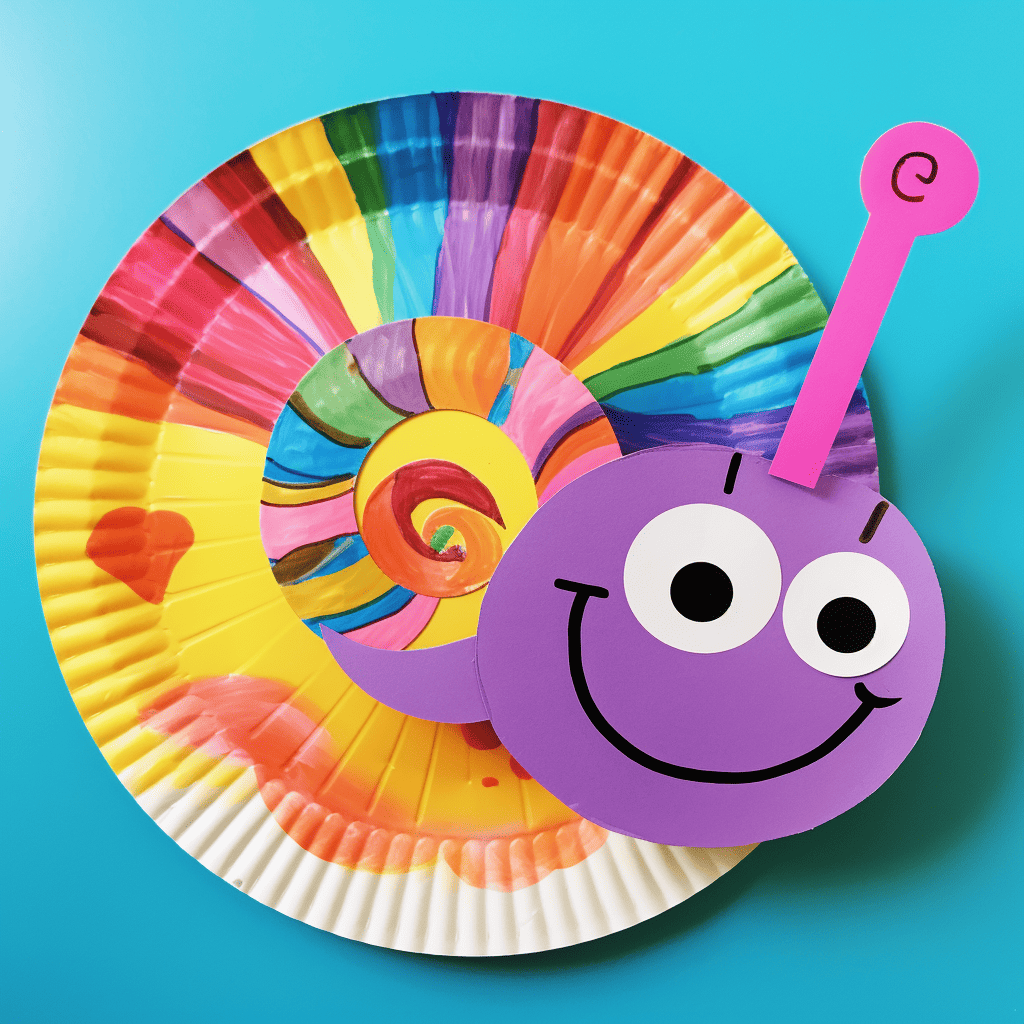
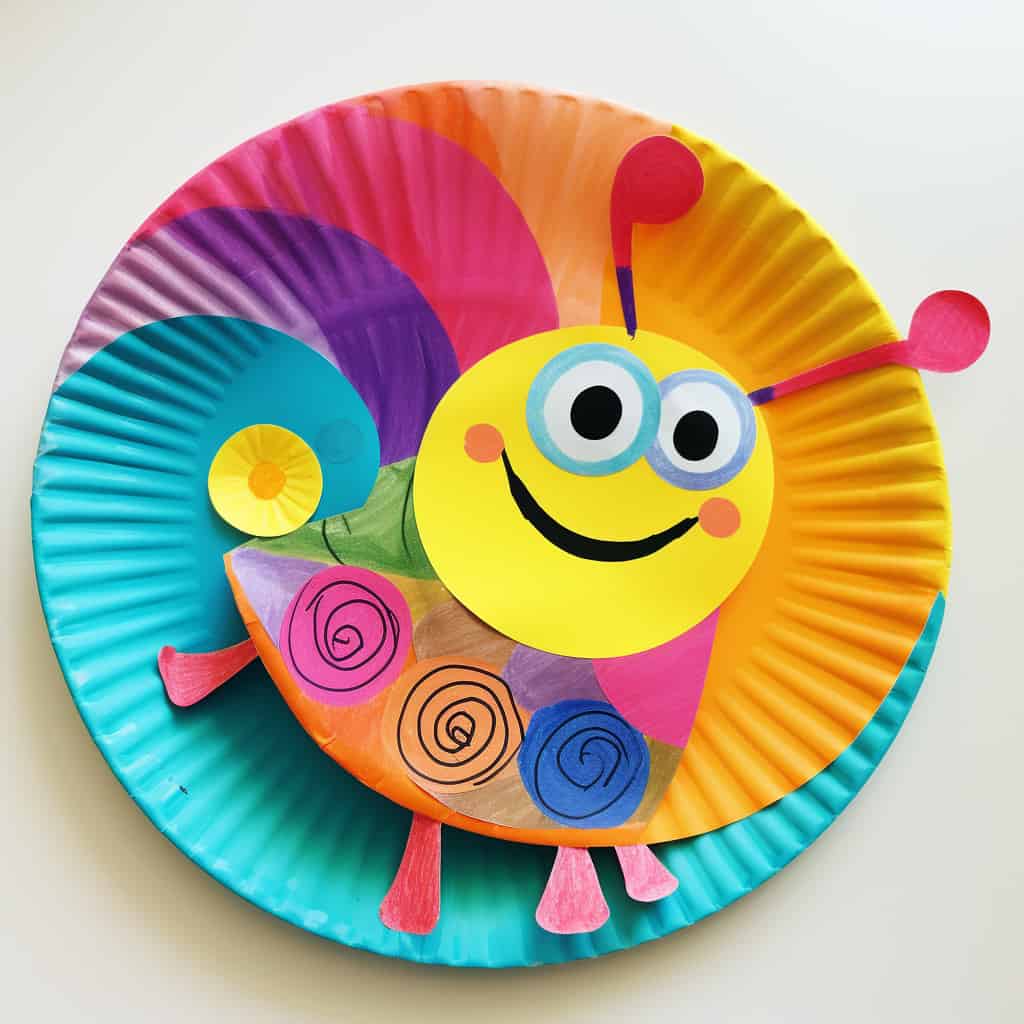
Here are some examples of more fun rainbow snails for inspiration! There are so many fun ways to create rainbow snails and no right or wrong way! The crafty colorful possibilities are endless!
Conclusion
This rainbow paper plate snail craft is not just a colorful art project, but a fun learning experience for kids. They get to work with colors, practice their fine motor skills, and let their imagination run wild. Once done, these snails make for cheerful room decor or even a fun toy for imaginative play. Happy crafting!
Rainbow Paper Plate Snail Craft
Materials
- Paper plates
- Paint (rainbow colors) We like these acrylics
- Paintbrushes
- Black, white and and colored construction paper or cardstock
- Googly eyes (optional) or paper eyes
- Glue or tape
- Scissors
- Markers or paint markers
Instructions
- Preparation: Lay out all your materials on a crafting table or a protected surface. This ensures that the kids have everything they need within reach, and it makes the clean-up process easier.
- Paint the Plate: Start by painting strips of paper plate in a rainbow pattern. You can either paint straight lines of each color, or opt for a more swirled effect. You can alternate by painting plates and cutting colored paper. Allow the paint to dry thoroughly.
- Decorating the Snail's Body: Decorate the body with colorful swirls.
- Creating the Snail's Head: Cut out a circle from the colored construction paper for the snail's head. For added detail, you can cut out a smiling mouth and glue it onto the head.
- Antennae Magic: Cut out two thin strips from the black construction paper for the antennae. Curl them at the top to give them a playful twist. Glue them to the top of the snail's head. Glue on colorful details.
- Eyes: If you're using googly eyes, glue them onto the head. If not, you can cut out white circles from construction paper and add smaller black circles in the center to make eyes.
- Assemble Your Snail: Attach the snail's head to the front of the spiral body using glue or tape.
- Drying Time: Make sure to give your snail ample time to dry, especially if you've added a lot of glue or paint.


