Creative Ideas for Crafting Pine Cone Owls
By using this site, you agree to our Terms of Use. This post may contain affiliate links. Read our disclosure policy.
Follow us on Instagram for more fun ideas for kids!
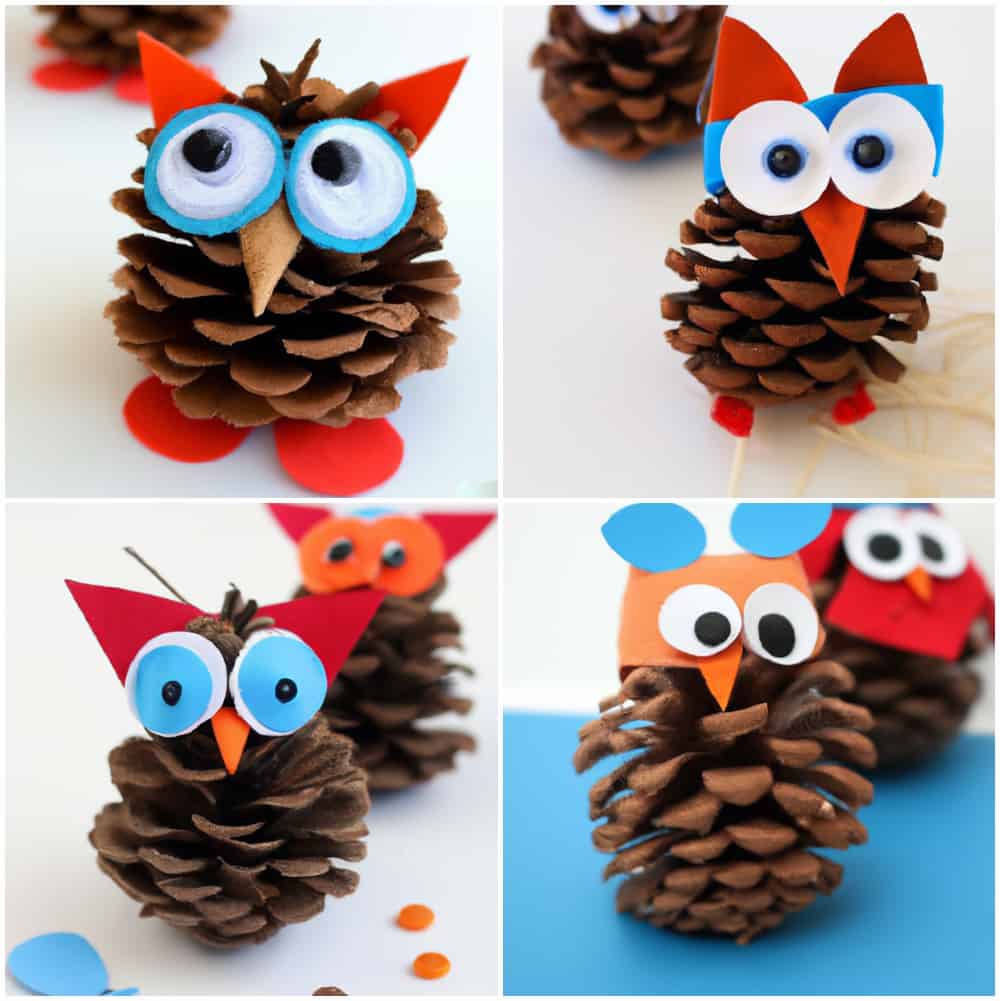
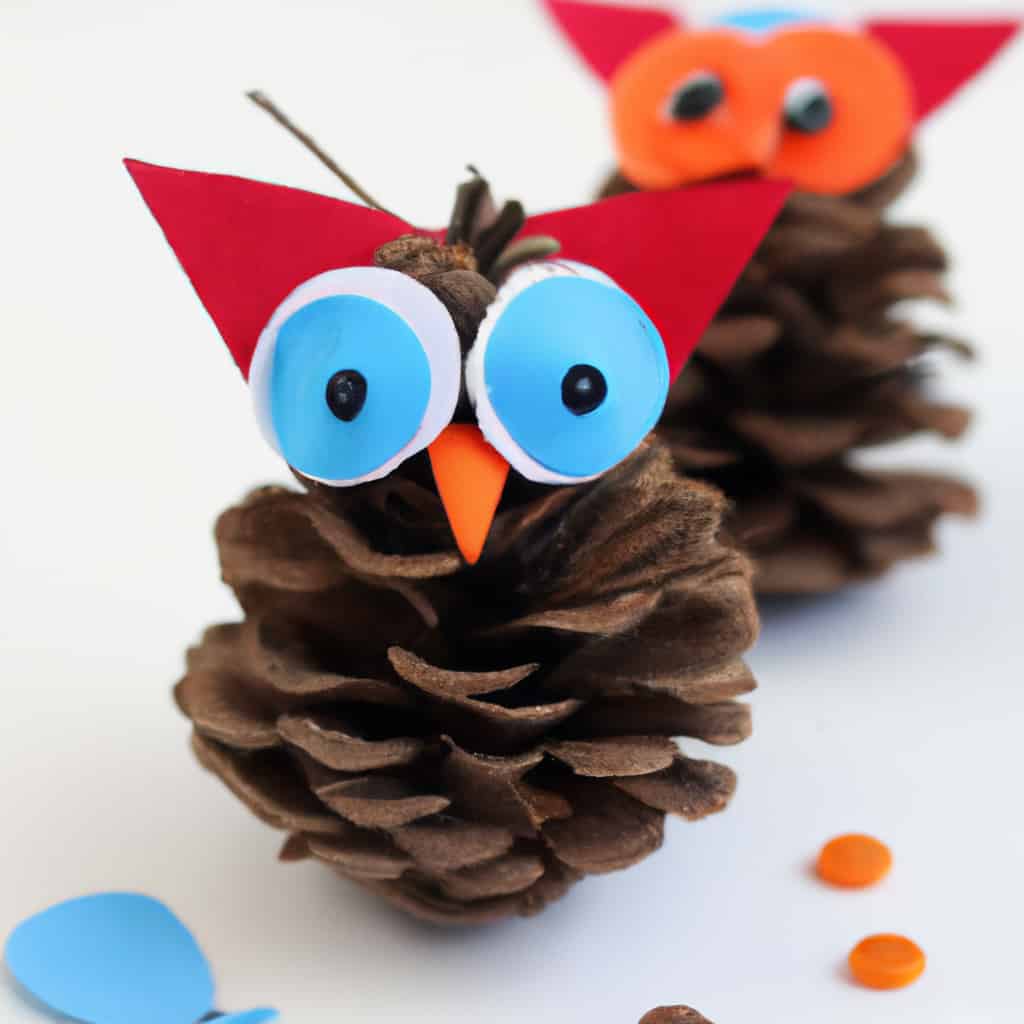
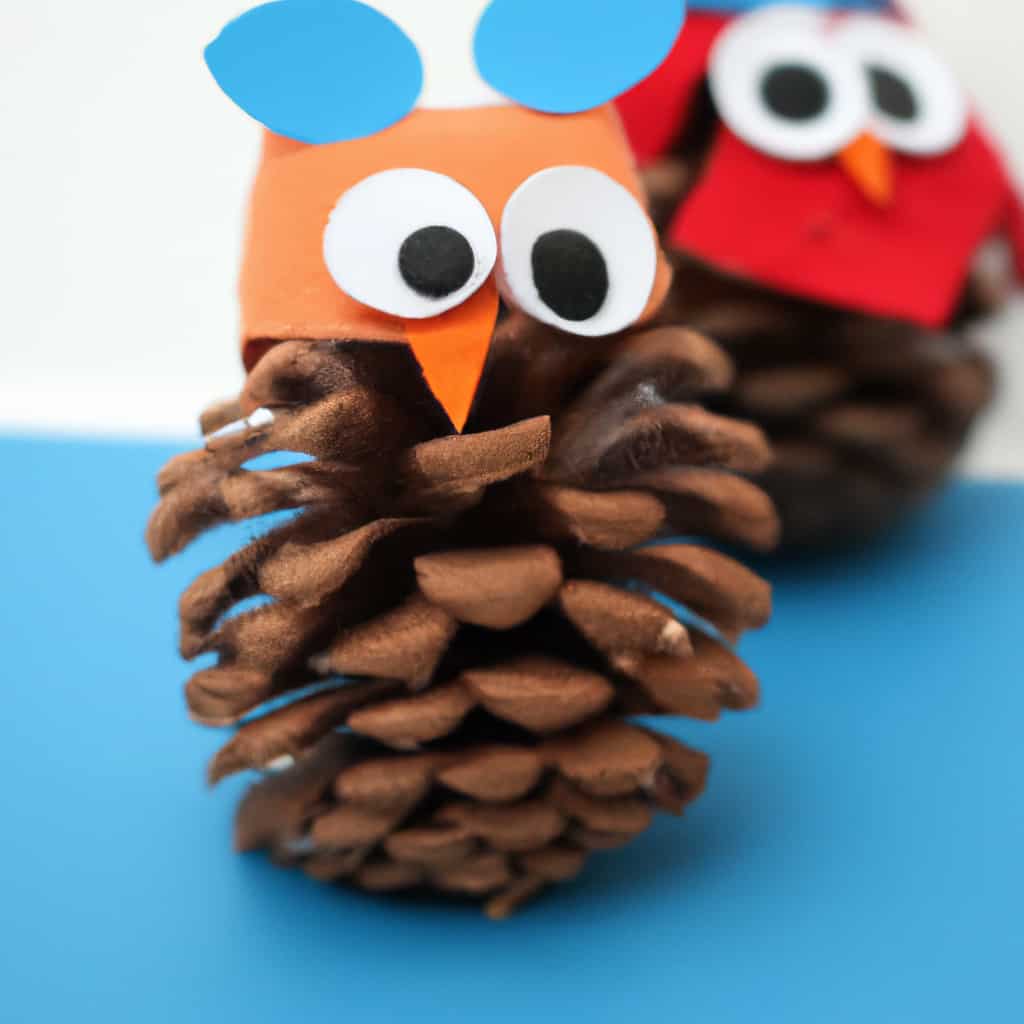
If you're looking for a fun owl craft to make, look no further than this Pine Cone Owl Craft!
These charming owls can be used as home décor or given as gifts, and they're sure to bring a smile to anyone who sees them.
Pine cones make excellent crafting material and the other supplies needed for this project can be found around the house, making it an excellent option for a fall day activity!
Kids will love helping to make these owls, and they'll be proud to show off their handiwork when they're finished.
You can use any color of paint or paper to suit your décor, and we've even included steps to make things easier. So gather up your supplies and get ready to craft with us!
How to Transform Ordinary Pine Cones into Adorable Owls
1: Choose Your Pine Cone & Paint It
The first step is to find the perfect pine cone. Once you've got your pine cone, it's time to give it some color! Many opt for white paint, but you can use any color, or none at all.
Make sure the paint is fully dry before moving on to the next step. If you're working with kids, this is an excellent opportunity to let them get creative.
They can paint their pine cone any color they like and might even have fun mixing colors. However, ensure to have some towels or a drop cloth on hand, as pine cones can be messy.
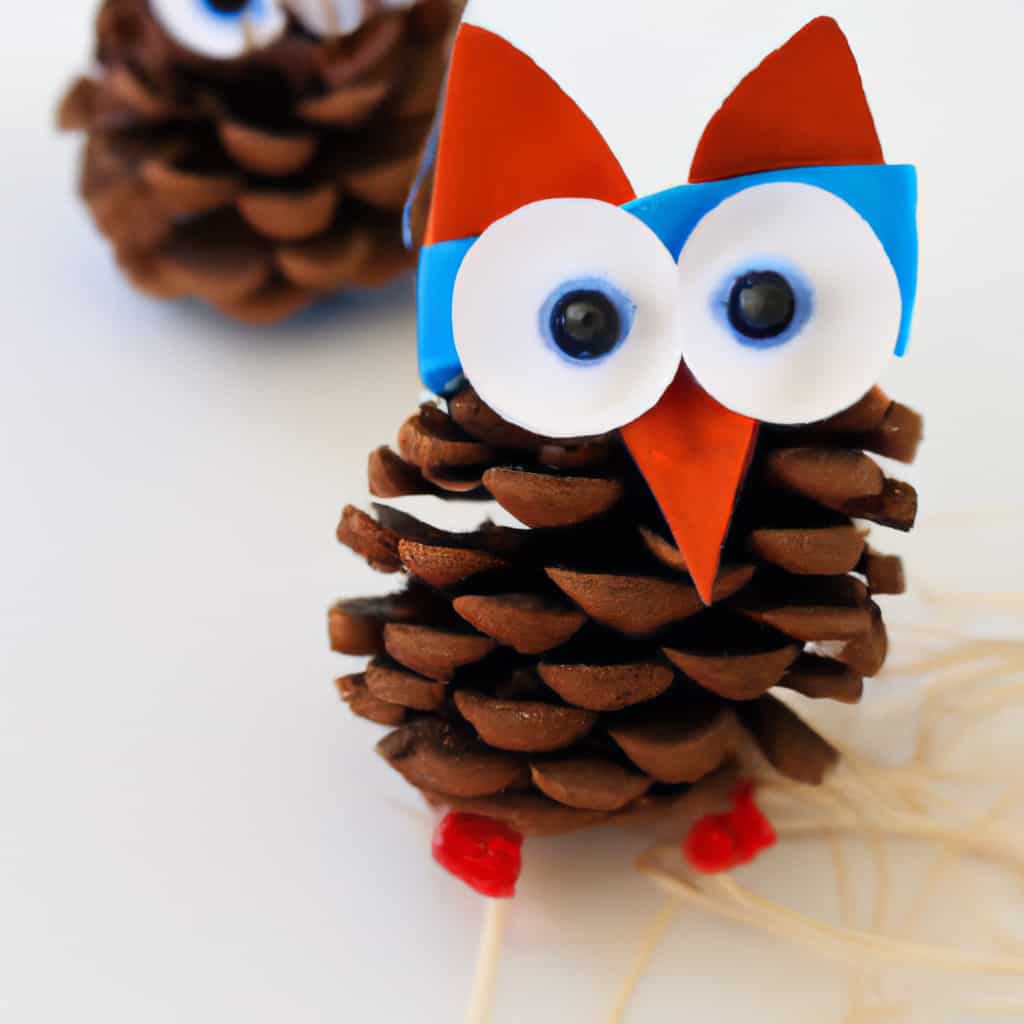
2: Glue on the Eyes
The next step is to add some eyes! Many people use googly eyes for their owls, but you could also use felt or construction paper cutouts.
Once you've decided on your eyes, it's time to glue them onto the pine cone. You can use a hot glue gun for this step, but feel free to use whatever type of glue you have on hand.
Many craft stores sell glue specifically for attaching felt or paper to wood, plastic, and fabric surfaces. If you're working with kids, ensure an adult is on hand to help with the hot glue gun.
Also, if you're using felt or paper cutouts for the eyes, you might consider pre-cutting them before the project begins.
3: Add the Wings
Now it's time to give your owl some wings! First, cut two wings out of construction paper or felt—some people use black construction paper, but you can use any color you like.
Once you've got your wings, it's time to attach them to the back of the pine cone with glue. Some people like to add an extra flair to the wings by curling them up with a pencil or scissors.
You can use various colors and patterns of construction paper or felt to create unique wings.
4: Attach the Beak
The next step is to add a beak! Cut a triangle out of construction paper or felt and glue it onto the front of the pine cone.
Many people use yellow construction paper for the beak, but you can use any color you like. If you want to get creative, you can use different colors for the eyes, wings, and beak.
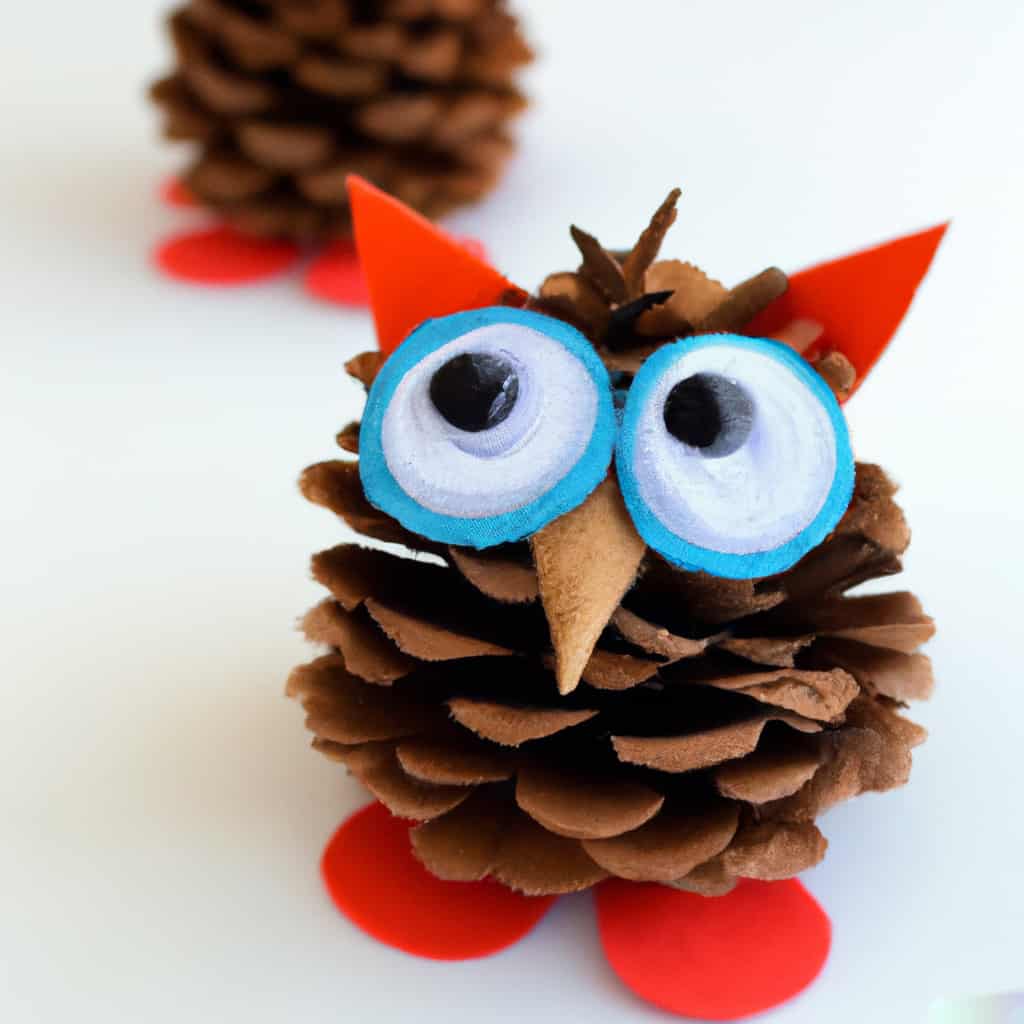
While at it, you can also add some feet by cutting two small triangles out of construction paper or felt and gluing them onto the bottom of the pine cone.
5: Make a Perch for Your Owl
Now that your owl is complete, it's time to give it a perch! Cut a small rectangle out of construction paper or felt and staple it to the back of the pine cone.
This will create a loop you can use to hang your owl from a nail or hook. You can also use string or ribbon to create a loop for hanging.
If you want to get really creative, you can even make a nest for your owl by cutting a small circle out of construction paper or felt and wrapping it around the base of the pine cone.
If you're working with kids, this is an excellent opportunity to let them use their imaginations.
Tips and tricks for Crafting a Pine Cone Owl
First, you'll want to find a pine cone that is the right size for your owl. If you want a small owl, look for a small pine cone. If you want a large owl, look for a large pine cone.
Next, make sure the pine cone is clean. Before crafting your owl, ensure the pine cone is clean and free of dirt or debris. This will help your owl look its best.
You can also hang your owl up! Once your owl is complete, find a spot to hang it up and enjoy your work! Add ribbon to the pine cone and hang it from the ceiling for a fun touch.
How to Showcase the Pine Cone Owl
On the mantel
One of the best places to showcase your pine cone owl craft is on the mantel. This is the perfect spot to show off your handiwork if you have a fireplace. You can arrange your owls on the mantel with other spooky decorations or let them take center stage.
On the front porch
Another great place to display your owls is on the porch. This is an excellent option if you want to create a spooky welcome for trick-or-treaters. You can line the steps leading up to your door with owls or put them in planters by the door.
In the windows
If you want to show off your owls, put them in the windows. This way, they will be visible inside and outside your home. You can put them in your windows or just in one or two. You can also put them in your front door windows for a spooky welcome.
On the dining room table
Consider putting your owls on the dining room table if you entertain often. This way, they will be noticed by your guests. You can put them in the center of the table or arrange them around a centerpiece. If you have a large table, you can even put owls down the length of it.
In a shadow box
A shadow box is an excellent display of small items like pine cone owls. You can put one owl in each box or several owls in each box and create a scene. Shadow boxes are also a great way to protect your owls from damage and dust.
Takeaway
Owls symbolize wisdom and intelligence, making them the perfect subject for a fun craft project. If you're looking for a way to add personality to your home décor, try crafting a pine cone owl!
This project is perfect for kids and adults and is a great way to get creative. You can create a unique and adorable owl to impress your friends and family with just a few simple supplies.
If you're feeling extra crafty, add wings and a beak to your owl for an extra bit of flair. So gather up your supplies and get ready to craft!