
DIY Melted Crayon Alphabet Letters
By using this site, you agree to our Terms of Use. This post may contain affiliate links. Read our disclosure policy.
Follow us on Instagram for more fun ideas for kids!
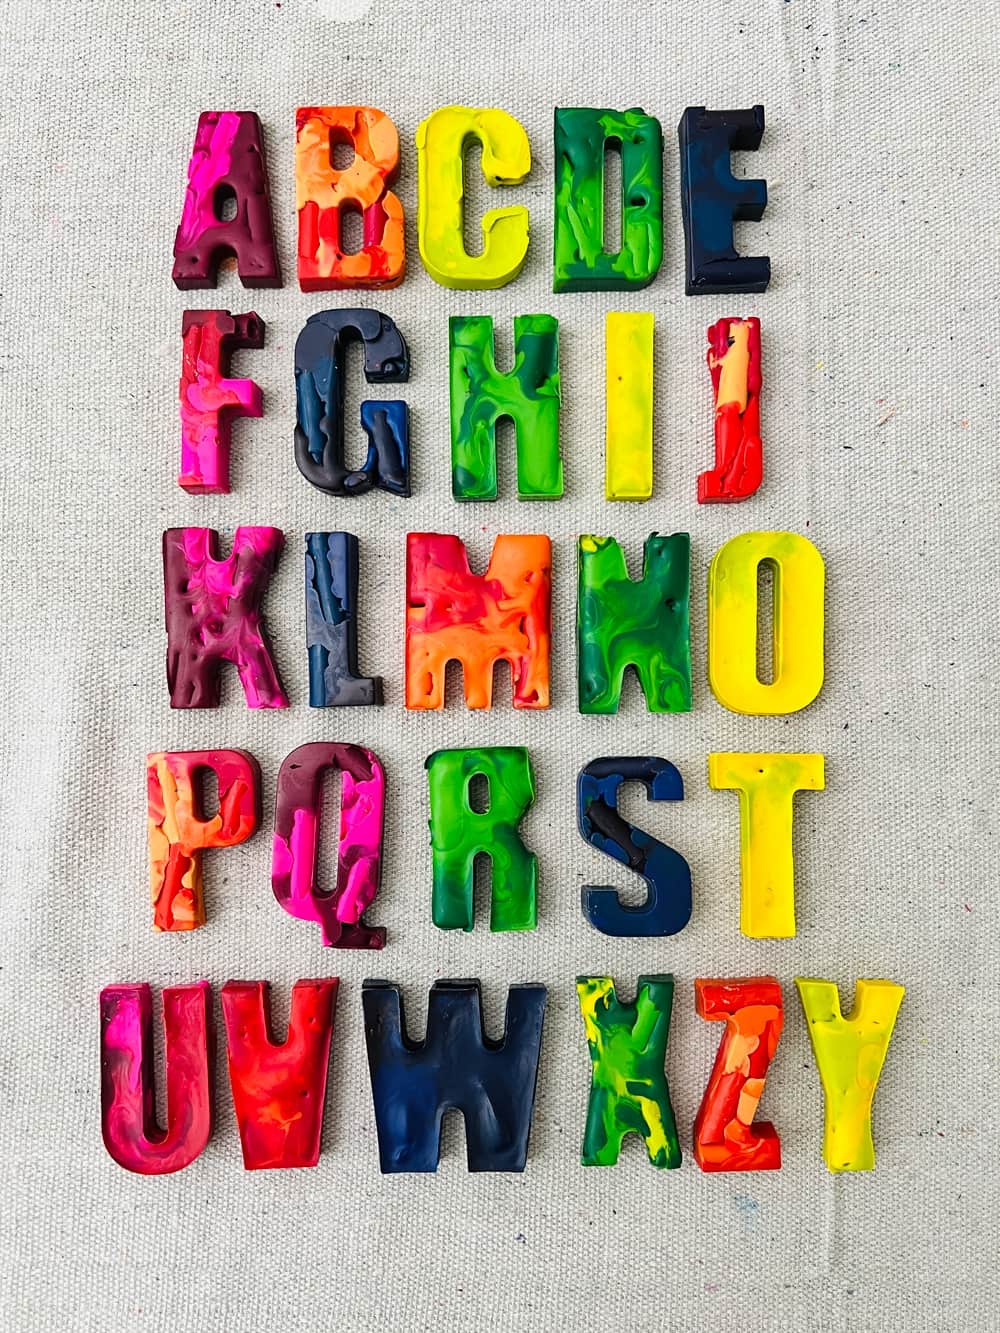
Making melted crayon alphabet letters is a fun way to repurpose crayons and create colorful art and learning in the process.
We love melted crayon art and are back showing you another fun way to melt crayons! DIY melted crayon alphabet letters are a fun and easy way to create colorful art with children. Not only is it a great way to get creative, but it can also help teach children about the alphabet.
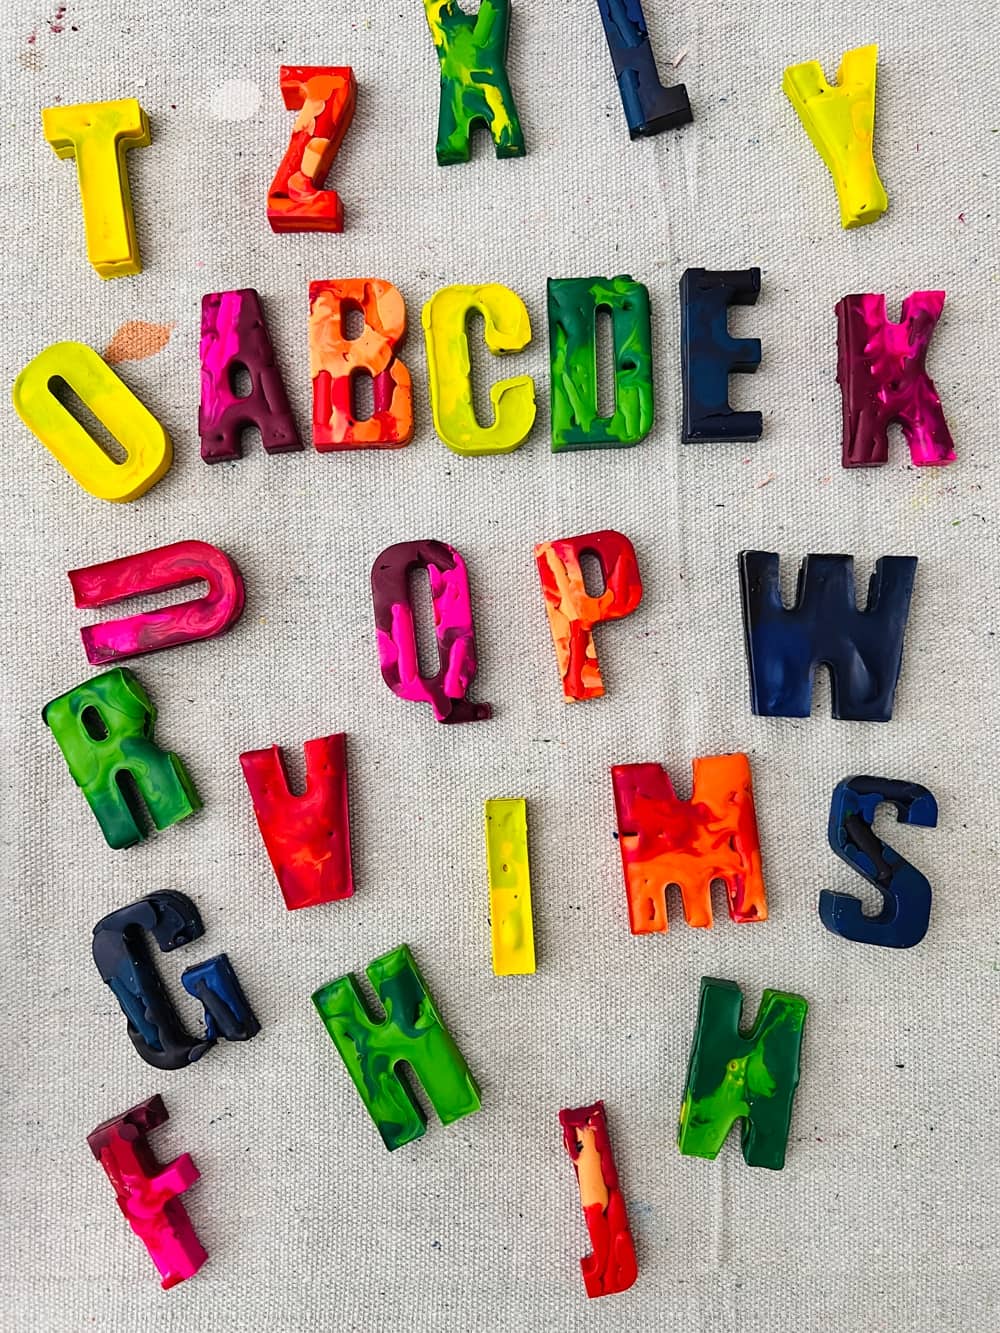
If you make multiple sets, the letters can be used to spell out simple names and words. You can even create a customized gift for your kids with their name art!
This artsy project is also great for recycling broken bits of crayons. If you have ones that aren’t quite down to the stubs, keep reading below for a neat trick on how to easily remove crayon wrapper.
This melted crayon project is an easy craft that can be done with minimal supplies. We made it even easier by trying it out with a heat gun this time! Now you can see the melted magic right in front of your eyes.
Melted Crayon Alphabet – Supplies
- Broken crayons, wrappers removed
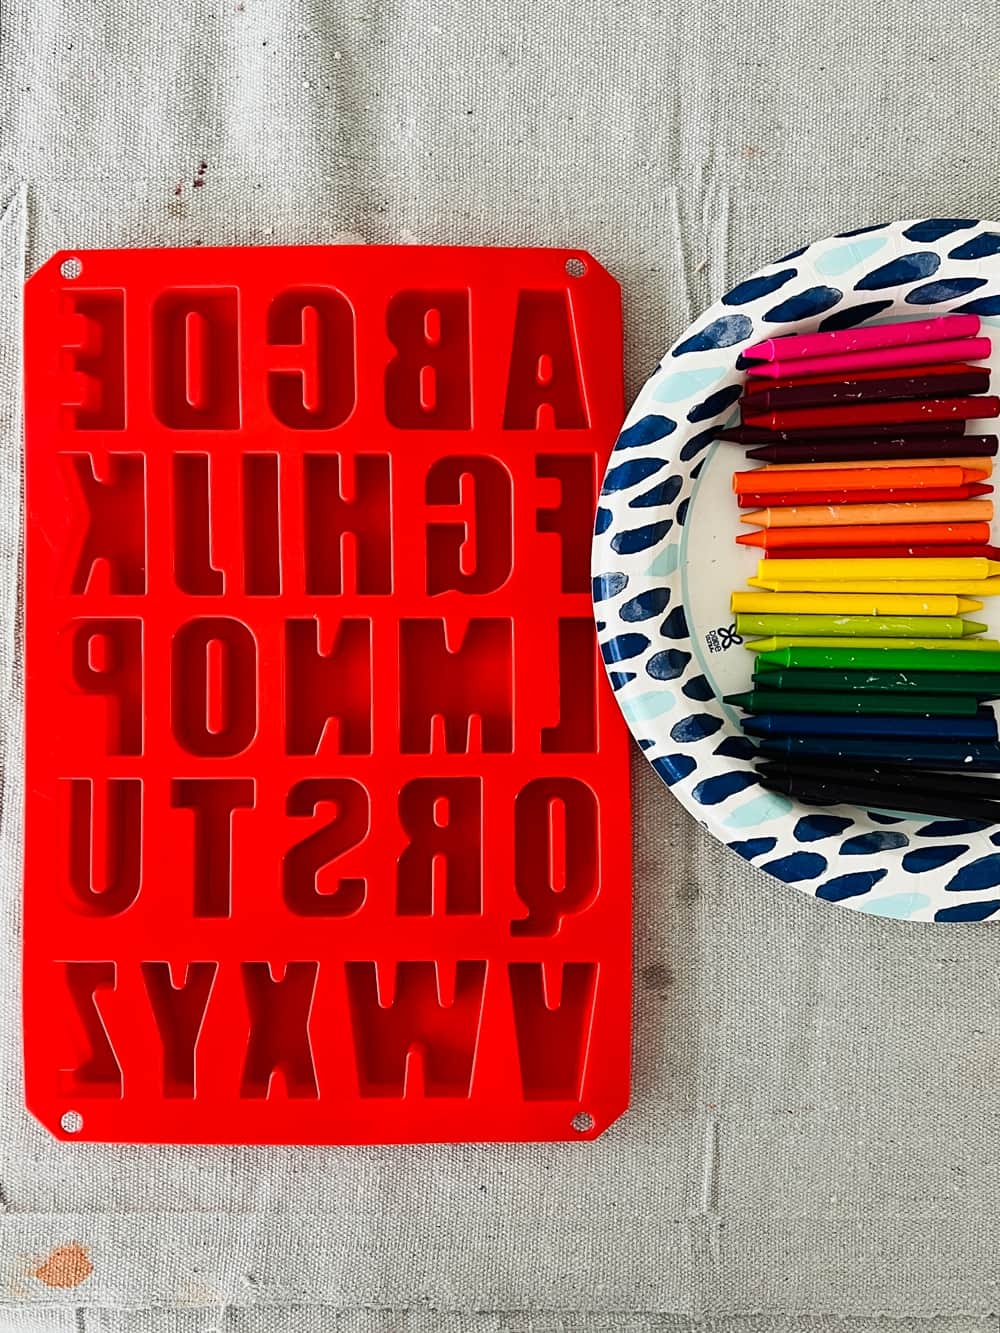
- Silicone alphabet mold
- Heat gun*
*If you don’t have a heat gun, you can melt your crayons in the oven if you use an oven-safe silicone mold
Tips for getting an even crayon melt using a heat gun
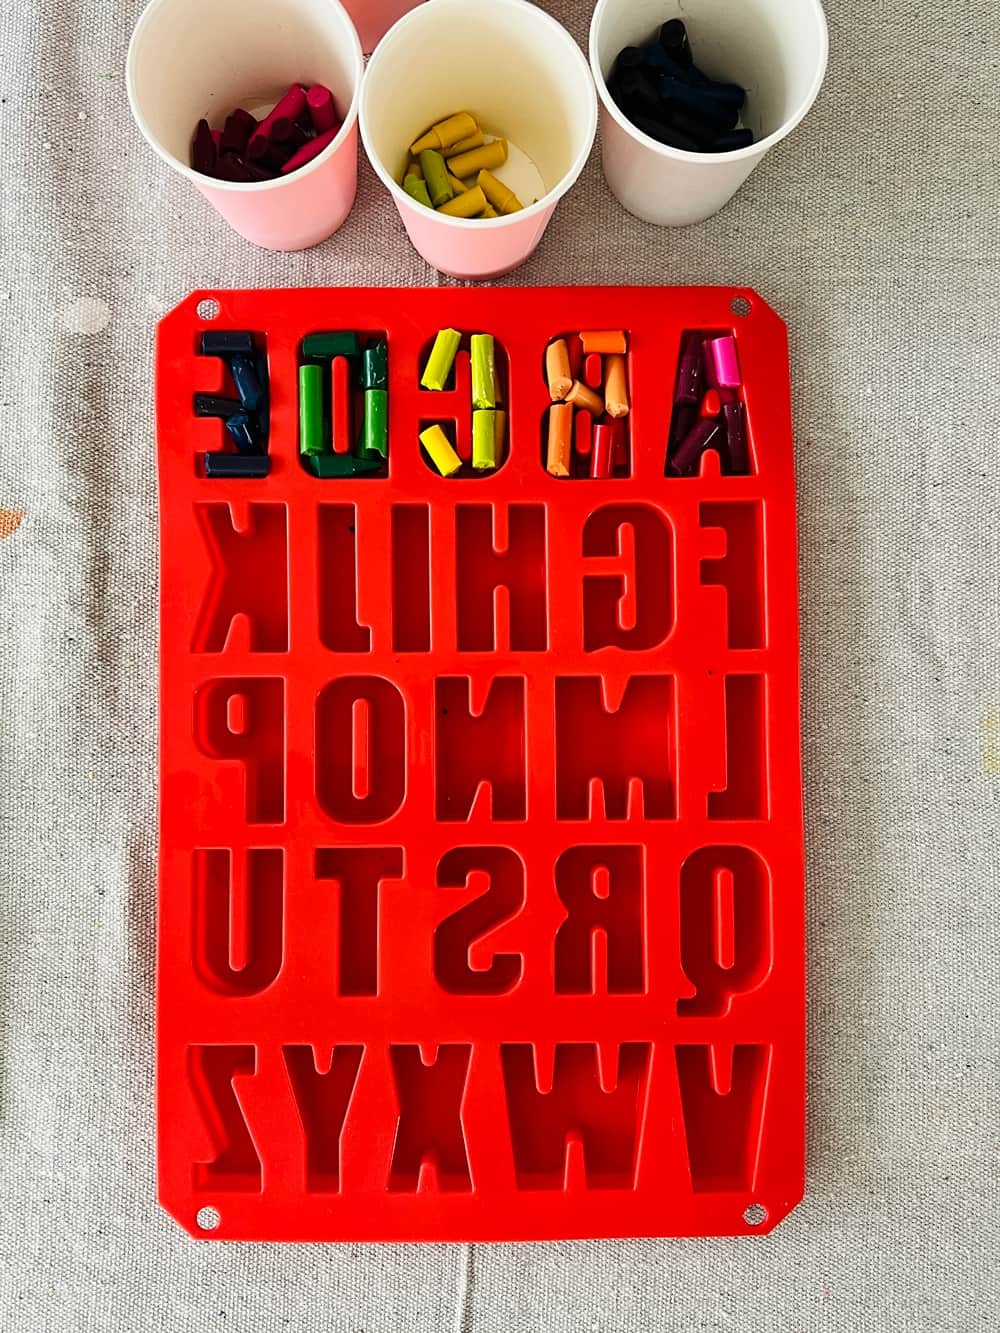
Make sure you break the crayons in smaller pieces than you think so they melt more easily. It would help also layering a first layer, melting that with the heat gun and then adding the final top layer.
We didn’t do that at first and noticed some of our broken crayons on the bottom layer did not melt completely. However, the letter was still fused together from the general melting around it. If you want a super-even melt all around, we recommend the layering method.
If you use an oven instead of heat gun, you’d likely get more even heat distribution so you can skip the layering process. But you won’t have the satisfaction of watching the crayons melt right before your eyes!
How long do I melt crayons in the oven?
We recommend placing your silicone oven-safe mold on top of a cookie sheet in case there are any drips.
Heat in a preheated 275 degree oven for an even melting. Depending on your mold size, it could take anywhere from 12-15 minutes upwards. You’ll have to check your oven periodically after 10 minutes.
Remove the tray and allow it to cool at room temperature before removing. This step doesn’t take long, about 10 or so minutes.
How to easily remove crayon wrappers?
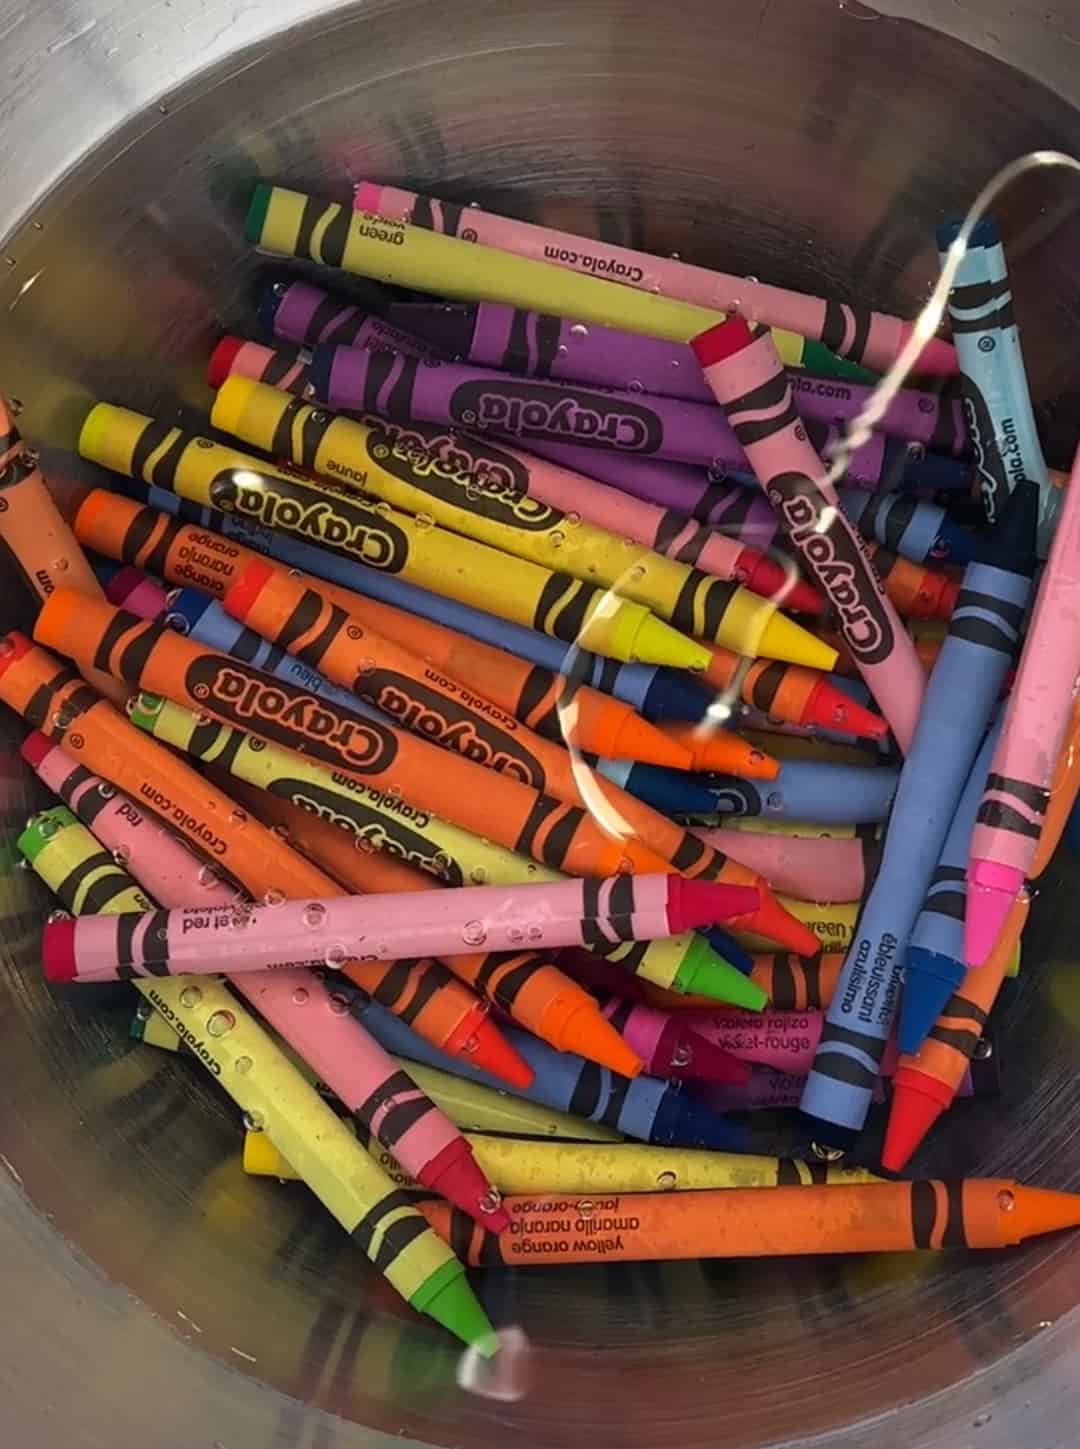
Those pesky crayon wrappers can stick and be hard to remove. The best way we’ve found to remove them is to soak the crayons in a bowl of water for at least 10 minutes.
The wrappers will remove much more easily. Some paper will still be stubborn and take some pull to remove, but trust us, it’s way easier than taking them off when the wrapper is dry!
Creative Ideas for Decorating With Letters
The best use is to make art with your new crayons! However here are some other fun ideas.
Alphabet Letter Frames
Frames are a great way to show off the melted crayon alphabet letters. You can use any type of frame, from wood to plastic, and customize the look with paint or glitter.
To add the letters, simply place the melted crayon letters in the frame and secure them with a bit of glue. This is an easy way to create a unique piece of art that is sure to stand out.
Alphabet Letter Magnets
If you want to be able to move and rearrange the melted crayon letters, magnets are a great option. Simply glue small magnets to the back of each letter.
Then, stick them to the fridge or any other metal surface. This is a great way to create a fun and interactive display that your kids can enjoy.
They can remove them anytime to make art and then place them back on the fridge.
Alphabet Letter Shadow Box
Creating an alphabet letter shadow box is a memorable way to permanently display the melted crayon letters.
Simply put the letters in a shadow box and then mount the box on the wall. This is a great way to create a unique piece of art that is sure to stand out.
Spelling out your child’s name would be cute!
How Using Melted Crayon Letters Helps Kids Learn New Words
Visual learning
Seeing the letters in a 3D form, rather than just on a page, can help kids to better visualize and remember the shapes of the letters.
This can make it easier for them to recognize and recall the letters when they see them in print.
Fine motor skills
Creating the melted crayon letters requires kids to use their fine motor skills to carefully hold the crayons and trace letters. This can help to improve their dexterity and control.
Plus, crafting the alphabet letters requires kids to carefully guide the crayons around the mold, which can help them to improve their hand-eye coordination.
Color recognition
By choosing different colored crayons for the letters, kids can learn to identify and distinguish between different shades and hues.
Spelling practice
As children draw the letters of the alphabet with the melted crayons, it can be beneficial to have them say the letters out loud as they trace them.
Doing so will help them to gain an understanding of how letters create the sounds of words. Additionally, it will give them an opportunity to practice their spelling skills.

How to Make DIY Melted Crayon Alphabet Letters
Step One: Removing Crayon Wrappers
The first step to making melted crayon alphabet letters is to remove the wrappers from the crayons. To make this process easier, soak the crayons in a bowl of water.
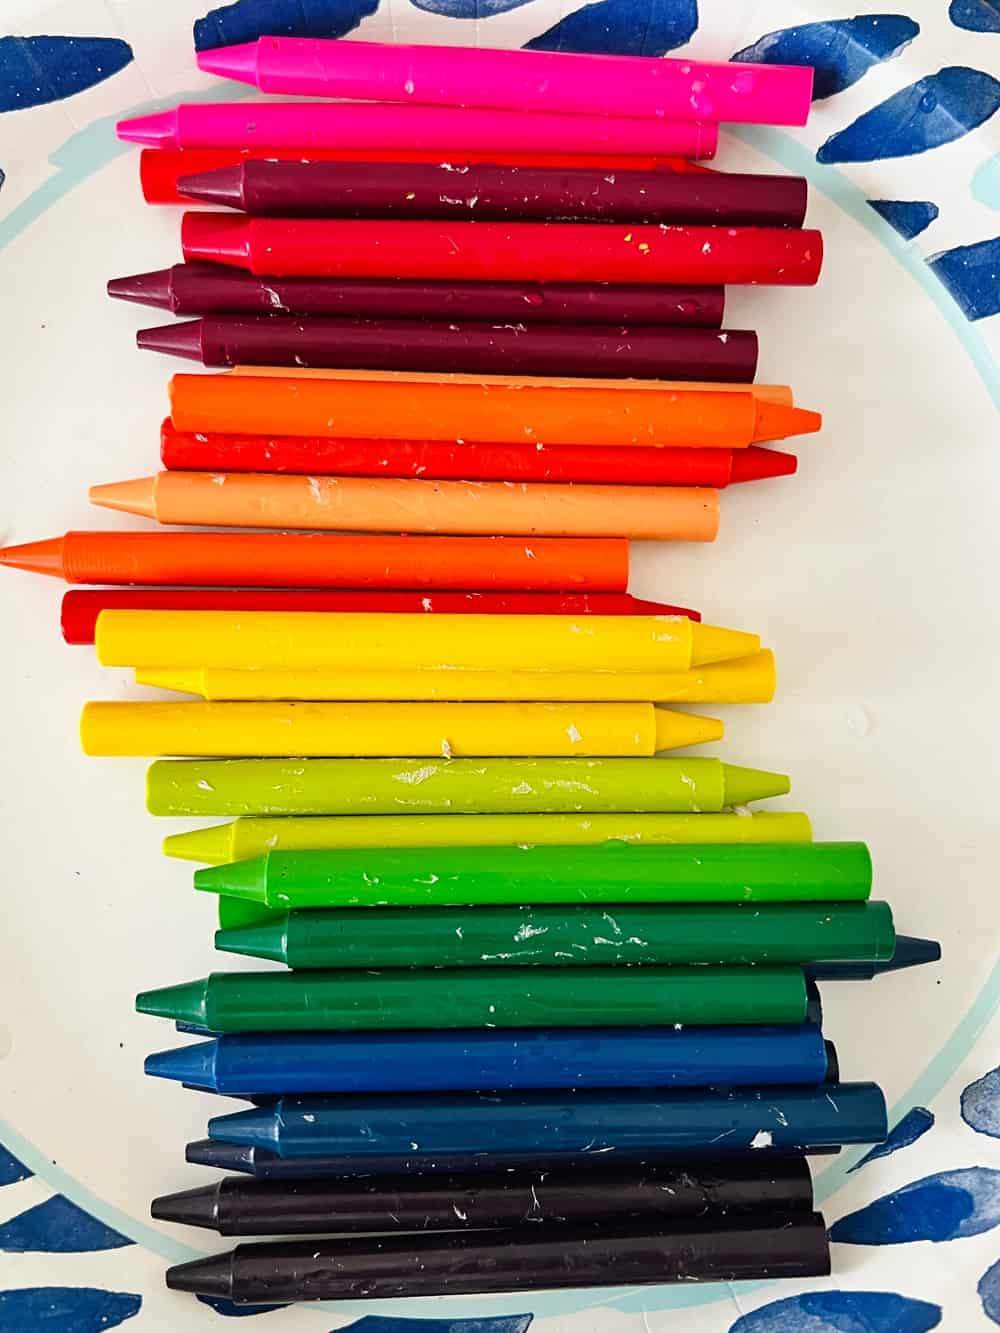
This will help the paper peel off more easily. After the wrappers are removed, break the crayons into small pieces (the smaller the more evenly they will melt). If you have crayons that are already broken, this is a great way to recycle them.
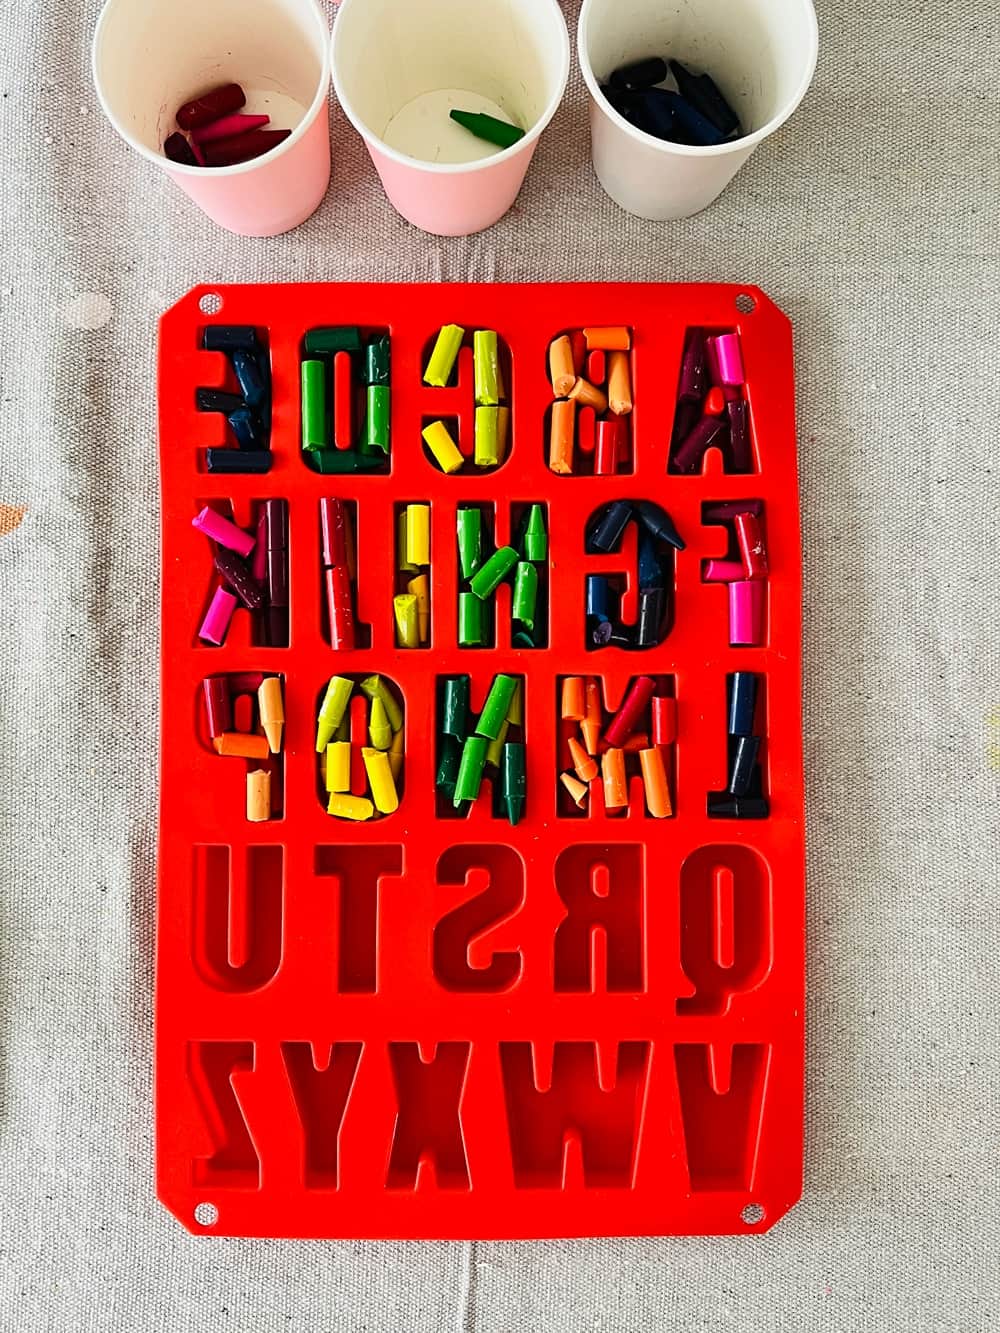
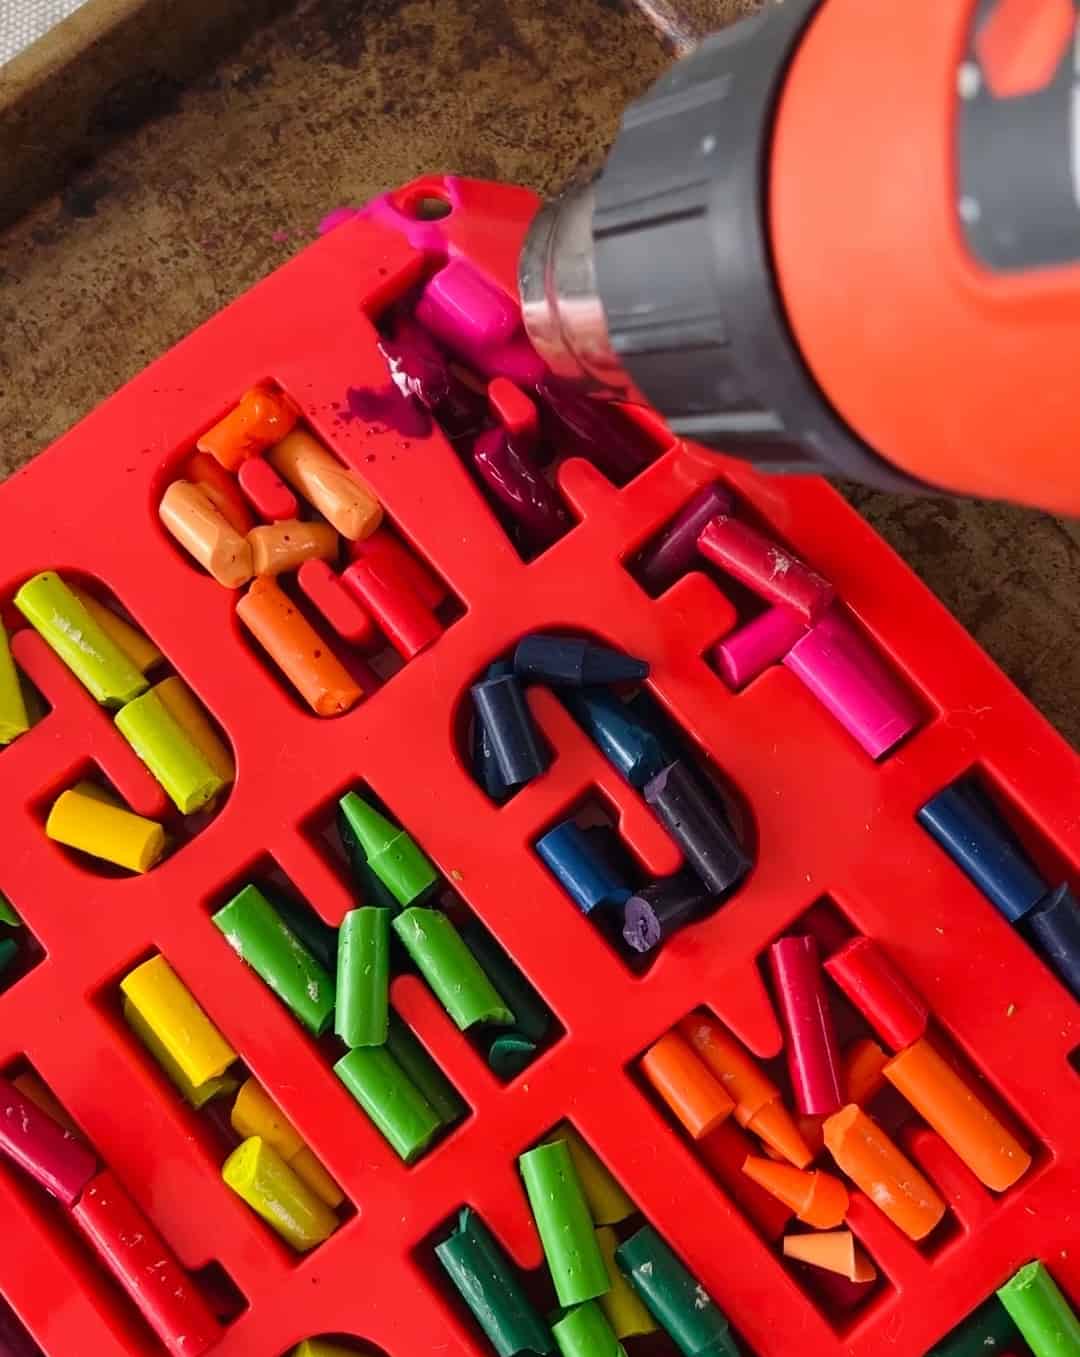
Step Two: Arranging the Crayons
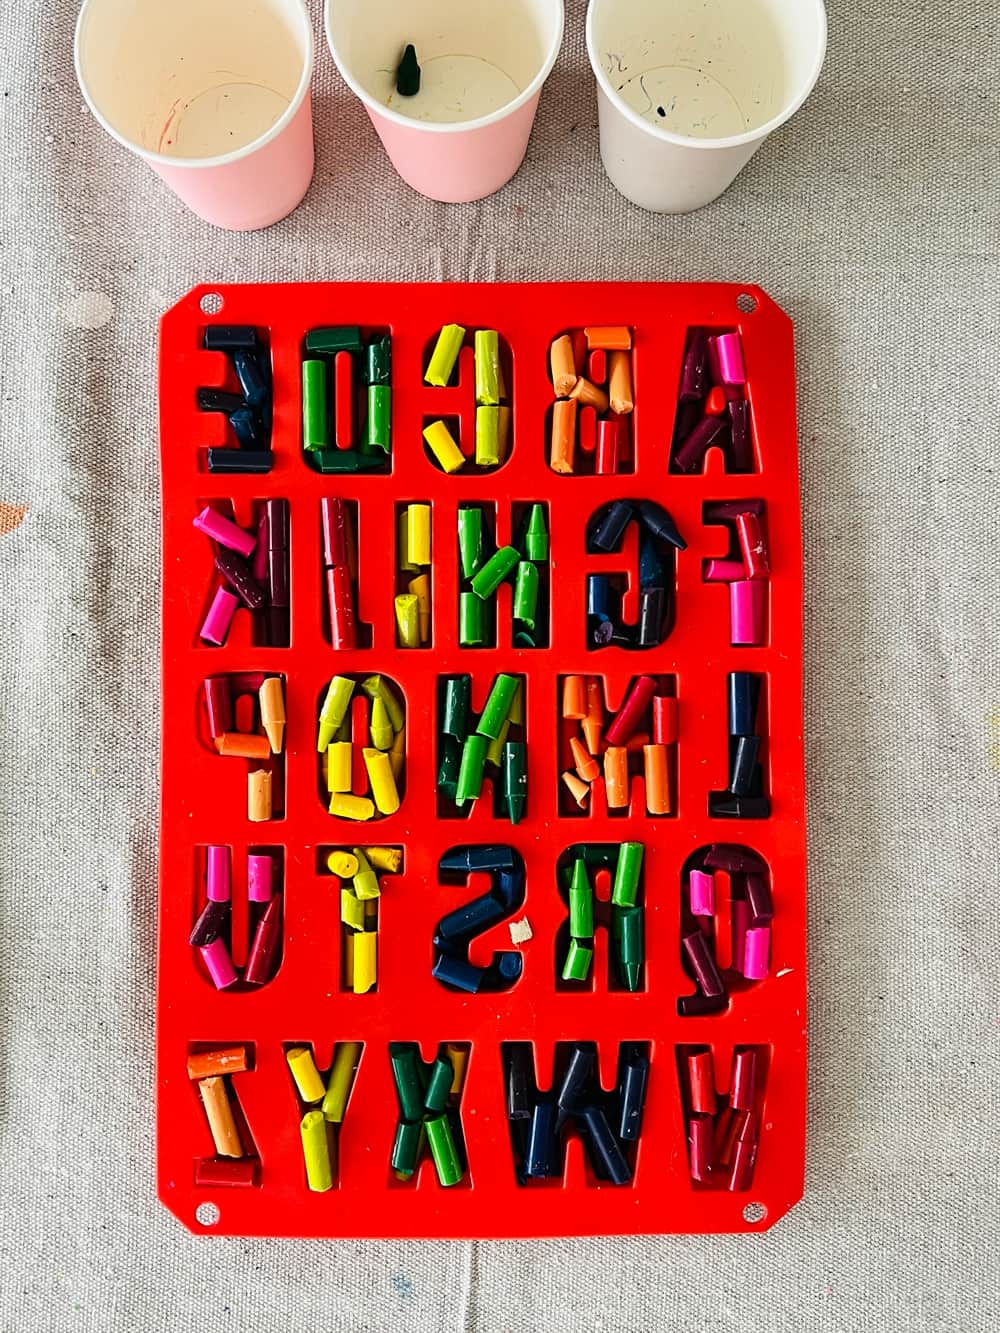
Once the crayons have been unwrapped and broken, the next step is to arrange them in a silicone letter mold that is oven safe.
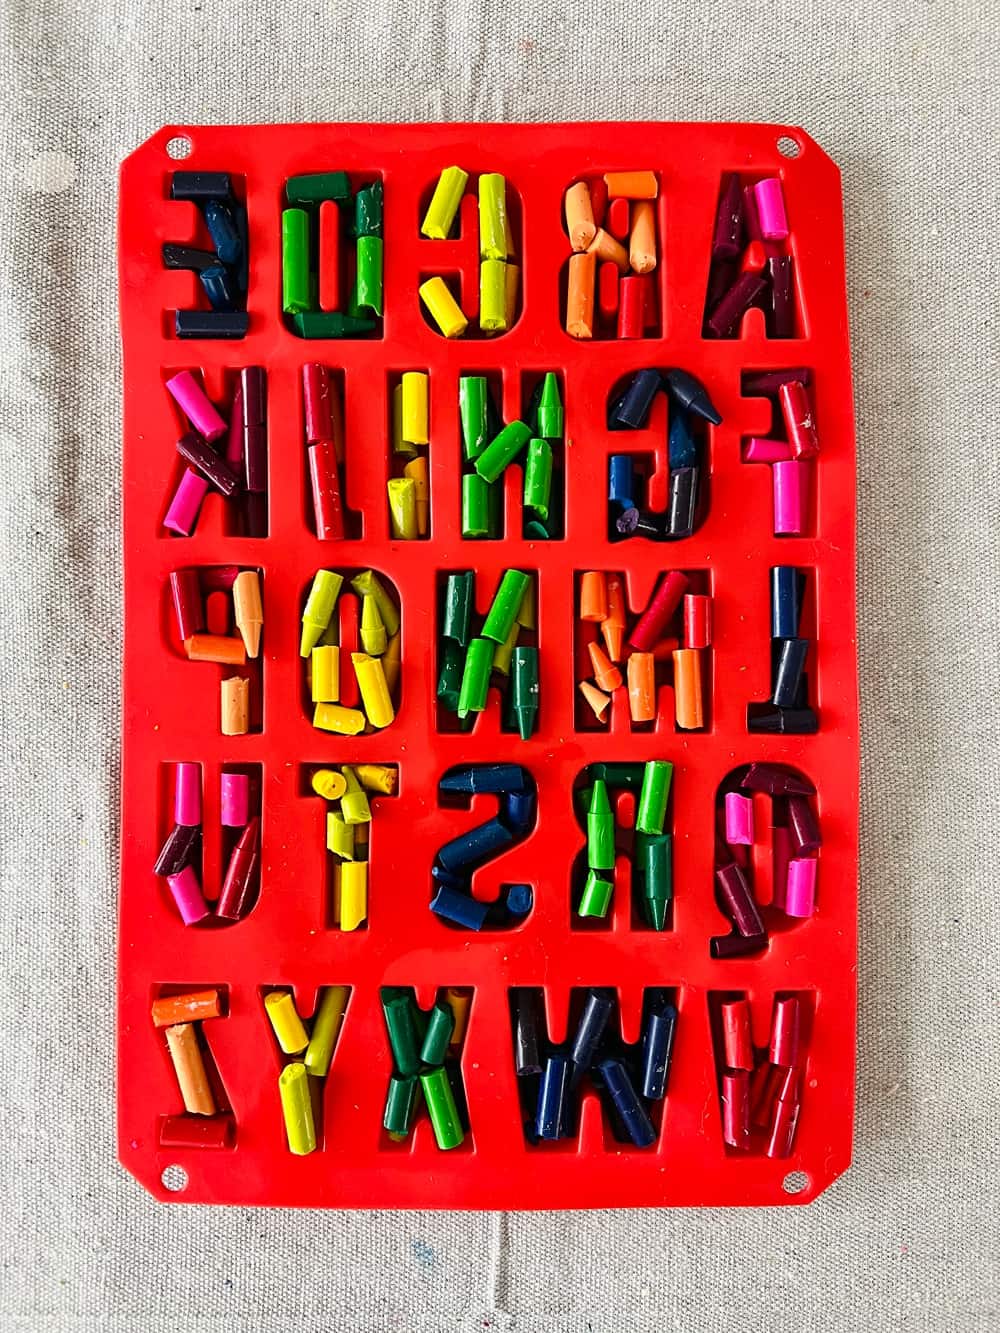
Be sure to spread the crayons evenly within the mold, as this will help them melt evenly. Feel free to create your own custom colors!
**see note below on layering when melting.
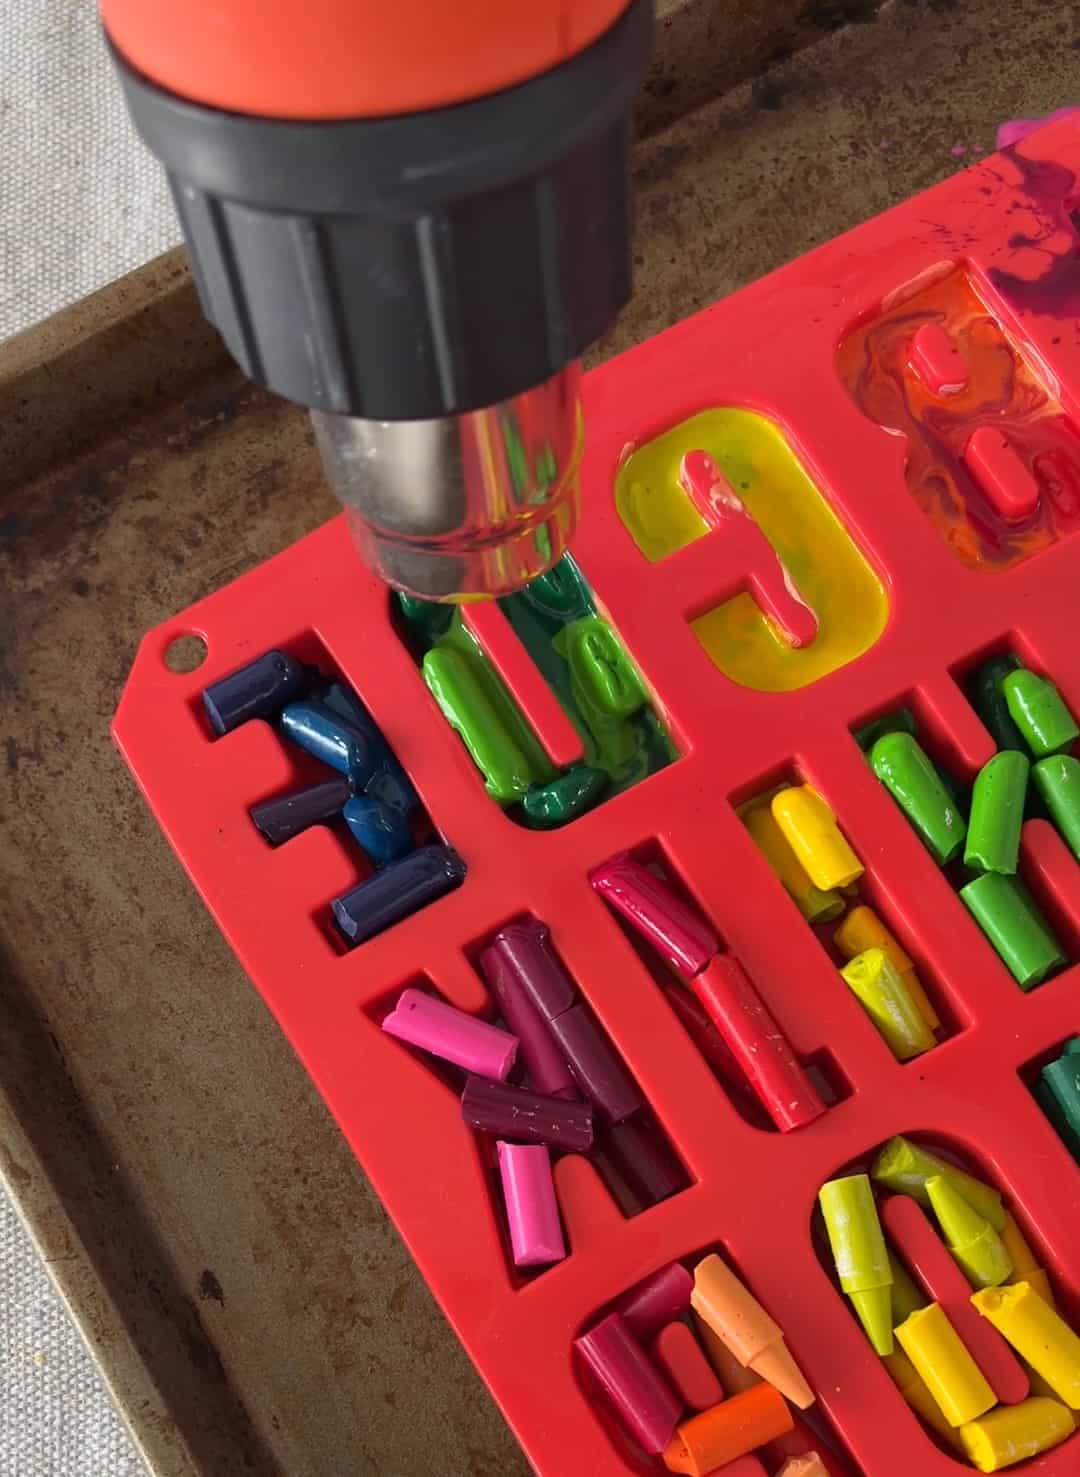
Step Three: Melting the Crayons
Once the crayons have been arranged, place the mold on a baking tray and use a heat gun on the lowest setting to melt the crayons.
**To ensure the best even heat distribution you can do this in two layers. Fill the mold halfway then melt. Then add a second layer, then melt.
This is a great alternative to baking the alphabet letters in the oven.
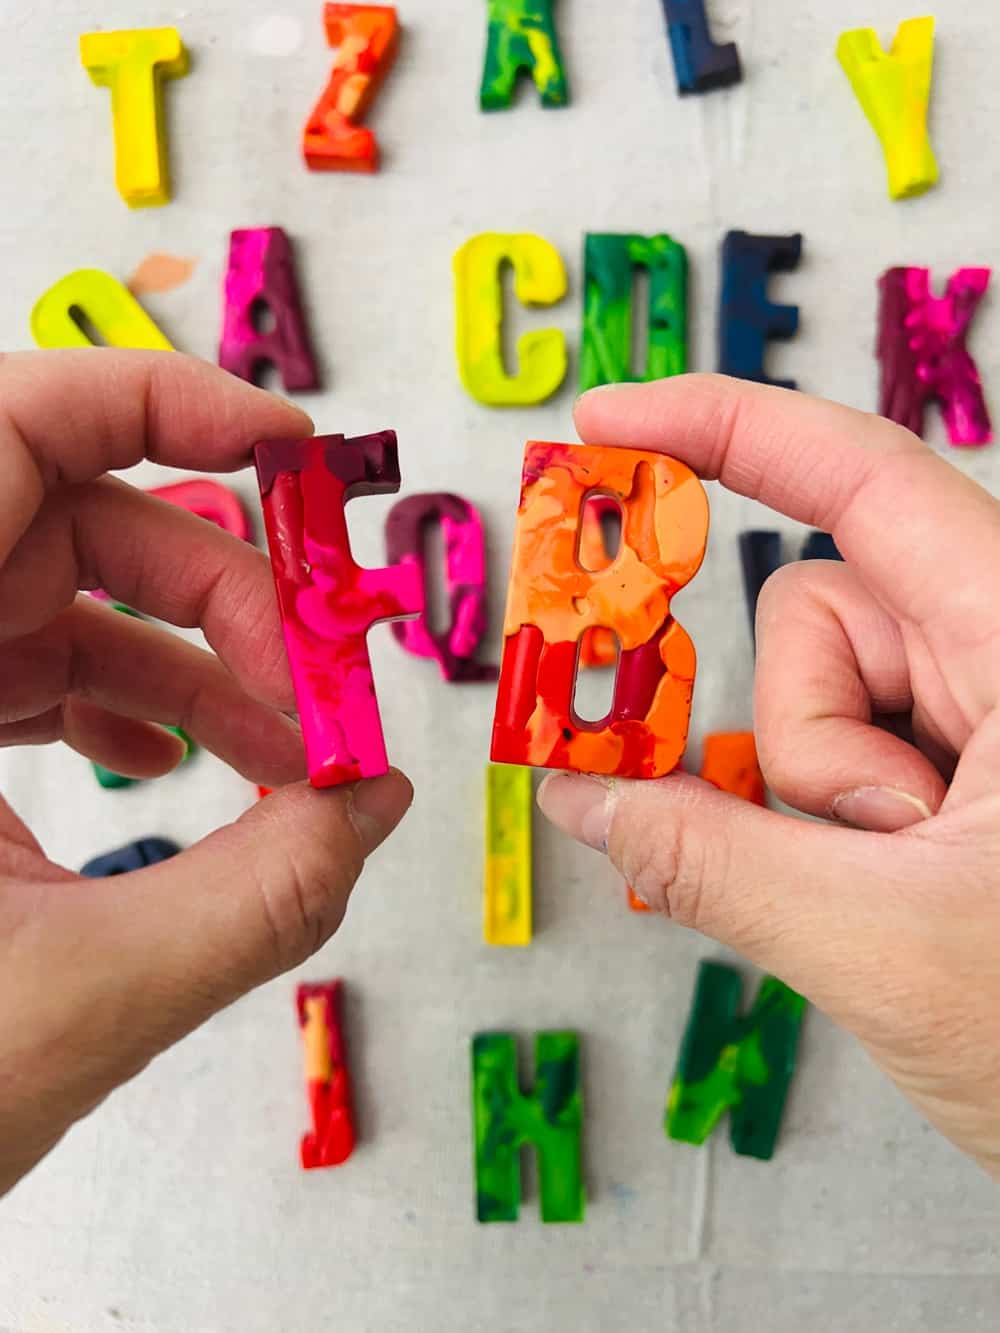
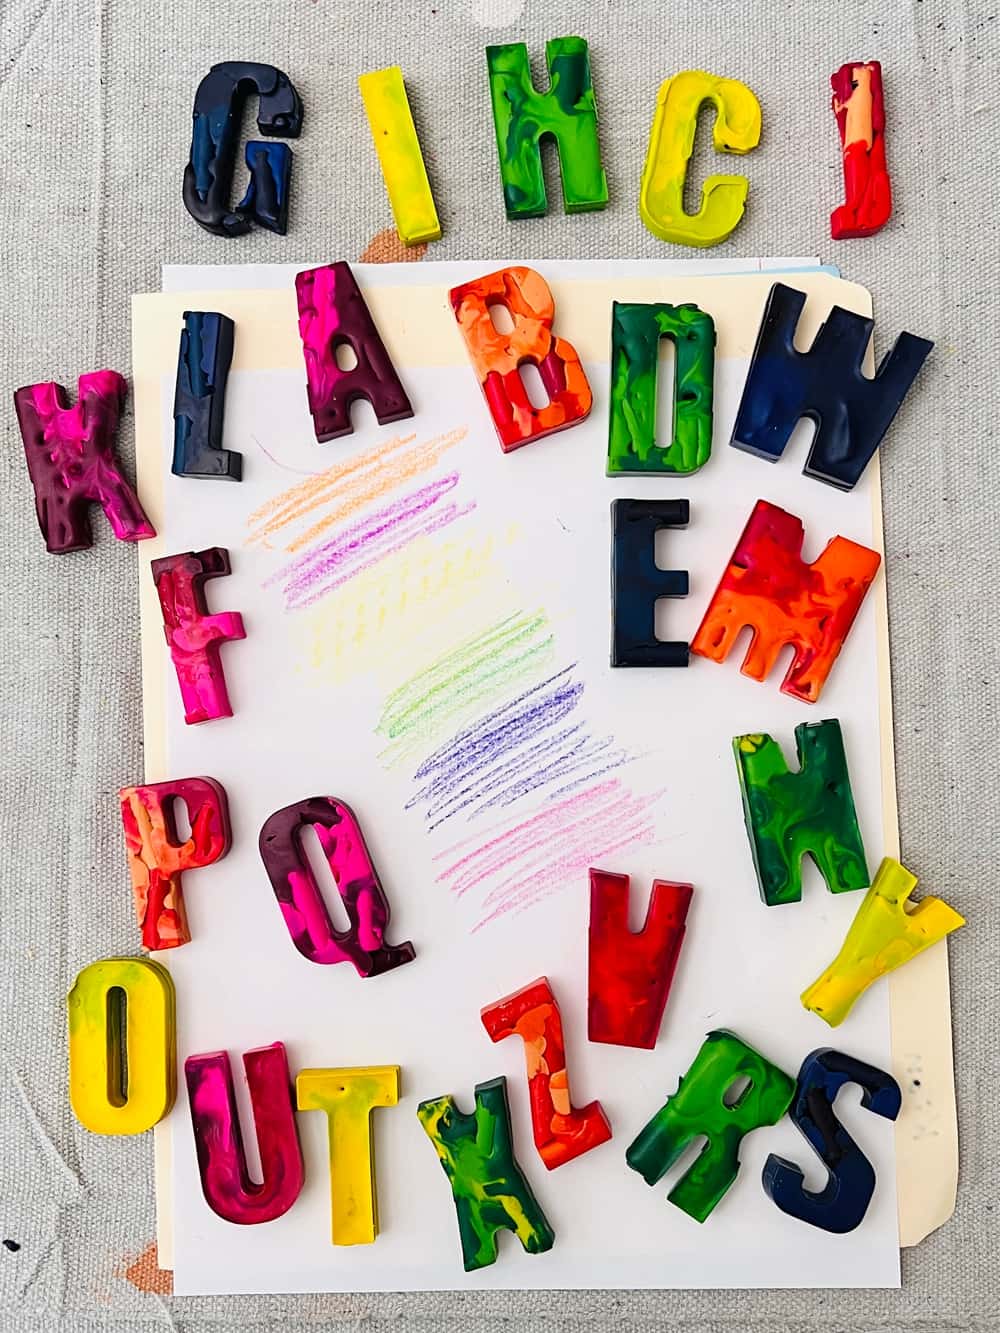
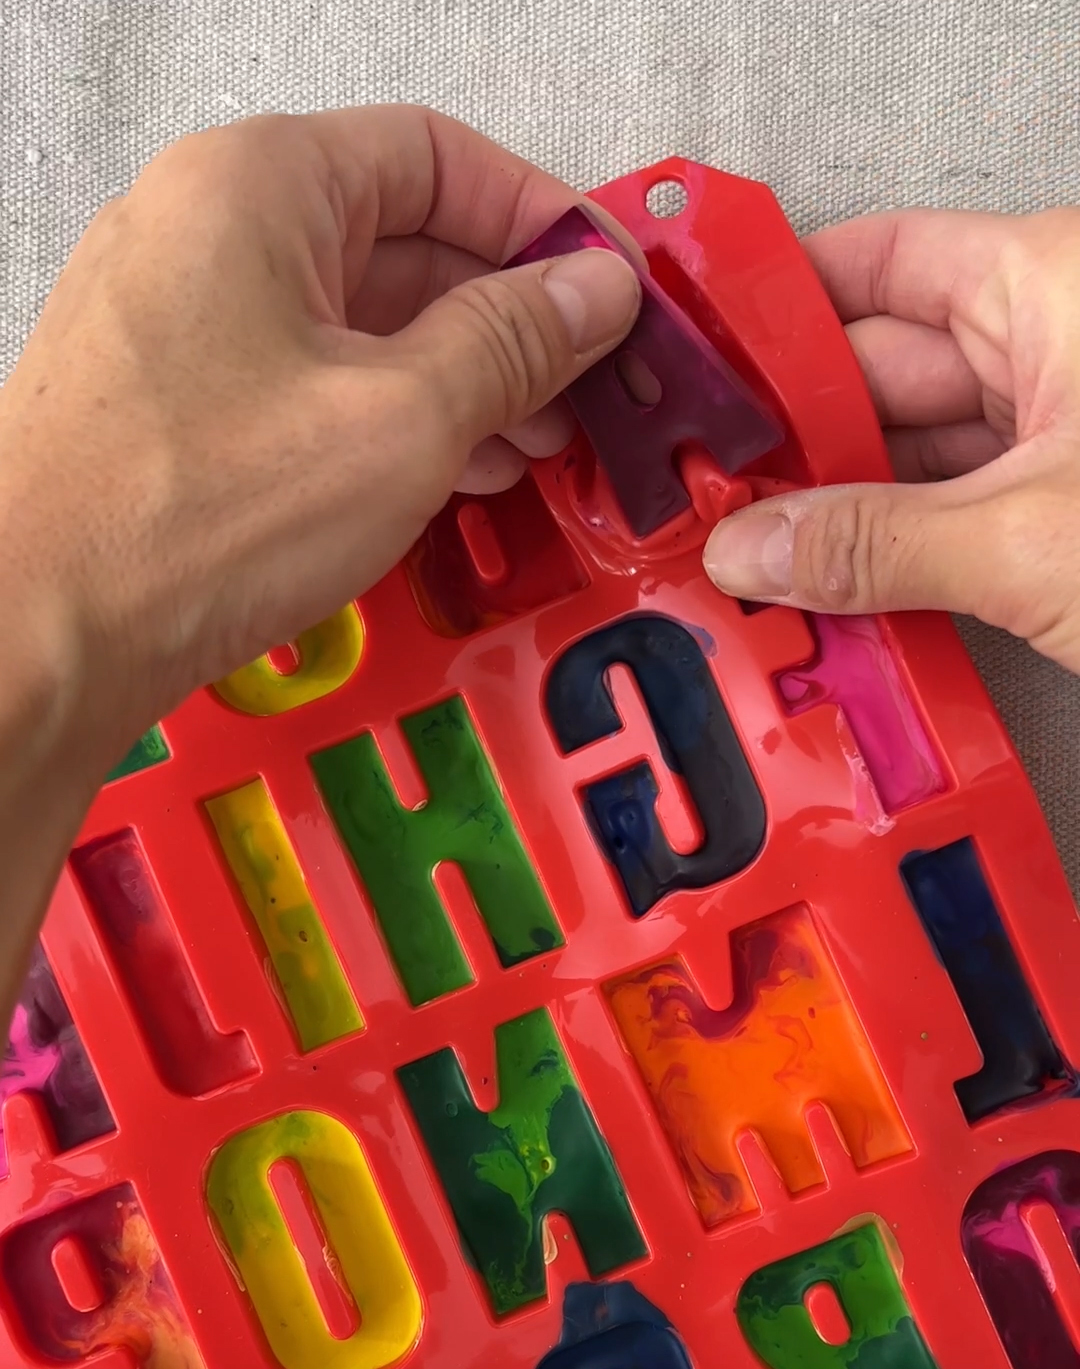
Step Four: Removing the Crayons
Once the crayons have cooled and hardened in the mold – you can pop them in the fridge for 10 minutes to speed up the process – carefully remove each letter from the mold.
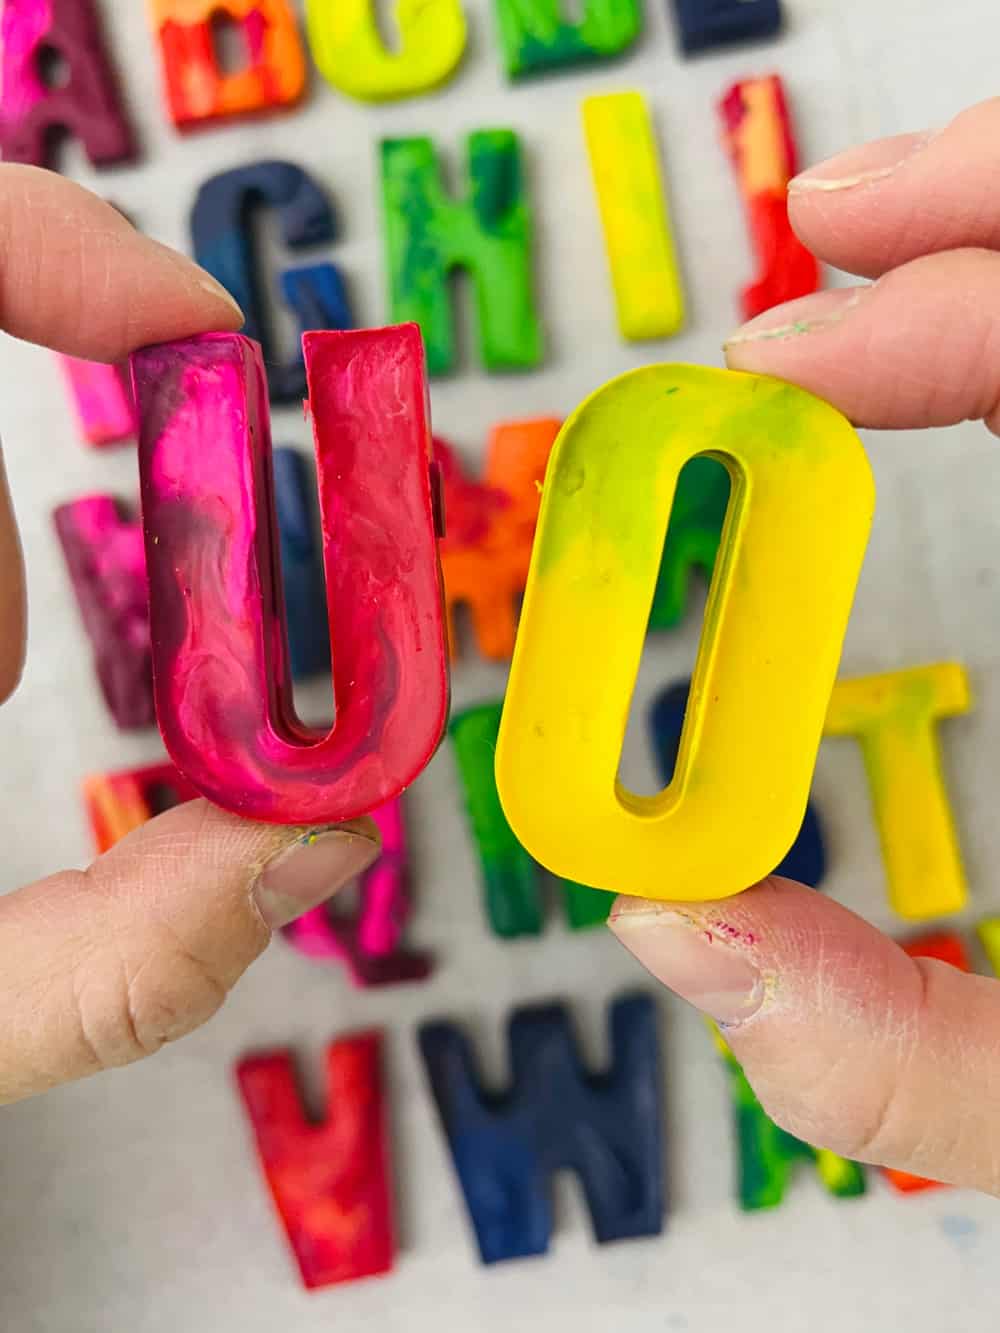
Takeaway
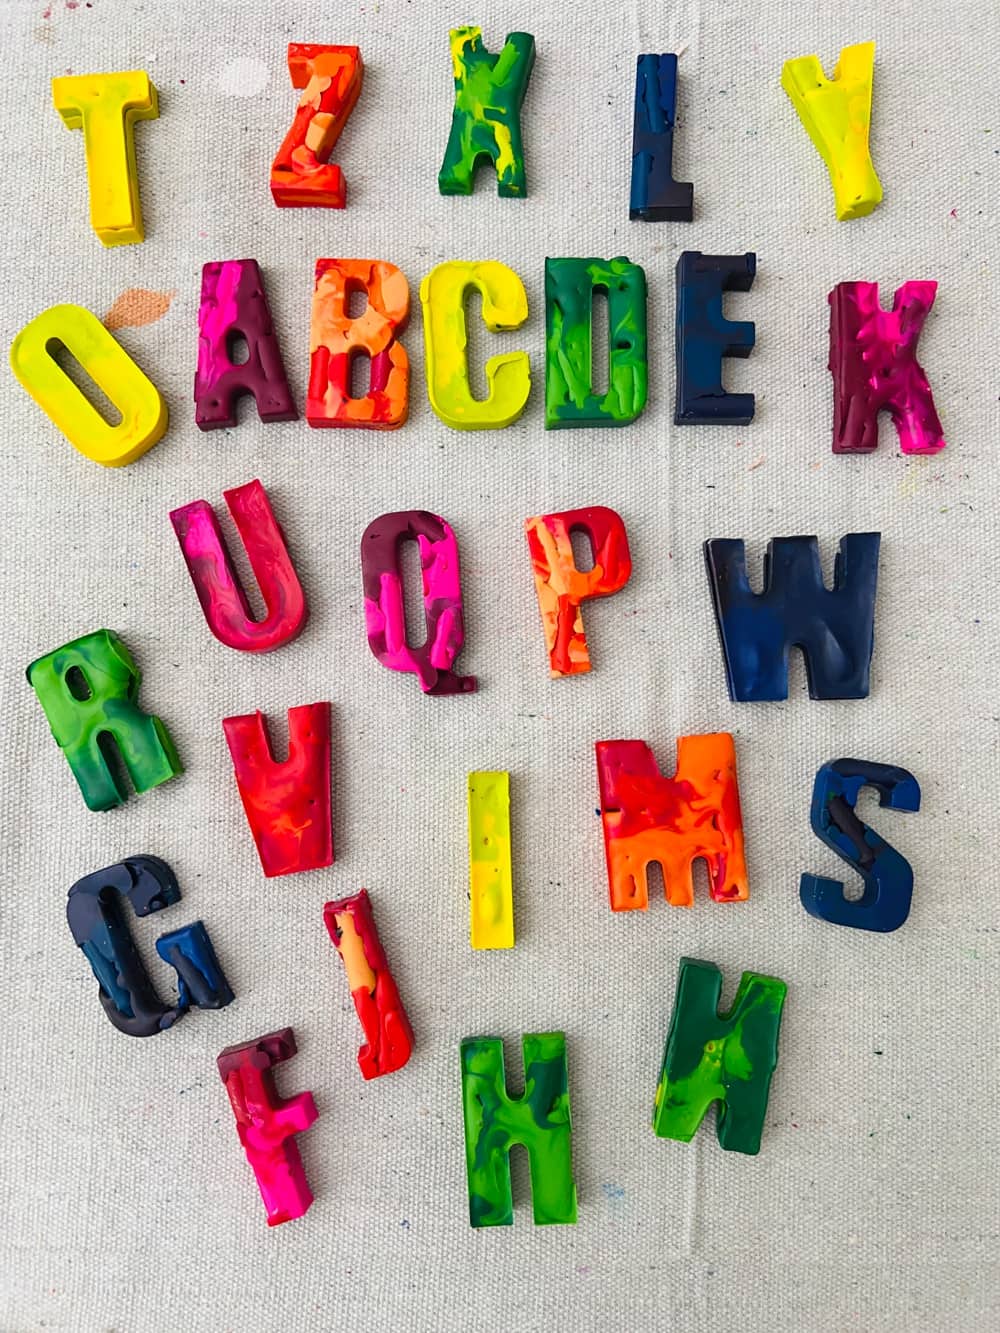
DIY melted crayon alphabet letters are a fun and easy way to get creative and learn the alphabet. Not only do kids get to be creative, but they also get to learn something too!
With minimal supplies, the possibilities are endless. Kids can spell out simple name or words and also learn colors.
The colorful crayons also make a super fun personalized gift or decor!
DIY Melted Crayon Alphabet Letters

Materials
- Broken crayons, wrappers removed
- Silicone alphabet mold
- Heat gun
Instructions
Step One: Removing Crayon Wrappers
The first step to making melted crayon alphabet letters is to remove the wrappers from the crayons. To make this process easier, soak the crayons in a bowl of water.
This will help the paper peel off more easily. After the wrappers are removed, break the crayons into small pieces (the smaller the more evenly they will melt). If you have crayons that are already broken, this is a great way to recycle them.
Step Two: Arranging the Crayons
Once the crayons have been unwrapped and broken, the next step is to arrange them in a silicone letter mold that is oven safe.
Be sure to spread the crayons evenly within the mold, as this will help them melt evenly. Feel free to create your own custom colors!
**see note below on layering when melting.
Step Three: Melting the Crayons
Once the crayons have been arranged, place the mold on a baking tray and use a heat gun on the lowest setting to melt the crayons.
**To ensure the best even heat distribution you can do this in two layers. Fill the mold halfway then melt. Then add a second layer, then melt.
This is a great alternative to baking the alphabet letters in the oven.
Step Four: Removing the Crayons
Once the crayons have cooled and hardened in the mold - you can pop them in the fridge for 10 minutes to speed up the process - carefully remove each letter from the mold.


