
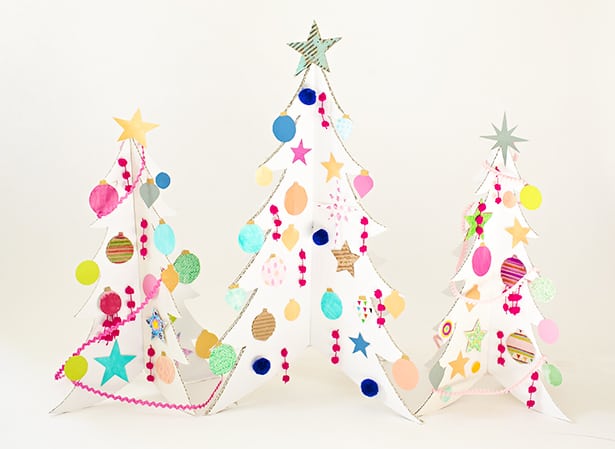
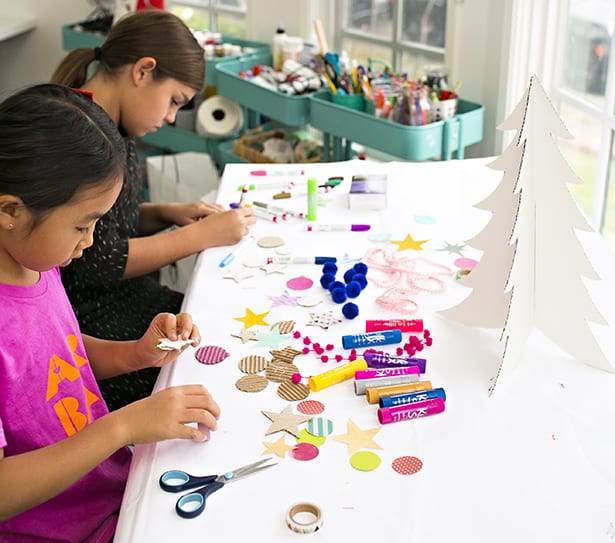
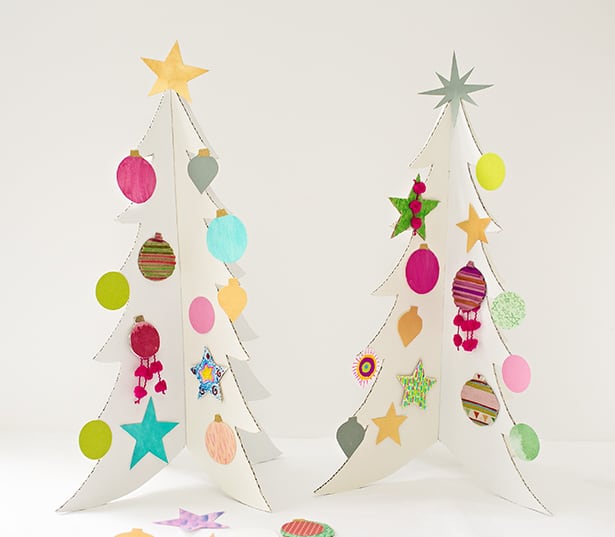
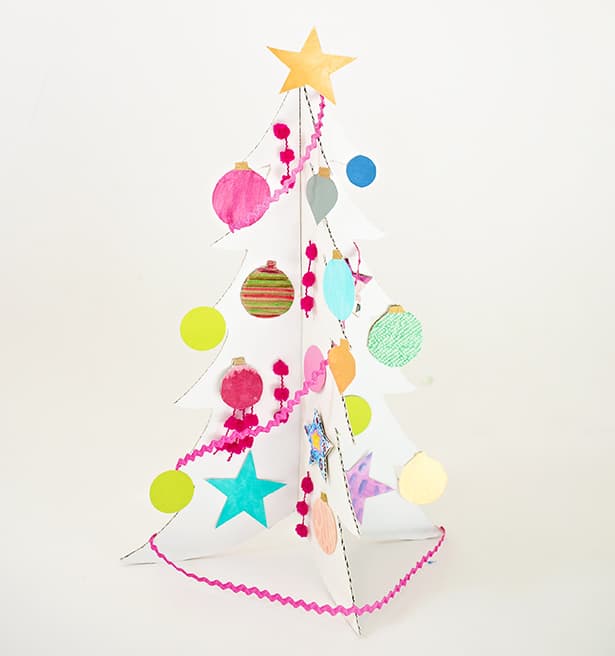
Why buy a tree when you can make your own? These colorful cardboard Christmas trees are a fun way to recycle cardboard and brighten up with kid-made crafty ornaments embellished with your favorite art supplies.
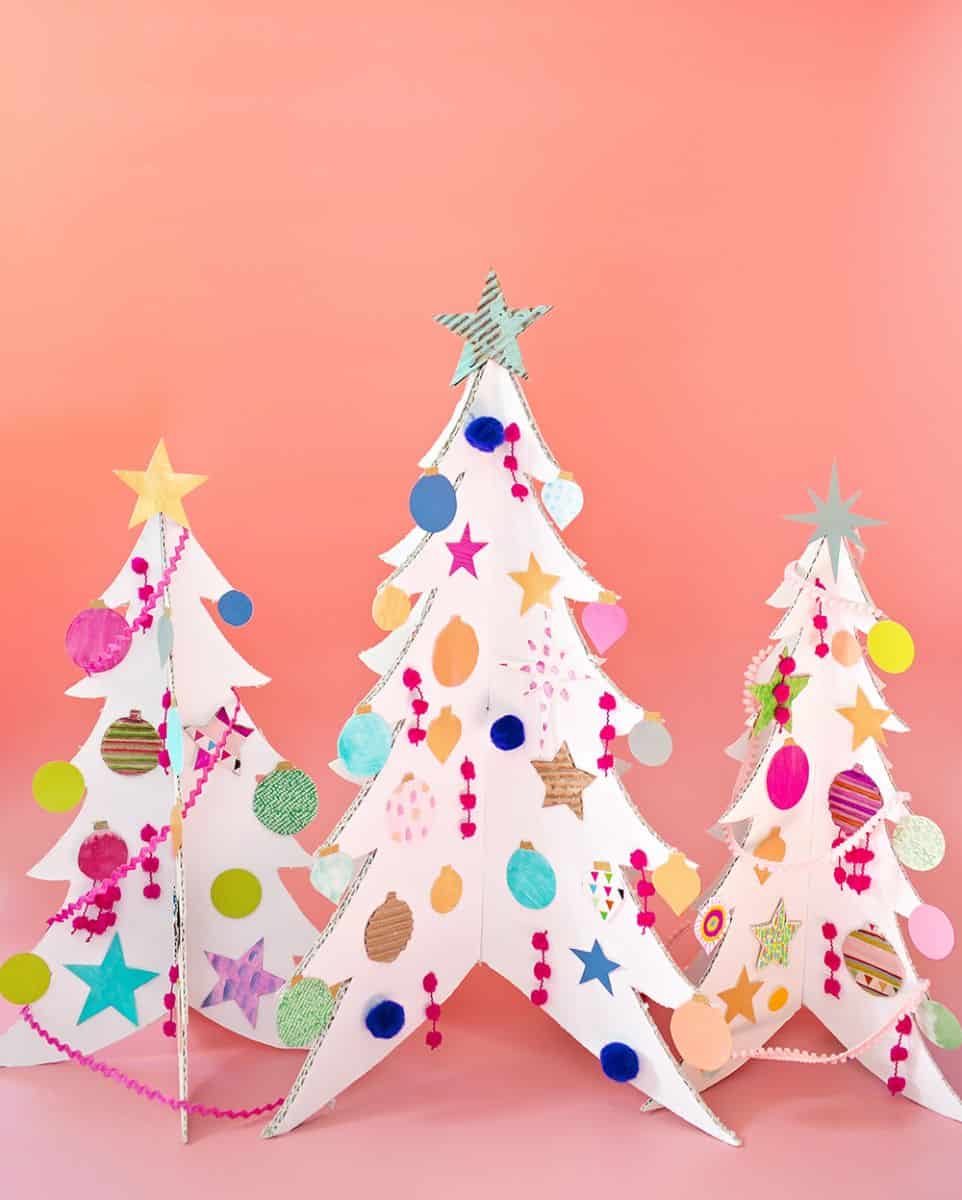
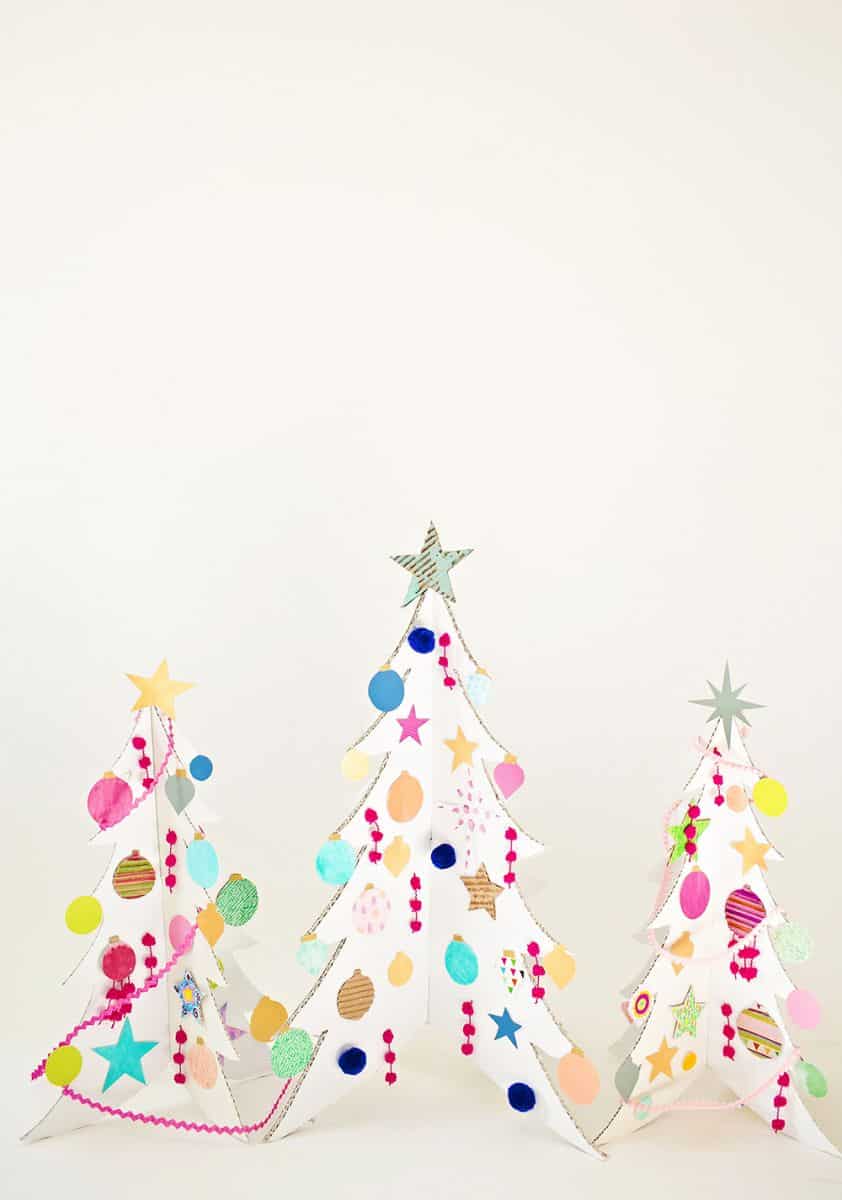
This project is a wonderful collaborative art project for kids and adults to make together with brilliant results. Show off your table top trees as stunning centerpieces for your holidays, or place them around the kids’ room to encourage a handmade Christmas.
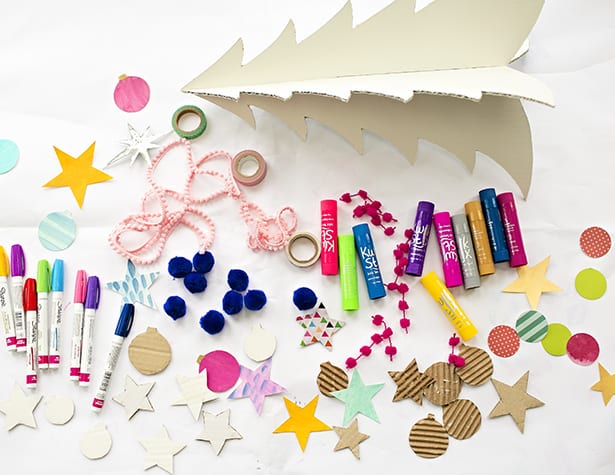
Colorful Cardboard Christmas Trees and Ornaments – Materials:
Trees:
2 large sheets of cardboard
1 long ruler
1 sharp utility knife
1 cutting board or a cardboard surface to cut on
2-3 cans of white spray paint (increase or decrease depending on the size and
number of trees you are making)
Ornaments:
heavy weight white paper
cardboard scraps in varied thicknesses
assorted craft and scrap book paper
craft paint + brushes
scissors
washi tape – patterned and metallic
.jpg)
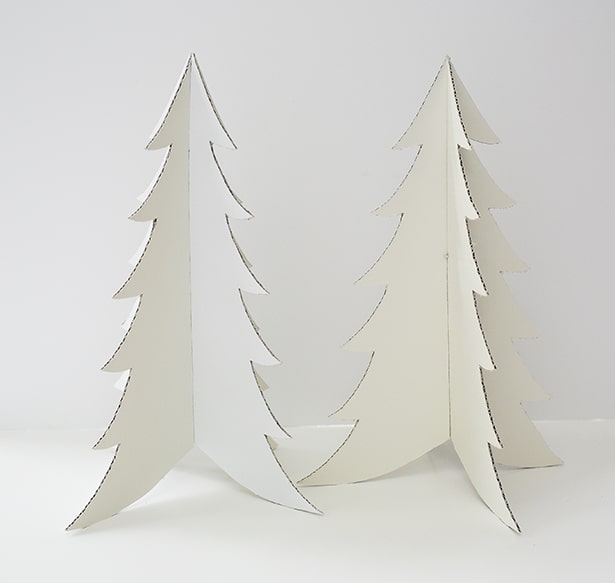
TREES
1. Draw a Christmas tree on a large piece of cardboard. We started with a geometric shape using a ruler to draw an equilateral triangle and parallel lines to add each additional tier of branches.
2. If you like the triangle tree lines you made with your ruler you can skip this step. We softened the angled lines and made curves on the tips of our tree branches.
3. Cut out your tree shape with a SHARP utility knife (adults only step). If you don’t have a cutting mat place an extra layer or two of cardboard under the tree that you are cutting, and work on a hard surface. Once you have made your first tree shape you can use this as a template for your next tree shapes.
4. Trace your tree on another large piece of cardboard and follow the above steps to safely cut out a second tree. You should now have two identical cardboard Christmas tree shapes.
5. Measure the trees from top to bottom. Mark the vertical center point on both trees.
6. Measure the thickness of your cardboard. Use this dimension and a ruler to draw a rectangle in the top half of one tree (top to center) and the bottom half of the other (bottom to center).
7. Cut out the rectangles that you have drawn. One tree will have a notch cut in the top half and the other tree will have a notch cut in the bottom half so that they form an interlocking, three-dimensional tree when attached.
8. Fit the two trees together and make any necessary adjustments to your notches. We had to cut one of ours slightly deeper so that the top of both trees lined up.
9. Put down a drop cloth, either outdoors or in a well-ventilated space indoors, and spray paint the trees the color of your choice. We put down a drop cloth in our front yard and sprayed outside. You will need to put several coats on both sides of your trees to fully coat the cardboard color. Most spray cans suggest 24 hours of drying time. We used spray paint to cut down on time and to give the trees a smooth, uniform, surface but you could also paint your trees with acrylic or tempera paint.
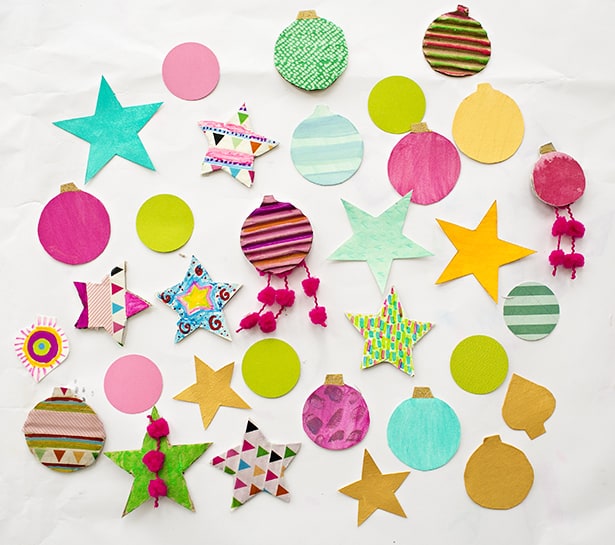
ORNAMENTS
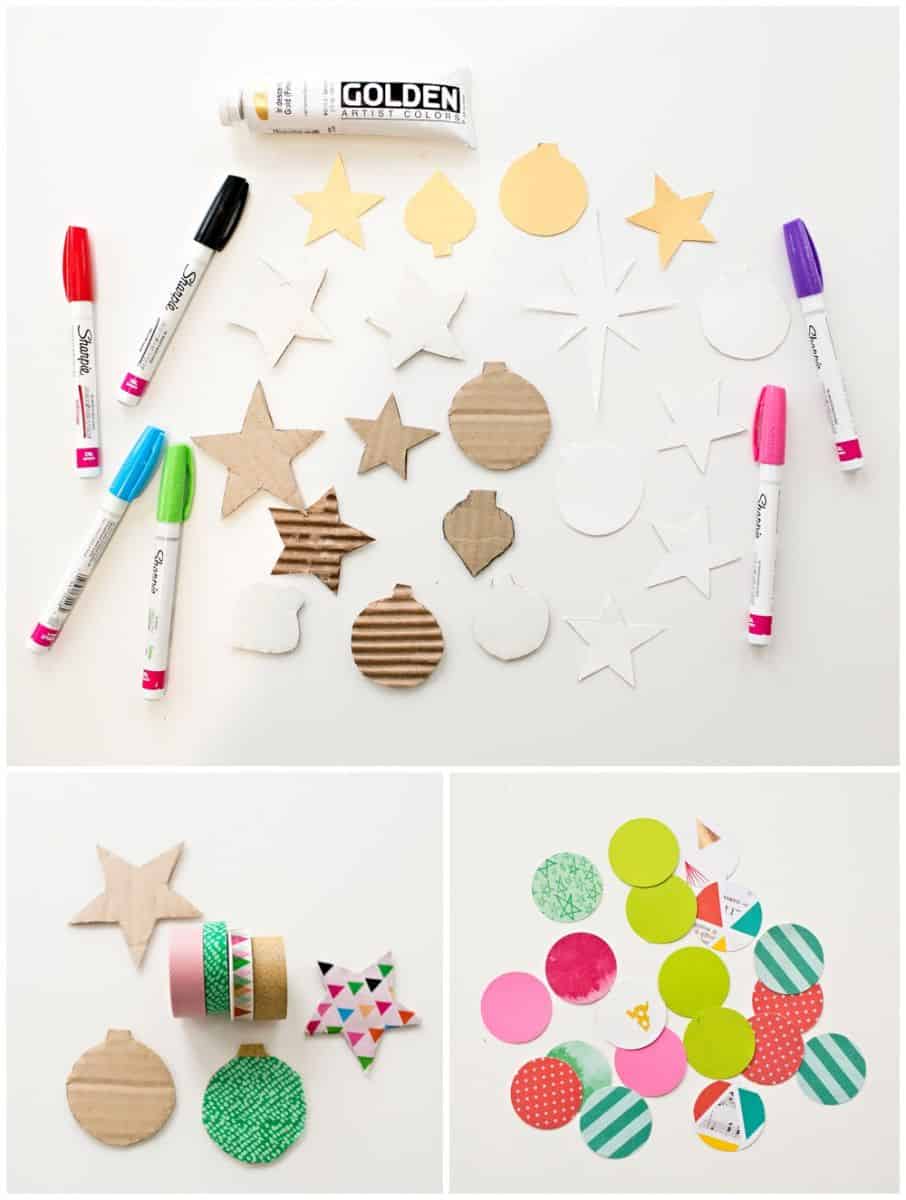
1. Select 3-5 ornament shapes. If you aren’t confident in your drawing skills you can search “Christmas ornament templates” on your computer and you will find a lot to choose from.
2. Draw or trace your shapes on thick white paper and cut them out. Now you have created reusable templates.
3. Trace your ornament shapes on cardboard, bristol paper, and assorted craft papers to achieve variety and texture.
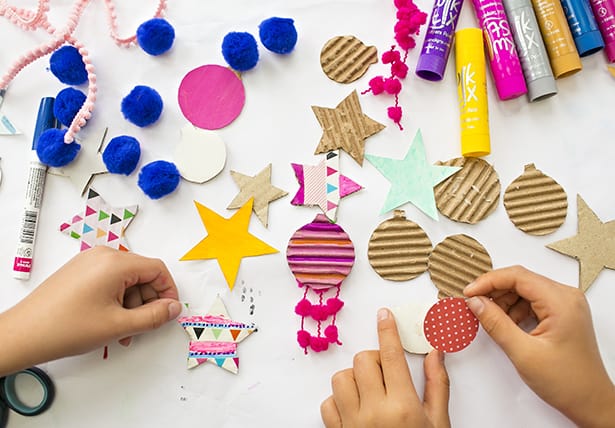
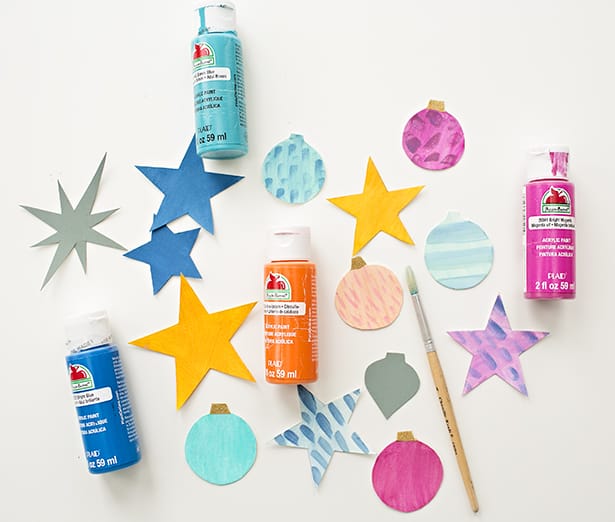
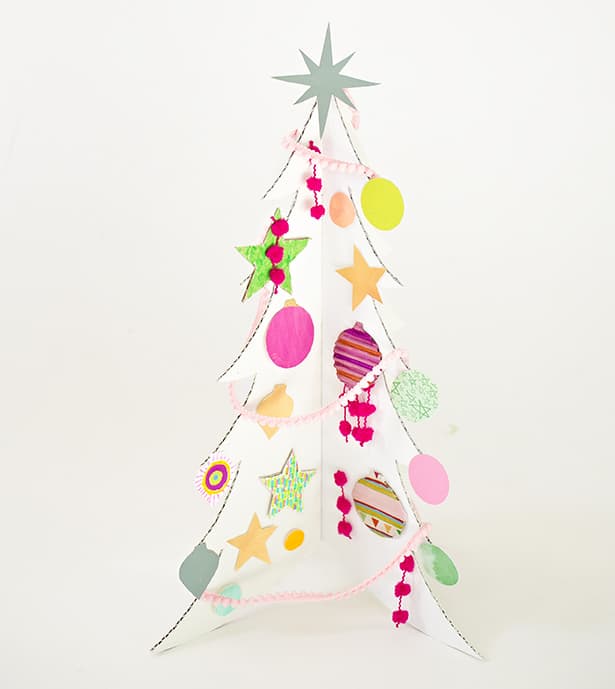
4. Choose a color palette for your decorations. Are you going traditional? bright? natural? We veered from the traditional and chose a palette of: white, gold, fuchsia, peach, turquoise, sage, and slate blue. Gold is one of those colors that comes in a zillion varieties. We wanted a bright gold versus a “dirty” gold. I highly recommend investing in a tube of Golden acrylic paint in Iridescent Gold, it’s so pretty.
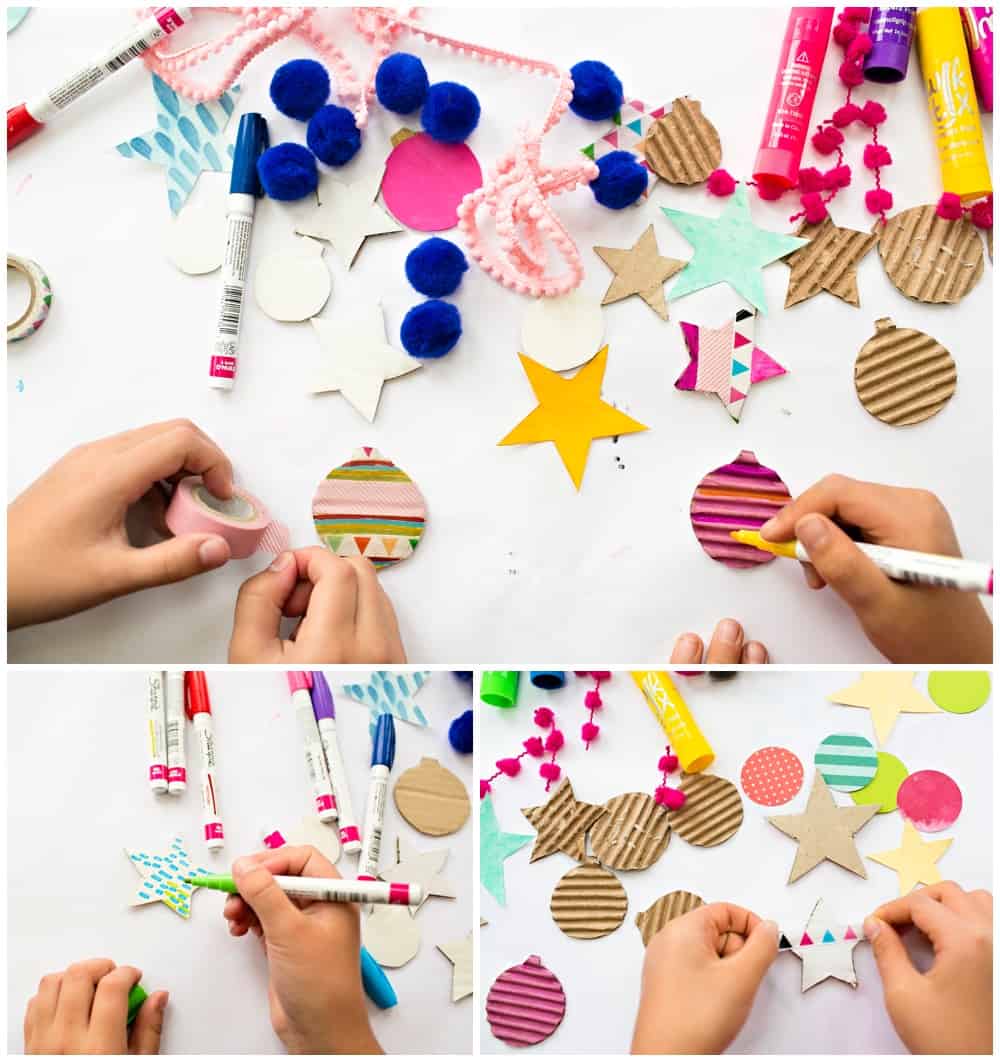
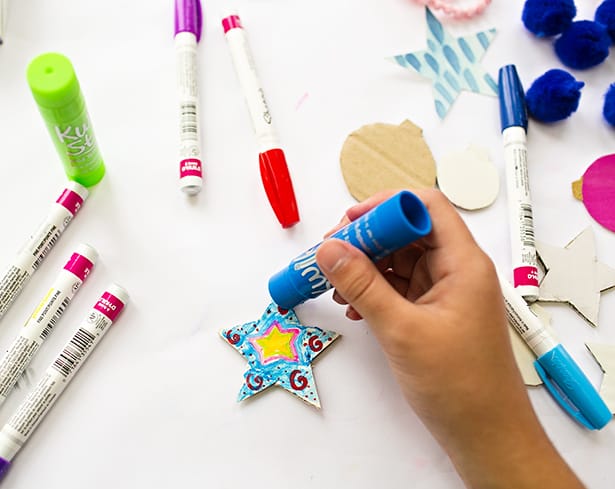
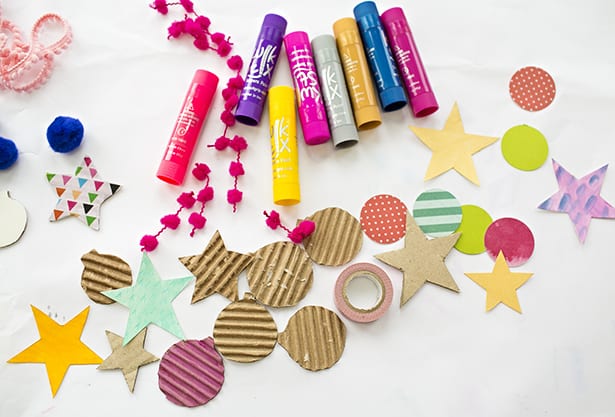
5. Lay out all of your paint trays, your chalk markers, your tempera sticks, and washi tape and have fun decorating!
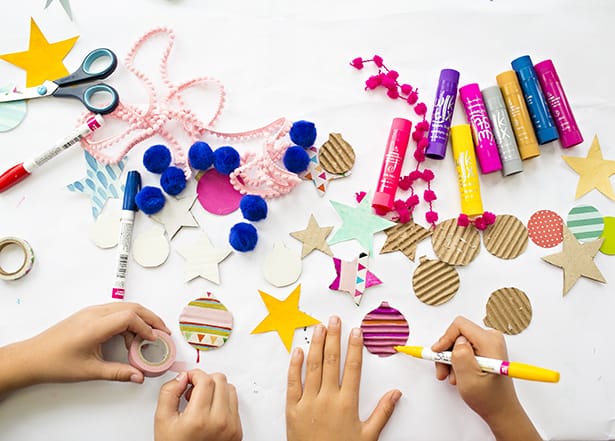
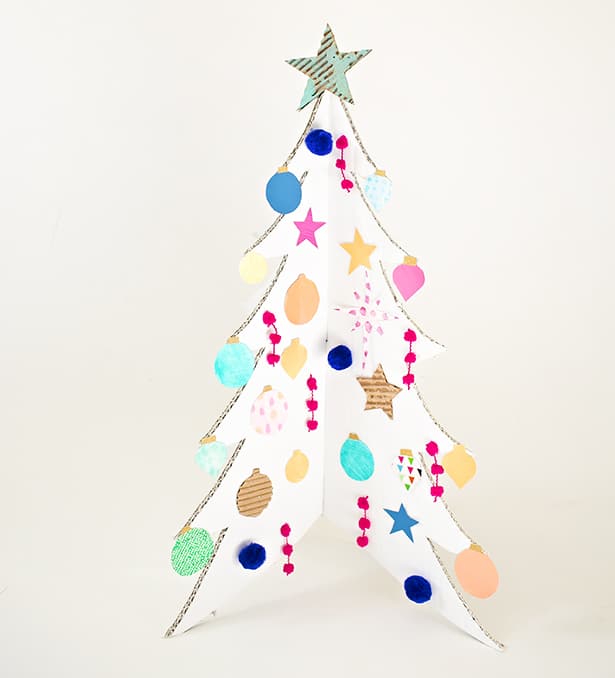
6. Once your ornaments have dried it is time to decorate your tree! We love the ease of glue dots but you could use a glue gun or double-sided sticky tape to fasten your ornaments to your tree branches.

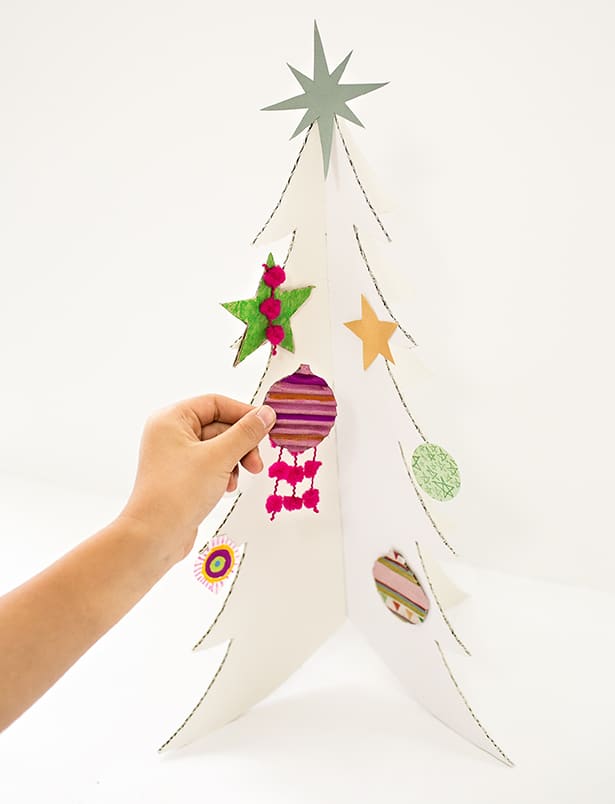
7. Don’t forget to add your star topper or your pom pom garland for a finishing touch.
*If you really want to take your tree to the next level, add a strand of mini twinkle lights!

What are your favorite Christmas Trees to make with kids?
Check out lots more creative holiday projects here!
DIY and Tutorial: Arielle Goddard
Photography and Styling: Agnes Hsu

Meet Arielle Goddard – Los Angles based artist, designer, arts educator, mother of two girls, and founder of ART CAMP. Arielle has been teaching and developing art programs for close to 20 years. If you are looking for fresh, elevated, arts, crafts, and DIY inspiration follow her blog, Instagram and Pinterest.
______________________________________________________________________________________________________
Disclosure: Some of the links in the post above are “affiliate links.” This means if you click on the link and purchase the item, we will receive a small affiliate commission. Regardless, we give our promise that we only recommend products or services we would use personally and believe will add values to our readers.


Agnes Hsu is a mom of three and has been inspiring parents and kids to get creative with easy activities and family friendly recipes for over 10 years. She shares her love for creative play and kids food to her 2MM+ followers online. Agnes' commitment to playful learning and kindness has not only raised funds for charity but also earned features in prestigious nationwide publications.