

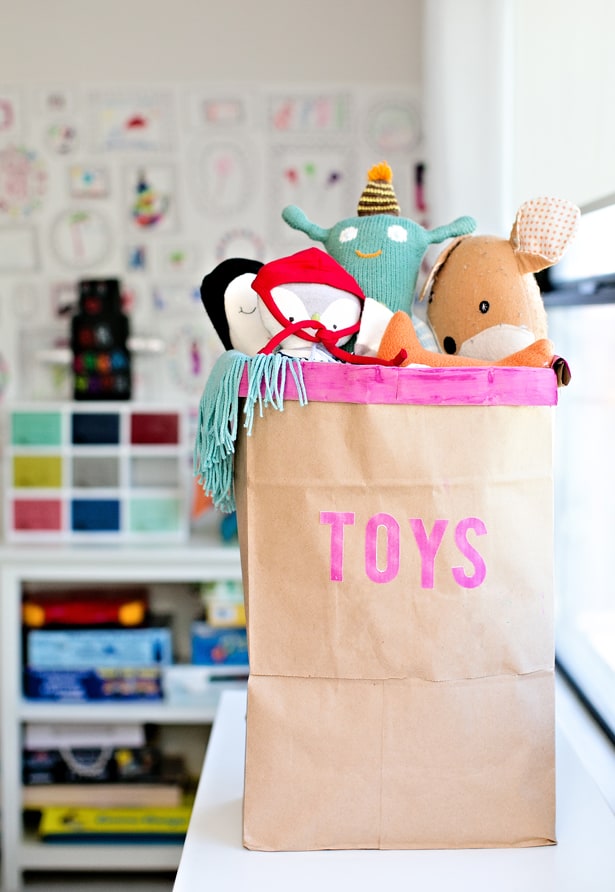
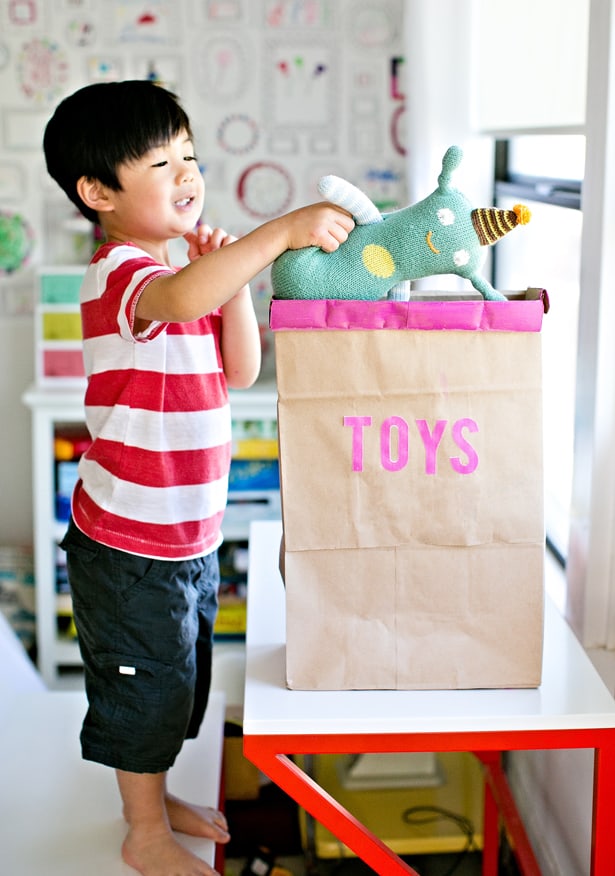
Here’s an easy recycled project you can make in just about 30 minute’s time that’s also functional and a fun Earth Day project to share with your kids. Find out how we turned two paper grocery bags into a chic and functional toy storage bin!
DIY Recycled Toy Storage Bin – Materials:
– Two paper grocery bags
– Scissors, tape, hot glue or strong craft glue
– Free Printable TOYS letters (download below)
– Paint, paint brushes
Click Here to Get Your Free Printable
Instructions:
Step 1. Print out the TOY letters and cut them out. You can of course also make your own using any colors or font.
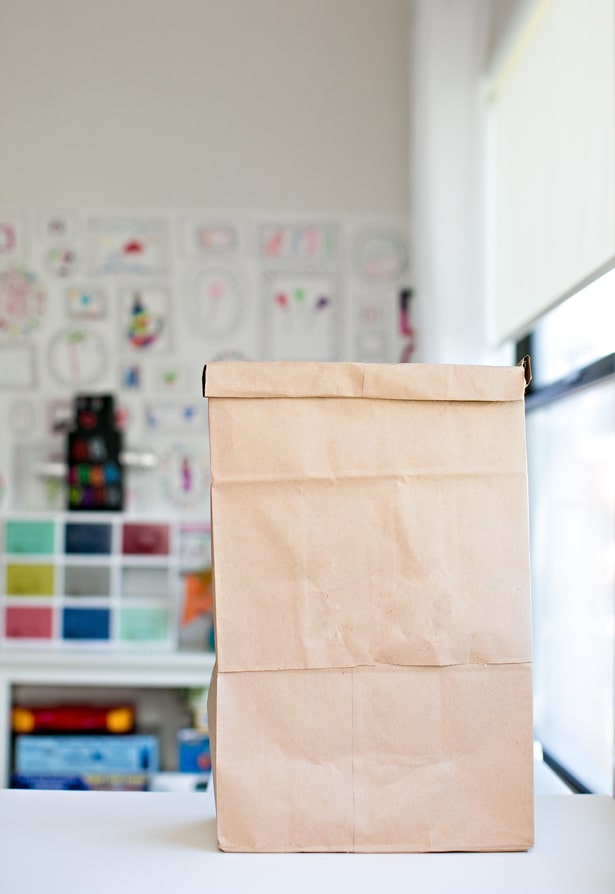
Step 2. Cut off the handles of both grocery bags. Cut off the bottom of the one the bags. Lay that one over the other bag. Secure with masking tape on the inside. Start gluing the two bags together in the middle seams. Remove the tape.
Step 3. Roll down the bag at the top to create a fold. It helps to cut the side seams and then roll down.
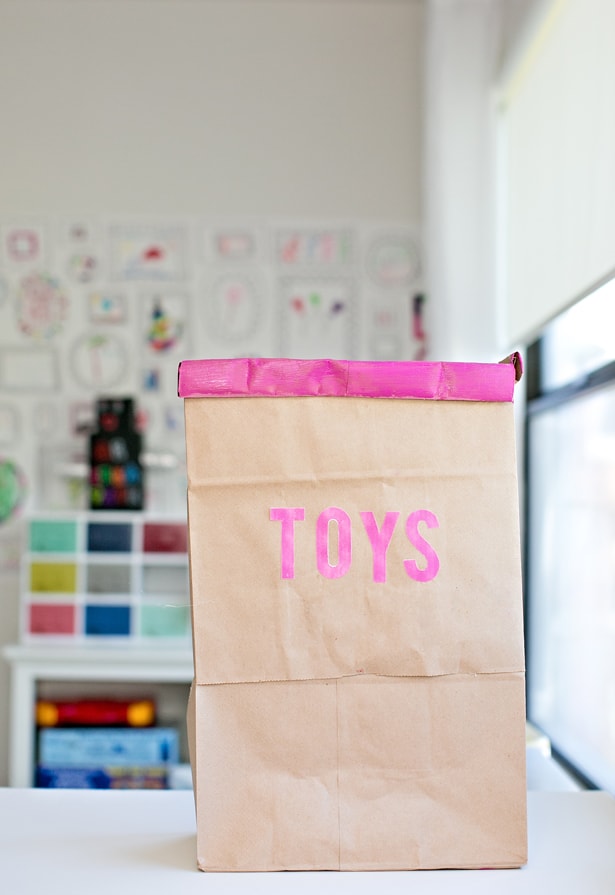
Step 4. Paste your letters on the bag and paint folds at the top. We chose pink to go along with our letters. Your easy recycled toy storage bin is done and ready to fill with toys!
.jpg)
What are your favorite recycled crafts to make with the kids? Take a look at more Earth Day and recycled projects here and here!


Agnes Hsu is a mom of three and has been inspiring parents and kids to get creative with easy activities and family friendly recipes for over 10 years. She shares her love for creative play and kids food to her 2MM+ followers online. Agnes' commitment to playful learning and kindness has not only raised funds for charity but also earned features in prestigious nationwide publications.