THOMAS AND FRIENDS COSTUMES + 5 PRINTABLE FACES
My son just turned 3 and since he’s a train obsessed little guy (especially with Thomas the Train) we threw him a train party and decided to make him and all his little guests a train costume!
There are some pretty amazing Thomas the Train costumes out there (see here and here) but since I wanted to make one for each of the party guests, I needed a costume that was easy enough to put together for lots of Thomas friends.
Here is a simple Thomas and Friends costume DIY if you want to do the same for several kids with 5 free printable faces! (James, Gordon, Emily, Percy, and of course Thomas).
Thomas and Friends Costume DIY – Materials:
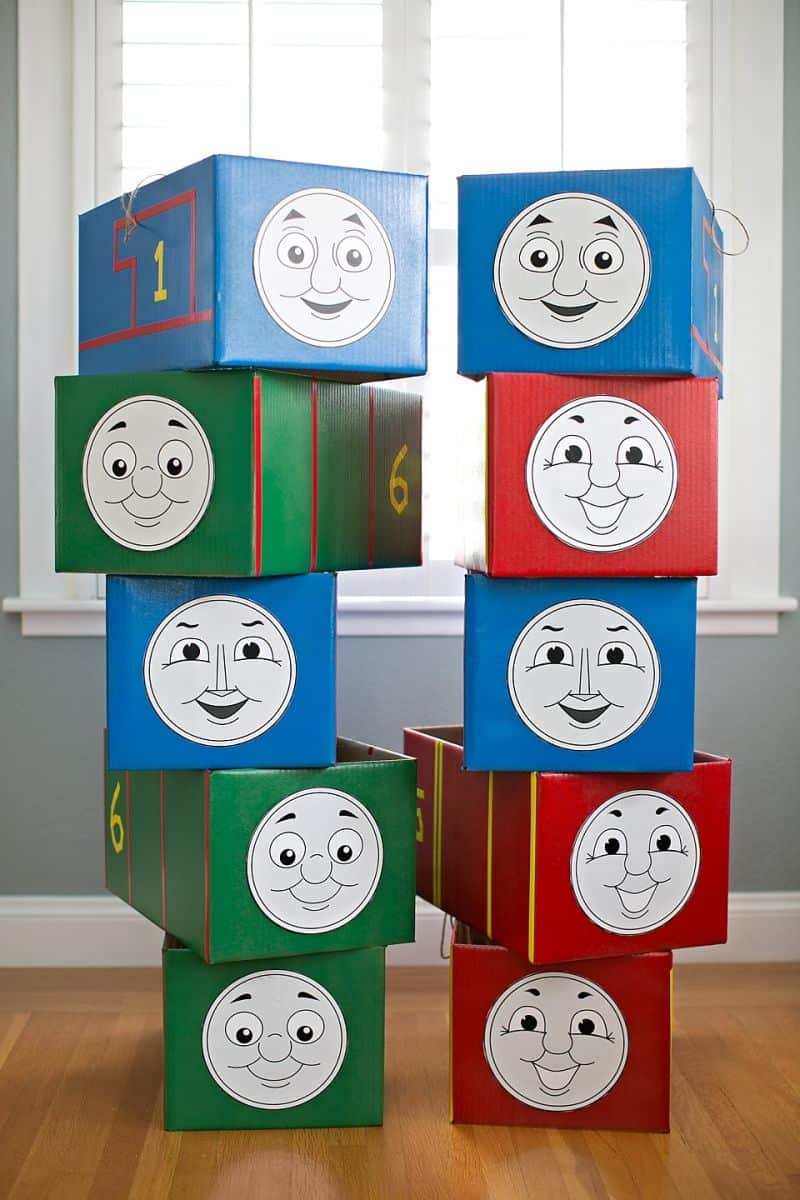
– Spray paint (we used blue for Thomas and Gordon, Green for Percy, and Red for James)
– Cardboard boxes (these worked well)
– 7″ Paper plates in red, blue, and green (you will need 6 plates per train)
– Black marker
– Twine
– Red and yellow electrical tape
– Glue
– Free printable faces (see below)
Steps:
1. Download the free printable faces (James, Percy, Emily, Gordon, Thomas). We ended up not doing Emily since she required a different green colored spray paint, but the face is included if you want to give it a go.
*Note: A talented friend of mine custom illustrated these faces for me based on Thomas and Friends likeness. Please use for personal and non-commercial use only.
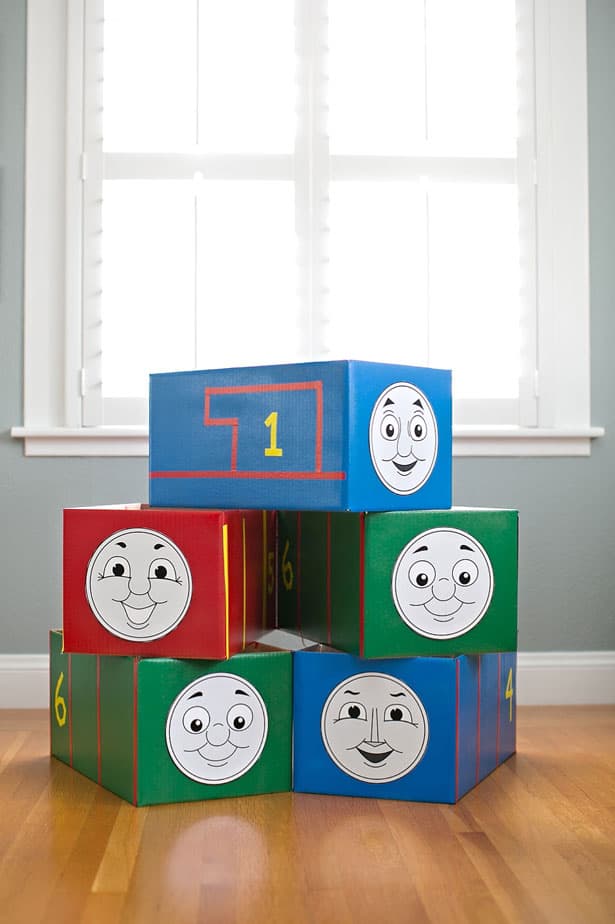
2. Spray paint each box in the color of your Thomas Friend. Allow to dry completely. Add simple lines per each train with the electrical tape. I used bits of tape to make the numbers, but you could always print out numbers and glue them on instead.
3. Glue your Thomas Friend face to the box.
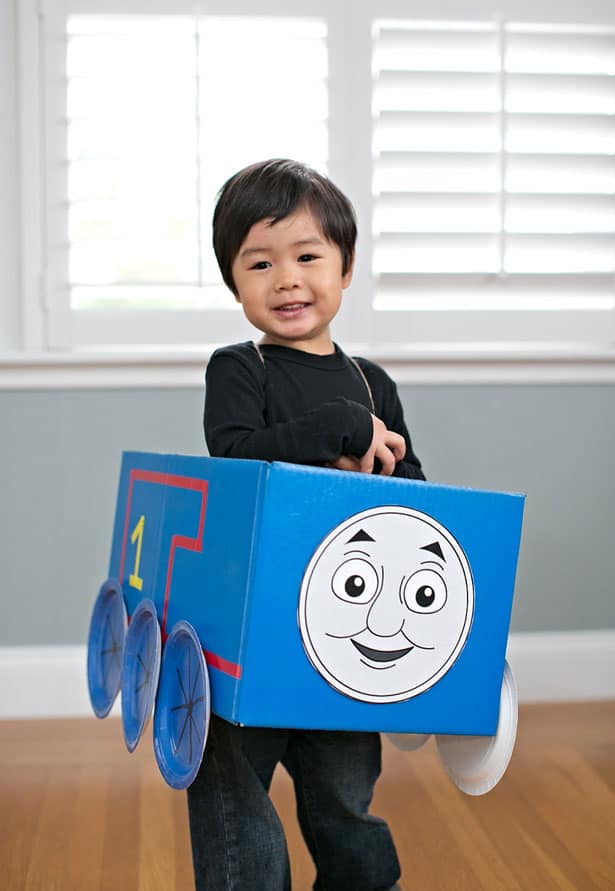
4. Punch two holes on each inner flap of the box and tie a string around so your child can “wear” the costume.
5. With a black marker, draw “spokes” for each wheel and glue 3 to each side of a box.
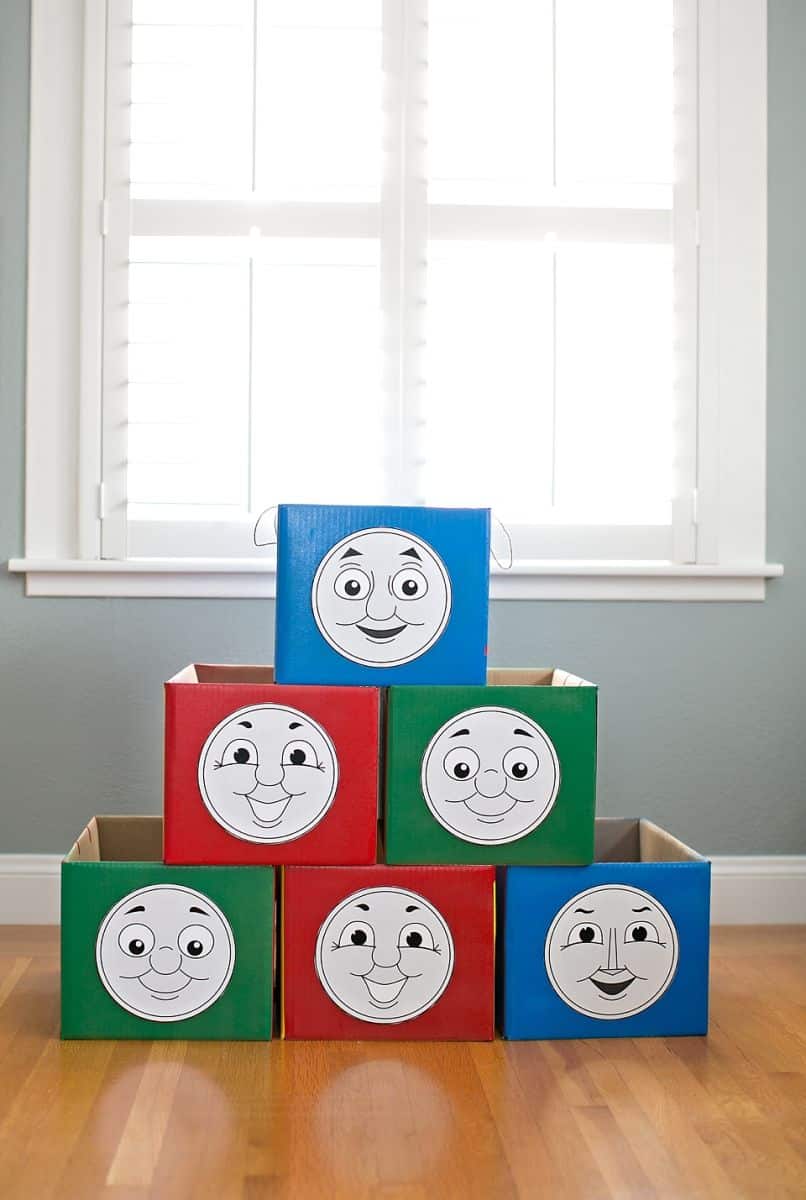 I love how the faces “pop” and having a variety of Thomas Friends was so much fun for the kids!

Here are details of the sides of the train, all done with just electrical tape. I repeated the same on the other side.
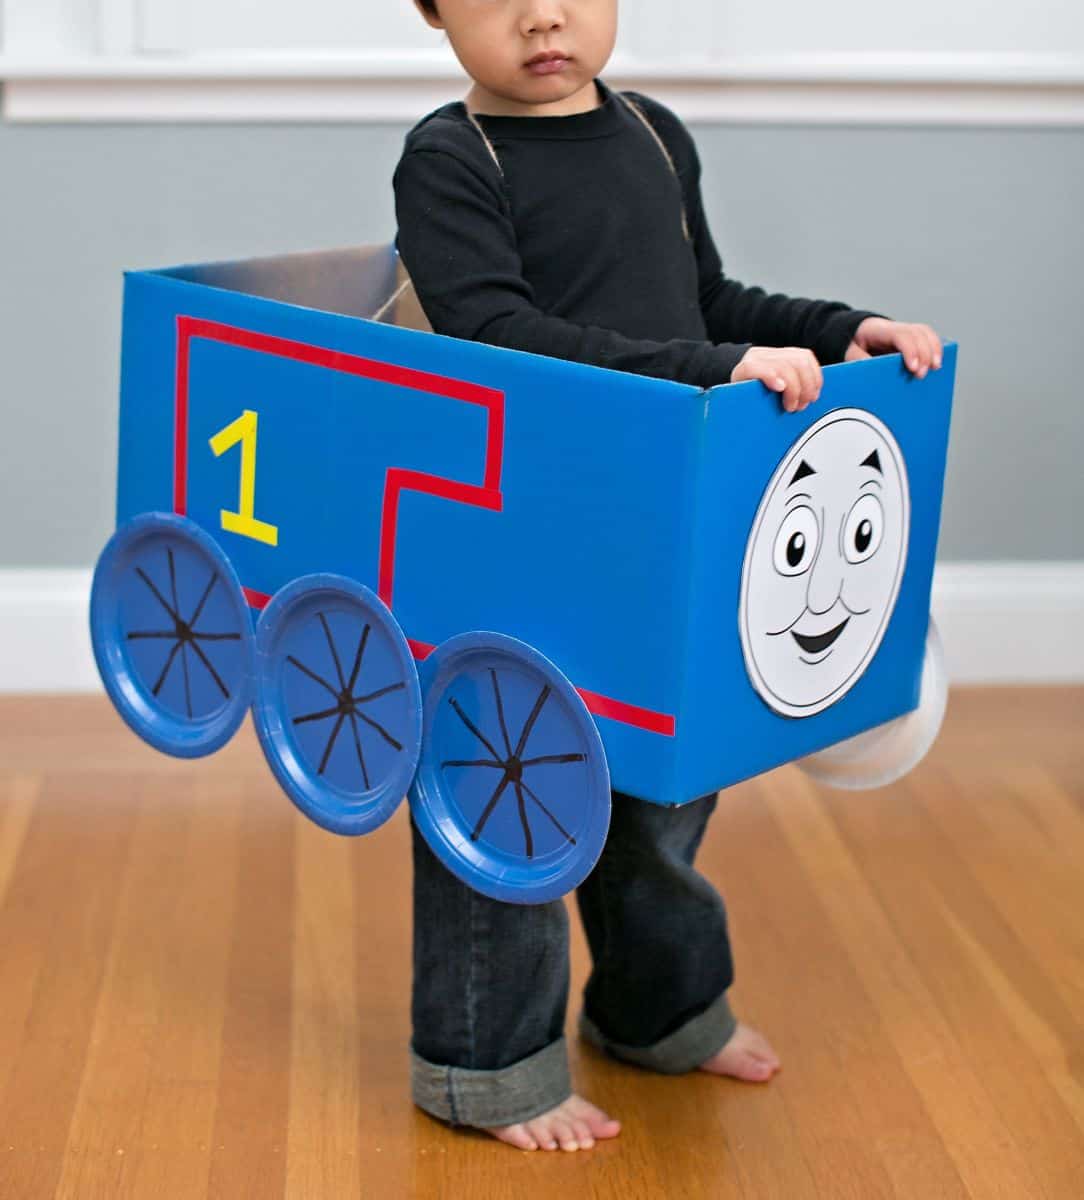
A detailed shot with the wheels attached.
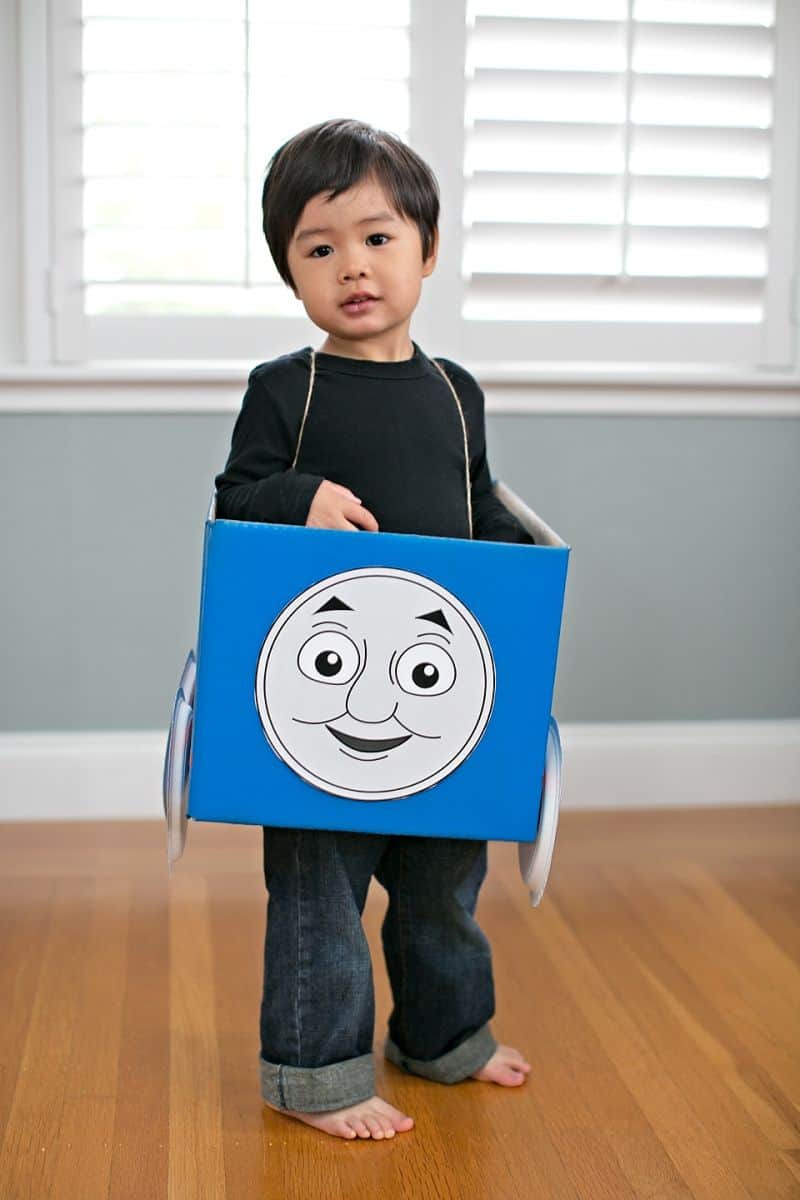
The string really helped in holding the costume up. If the string is too long, you can use a twist-tie or tape to hold the two back strings together, which is what we did for the kids at the party.

My son was ecstatic with the train and loves running around in it!
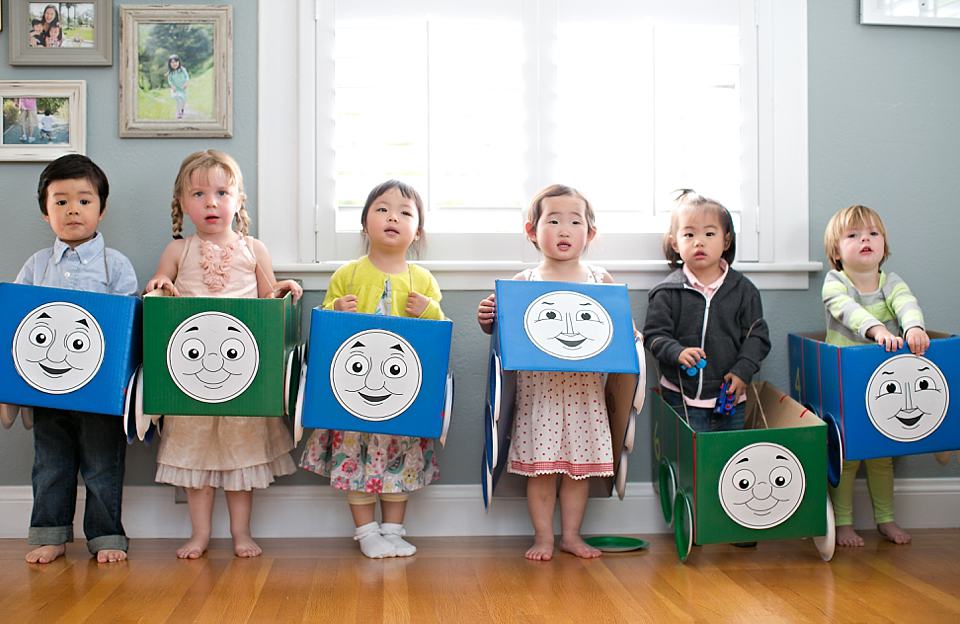
Here’s a photo from the party. The kids (and parents!) absolutely loved having their very own train to run around with. They also got to take one home as a special party keepsake.
Have you ever made an easy DIY costume?
For more train ideas, see:
11 Choo-Choo-Rific Train Party Ideas
______________________________________________________________________________________________________
Disclosure: Some of the links in the post above are “affiliate links.” This means if you click on the link and purchase the item, we will receive a small affiliate commission. Regardless, we give our promise that we only recommend products or services we would use personally and believe will add values to our readers.