KID-MADE PRINTED ORNAMENT GARLAND
.jpg)
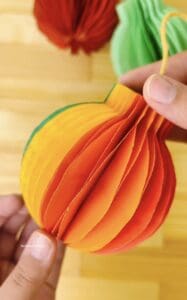
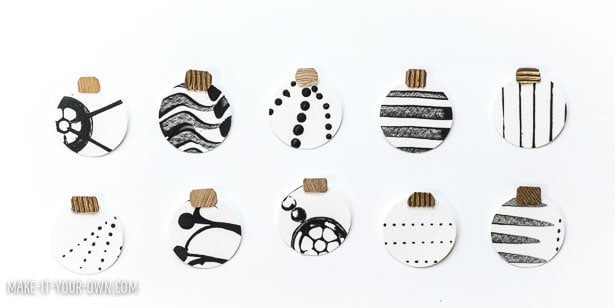
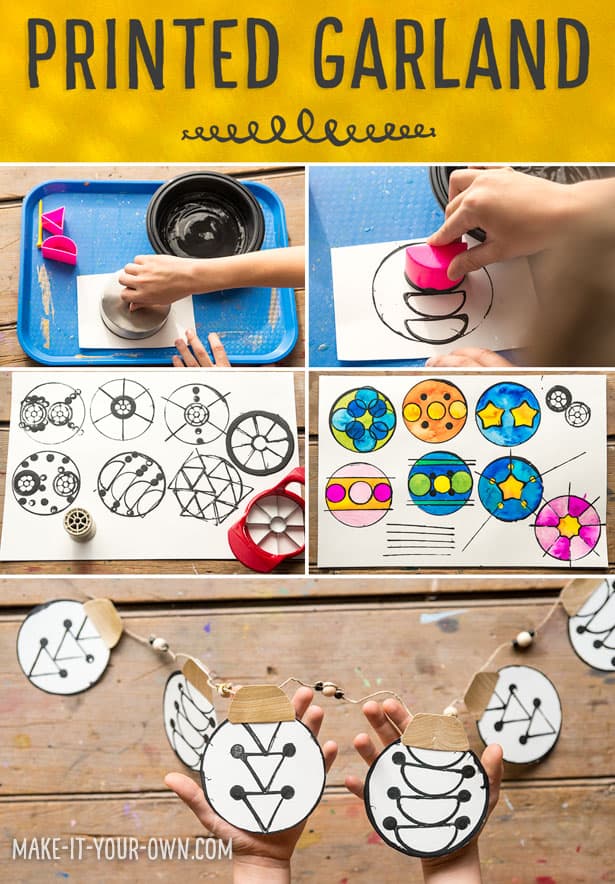
Hang up this striking printed garland for the holidays!
Materials:
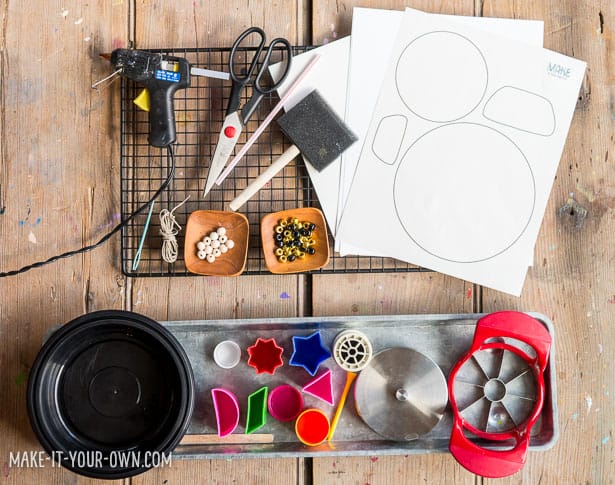
- Acrylic paint (we used black and gold)
- Items to make printed shapes (bottle caps, golf tees, lids, spools etc. We used shapes from a old baby toy)
- Gold paint
- Paper
- Brush
- Beads
- Cord
- Scissors
- Tape
- Template Ornament
- Straw
- Glue
We always find these items helpful too:
.jpg)
- Smock
- Craft tray
Directions:
- Don your smock. Paint your paper scraps the colour in which you would like your ornament caps. Allow to dry overnight.
.jpg)
- Print and cut out the ornament caps, use a tape donut to attach it to your paper and then cut around them.
.jpg)
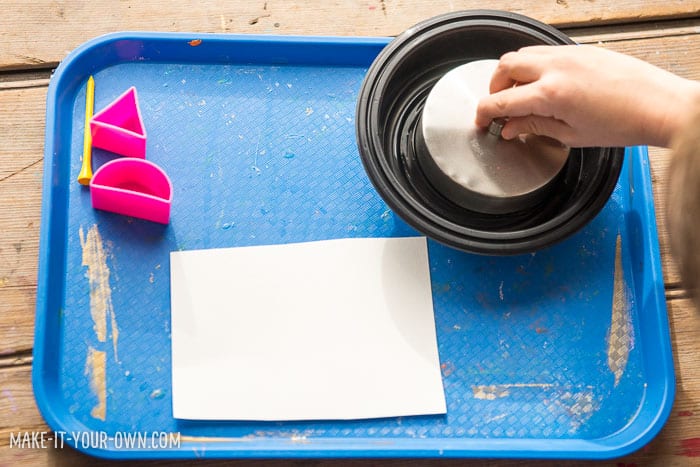
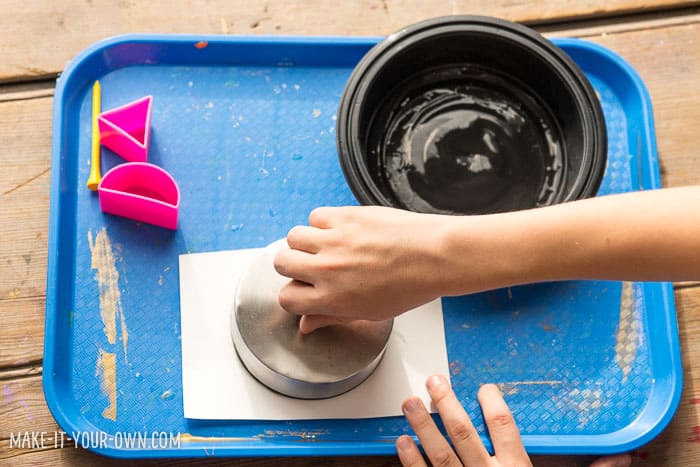
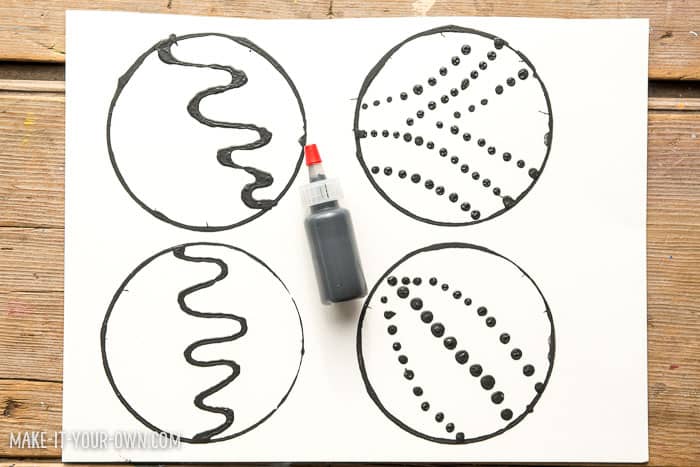
- You can use the provided template and do your prints on them or you could use a lid like we did below. Dip your lid in the paint to make your bauble shape and then experiment with different materials to create your prints!
.jpg)
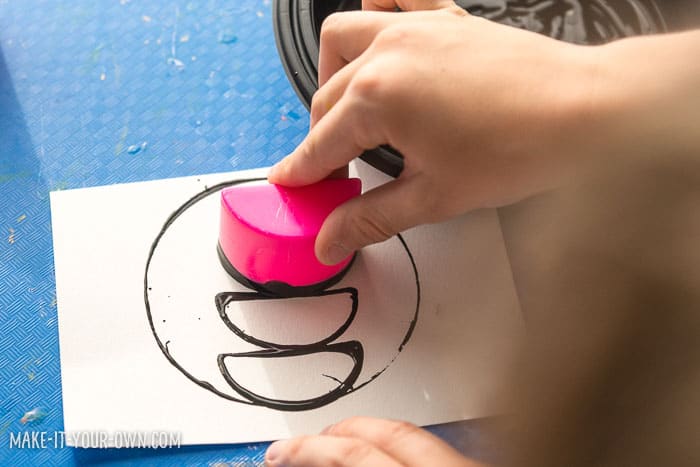
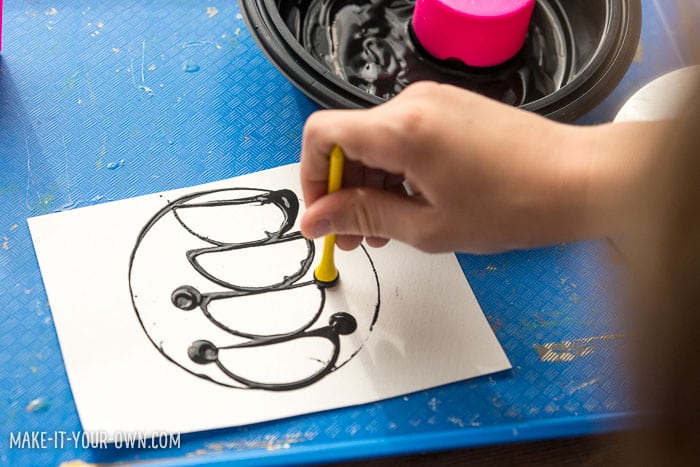
- You could use all sorts of items to create your prints!

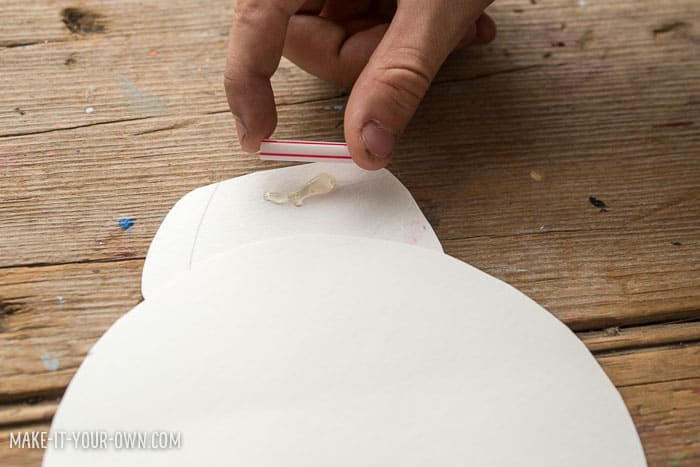
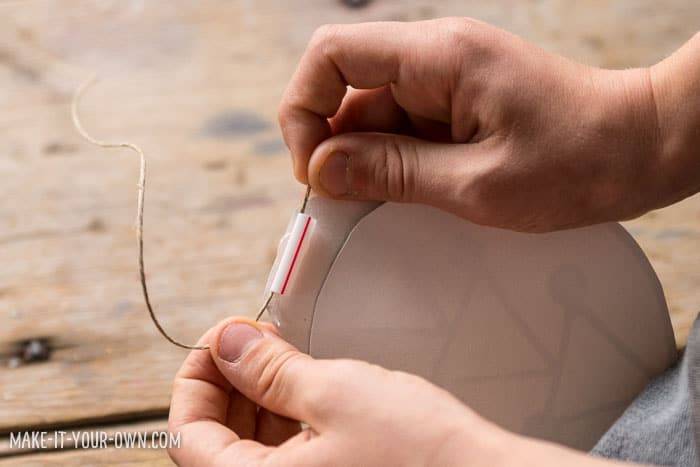
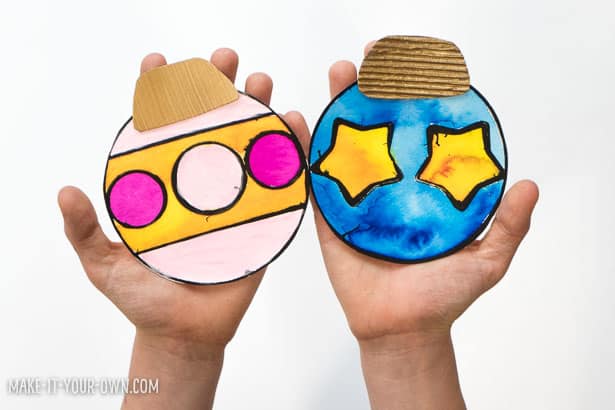
- Let your prints dry overnight. Cut them out, glue on your cap and then add a piece of straw so you can loop a cord through it. (This is a trick that we learned from Shelley of Creating Creatives.
.jpg)
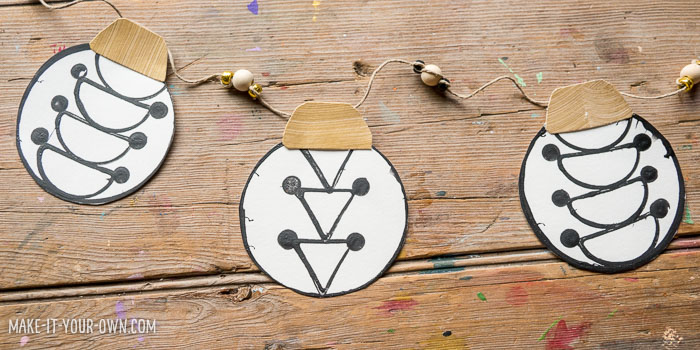
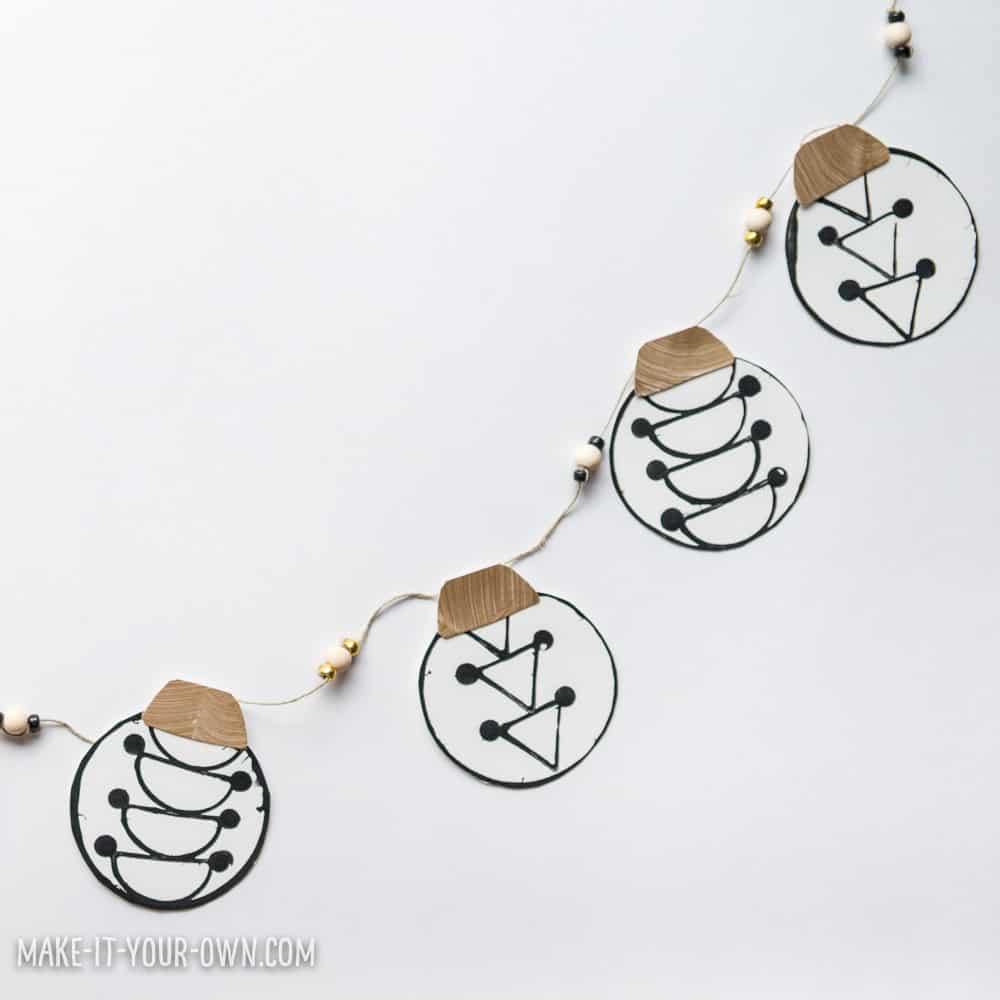
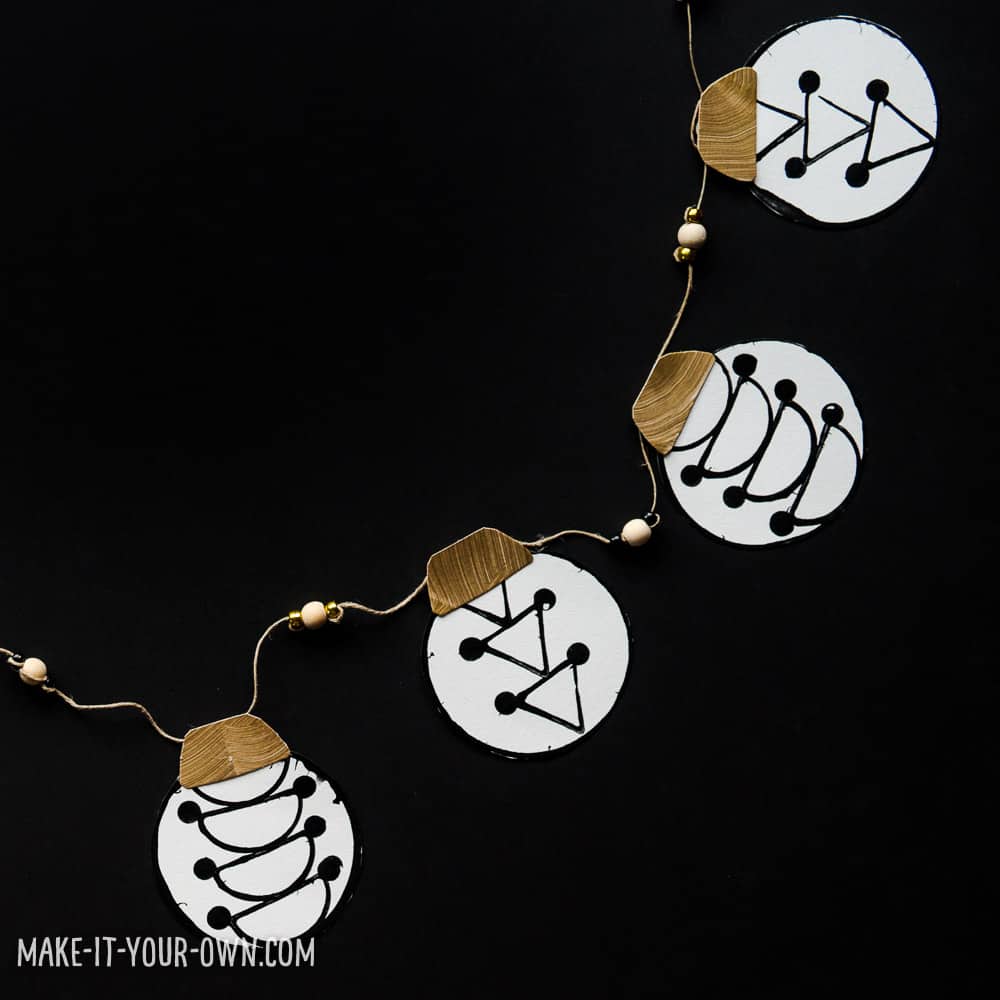
- Lace your Christmas ornaments onto your cord, adding beads and then give it to a friend!
.jpg)
- You could modify this technique in a few ways:
1) Add a bit of white craft glue to the paint and then paint over your designs with liquid watercolours.
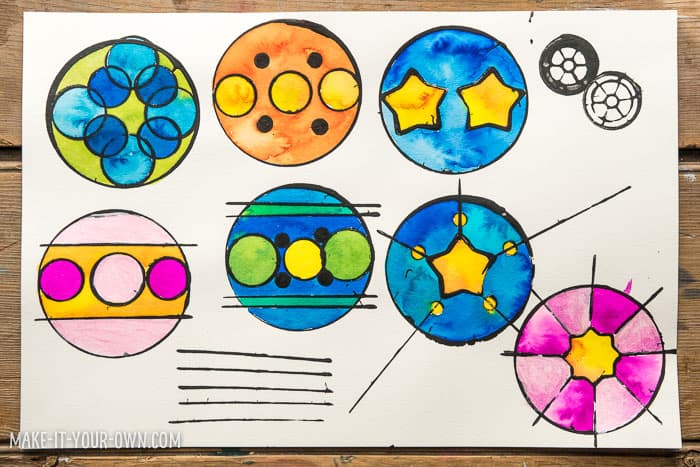
2) Put your paint/glue mixture into a squeeze bottle to make designs.
- Wouldn’t these little ones make great gift tags!? (We just used a circle punch for the tiny options!)
- Really you could use the templates for any painting technique- We’d love to see what you come up with!
Pin this idea for later:
Purpose
- Experimenting with different items to create printed images.
Safety Notes
- We suggest that you wear a smock and use a craft tray to protect your clothing and surfaces.
- Use scissors and a glue gun with care and direct, adult supervision.
- Cord, yarn etc. can be a strangulation hazard, therefore be sure to use with direct supervision and for its intended purpose.
- Beads can be a choking hazard, therefore be sure to keep them out of the reach of children ages 0-3 years of age or those that tend to put things into their mouths.
(4).jpg)
Make it Your Own is a Canadian children’s website. We hope to inspire educators and families with projects to do together, explorations of various mediums and techniques and to get out into nature to source supplies. We love re-imagining items and thinking of new ways to share children’s artwork. We are often described as “an educational mom, a digital dad and their three mini-makers.
______________________________________________________________________________________________________
Disclosure: Some of the links in the post above are “affiliate links.” This means if you click on the link and purchase the item, we will receive a small affiliate commission. Regardless, we give our promise that we only recommend products or services we would use personally and believe will add values to our readers.