
By using this site, you agree to our Terms of Use. This post may contain affiliate links. Read our disclosure policy.
Follow us on Instagram for more fun ideas for kids!
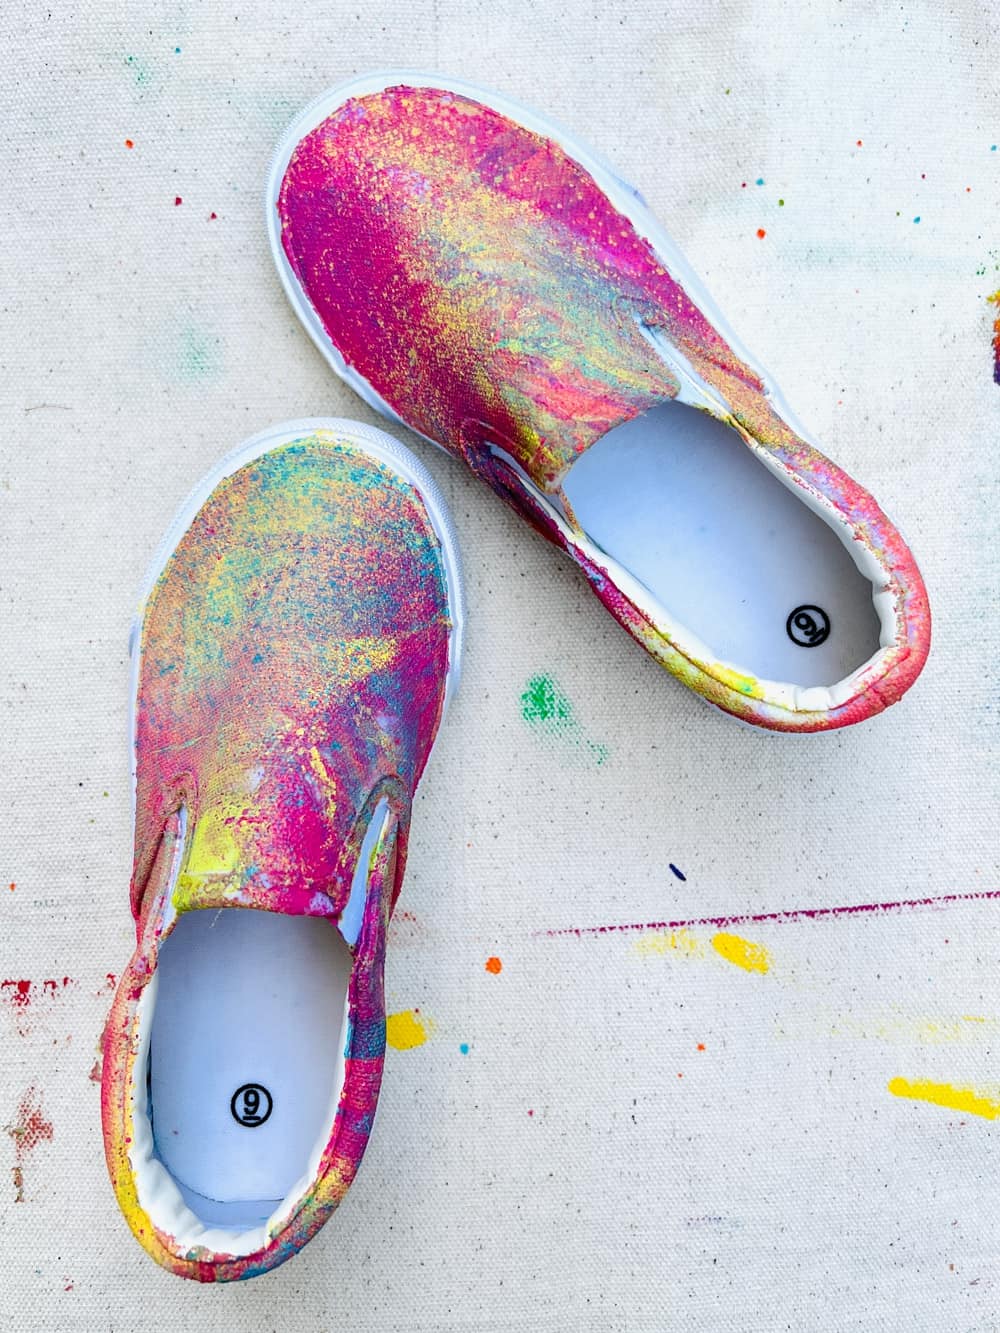
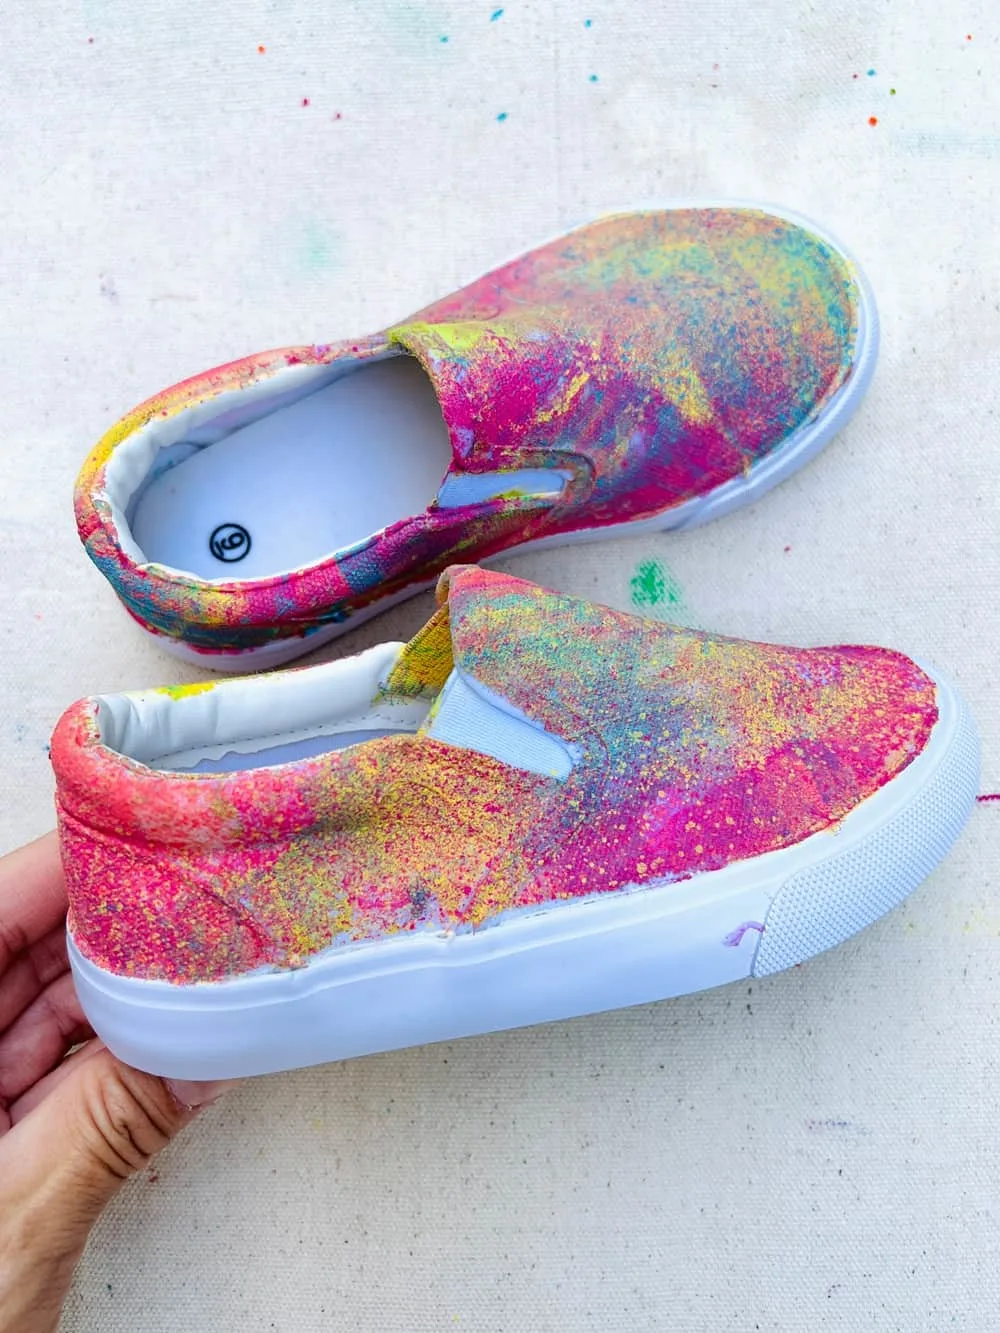
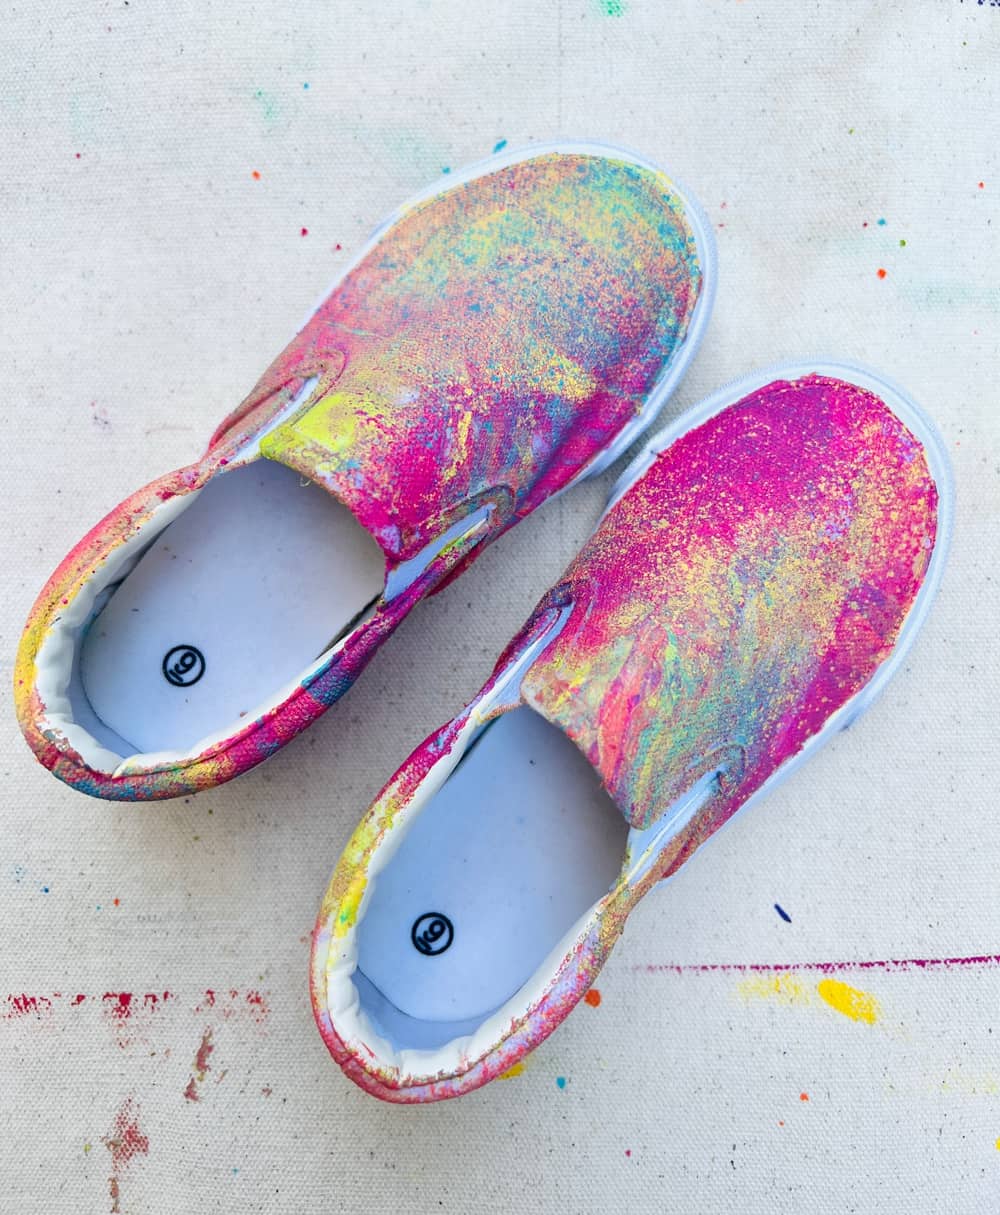
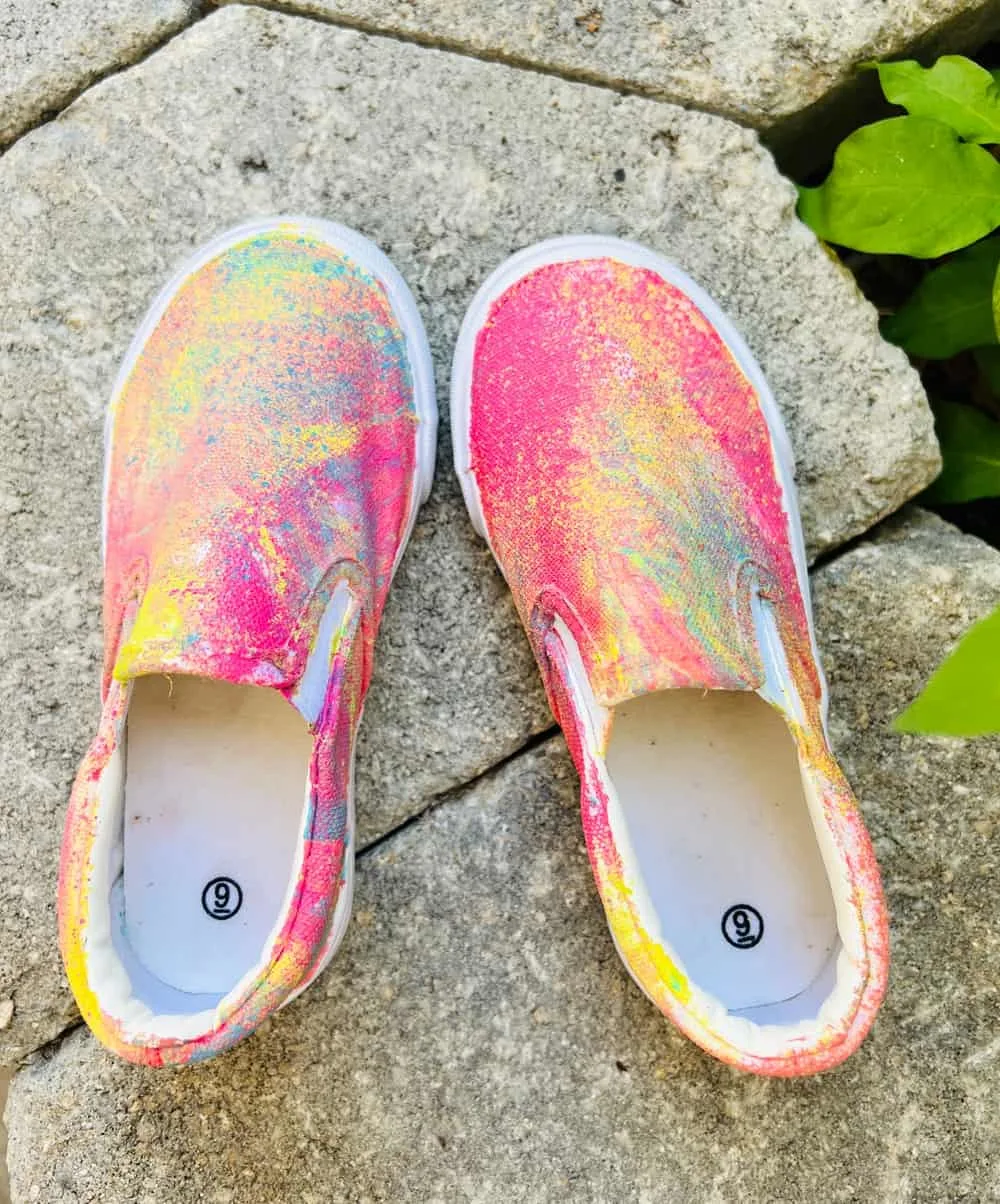
Hydro dipping shoes is an easy way to add colors to your shoes and customize the style you want! All you need are blank canvas shoes and some spray paints!
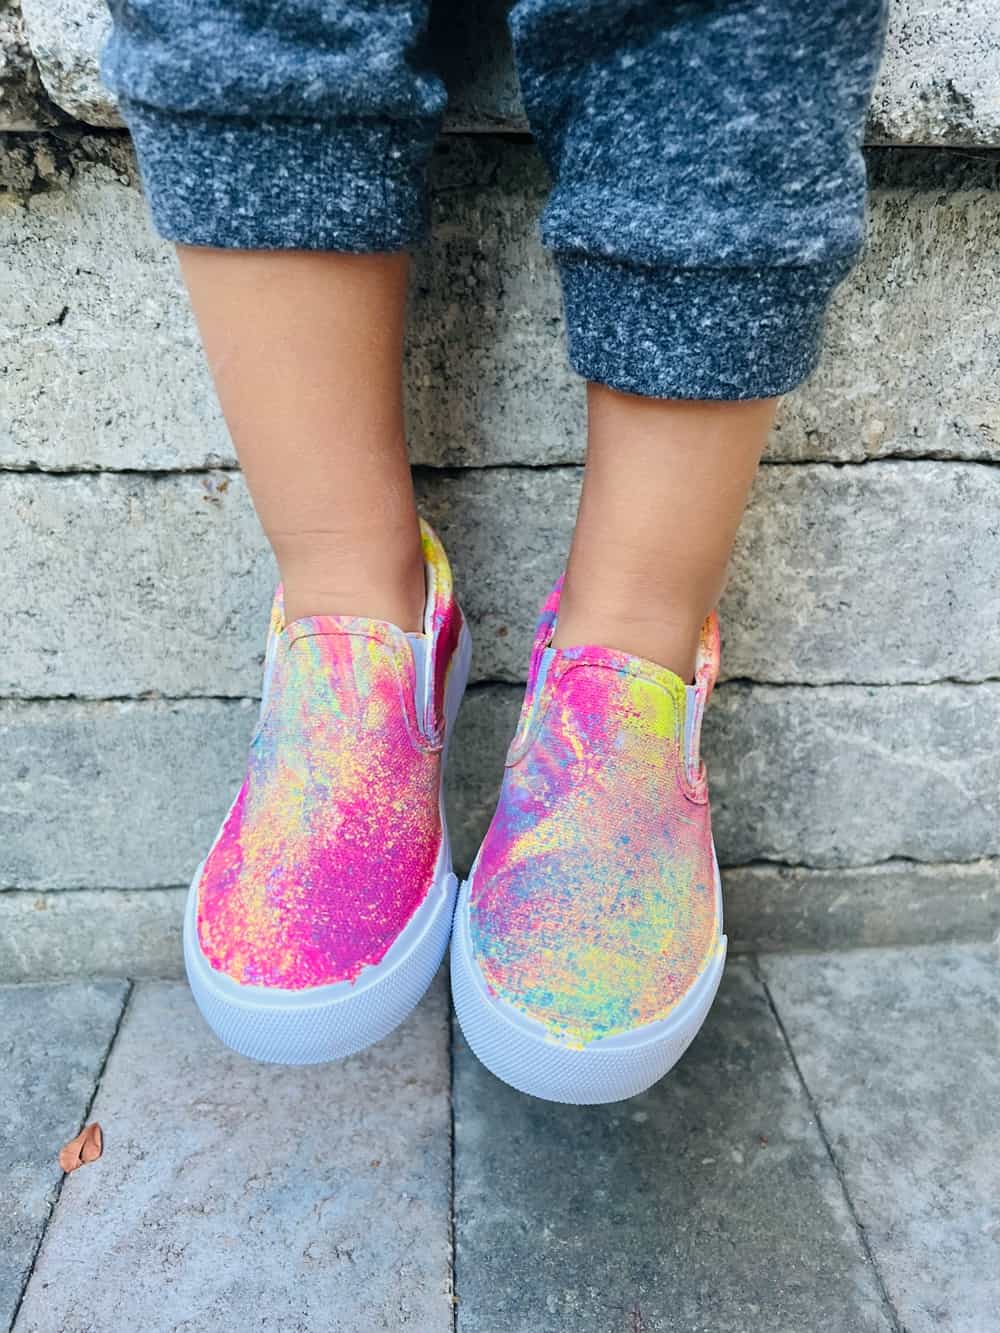
It’s back to school and that usually means getting a new pair of kicks for the kids! This year instead of expensive new shoes, we decided to style our own with just a fraction of department store brands. We tried how to Hydro Dip shoes for the first time and are hooked with the vivid and customizable process! Read more below to see what we did and the materials you’ll need to make these cool spray-painted shoes.


Who inspired us to Hydro Dip shoes?
My daughter was the one who had seen this cool trend online and so I watched a couple of videos online to see the process. People Hydro dip anything from shoes to tumblers but we were focused on shoes so this hydro dipping shoes video was great in outlining the process.
We ended up doing it a little bit differently so make sure to read our process below!
What is Hyrdo dipping?
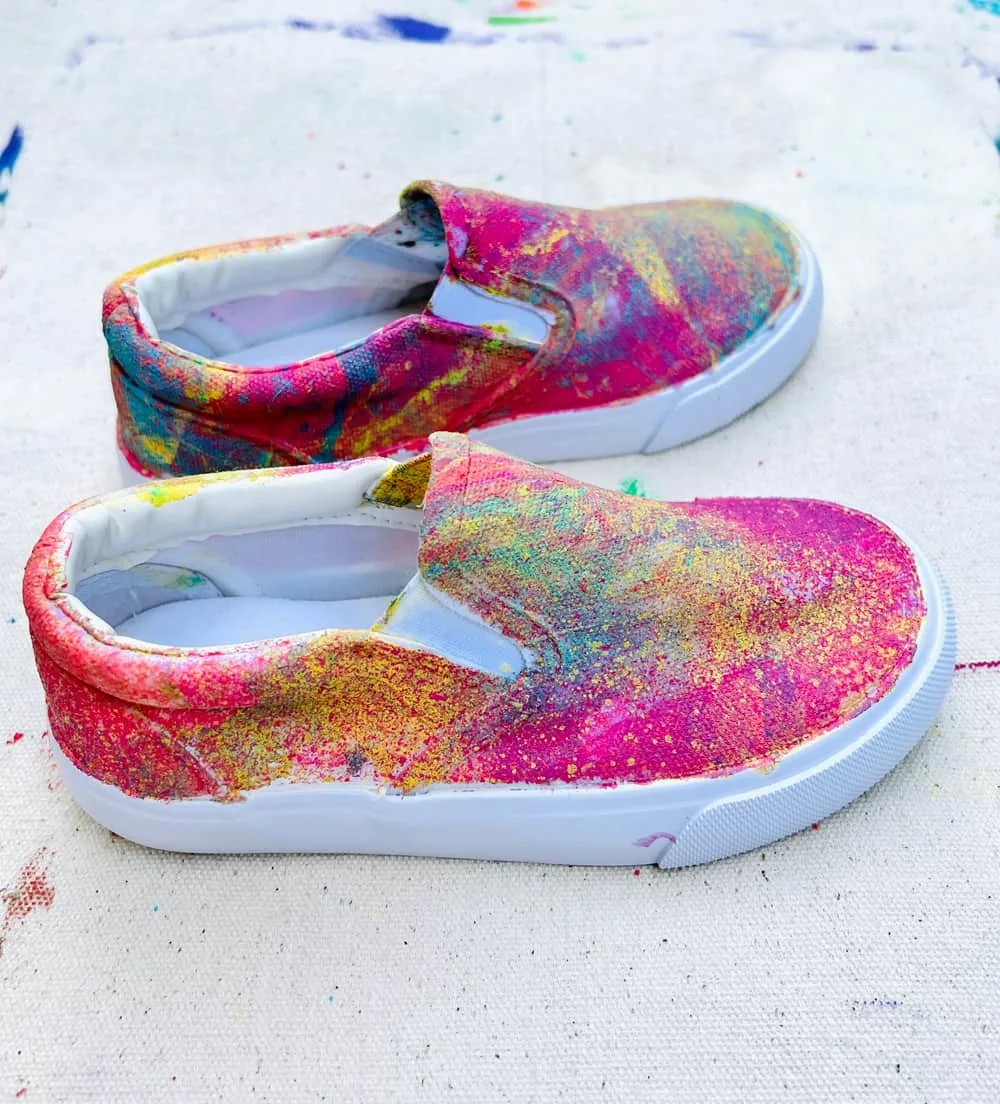
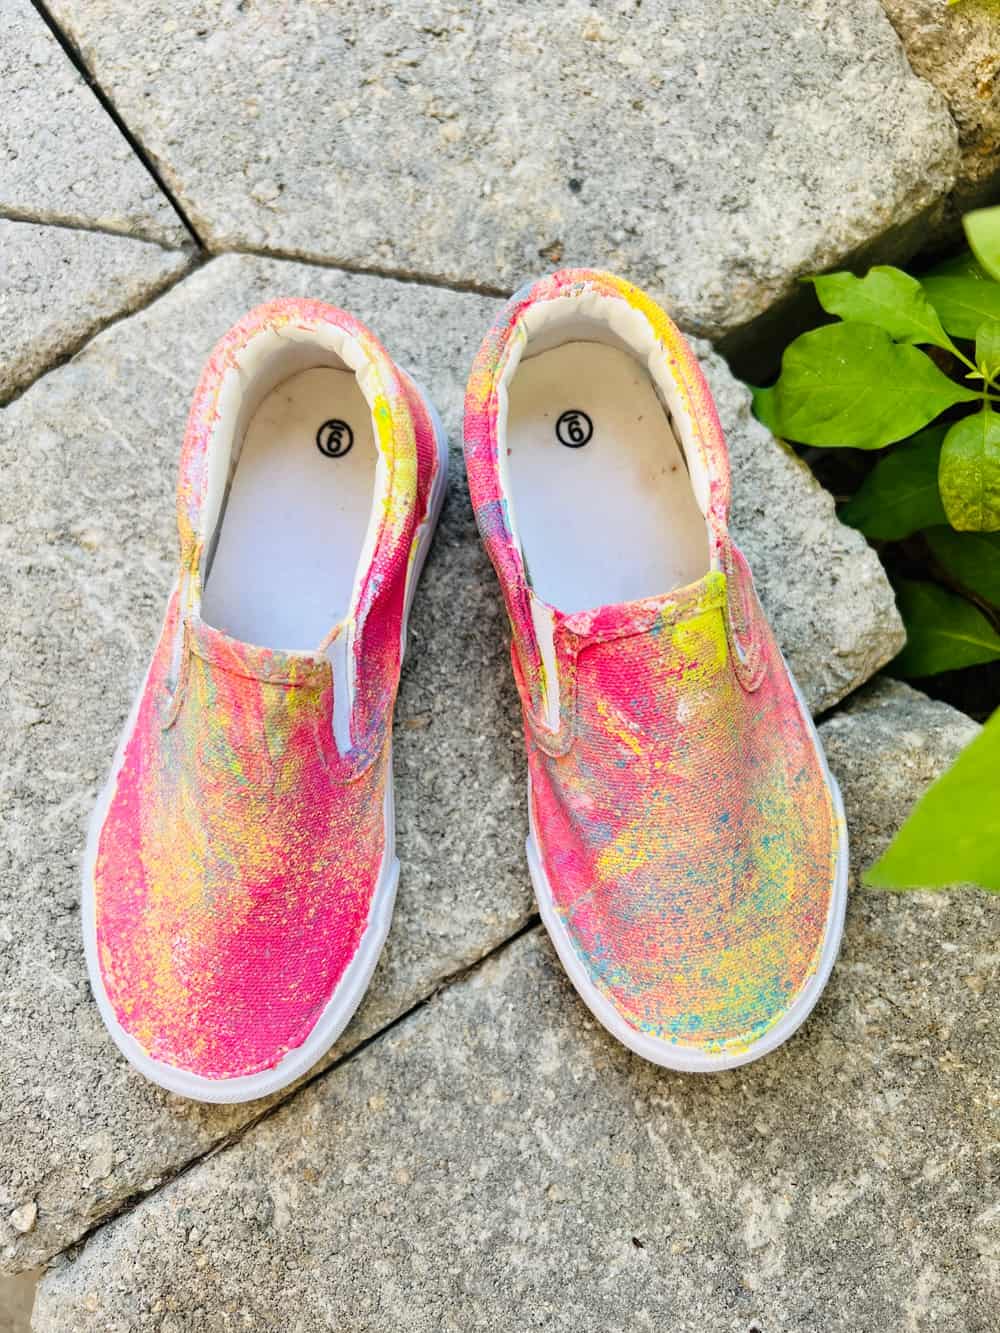
Hydro dipping is when you dip something into a bin of water that has spray paint coated on top. The spray paint doesn’t fully blend into the water and so whatever you dip will absorb the paint causing a marbling effect.
What kind of spray paints work best?
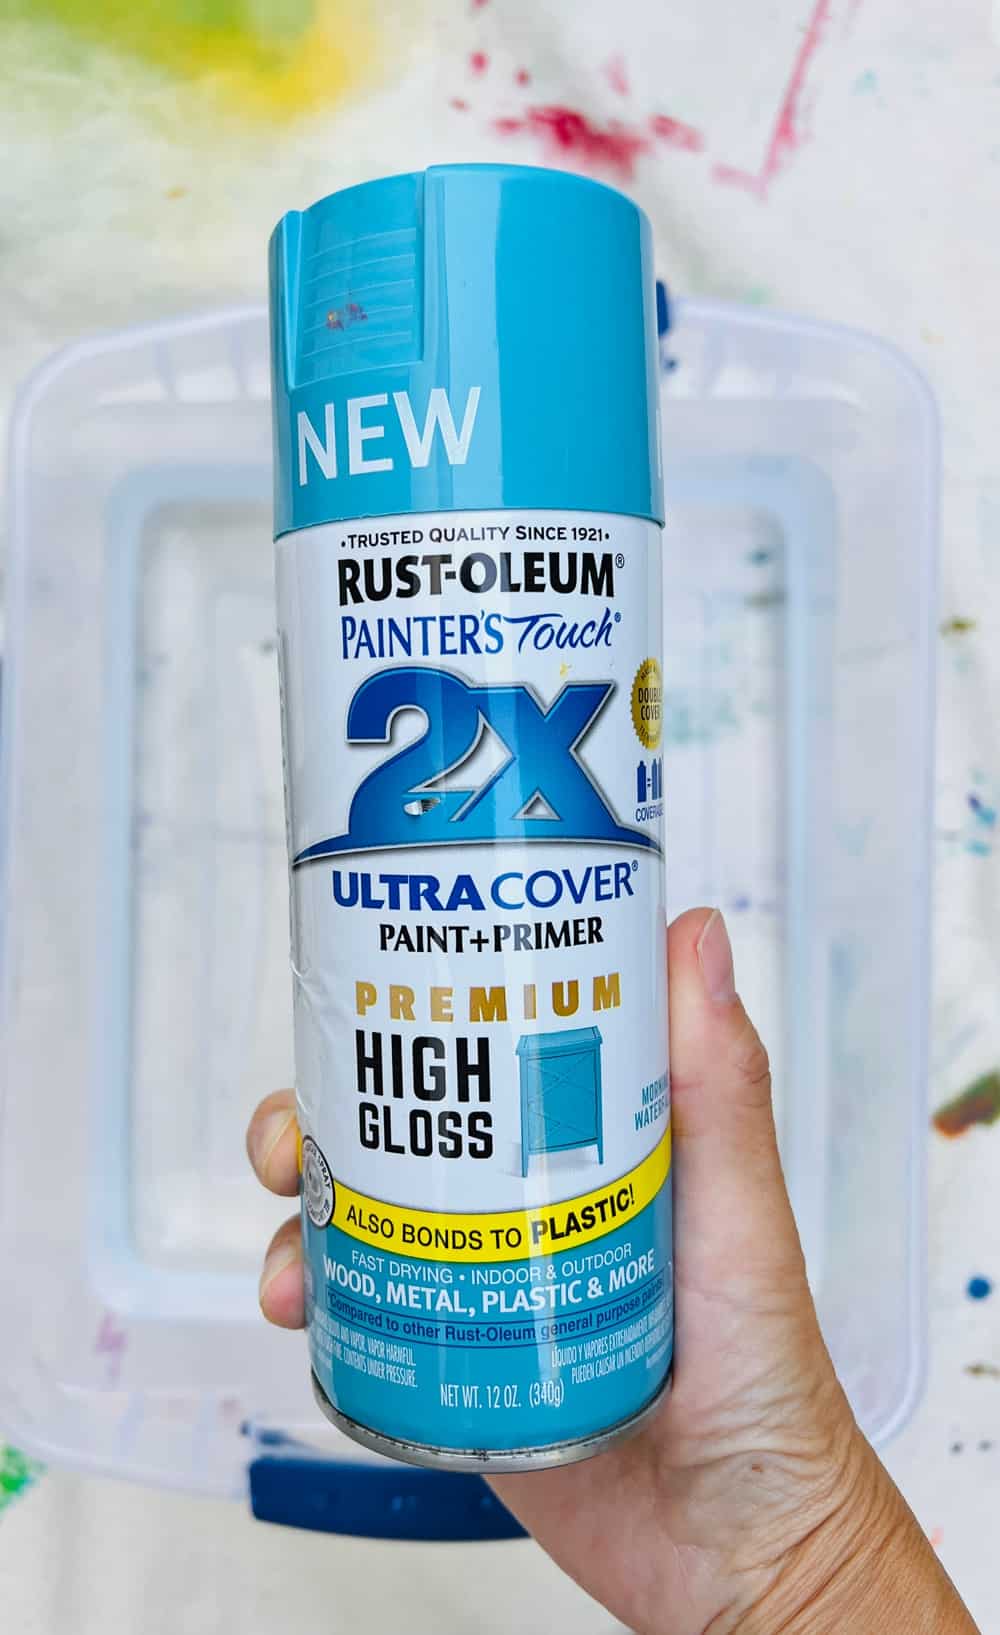
In our research, we found that Rust-Oleum spray paints work best. We actually happened to have the 2X paints with primer which we also read was the best kind to use because the primer helps adhere the paint more. Please be aware other brands of spray paint may not work as well or provide clear coverage.


What can you Hydro dip?
I would stick to things you know would adhere to normal paints. So for example, cotton canvas, wood or natural materials. Coated veneers or lacquered items would have to be stripped just like with regular furniture before painting.
However, it doesn’t hurt to try different items and see what sticks!
What do you need to Hydro Dip Shoes?
- Blank canvas shoes
- Spray paints (recommended Rust Oleum brand_
- Paint canvas drop cloth
- Bin of water that you can dip your showed fully into
- Masking painter’s tape
- Sneaker spray protection (keeps your painted shoes stain and waterproof free)
- Mask (to protect from the spray fumes)
- A small stick like a chopstick


How do you hyrdo dip shoes?
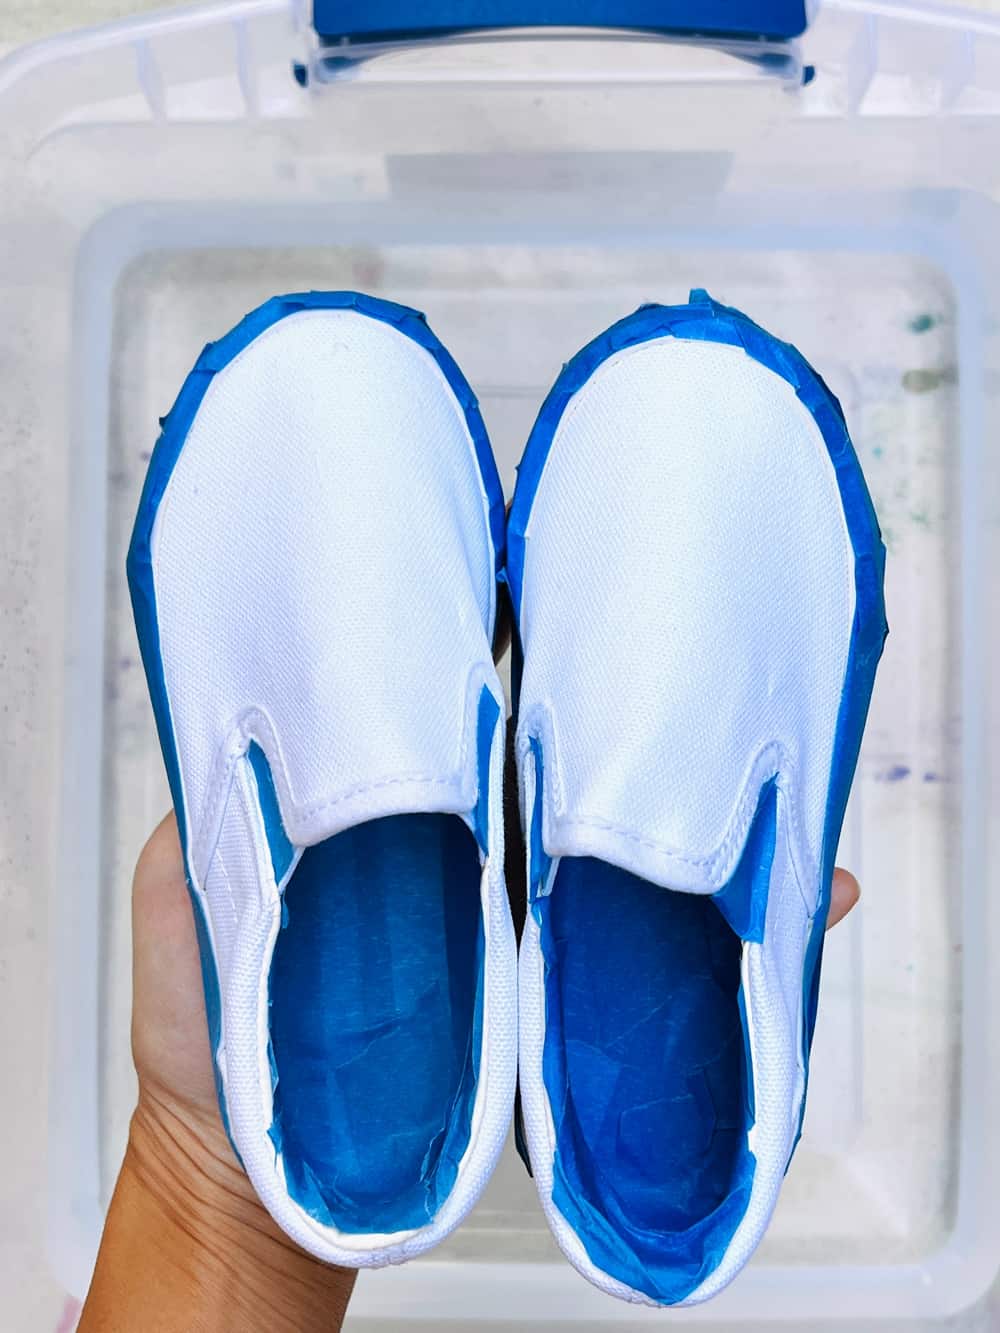
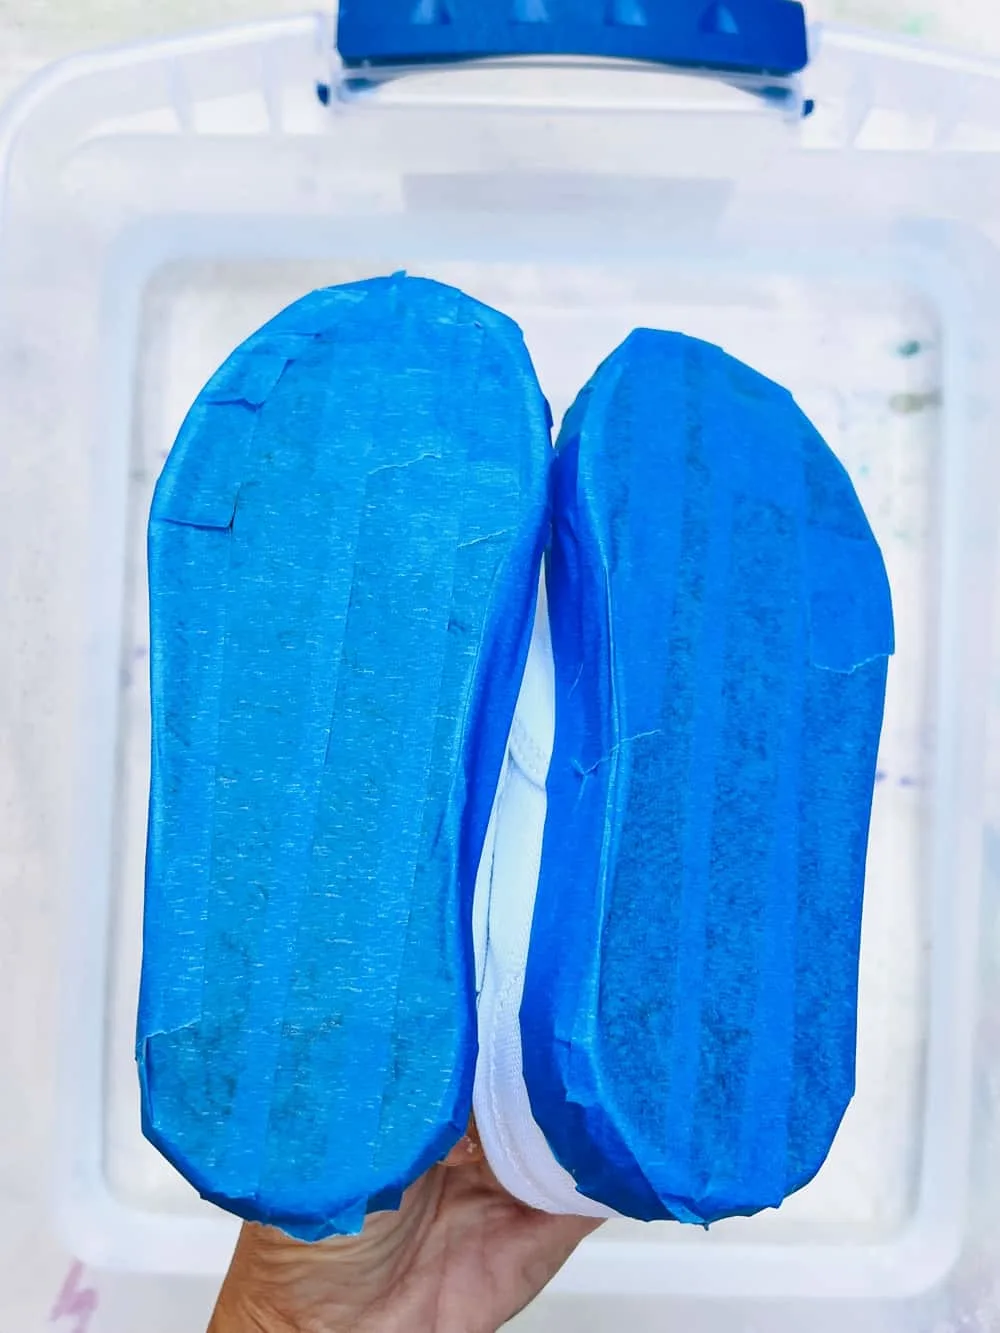
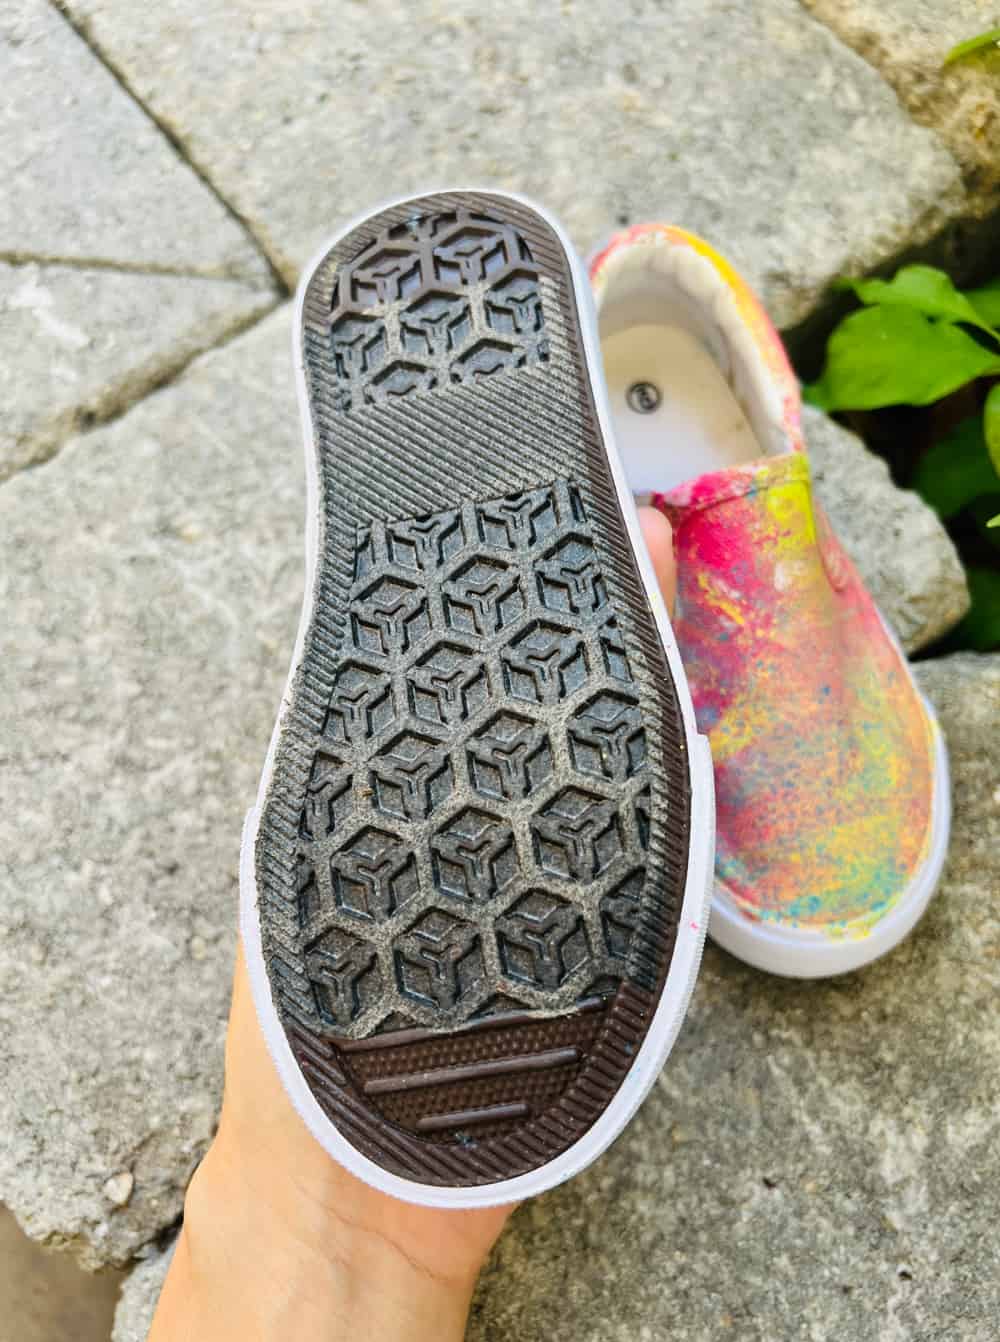
You’ll first want to mask off any part of your shoes you don’t want paint on. For us that was the soles and inside.
Then you’ll want to fill your bin with enough water to dip your shoes in fully. Head outside in a well-ventilated area and lay your bin on top of your drop cloth.
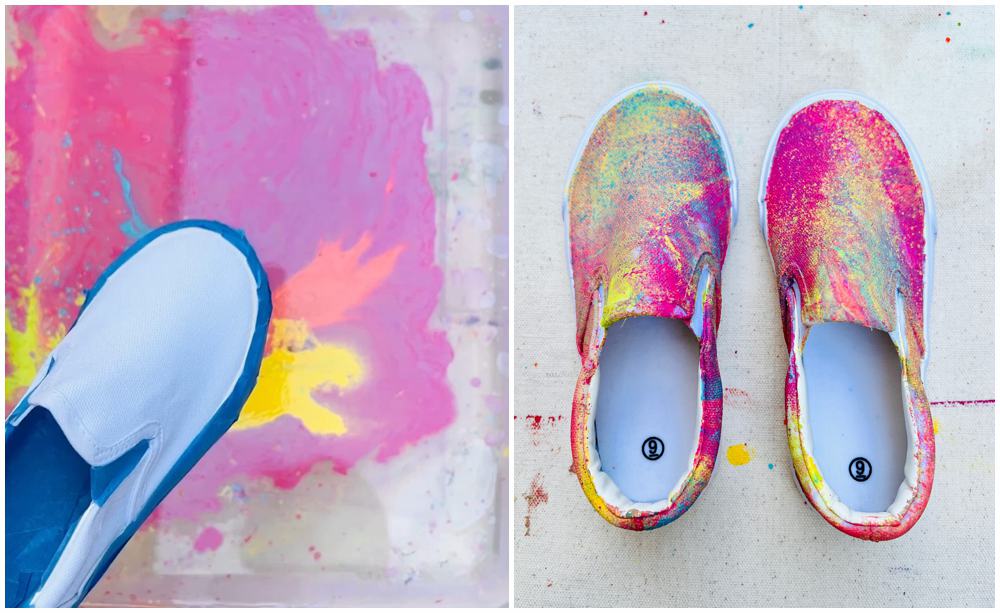
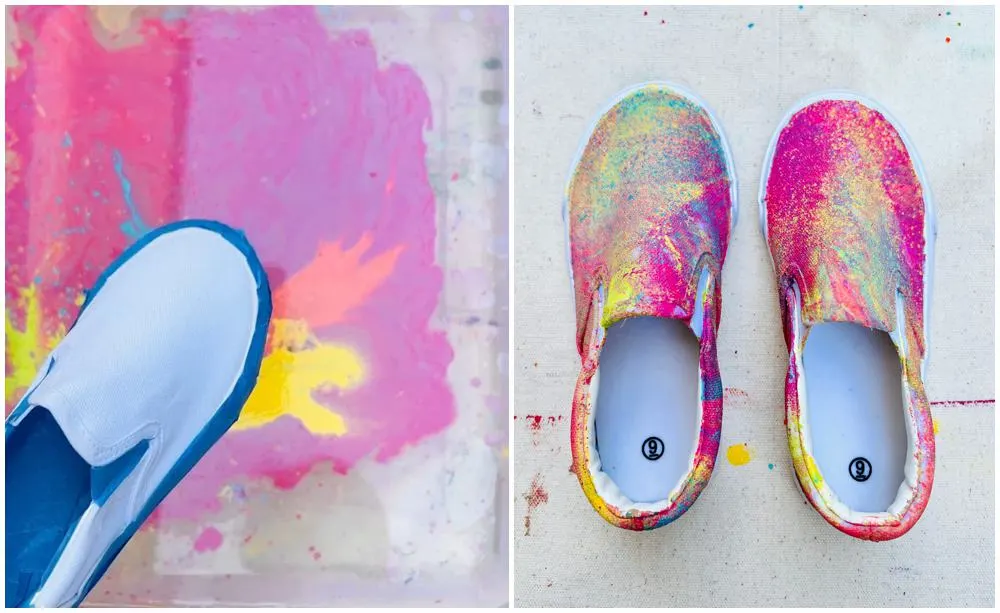
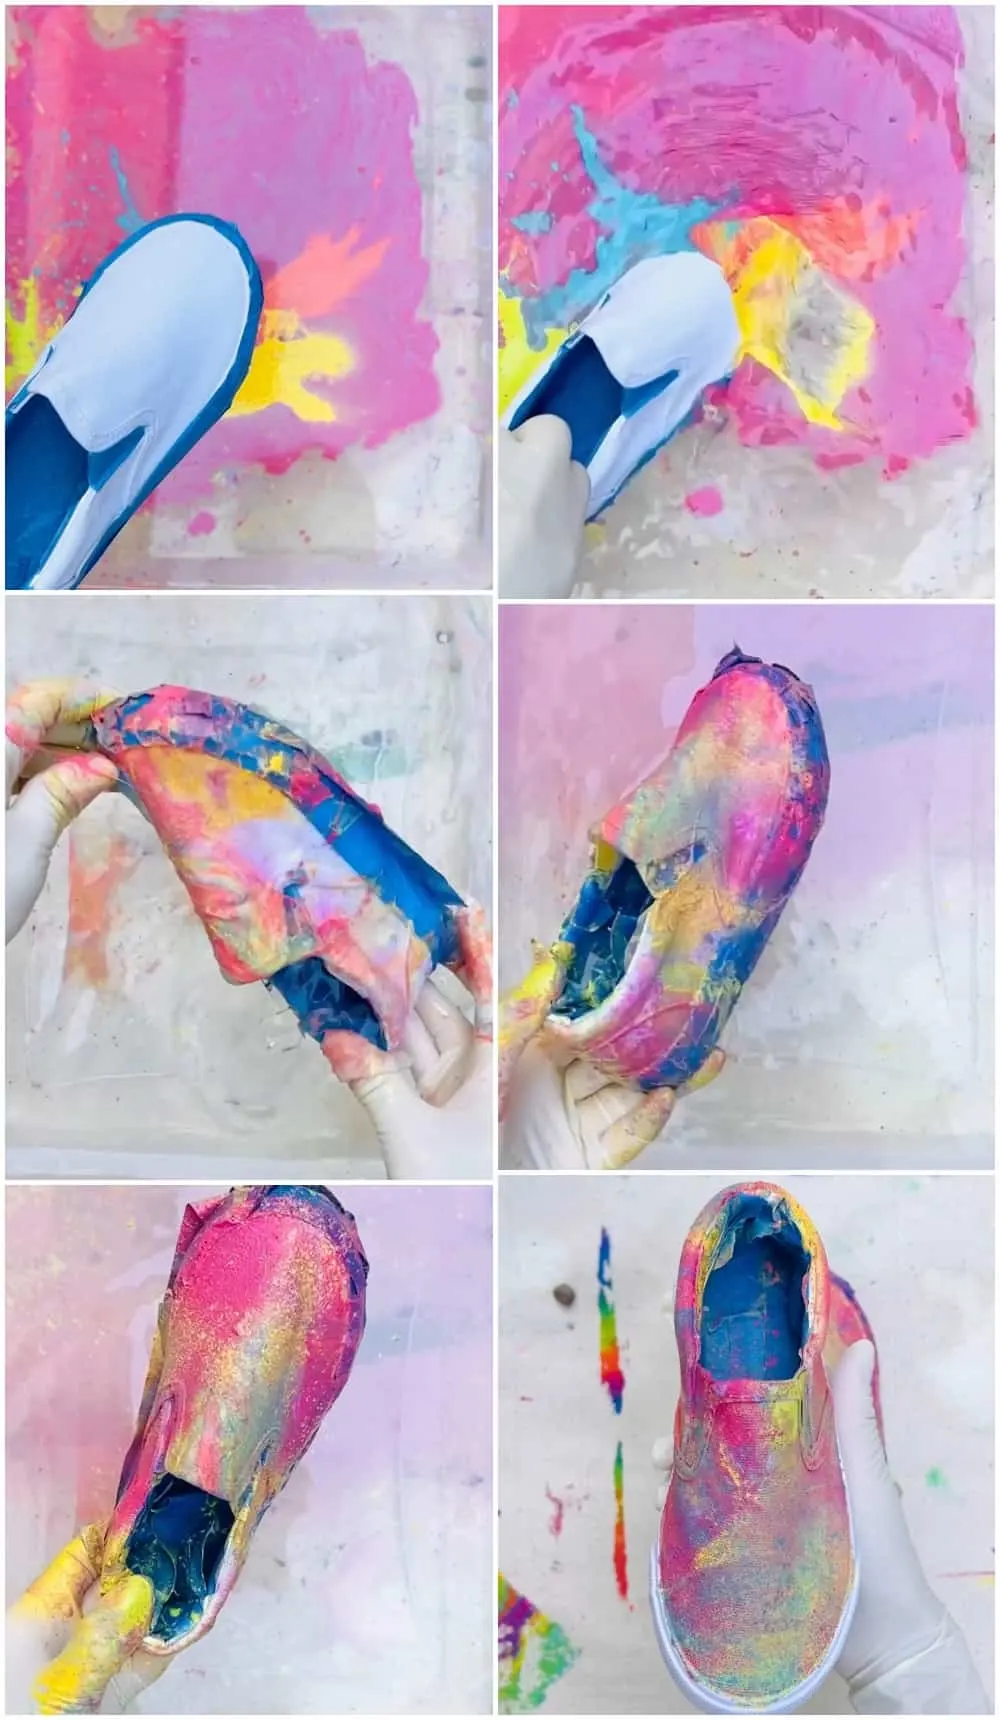
You’ll spray paint in the colors you want on top of the water and you’ll see it lay on the surface.
Now, this is where we did it differently from the video. We dipped our shoes top down but in the videos we watched they held the soles and went down backward. I’m not sure if that truly makes a difference and since we taped our soles we weren’t worried about paint getting on them.
You’ll want to go slowly and steadily. The video in our post is sped up considerably. But we could have gone even more slowly to make sure the paint adhered. Use the chopstick or stick to help gather the paint around the shoe.
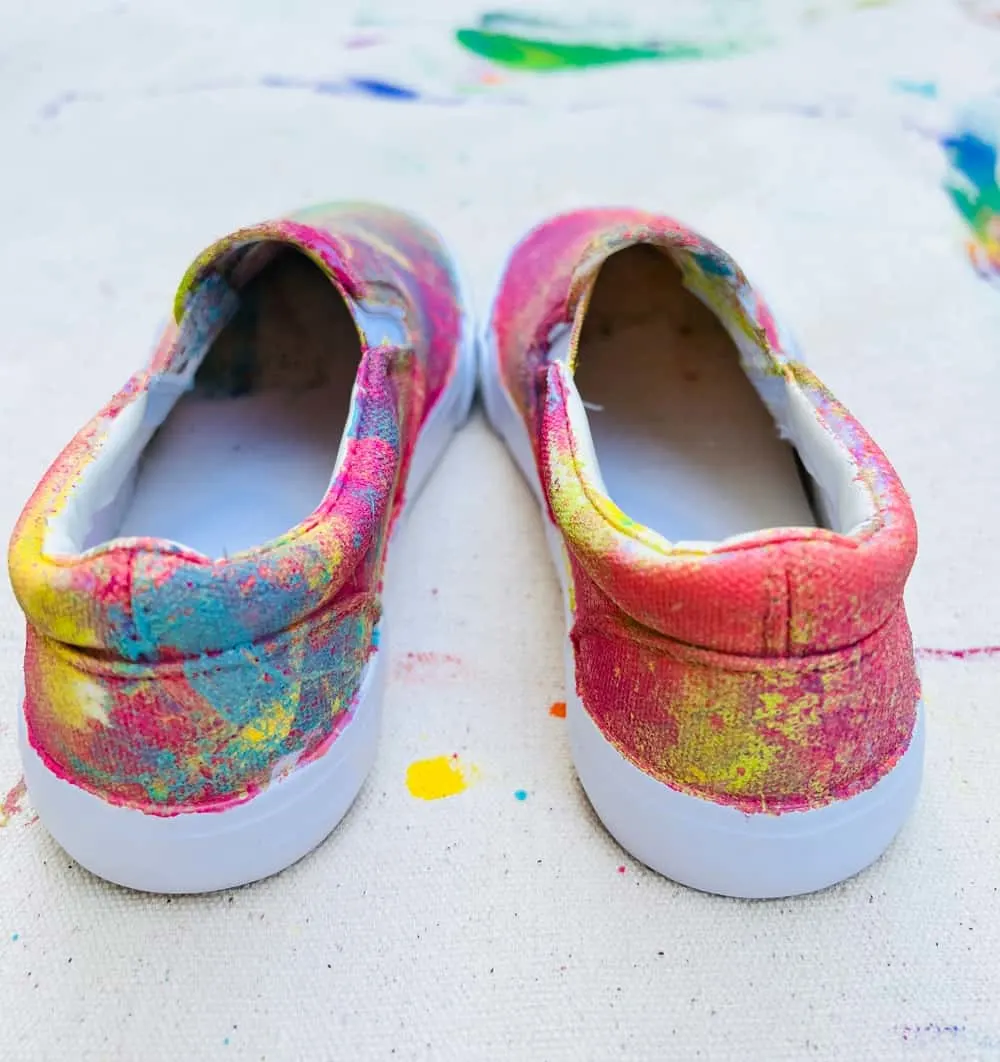
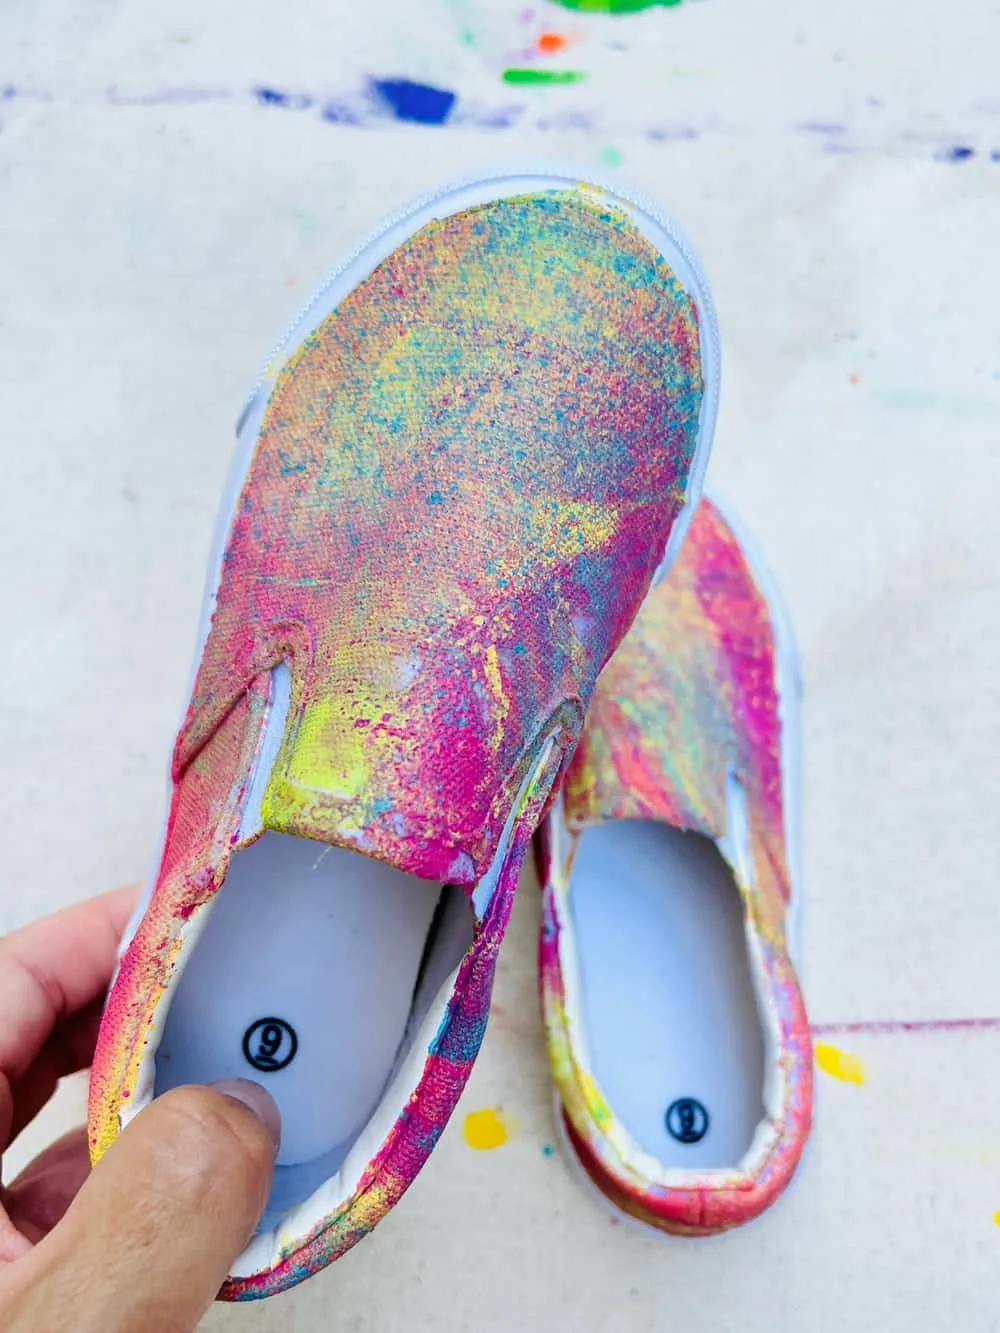
This is another thing we did differently than the videos online. We noticed blank white spots on some of our canvas shoes on some parts of the shoe that didn’t fully get paint on. You can try adding more spray paint to the water and just try to dip that one spot.
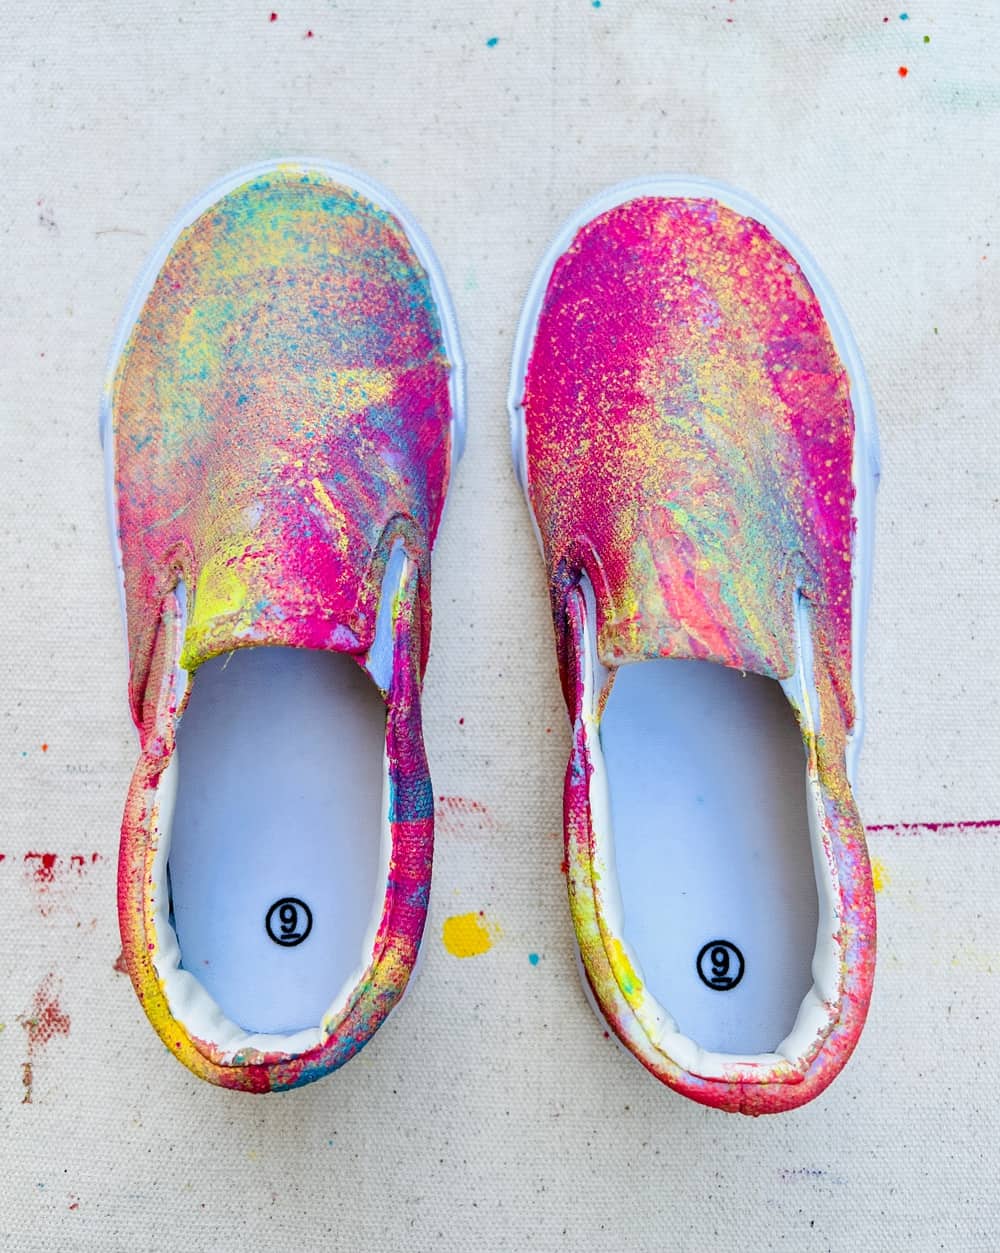
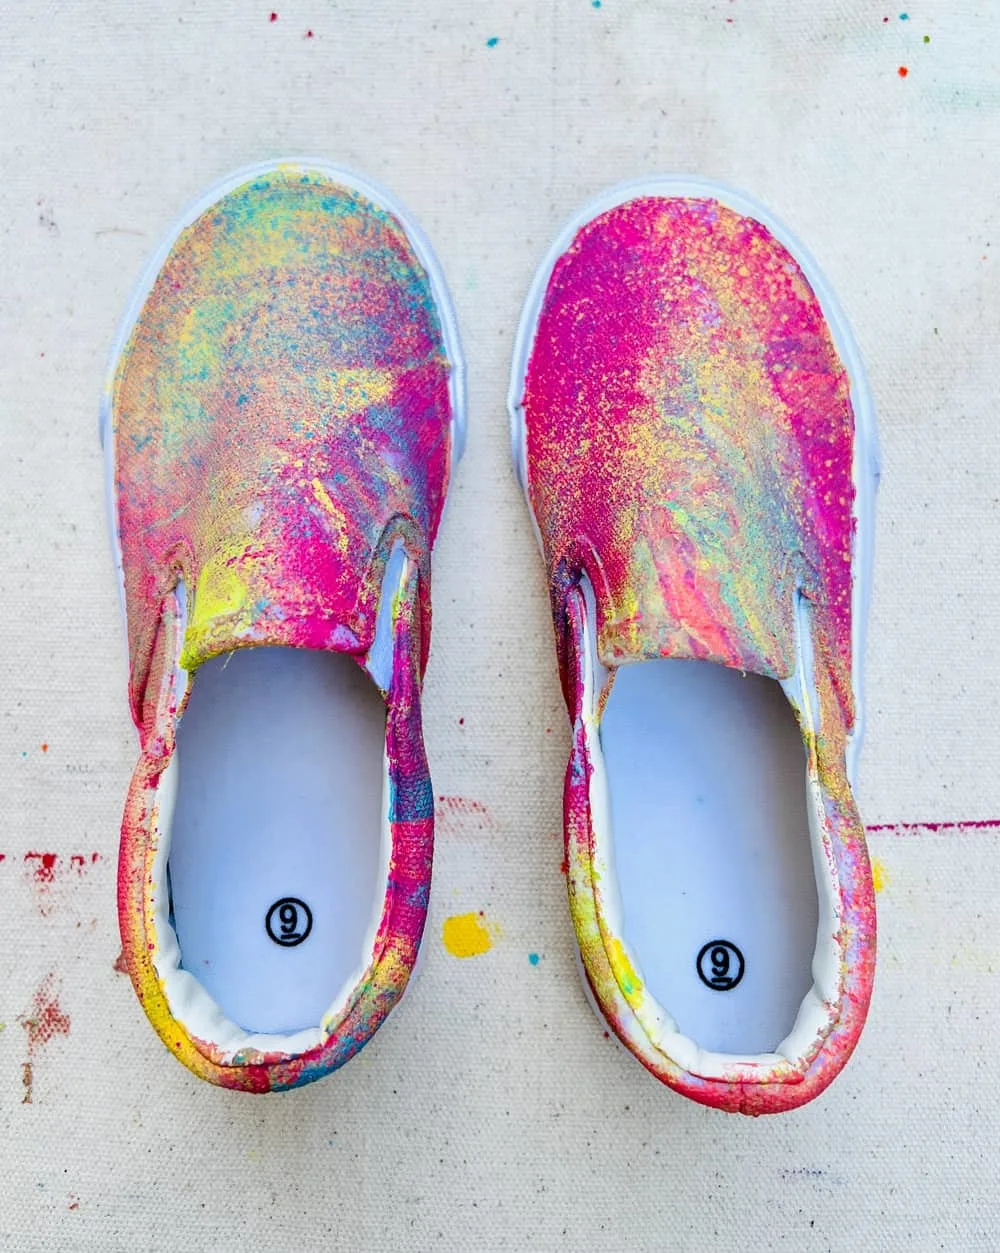
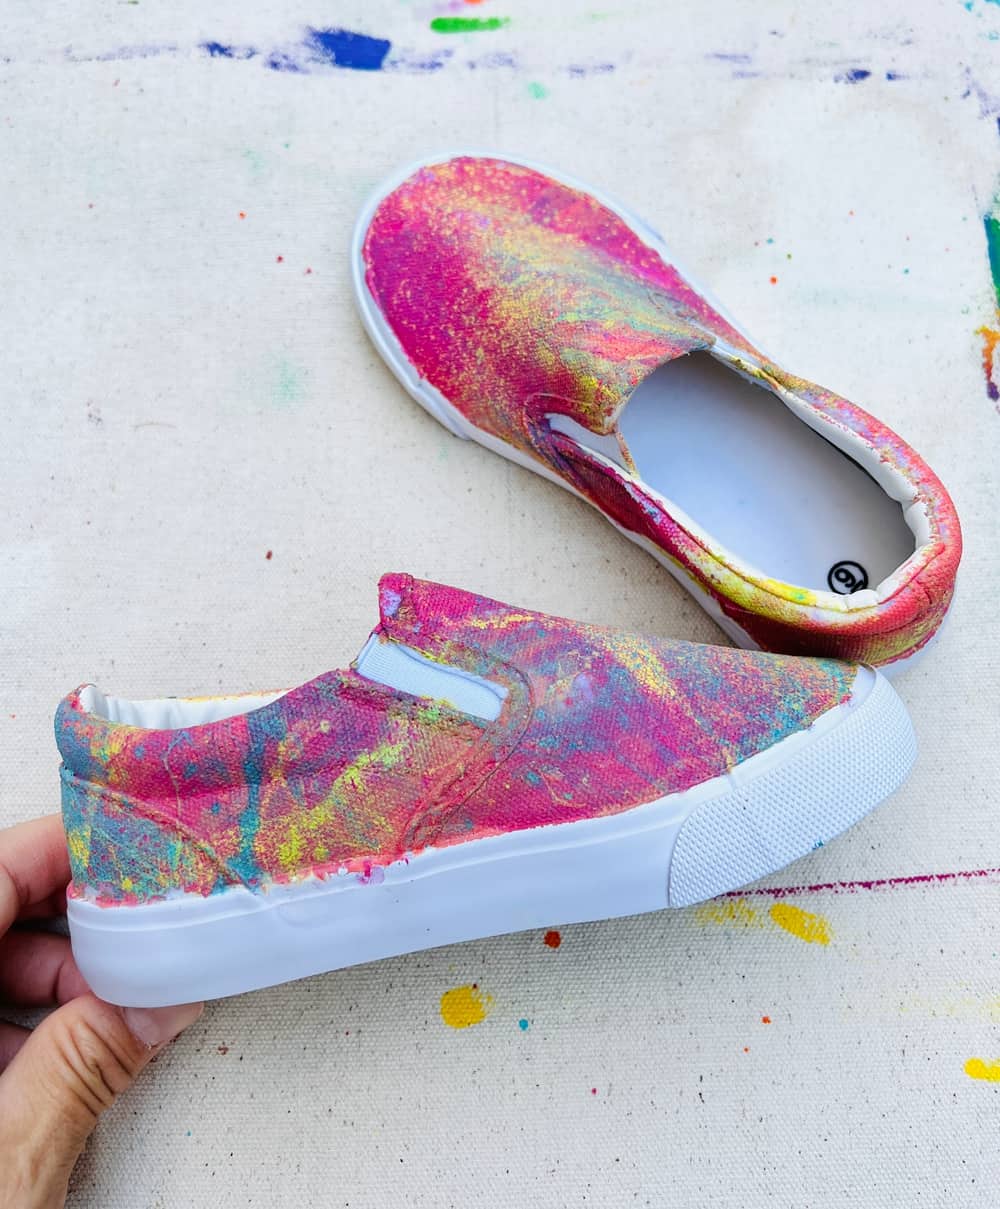
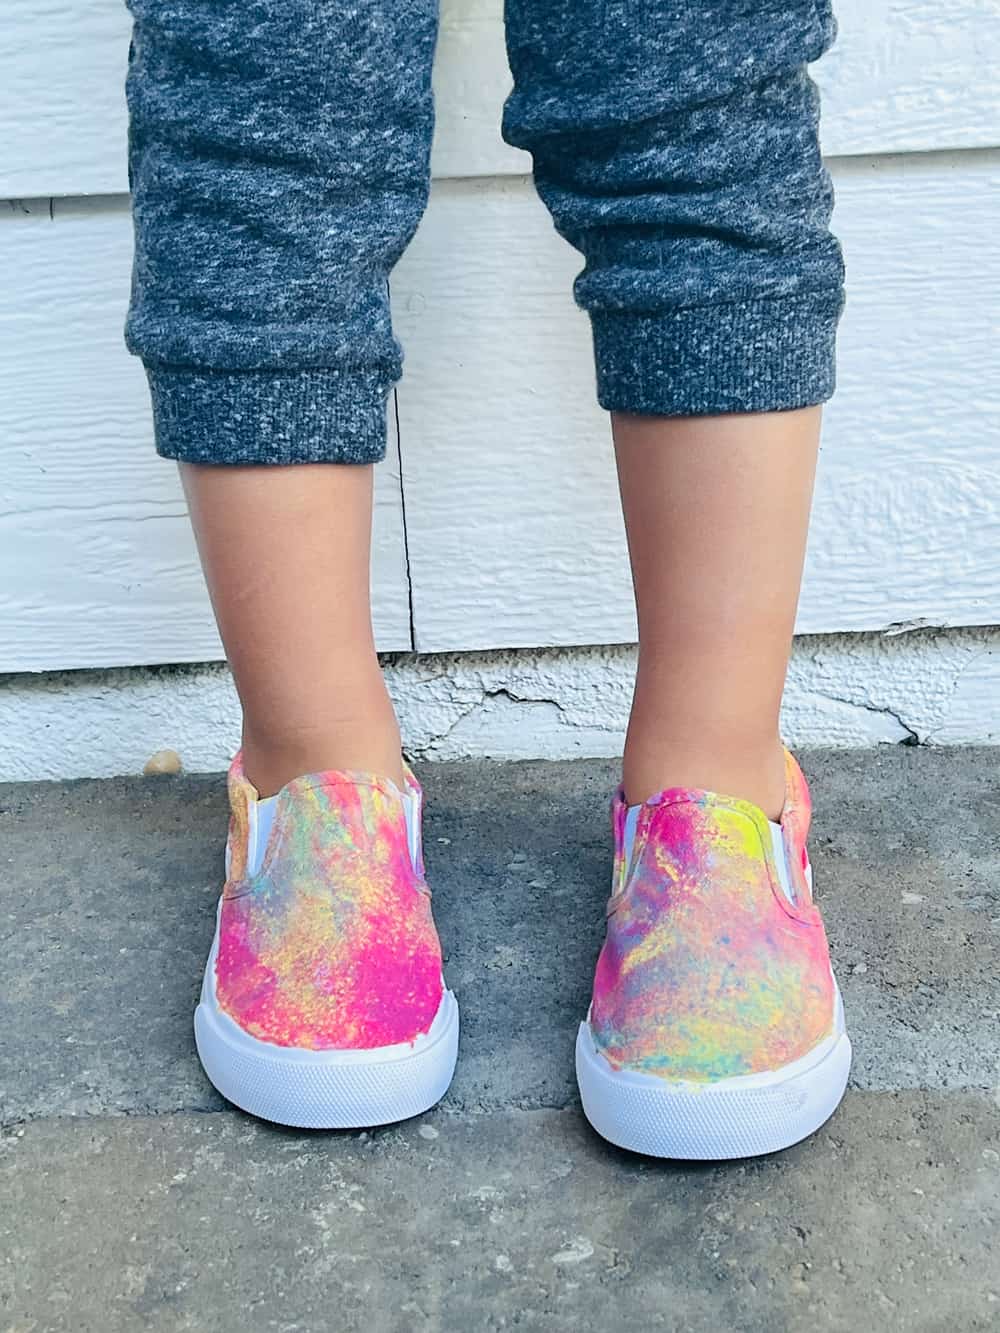
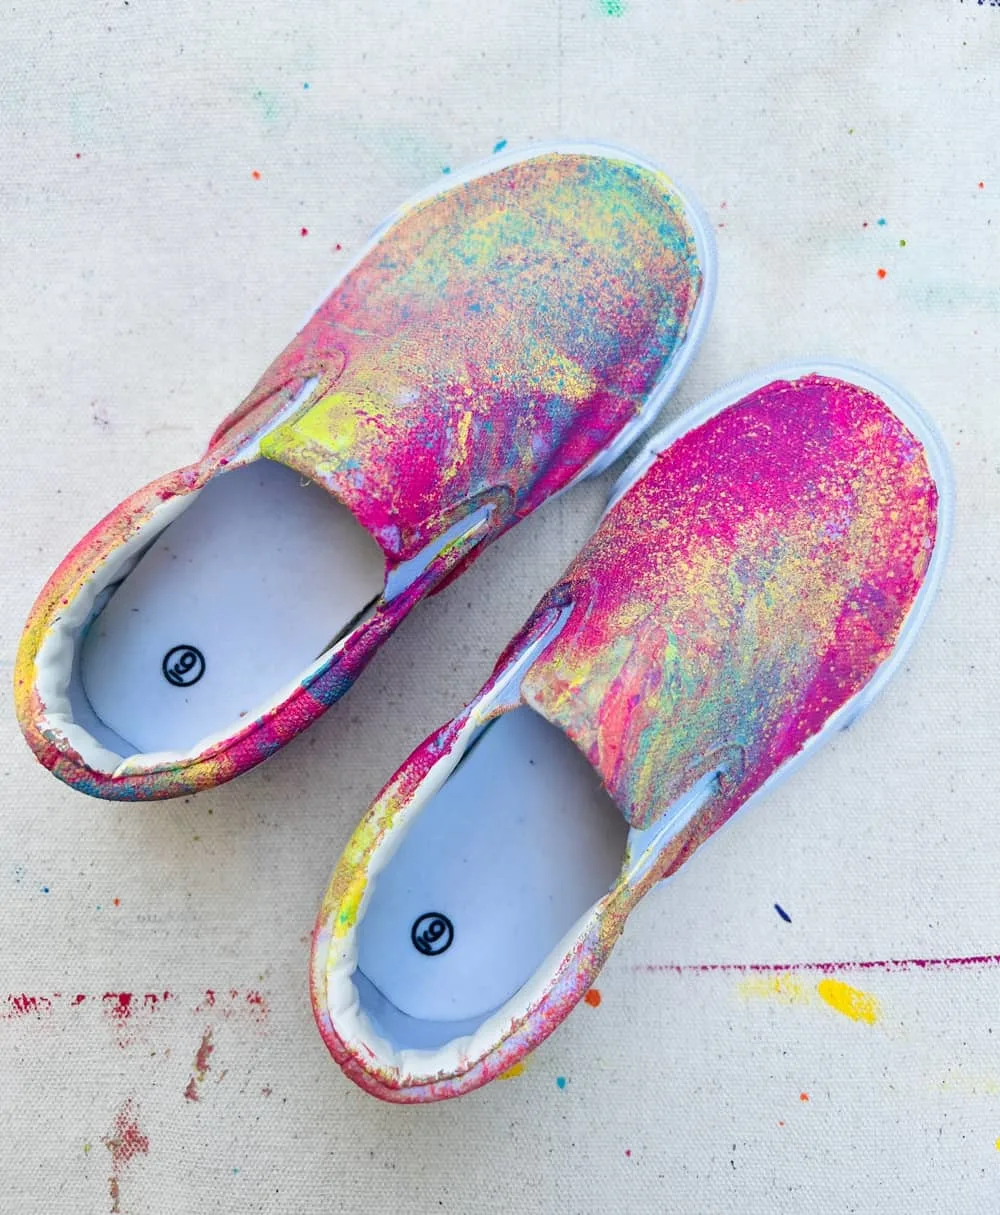
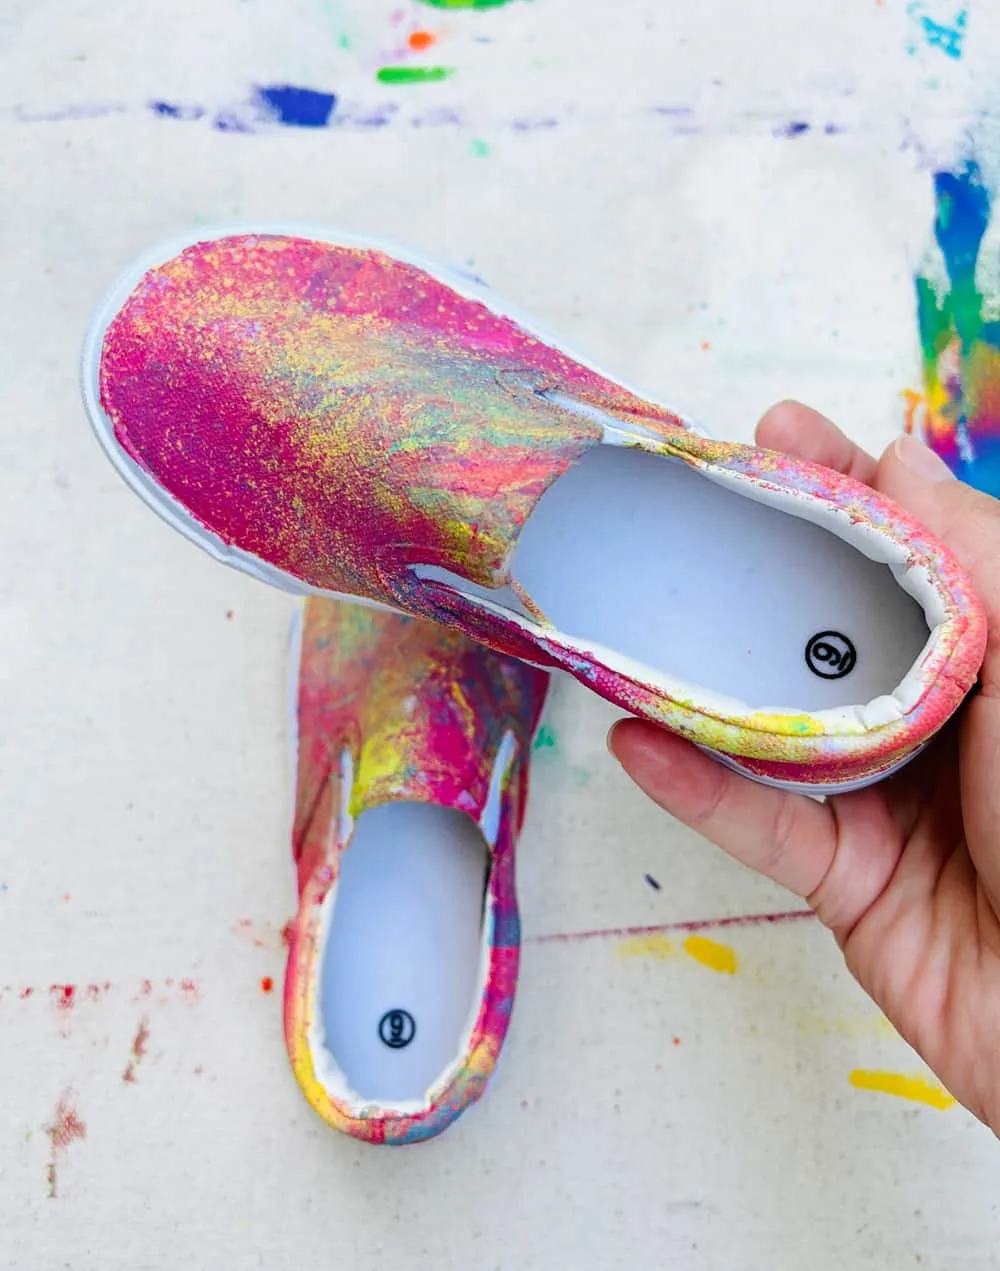
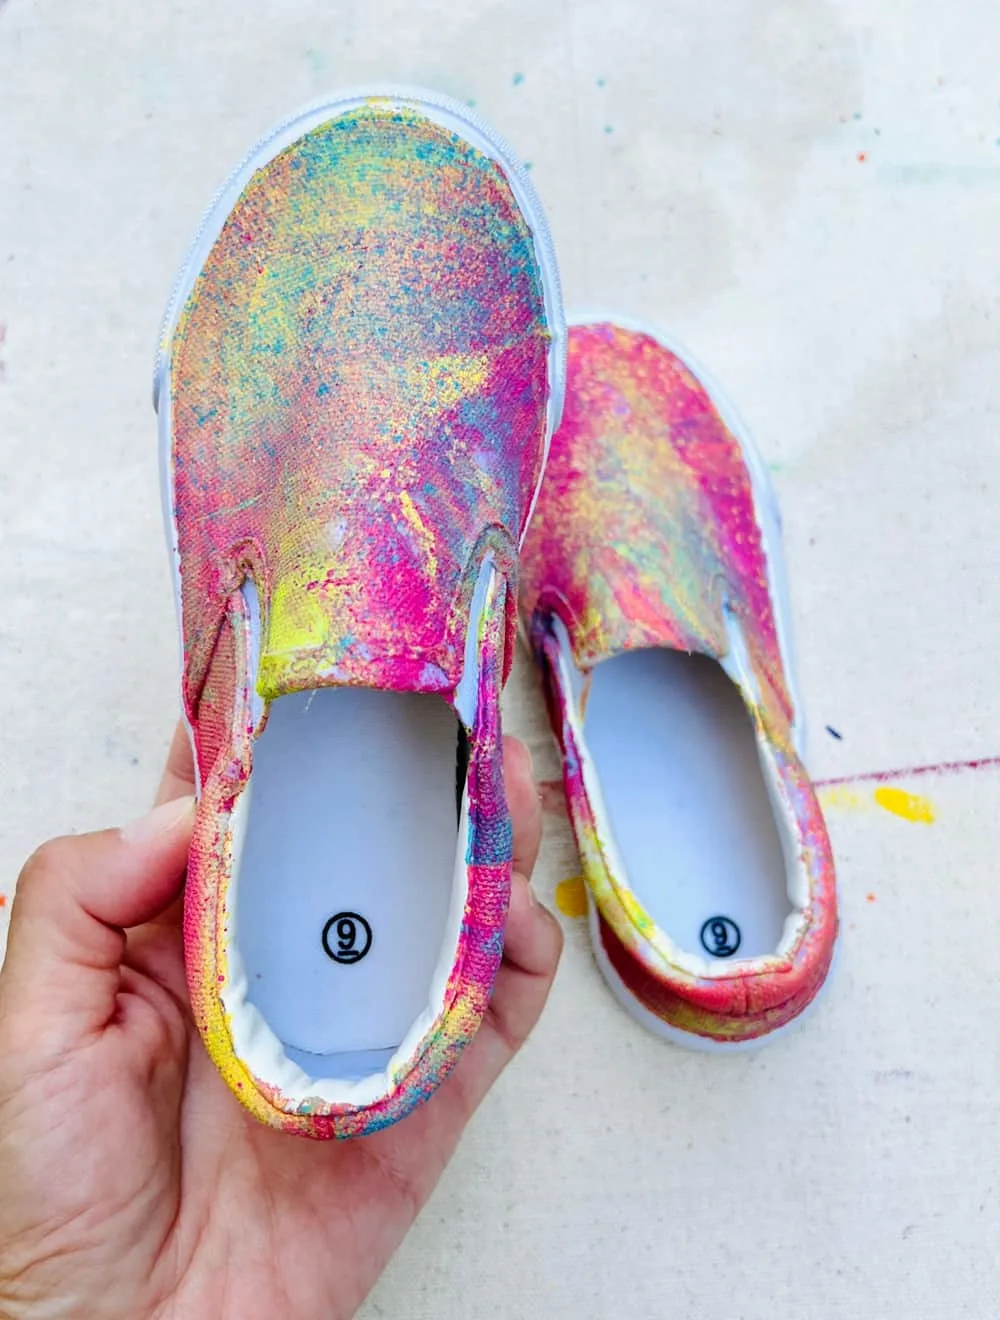
OR you can also just lightly spray paint on the spots you missed. We actually liked this step more because it allowed us to control the color we wanted on our shoe.
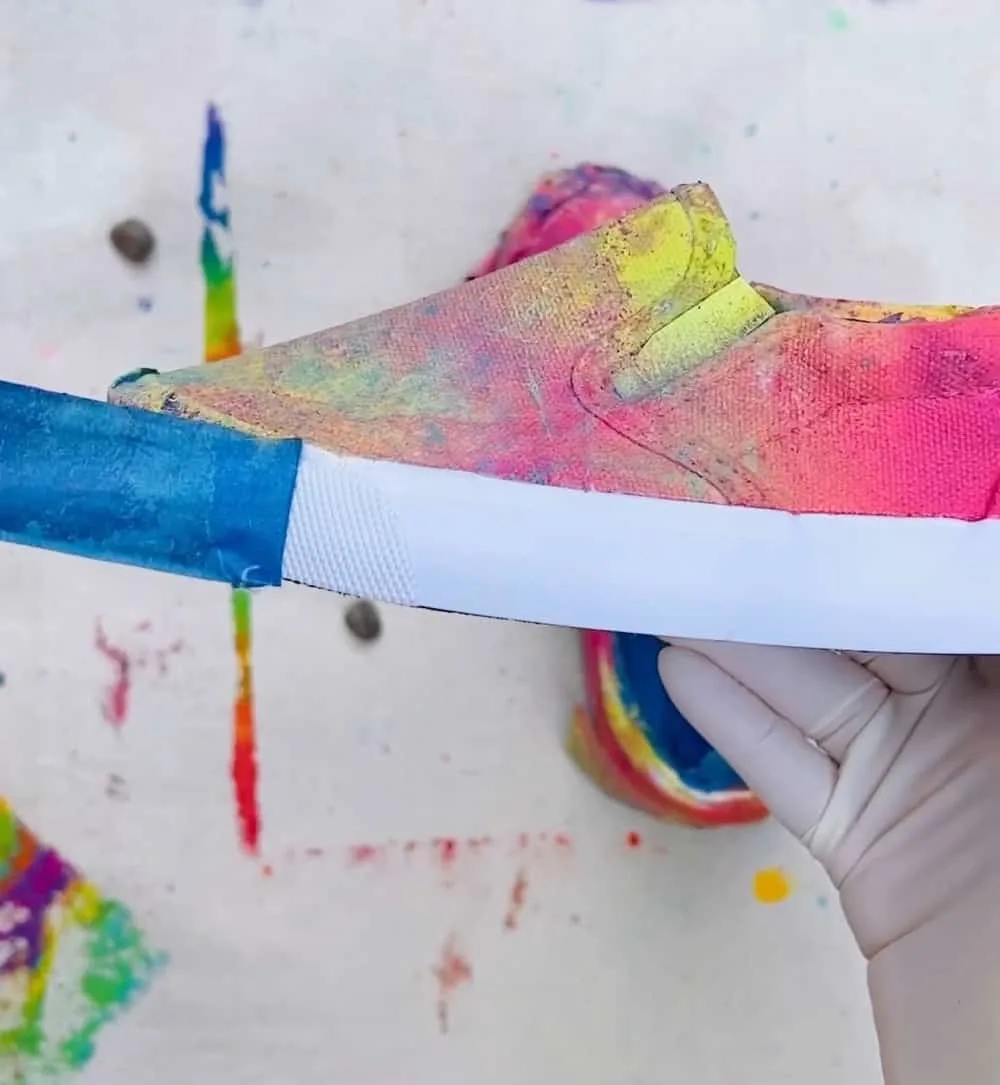
However, be aware light spraying will cause the marbling look to become more spray painted which is why our shoes look less marbled
Another tip, do NOT add too much of one color spray paint vs other colors or else your shoe when dipped will primarily turn that one color and not have that marbled colored effect from various tones.
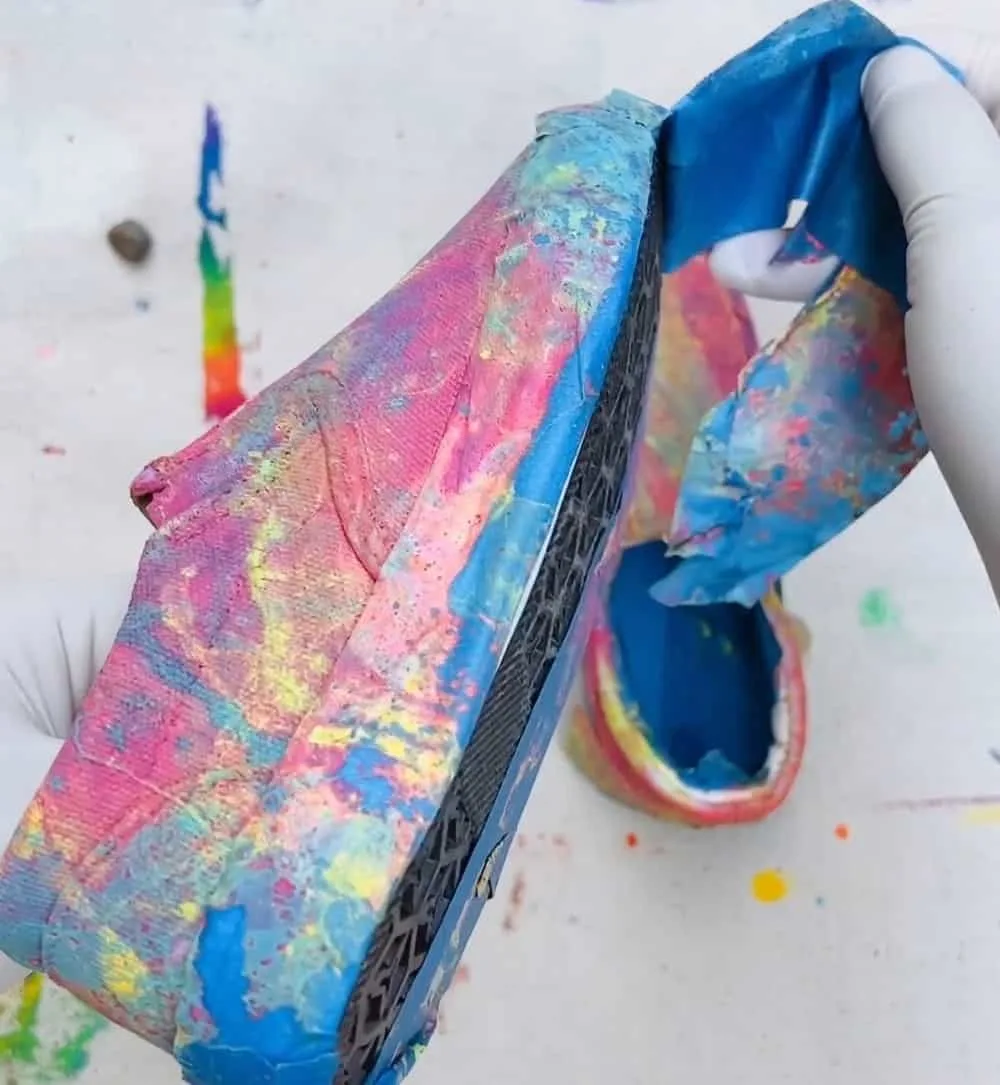
Remove your painter’s completely before the shoes are fully dried so the tape doesn’t take away paint with it.
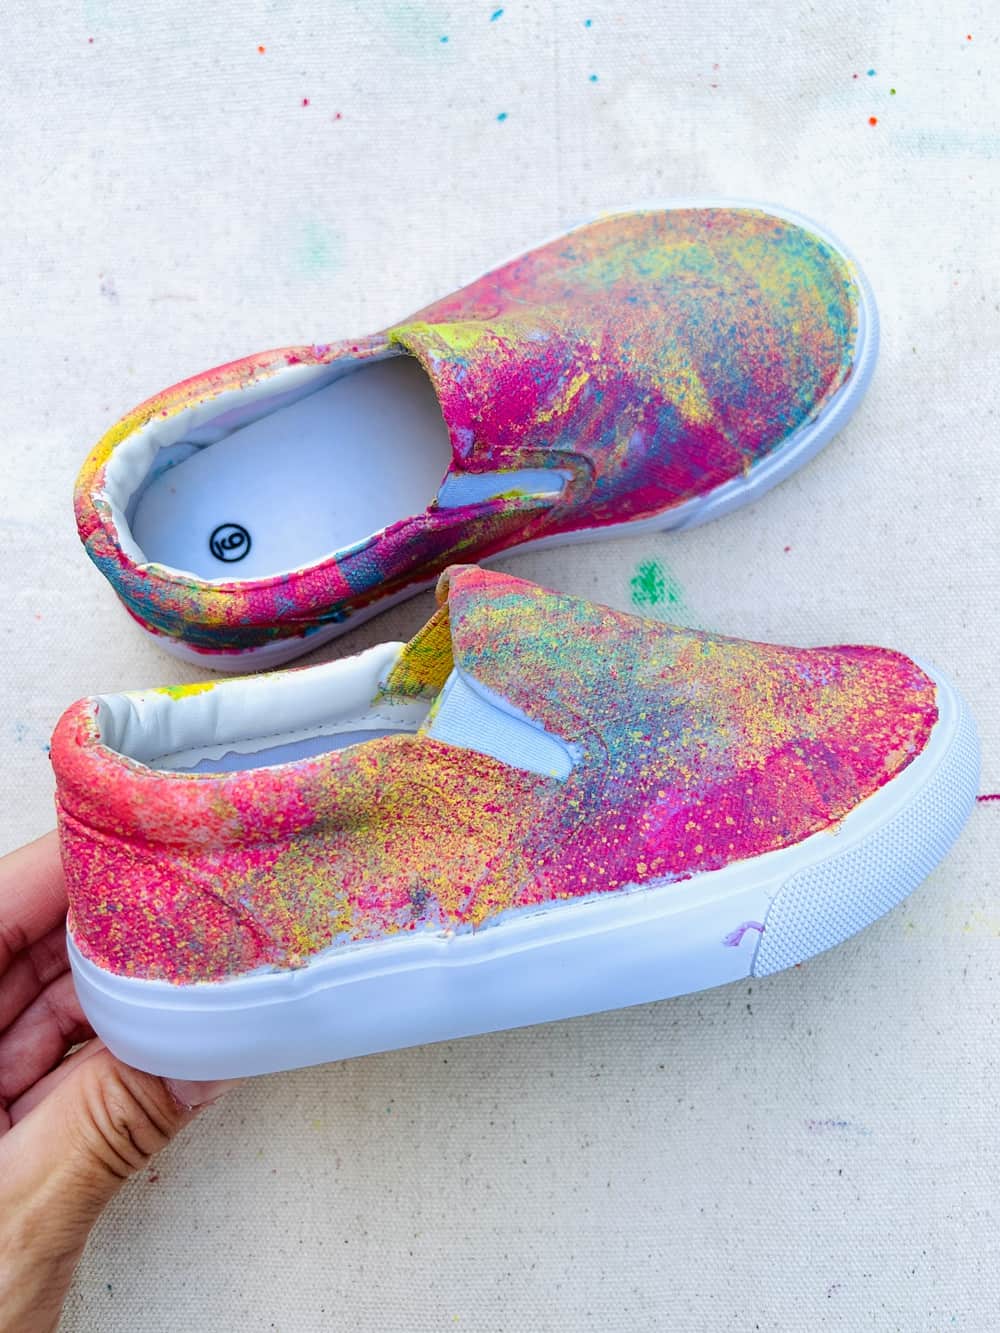
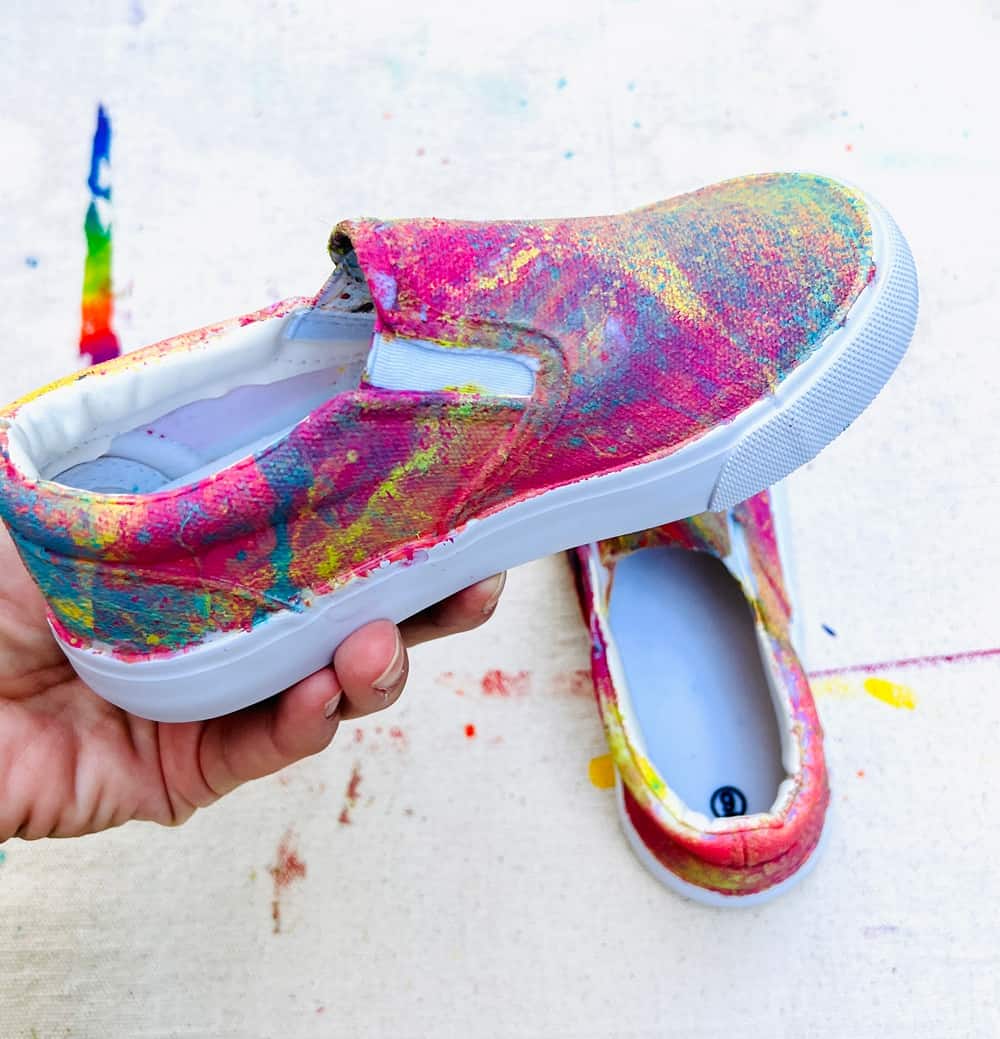
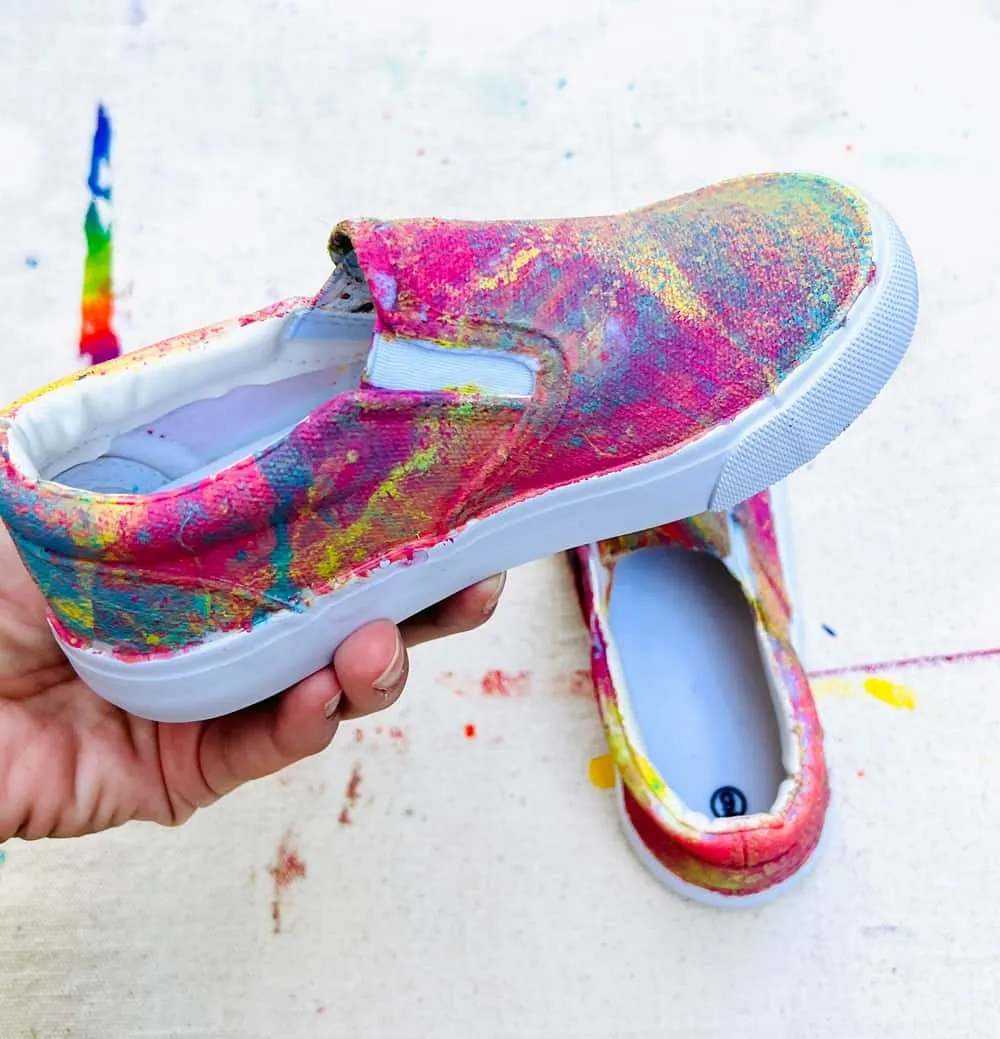
The last step is to wait for your shoes to completely dry and the apply a few spray coats of sneaker protection to protect from stain, keep your paint on and waterproof your shoes.


How to Hydro Dip Shoes - Easy Tutorial


Materials
- Blank canvas shoes
- Spray paints (recommended Rust Oleum brand_
- Paint canvas drop cloth
- Bin of water that you can dip your showed fully into
- Masking painter's tape
- Sneaker spray protection (keeps your painted shoes stain and waterproof free)
- Mask (to protect from the spray fumes)
- A small stick like a chopstick
Instructions
You'll first want to mask off any part of your shoes you don't want paint on.
Fill your bin with enough water to dip your shoes in fully. Head outside in a well-ventilated area and lay your bin on top of your drop cloth.
Add spray paint in the colors you want on top of the water.
TIP: Do NOT add too much of one color spray paint vs other colors or else your shoe when dipped will primarily turn that one color and not have that marbled colored effect from various tones.
Now, this is where we did it differently from the video. We dipped our shoes top down but in the videos we watched they held the soles and went down backward. I'm not sure if that truly makes a difference and since we taped our soles we weren't worried about paint getting on them.
You'll want to go slowly and steadily. The video in our post is sped up considerably. But we could have gone even more slowly to get even coverage.
Use the chopstick or stick to help gather the paint around the shoe.
Another thing we did differently than the videos online. When we removed the shoe from the spray paints we noticed some spots were still white. You can try adding more spray paint to the water and just try to dip those white spots.
OR you can also just lightly spray paint on the spots you missed. We actually liked this step more because it allowed us to control the color we wanted on our shoes.
However, be aware light spraying will cause the marbling look to look more spray painted which is why our shoes look less marbled
Remove your painter's BEFORE the shoes are fully dried so the tape doesn't take away paint with it.
The last step is to wait for your shoes to completely dry and then apply a few spray coats of sneaker protection to protect from stain, keep your paint on and waterproof your shoes.


Agnes Hsu is a mom of three and has been inspiring parents and kids to get creative with easy activities and family friendly recipes for over 10 years. She shares her love for creative play and kids food to her 2MM+ followers online. Agnes' commitment to playful learning and kindness has not only raised funds for charity but also earned features in prestigious nationwide publications.