
DIY Egg Carton Bats: A Spooky Recycled Halloween Craft
By using this site, you agree to our Terms of Use. This post may contain affiliate links. Read our disclosure policy.
Check out my Plaeful Printables for kids play and learning!
Turn your used egg cartons into ghoulish Halloween bats with this easy DIY craft. An eco-friendly and kid-approved Halloween project!
Halloween is just around the corner, and it’s time to get creative with some DIY spooky décor. But what if you could turn your recyclables into a Halloween masterpiece? Today, I’m sharing a super simple and eco-friendly craft that’s perfect for kids: Egg Carton Bats! These adorable Halloween bats are not too spooky, and they’ll surely bring a thrilling touch to your home.
Egg Carton Bats – Materials:
- Empty egg cartons (recyclable kind not styrofoam or plastic)
- Black paint (acrylic paint works well)
- Paintbrush
- Googly eyes
- White paper (for vampire fangs)
- Scissors
- Ribbon or string
- Craft glue or a hot glue gun
Instructions:
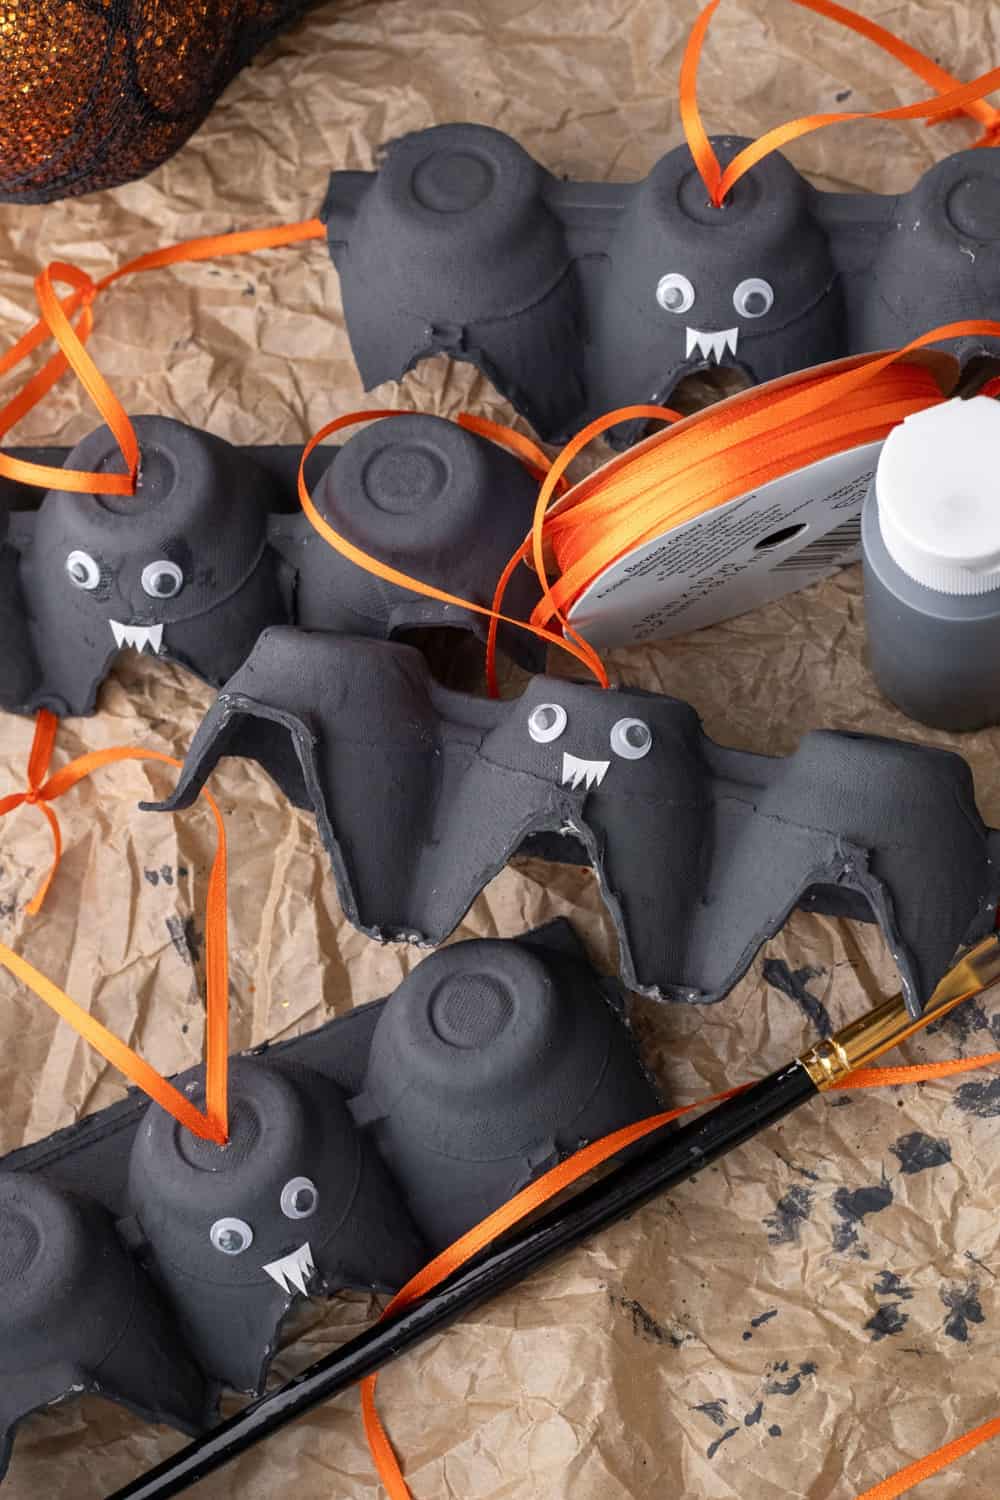
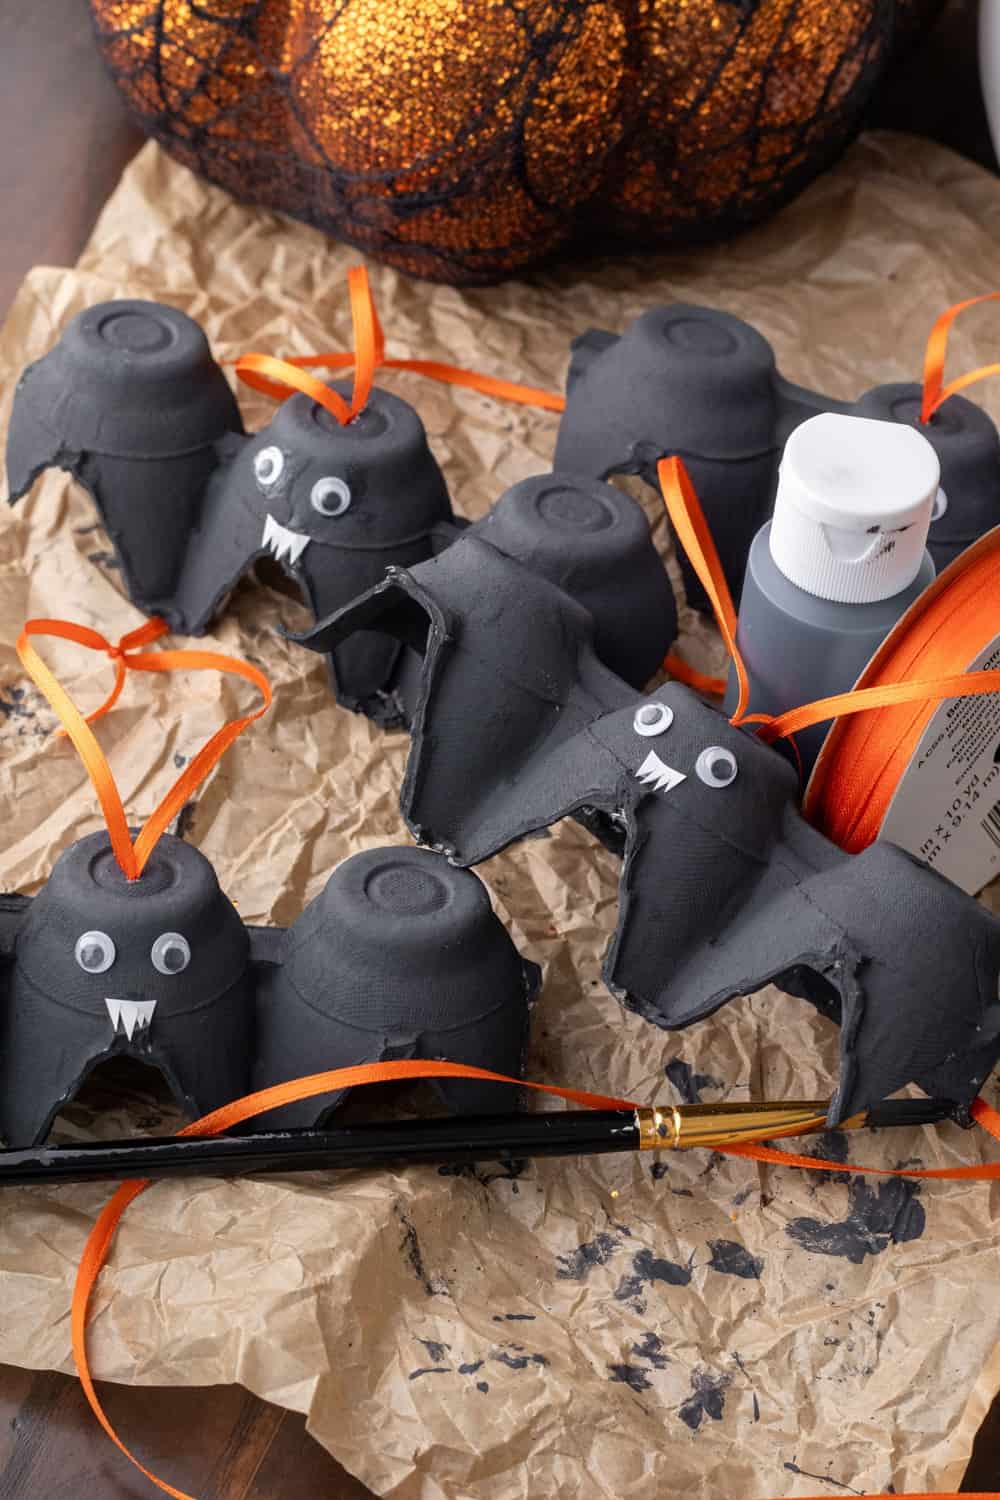
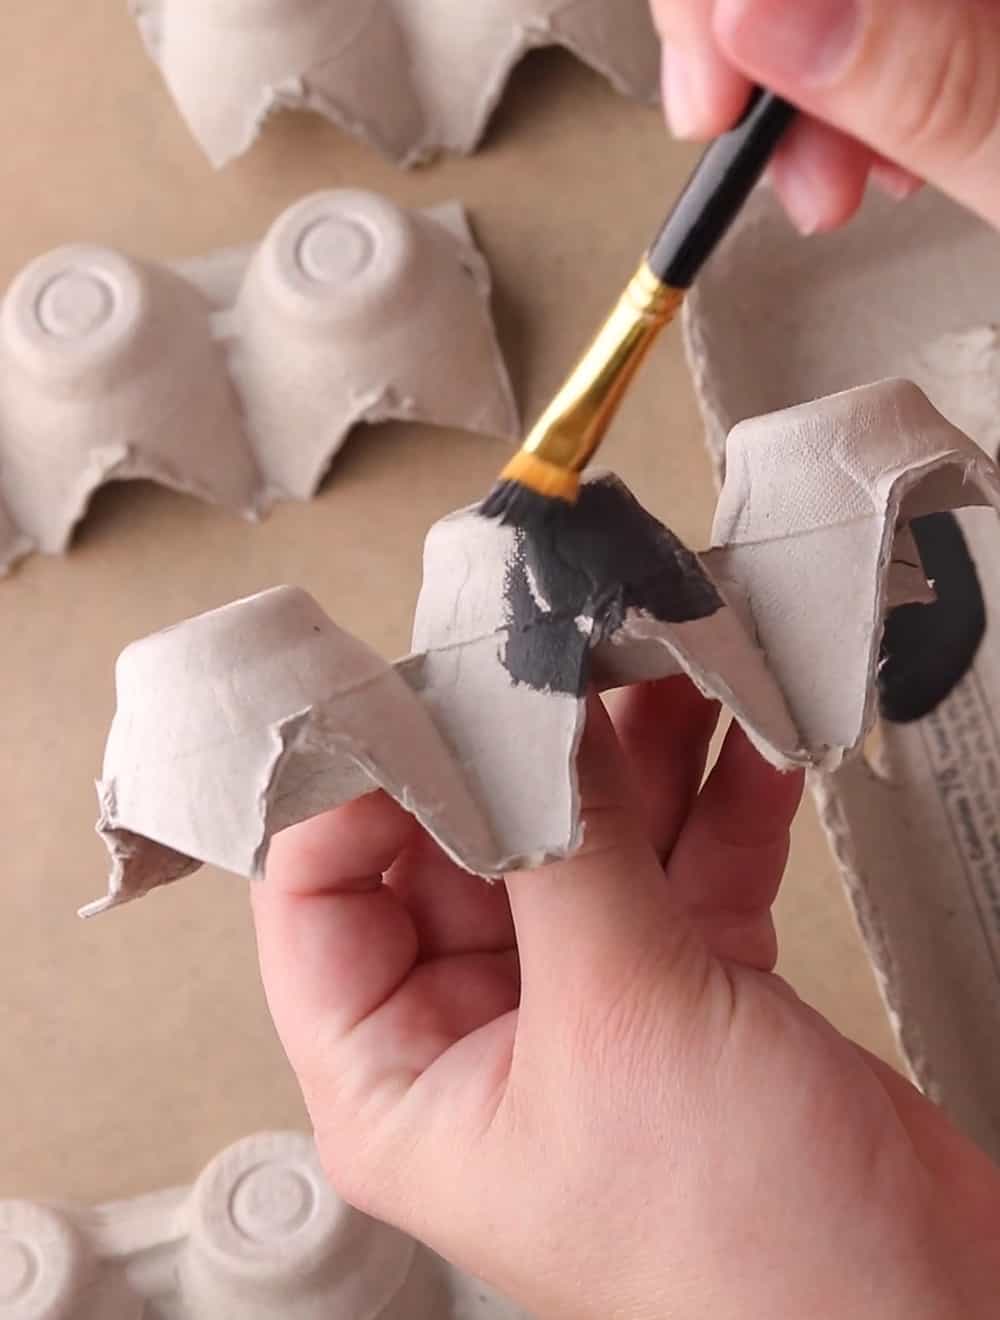
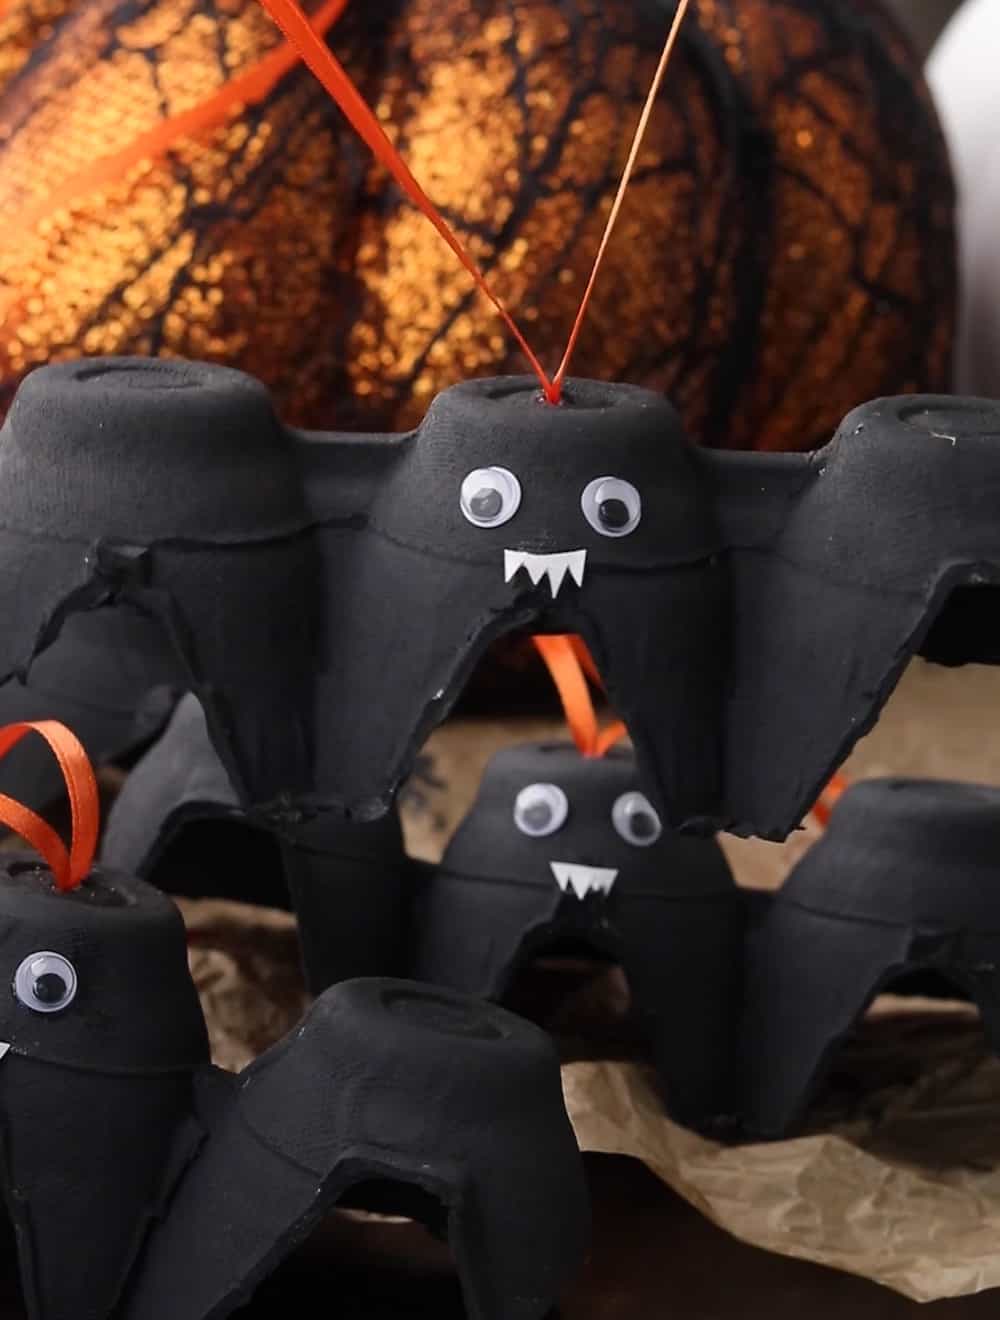
- Prep the Egg Carton: Begin by cutting out individual egg cups from the carton. For the bat shape, cut out two adjoining egg cups. The center of these cups will form the bat’s head while the outside edges can be shaped into wings.
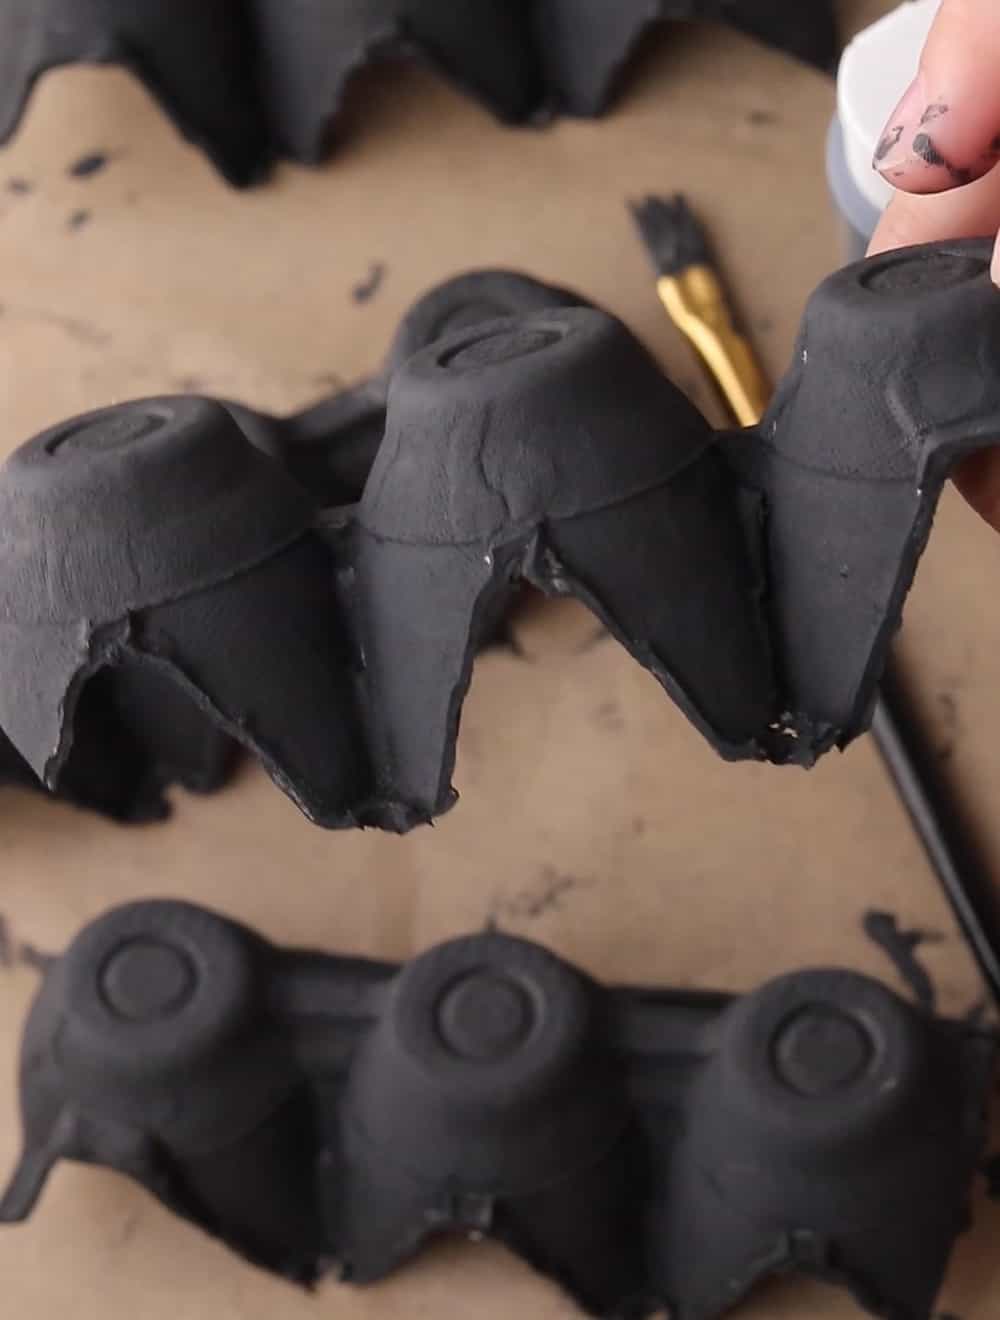
- Paint: Once your bat shape is ready, paint it black. Depending on the type of paint and the color of your egg carton, you may need one or two coats. Let it dry completely.
- Vampire Fangs: While the paint is drying, cut out small fang shapes from the white paper. They should be tiny enough to fit onto the bat’s “face.”
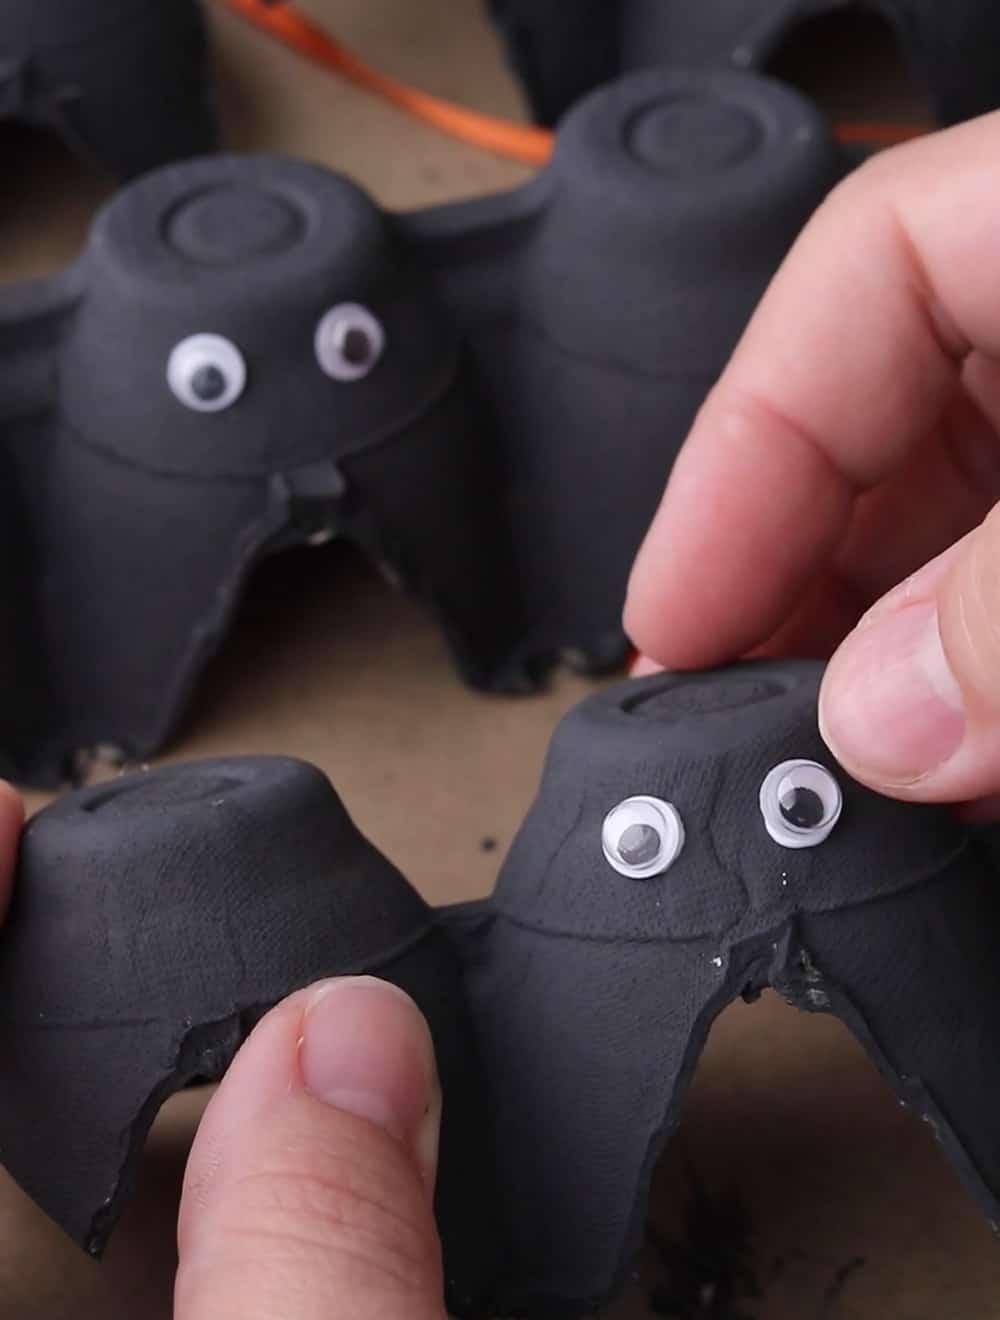
- Add Features: Once the paint is dry, glue the googly eyes onto the front of one of the egg cups (this becomes the bat’s face). Below the eyes, adhere the paper fangs, ensuring they’re pointed downwards.
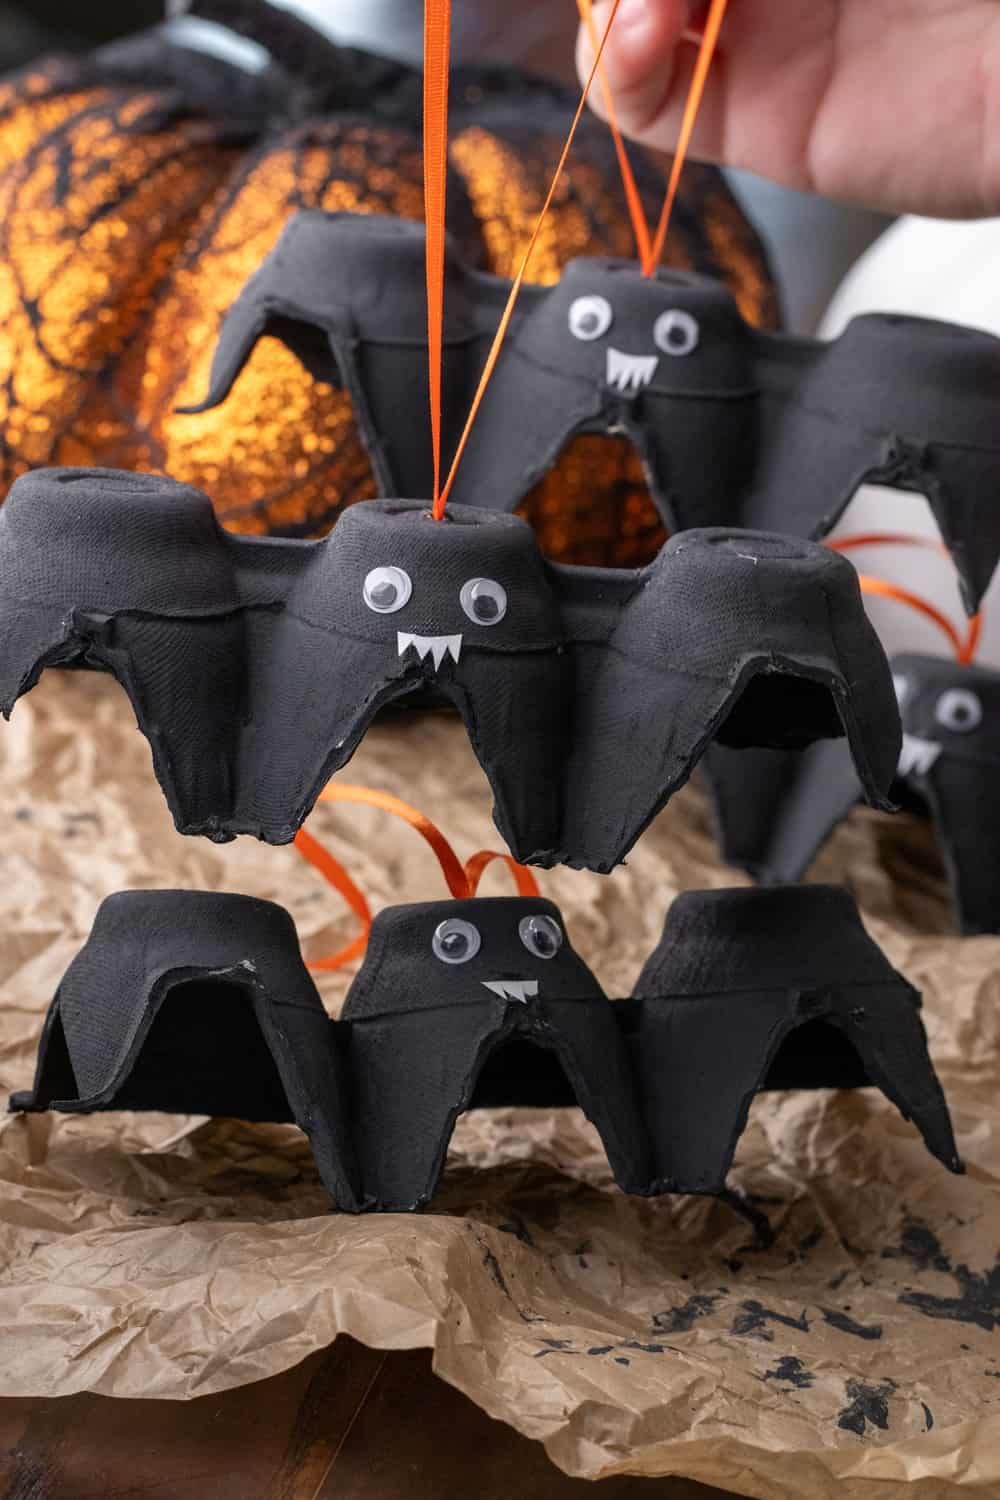
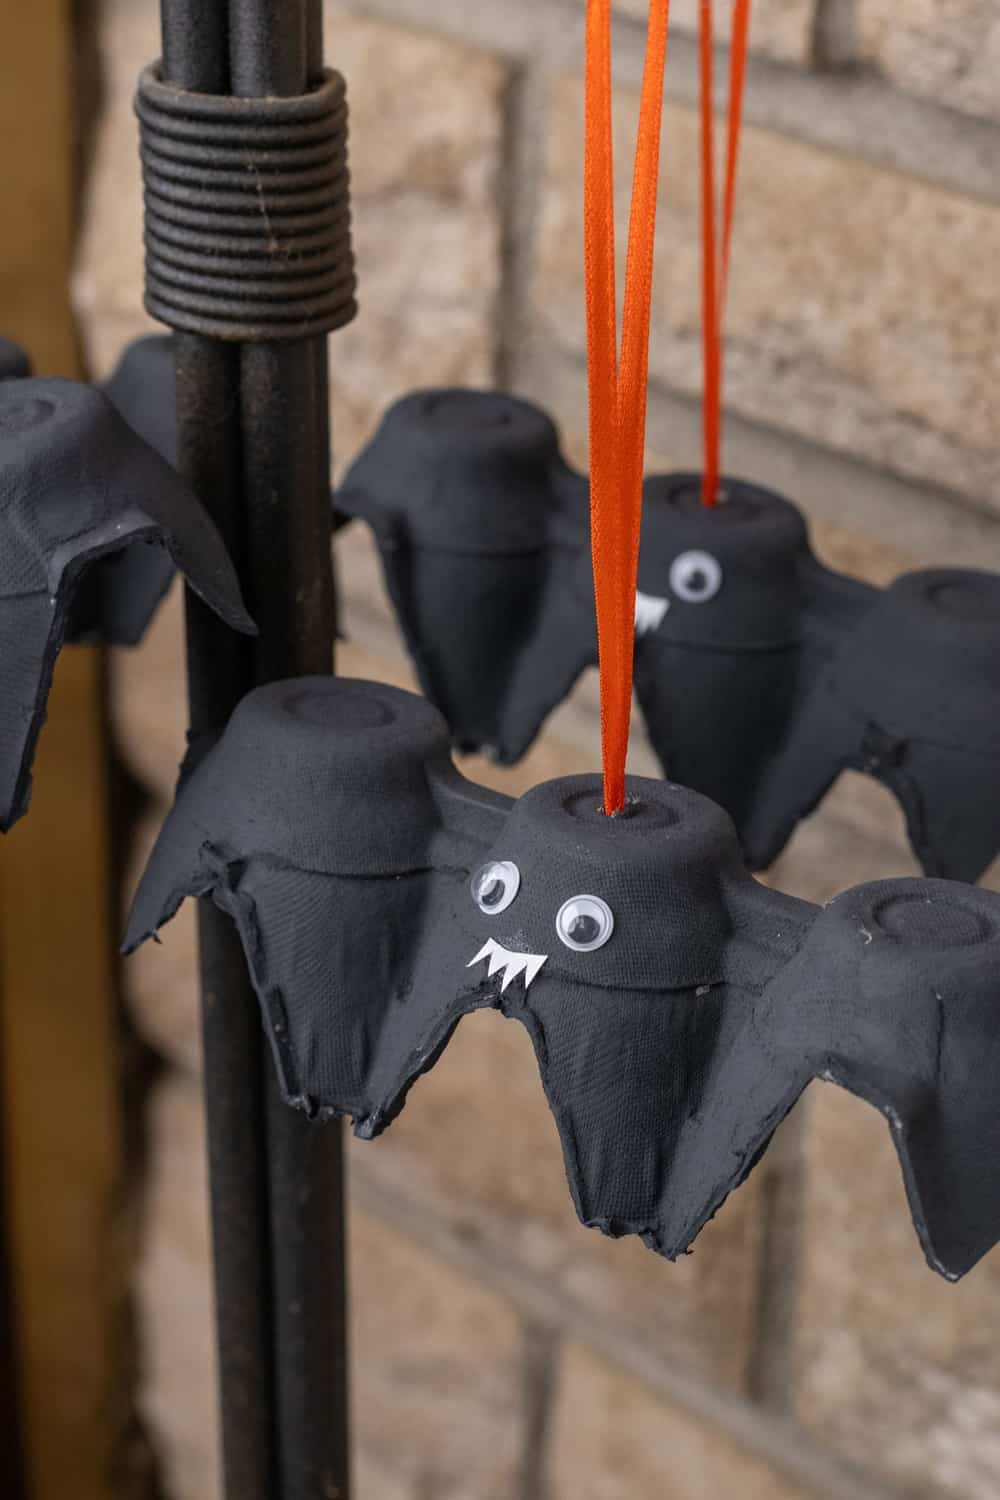
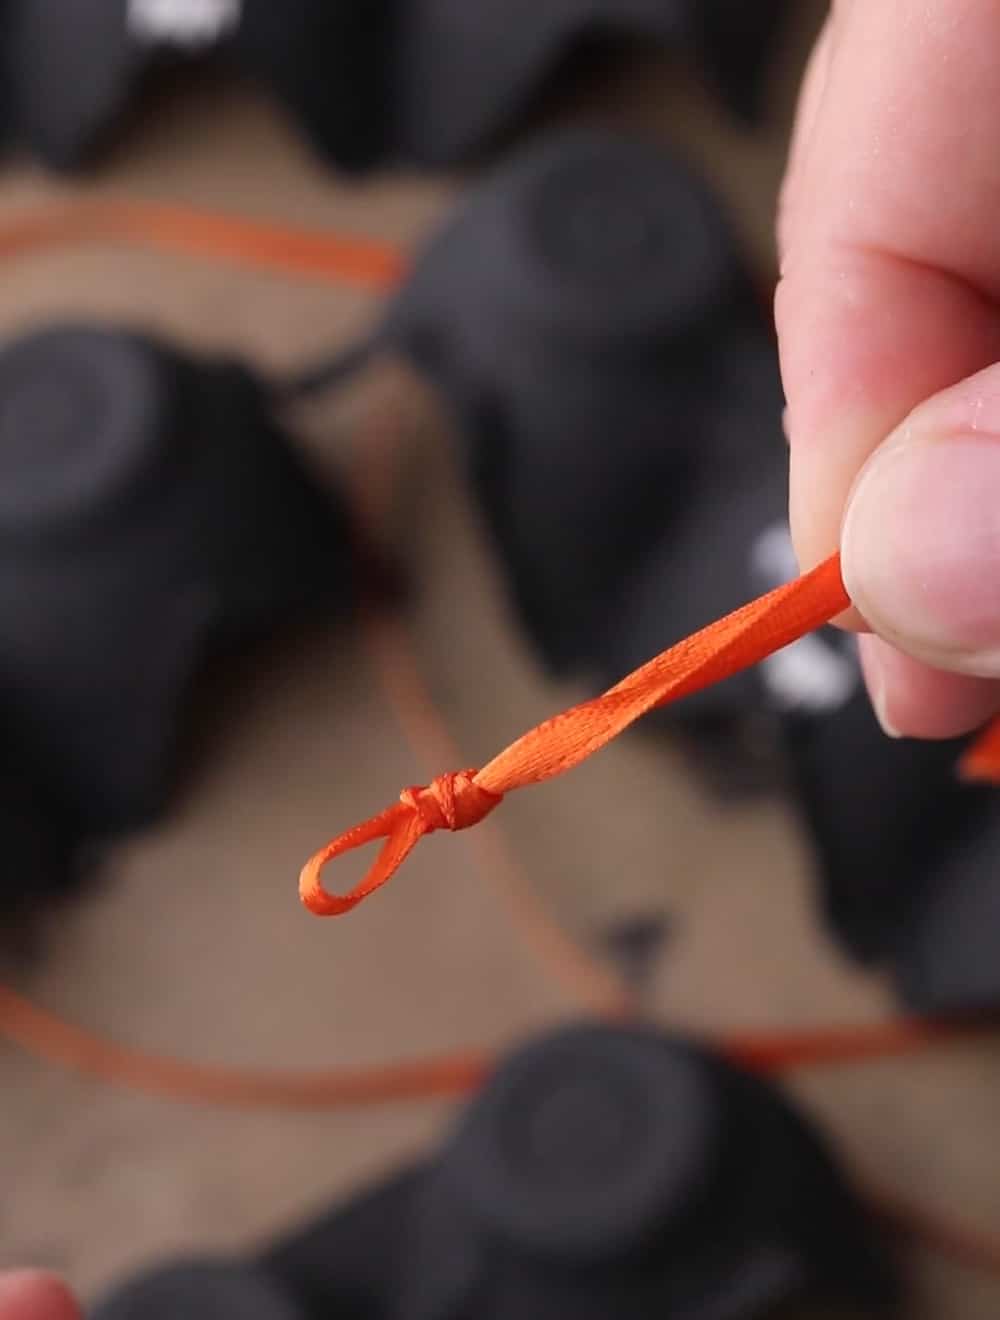
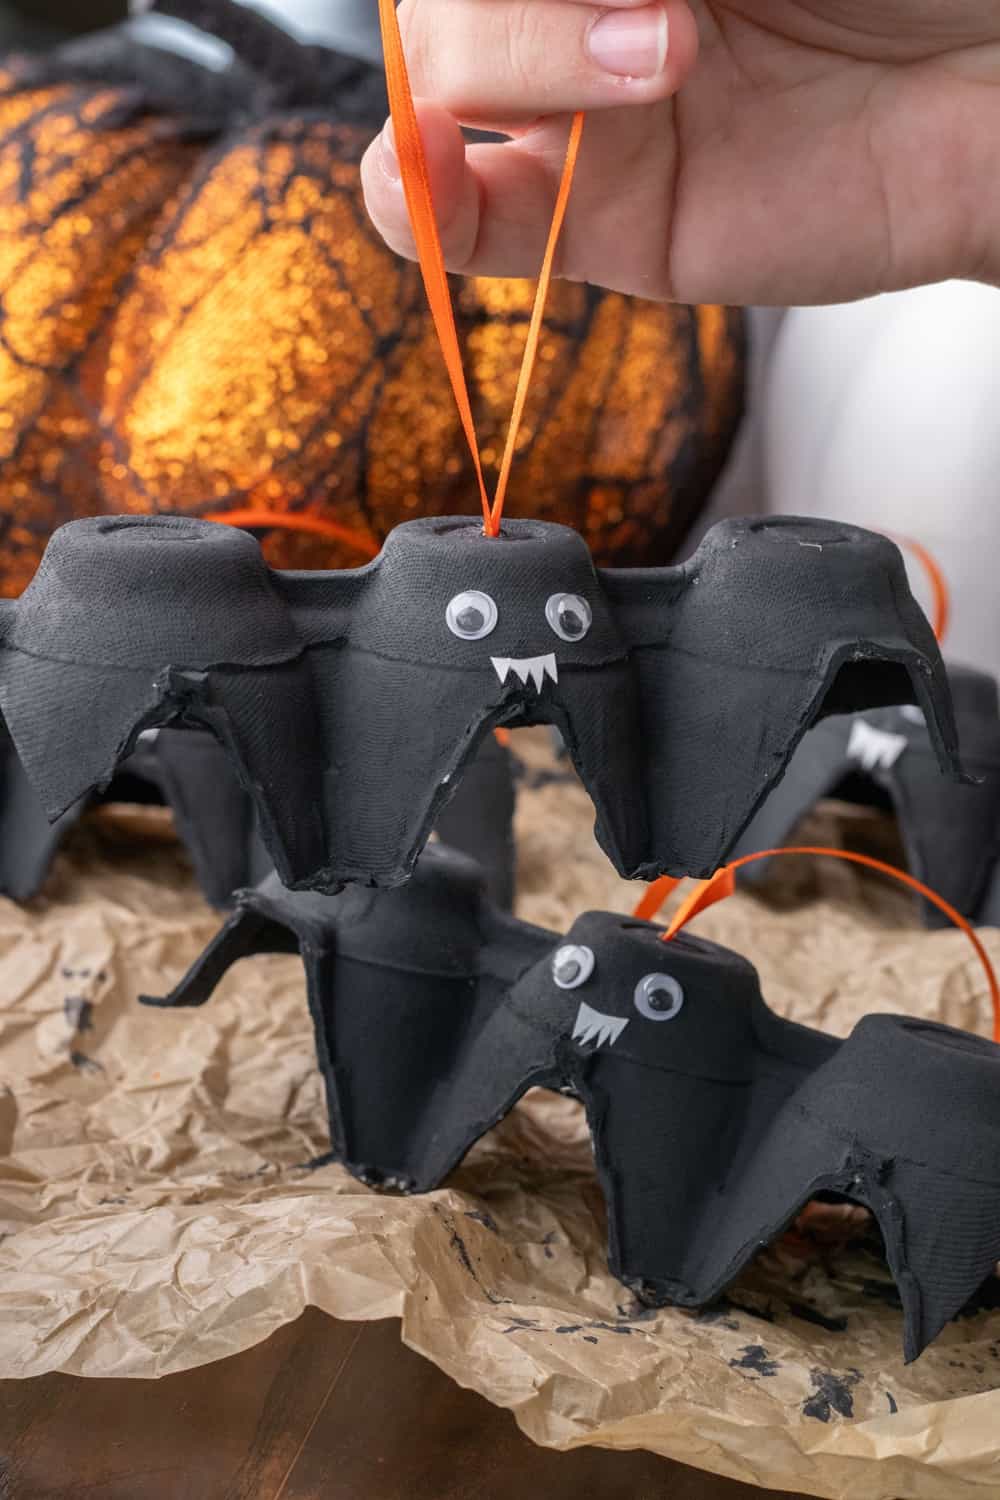
- Ribbon Attachment: Using a sharp tool (an adult should do this part), poke a small hole on the top of the bat’s head. Thread your ribbon or string through the hole and tie a knot on the inside to secure it.
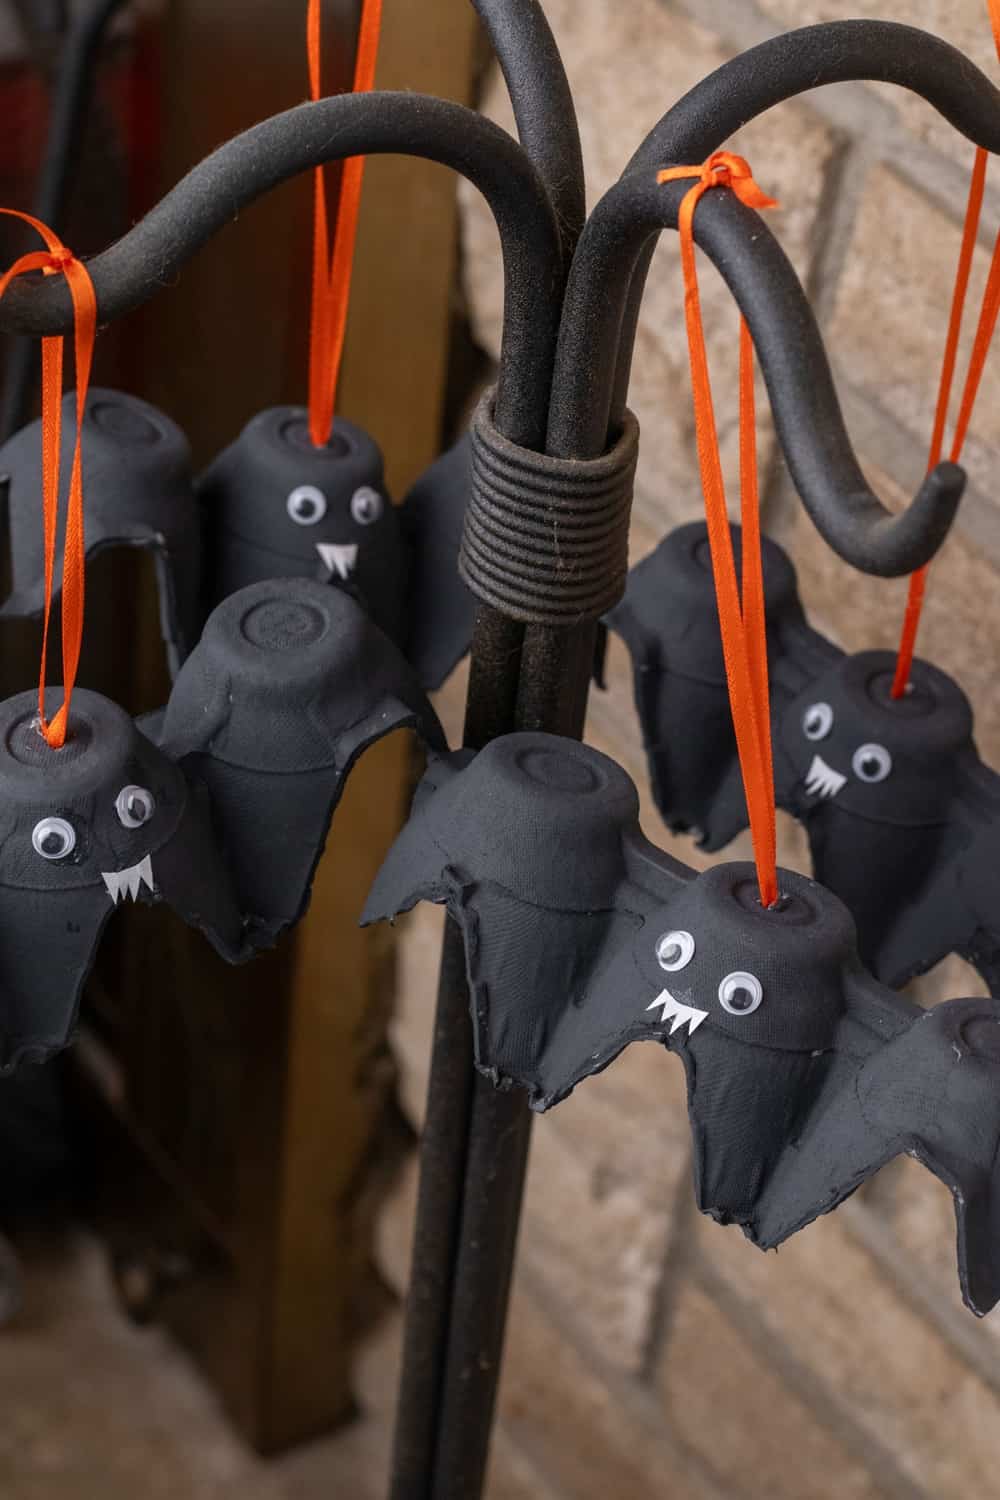
- Hang and Enjoy: Find the perfect spot in your home to showcase your bat—maybe from a doorway, on a Halloween tree, on the window or any other fun decor!
Halloween Bat Crafting Tips:
- If you’re crafting with very young children, opt for non-toxic paints and glues.
- For a variation, use different colored paints, or sprinkle some glitter on the wet paint for a sparkling bat!
- If you’re looking to make a whole bat family, consider painting larger egg carton sections as “mama and papa” bats and smaller single sections as “baby” bats. You could add paper for the wings as well.
Why We Love This Halloween Craft:
Eco-Friendly: Instead of tossing out those egg cartons, we’re giving them a new life as adorable Halloween decorations!
Kid-Friendly: It’s a wonderful way to engage kids in a hands-on activity while also teaching them about recycling and repurposing.
Festive: These bats are a great addition to any Halloween-themed décor but are also cute and not too spooky for kids to enjoy for Halloween!
Final Thoughts
While there are countless Halloween crafts and decorations you can buy from the store, there’s something uniquely special about creating your own. Not only are these egg carton bats super easy to make they also make use of egg cartons you may already have lying around, making them a fang-tastic recycled craft! So, grab some egg cartons and let the spooky crafting begin.
DIY Egg Carton Bats: A Spooky Recycled Halloween Craft

Materials
- Empty egg cartons (recyclable kind not styrofoam or plastic)
- Black paint (acrylic paint works well)
- Paintbrush
- Googly eyes
- White paper (for vampire fangs)
- Scissors
- Ribbon or string
- Craft glue or a hot glue gun
Instructions
- Prep the Egg Carton: Begin by cutting out individual egg cups from the carton. For the bat shape, cut out two adjoining egg cups. The center of these cups will form the bat's head while the outside edges can be shaped into wings.
- Paint: Once your bat shape is ready, paint it black. Depending on the type of paint and the color of your egg carton, you may need one or two coats. Let it dry completely.
- Vampire Fangs: While the paint is drying, cut out small fang shapes from the white paper. They should be tiny enough to fit onto the bat's "face."
- Add Features: Once the paint is dry, glue the googly eyes onto the front of one of the egg cups (this becomes the bat's face). Below the eyes, adhere the paper fangs, ensuring they're pointed downwards.
- Ribbon Attachment: Using a sharp tool (an adult should do this part), poke a small hole on the top of the bat's head. Thread your ribbon or string through the hole and tie a knot on the inside to secure it.
- Hang and Enjoy: Find the perfect spot in your home to showcase your bat—maybe from a doorway, on a Halloween tree, on the window or any other fun decor!


