
DIY PAPER HYDRANGEA FLOWERS
Scroll all the way down to watch the video below for the step-by-step video in how to make these pretty DIY Paper Hydrangea Flower, and make sure to subscribe to our YouTube channel for more fun videos!
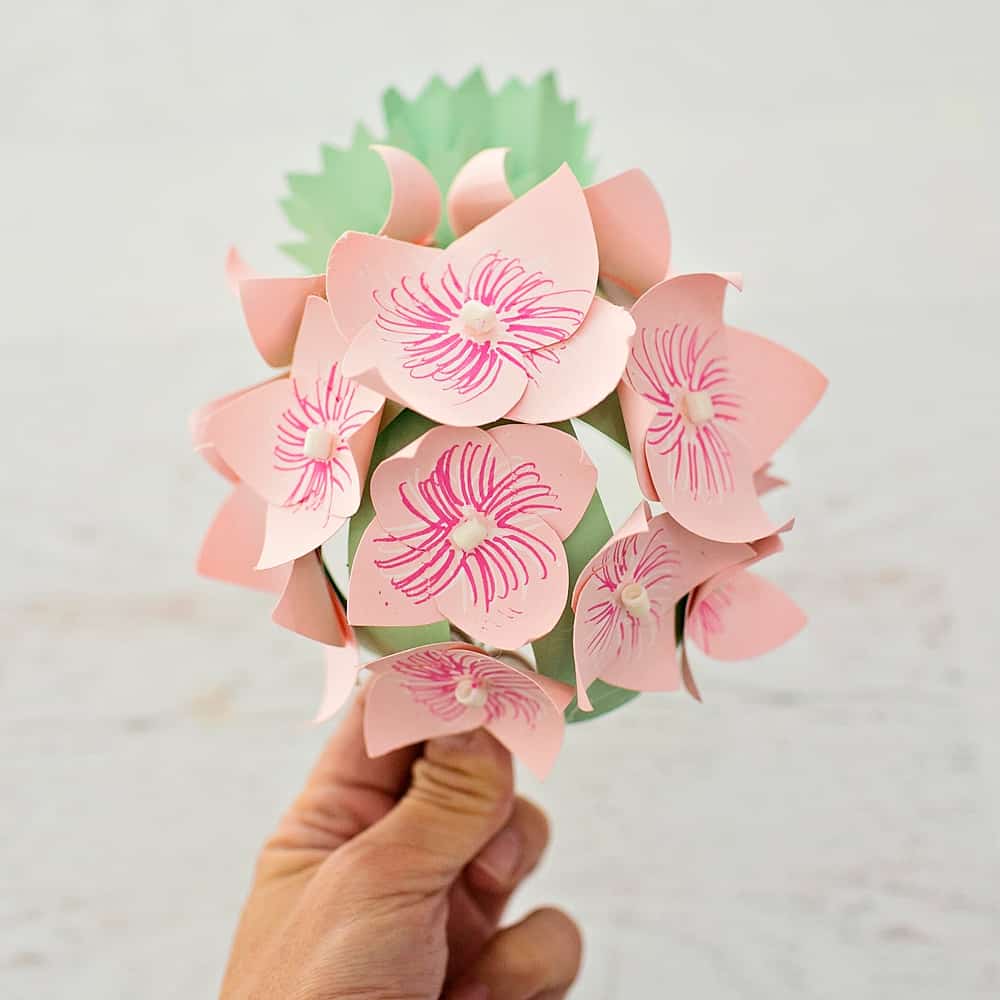
Hydrangea flowers are one of my favorite blooms and were actually my wedding flowers so I’m thrilled to show you this easy DIY Paper Hydrangea that are easy enough for kids to make!
This flower uses a simple ball shape using strips of paper and the petals are easy to fold using our FREE printable template (see below). A little pink and white marker helps add texture to the center of the flowers as does the glued on bead.
What we love about paper flowers is their simplicity in materials. Often just glue/tape, scissors and paper are needed. You can make them out of tissue paper like these DIY Hyacinths, or create paper bouquets, and ice cream flowers. Or how about a giant Unicorn Flower Backdrop? The possibilities are endless!
PAPER HYDRANGEA FLOWERS – MATERIALS:
Colored cardstock (pink and green)
Markers (we used pink and white paint markers)
Scissors
Pencil,
Craft glue
Small white beads
FREE PRINTABLE HYDRANGEA TEMPLATE (DOWNLOAD RIGHT BELOW)
Click Here to Get Your Free Printable
Scroll down to watch the how-to video or follow below.
INSTRUCTIONS:
*Print out the free printable template (see above)
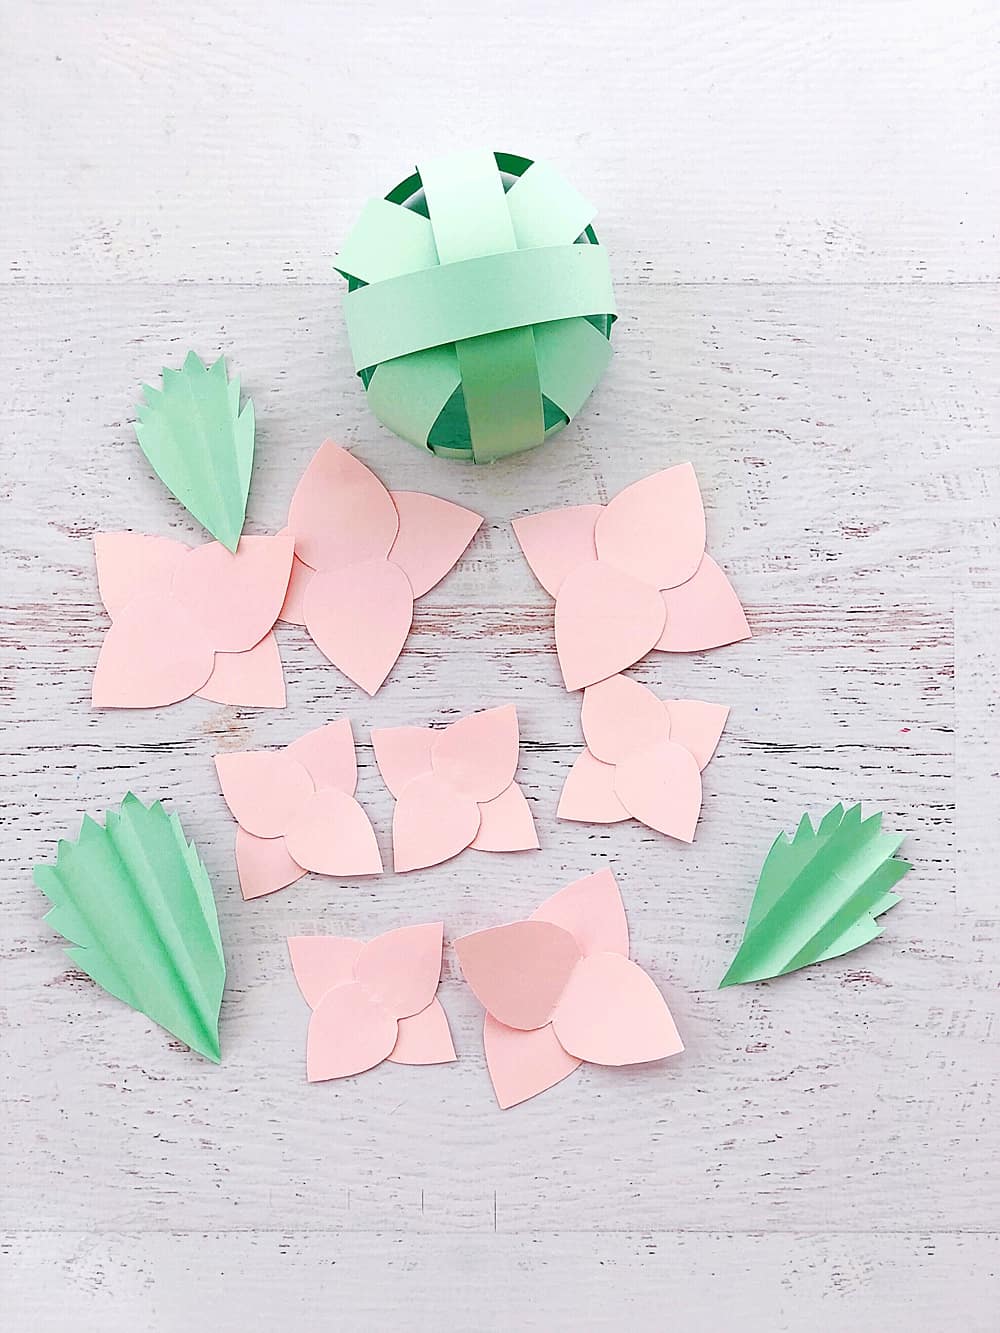
Step 1: Cut out 5 strips of paper. The 4 strips that go on top measure about .75″ wide x 7.5″ long. The bottom strip measures about 11″ long.
Step 2: Take the long piece and form a ring by gluing the sides.
Step 3: Take any one of the short strips and glue of its ends with the ring by forming an arch shape with it.
Step 4: Now take another short strip and similarly attach it with the ring; but this time position it criss-cross wise with the previous short strip.
Step 5: Similarly attach the 2 other short strips with the ring. This is the base for our hydrangeas.
Step 6: Take your colored cardstock for the flowers and trace the petal pattern from the template. Select the size you want or customize the size to your choice. Cut out the traced patterns.
Step 7: Take two flower shapes and glue them together criss-cross wise.
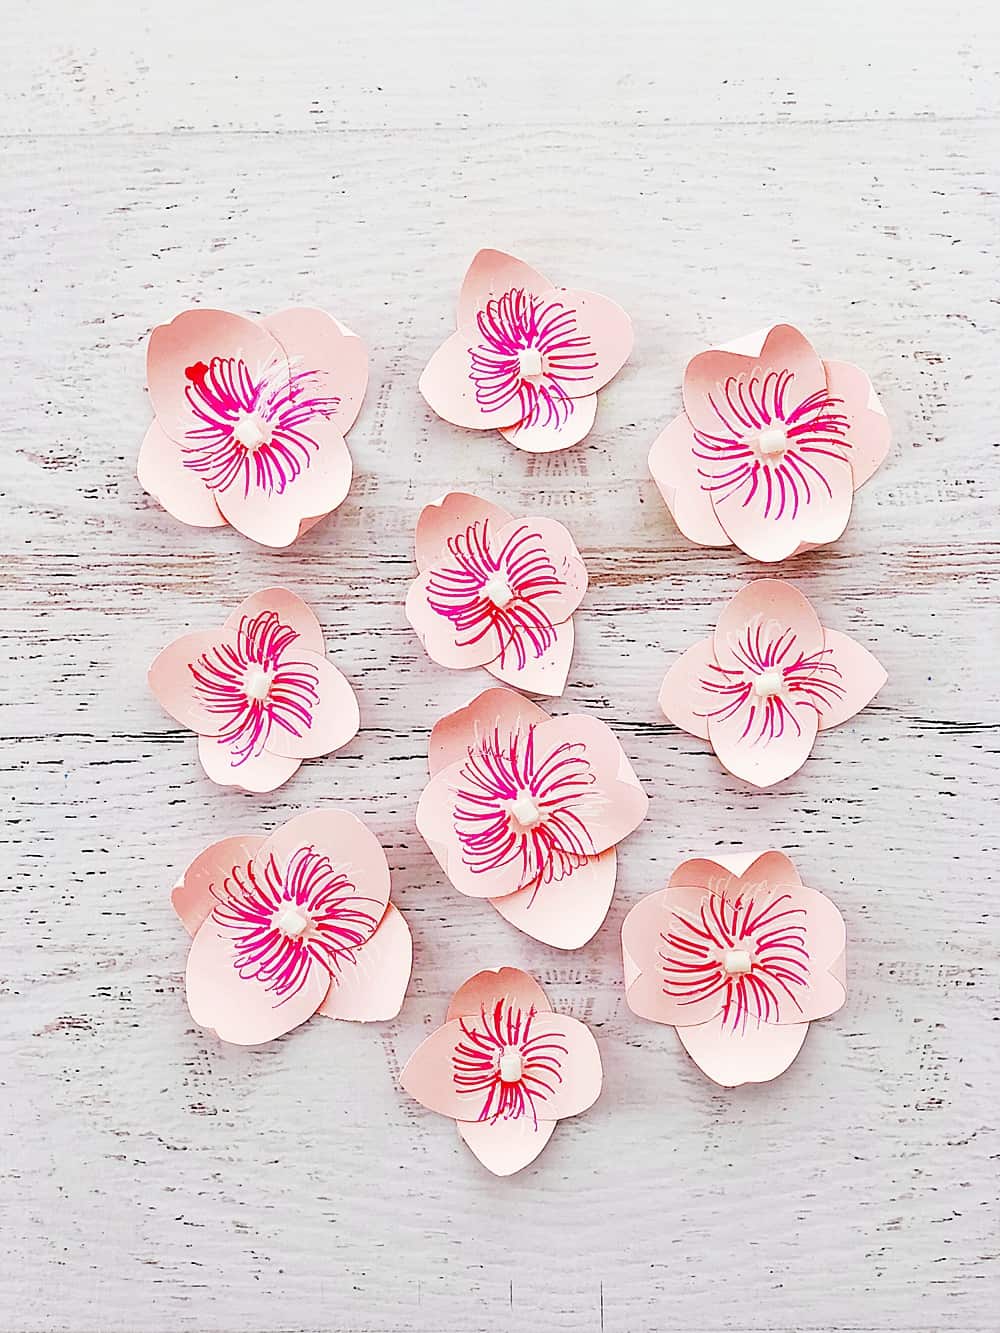
Step 8: Use a pencil to curve the open ends of the flower petals.
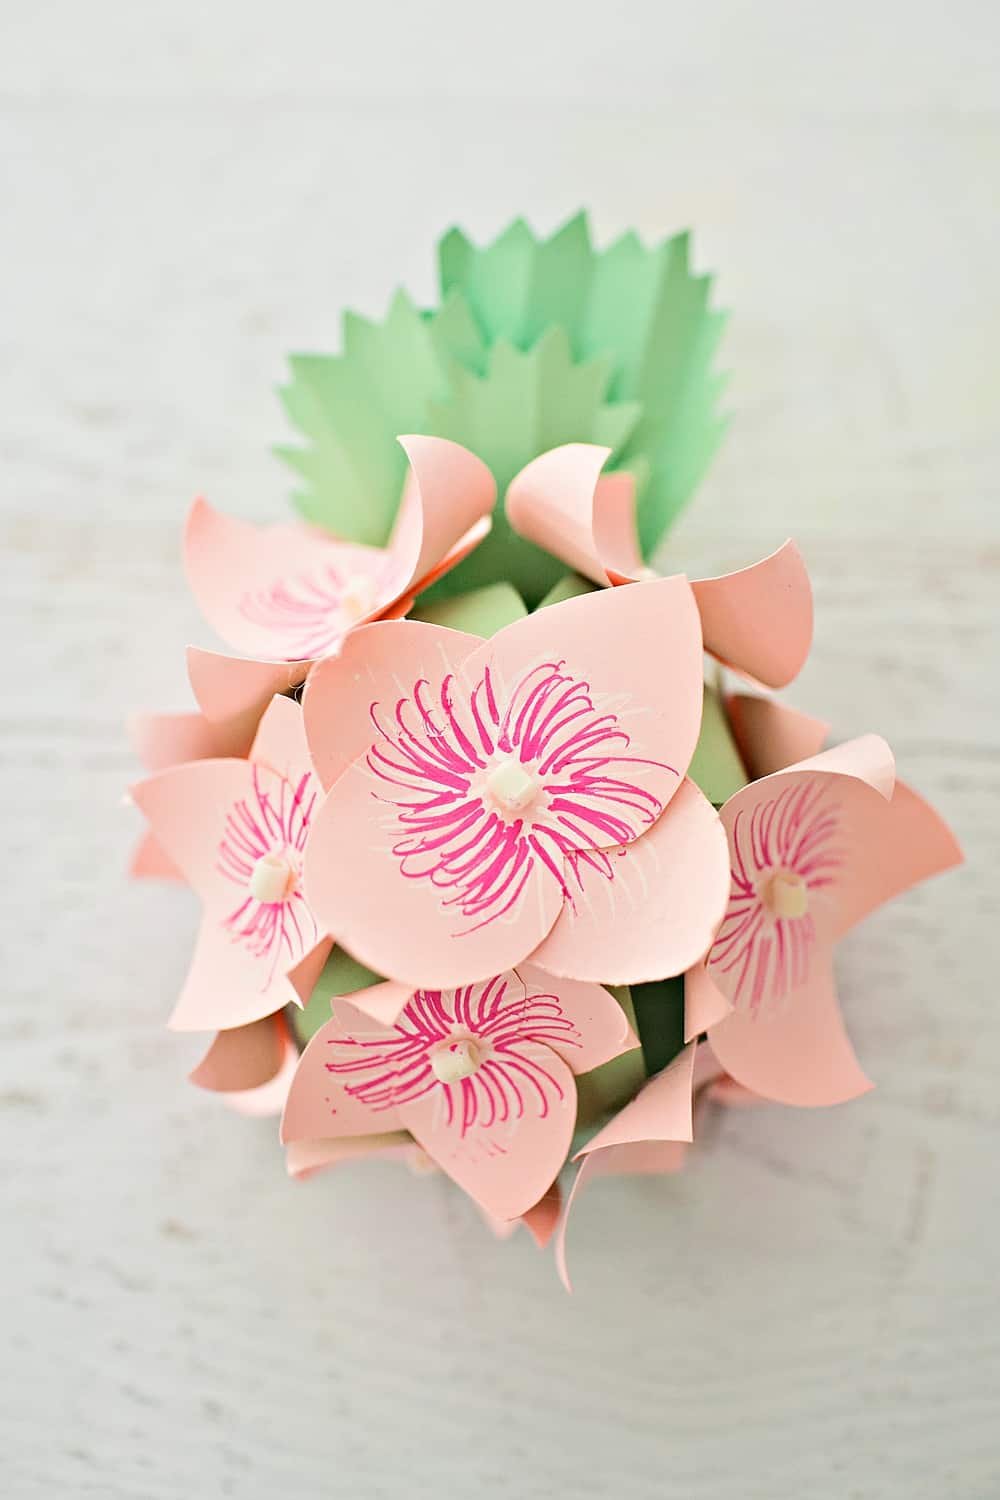
Step 9: Use pink and white markers and highlight the center of the flower. Glue your bead in the center.
Step 10: Similarly create more flowers; you will need around 12-16 flowers (we made small and large ones – template includes two sizes).
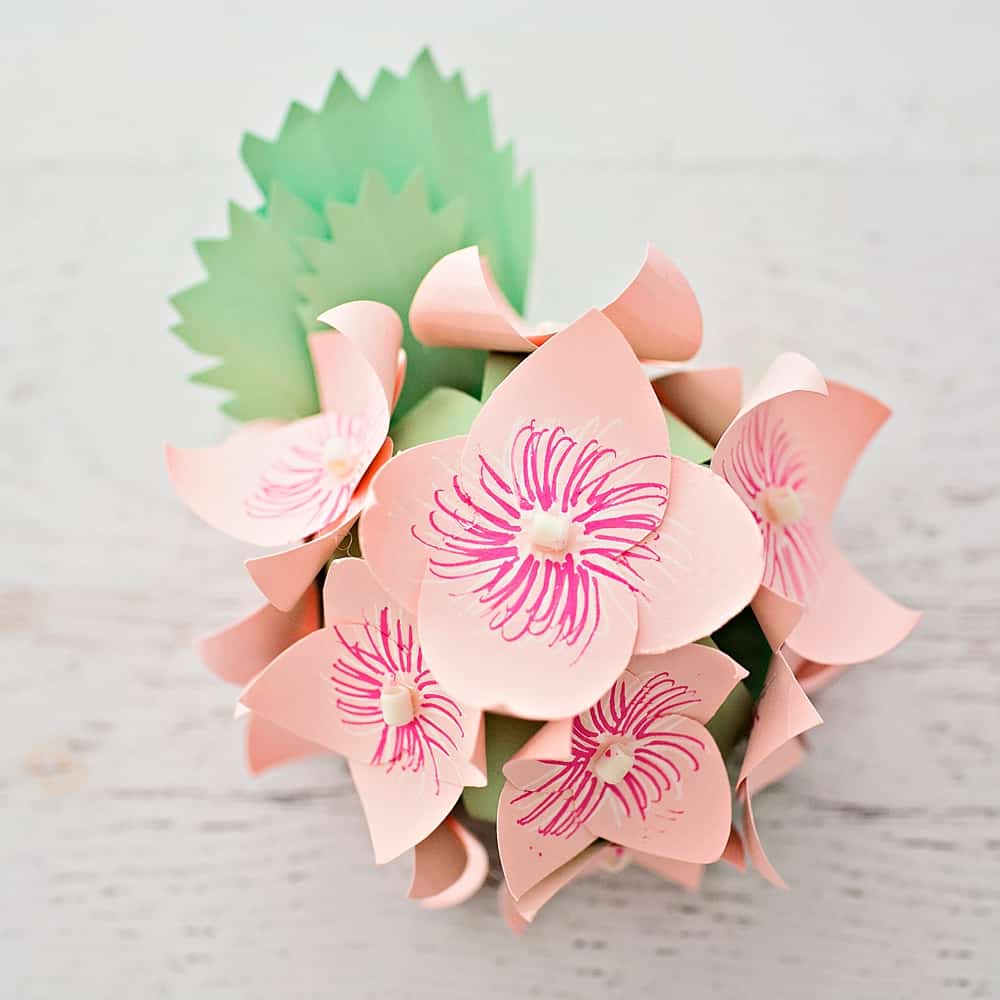
Step 11: Now simply glue the flowers on the base prepared in step 5
Step 12: Use the template to cut out the leaves. We clipped the sides with scissors.
Step 13. And finally glue the leaves to the base. Allow the glue to dry.
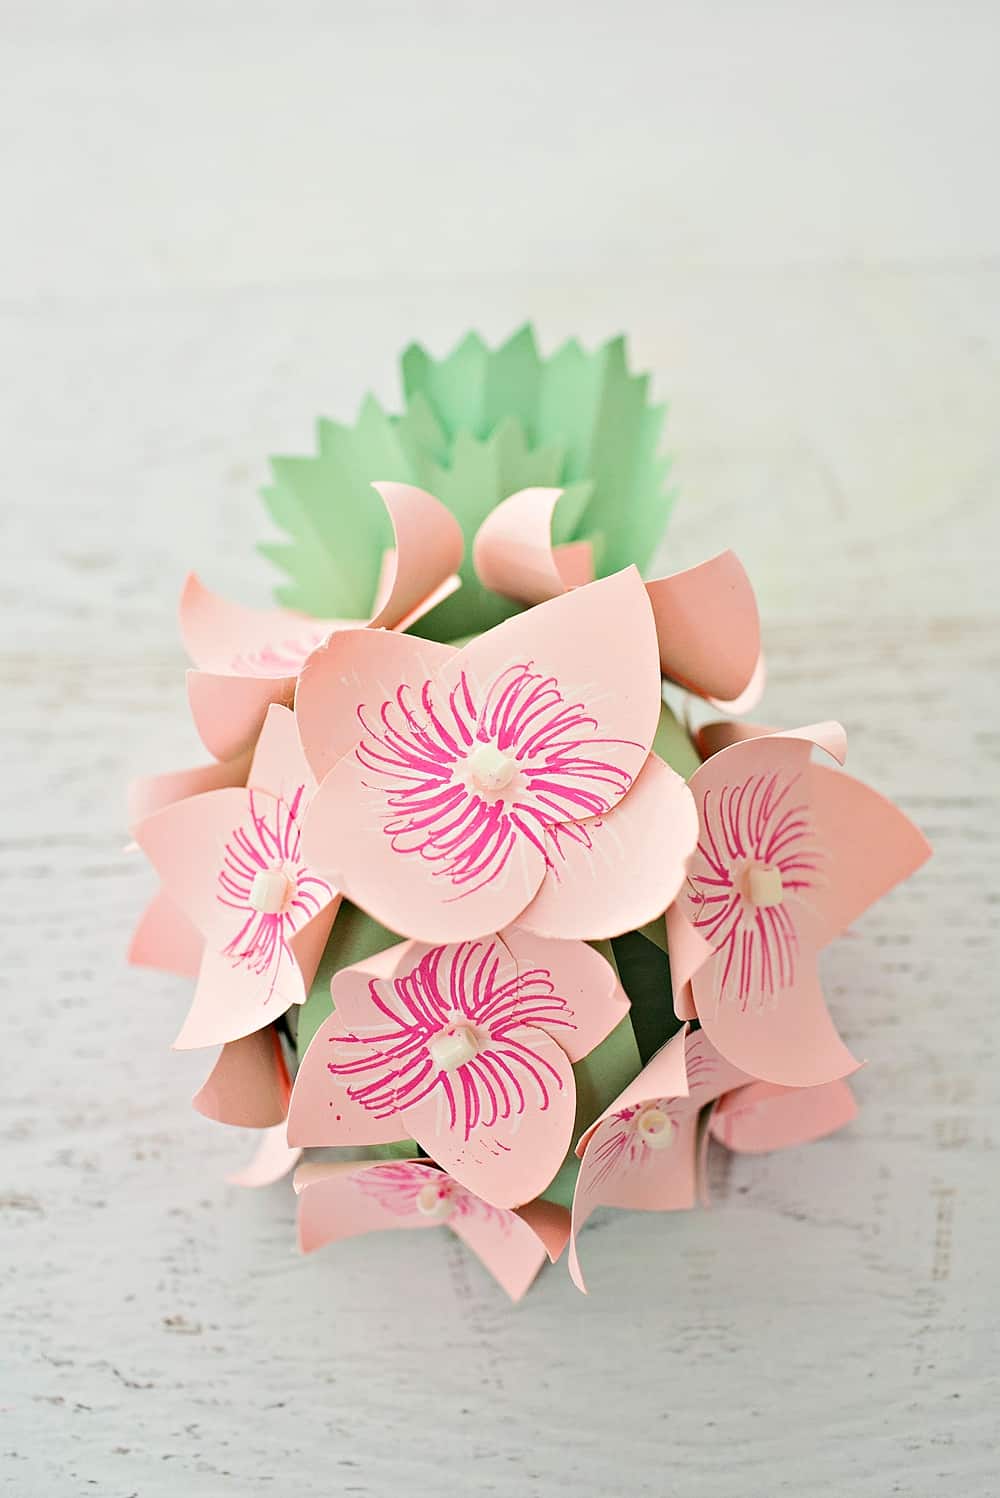
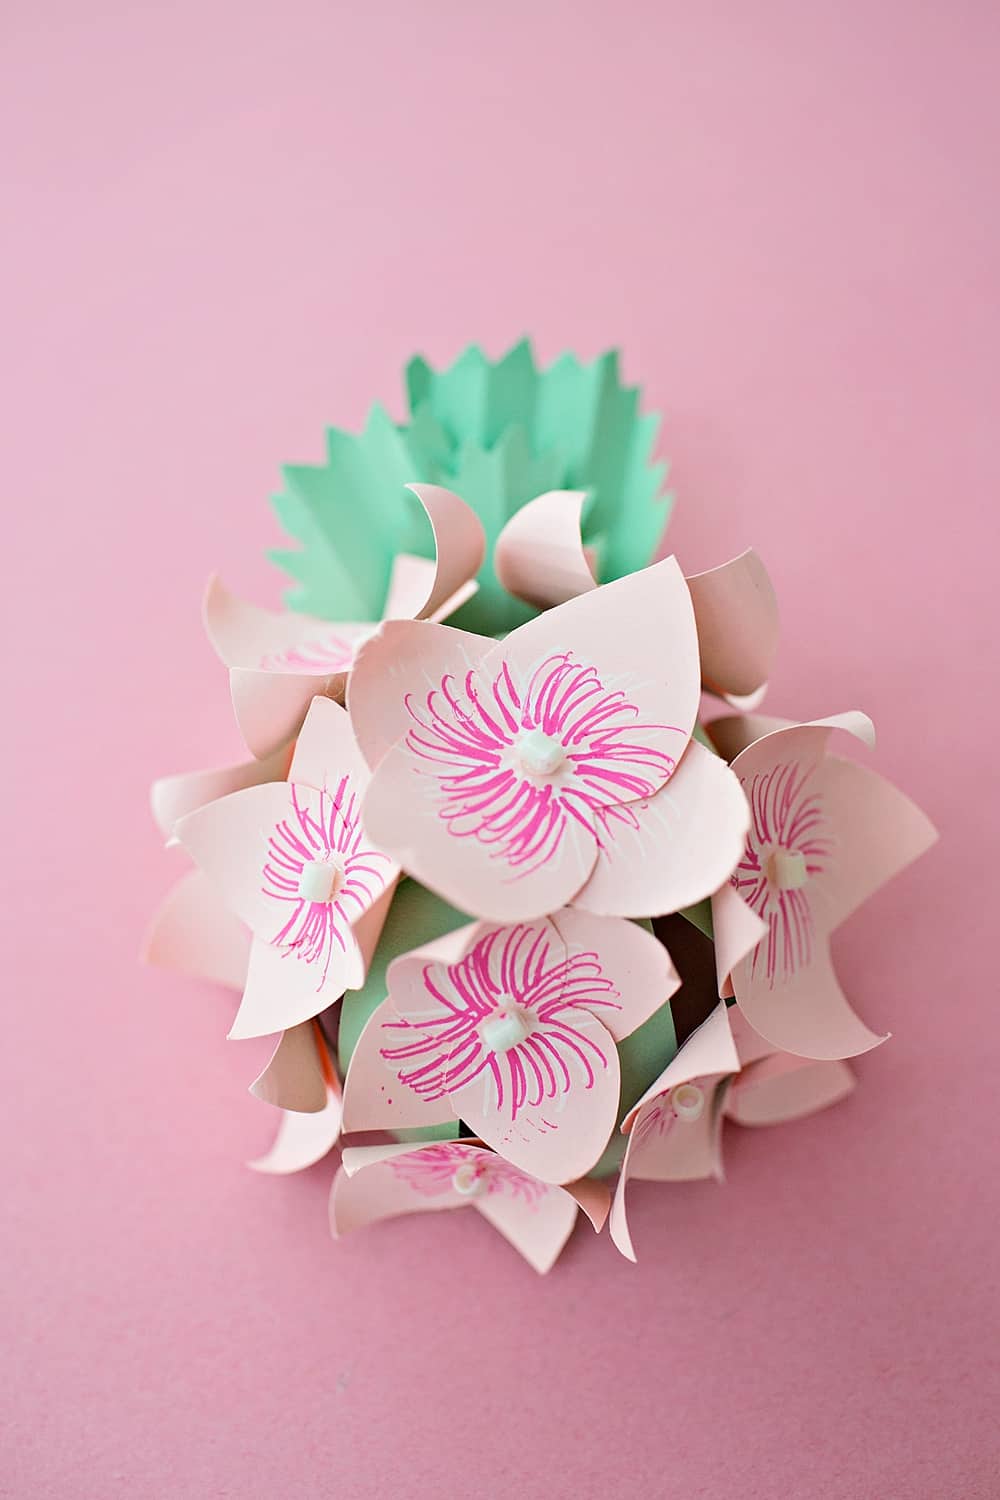
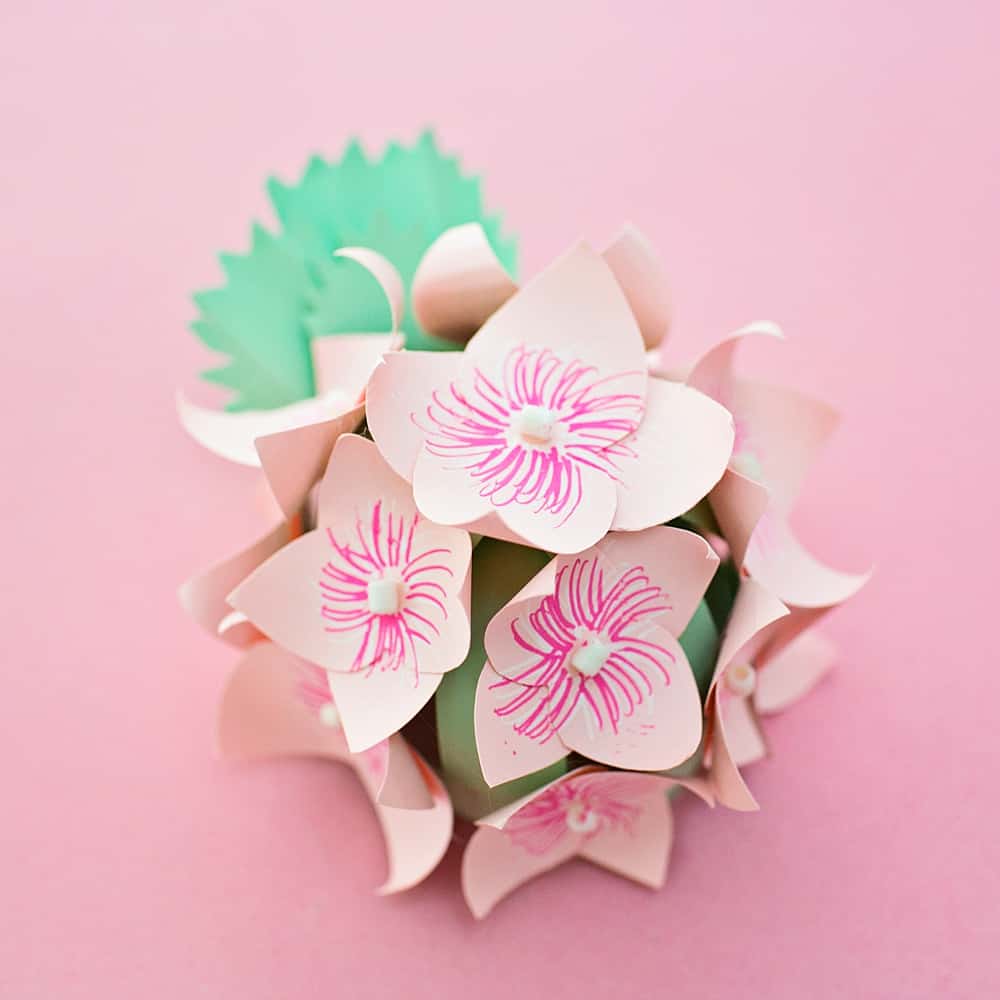
Aren’t these so pretty and simple? You can easily lay out a bunch of templates and colored cardstock for kids to make a bunch to bring home as decor or gifts. These gorgeous paper blooms will last all year long!

View the step-by-step video below to see how easy it is to make these Paper Hydrangea Flowers.
Disclosure: Some of the links in the post above are “affiliate links.” This means if you click on the link and purchase the item, we will receive a small affiliate commission. Regardless, we give our promise that we only recommend products or services we would use personally and believe will add values to our readers.


