
DIY CARDBOARD GUMBALL MACHINE
Follow us on Instagram for more fun ideas for kids!
Watch the video below to see this creative DIY Cardboard Gumball Machine in action. Make sure to subscribe to our YouTube channel for more fun videos!
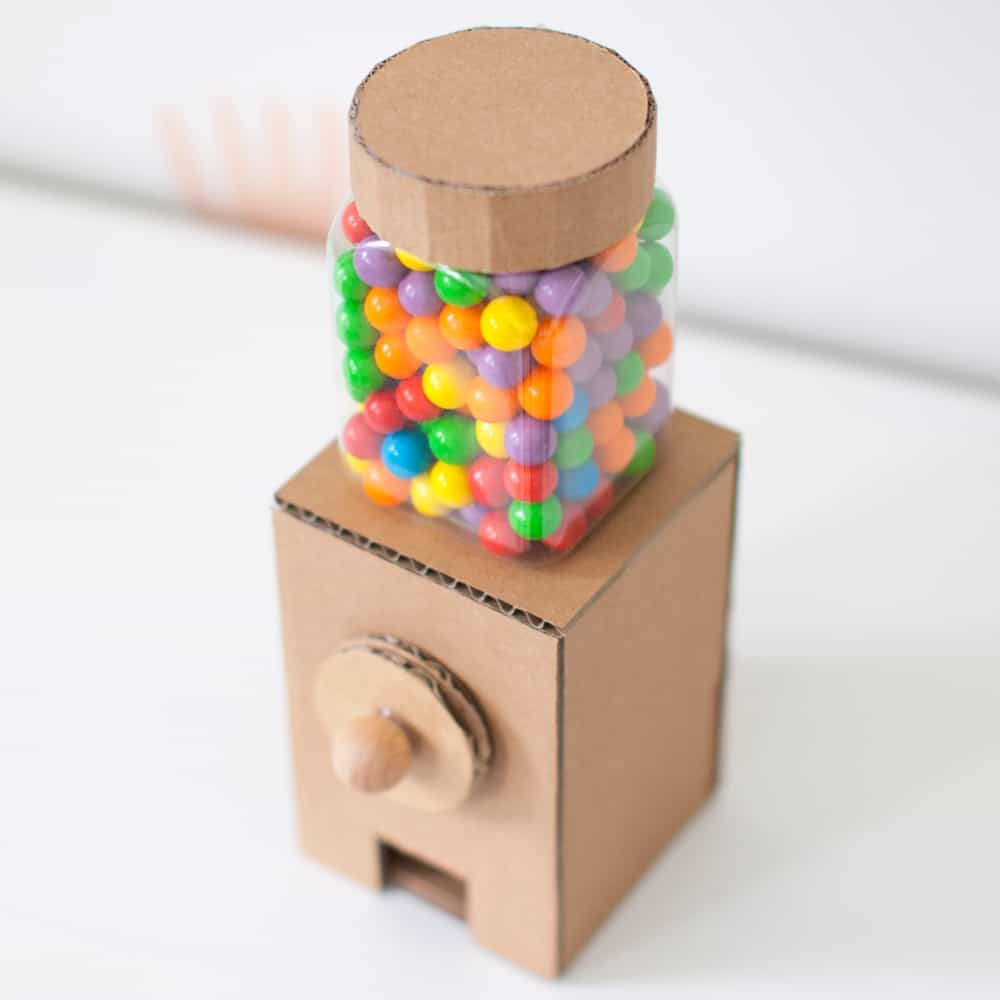
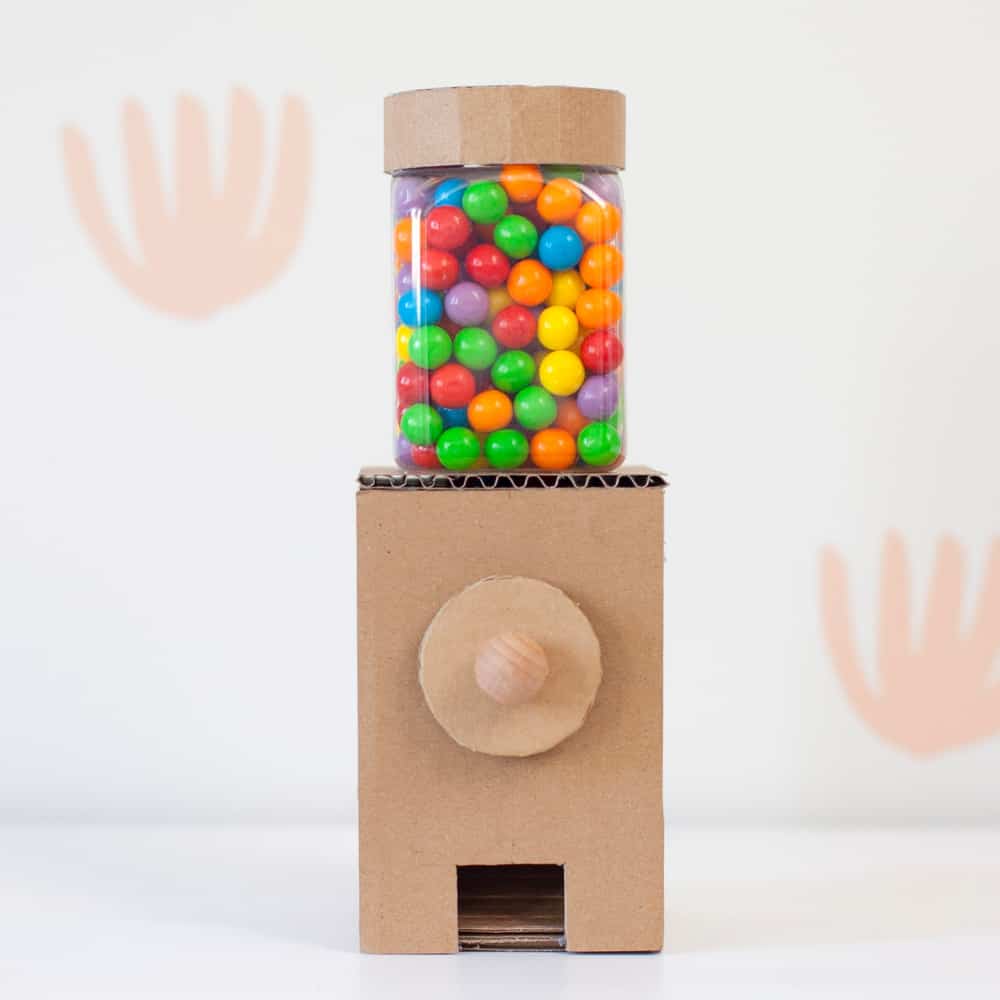
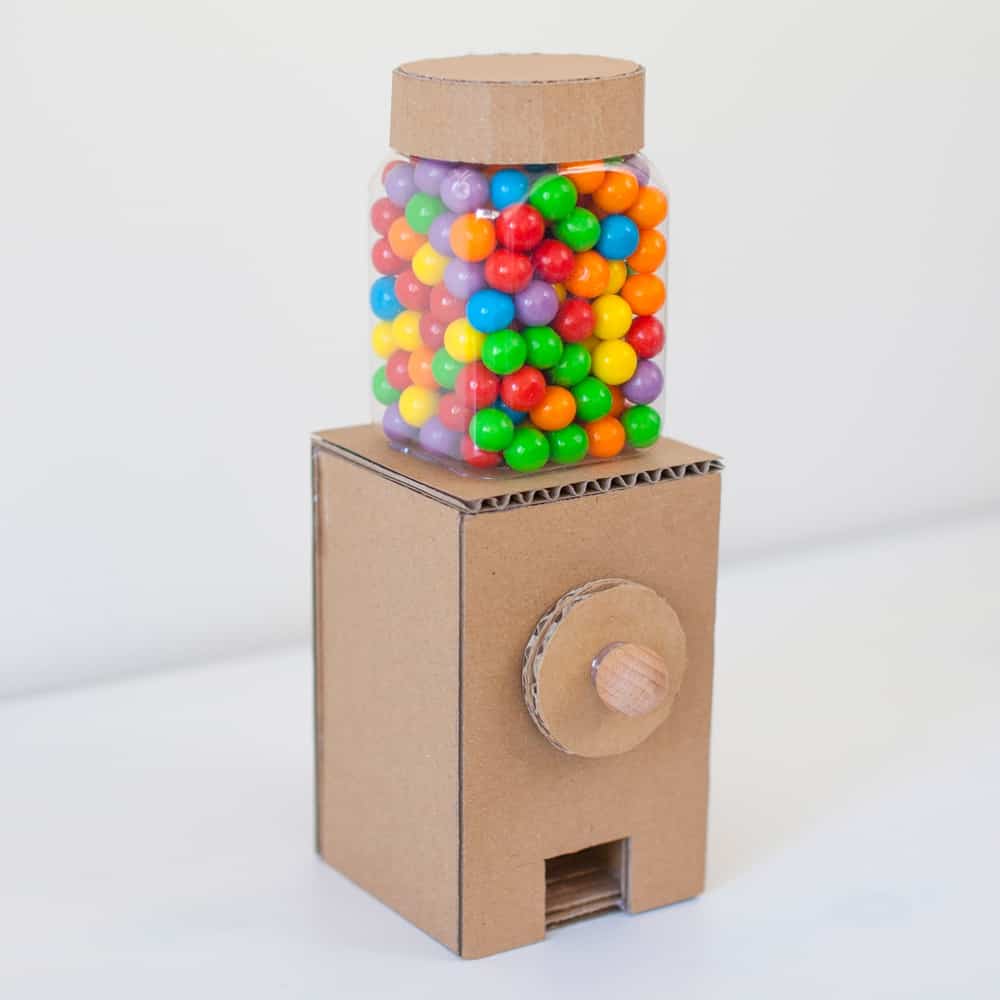
This creative DIY Cardboard Gumball Machine actually works and makes a fun recycled craft for kids.
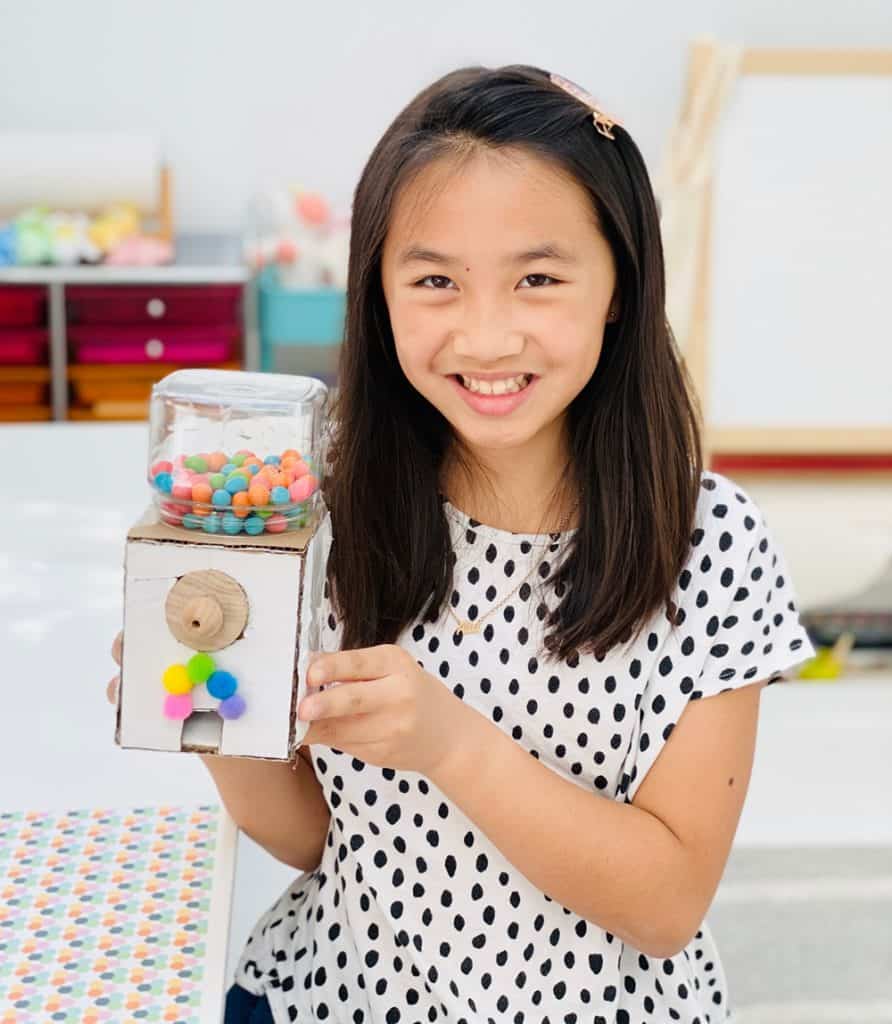
A while back on my Instagram stories, I shared a handmade cardboard gumball machine my daughter had fashioned out of cardboard, a clear plastic container, tape, and a toilet paper tube.
The engineering concept was there, but functionality wise, it didn’t dispense gumballs a hundred percent of the time. However it was definitely an A+ in design and effort!
I knew my daughter was on to something so enlisted the help of my online creative friend Kathryn from @cardboardfolk a.k.a. cardboard magician extraordinaire.
Kathryn took Alia’s prototype design and made it into a working masterpiece.
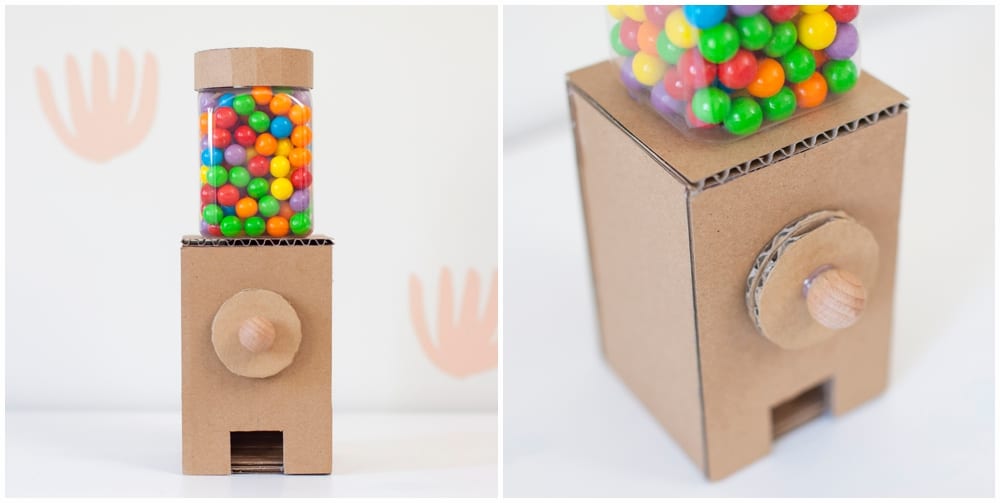
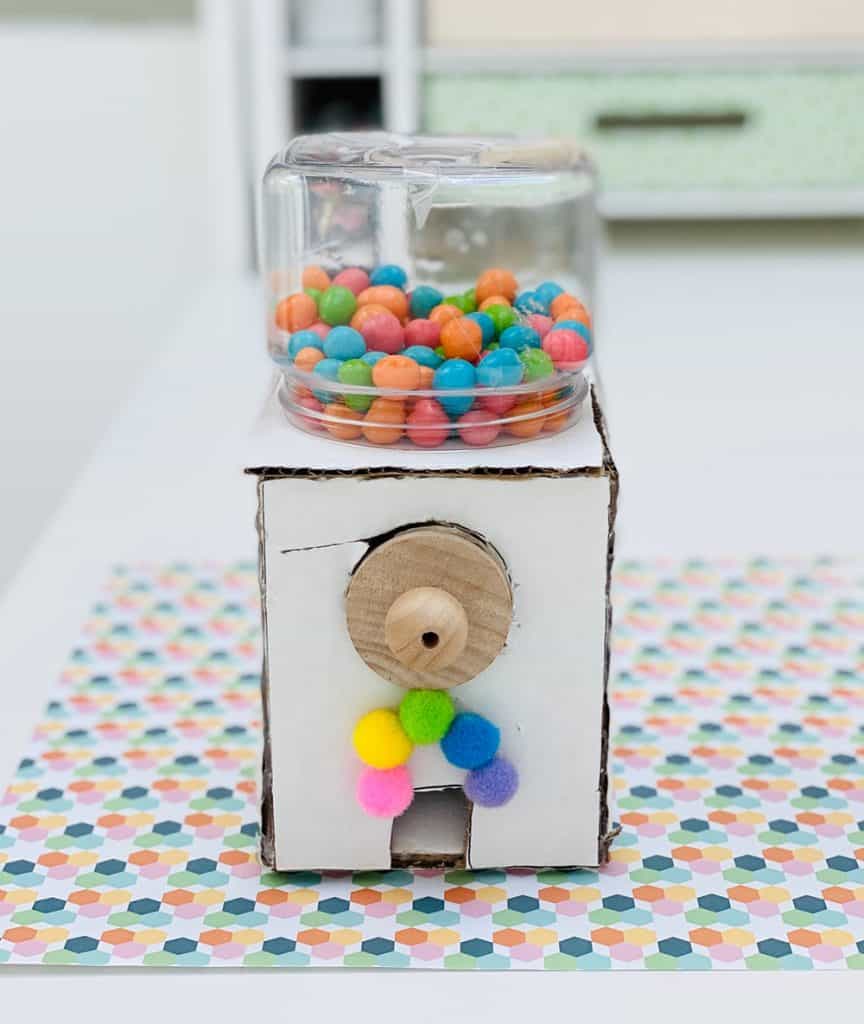
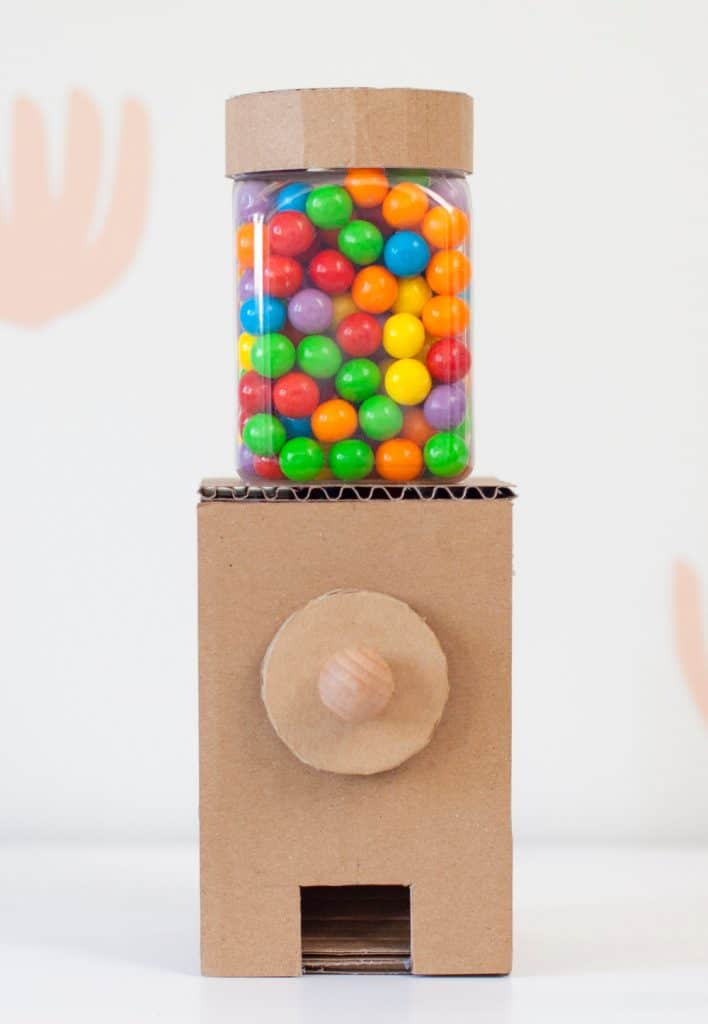
Behold this beautiful, functional and working DIY Cardboard Gumball Machine!
Best part is you probably have all the supplies needed to make one with your kiddos. And you have a very sweet incentive and reward once done!
This creative gumball machine makes such a fun recycled craft for kids.
GUM BALL MACHINE – MATERIALS
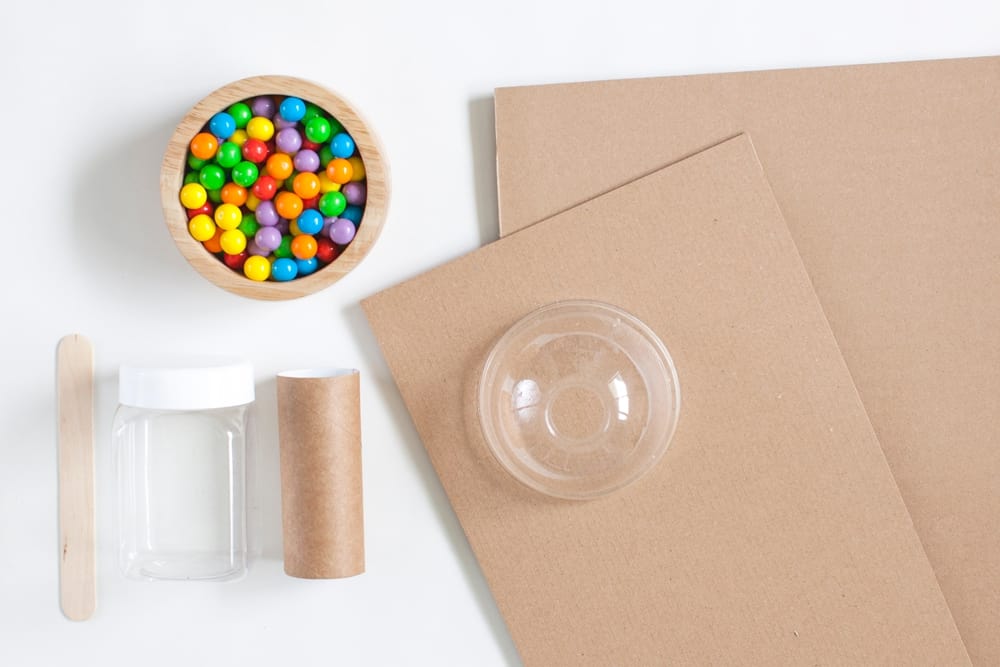
Materials:
1 x Sheet of Thick Cardboard approx. 4mm Thick
1 x Sheet of Thin Cardboard approx. 2mm Thick
1 x Toilet Paper Roll
1 x Jumbo Pop Stick
1 x Plastic Domed Drink Lid
Pencil
Scissors
Box Cutter
Hot Glue Gun
Ruler
Cutting mat or similar to protect your surface
INSTRUCTIONS
Step 1:
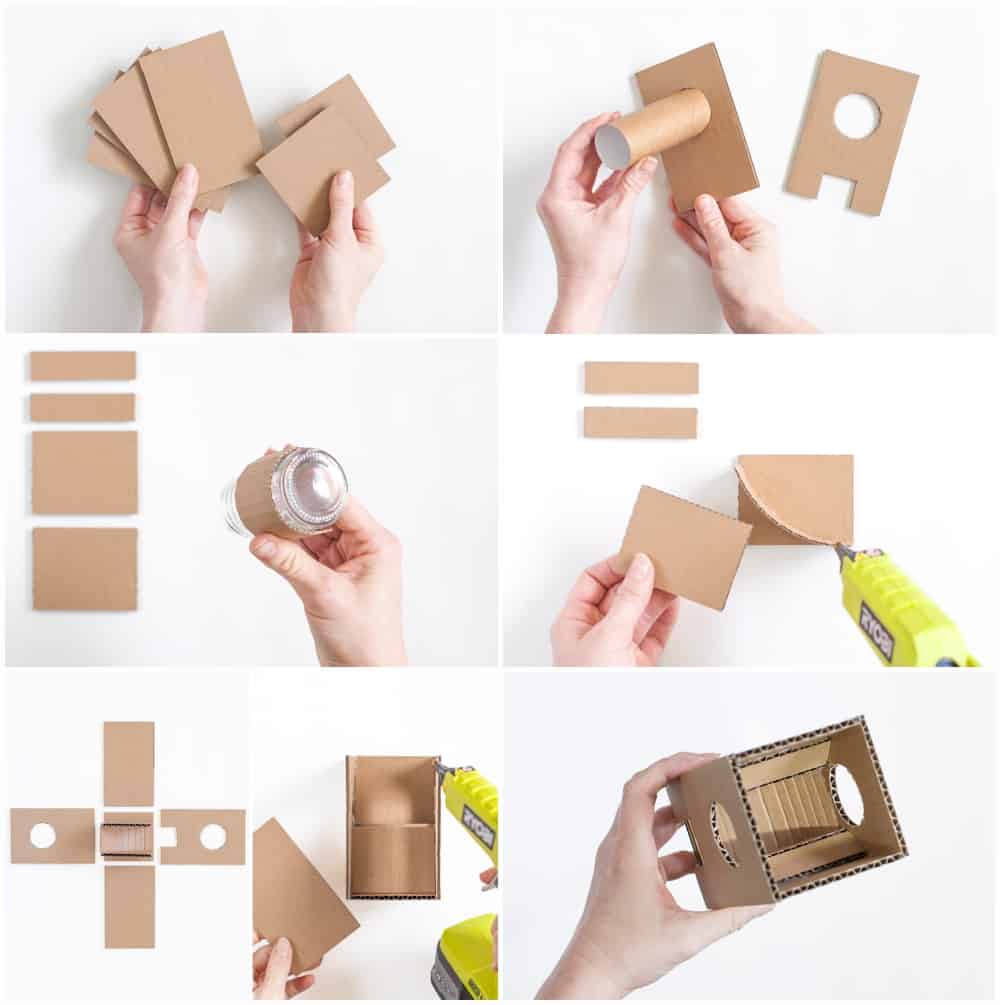
Cut out the pieces for the base, you will need:
2 x FRONT / BACK: 8.5cm x 13cm
2 x SIDES: 7.7cm x 13cm
1 x BOTTOM: 7.7 x 7.7cm
1 x TOP: 8.5cm x 8.5cm
Step 2:
Use the TP Roll to mark a circle in the FRONT and BACK pieces and cut out, it should be centred and 3cm from the top. Mark and cut out an additional 3cm x 2.5cm rectangle at the bottom centre of the FRONT
Step 3:
Cut out the Ramp Pieces, you will need:
2 x RAMP SIDES: 7.5cm H x 6cm W
1 x SLIDE: 4cm x 10cm (from thin cardboard – Curve this around a cylindrical object to create an arc)
2 x RAMP EDGES: 7.5cm x 2cm
Step 4:
Glue the ramp together by sandwiching the SLIDE between the RAMP SIDES
Step 5:
Assemble the Base. Start by gluing the Ramp to the BOTTOM, making sure the slide slopes down towards the front and is centred. Glue the FRONT, BACK and SIDES in place.
Step 6:
Glue your RAMP EDGES on an angle from the top of the RAMP SIDES to the SIDES of the base. This will stop any wayward gum balls from getting stuck down the sides.
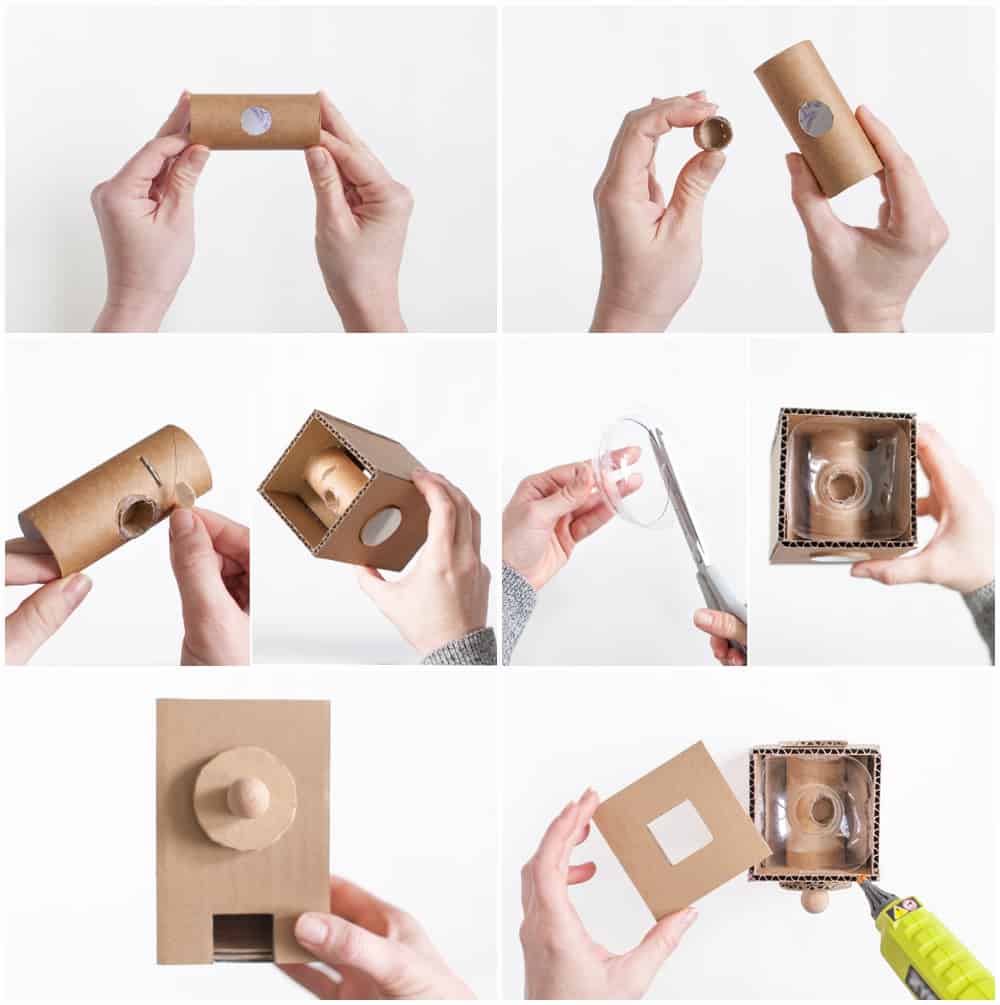
Step 7:
Cut your TP Roll down to size, it should be approx. 2mm longer than your base on each side. Mark the centre and cut a hole about 2cm in diameter.
Step 8:
Make a small Bucket with Thin cardboard by cutting a circle approx. 2cm in diameter, glue a strip of curved cardboard about 1.2cm wide to the perimeter. Position the bucket inside your TP Roll cutout and glue in place.
Step 9:
Cut two slots in your TP Roll the width of your pop stick. It should be located about 5mm in front and to the side of your Bucket. Cut your pop stick down to size, it should be about 5mm. Position your TP Roll in place with the slots facing the FRONT before gluing the Pop stick in place
Step 10:
Cut down your domed drink lid so it is 3cm high and glue to the base. It should sit against the TP roll so that when you turn the knob the pop stick flexes the plastic slightly (this will help make sure a gumball lands in your bucket everytime!)
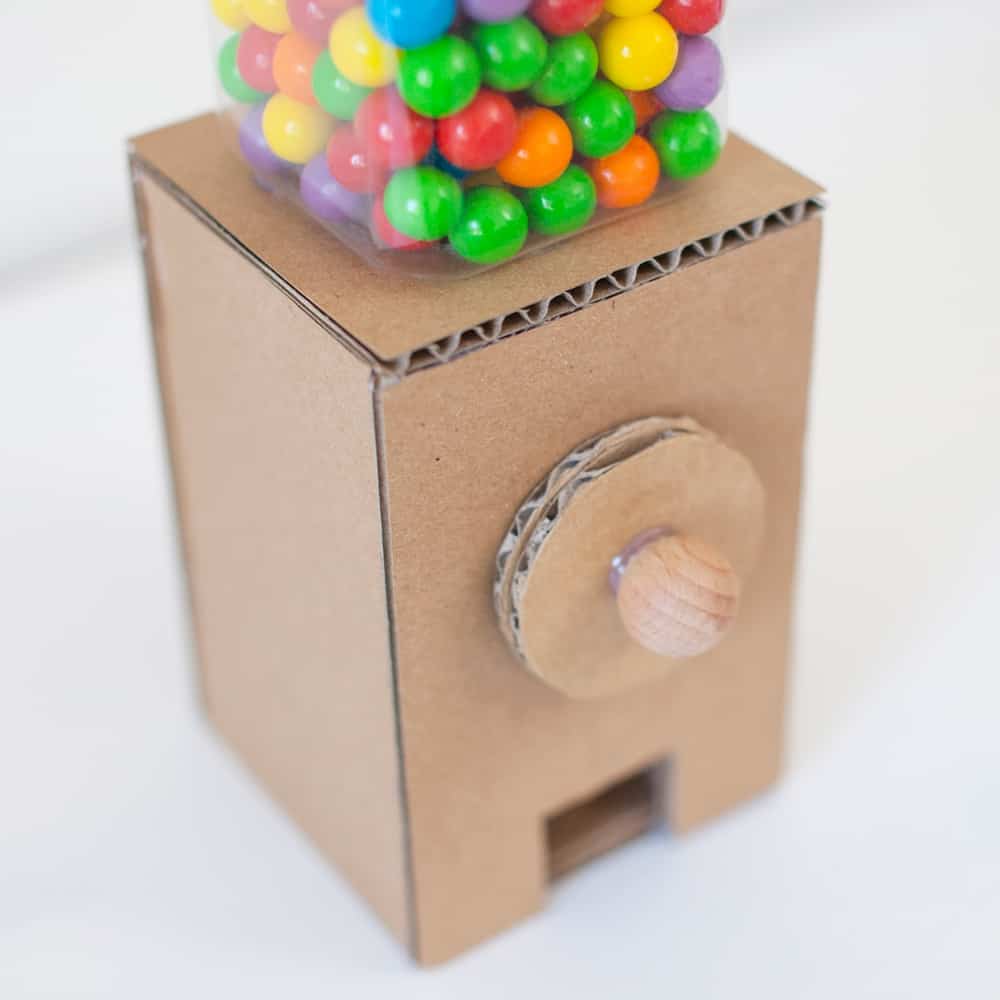
Step 11:
Cut out 3 Cardboard Circles slightly bigger than your TP Roll to make your turn knobs. Glue 2 to the front and 1 to the back. If desired you can also glue a wooden bead to the front
Step 12:
Cut a hole in the TOP of your base about 3cm x 3cm and glue it into position
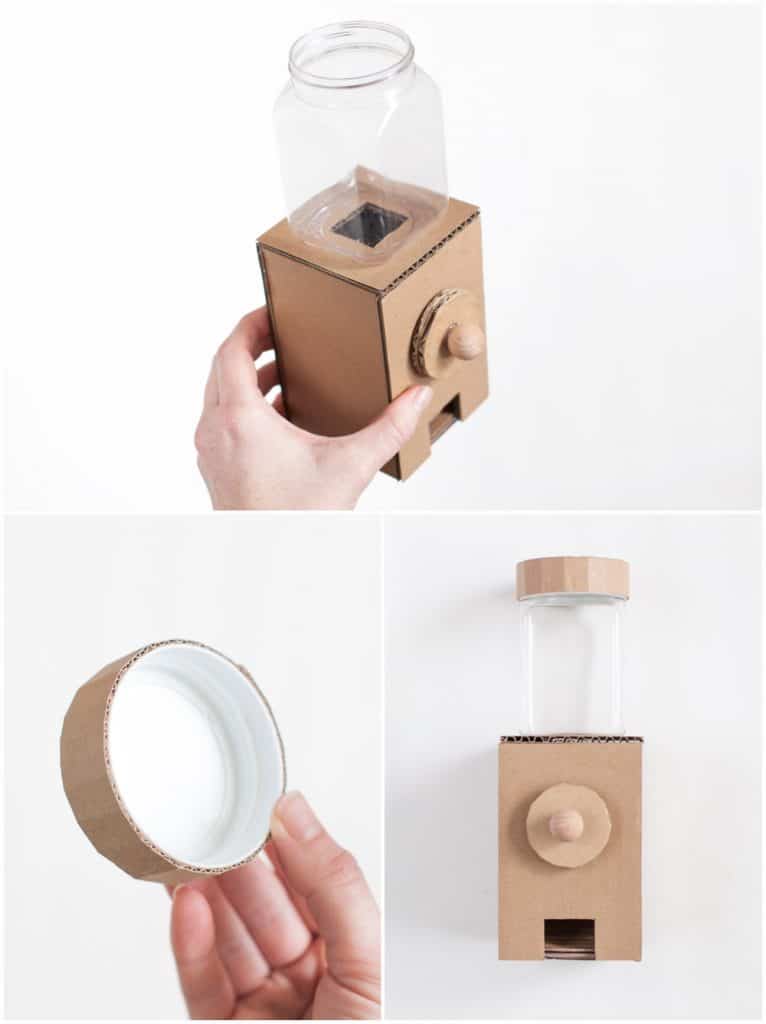
Step 13:
Take your Plastic Container or Jar and carefully cut a hole in the bottom about the same size as the hole in the TOP and glue it in place
Step 14:
Make a cardboard cap for your jar lid from thin cardboard. Fill your gumball machine, screw on the lid and take her for a spin!
ABOUT CARDBOARDFOLK
I’m Kathryn, Interior Designer turned cardboard enthusiast and chaos co-ordinator to 3 small folk, living in sunny Queensland, Australia. My weapon of choice is the hot glue gun and on any given day you can find me crafting my way through the recycling bin. Mailing boxes are my love language! With a background in design, I bring a love of architecture and engineering to the crafting table, I thrive on testing the limits of what can be created from cardboard. I always have a project, or two, or three on the go. A classic procrastinator. A serial writer of lists. I started Cardboardfolk to foster a love of creation and recycling in my children. I’m all about tapping in to the potential of the everyday object, the overlooked and discarded and giving them new life. You can find more ideas over on Instagram @cardboardfolk


