
By using this site, you agree to our Terms of Use. This post may contain affiliate links. Read our disclosure policy.
Follow us on Instagram for more fun ideas for kids!
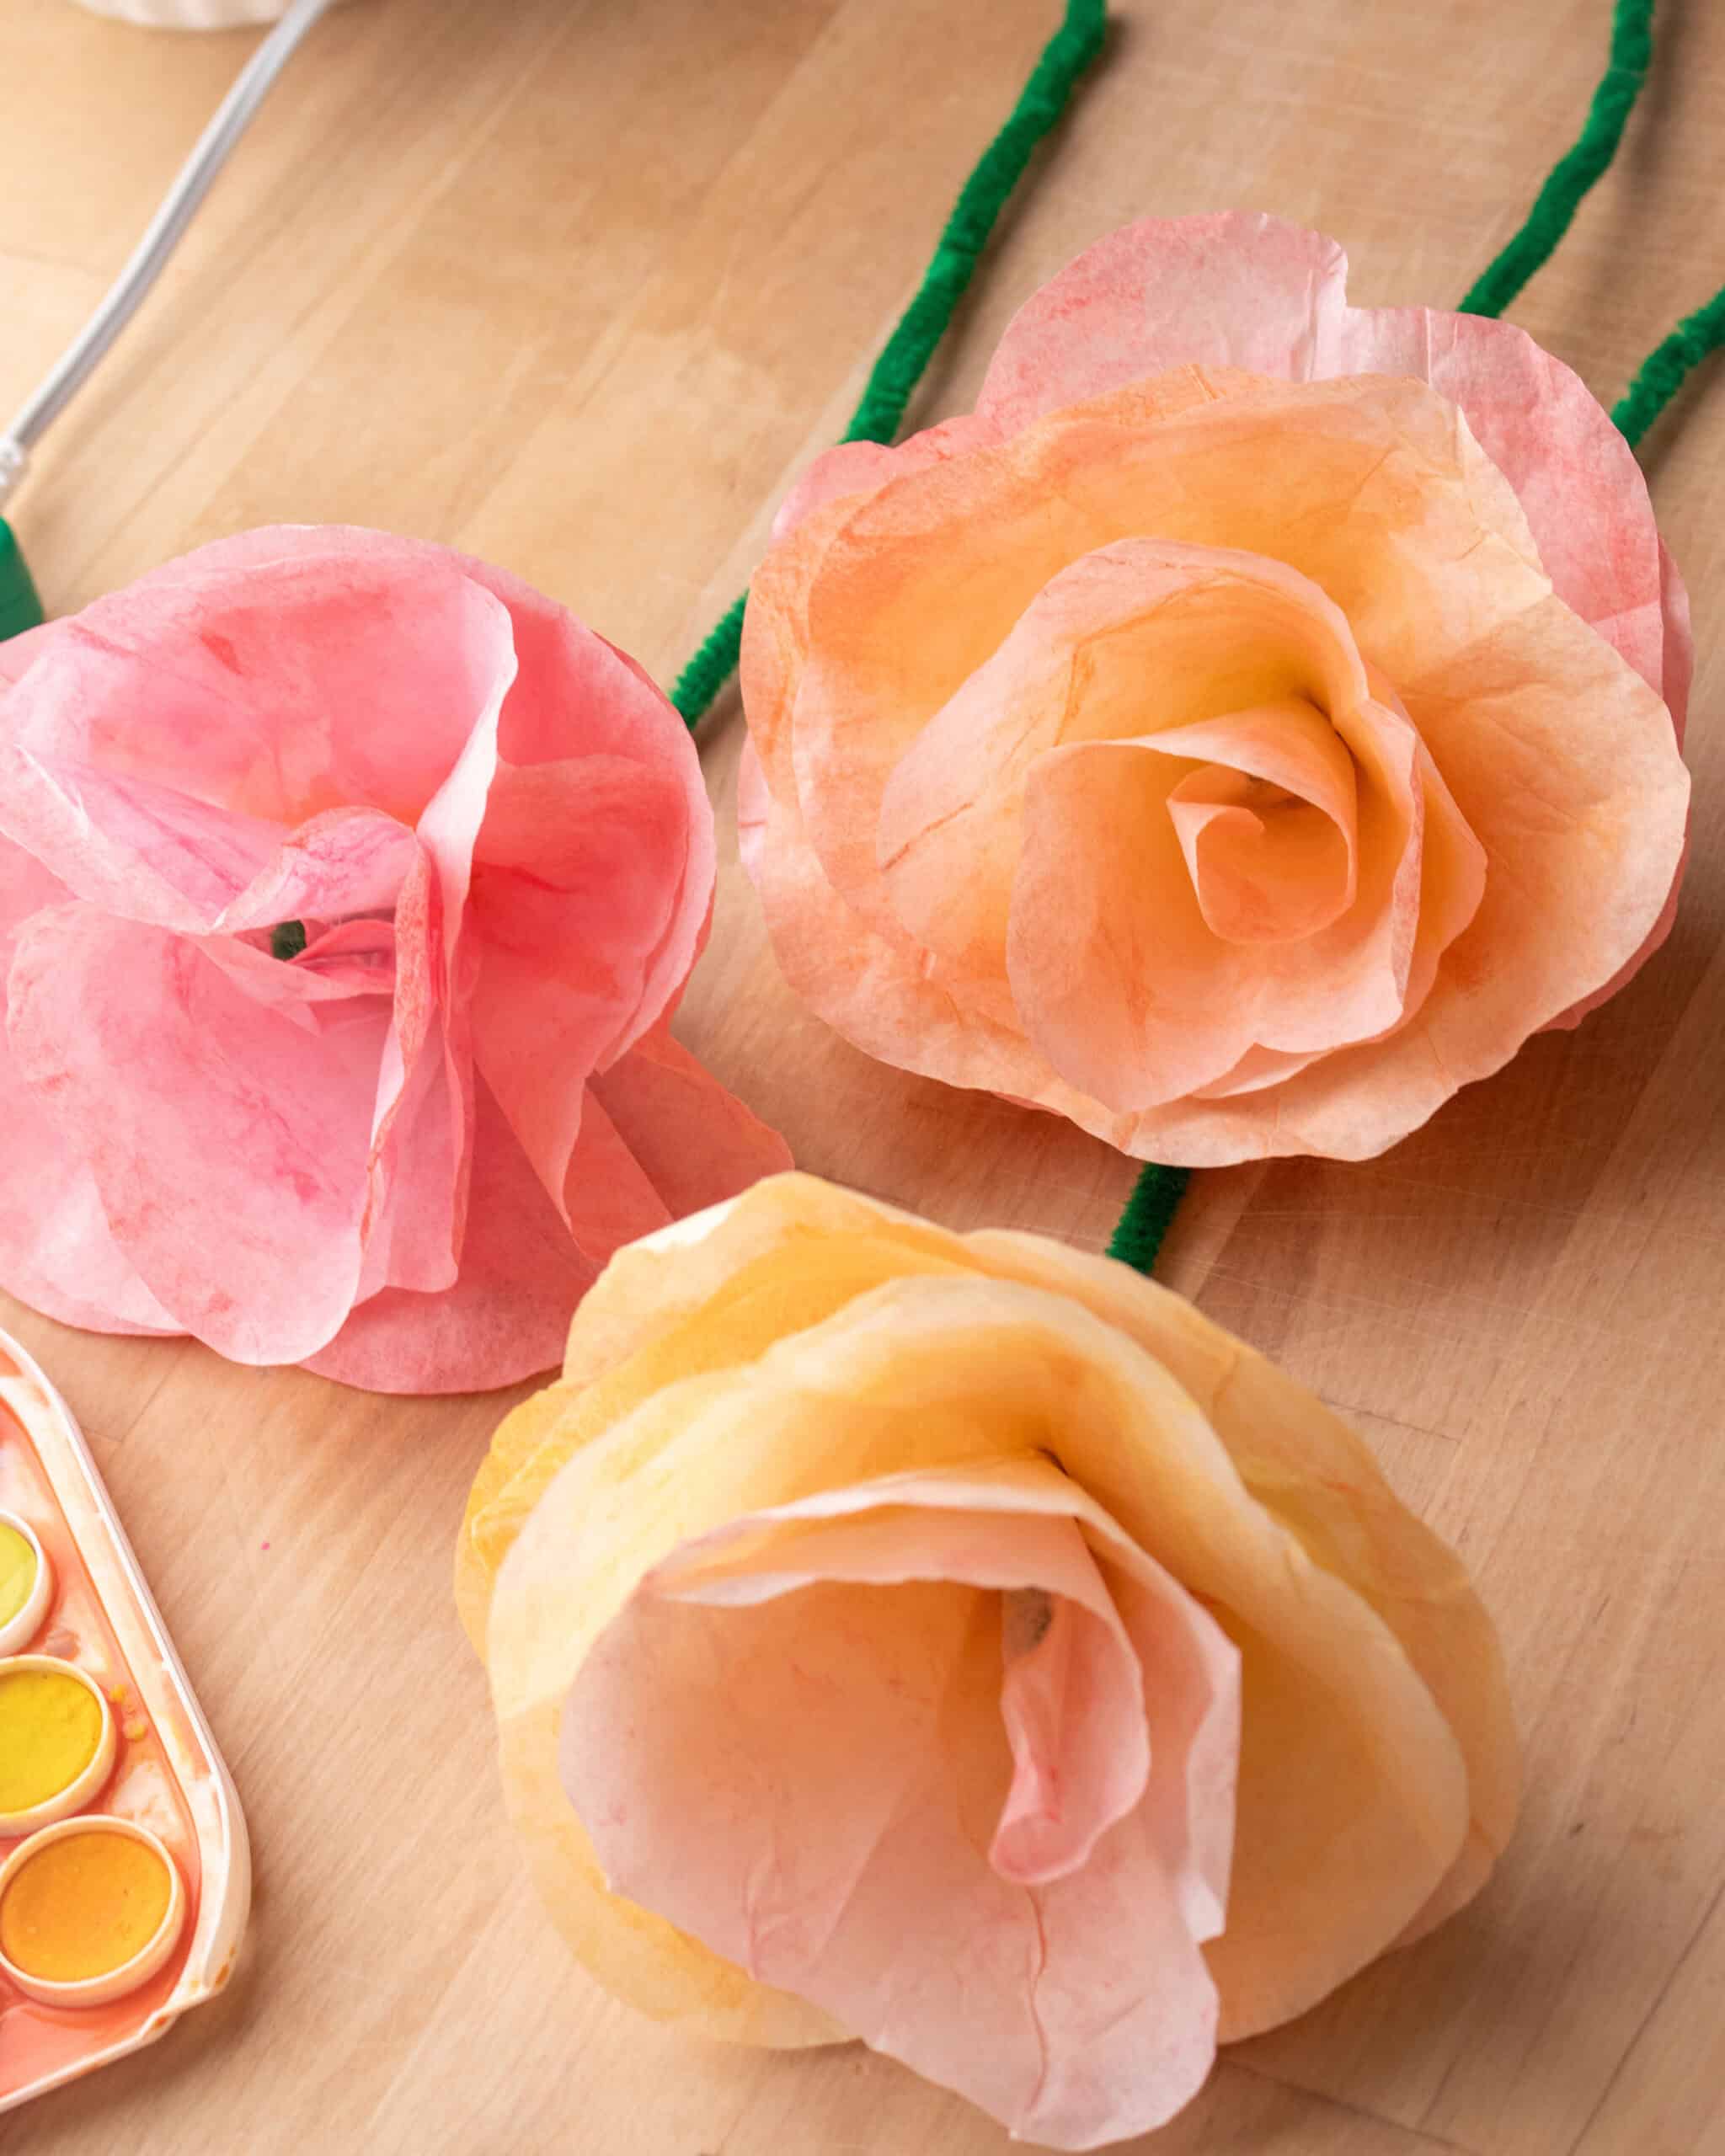
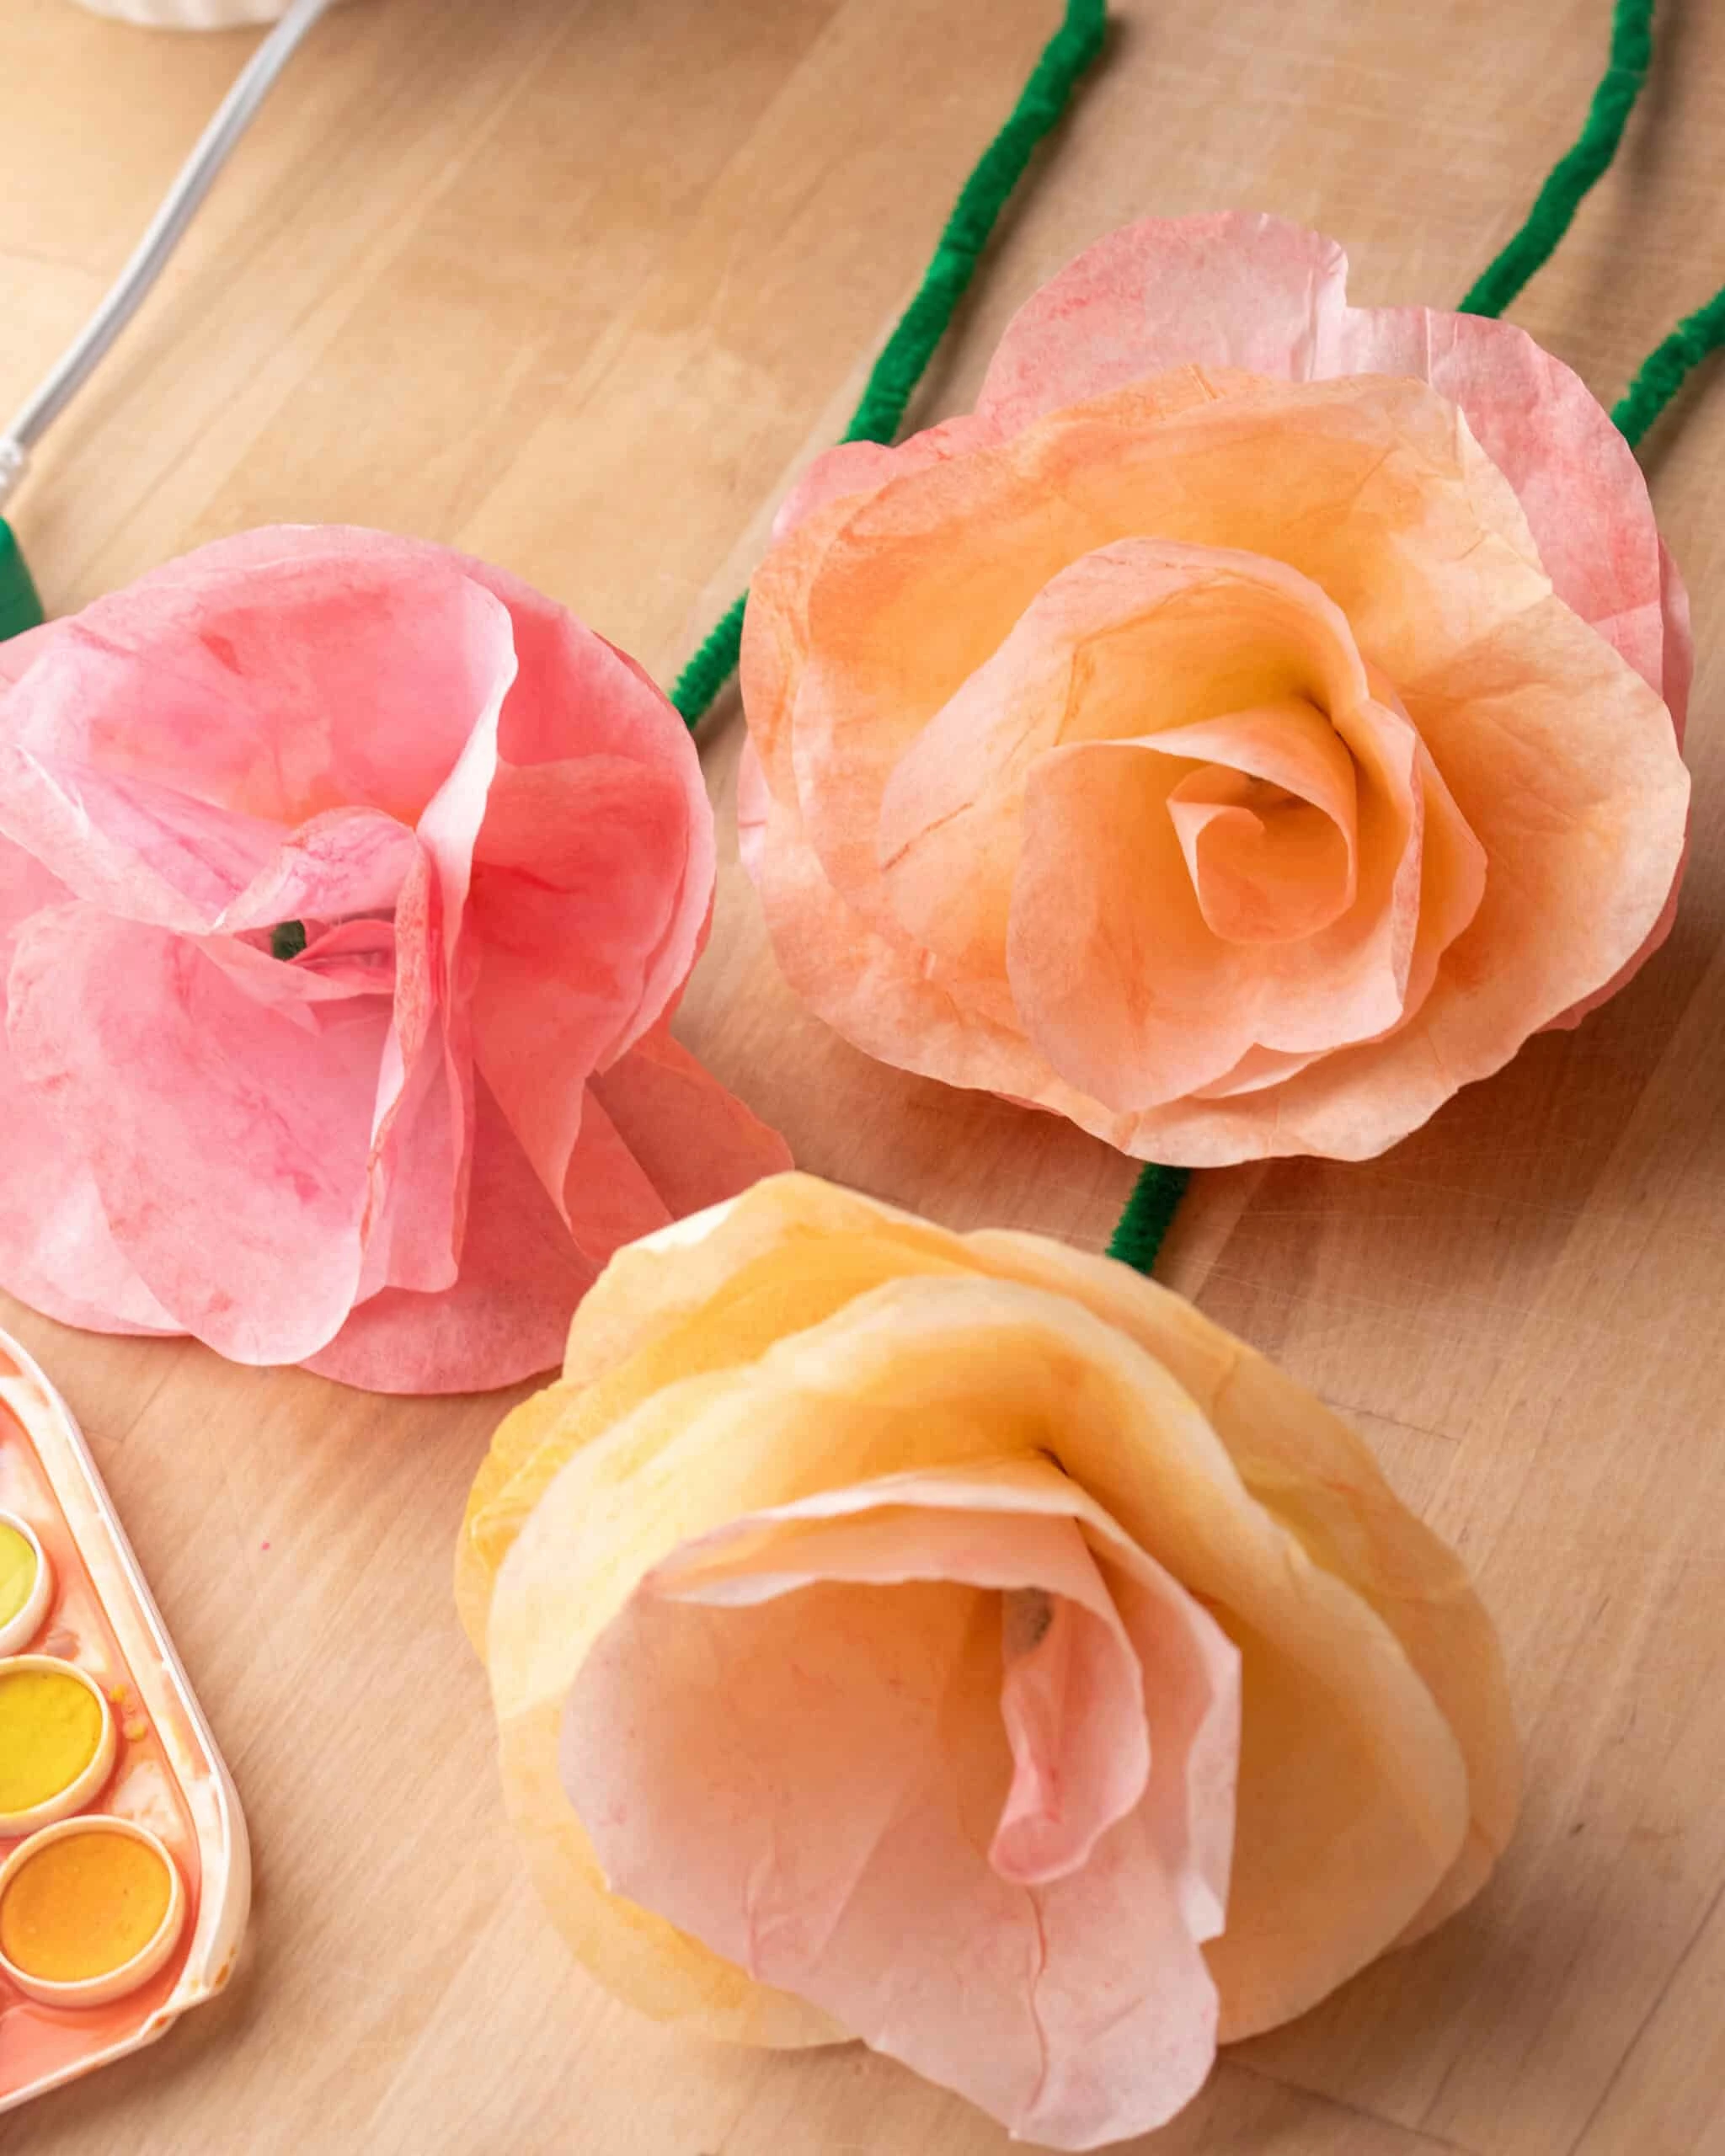
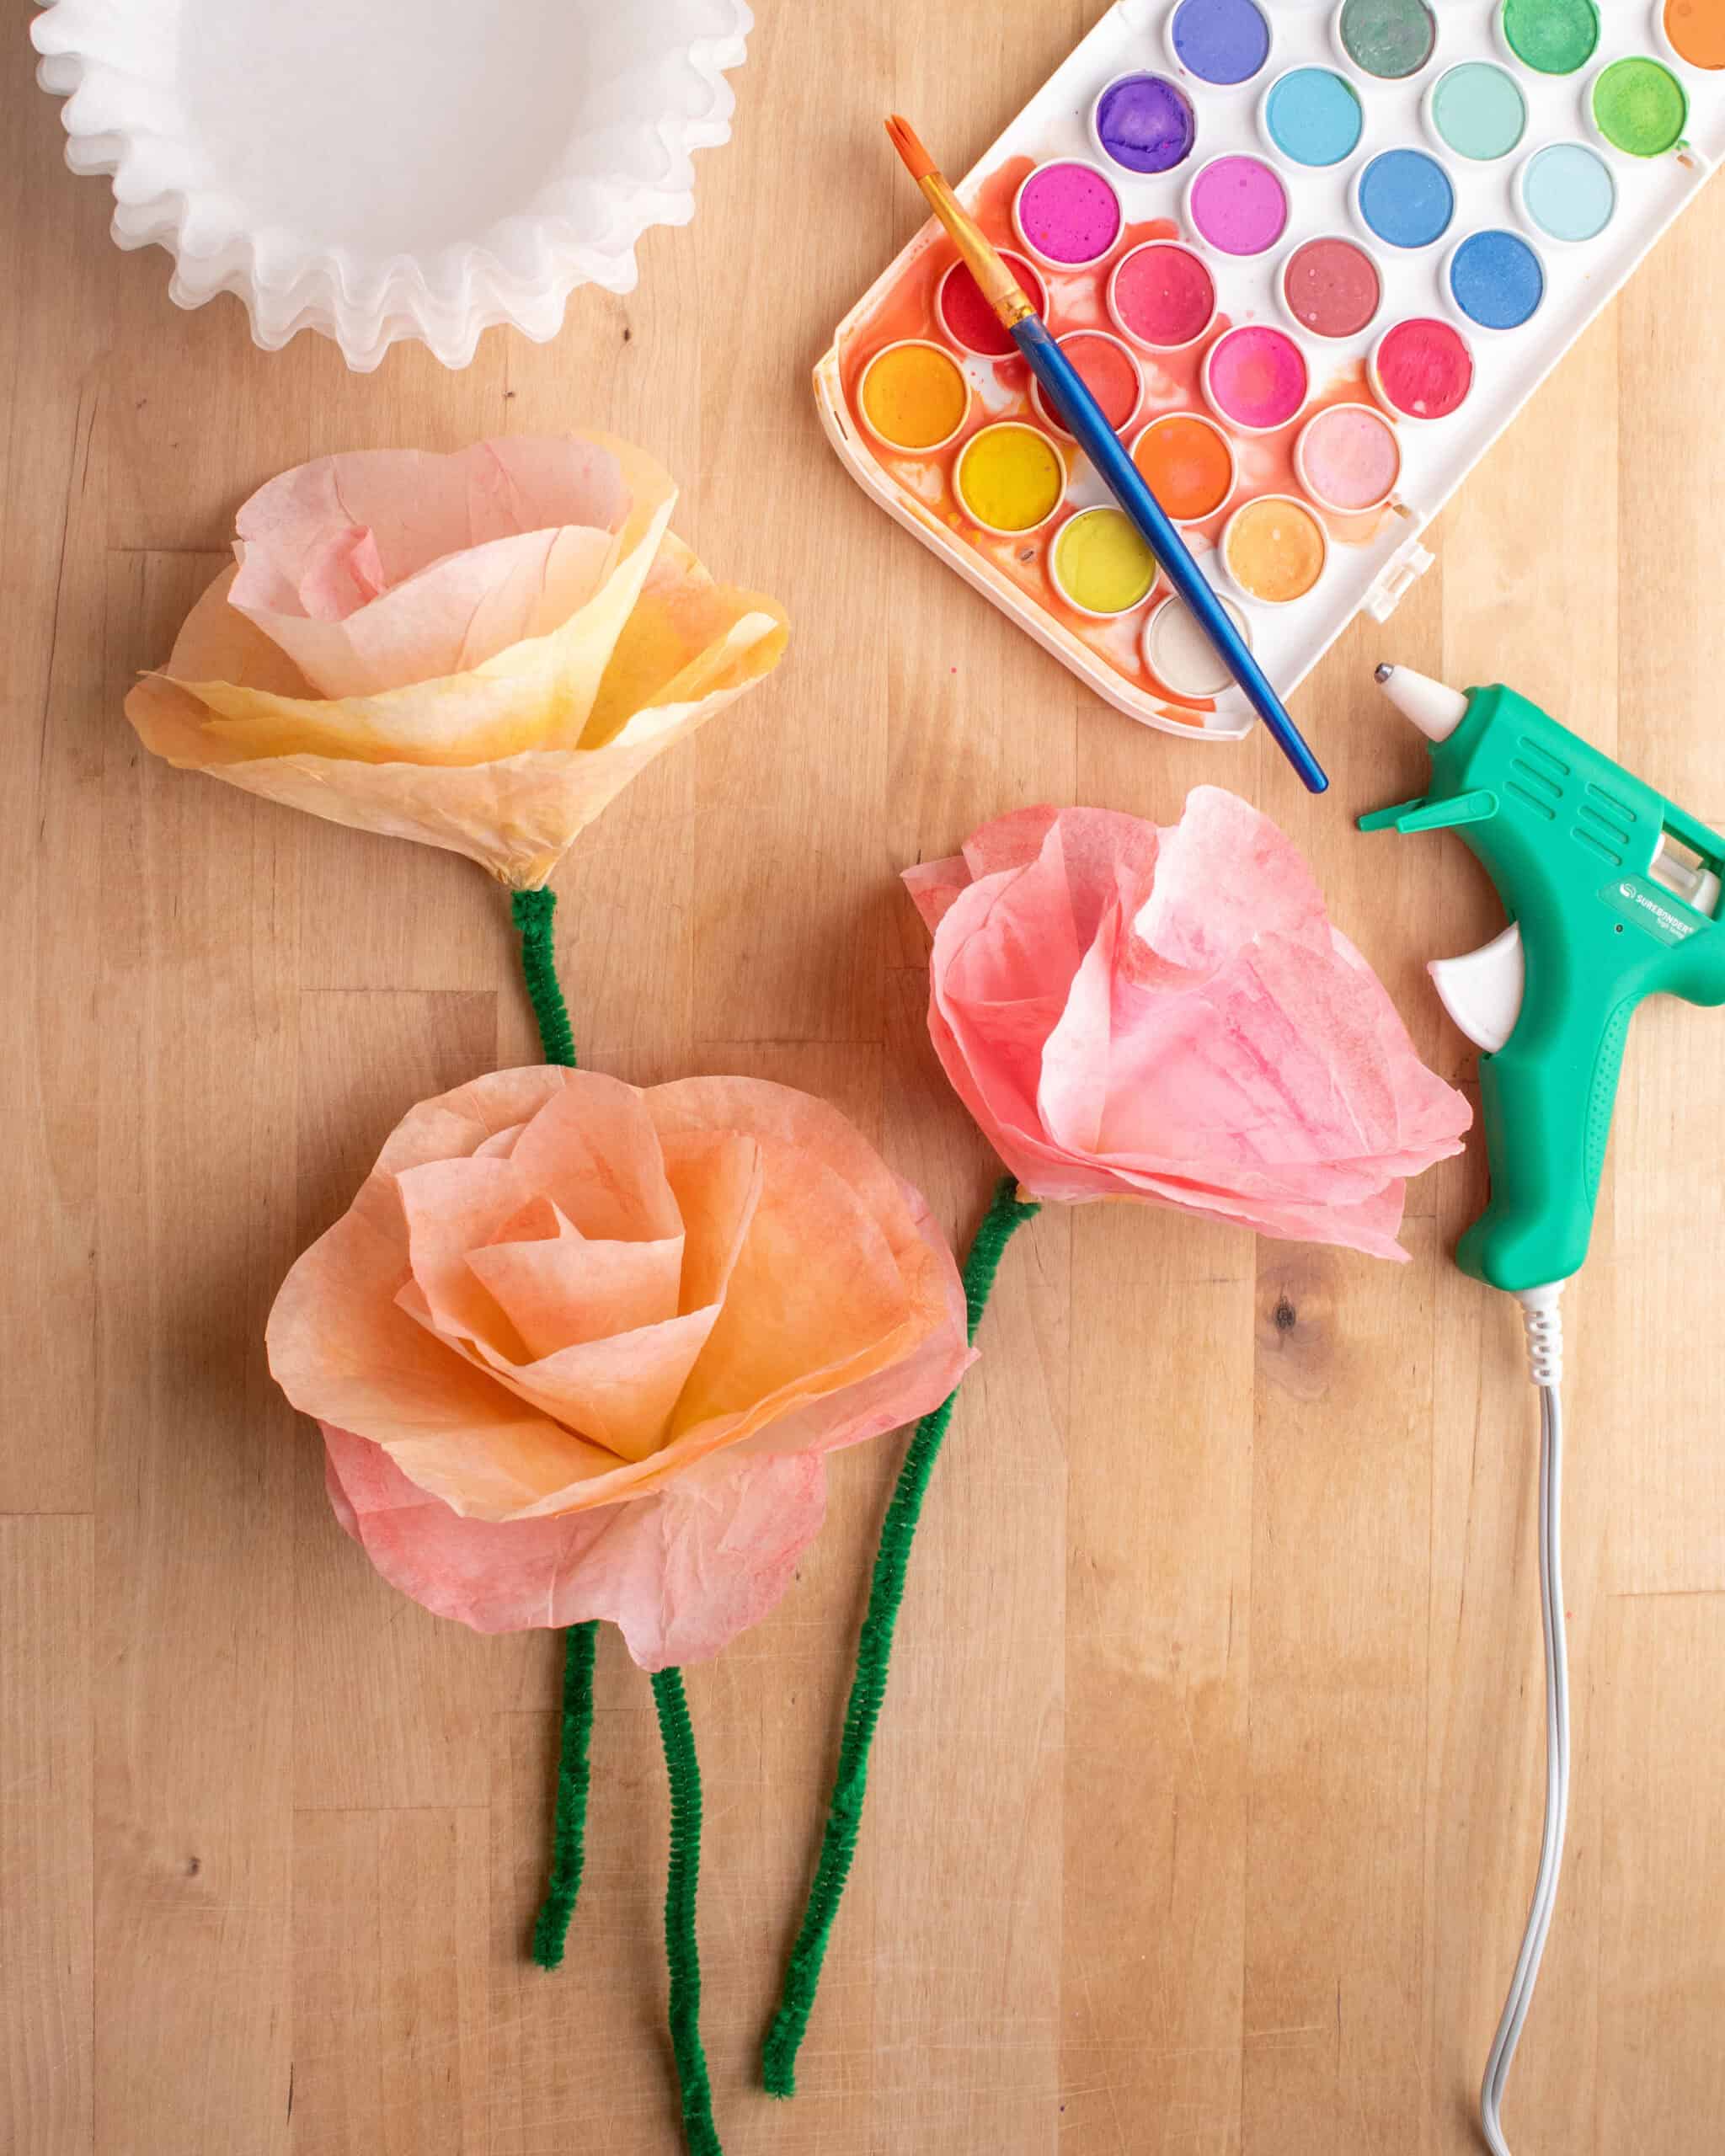
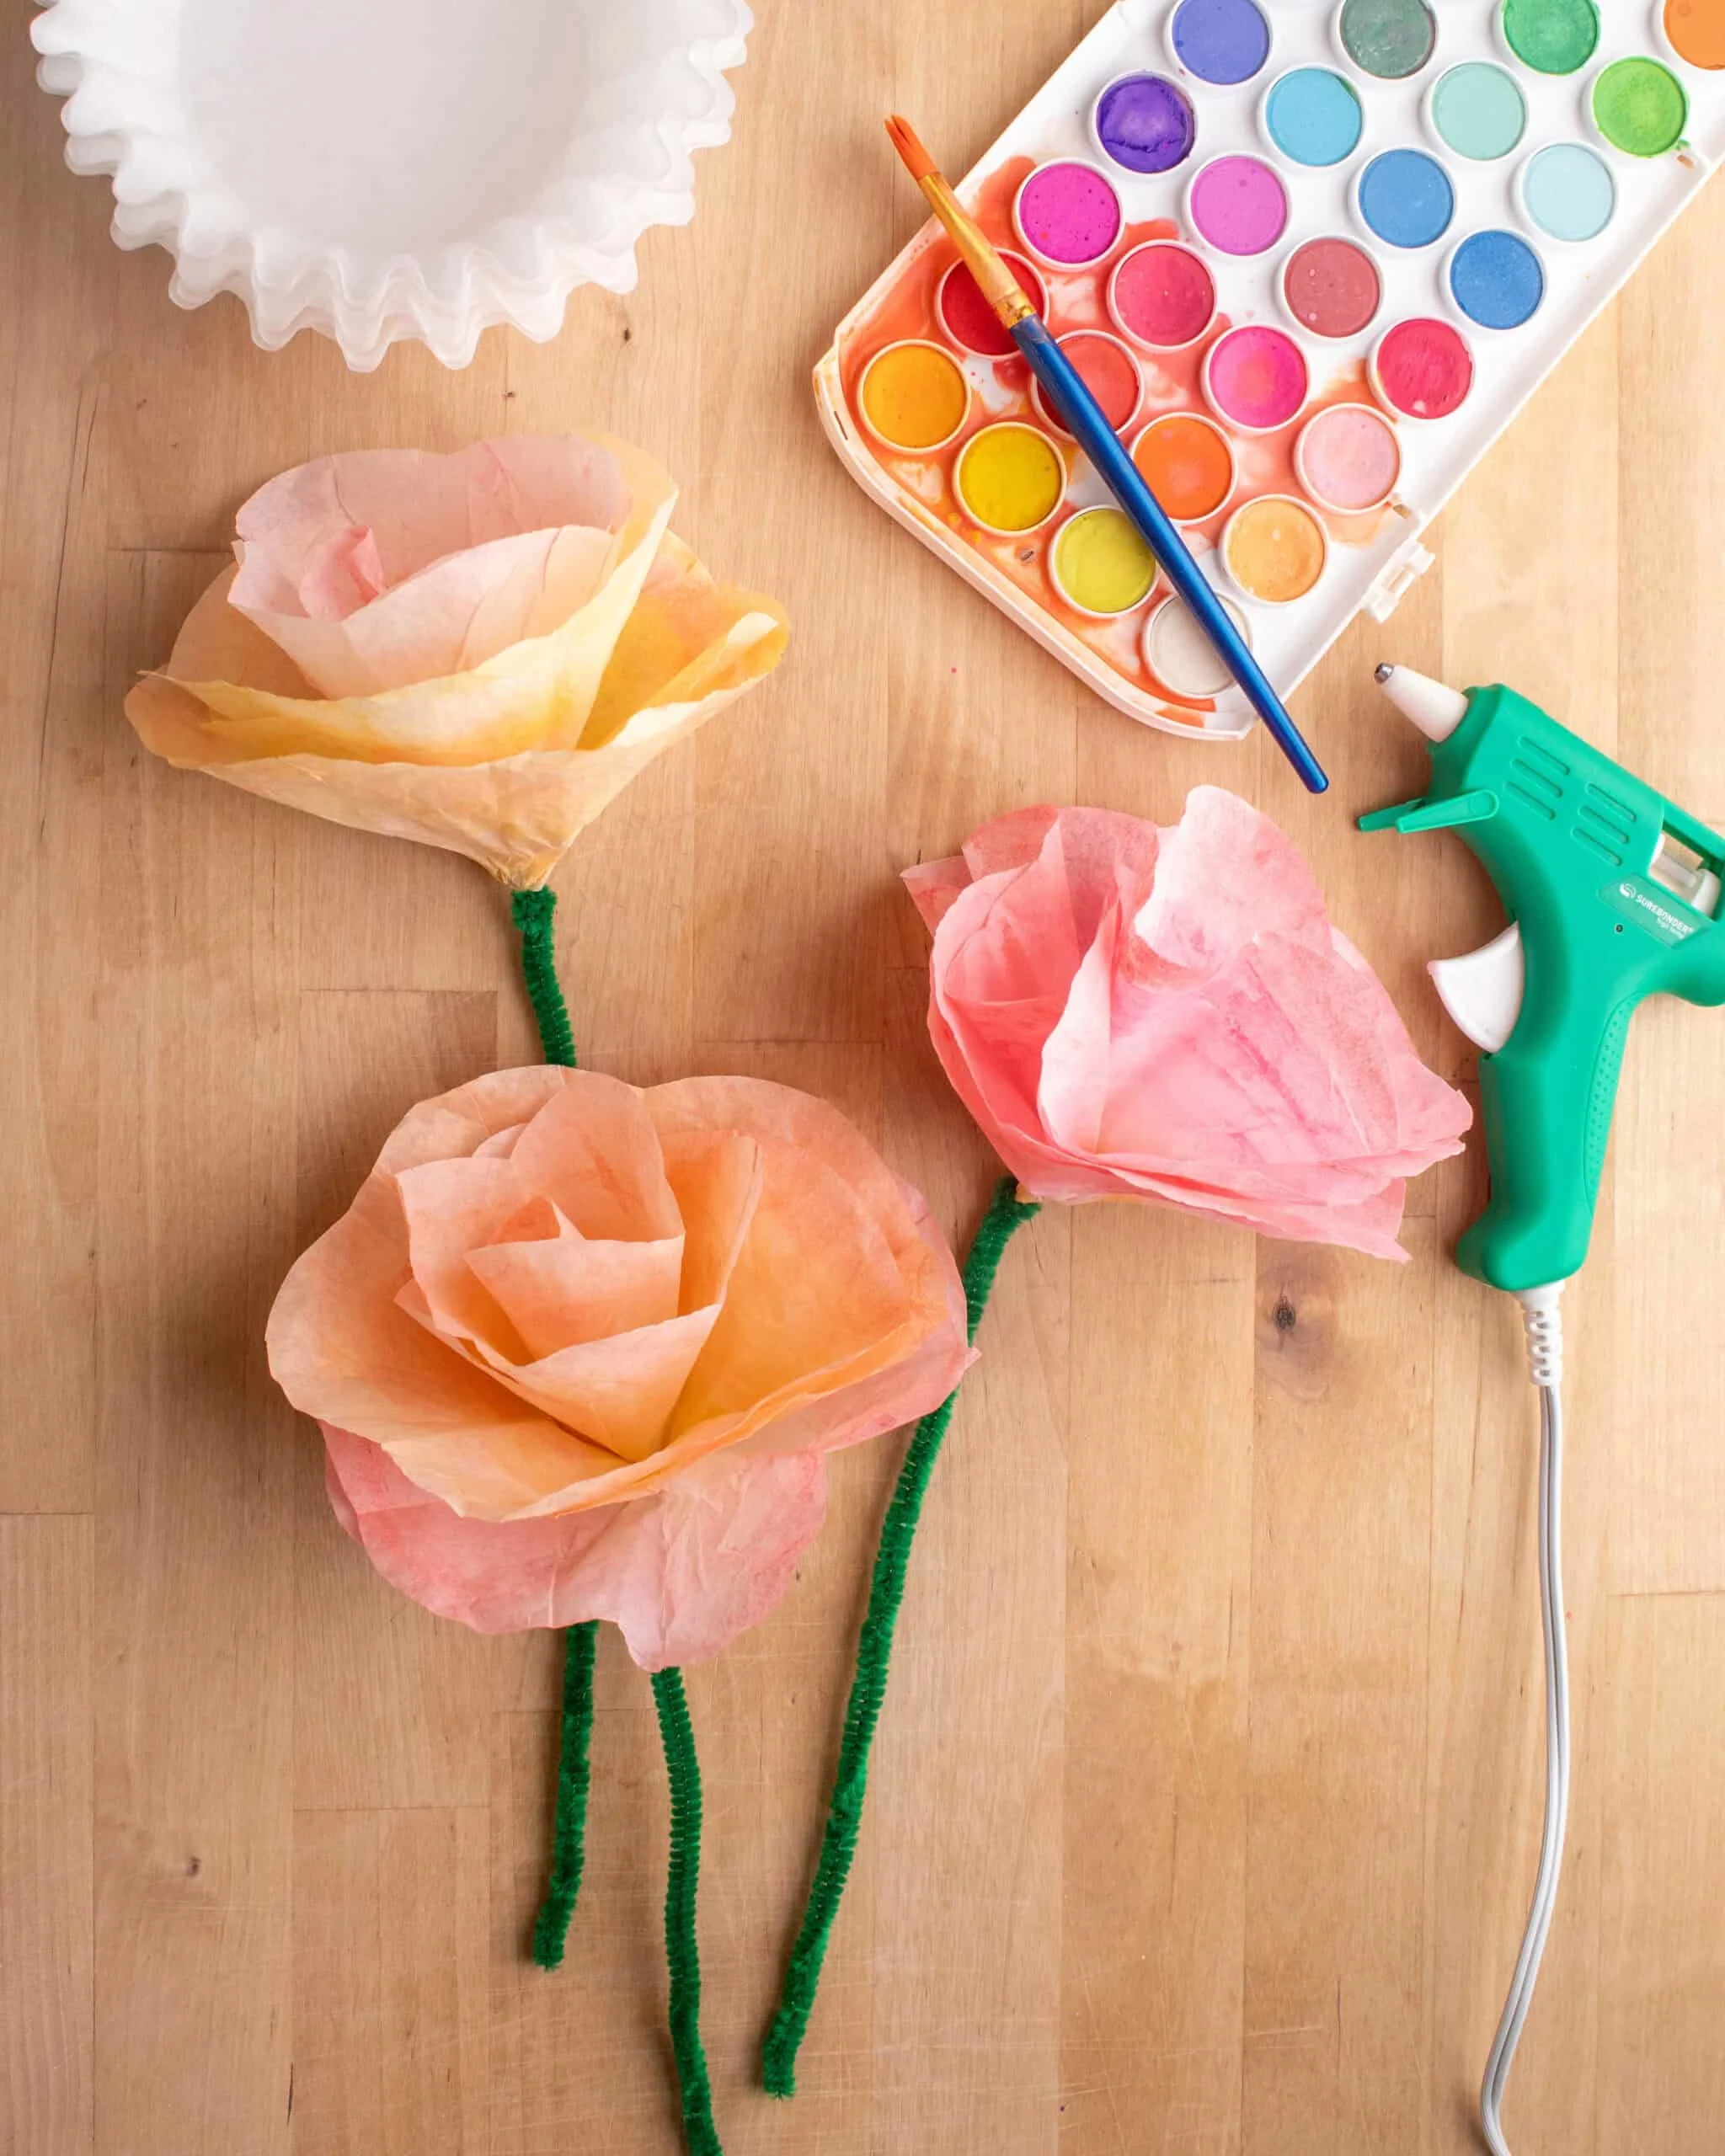
Learn how to make pretty coffee filter flowers with watercolors – a simple DIY that brings colorful decor to your home.
These Coffee Filter Flowers are the perfect spring or summer DIY project! Using simple materials like coffee filters, watercolor paints, and pipe cleaners, you can create vibrant, delicate flowers that never wilt. Whether you’re decorating for a party, brightening up a room, or just in the mood for a relaxing afternoon craft, this flower craft will bring a smile.
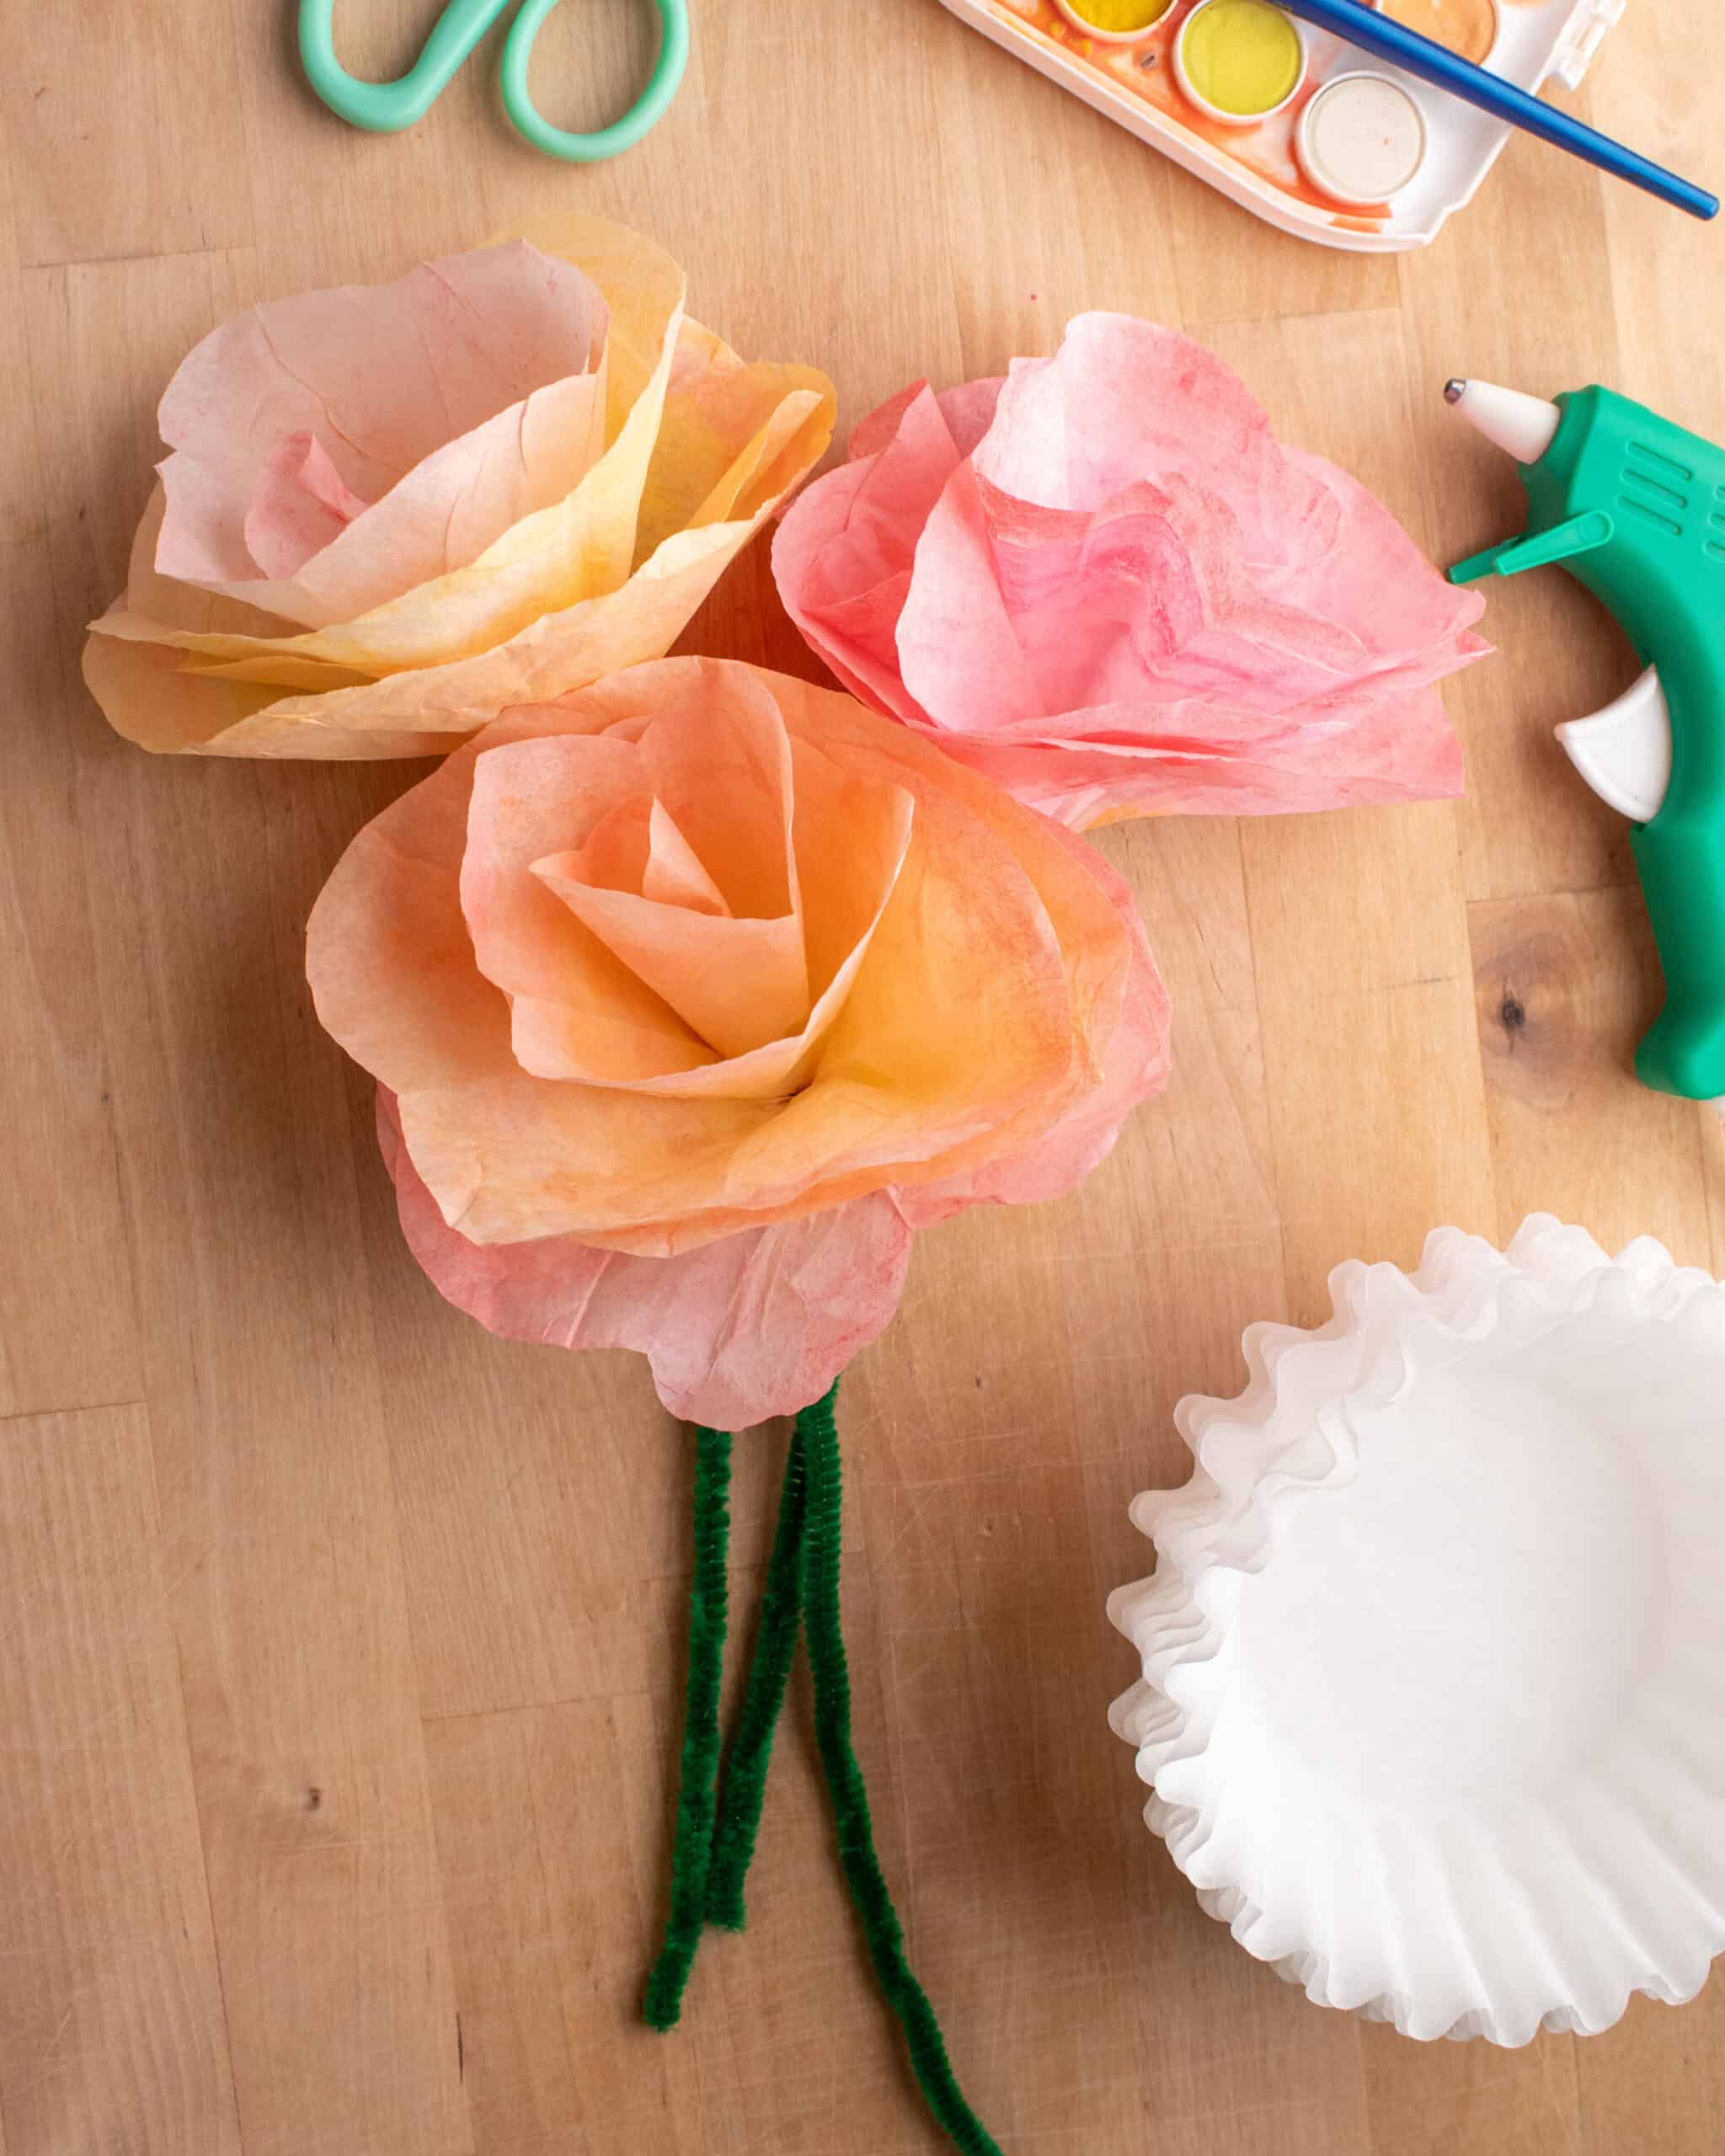


Coffee Filter Flowers – Materials:
- White coffee filters (3 per flower)
- Watercolor paints and brushes
- Water
- Green pipe cleaners
- Hot glue gun and glue sticks
- Scissors
- Wax paper or newspaper (to dry your coffee filters)

Instructions
Step 1: Paint the Coffee Filters
Lay your coffee filters flat on a protected surface (we used wax paper). Using your watercolor paints, cover each filter in bright, beautiful colors. You can blend shades together for a soft, tie-dye effect or stick to one color for a bold look. Once painted, set the filters aside to dry completely.
Step 2: Fold and Cut the Petals
After the filters are completely dry, take each one and fold it in half three times; you’ll end up with a small, wedge-like shape.
On the wider, rounded end, cut a gentle curve to create a petal shape. Then unfold the filter to reveal your full set of petals!
Step 3: Prepare the Filter for the Stem
Choose one fold line and cut along it, stopping at the center of the coffee filter. This creates an opening you’ll use to wrap the filter around the stem.
Step 4: Create the Flower
Take a green pipe cleaner and wrap the cut edge of the coffee filter around one end of it. Carefully form the filter so it ruffles and overlaps, looking like the natural petals of a flower.
Secure the base of the petals to the pipe cleaner with a dab of hot glue.
Repeat the process with two more painted coffee filters, layering them around the same stem to build up a fuller, fluffier flower.
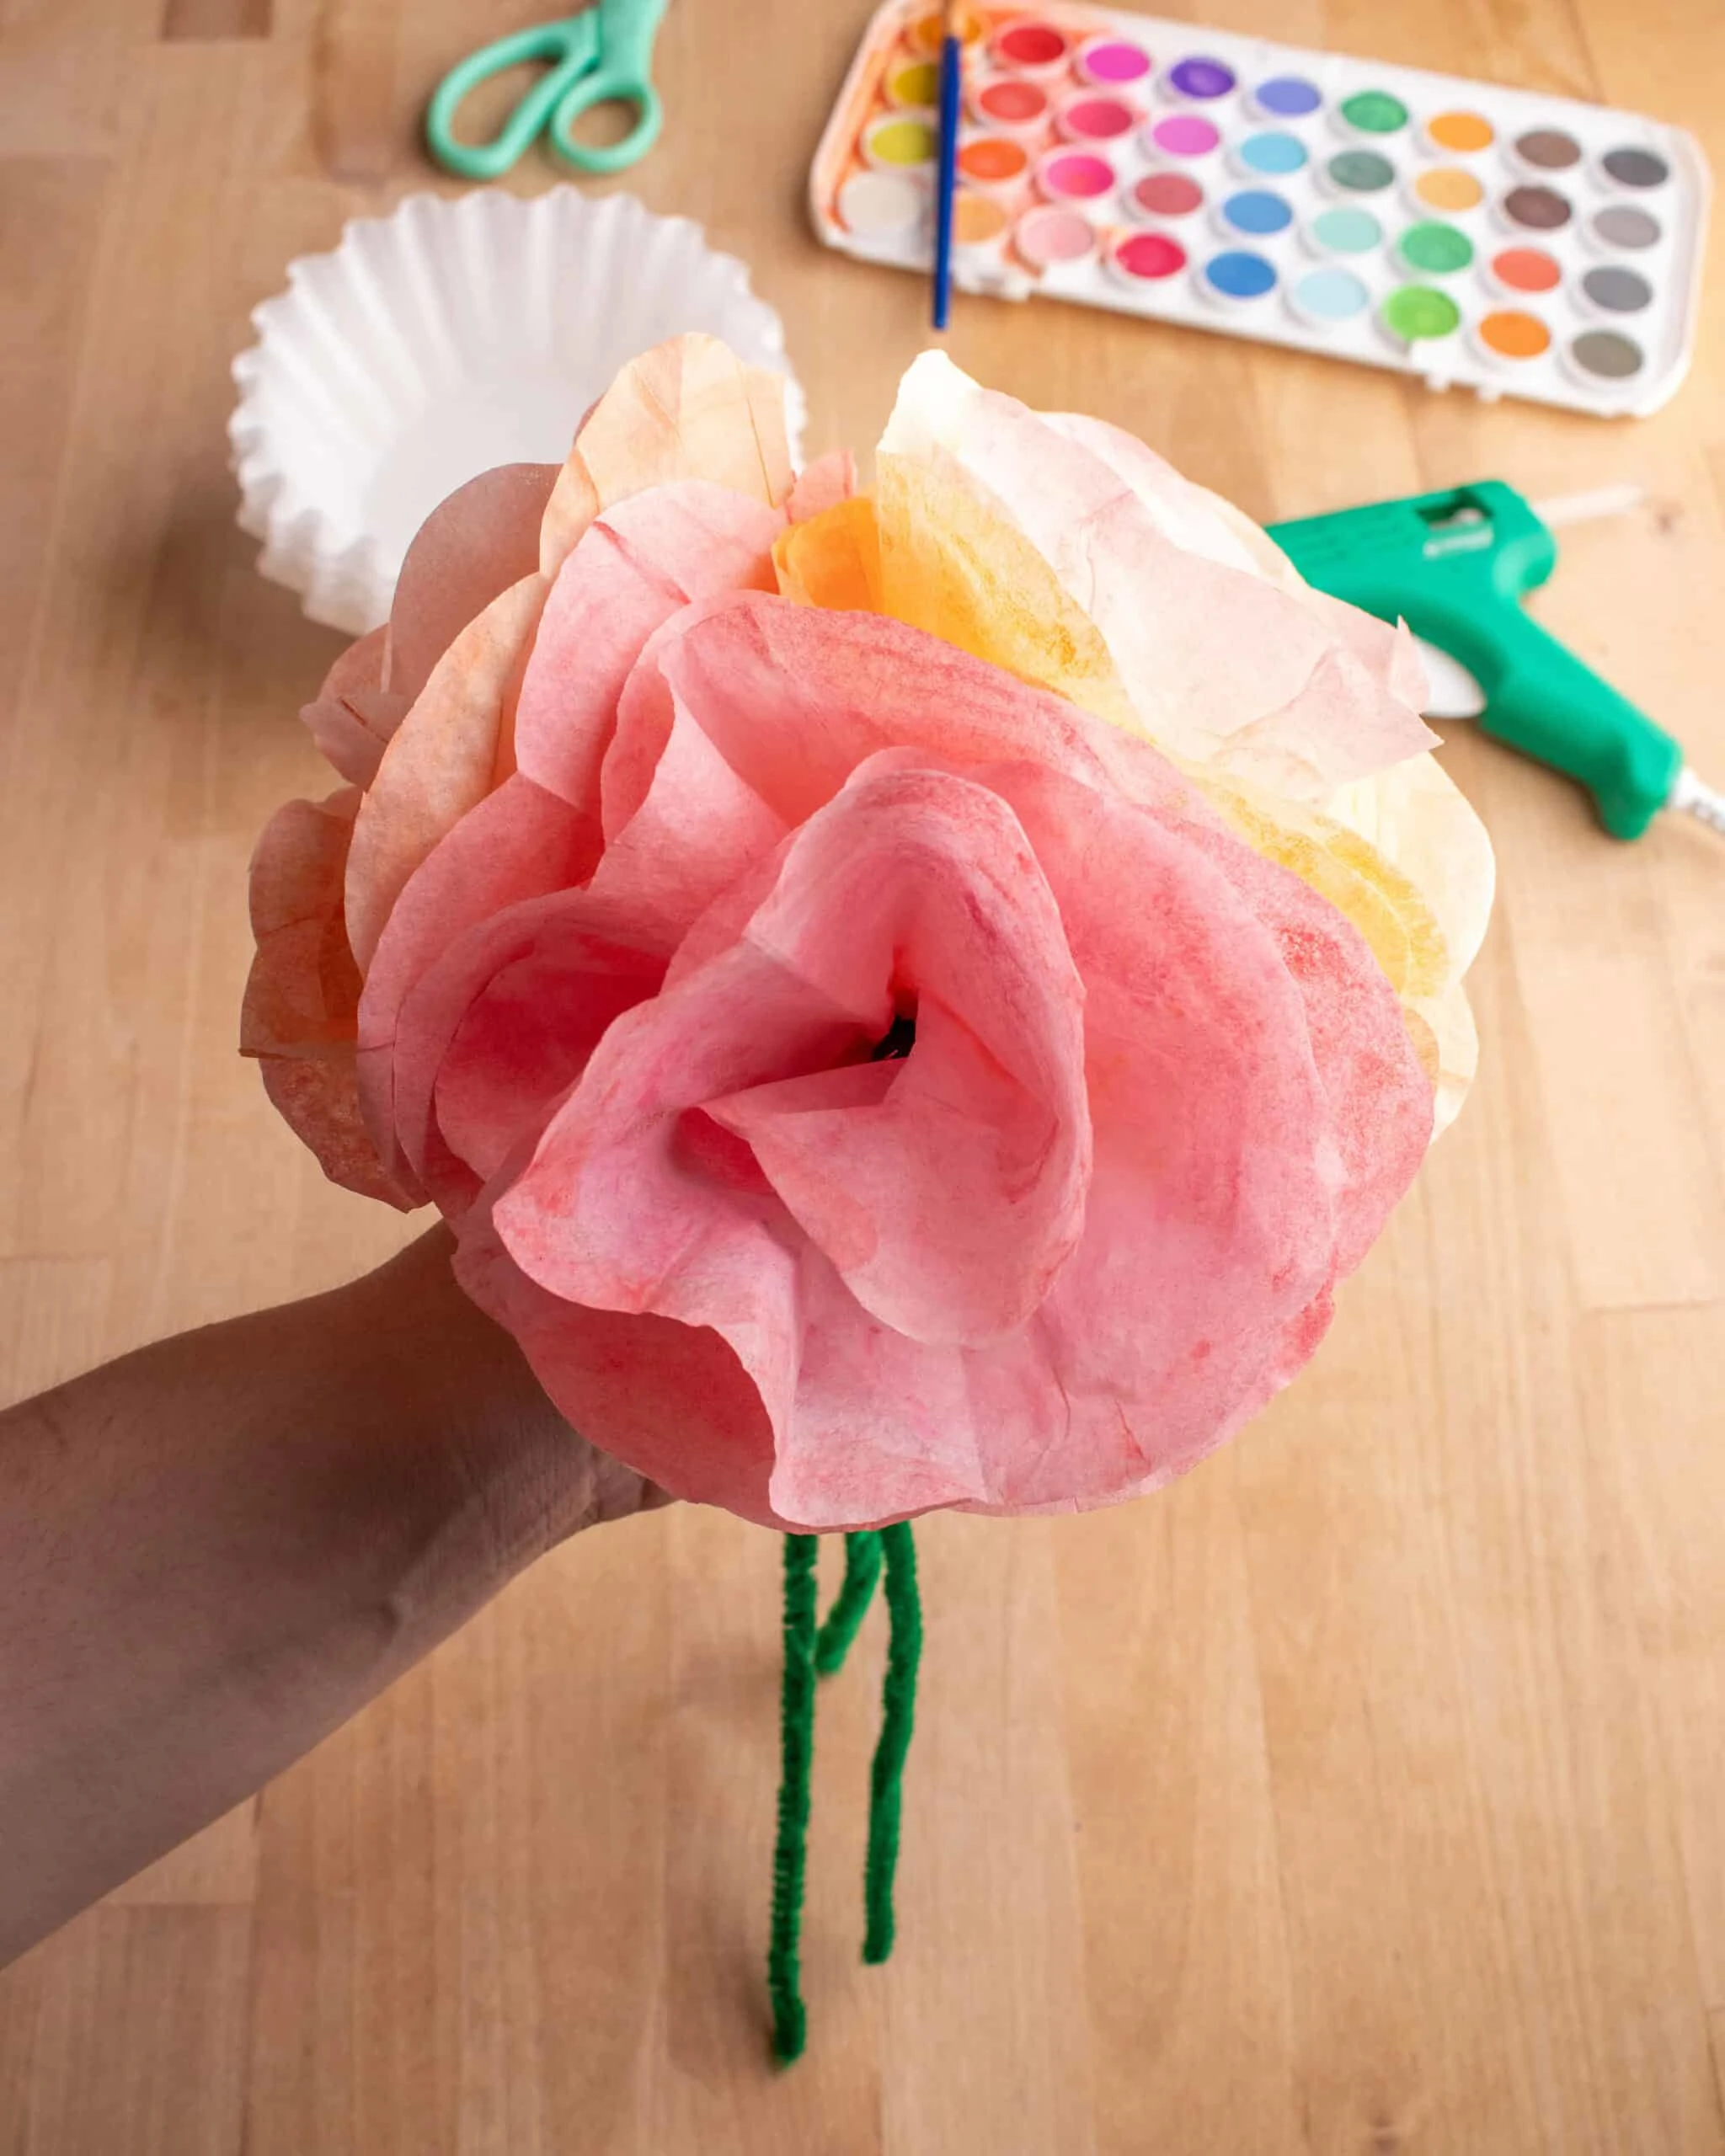
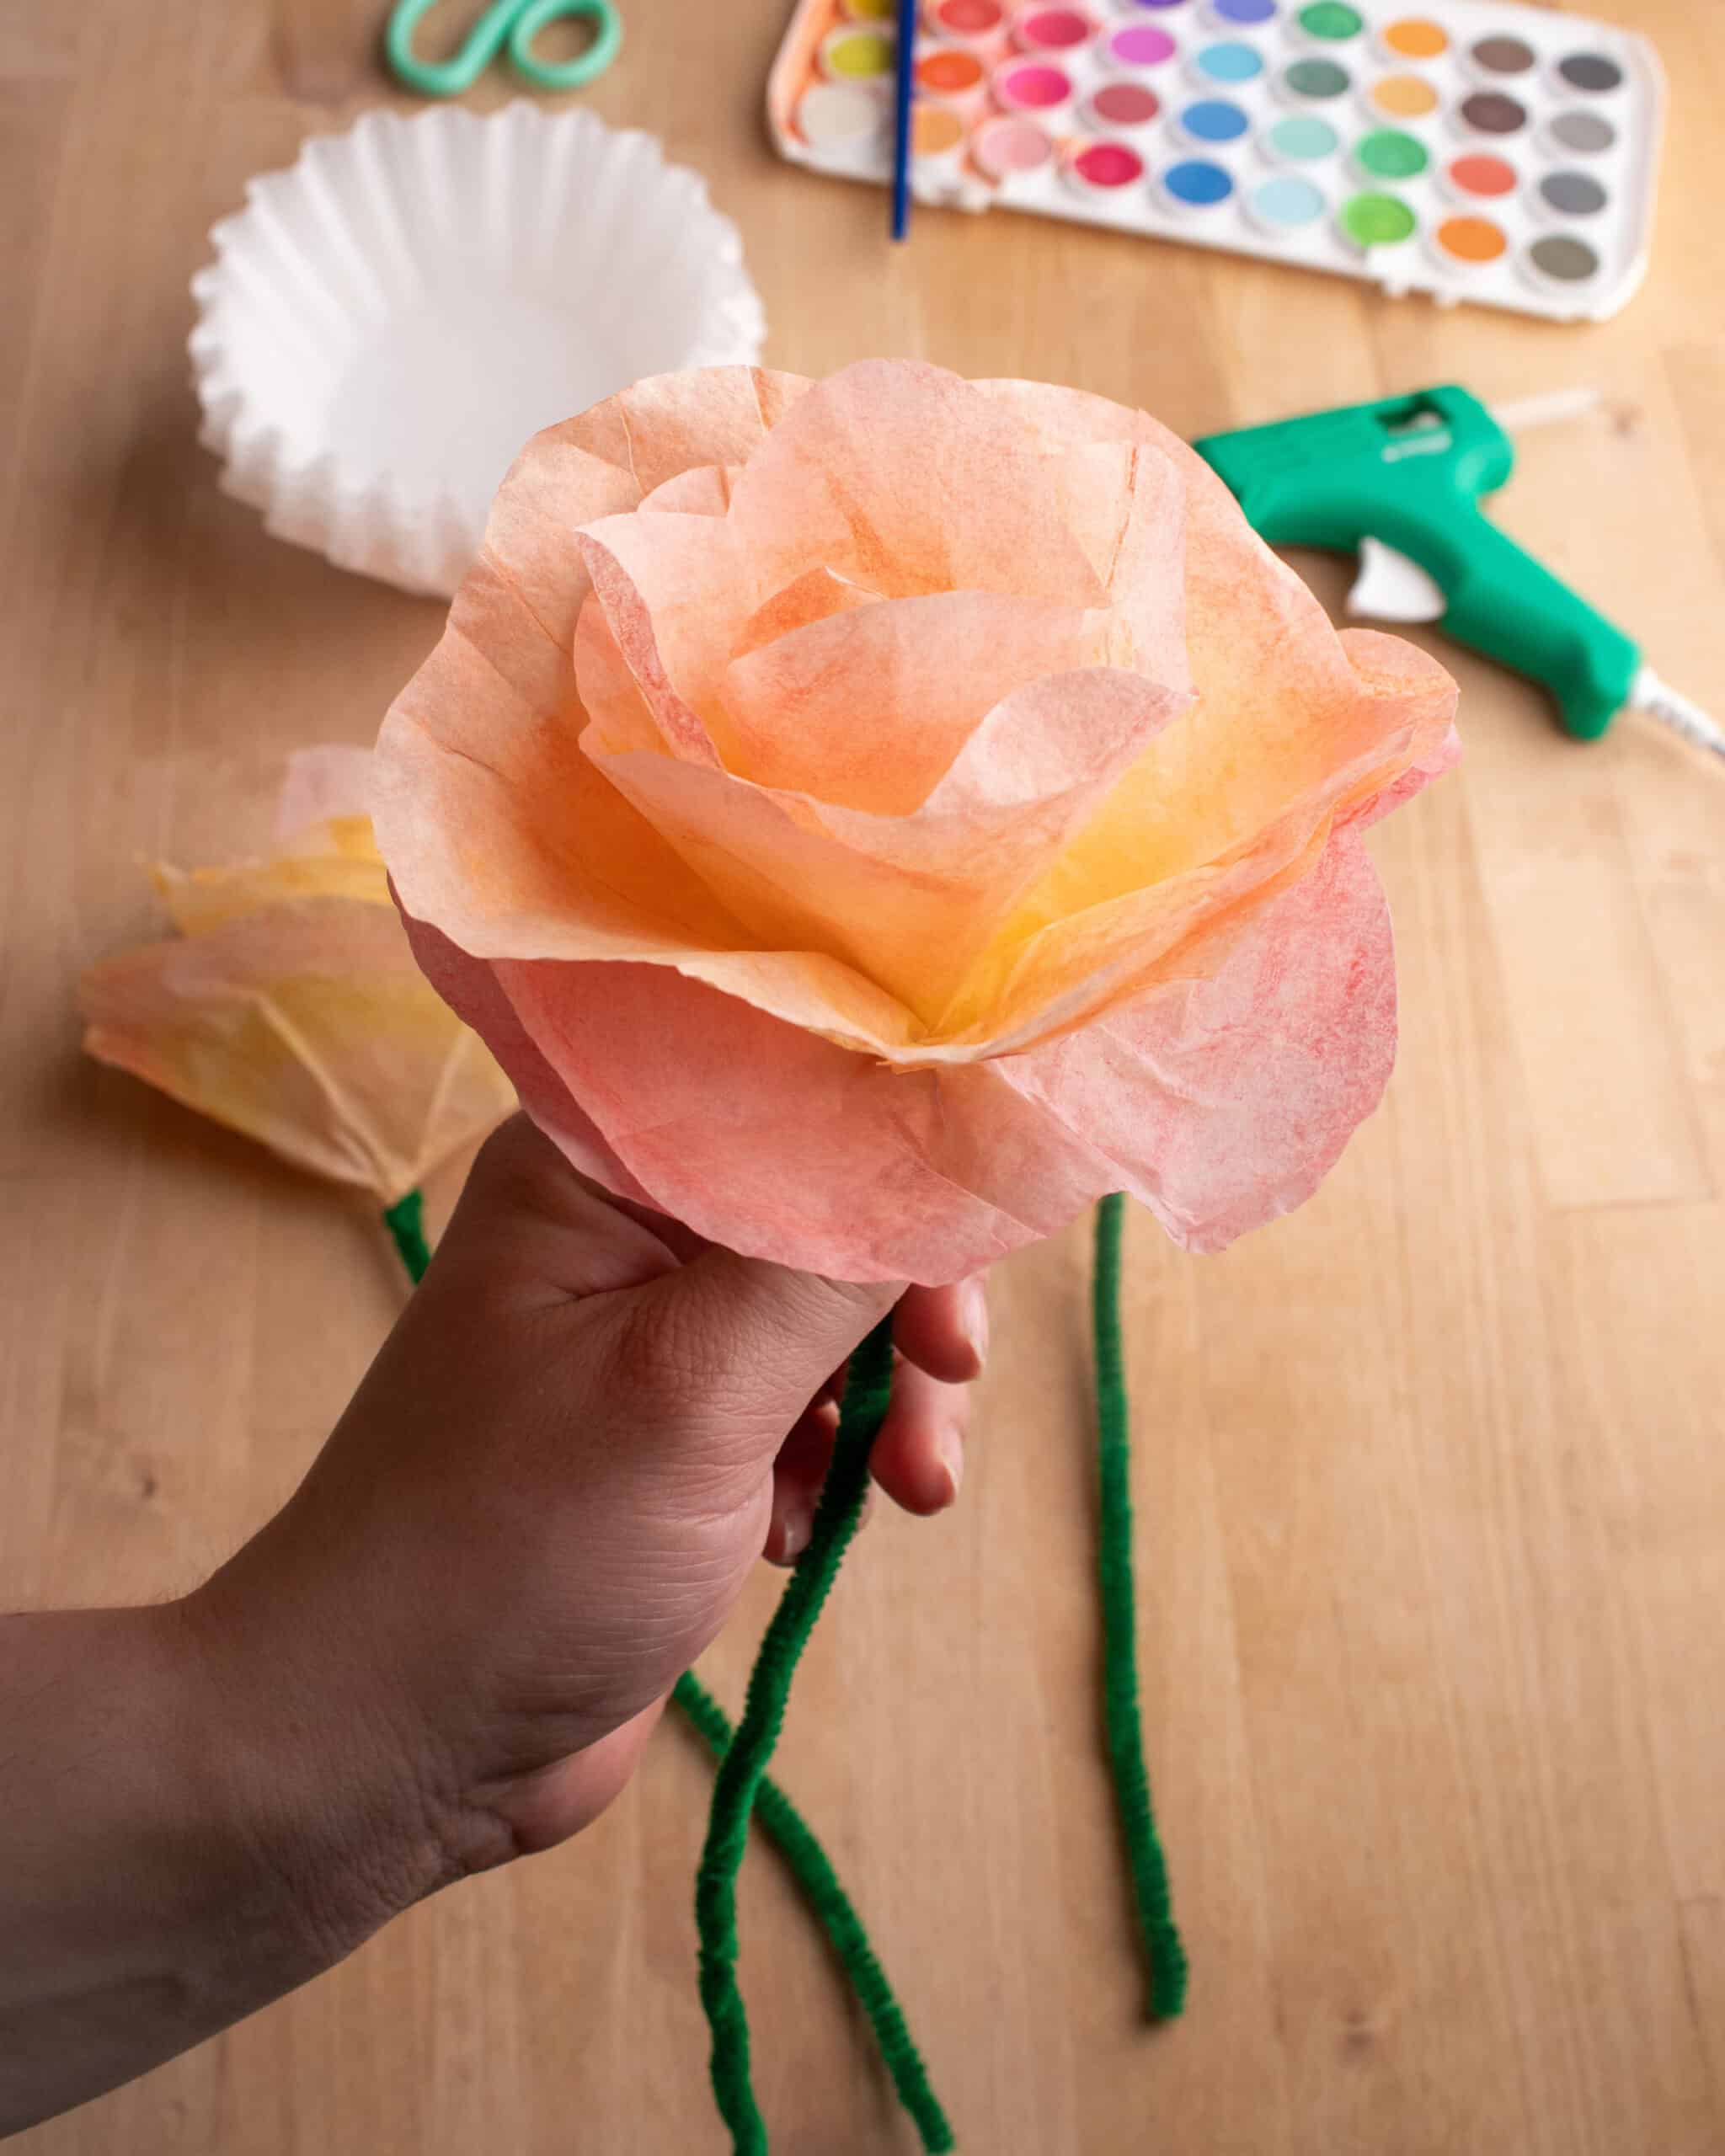
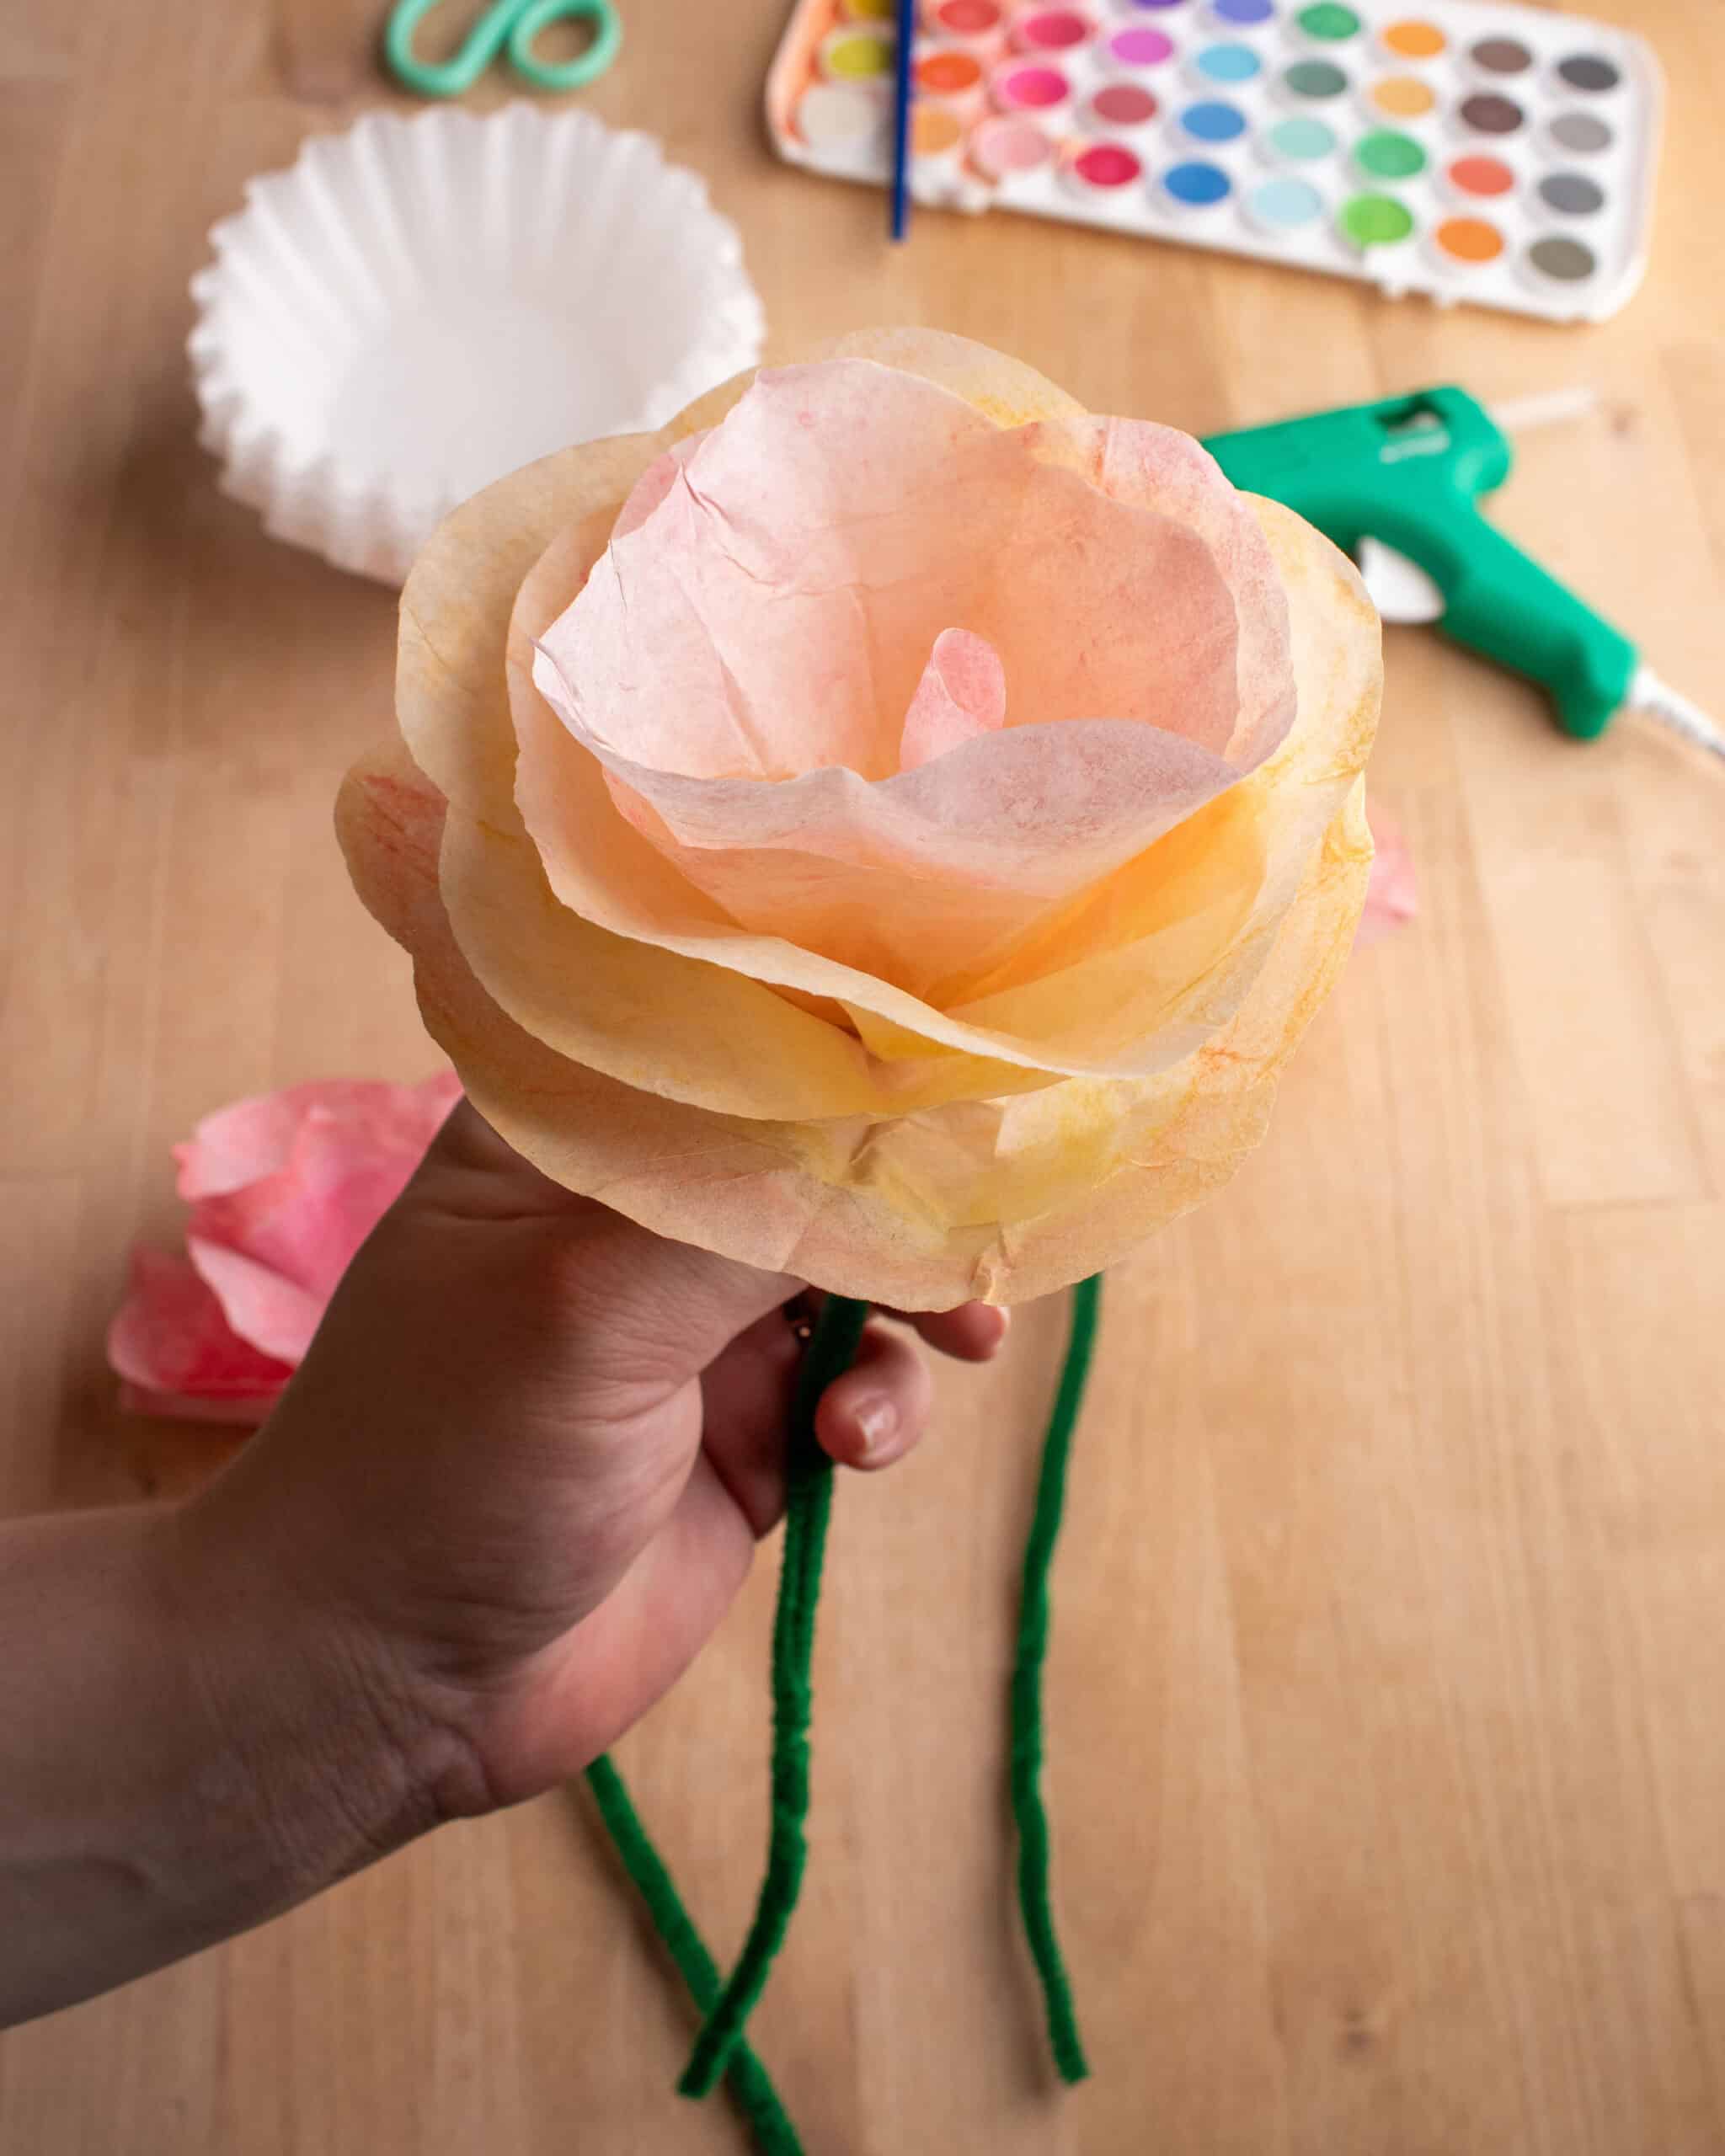
Step 5: Fluff and Finish
Once all three filters are attached and glued, gently fluff and shape the petals with your fingers until you’re happy with how your flower looks. And that’s it, your gorgeous handmade flower is ready to display!


Why You’ll Love This Flower Craft
Coffee Filter Florals are colorful, creative, and a beautiful way to bring a handmade touch to your home or party decor. Plus, they’re super affordable to make with coffee filters; each one turns out completely unique!
Tips for Success
- If you want a fuller flower, use 4 or even 5 coffee filters instead of 3.
- Experiment with different petal shapes — pointy tips, scalloped edges, or uneven cuts all create different floral looks!
- Want even more realistic flowers? Add a drop of yellow paint in the center of your filters before folding and cutting.

Final Thoughts
Coffee Filter Florals are a simple and joyful craft that anyone can enjoy. Whether you’re making a single bloom or a whole bouquet, these painted flowers add a pop of color and a little handmade magic wherever they go. So gather your supplies and get creative with your paints today!
More flower crafts


Agnes Hsu is a mom of three and has been inspiring parents and kids to get creative with easy activities and family friendly recipes for over 10 years. She shares her love for creative play and kids food to her 2MM+ followers online. Agnes' commitment to playful learning and kindness has not only raised funds for charity but also earned features in prestigious nationwide publications.