HOW TO CREATE AMAZING PUMPKIN CARVINGS WITH KIDS
.jpg)
.jpg)
.jpg)
Ever since they understood the concept of Halloween equating with pumpkins, my kid have been asking to for my husband and I to carve pumpkins with them. We’re talking real pumpkin carvings with intricate designs featuring words, owls, bats, and spooky characters. Needless to say, we aren’t the most artistic when it comes to free hand drawings so although my oldest is 6, we’ve never really “carved” a pumpkin. Other than the half-hearted, cute Jack O’ Lantern smile.
We found out about these cool Carving Kits from Pumpkin Masters and finally! Our kids’ wishes of having really awesome carved pumpkins came true.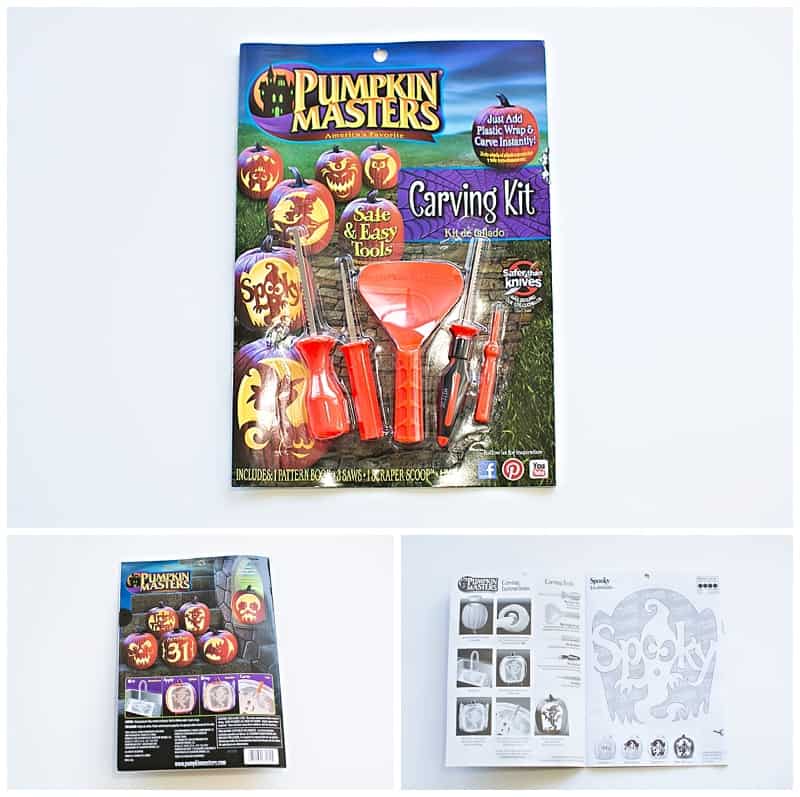
These carving kits come with everything you need to create spooky and fun designs with built in templates, tools and easy instructions. Although our kids are still young to handle the carving tools, I can see older kids being able to follow along. However, there are plenty of ways little ones can still join in on the fun. Check out how we were able to get the kids excited about carving their first pumpkins every step of the way.
For this project you’ll need:
-
Plastic Wrap
-
A cloth to contain the mess (we use a painter’s cloth which works great)
-
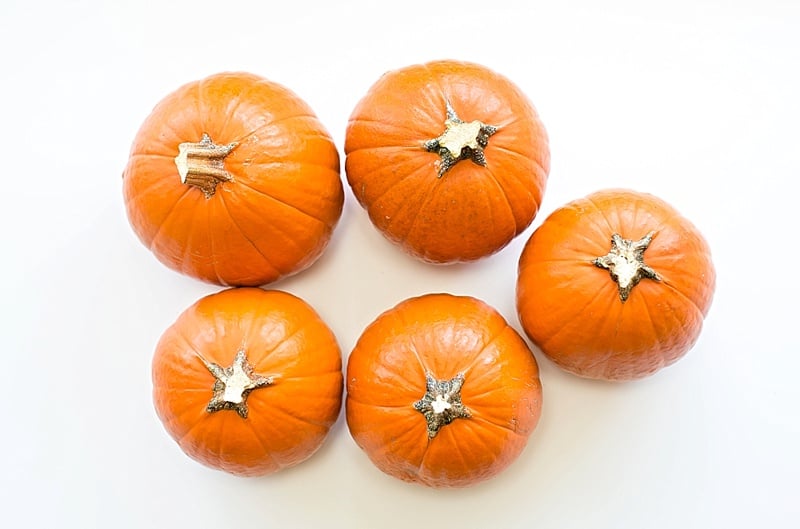
Pumpkins (large ones work best)
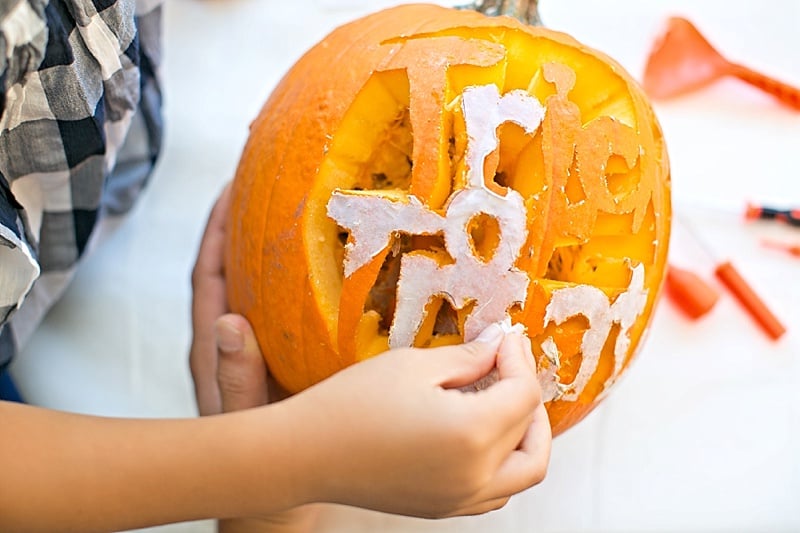
You’ll want to first select which design you want. The kit comes with 12 different designs and what’s nice is that they are labeled from easy to challenging. The kids took their time choosing their favorites and we decided to carve 4; the Trick or Treat sign, Bat, Owl and Monster.
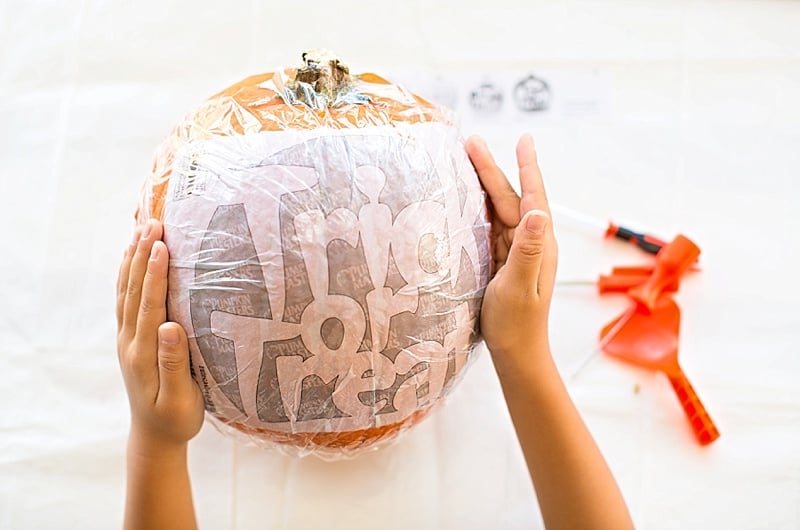
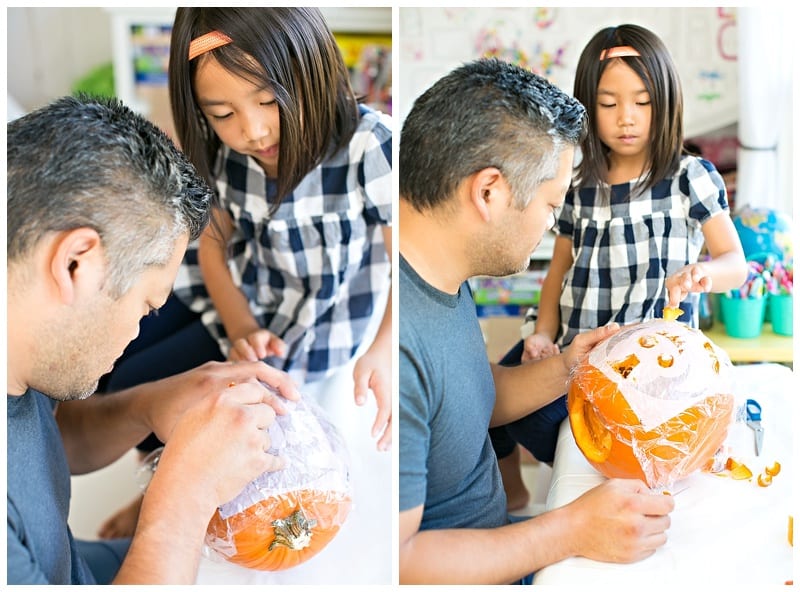
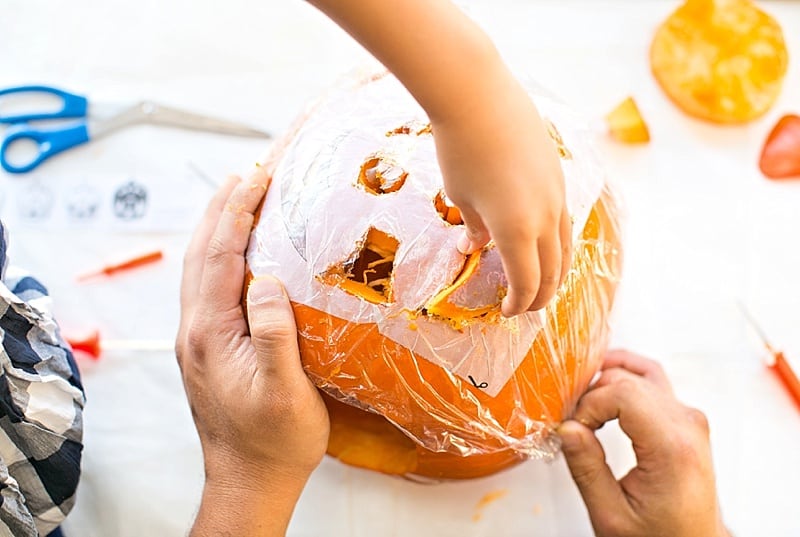
You’ll want to first wet your stencil and position it over you pumpkin. Then apply plastic wrap over it. The kids were able to help with this step, smoothing over the wrap.
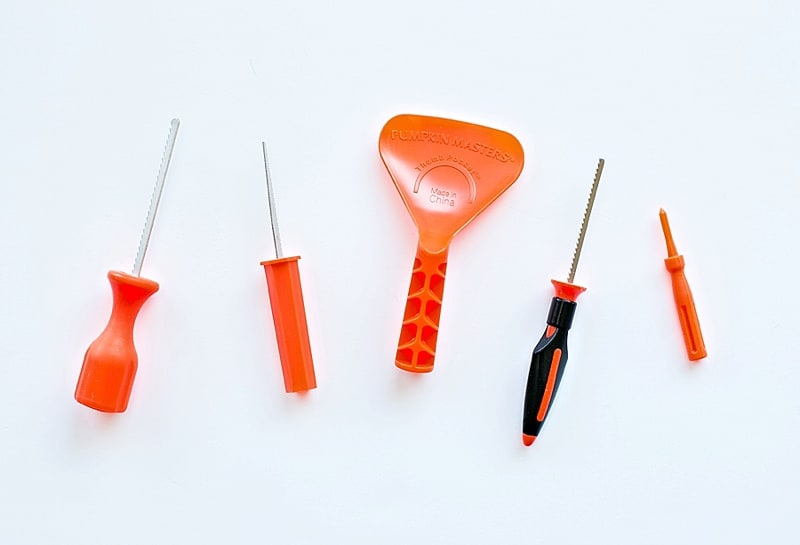
Then, using the variety of tools available, it’s time to carve! Five tools are available; the Starter Saw for simple cuts, Scraper Scoop for getting those seedy parts, Detail Saw for precise carving, Ergo Saw for an ergonomic fit, and The Poker which be used for pattern transfer.
Just follow the steps as outlined in the kit and go in order, carving pieces along the designated stencil lines, piece by piece.
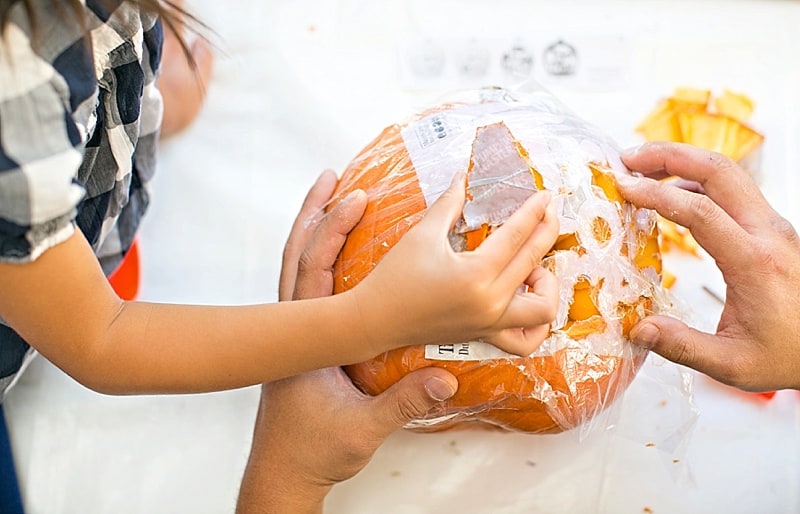
The kids loved watching the carving and acted as little assistants.They handed us the tools we asked for, lifted out carved pumpkin pieces, and helped take the stencil paper off when the carving was done.
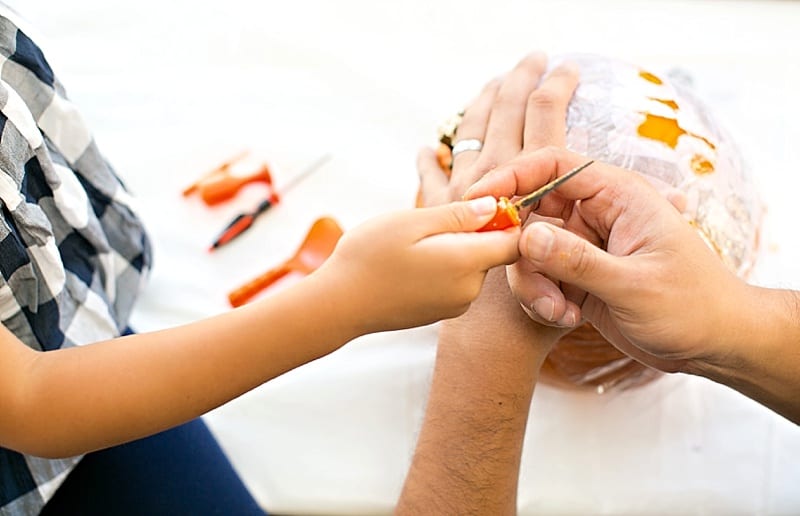
During the carving, the kids kept busy practicing cutting small pieces of discarded pumpkin on their own. This was done with adult supervision.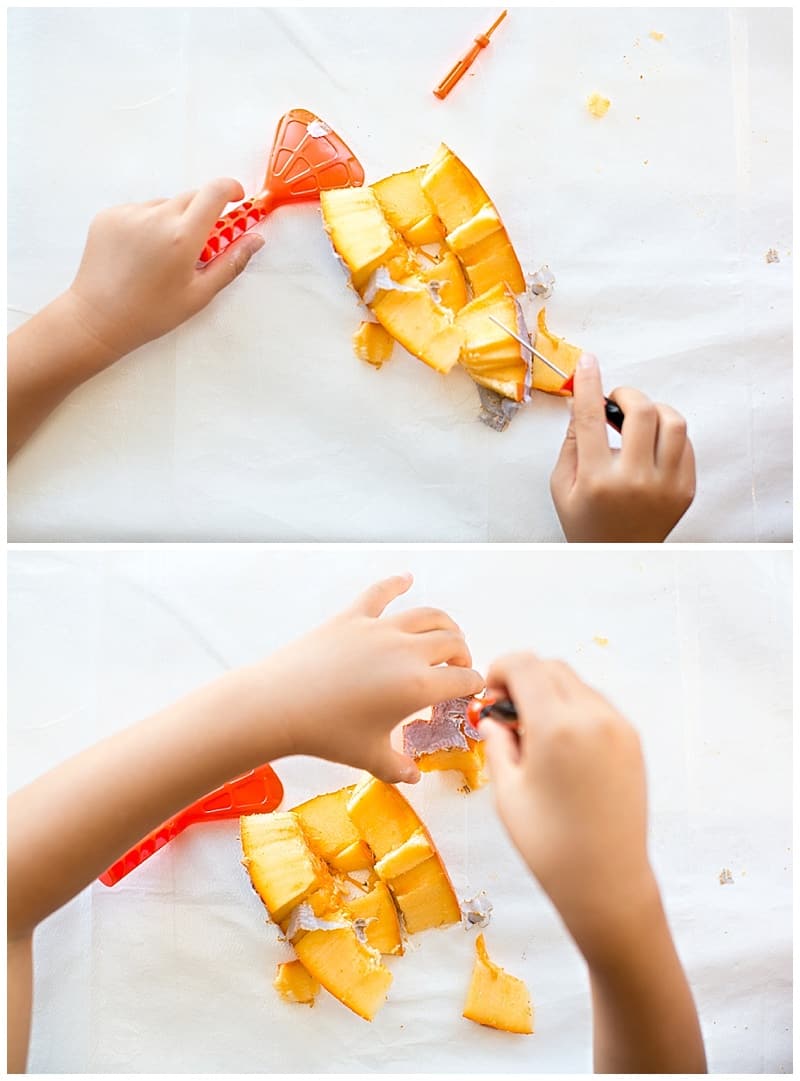
When the pumpkin is finished you can carve out a bottom circular piece and take the “guts” out.
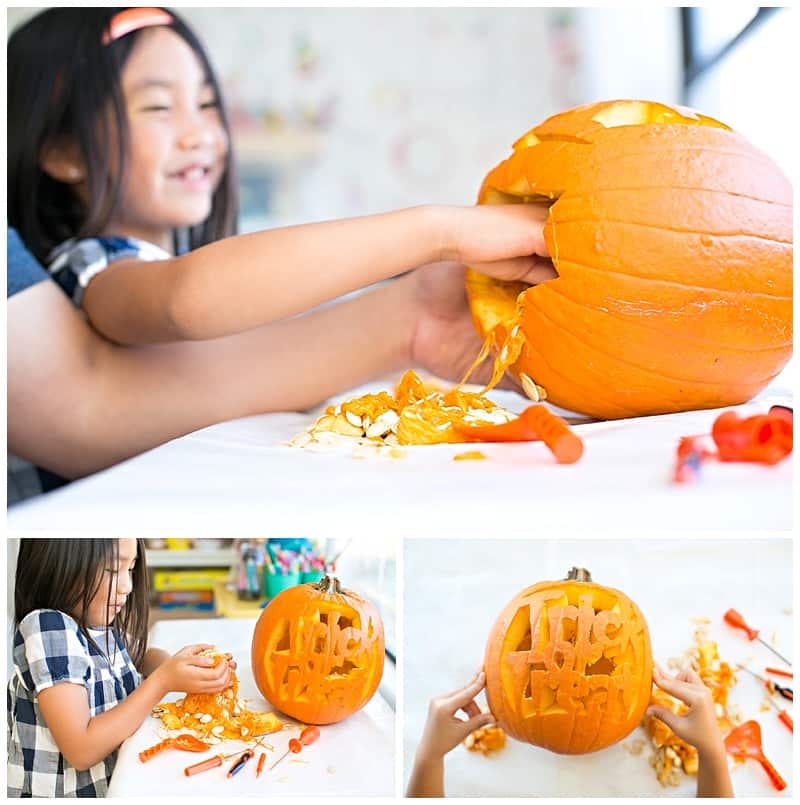
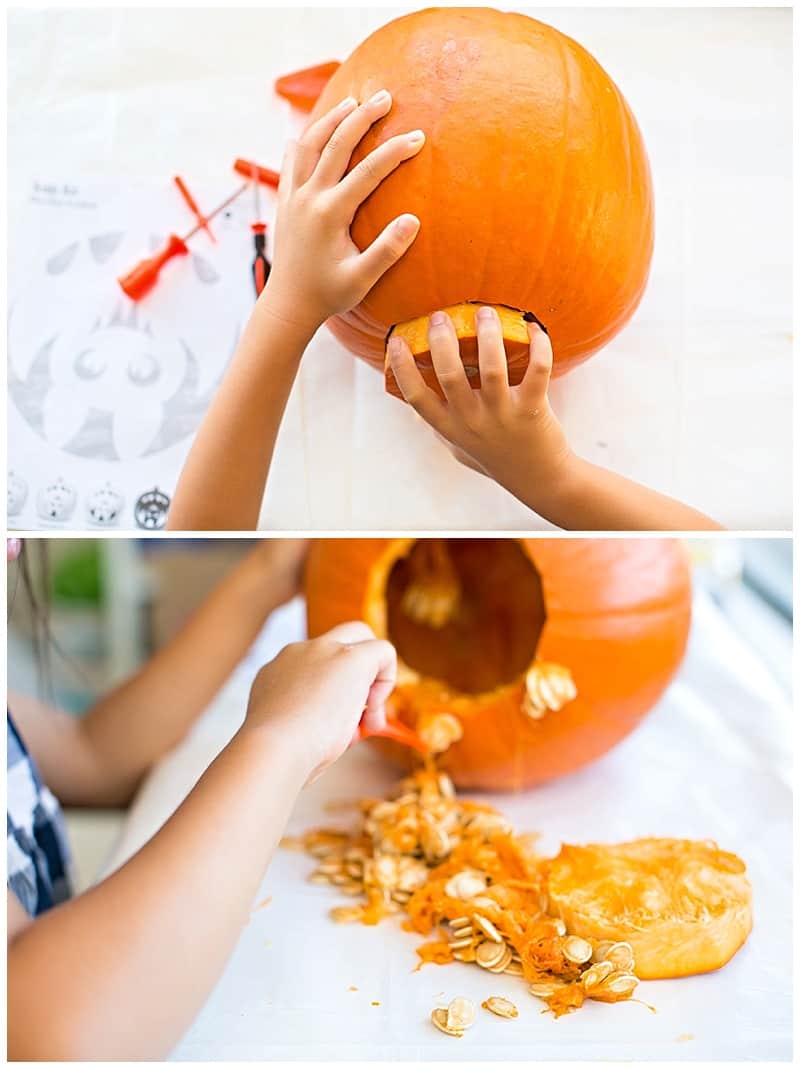
I think this was the kids’ favorite part. What kid doesn’t like getting their hands messy with a fistful of slimey goopy stuff? It was also quite helpful for the kids to help “clean up “as we went on to carve the next pumpkin.
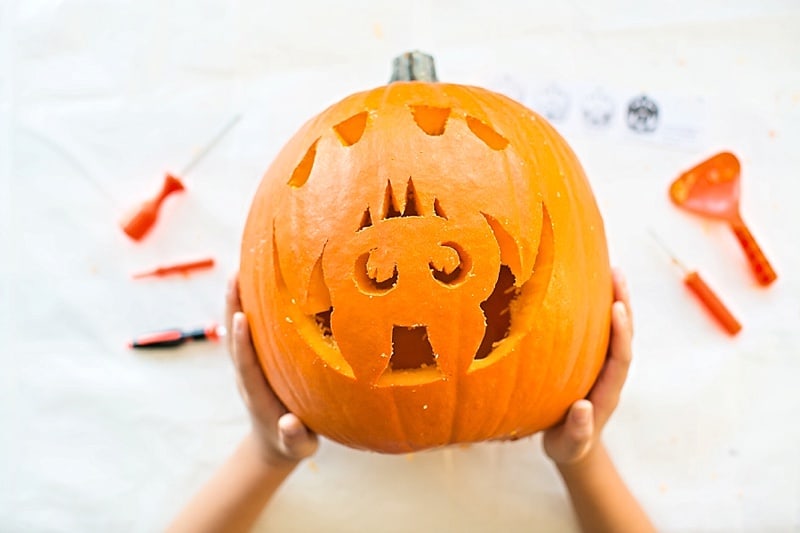
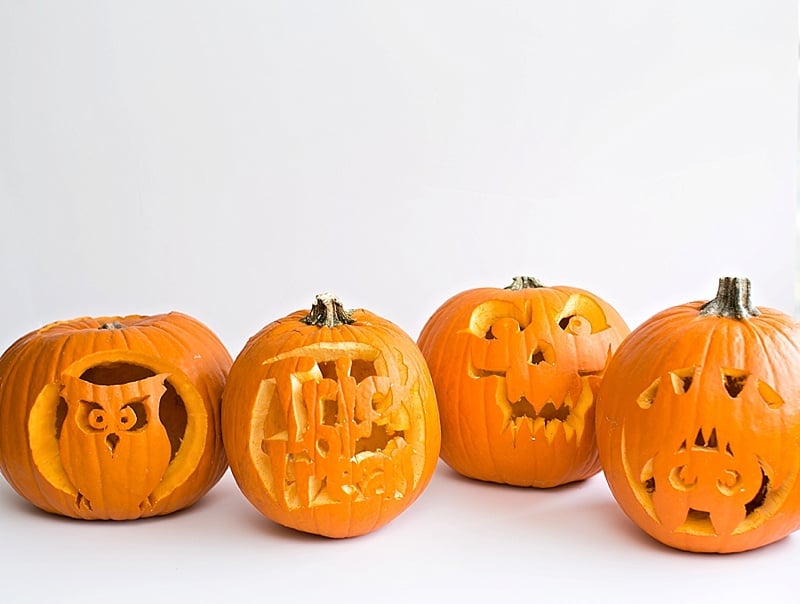
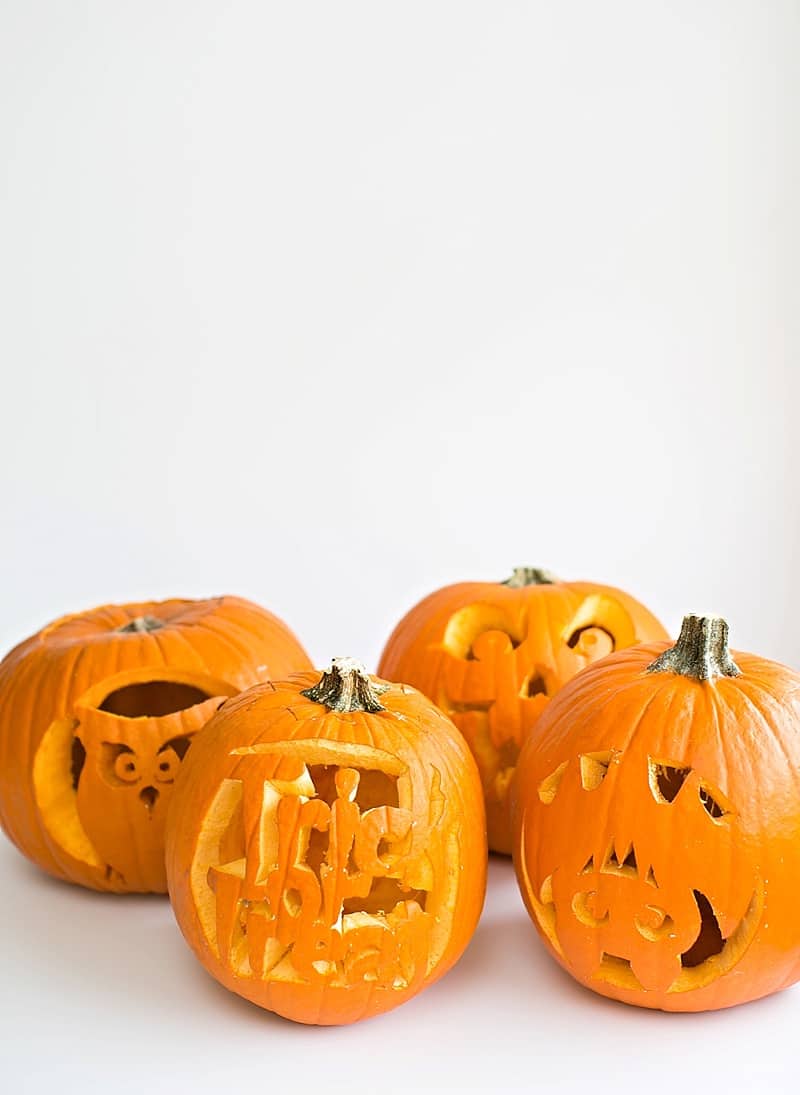
The process is the same for whichever design you choose. Some patience and carving later, we had four amazing and cool carved pumpkins!
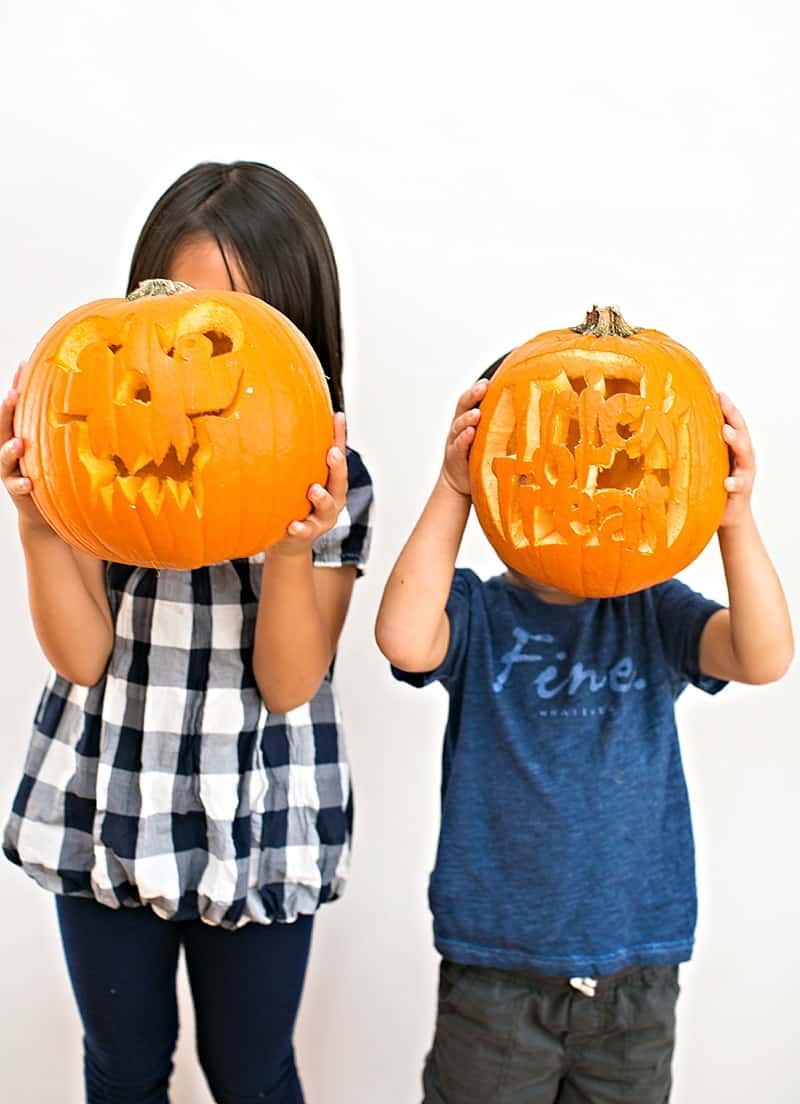
Of course we couldn’t help but take some silly pumpkin face pictures.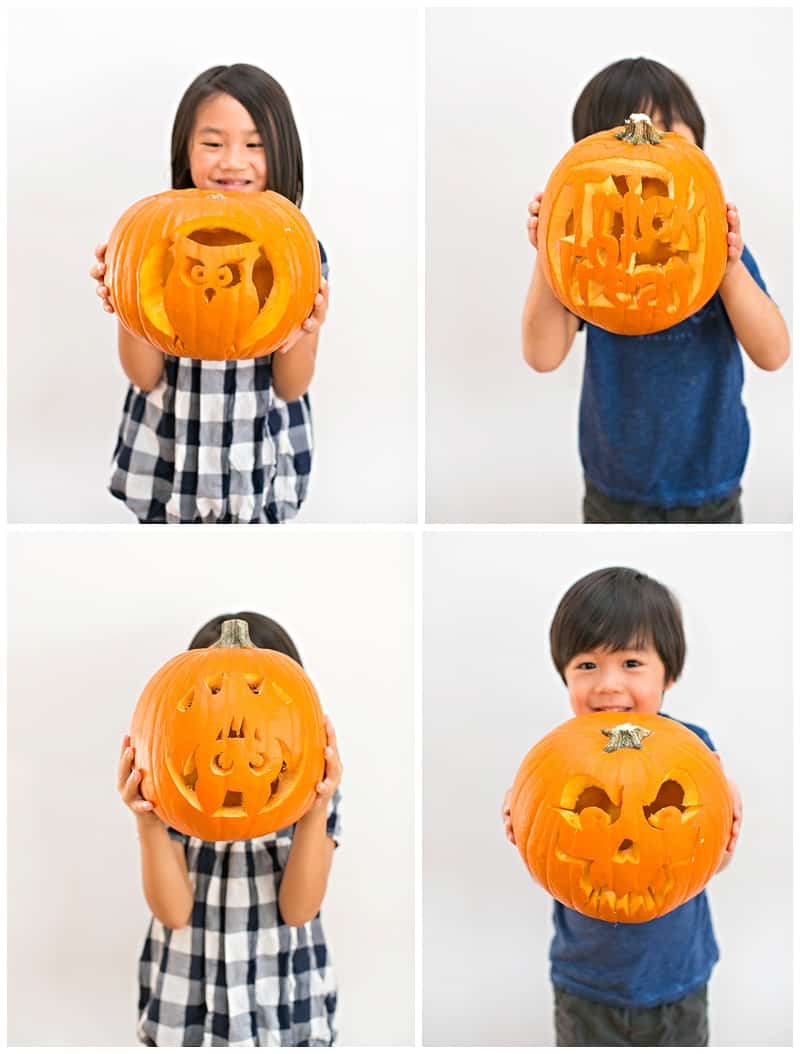
They look even cooler when lit up! We placed a small electric tea light in each.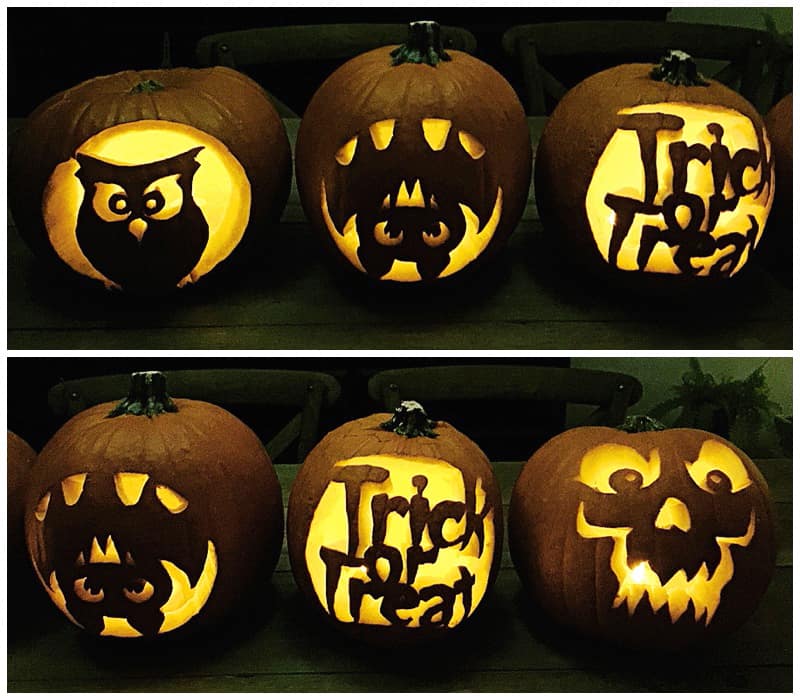
What are your favorite pumpkin carving activities? Let us know in the comments!
Thanks Pumpkin Masters for sending us these awesome Carving Kits!