
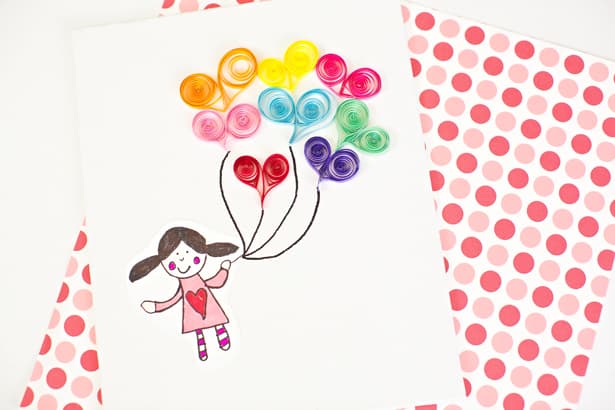
Have you heard of paper quilling? It’s the process of twirling paper around a needle-like tool and creating swirls of paper that you can then create fun designs with. I recently tried it with my daughter and she created this cute heart-shaped balloon art. This is an easy design to get your kids started on paper quilling and makes lovely Valentine inspired art.
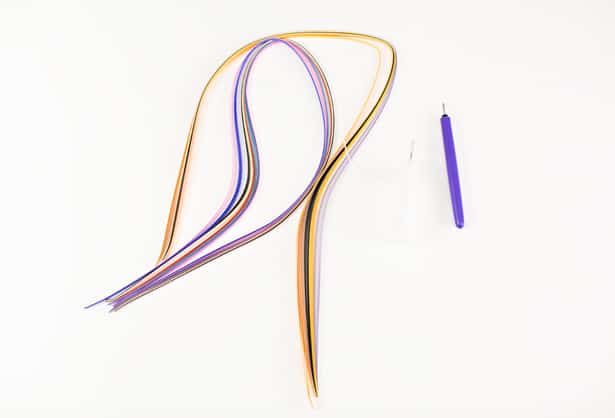
Paper Quill Hear Balloon Art – Materials:
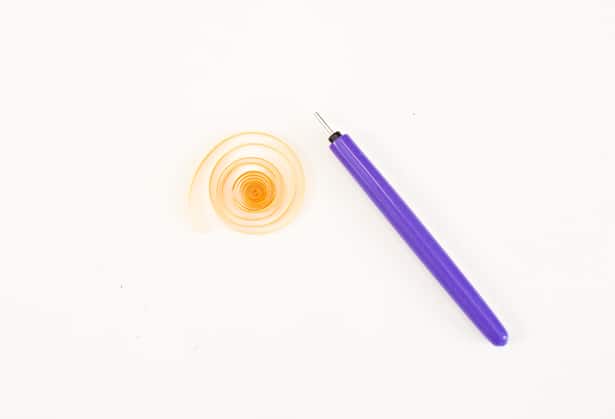
– Paper quill tool
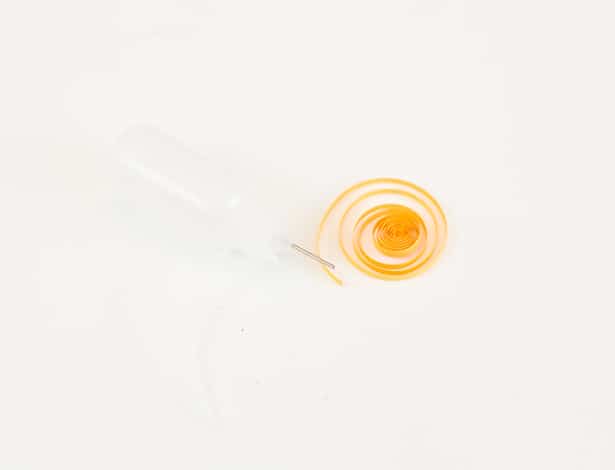
– Clear glue (also highy recommended is this glue container with a fine tip which makes gluing tips of the paper easier)
– Quilling paper
– Canvas
– Paper, markers
Instructions:
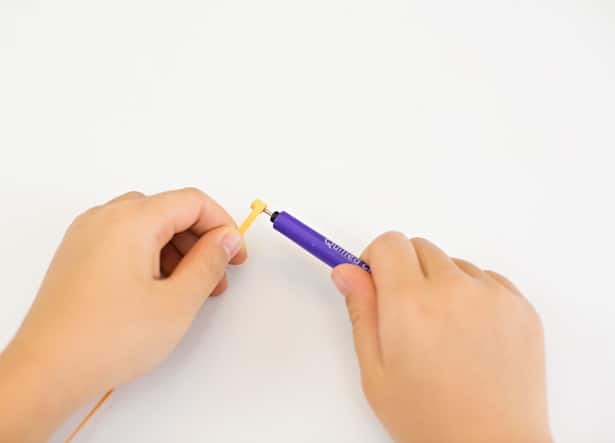
Step 1. There is a slot on your paper quill tool so you’ll want to insert one end of your paper through it. Then roll tightly and carefully until you’ve created a roll of paper. Let it go and you have a swirled piece of paper.
Step 2. Add a dab of glue to the end of the paper to keep the circle intact.
.jpg)
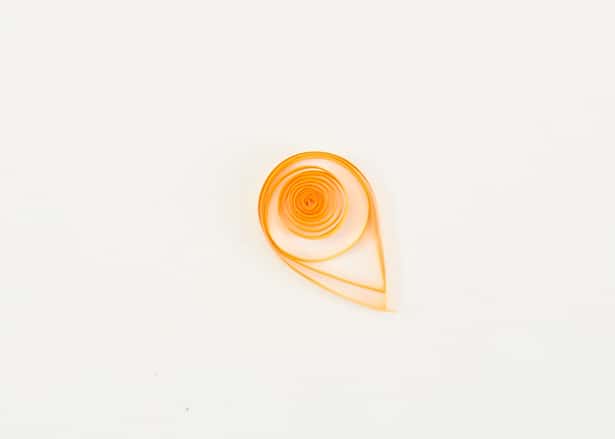
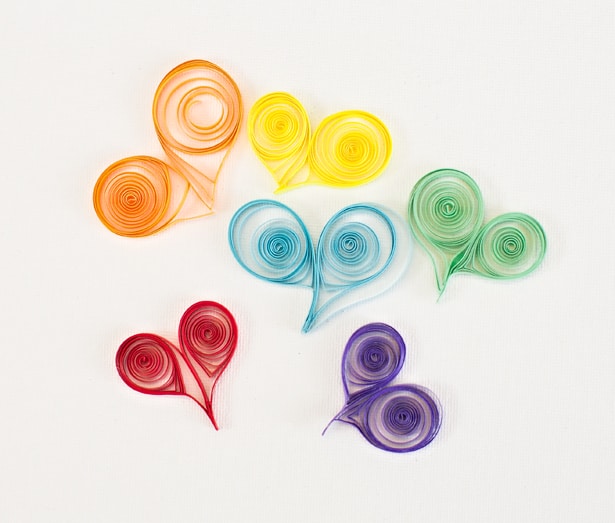
Step 3. You can stop here and make designs with your circles or you can turn them into hearts as we did. For each glued circle, pinch off the ends to make a tear drop shape.
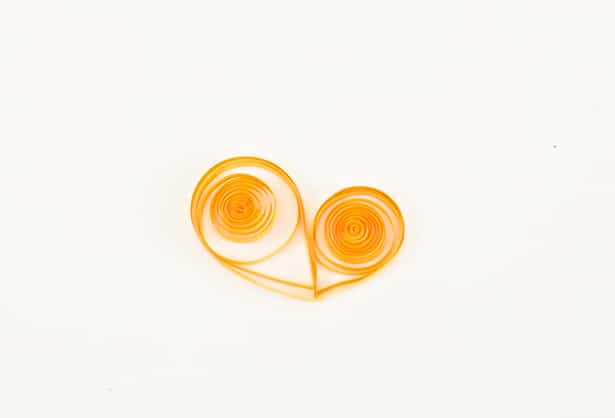
Step 4. Repeat to make another circle and pinch that off. Now you can glue the two tear drop shapes together to make a heart.
I made these along with my daughter and it does take practice! As you can see our hearts are different shapes. The tighter you keep the roll, the tighter the circle will be. I wouldn’t worry too much about making precise rolls at this time. It was just fun for my daughter to practice rolling the paper. Plus I love how each heart has its own whimsical look.
*Note the tool looks like a needle but is not sharp at all.
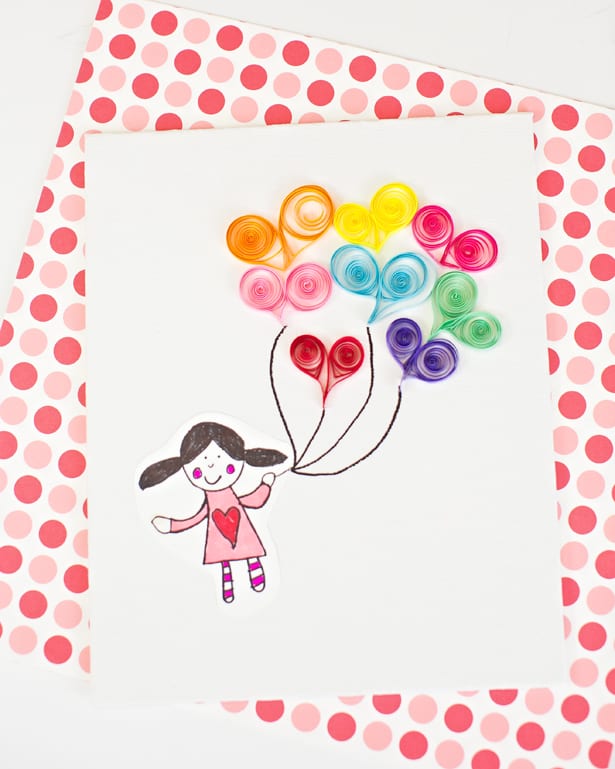
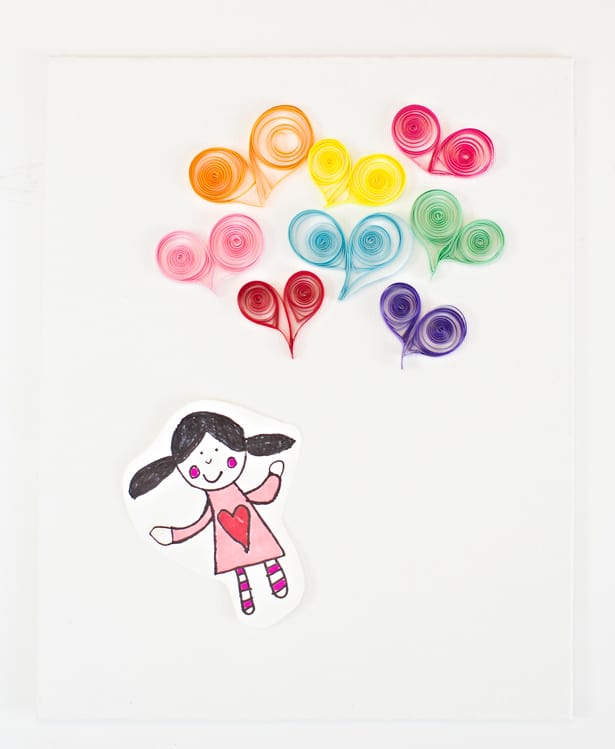
We talked about how these could be used to make art on a canvas and thought about turning them into heart balloons! My daughter drew a cute little girl. She didn’t want to draw directly on the canvas so she practiced on paper first and then cut out the version she liked.
A tip on drawing at a young age (my daughter is 6) she loves to look at clip art and then tries to freehand draw a shape or character she wants. We found this cute one she liked and she drew and colored in her own version.

Now all you have to do is paste the drawing on the canvas (alternatively yes, you could just draw on it). Then arrange your heart balloons in the position you want before gluing them down.
Then simply add dabs of glue underneath each paper quill heart to hold it in place on the canvas. You don’t need much. Tip: tweezers help to pick up the hearts when applying glue so they don’t fall apart.
Last step is to add some line details for the balloon and you’re done!
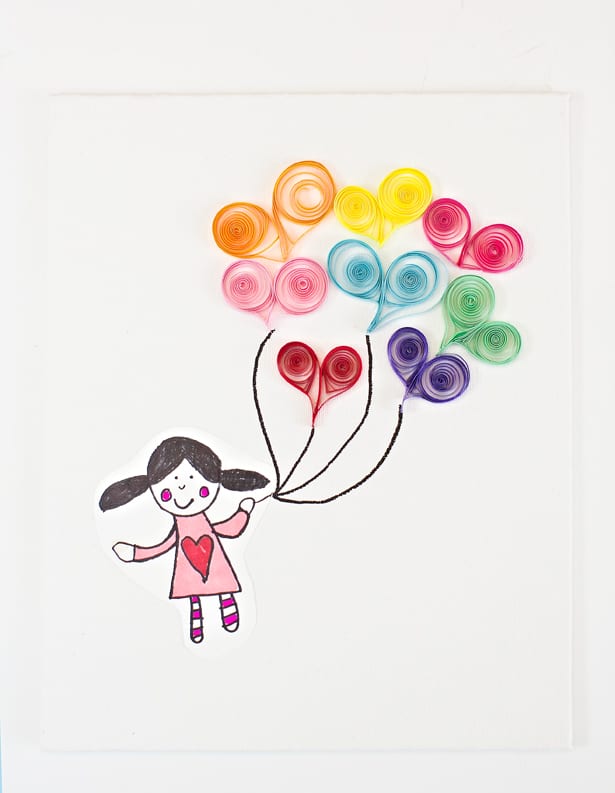
Now you have a cute 3D illustrated piece of art to hang up. You can get creative with the paper quilling and invite your child to create art with it. We’ll be showing you a neat animal art idea in just a few days so make sure to check back!
.jpg)
Have you tried paper quilling before?
Check out more cute Valentine ideas for kids here.
______________________________________________________________________________________________________
Disclosure: Some of the links in the post above are “affiliate links.” This means if you click on the link and purchase the item, we will receive a small affiliate commission. Regardless, we give our promise that we only recommend products or services we would use personally and believe will add values to our readers.


Agnes Hsu is a mom of three and has been inspiring parents and kids to get creative with easy activities and family friendly recipes for over 10 years. She shares her love for creative play and kids food to her 2MM+ followers online. Agnes' commitment to playful learning and kindness has not only raised funds for charity but also earned features in prestigious nationwide publications.