
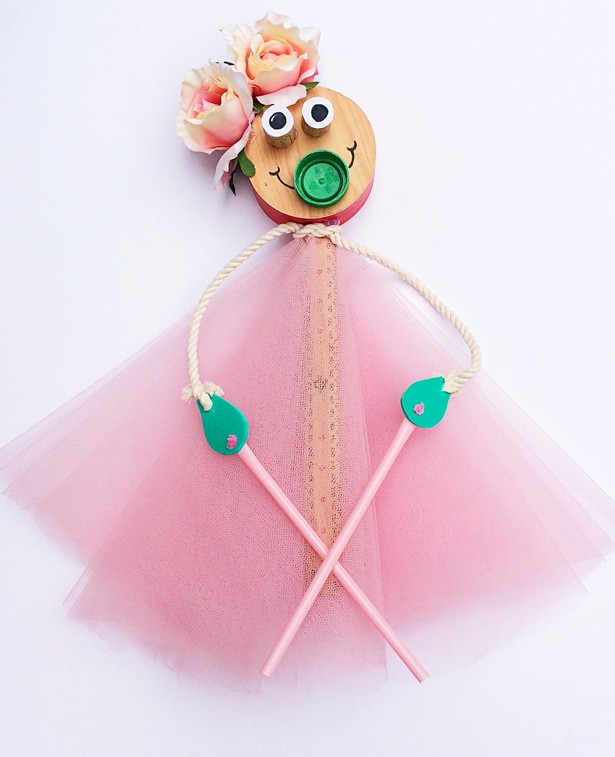
MAKE A DANCING RECYCLED PUPPET DOLL
Sheila the puppet loves to dance! She is classic rod puppet and is extremely simple to operate. One hand holds the rod (or in this case ruler) and the other hand holds the straws to move the hands. Don’t be put off by the material list, basically everything can be substituted and you shouldn’t need to purchase any new materials.
Dancing Recycled Puppet Doll – Materials:
- An extra large cork lid (you could also use a small round gift box without the lid or a yogurt or dip tub)
- A ruler (or dowel or wooden spoon or a strong stick)
- Some scrap fabric or tulle
- A small piece of rope or ribbon (about 50cm)
- A cork cut in half
- Something to decorate her head (we used some old fake flowers)
- A bottle top
- Two straws
- Foam sheet or thick card
- A scrap of paper and a marker

Instructions:
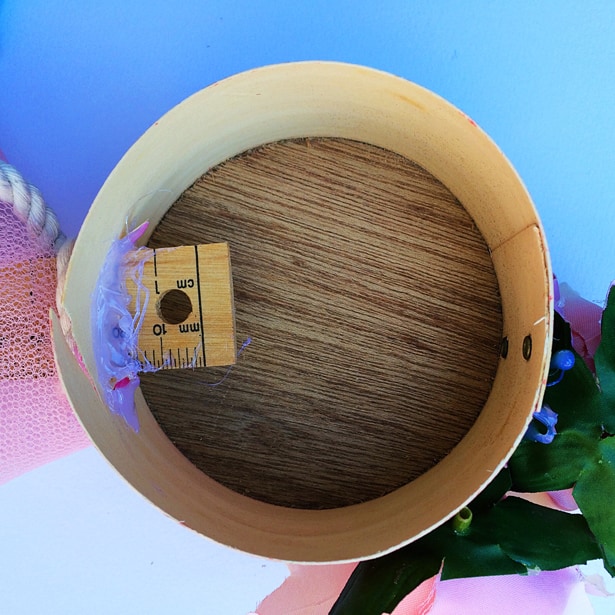
Step 1. First cut a small slit in your round box just big enough to fit the ruler through.
Step 2. Insert the ruler and secure using hot glue (you can try and be a bit neater than we were!)
Step 3. Tie your rope to the top of the ruler where it meets the box leaving equal length on both sides
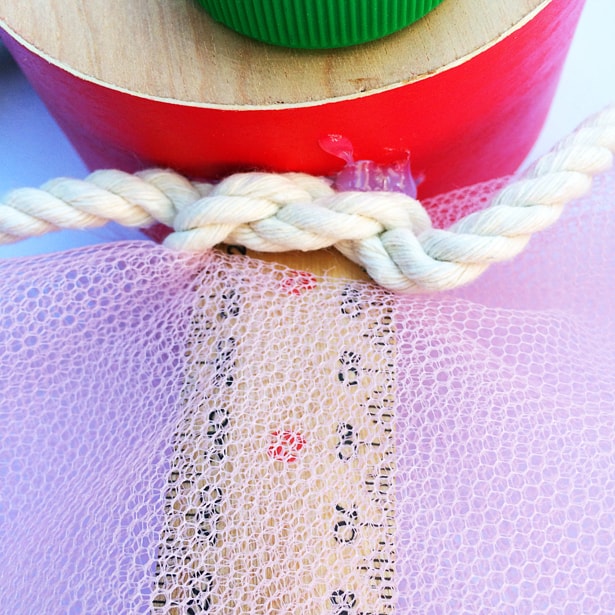
Step 4. Cut a circle of fabric (you will need a few layers if using tulle) big enough to drape over the length of the ruler or rod you are using.
Step 5. Cut a small slit in the center of the circle and insert the ruler. Run a small loop of hot glue around this rim to make it stick to the ruler and rope.
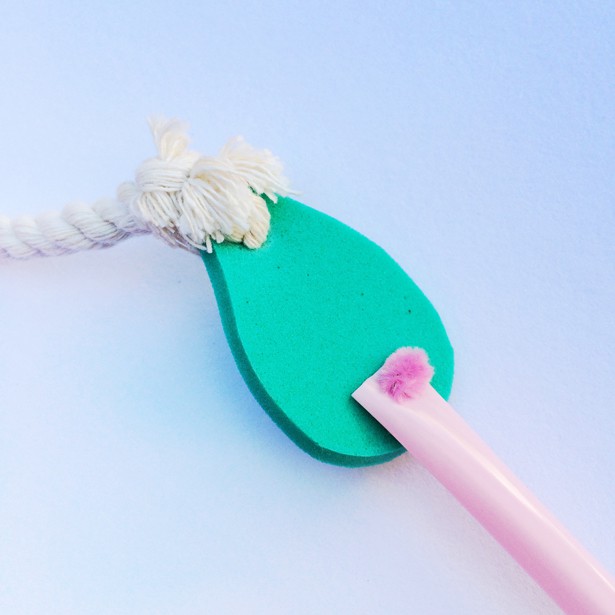
Step 6. Cut two oval shapes from foam sheet or card and using a hole punch make a hole at the top of each of the ovals. Thread and tie the ends of the rope through the holes. If your rope is too thick unravel it a bit and tie it this way. You could also try stapling.
Step 7. Attach the straws to the ends of the hands using either hot glue or a stapler. If you want the hands to swivel, punch a hole through the straw and the foam or card and then secure the two using a pipe cleaner.
Decorating the face.
Step 7. You can really go wild here. Tie a bow out of the fabric you used for her dress or find something kooky to attach to her head. Her face can be drawn or you could use all sorts of things to make a face such as bottle tops, corks, felt or card. Below is what we did.
Step 8. Cut a cork cut in half and attach to the box with hot glue. We added eyeballs we cut out of paper.
Step 9. Stick on a bottle top for the mouth and extend the smile using a black marker.
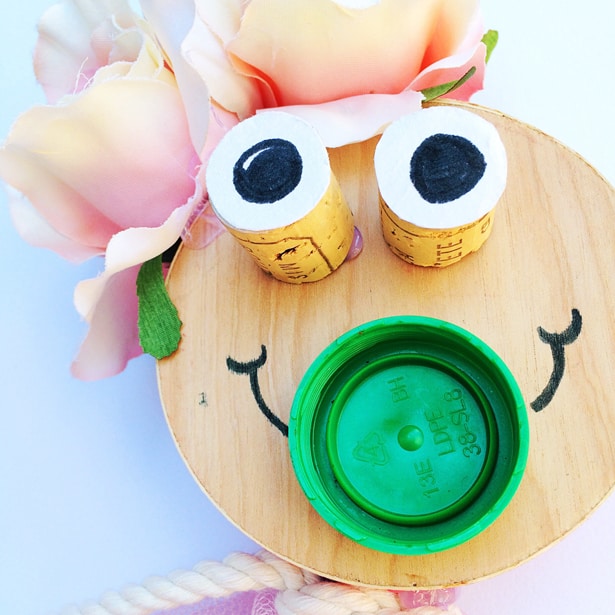
Attach a few flowers to the top of the box. So pretty!
You are done! Now, put on some tunes and ask the lady to dance!!
What are your favorite ways to make a pupppet? Check out more creative crafts for kids here.

Susie Rugg, the creative mind behind the crazy fun Handy with Scissors is a Sydney based mum and maker with a passion for turning ‘junk’ into art. She has a degree in Object Art from the University of Sydney and when not at home trying to get her reluctant 3 year old excited about craft, she hangs out at The Museum of Contemporary Art Australia where she is the Children and Families Coordinator. Follow Susie on her creative adventures on Instagram and her blog.
ABOUT THE PUPPET SERIES:
It’s no secret that I love puppets, I always have and I always will! For my recent self-induced puppet challenge, I decided to make 7 different puppets over 7 days that were both simple to make and to operate. Mr Finn (age 3) and I had lots of fun and are really excited to share a few of our favorites here. They are perfectly imperfect and like most of our projects, use predominantly recycled and repurposed materials.


