HOW TO TAKE GREAT CANDID PHOTOS OF KIDS
As a family photographer, I get asked a lot of questions about how to take natural candids of children. With two little ones and some experience behind the lens, I totally get it. Children are elusive in their movements and will beat to the sound of their own drums. That's what makes them so cute and hard to capture all at the same time. When you do get that one great candid shot though, it can be an amazing feeling to freeze that adorable moment in time.
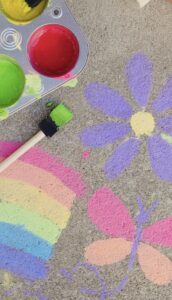
.jpg)
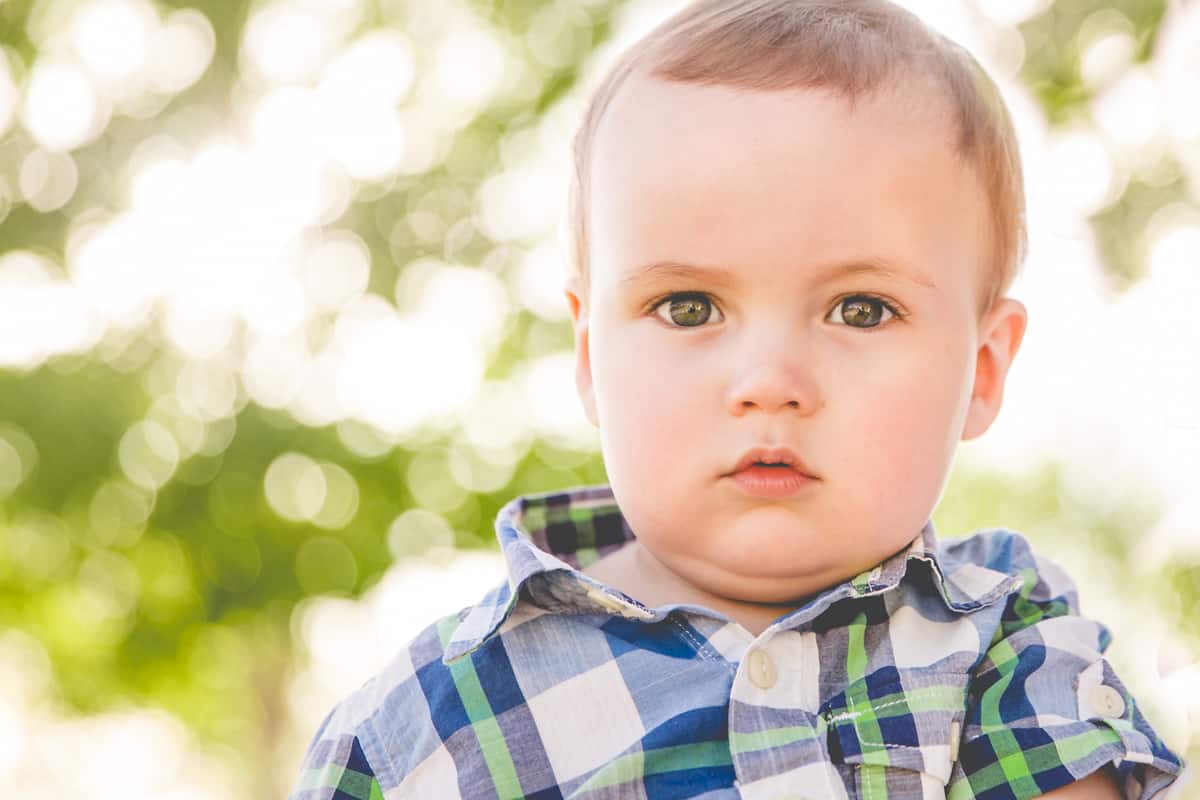
(Image: Carla Boecklin Photography)
We want to encourage others to take more photos of their kids and so that's why we're dedicating a series of photography posts here on how to think of interesting ways to do so. One way is to ask seasoned photographers their insider tips and techniques on how to capture better photos.
I'm so excited to introduce our first photographer to the series, Carla Boeklin. I first met Carla when we featured the amazing kids' carnival party she captured and was instantly drawn to her natural, fresh, and vivid style. In addition to family photography, Carla's a pro on many levels, covering anything from weddings to commercial work for people and events. Carla's got a great sense of technical knowledge, but you can tell her talent lies in naturally drawing people out. Today, she's sharing some of her favorite tips on how to take great candid photos of children and I'm so happy to have her here. Welcome Carla!
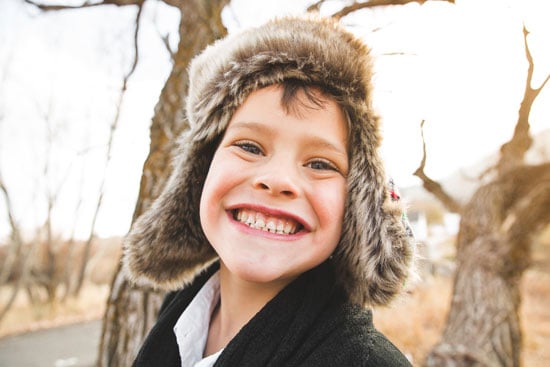
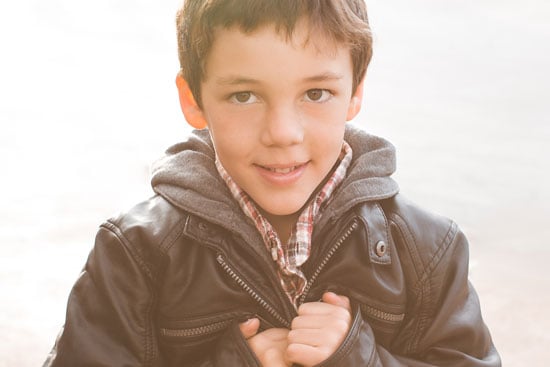
(All images by: Carla Boecklin Photography)
.jpg)
Thanks for having me here hello, Wonderful!
There are hundreds of articles and posts about photographing your children, and it's not helpful to anyone to recap what has been written over and over again. Instead, I hope to provide advice that I don't often see or hear to supplement what you might already know about shooting kids.
TIP #1: Get Closer
I got my start assisting famed National Geographic photojournalist Paul Nicklen. Paul's incredible portfolio includes images of animals such as walrus and polar bears, and his work is distinctive due to his signature shooting style: he gets very close to these animals when he photographs them. As in, he shoots an elephant seal from a few feet away using the wider end of his 16-35mm. Due to this proximity, his audience feels as though they're there with Paul as he gets up close & personal with some of the world's most incredible creatures. And, to me, this perspective adds intimacy and depth to his images.
When I opened my own studio, that notion of "getting in there" for images was one of the many lessons that stuck with me, especially with children's photography. Unlike when I'm photographing adults, kids don't seem to mind when you encroach on their personal space. Especially younger kids. I sit on the grass or the beach or the living room floor and encourage little ones to come over to me (maybe ask them to show me something on their outfit or in their hands). While they're nearby, I just start snapping as they do what the do. Rarely do I wait for them to look at me. Most of the time I'm holding the camera below the kid, above the kid, close to the kid, away from the kid, and, without looking through the viewfinder but occasionally pushing the focus button, I click click click. Try anything from a 14mm to a 35mm, and stay low to the ground, at the same level as the child. Even when shooting on 'green square,' you'll get wonderful perspective in your
photography.
TIP #2: Shoot Wide Open
Oh, that beautiful depth-of-field that we all chase. To me it's particularly gorgeous in children's photography because their skin is so delicate, their eyes so bright, their hair so soft. These amazing qualities only pop more when you use a shallow depth-of-field in your shots.
Shooting wide open means: grab your lens with the lowest aperture and shoot only on that aperture. Anything between f/1.2 -- f/1.8 is perfect; maybe your lens only goes down to f/2.8, and that's okay too. The lower the aperture, the more challenging it is to focus, so this will take practice and time -- even more so since kids are always on the move, which creates additional focusing issues. Of course, with a low aperture you'll have to accordingly compensate with your shutter speed and ISO, but, when you nail the shot (and you only need a few great ones, right?), it's entirely worth it.
Plus, when shooting wide open, you have an excellent chance to get a lovely bokeh behind your subject. If you can, check out where the child is standing/playing/running around and then re-position yourself to take advantage of backgrounds that will create that glorious blur. Is there a tree full of leaves? City lights? Tall grass? Any of the above will create a richness to the image that is solely the product of a low aperture.
TIP #3: Rent a Lens
In reference to each of the tips above: if you don't have a wide lens or a lens that opens to f/1.2 or f/1.4, get over to local photo shop and rent one for a day! $30 will probably get you a 24mm f/1.4 or a 50mm f/1.2 for 24 hours, and those babies create absolutely stunning imagery. Is photo day with your children worth $30? Of course! (Plus it's really fun to play with new gear.)
TIP #4: Use a "second shooter"
So, you're trying out my tips and renting lenses and getting close to the kids and shooting with low apertures. Why not have another member of the family, or a friend, or a buddy from your photo enthusiast group simultaneously shoot from a distance with a telephoto lens? You'll be close to the kids, keeping their attention and distracting them, and your second shooter can work from a little ways away, circling around you guys, zooming in on faces or features, and creating opportunities for marvelous candids. Any lens that ranges from 70mm-300mm will suffice.
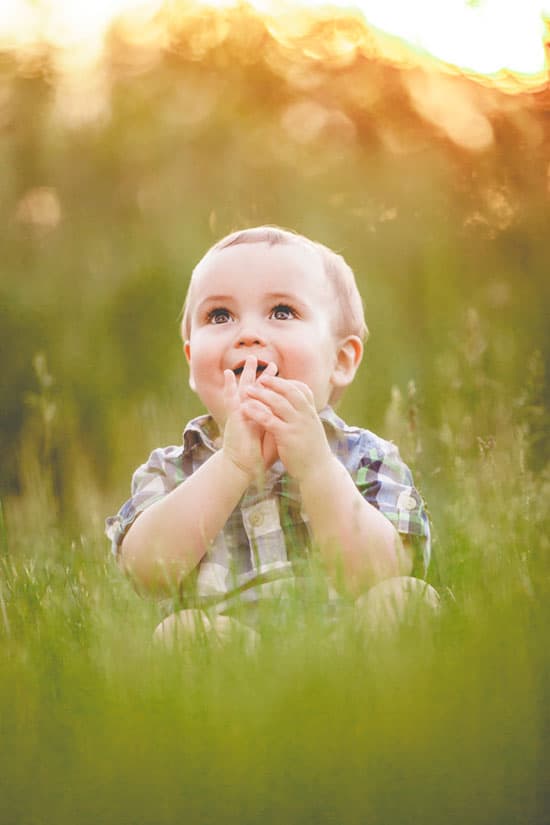
.jpg) TIP #5: Crop in Post-Production
TIP #5: Crop in Post-Production
One tool that I believe even professional photographers under-utilize is the crop feature found in most every editing software. And I don't mean simply to crop an image so that everyone's face is nicely placed in the middle of the photo. If you're shooting as I suggest in tips 1 & 2 it's likely that, in addition to the myriad photos that are out of focus or just plain won't work, you'll end up with photos where a fabulous composition needs to be created using the crop tool.
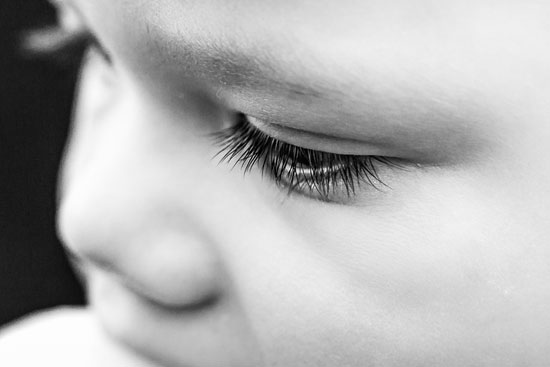
Did you get one upper lip in focus, in one kid, but he's off to the left of the image? Re-design the photo. Crop so that the upper lip is roughly juuuust off-center in the image, and then see how the new composition looks. Same with an eye, or something in your child's hand, or a big toe -- anything that ends up in focus. Cropping can take your photography to new levels by enabling you to craft your images.
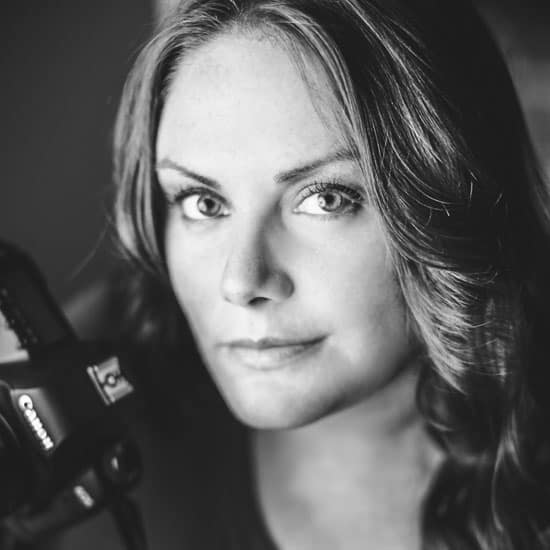
Carla Boecklin is a photographer based in Park City, Utah. In addition to family, wedding, and lifestyle photography, she also shoots commercial/product work for clients and covers high profile people & events for local magazines. Her images have been featured in over 30 regional, national, and international publications.
For more of Carla's thoughts & shots, check out her blog or follow her on Facebook.