
DIY KIDS ART PLAY BLOCKS
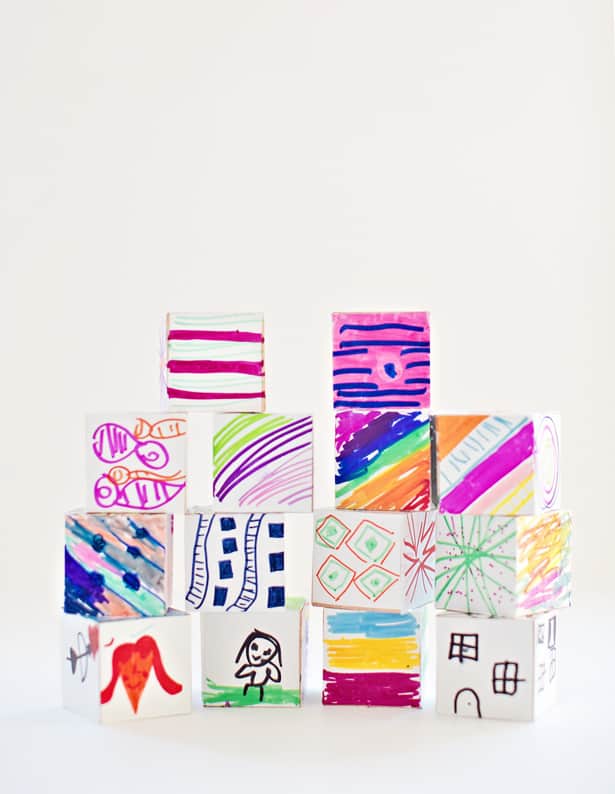
These brilliantly colored play blocks are a creative way to show off your kids’ art and doodles! Find out how easy they are to make for lots of stacking and building fun.
DIY Kids Art Play Blocks – Materials:
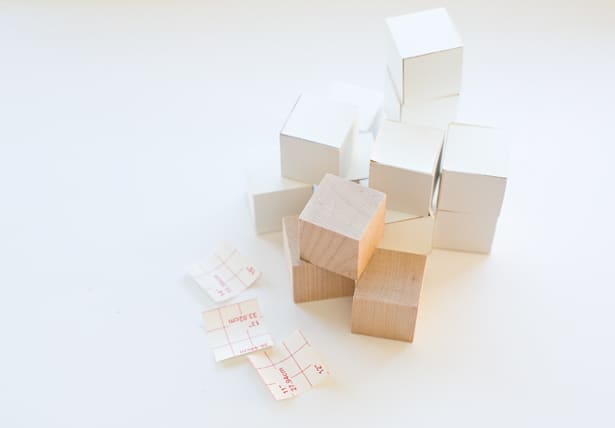
– Wooden blocks (we used these 1.5″ ones)
– Contact paper (adhesive shelf liner)
– Foam Brush
Instructions:
Step 1. Cut out squares of contact paper to fill all sides of your blocks. The back of the contact paper has measurements so it’s easy to cut precisely without measuring with a ruler. Adhere the white squares of contact paper to your blocks.
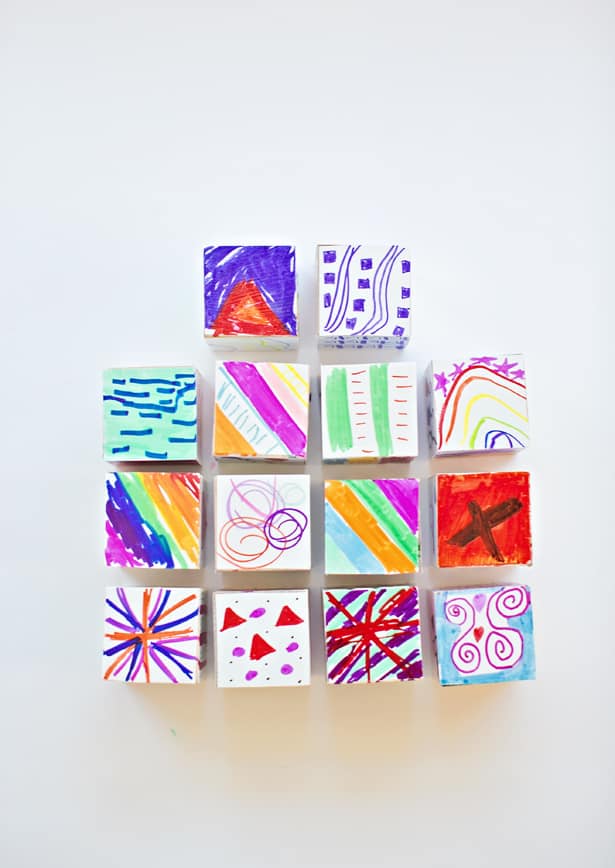
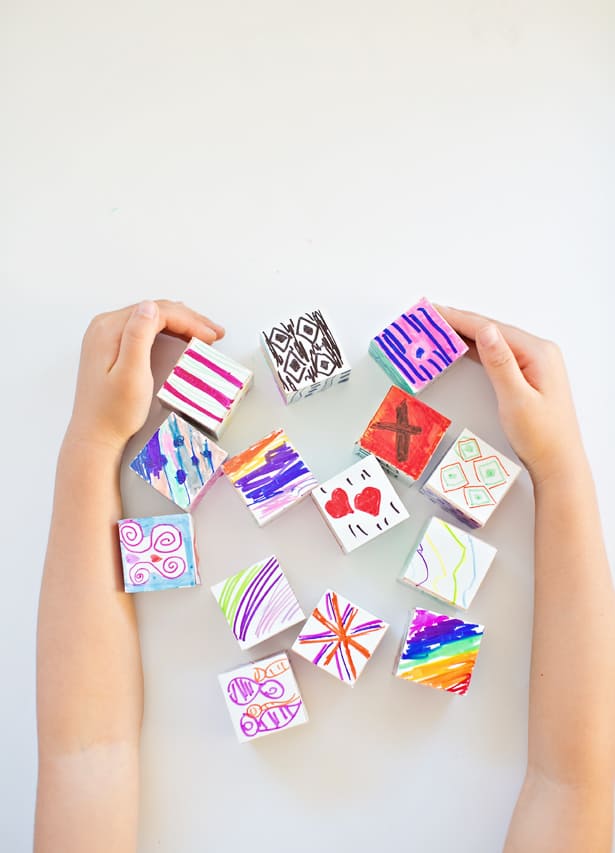
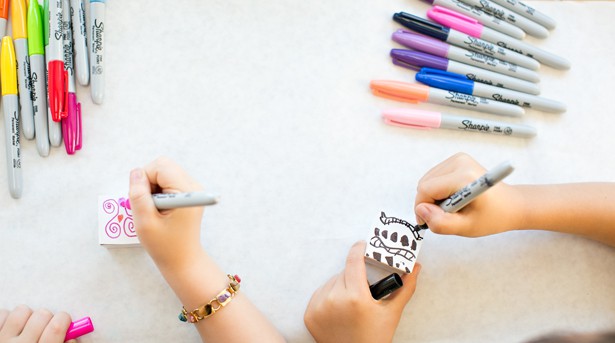
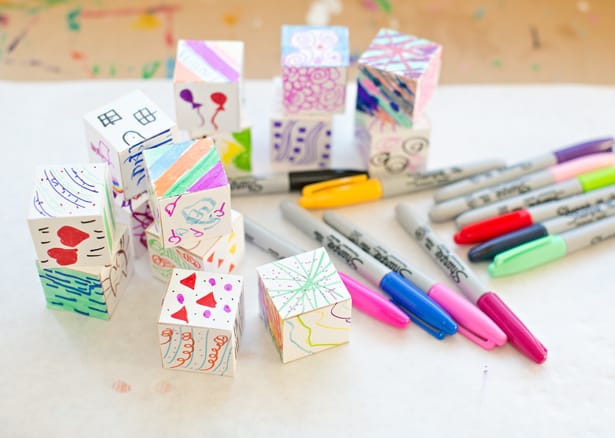
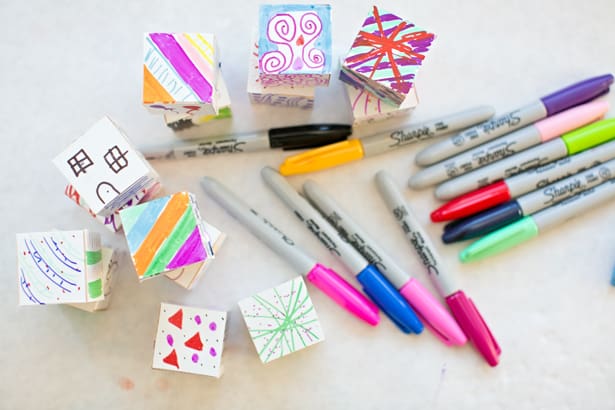
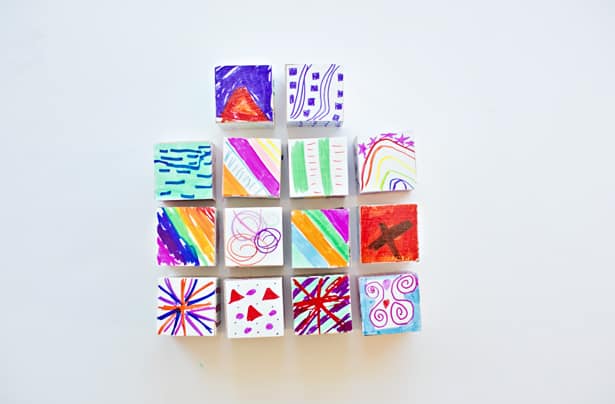
Step 2. Let your kids doodle and draw on the blocks. They can make up stories that connect, or just doodle patterns and designs.
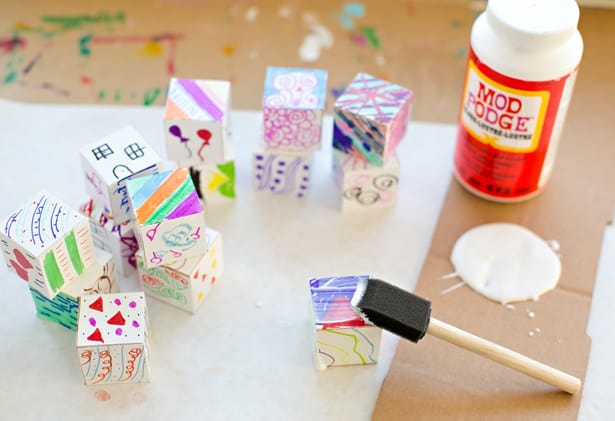
Step 3. Using your foam brush, apply a layer of Mod Podge to the blocks. This protects the drawings and seals in the edges so the contact paper doesn’t come undone.

What are your favorite ways to display your kids’ art? See how to show it off on kid-made pillows, t-shirts and more ideas here!
______________________________________________________________________________________________________
Disclosure: Some of the links in the post above are “affiliate links.” This means if you click on the link and purchase the item, we will receive a small affiliate commission. Regardless, we give our promise that we only recommend products or services we would use personally and believe will add values to our readers.


