

By using this site, you agree to our Terms of Use. This post may contain affiliate links. Read our disclosure policy. As an Amazon Influencer, I earn from qualifying purchases.
Check out my Plaeful Printables for kids to play and learning!
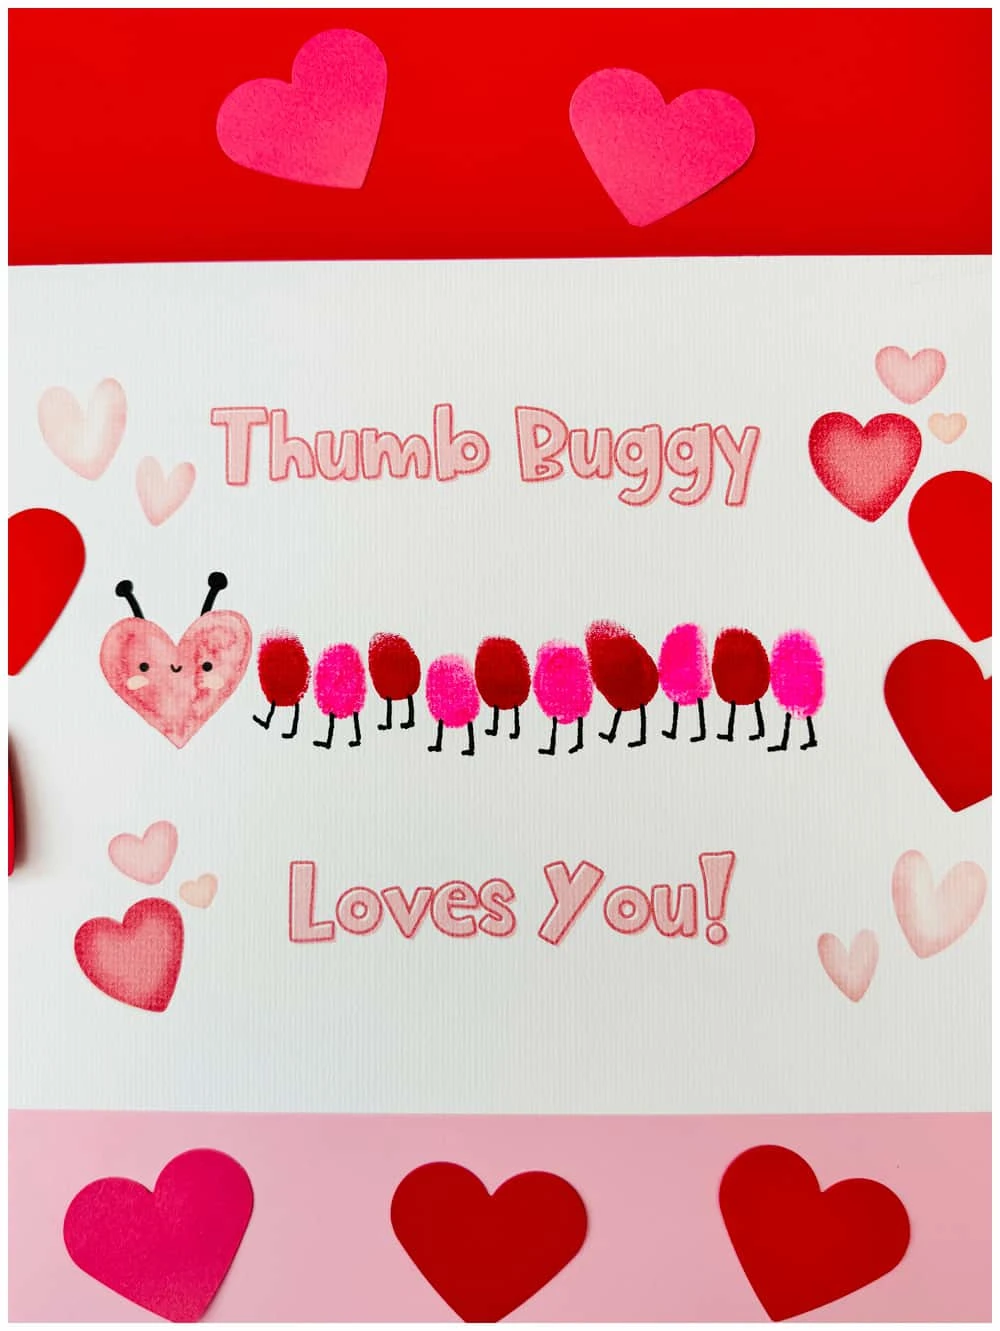
Use our printable template to create this cute love bug caterpillar art as a fun Valentine fingerprint art project with kids!
Valentine’s Day is a perfect time to get creative with the little ones, and what could be more heartwarming than making Valentine thumbprint art together? We love making Valentine Handprint art and this adorable fingerprint caterpillar is an irresistibly cute craft that will create lasting memories. Plus, with our handy printable template, it’s a breeze to set up!
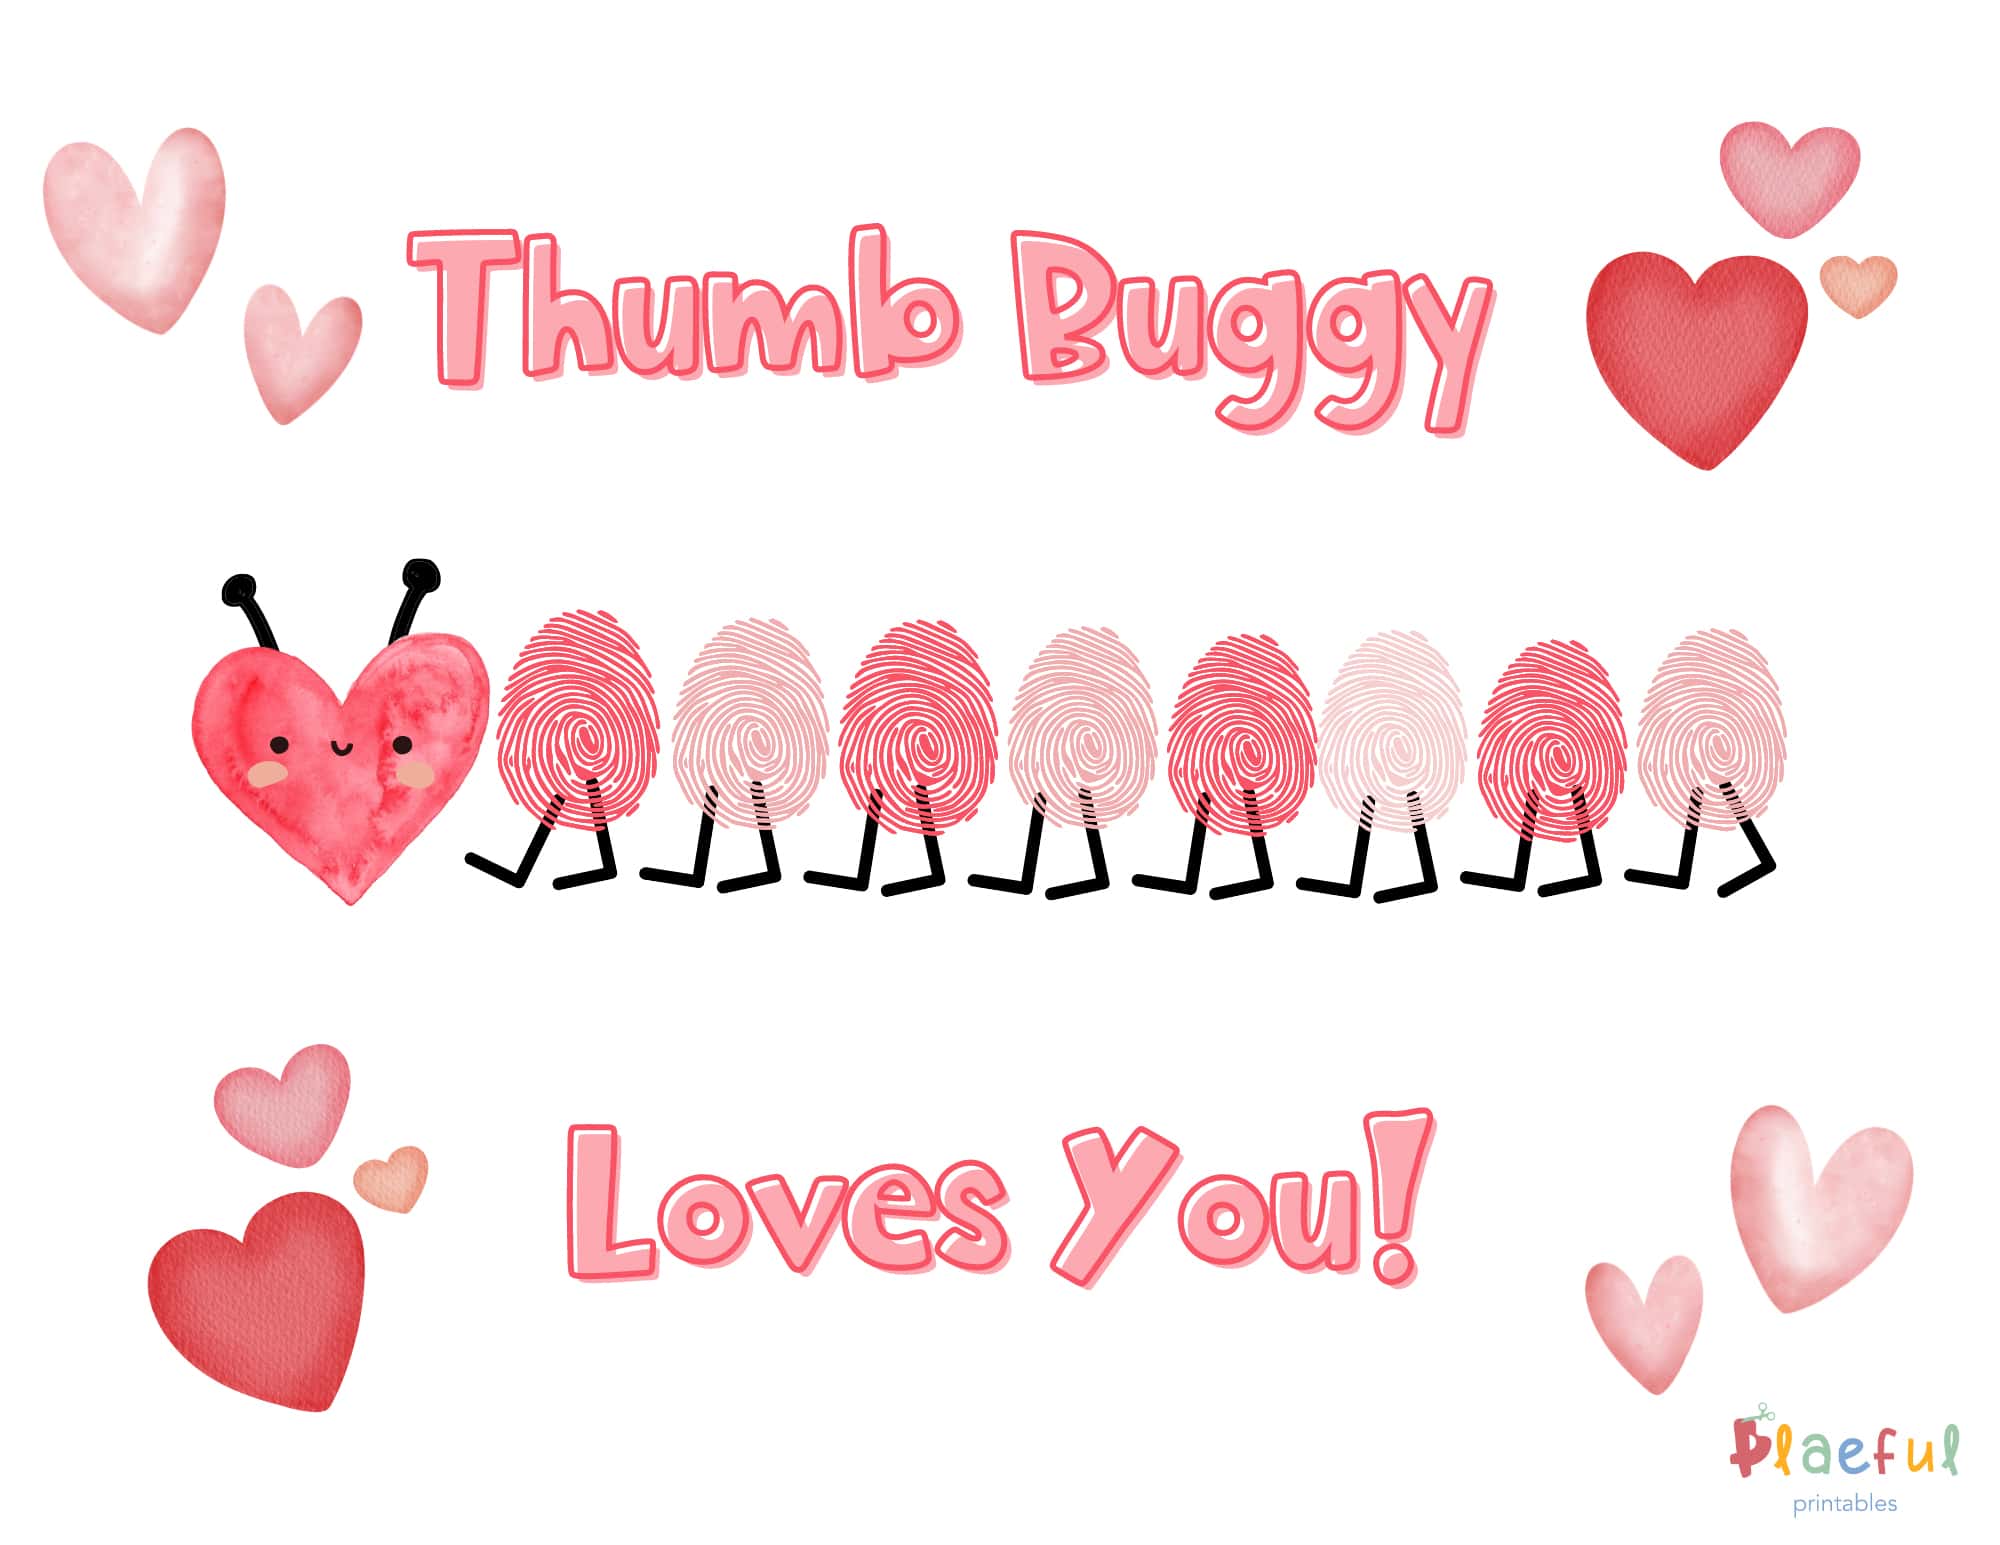
Get the Valentine Thumbprint Template

Valentine Thumbprint Art – Materials
- Printable Valentine caterpillar template (with and without legs printed on) *We recognize fingerprints come in all shapes and sizes so you can draw your own legs on the blank template!
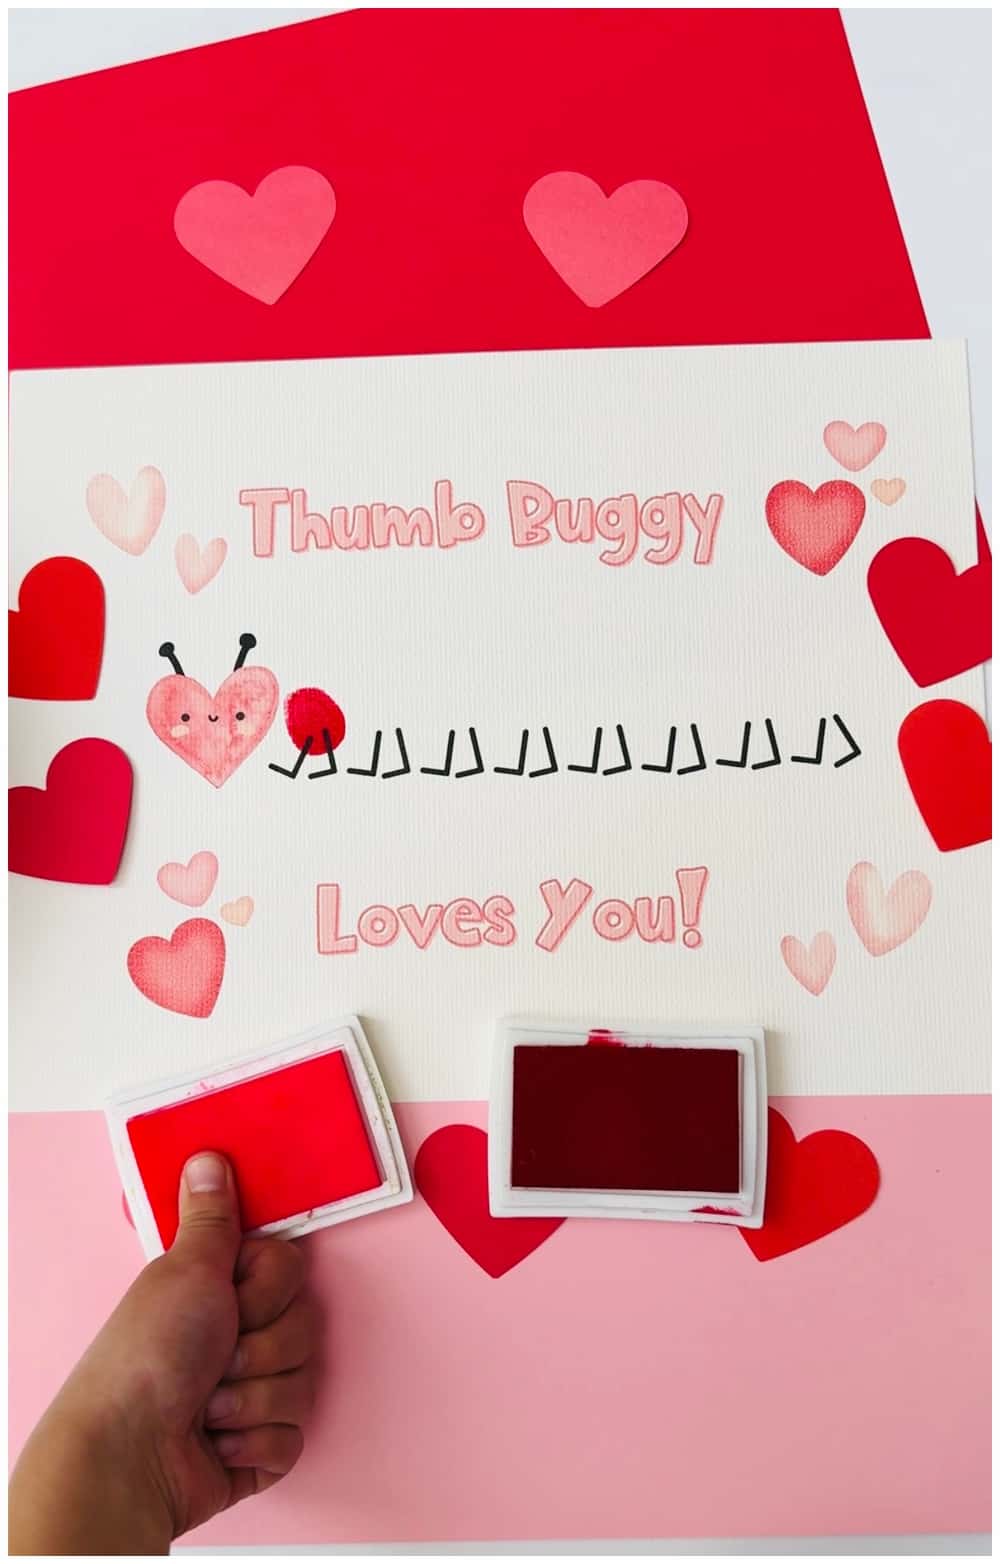
- Red and pink ink pads (washable, non-toxic ink is best for kids) You can also use pink and red washable paints
- Black markers (if you choose the template without legs)
- Printer
- Cardstock
Get the Valentine Thumbprint Template


Instructions:
- Print the Template: Start by printing out our “Thumb Buggy” template. You can choose between the version with legs or the one without, depending on whether you want to draw the legs yourself or have them pre-printed for ease.
- Prep the Work Area: Lay down some paper or a tablecloth to keep your work area clean. Have paper towels or wipes on hand to quickly clean up little fingers.
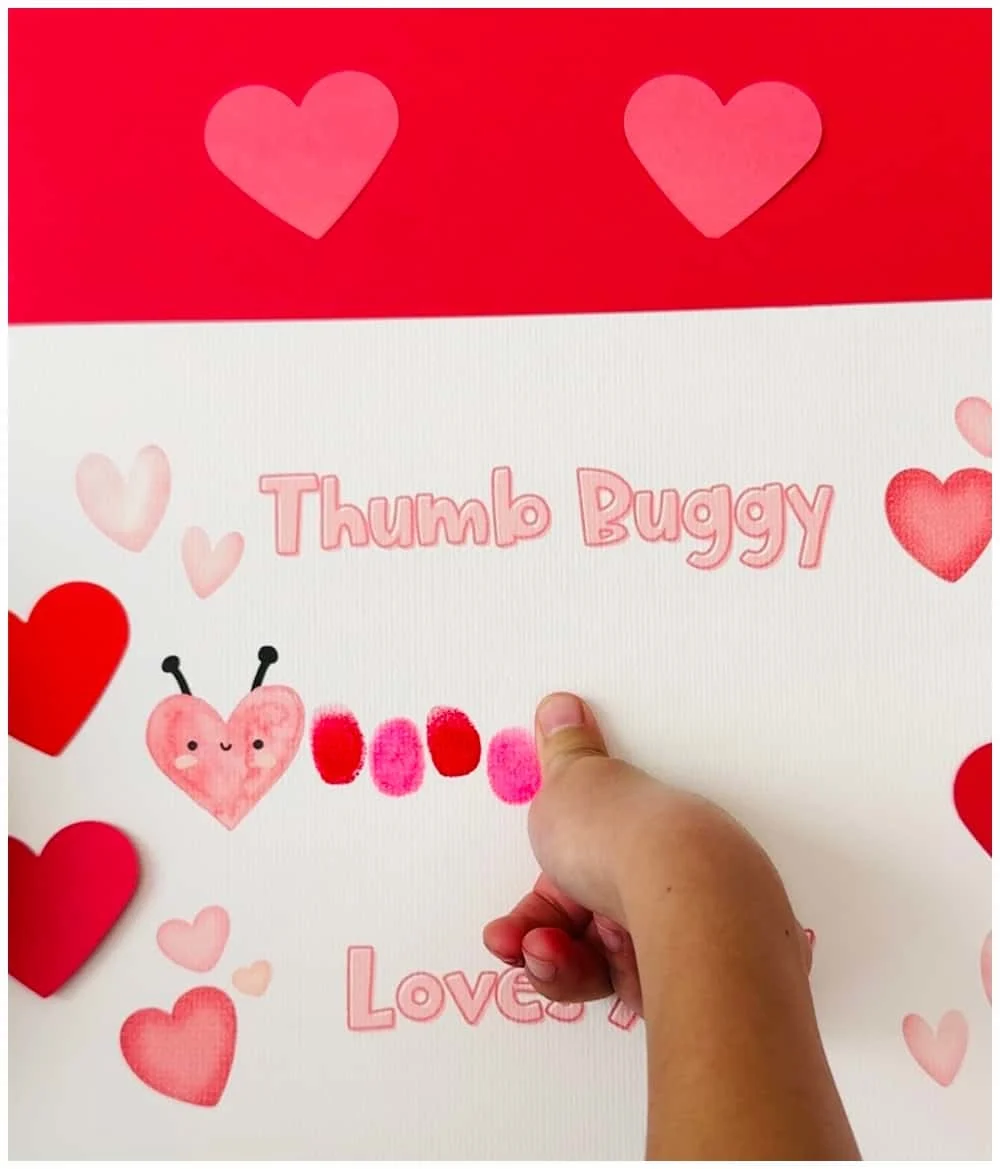
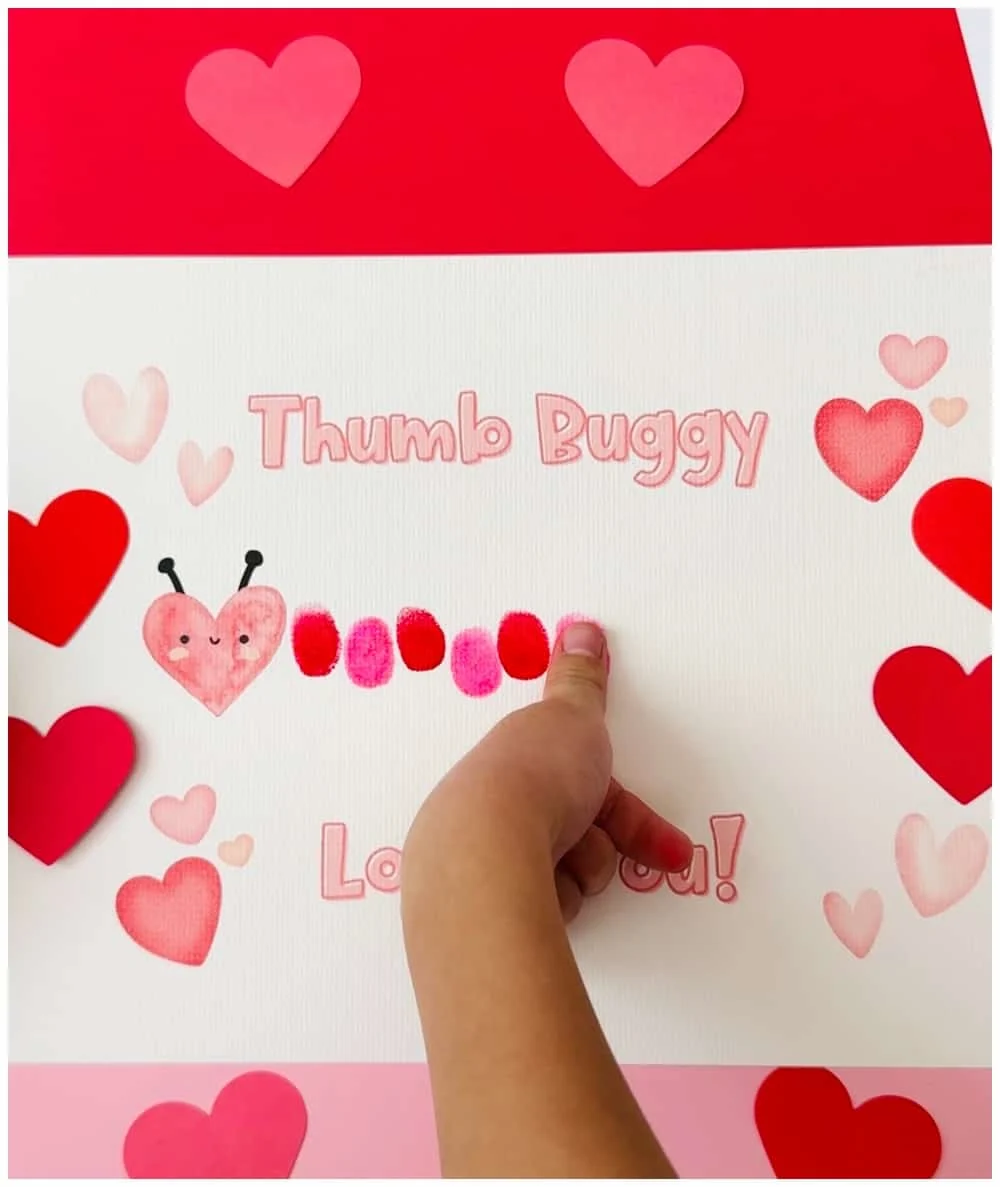
- Ink Those Thumbs!: Press your child’s thumb onto the ink pad, ensuring it’s fully covered in ink. If they are old enough they can stamp on their own.
- Create the Thumb Buggy: Stamp the inked thumb onto the designated spots on the caterpillar’s body on the template. Alternate between red and pink thumbprints to make a colorful pattern.
- Let it Dry: Give the thumbprints a few minutes to dry. This prevents smudging and keeps the artwork clean.
- Add Details: If you’ve chosen the template without legs, now’s the time to draw them in!

Get the Valentine Thumbprint Template
Tips for Success:
- Practice First: Do a few practice stamps on scrap paper to get the feel of it.
- Ink Variety: Use different shades of red and pink to add dimension to your caterpillar.
- Customization: Feel free to embellish your caterpillar with glitter, stickers, or anything else your heart desires.
- Washable materials: Use washable inks and paints to prevent stains

What can you do with your Valentine fingerprint art?
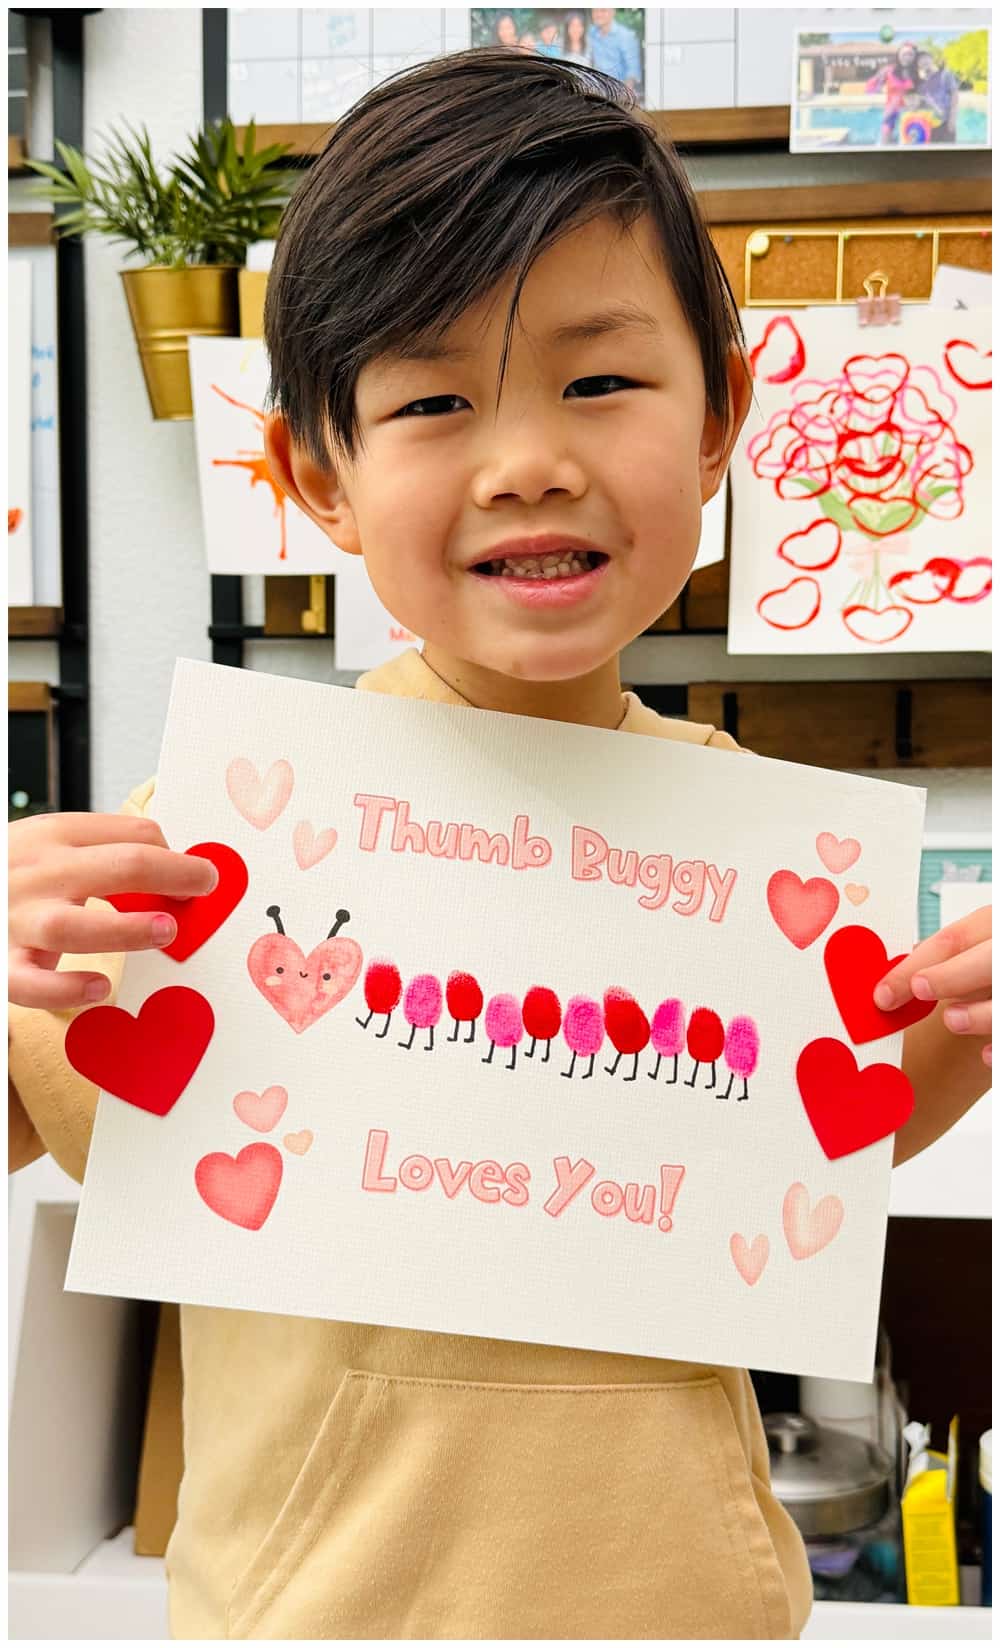
The “Thumb Buggy” artwork can be framed and hung up to remember as a wonderful keepsake. Or given away as a heartfelt Valentine’s Day gift to family and friends.
Conclusion
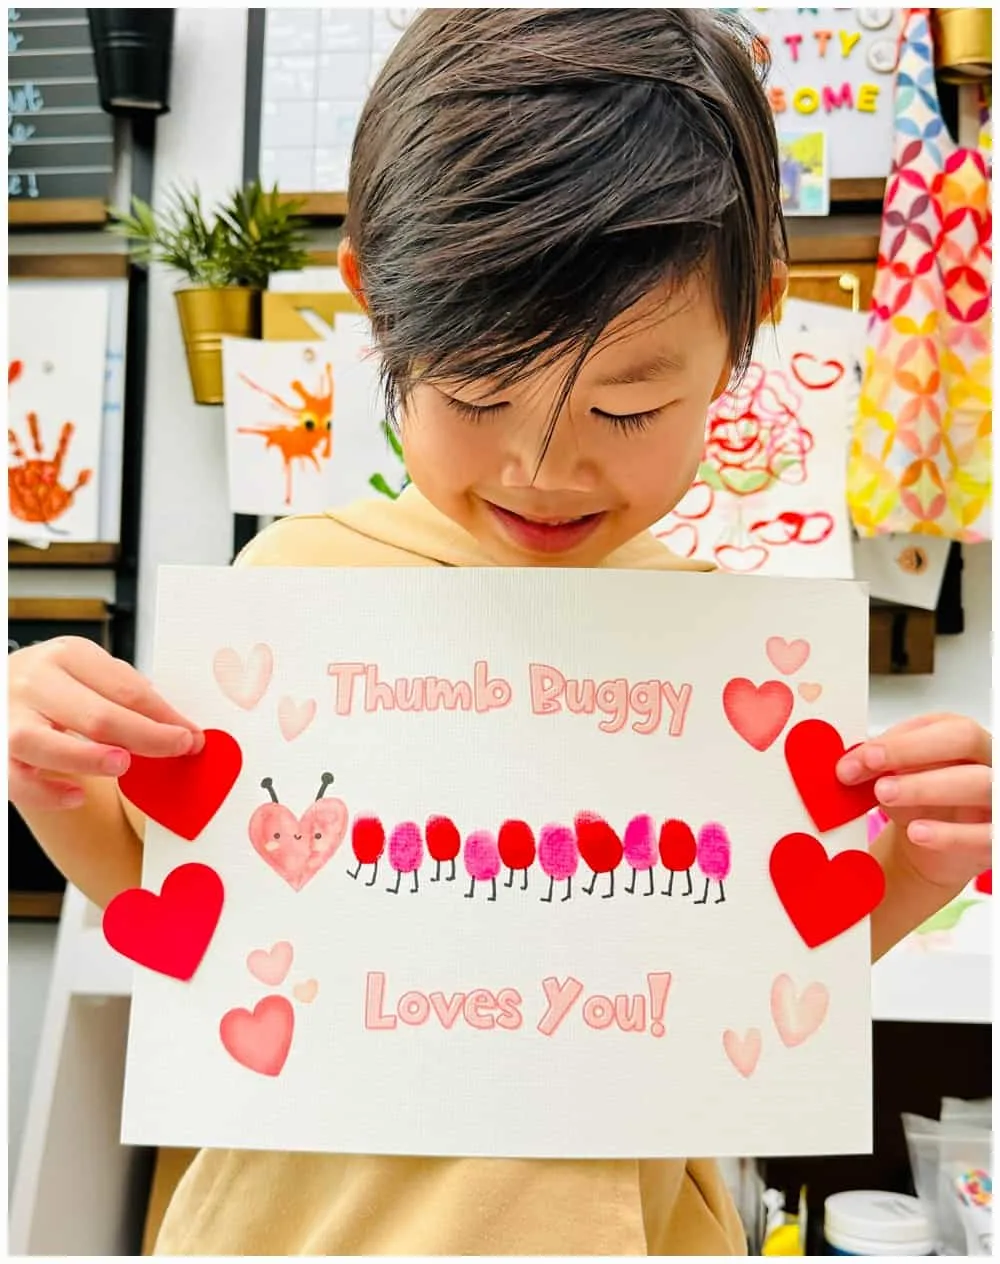
Creating thumbprint art with your kids is a fantastic art and bonding activity to do together! This love bug caterpillar is sure to be as unique as your child’s own fingerprints, and it’s a wonderful way to express love and creativity this Valentine’s Day. Don’t forget to take photos of your little ones with their crafty creations!
Get the Valentine Thumbprint Template
Cute Valentine Thumbprint Art


Materials
- Our printable Valentine caterpillar template (with and without legs printed on) *We recognize fingerprints come in all shapes and sizes so you can draw your own legs on the blank template!
- Red and pink ink pads (washable, non-toxic ink is best for kids) You can also use pink and red washable paints
- Black markers (if you choose the template without legs)
- Printer
- Cardstock
Instructions
- Print the Template: Start by printing out our “Thumb Buggy” template. You can choose between the version with legs or the one without, depending on whether you want to draw the legs yourself or have them pre-printed for ease.
- Prep the Work Area: Lay down some paper or a tablecloth to keep your work area clean. Have paper towels or wipes on hand to quickly clean up little fingers.
- Ink Those Thumbs!: Press your child’s thumb onto the ink pad, ensuring it’s fully covered in ink. If they are old enough they can stamp on their own.
- Create the Thumb Buggy: Stamp the inked thumb onto the designated spots on the caterpillar’s body on the template. Alternate between red and pink thumbprints to make a colorful pattern.
- Let it Dry: Give the thumbprints a few minutes to dry. This prevents smudging and keeps the artwork clean.
- Add Details: If you’ve chosen the template without legs, now’s the time to draw them in!
Notes
- Practice First: Do a few practice stamps on scrap paper to get the feel of it.
- Ink Variety: Use different shades of red and pink to add dimension to your caterpillar.
- Customization: Feel free to embellish your caterpillar with glitter, stickers, or anything else your heart desires.
- Washable materials: Use washable inks and paints to prevent stains


Agnes Hsu is a mom of three and has been inspiring parents and kids to get creative with easy activities and family friendly recipes for over 10 years. She shares her love for creative play and kids food to her 2MM+ followers online. Agnes' commitment to playful learning and kindness has not only raised funds for charity but also earned features in prestigious nationwide publications.