
Cute and Easy Paper Santa Craft
By using this site, you agree to our Terms of Use. This post may contain affiliate links. Read our disclosure policy.
Follow us on Instagram for more fun ideas for kids!
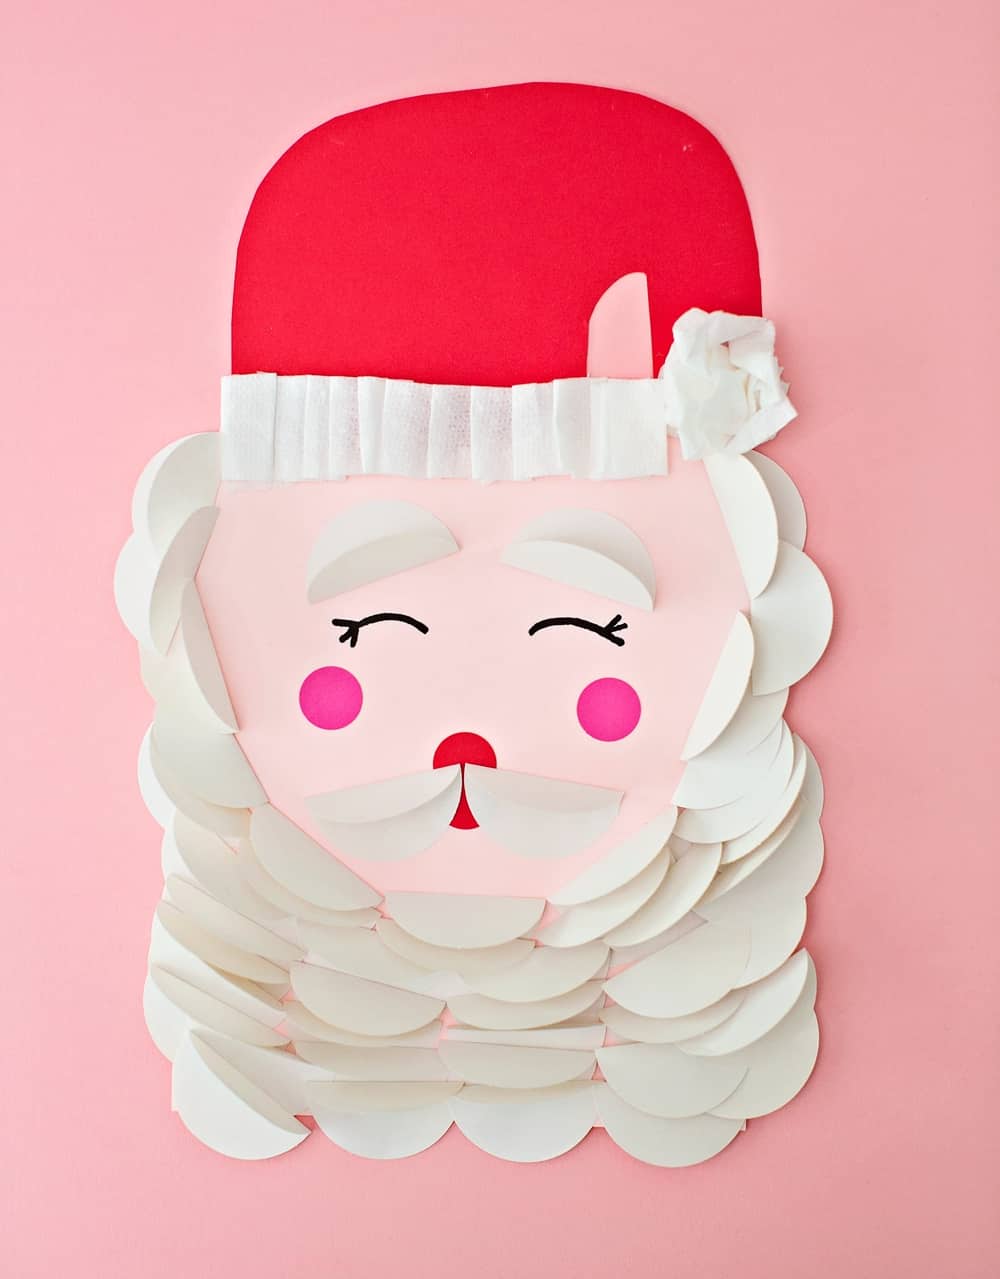
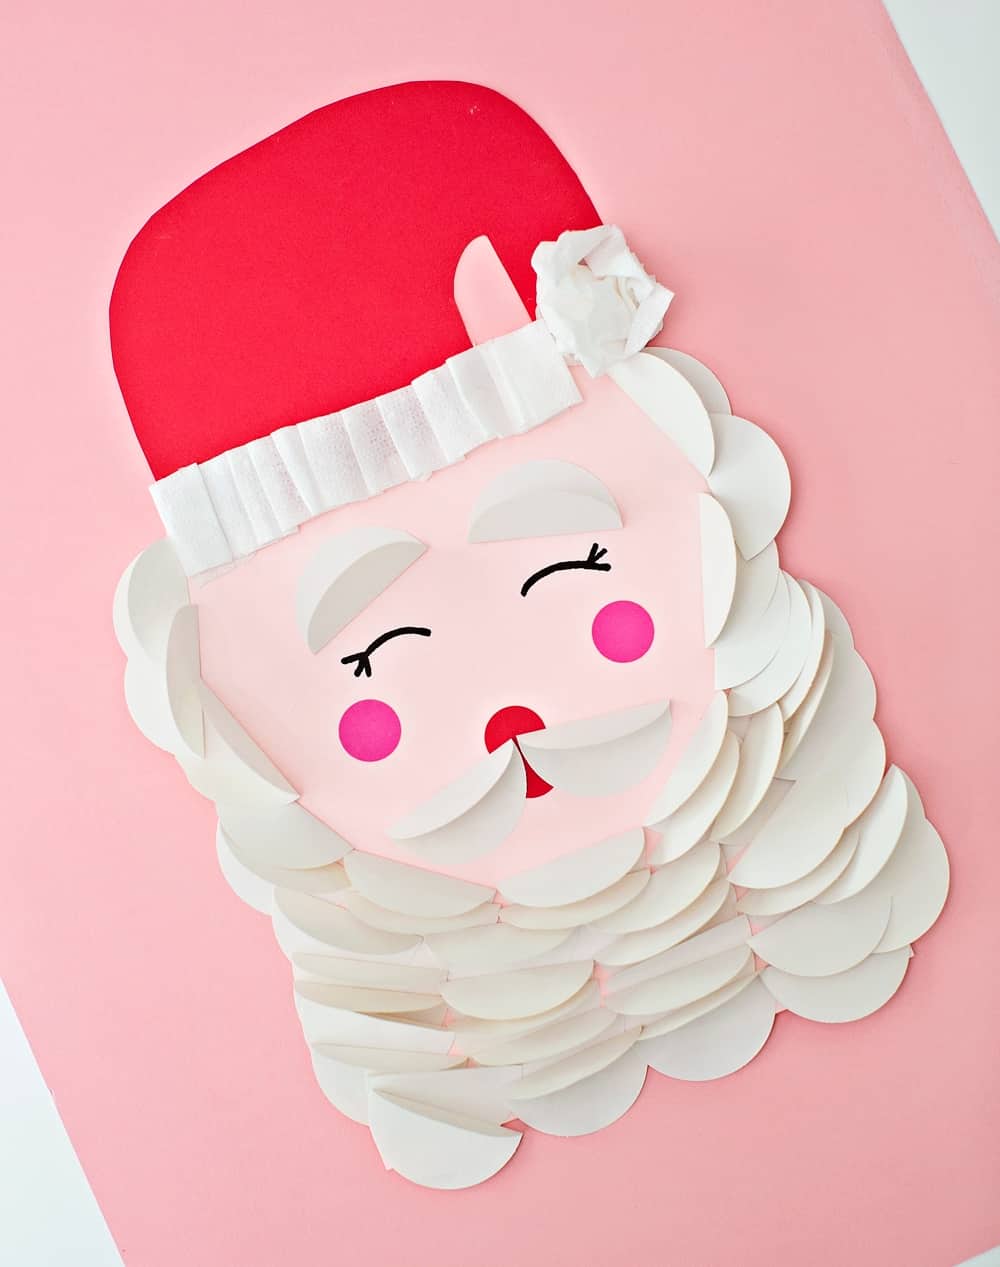
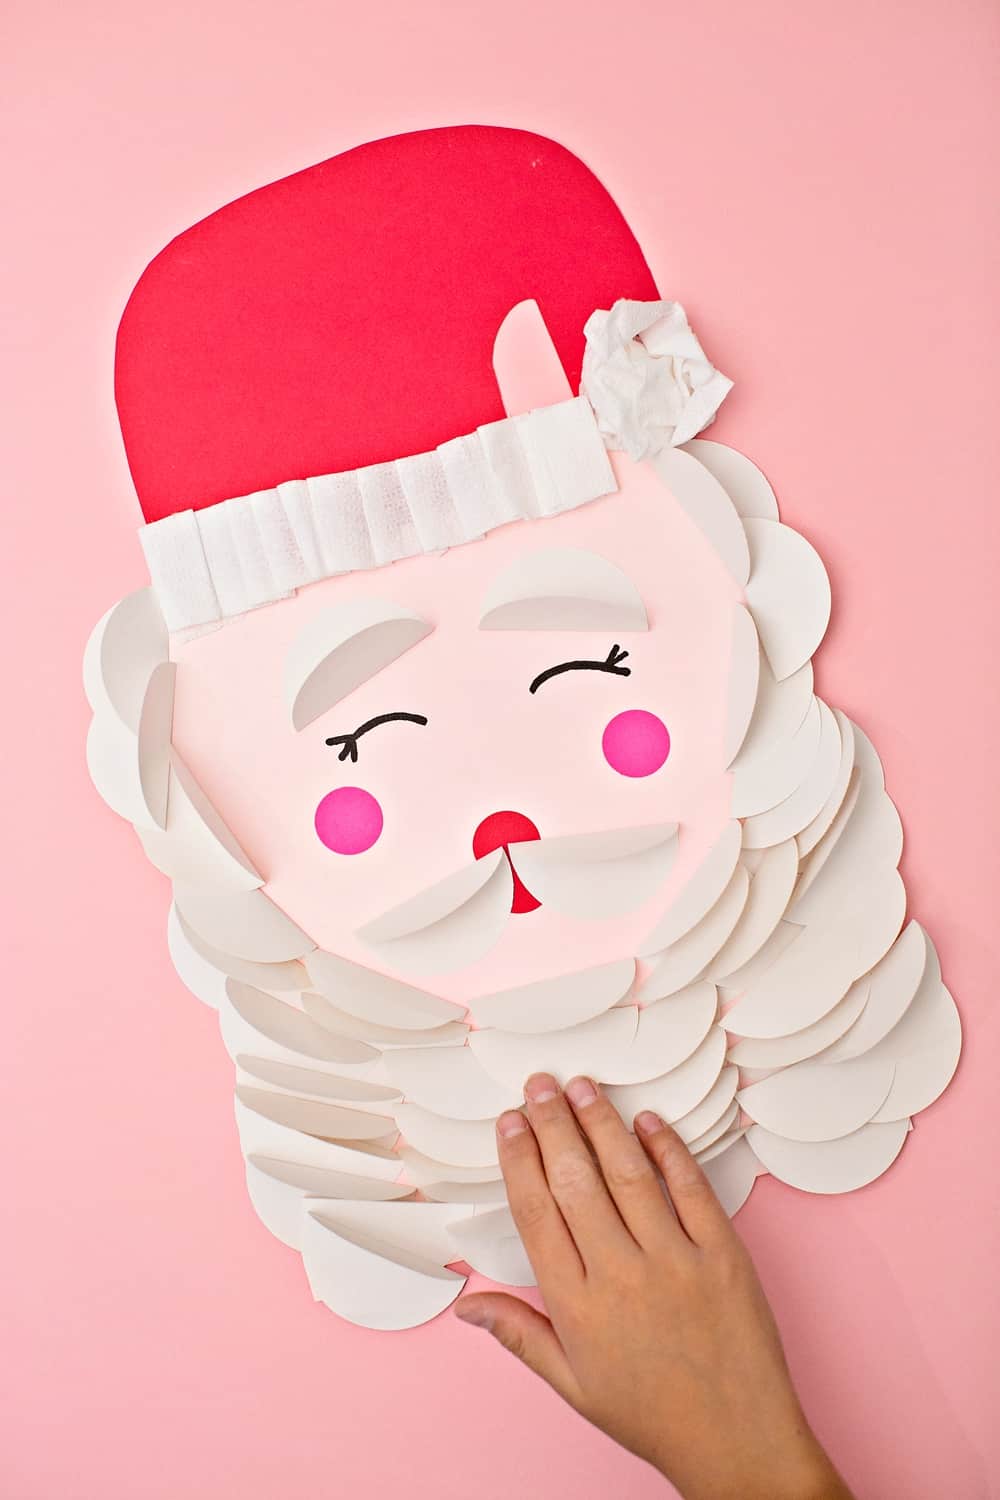
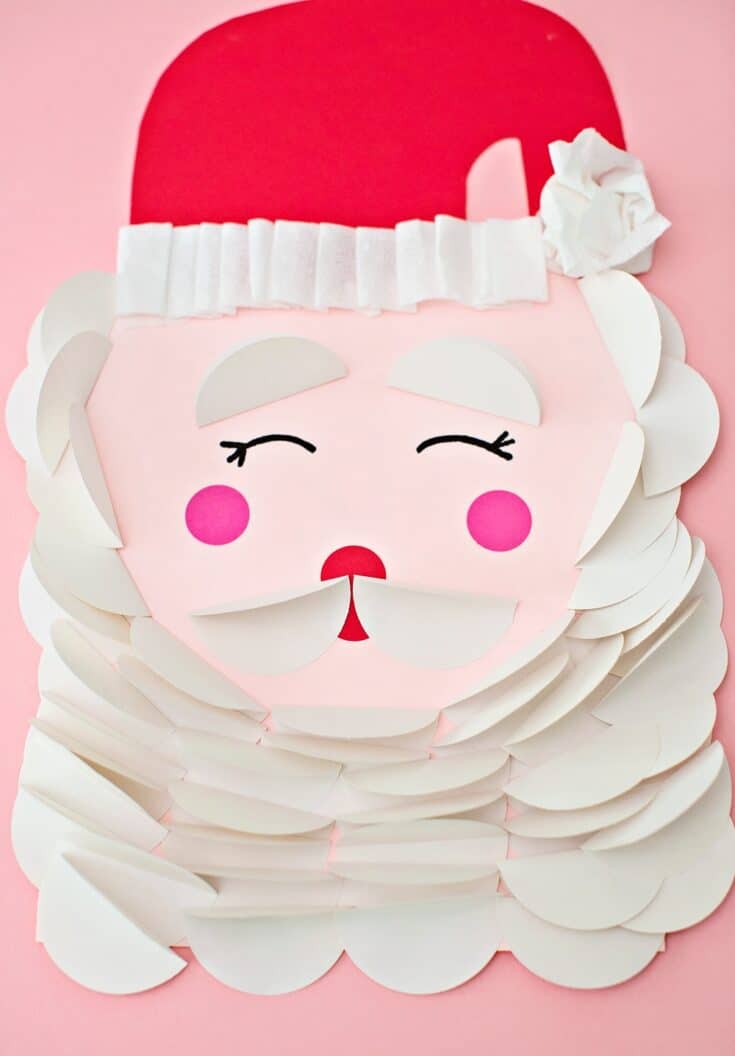
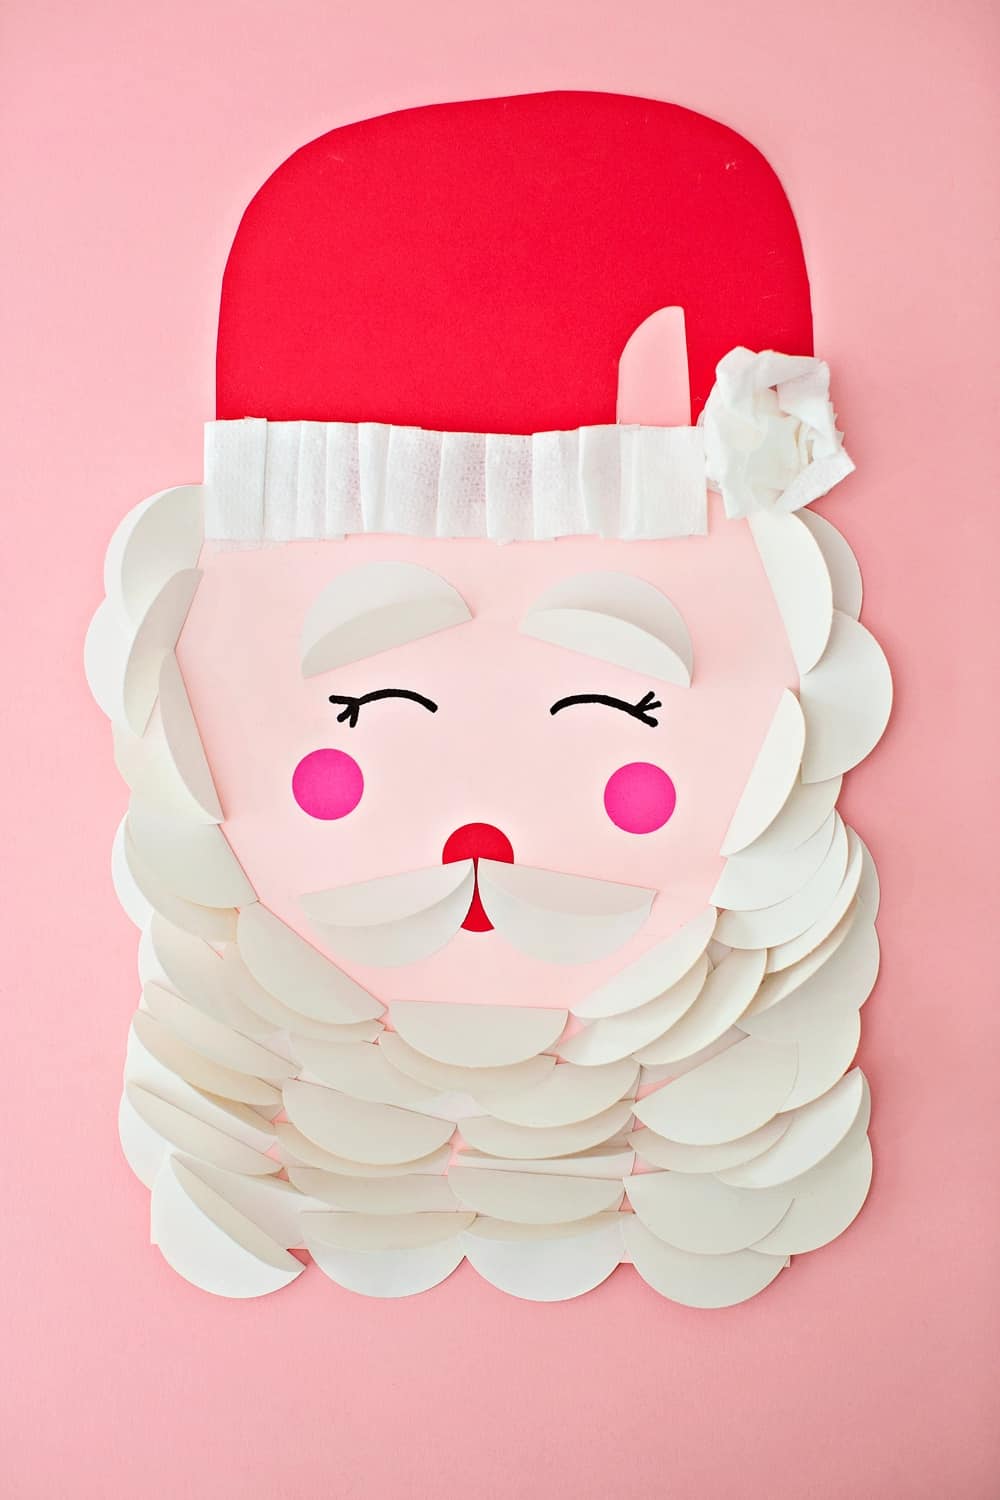
This paper Santa craft is a cute and easy Christmas craft for kids! It makes a jolly holiday decor and handmade project.
If you're looking for a super easy and festive Christmas craft, we have this jolly Paper Santa Craft for you today! This simple and sweet Christmas Santa craft is so easy to create with just paper, and glue! There's a fun twist on the cap and the circles and semi-circles are a fun shape learning activity too!

How do you make this Paper Santa Craft?
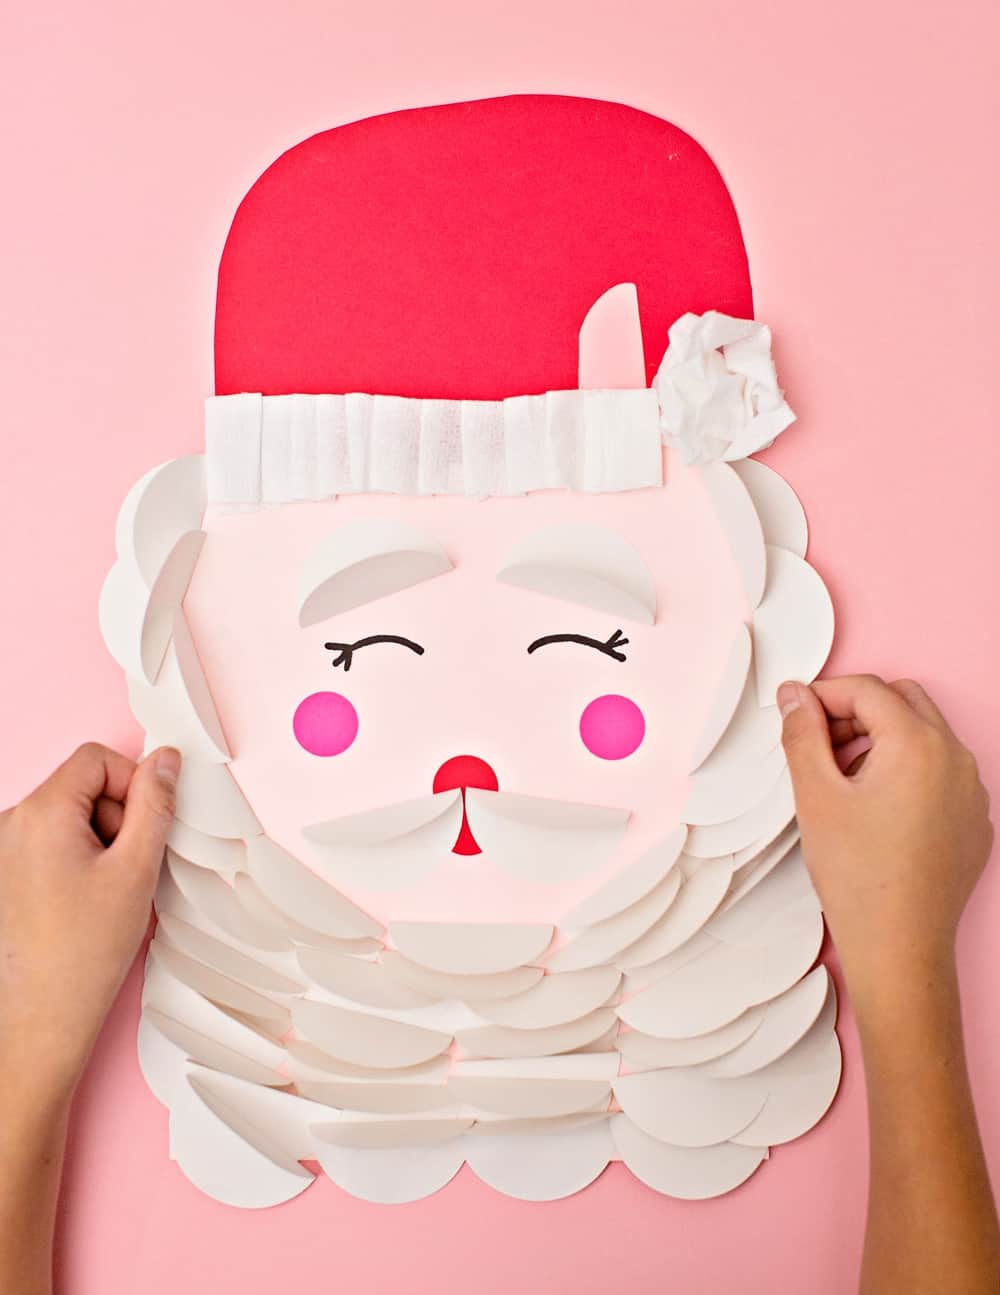
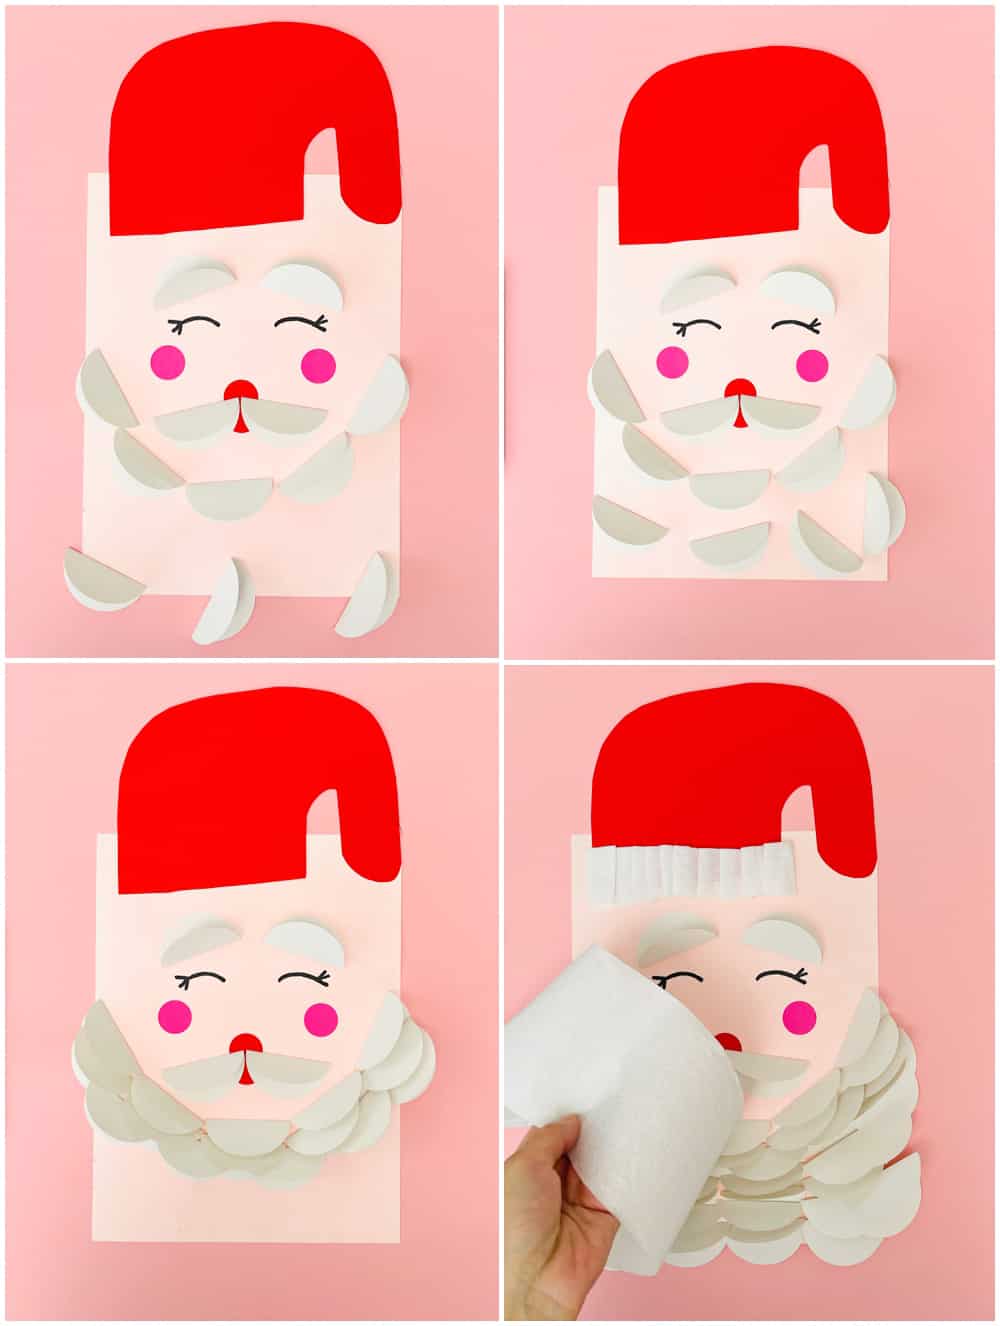
You'll need lots of white circles and a few pink and red circles. Get the kids involved in cutting and folding! This proved to be super mindful activity to make with our kids! After you glue on Santa's beard with the white folded circle,, you'll glue on a red stocking cap. The fun twist is heading to your bathroom to grab a roll of toilet tissue paper! Scrunch it up and add it to Santa's hat lining and make a pom pom out of it! You could of course just use white cotton balls or white pom poms to have a similar design effect.
What can you do with this Santa Craft?
If you make this large enough like we did (on a piece of 8.5" x 12" paper) you can have a small child use it as a mask (make sure to cut out the eyes) and attach a large popsicle stick to the end!
You can do the same without cutting out the eyes by turning it into a Santa puppet!
Why not make a smaller-sized Santa paper and make a card out of this jolly design?
Paper Santa Craft - Materials:
Color papers in light pink, dark pink and red
Toilet paper tissue
Black marker
Glue
Scissors
INSTRUCTIONS
Watch the video in this post
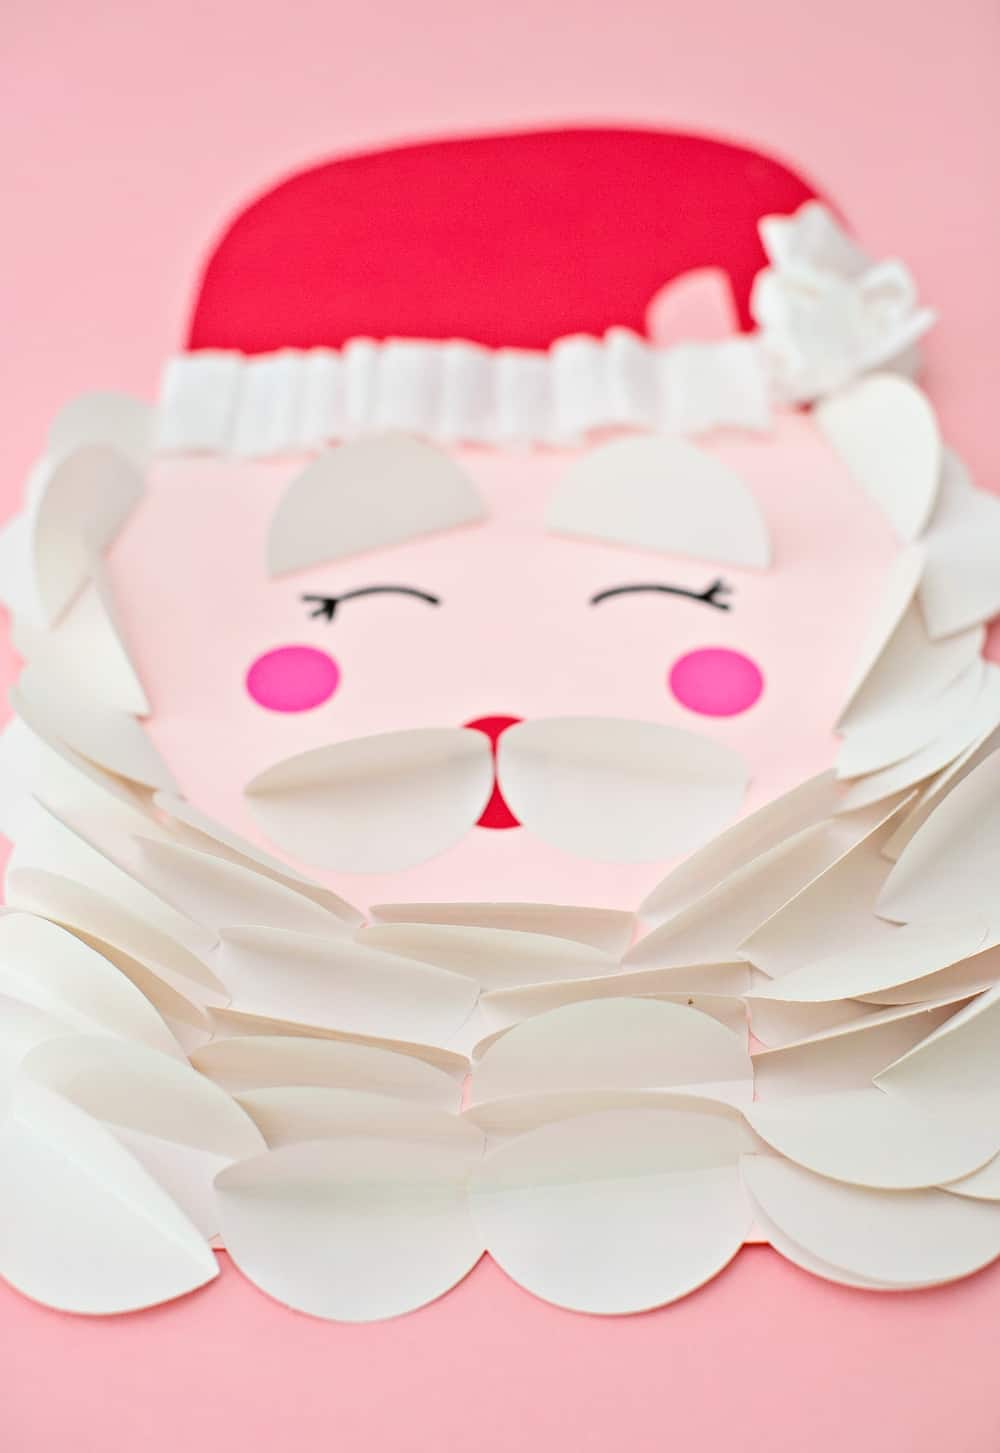
1. Cut circles out of white paper (as many as you want to fill your beard with depending on the size of your paper for Santa's face). It's helpful to use a circle punch (ours was 2.25" diameter) but you can also trace a small round object to trace around as a template 2. Cut one inch diameter circles out of red and dark pink paper (2 circles per color) 3. On your light pink paper, draw Santa's eyes with black marker, overlap the two red circle for his nose and lay the two dark pink circles for the cheeks. Glue in place. 4. Fold all your white circles in half. 5. Glue two folded circles in the middle of the face over the two red dots as Santa's mustache. 6. Glue another two circles as eyebrows. 7. Glue folded circles as a beard. 8. Gradually glue circles and make the long beard of santa. 9. Draw the stocking hat out of red paper and glue it on top of the face. 10. Cut a small strip out of toilet tissue paper and glue along the bottom line of the stocking cap. Pleat while pasting the strip. 11. Scrunch up another piece of toilet paper and glue it to the end of the cap. 12. Trim around your paper to make santa's face appear round. Add more white folded circles to even out his beard. 13. Tada! Smiling Santa is ready for a jolly good time!Paper Santa Craft
Materials
Instructions
You Might Also Like
Feed The Penguin Learning Activity


