
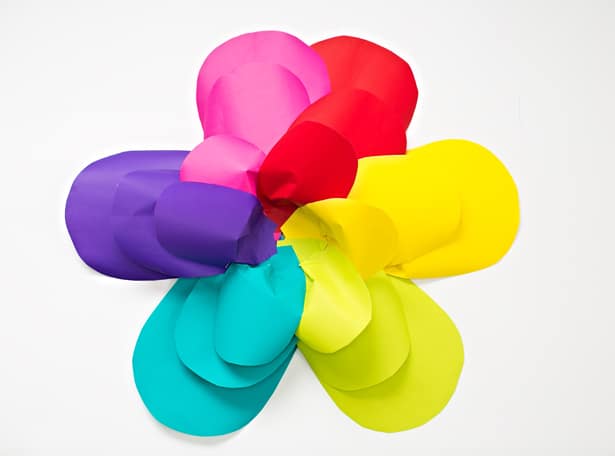
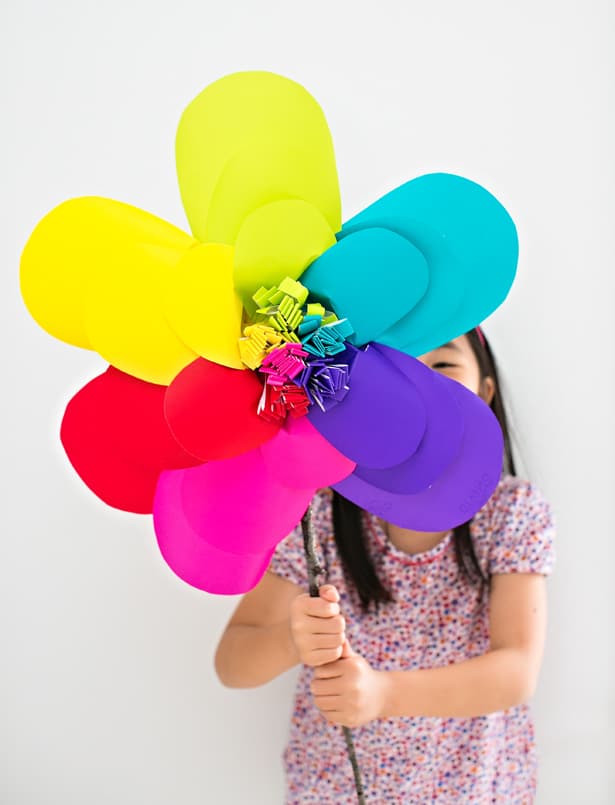
If you’re a long time reader, you know we adore rainbows around here. To celebrate spring, we decided to make a giant paper rainbow flower! It’s the ultimate colorful project to get kids excited for springtime!
Giant Rainbow Paper Flower – Materials:
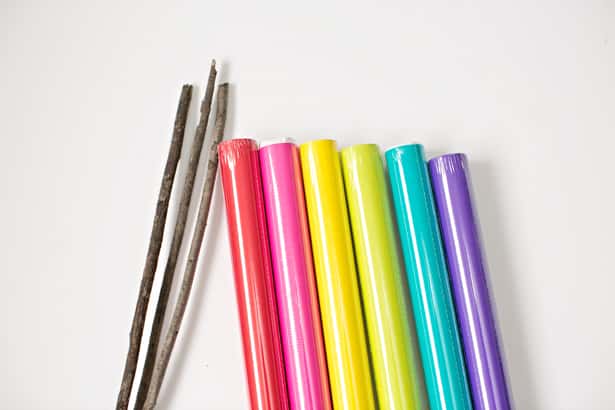
– Colored paper (we used gift wrap paper which comes in rolls for a larger size)
– Scissors
– Hot Glue
– A large stick
– Paper, pencil
Instructions:
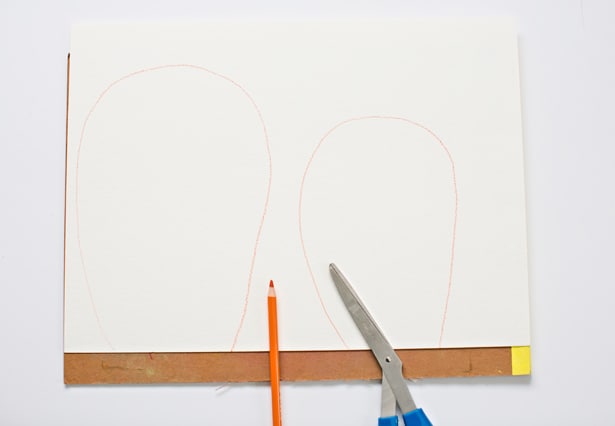
Step 1. You’ll need 3 sizes of petal templates, large, medium, small. We freehand drew our large and medium petal and when we finished cutting our medium petals, drew a small petal within the medium one. You can make this paper flower any size you want, but we went big, so if here are our approximate petal dimensions if you want to re-create a similar size;
Large petal: 9.5″ tall x 6″ wide
Medium petal: 7.5″ tall x 5″ wide
Small petal: 6.25″ tall x 4″ wide
*note width is at the widest section of the petal
Large and medium petal shown below:
Below is our small petal.
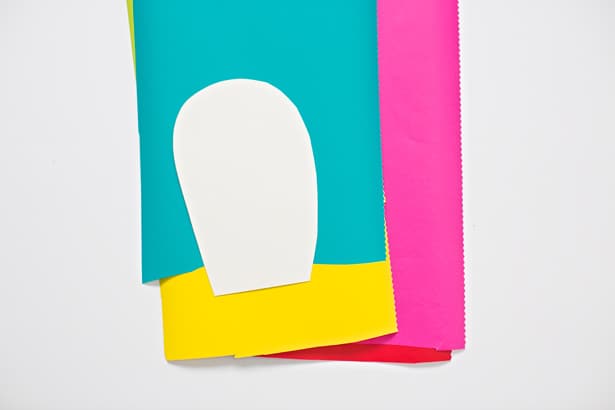
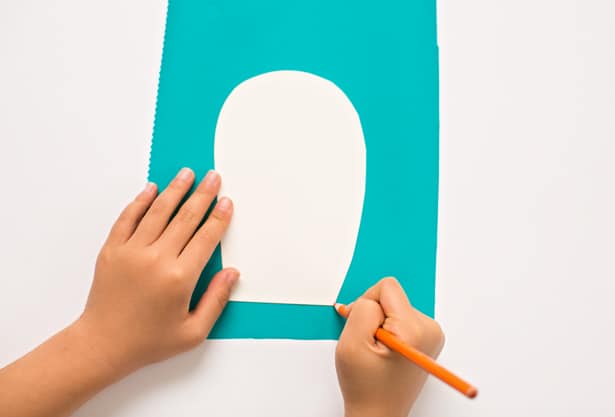
Step 2. Once you have cut out your petal templates cut out a large, medium, and small petal for each color paper. Older kids who are able to trace and cut are helpful at this stage.
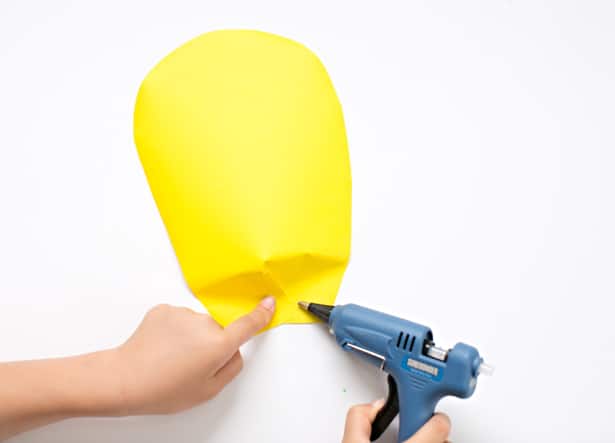
Step 3. Once you have all the petals cut, cut a slit at the bottom as shown below, about two inches long.
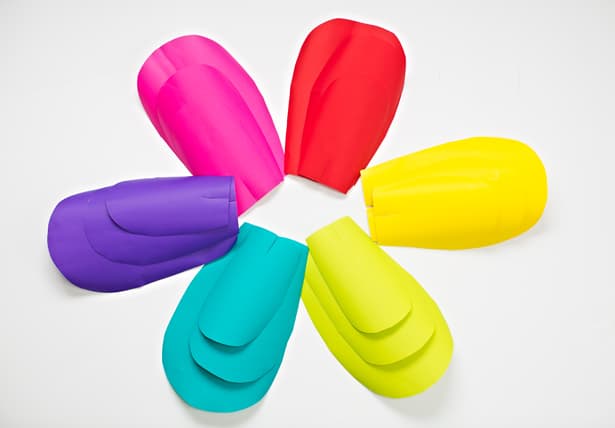
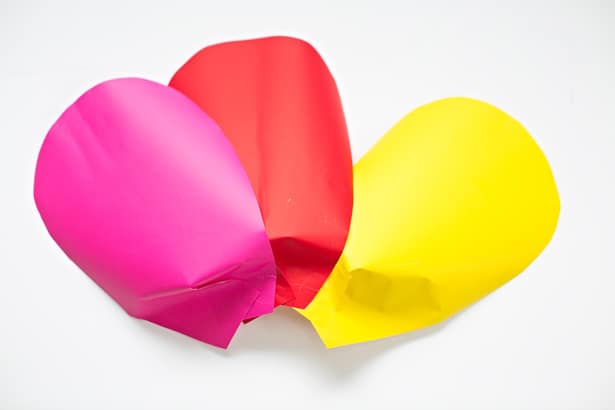
Step 4. Gather all your large petals. For each one, cross over the petals at the bottom as shown and add hot glue to secure. Repeat this step for the medium and large petals.
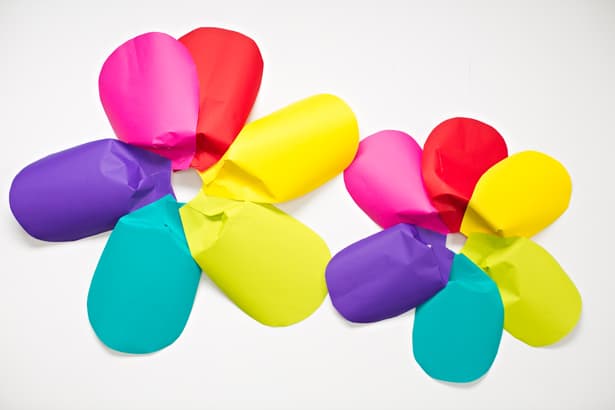
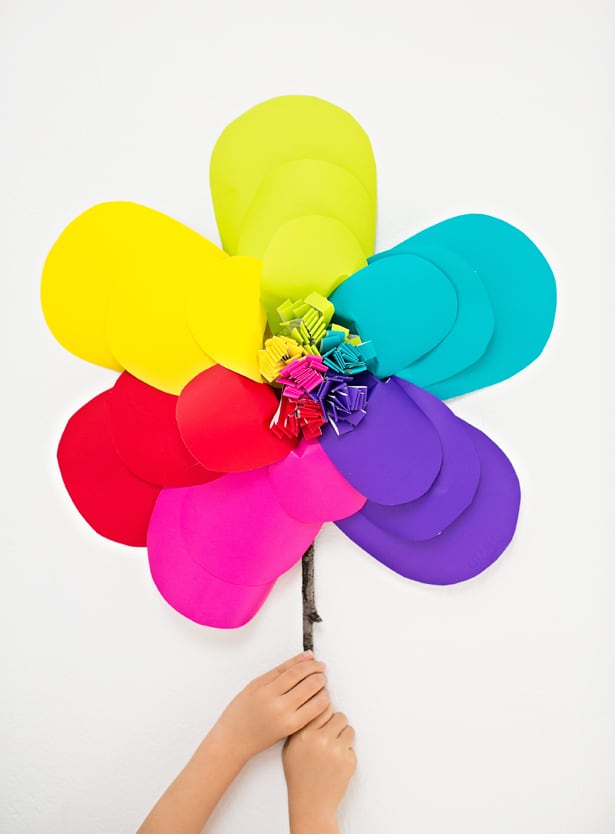
Step 5. Once you have glued all your individual petals at the bottom, take all your large petals and glue them down side by side. Repeat for the medium and small petals. You should end up with this:
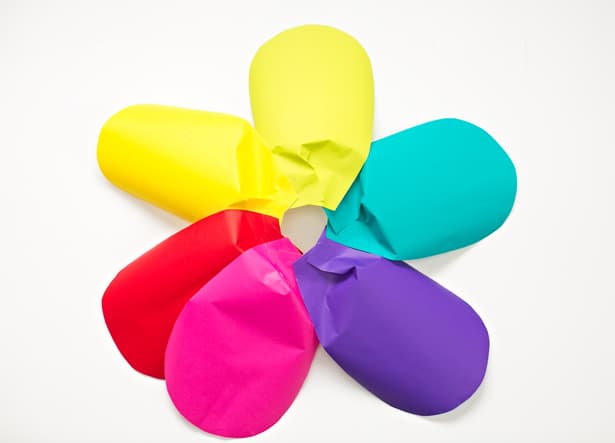
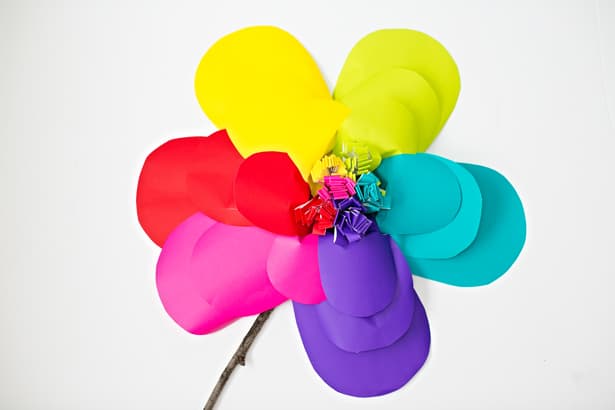
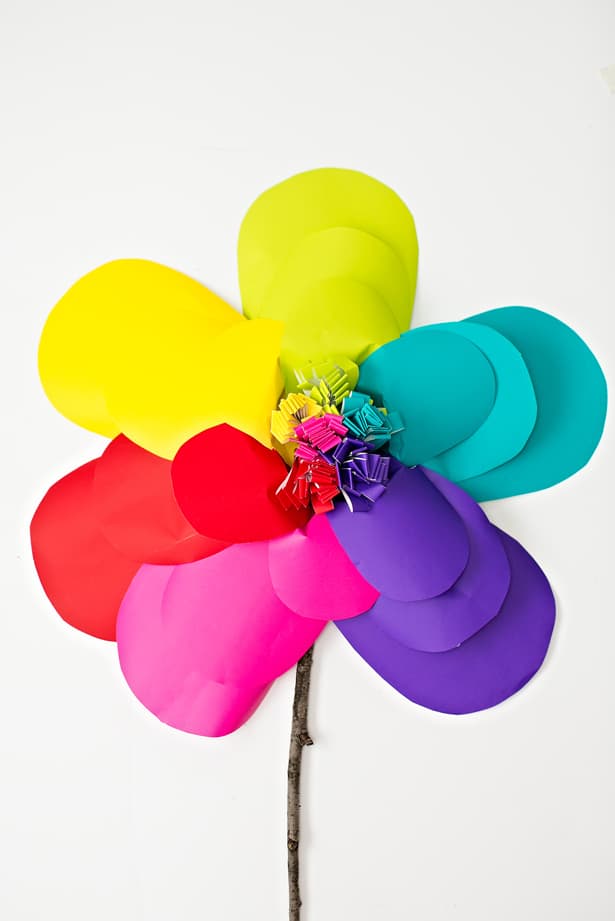
Step 6. Then layer the medium petal wreath over the large one and the small petals over the medium wreath, securing the bottom with hot glue. It will end up looking like this:
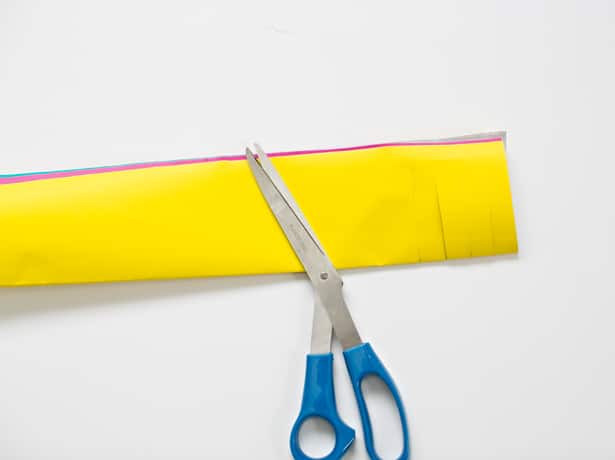
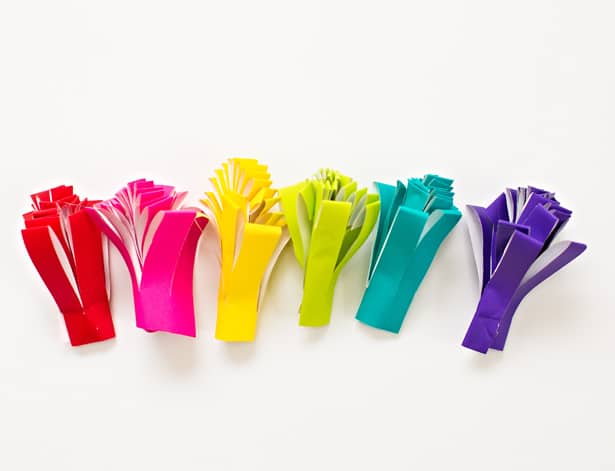
Step 7. Almost done. You just have to make the stamen. Place your colored paper on top of each other and fold to a size of 14″ long by 2.75″ tall approximately. Then start cutting fringes. Remove each color paper and then roll them up, securing with hot glue along the way.
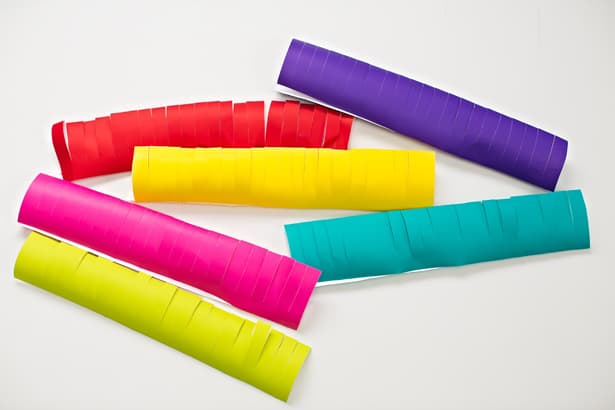
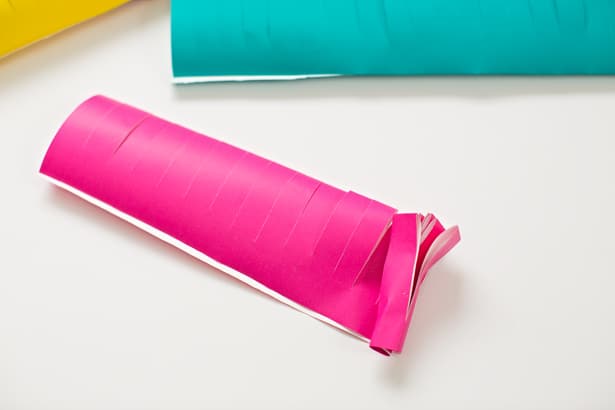
Step 8. Your stamen for each color when rolled and glued should look like this:
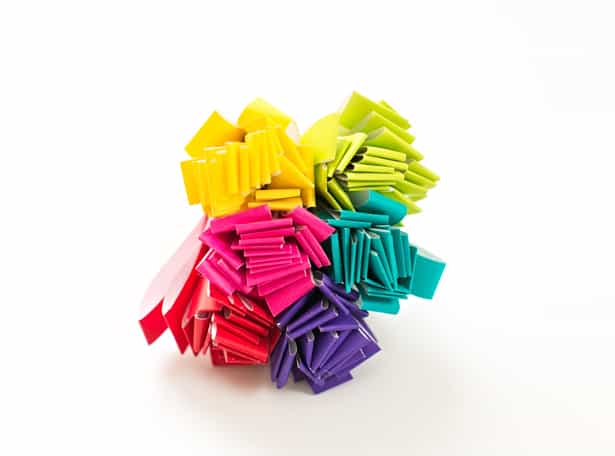
Step 9. The last step is to glue the individual colors together and then glue to the center of your flower.
.jpg)
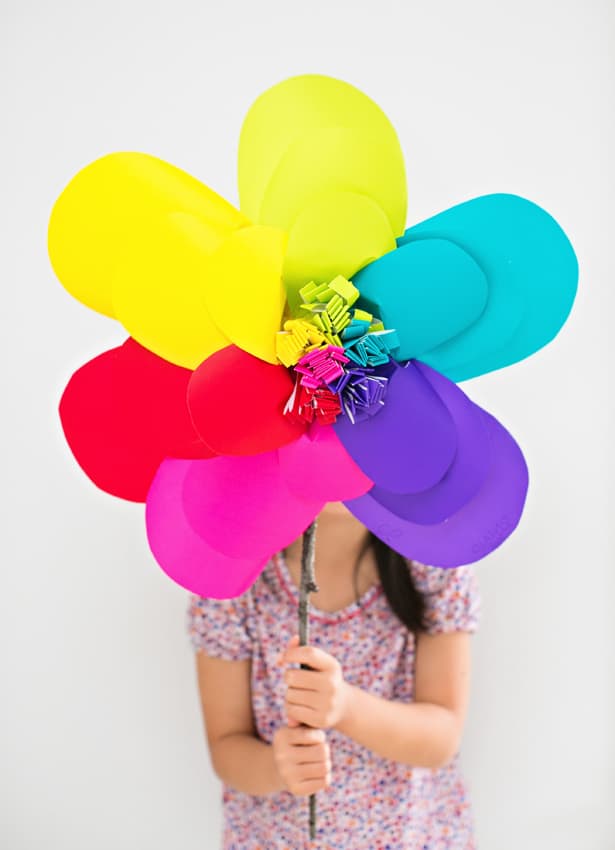
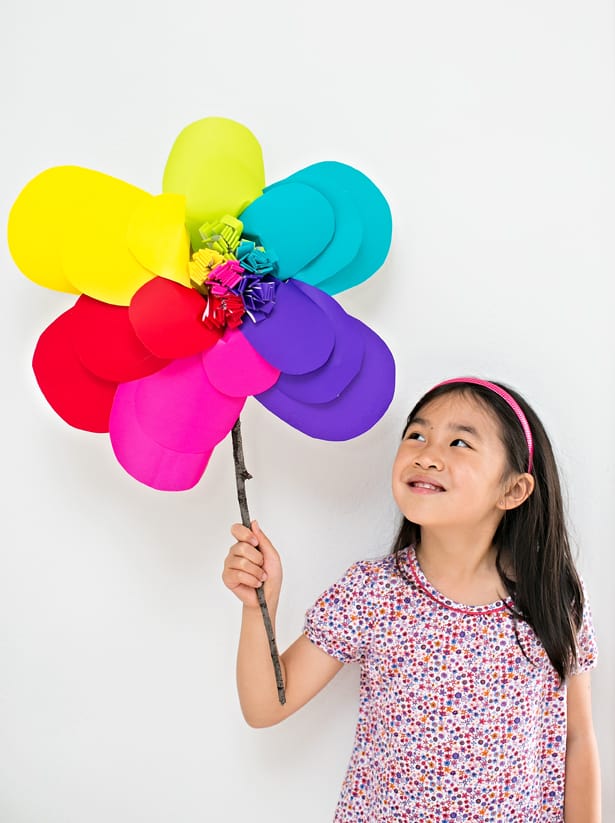
You can leave your paper flower as is (wouldn’t it look pretty hung up on the wall?). Or make more in different sizes for a wall decoration.
You can also glue a stick to the back as we did and hand them out to someone! These would make a beautiful handmade Mother’s Day present.
What are your favorite ways to make paper flowers? Check out more beautiful spring projects for kids!
______________________________________________________________________________________________________
Disclosure: Some of the links in the post above are “affiliate links.” This means if you click on the link and purchase the item, we will receive a small affiliate commission. Regardless, we give our promise that we only recommend products or services we would use personally and believe will add values to our readers.


Agnes Hsu is a mom of three and has been inspiring parents and kids to get creative with easy activities and family friendly recipes for over 10 years. She shares her love for creative play and kids food to her 2MM+ followers online. Agnes' commitment to playful learning and kindness has not only raised funds for charity but also earned features in prestigious nationwide publications.