
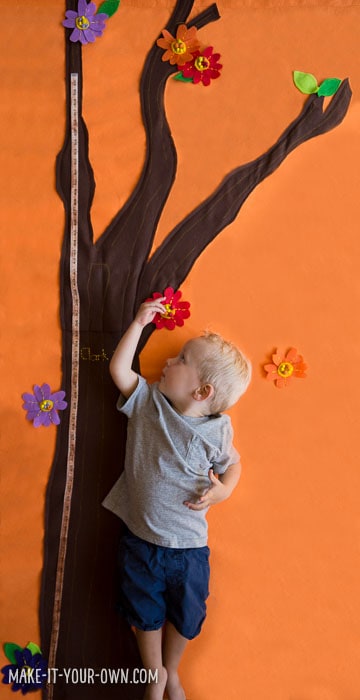
HOW TO MAKE A FELT TREE GROWTH CHART WITH KIDS
My husband's family has a beautiful wooden growth chart with markings of the children, grandchildren and family friends throughout the years. Inspired by an idea of his mother's, this handmade growth chart makes an engaging project to do together to measure your children's milestones.
Materials
Tree
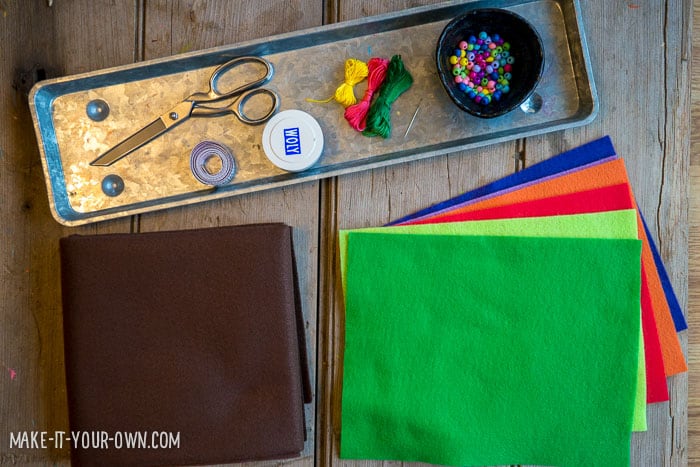
- Large section of brown felt
- Smaller squares of felt (For your flowers, leaves etc.)
- Scissors
- Measuring tape
- Brown shoe polish (optional)
- Embroidery floss and/OR sewing materials
- Needle
- Beads (optional)
Background
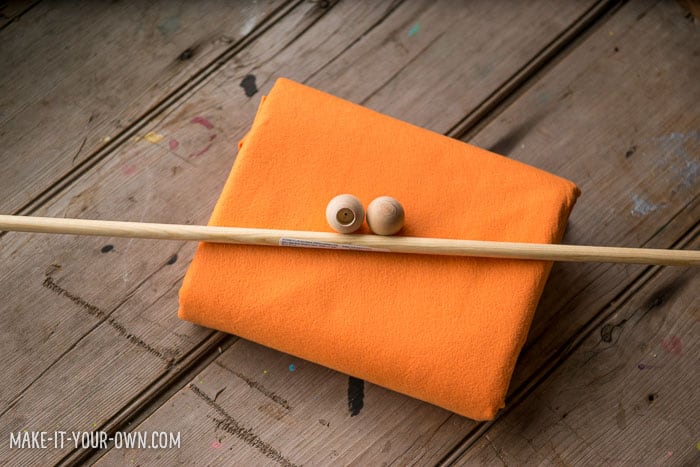
- Felt
- Dowel
- Finial dowel caps (Like a bead, but not drilled all the way though, found at craft stores)
- Wood glue (as seen below)
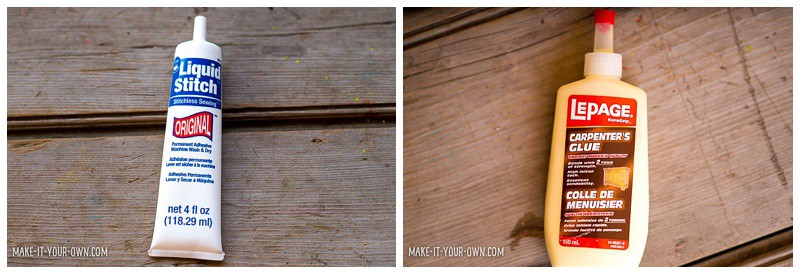
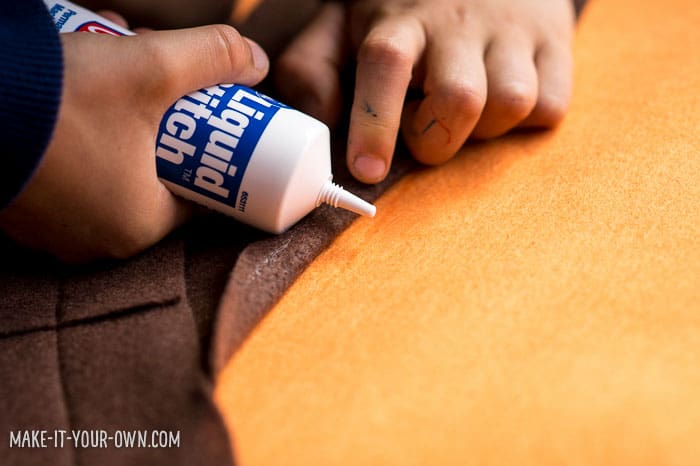
- Fabric glue (If you buy a continuous sheet of brown felt you won't need this, however, ours was a square bundle which required cutting the piece in half and gluing the pieces together. However, if your children are younger, like ours, you may find the glue helpful at many stages. It is a great alternative to sewing!)
With any project we always find these items helpful:
- Smock
- Craft tray or craft table cloth
Directions
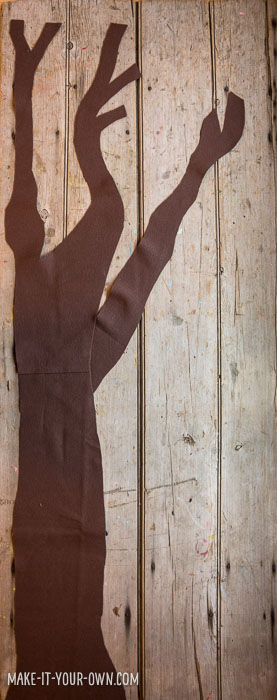
- Sketch out a tree for your growth chart to help give you a plan for cutting your felt.
.jpg)
.jpg)
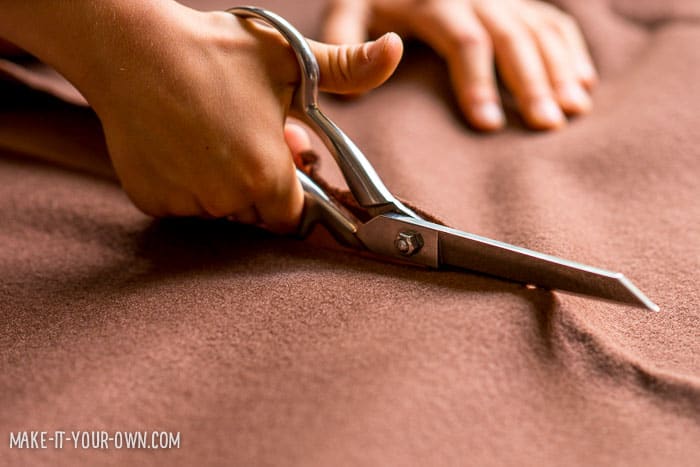
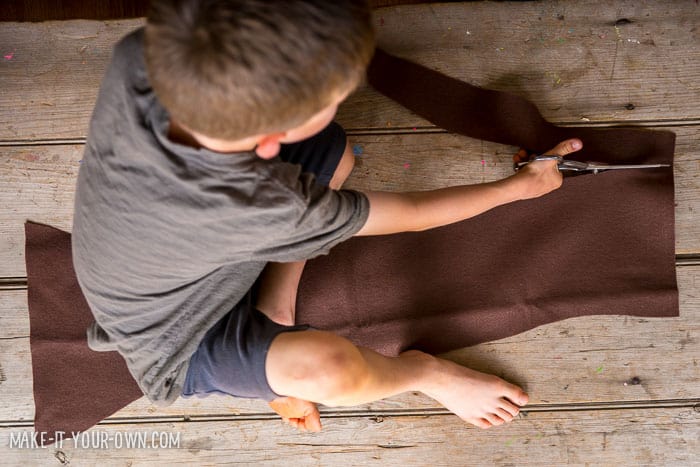
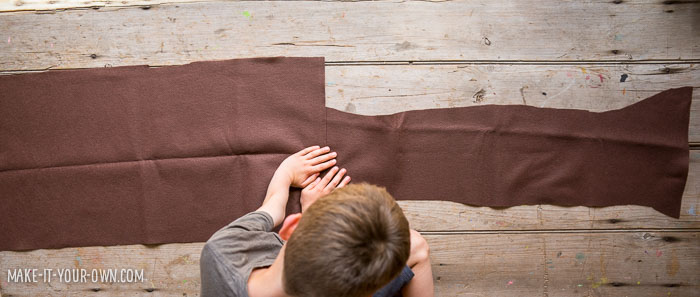
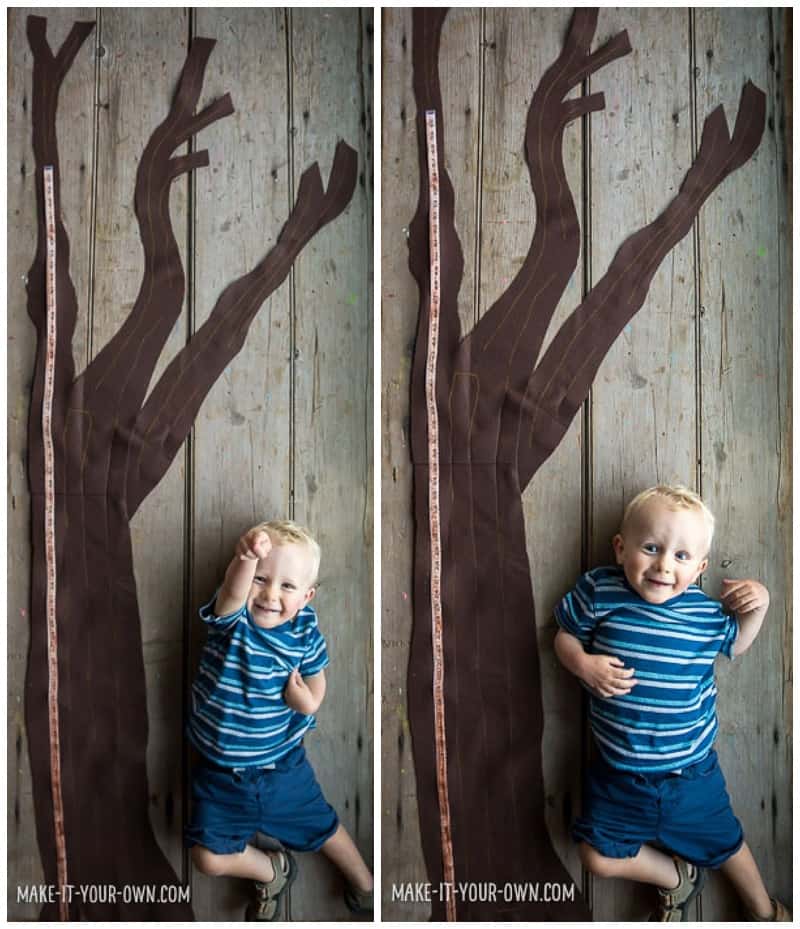
- Cut your tree out of felt. If you bought several metres or feet of fabric off of a bolt you can cut one continuous tree, however, if you used more of a square bundle as we did, you may need to cut your piece in half and glue it together length-wise to form your trunk.
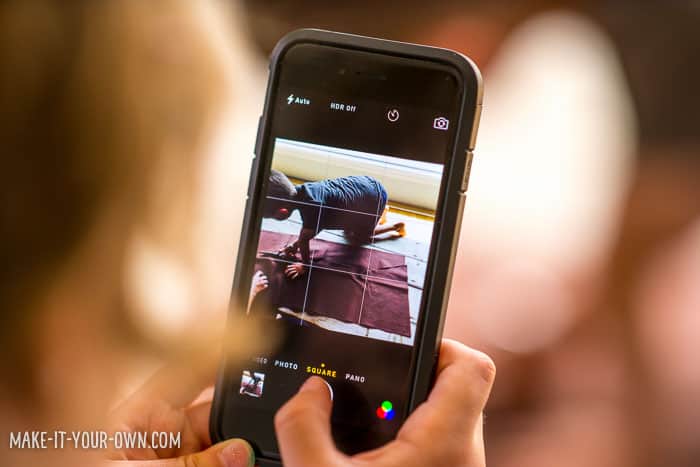
(Our daughter enjoying taking her own photos of the process!)
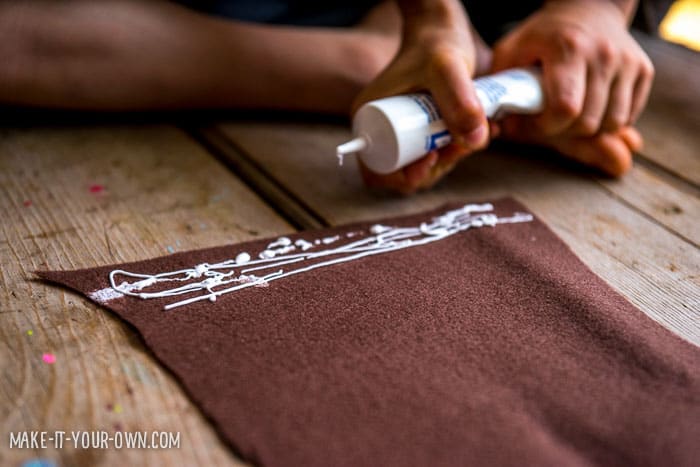
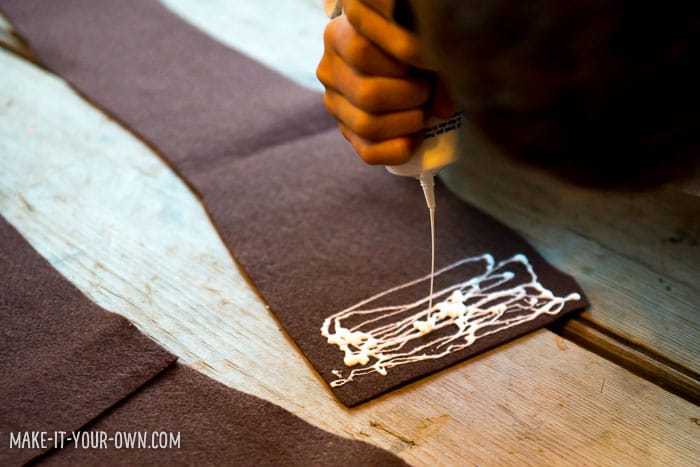
- Allow your cut out tree to dry overnight if you used fabric glue to piece it together.
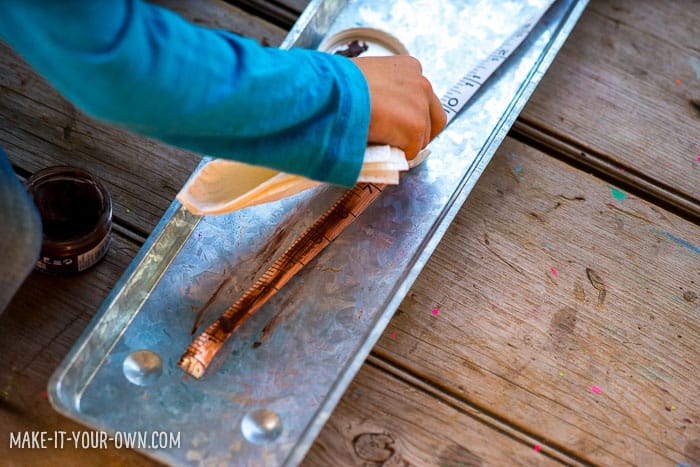
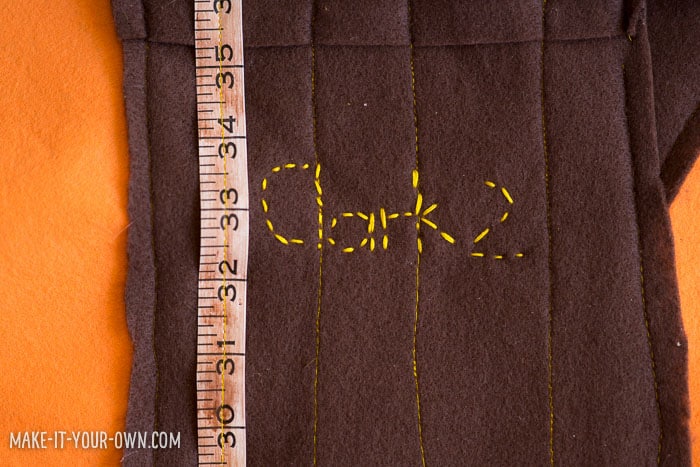
- In a craft tray, rub your measuring tape with brown shoe polish lightly (we used a paper towel) so that you can still see the numbers underneath, but so that it will blend into the bark of your tree. Allow to dry overnight.
- Sew or fabric glue your tape measure onto your tree on the side. (And of course, get a baby's approval!)
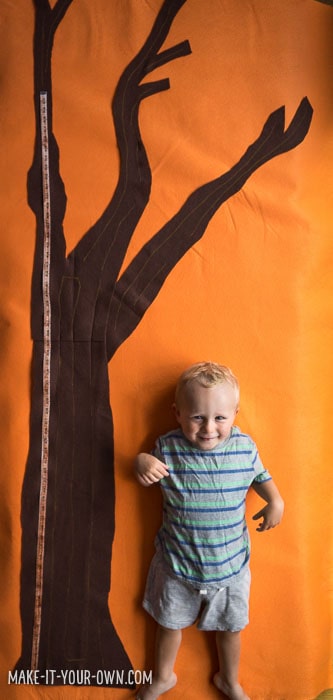
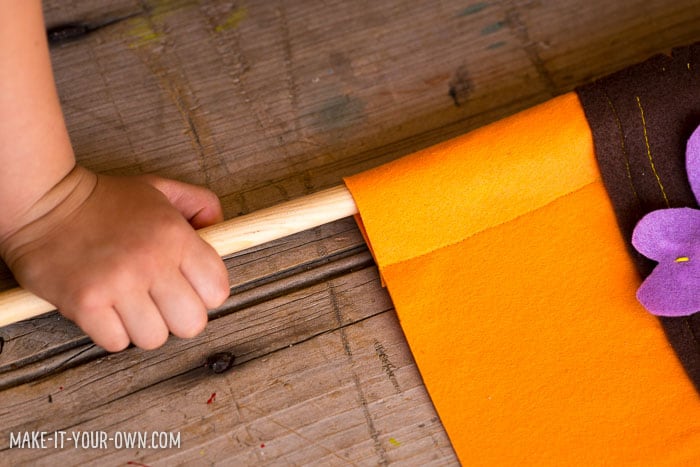
- Glue or sew your tree onto your background felt, leaving a portion at the top that you fold over and sew, creating a channel for your dowel. We went with both, finding that the glue held the tree in place and eliminated the pins for our daughter who really wanted to do some of the "steering" of the sewing machine.
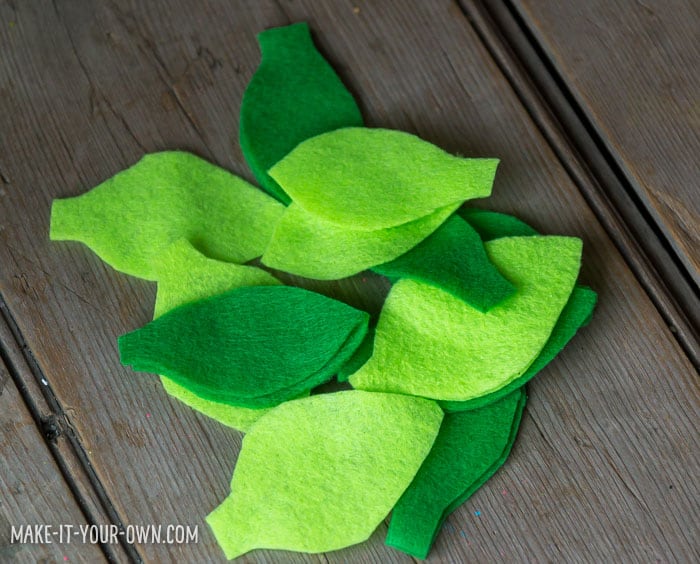
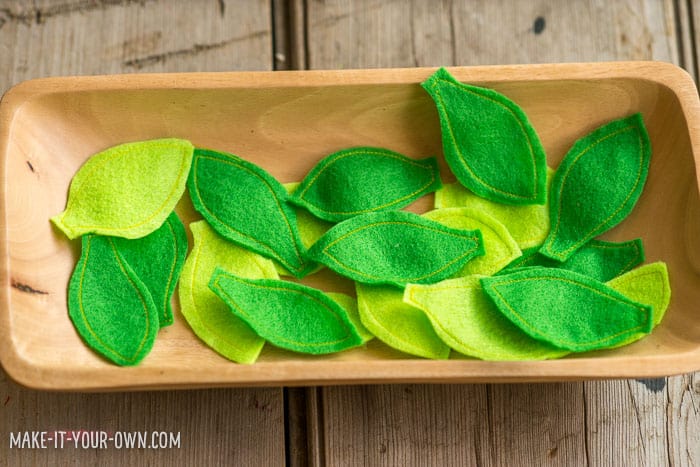
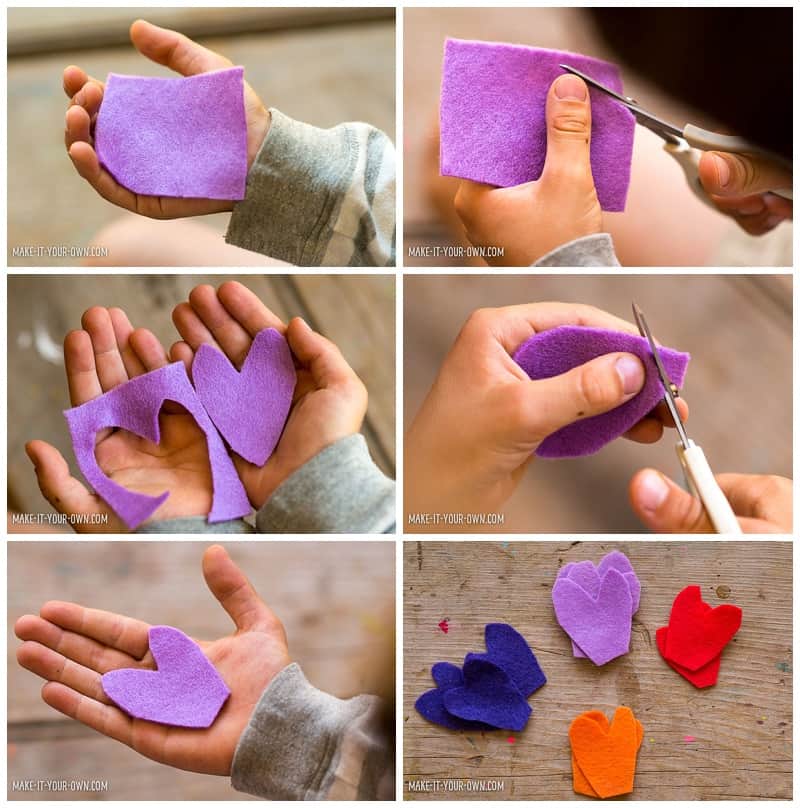
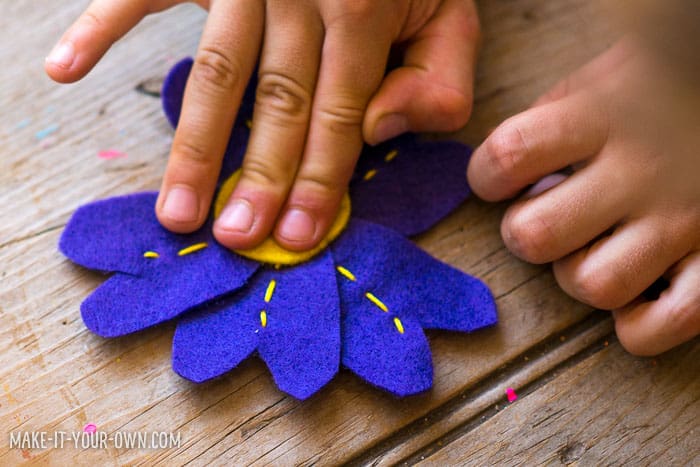
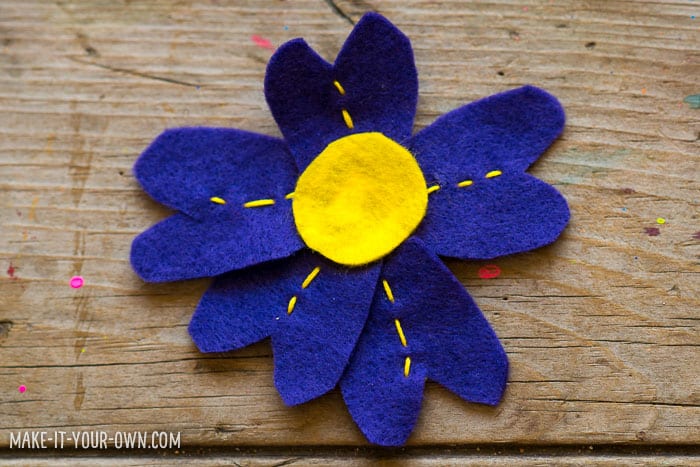
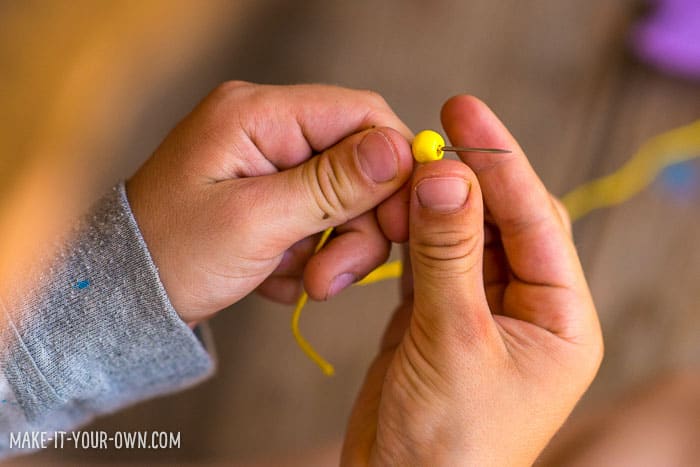
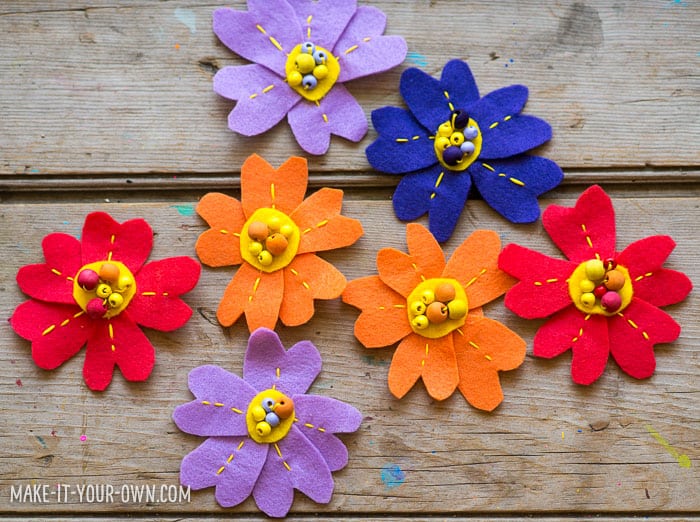
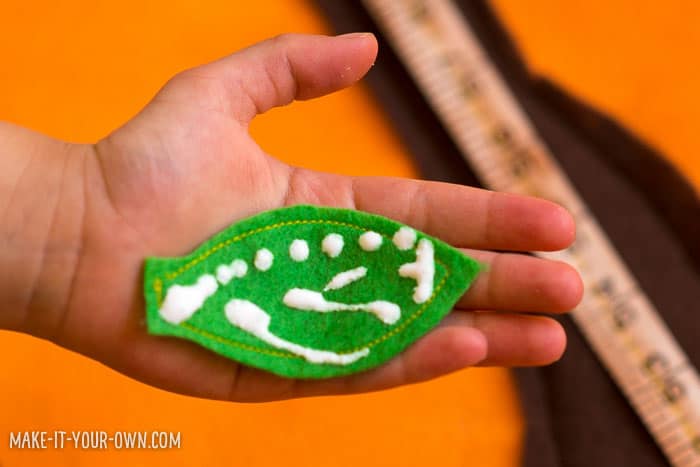
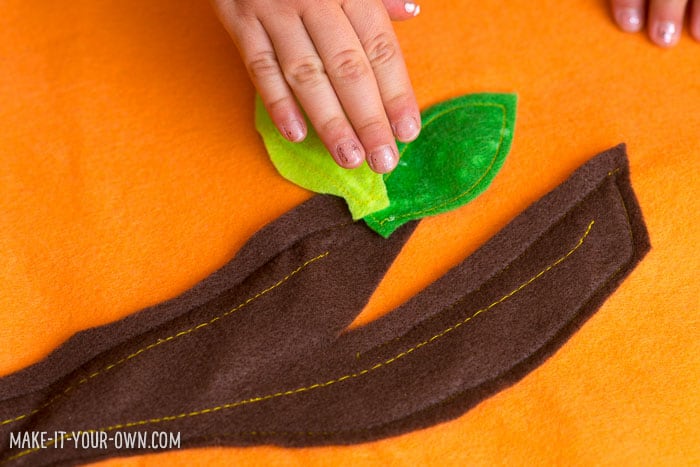
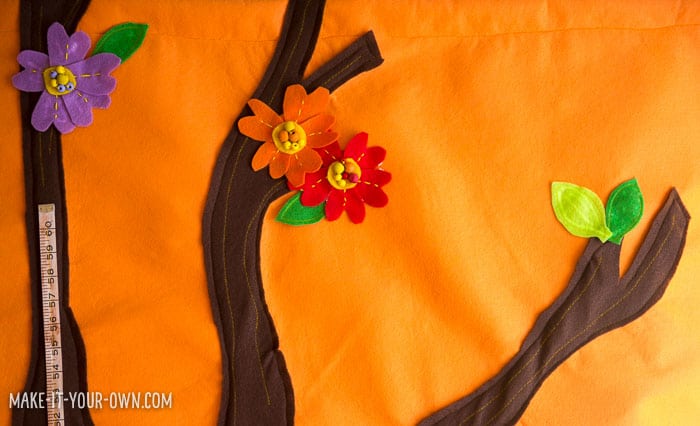
- Cut out leaves and flowers for your tree, adding details with embroidery floss and beads.
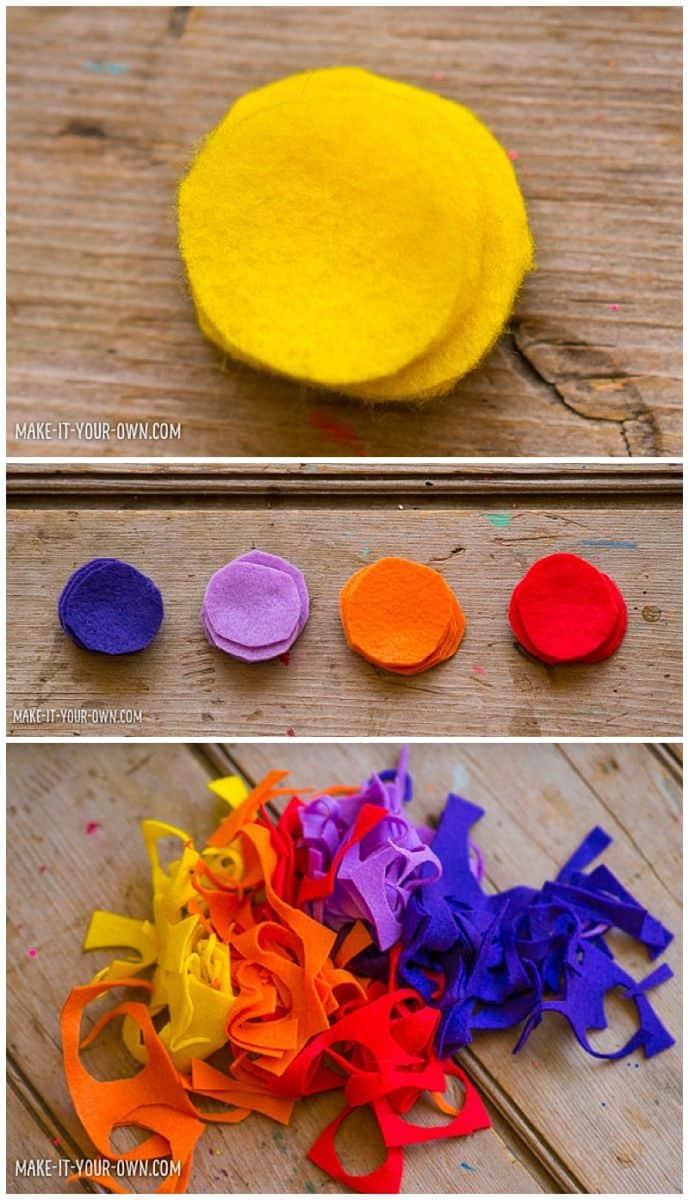
- For our flowers we cut out felt hearts (starting with a manageable rectangle), trimmed the bottom off to create a petal shape and added a simple sewn detail through the middle. We then glued them onto a circular base, adding a circular centre. If you like, sew beads onto the centre.
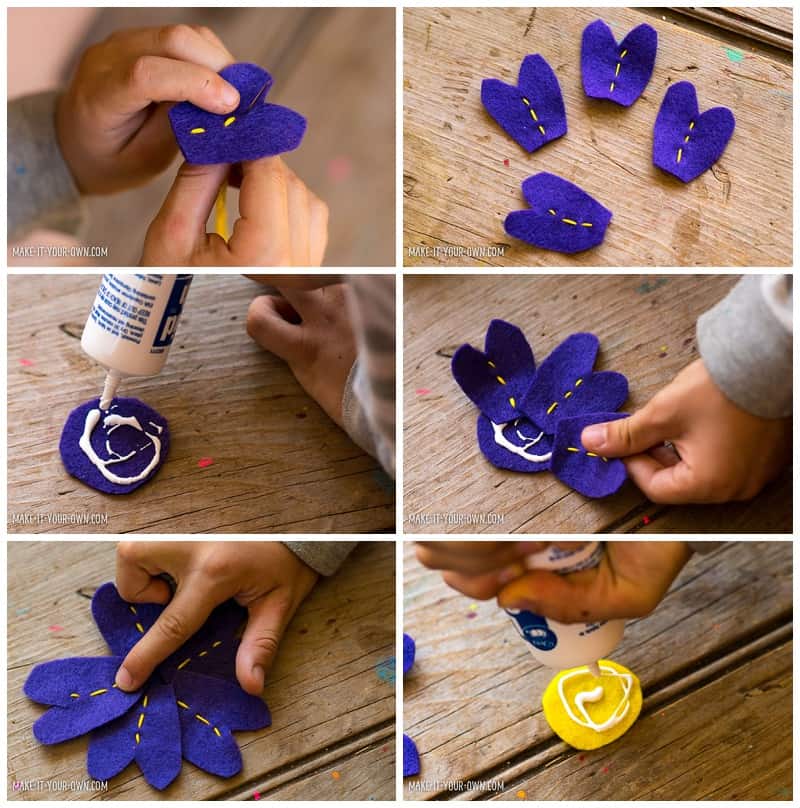

- Glue or sew your embellishments onto your tree. Allow to dry overnight.
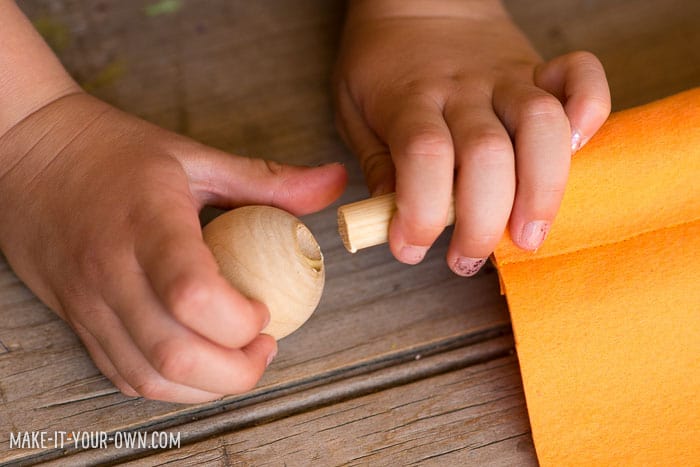
- Slide your dowel into the channel you made and then glue your dowel caps onto the dowel, using wood glue. Allow to dry overnight.

- Hang your growth chart on the wall and have an adult measure your height.
- Sew your name and age at the spot each year. (You could sew it directly to the trunk, onto a leaf, flower or mark it with a bird at that point. You could also modify the tree with autumn leaves and do this at the start of every school year!) What a treasure to look back on!

Purpose
- Tracking one's growth.
- Developing fine motor skills (cutting, sewing etc.).
- Working collaboratively.
Safety Notes
- We suggest you wear a smock and use a craft tray or table cloth to protect your clothing and work surfaces.
- Use scissors with care and adult supervision.
- If you use beads as an embellishment, be sure to keep them out of the reach of children 0-3 years of age or those that tend to put things in their mouths.
- Yarn, cord, string etc. can be a strangulation hazard, therefore use it with direct supervision and for its intended purpose.

Make it Your Own is a Canadian children's website. We hope to inspire educators and families with projects to do together, explorations of various mediums and techniques and to get out into nature to source supplies. We love re-imagining items and thinking of new ways to share children's artwork. We are often described as "an educational mom, a digital dad and their three mini-makers.


