
Learn how to make vibrant honeycomb paper ornaments with our printable template. A fun and pretty Christmas ornament or holiday decor.
These honeycomb paper ornaments look beautifully intricate, but they come together with just a stack of paper cutouts, a fold, and a quick glue pattern. The layered shape creates that classic honeycomb effect without any special tools, and the colors make each ornament feel bright and handmade. This is an easy Christmas ornament project for kids, classrooms, or anyone who loves simple paper crafts that make a big visual impact. Grab our printable template below to make this easy holiday craft.
Get the printable ornament template
DIY Honeycomb Paper Ornaments – Materials
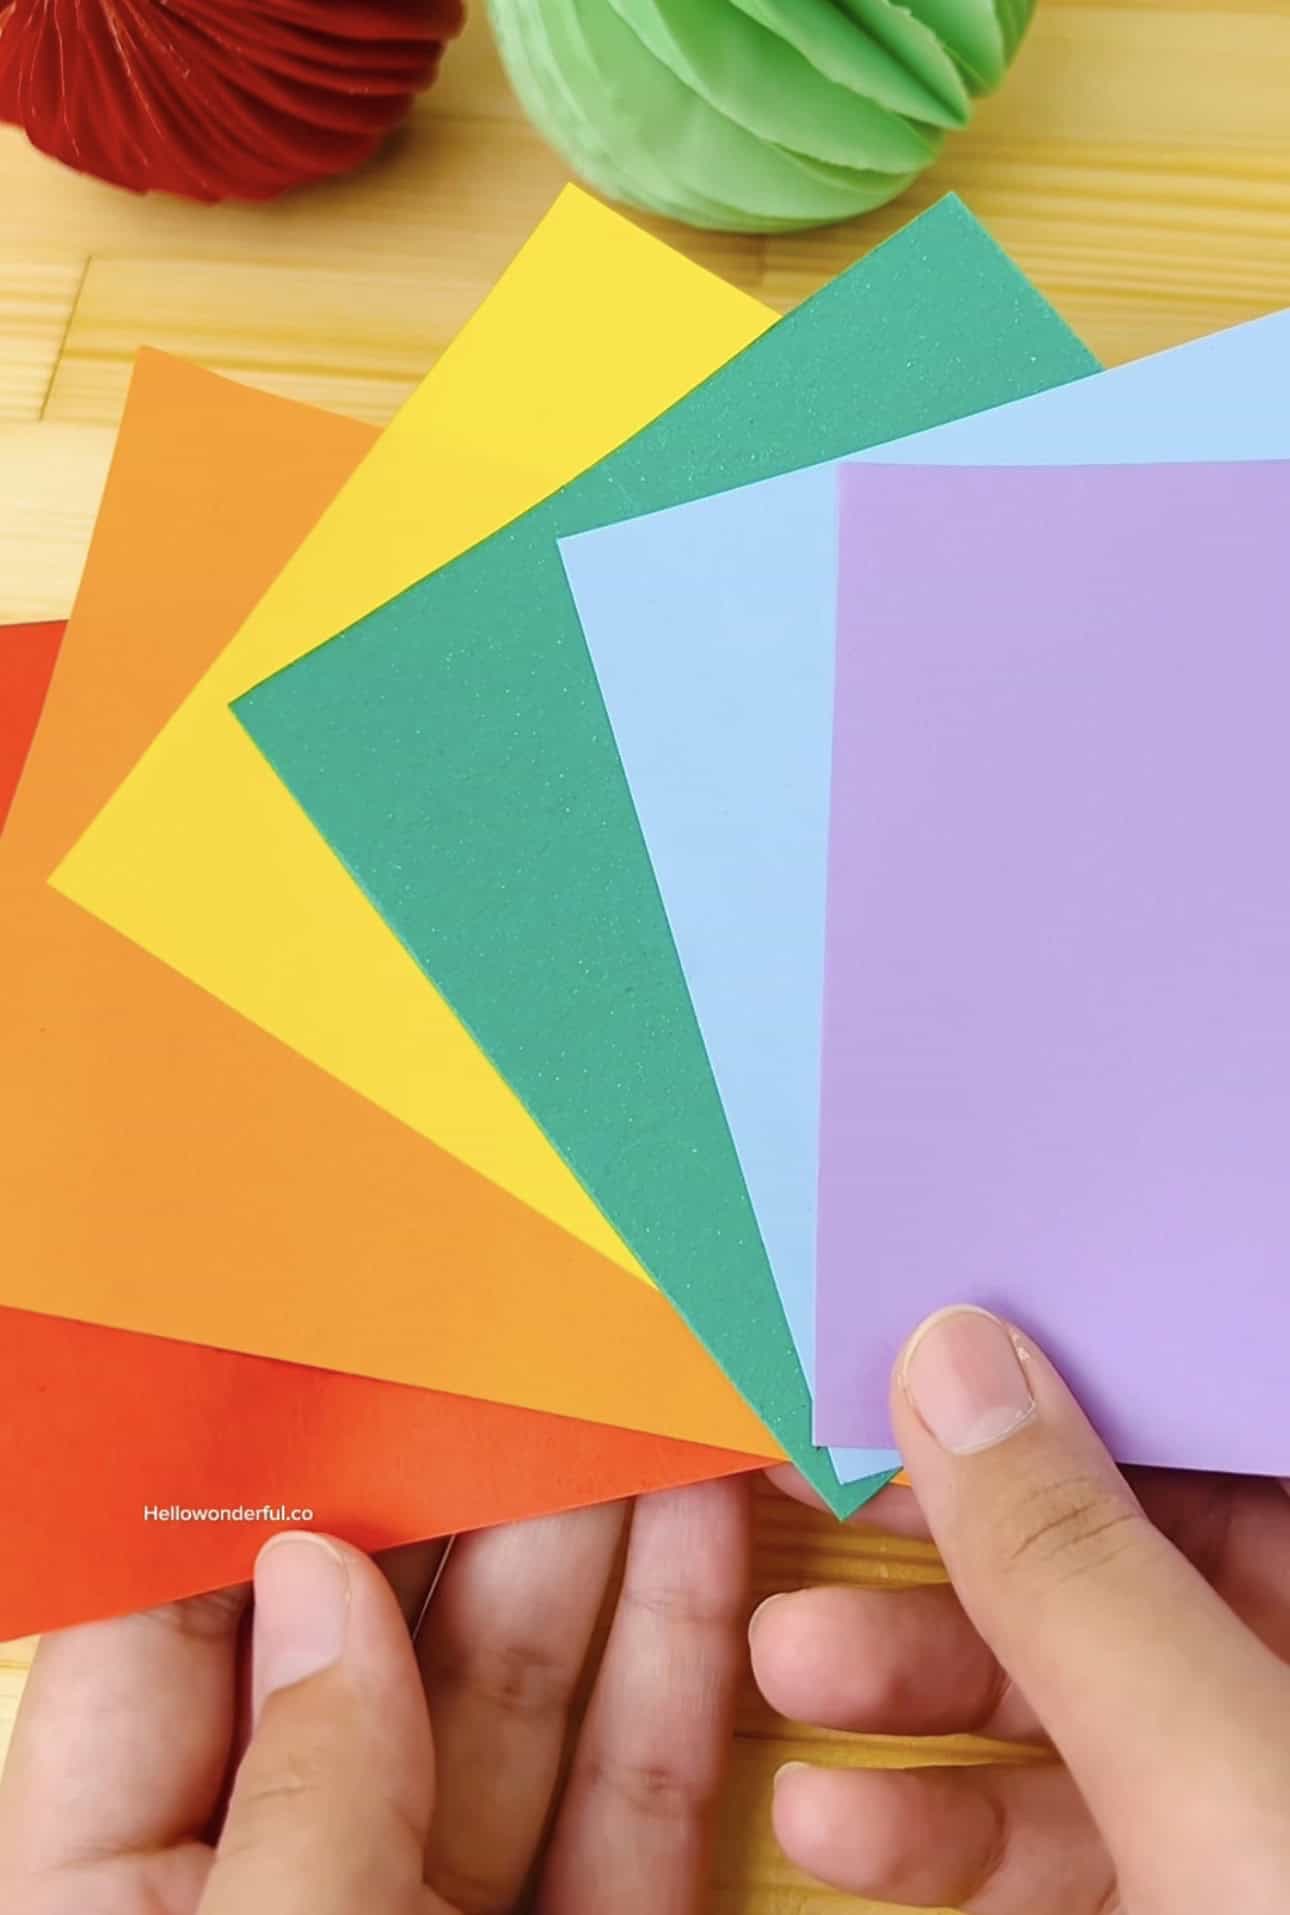
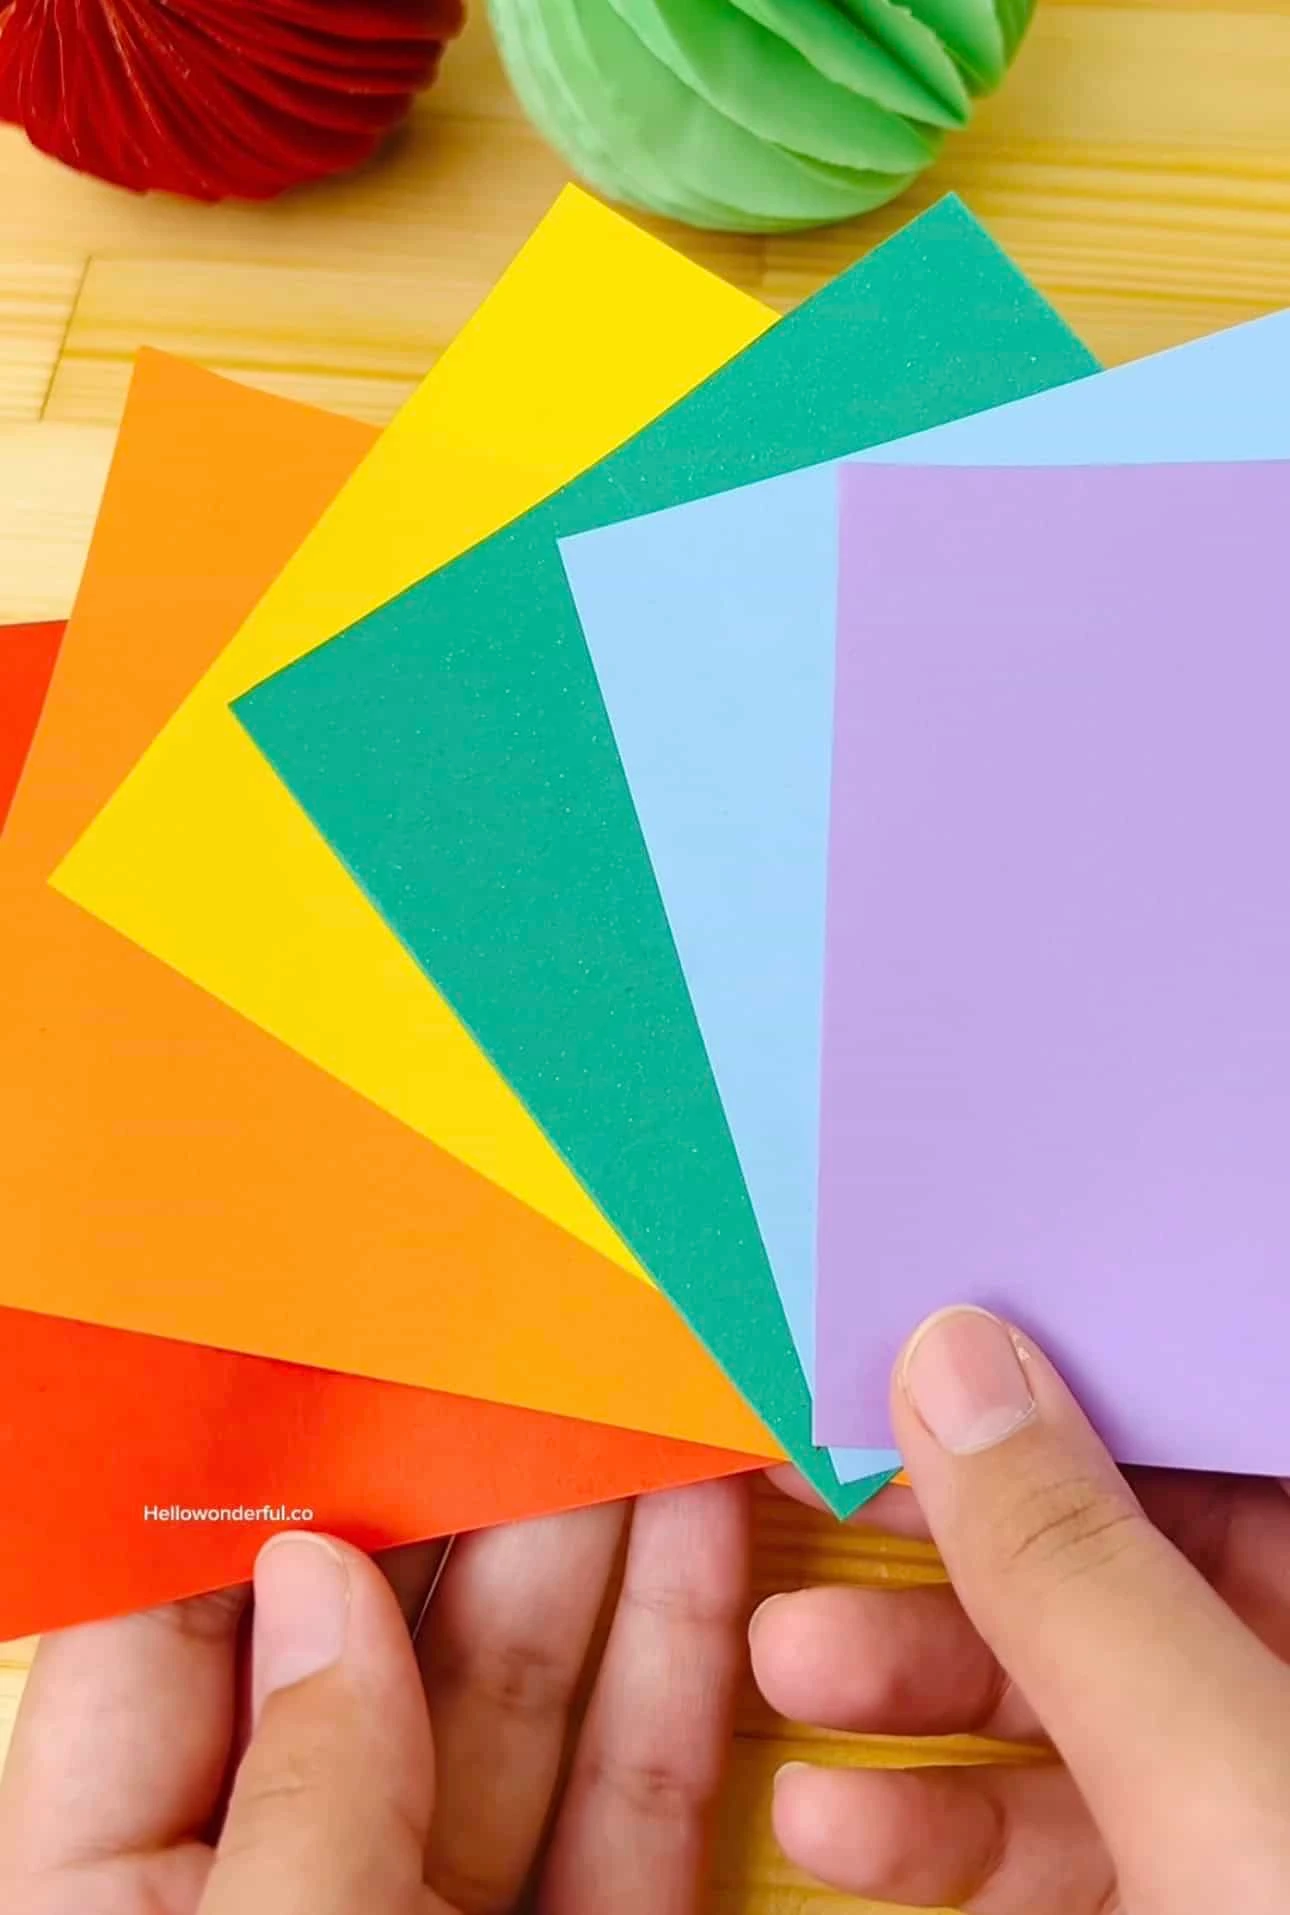
- Colored paper or construction paper (rainbow colors or any fun combo) *
- Printable Ornament Template
- Scissors
- Pencil
- Glue
- Yarn or string (for hanging)
*You will need 5 pieces of colored paper size 10×10.5 cm in each color so total 30 pieces for 6 different rainbow theme colors.
Get the printable ornament template
3D Paper Ornament Craft Instructions
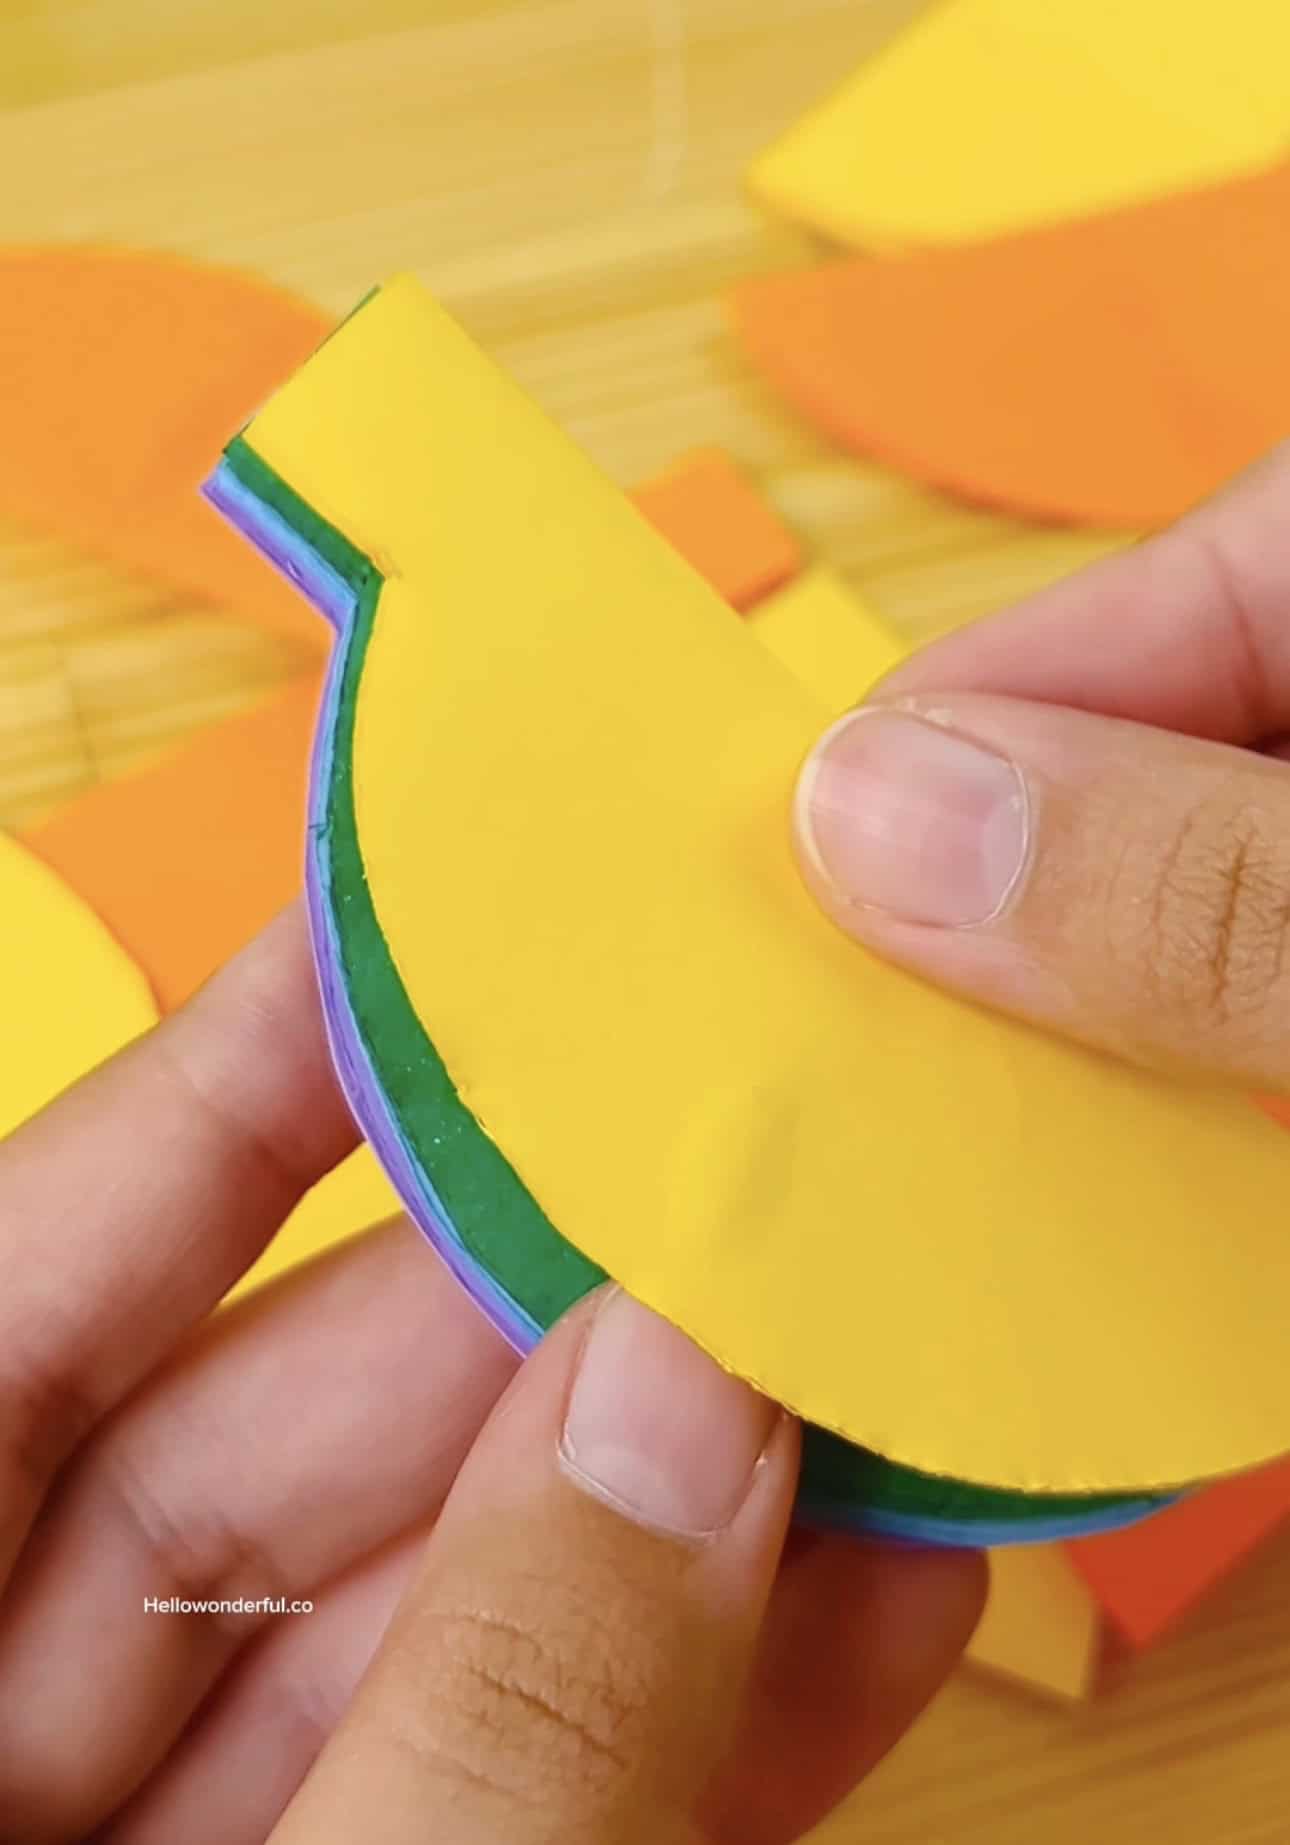
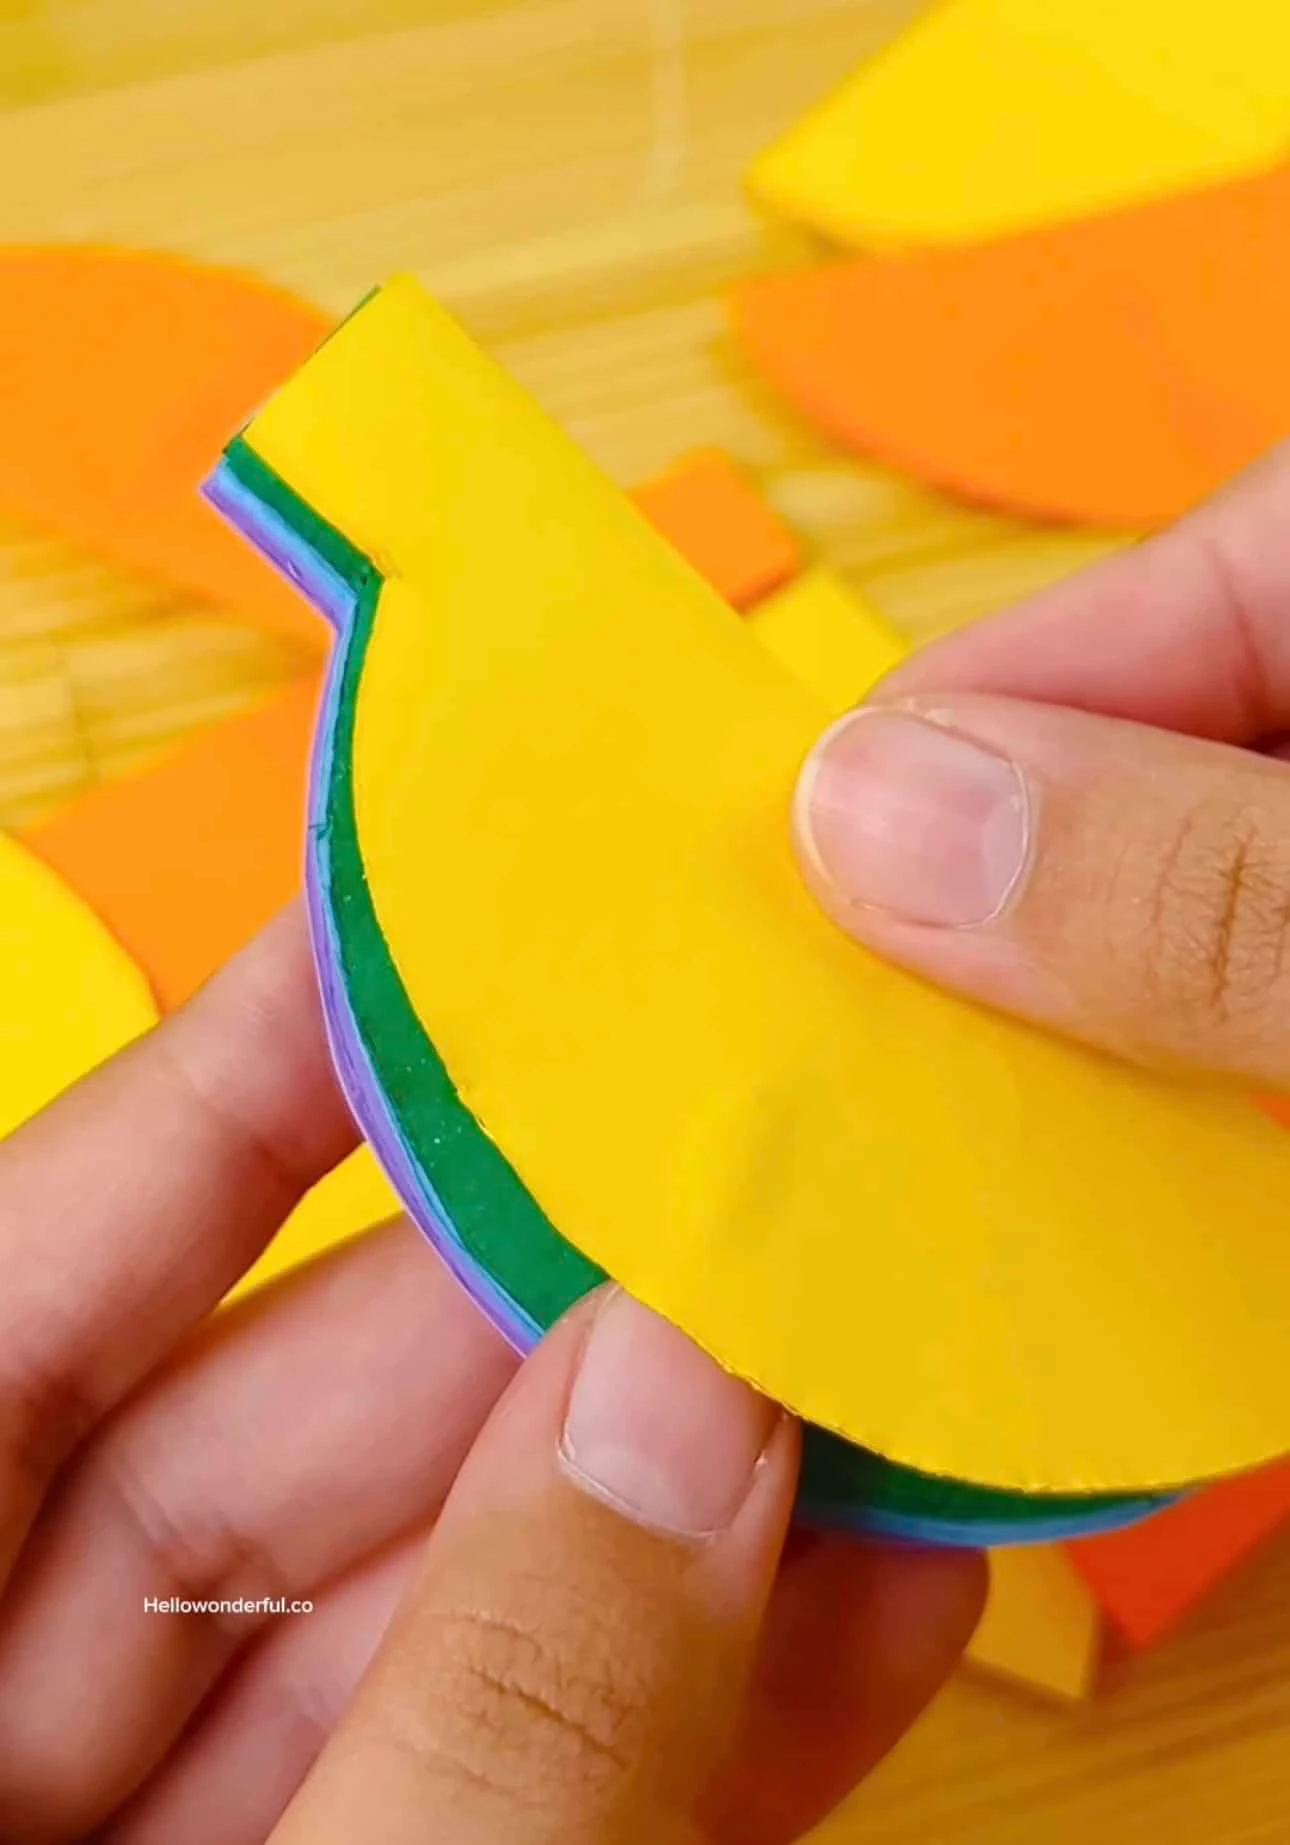
1. Print and Cut Out the Template
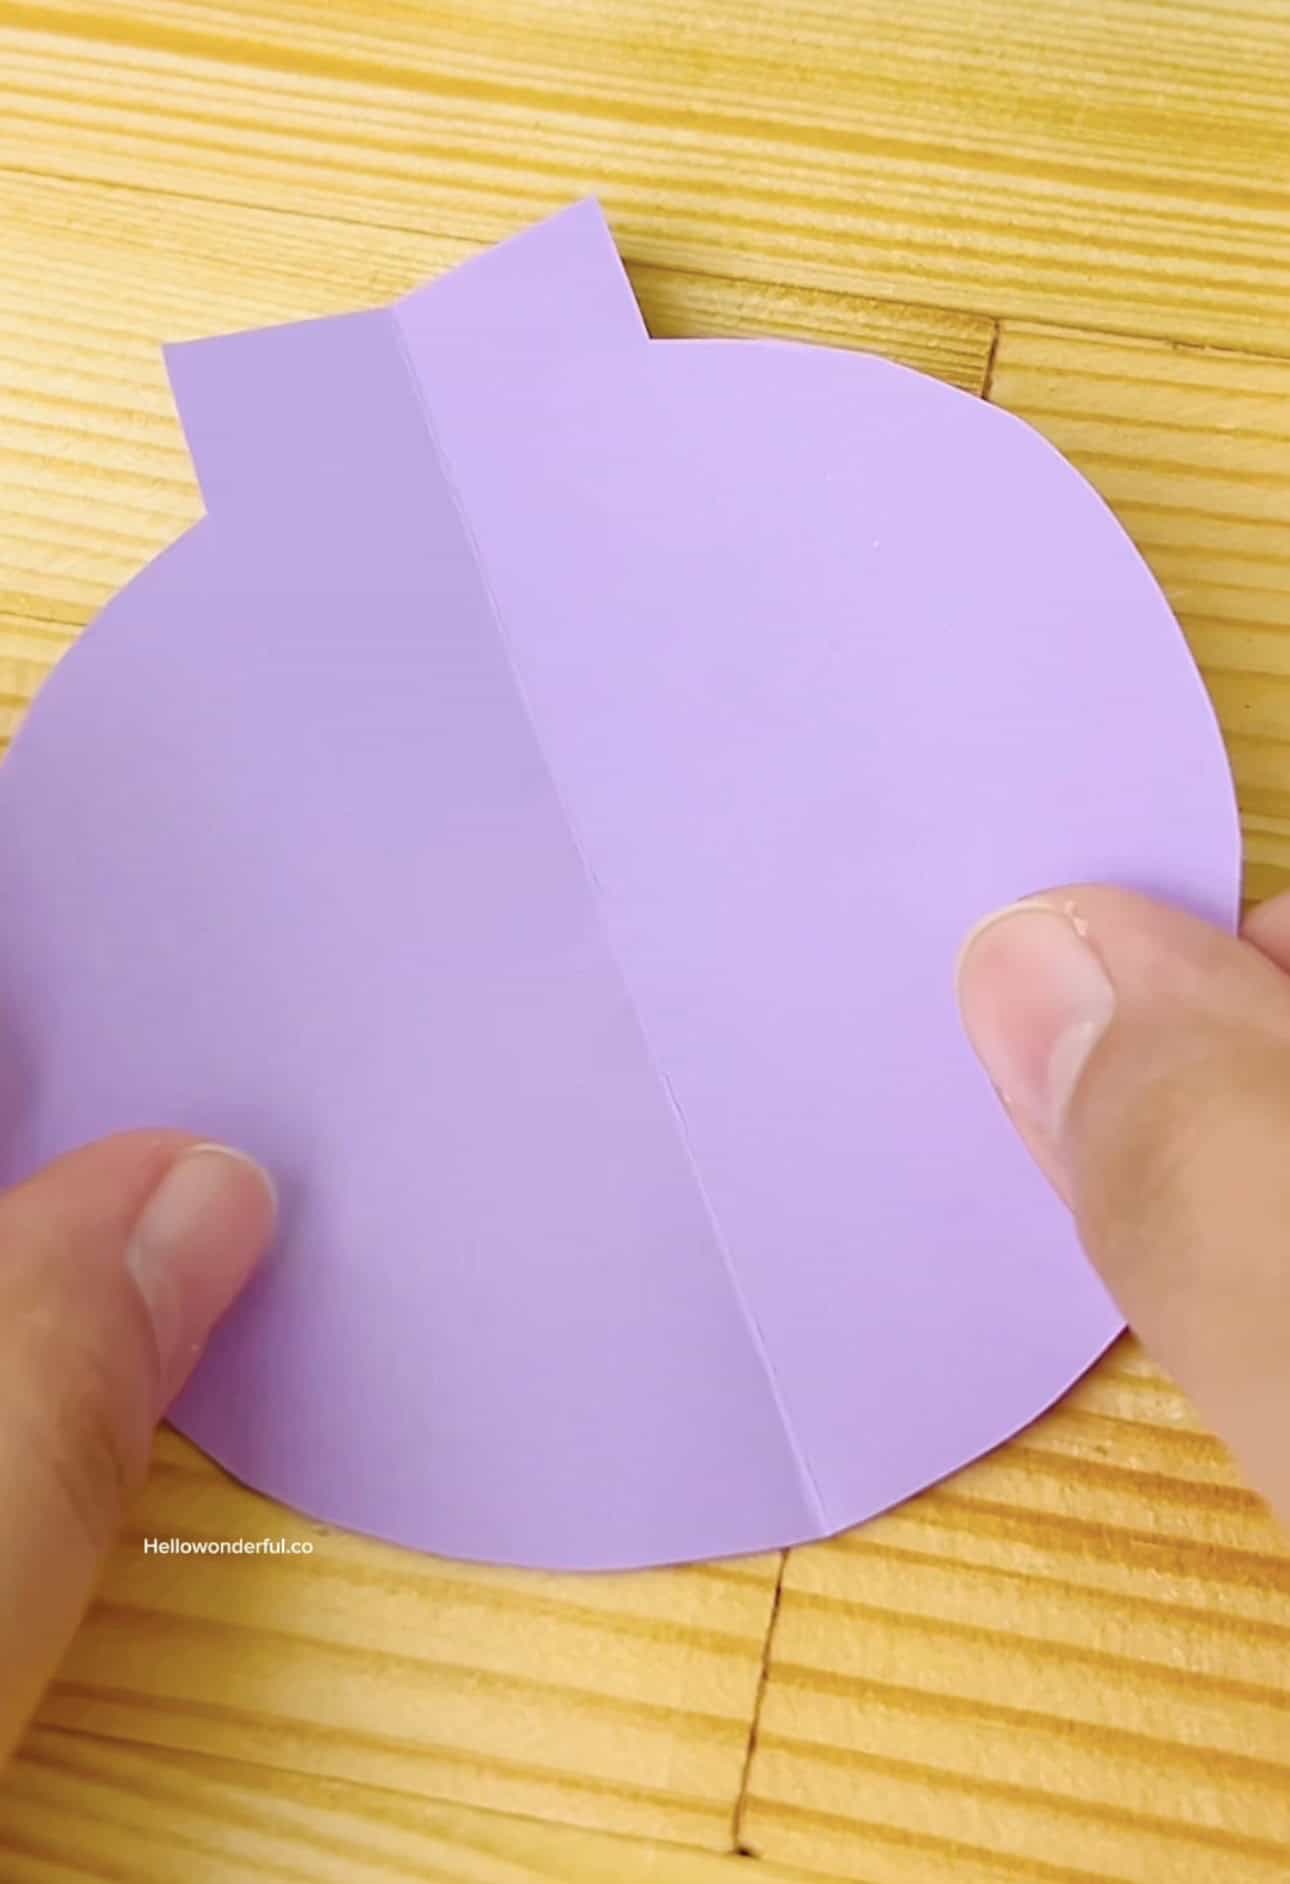
Print the round ornament template. The template has a half-circle shape with a small tab on top.
Cut out the template piece.
2. Trace the Template on Colored Paper
You will need 5 pieces of colored paper size 10×10.5 cm in each color so total 30 pieces for 6 different rainbow theme colors.
Take one piece of colored paper, fold it in half.
Then trace the template on it.
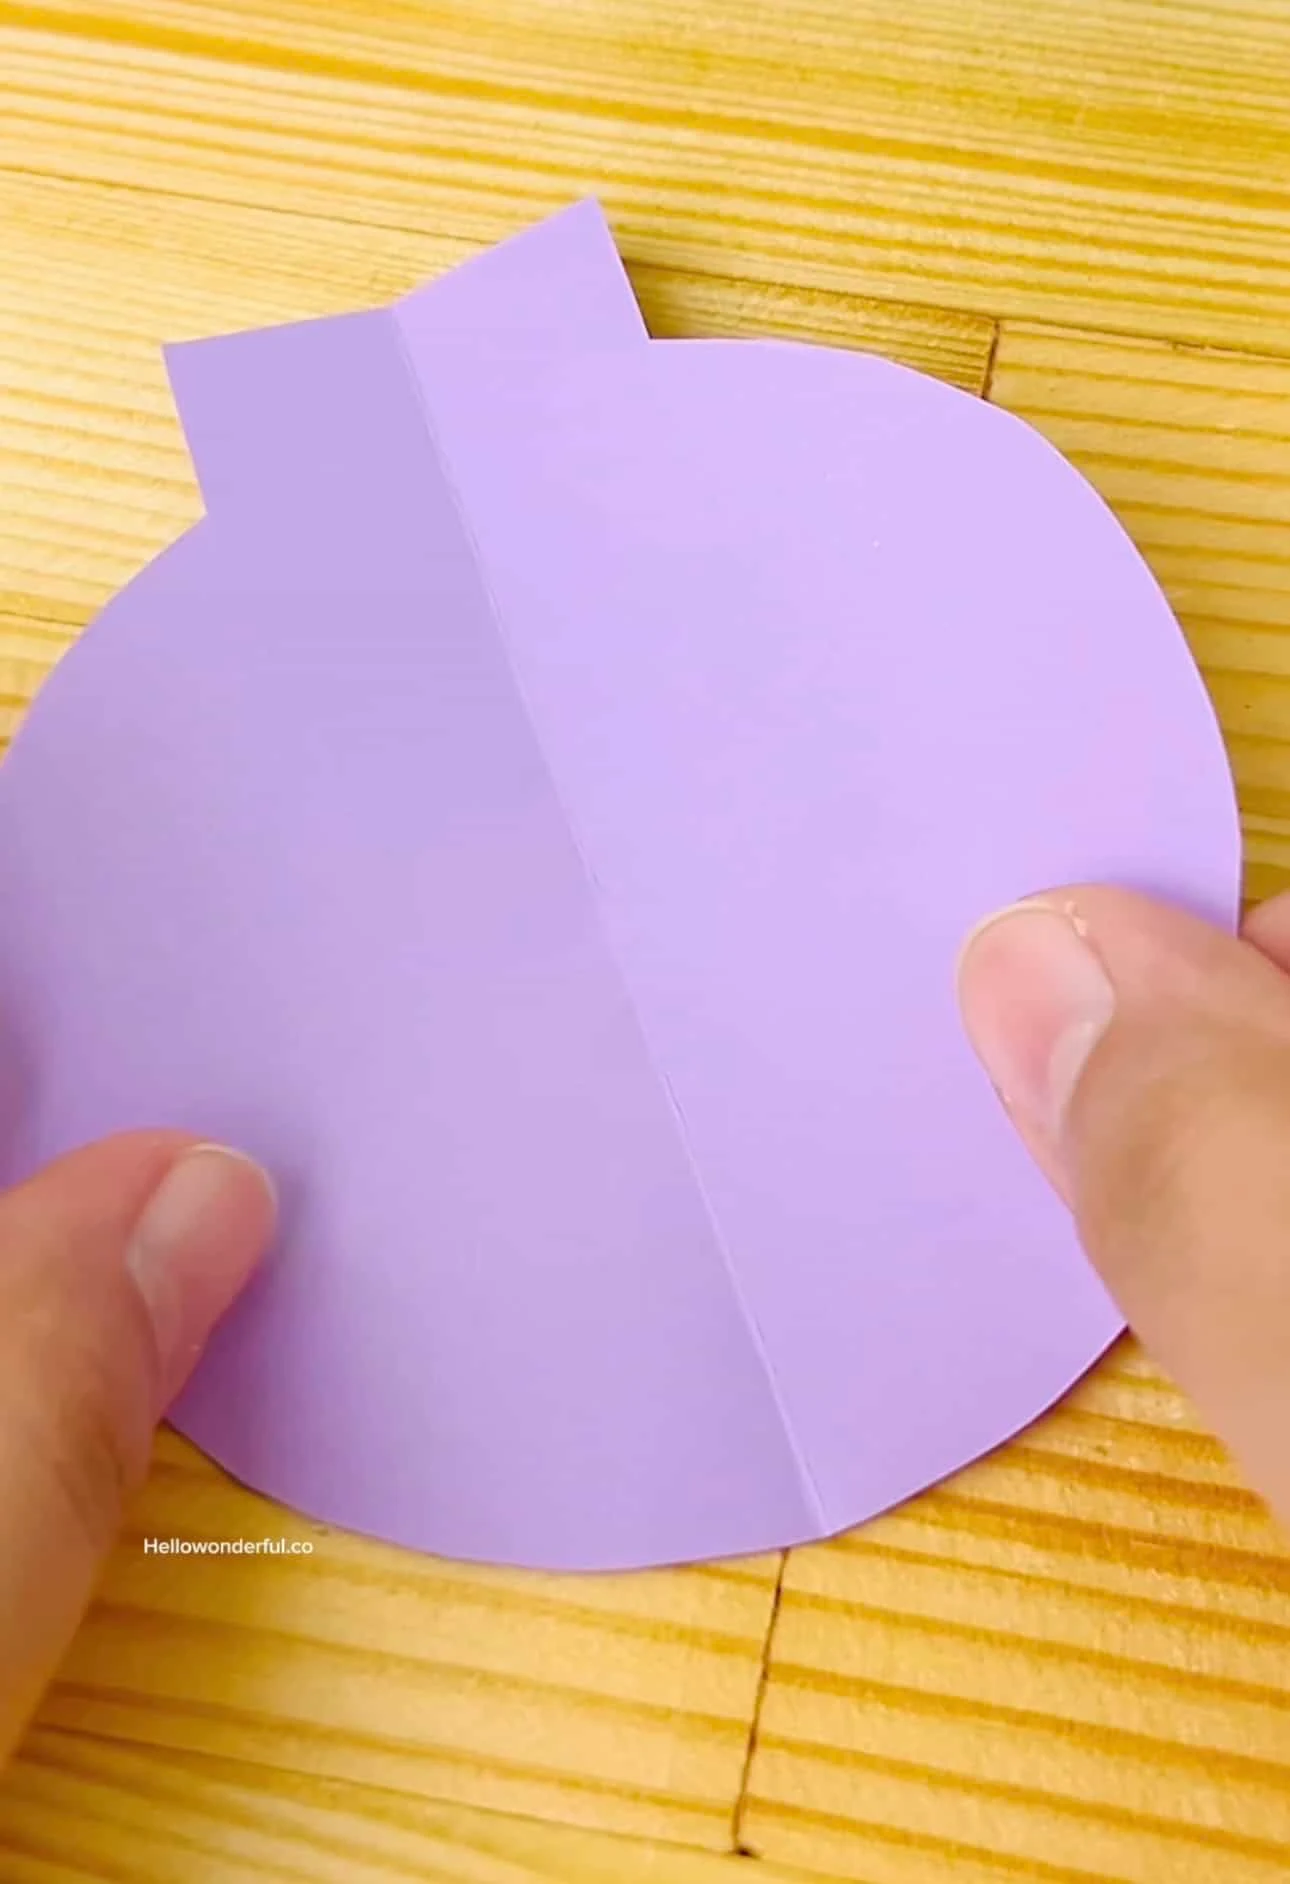
3. Cut Out All the Ornament Pieces
Cut along the traced line so you’ll have one piece ready, do the same for all the remaining 29 pieces.
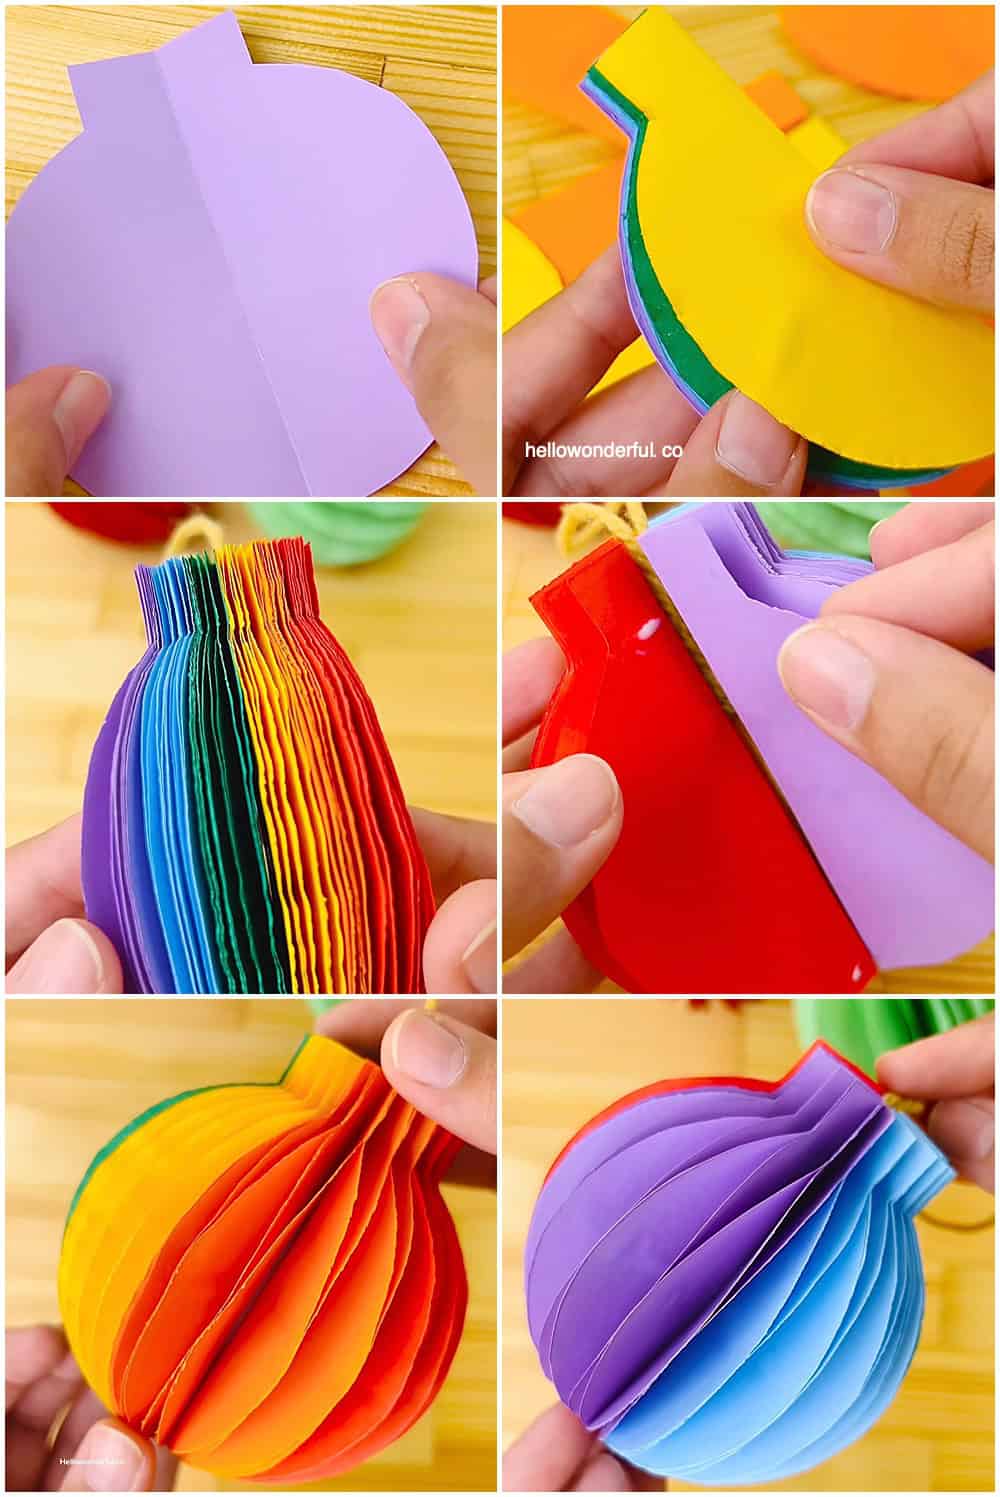
5. Glue Each Piece Into a Folded Shape
Unfold one piece, add a thin line of glue in the middle of one folded side like shown and press it closed.
Repeat for all your pieces.
You should now have several folded shapes in different colors.
Get the printable ornament template


Screenshot
6. Start Stacking the Pieces
Add a thin line of glue on the small tab area and lower end area of one folded piece and attach another folded piece on top.
Keep matching the tabs and stacking the colors in rainbow order.
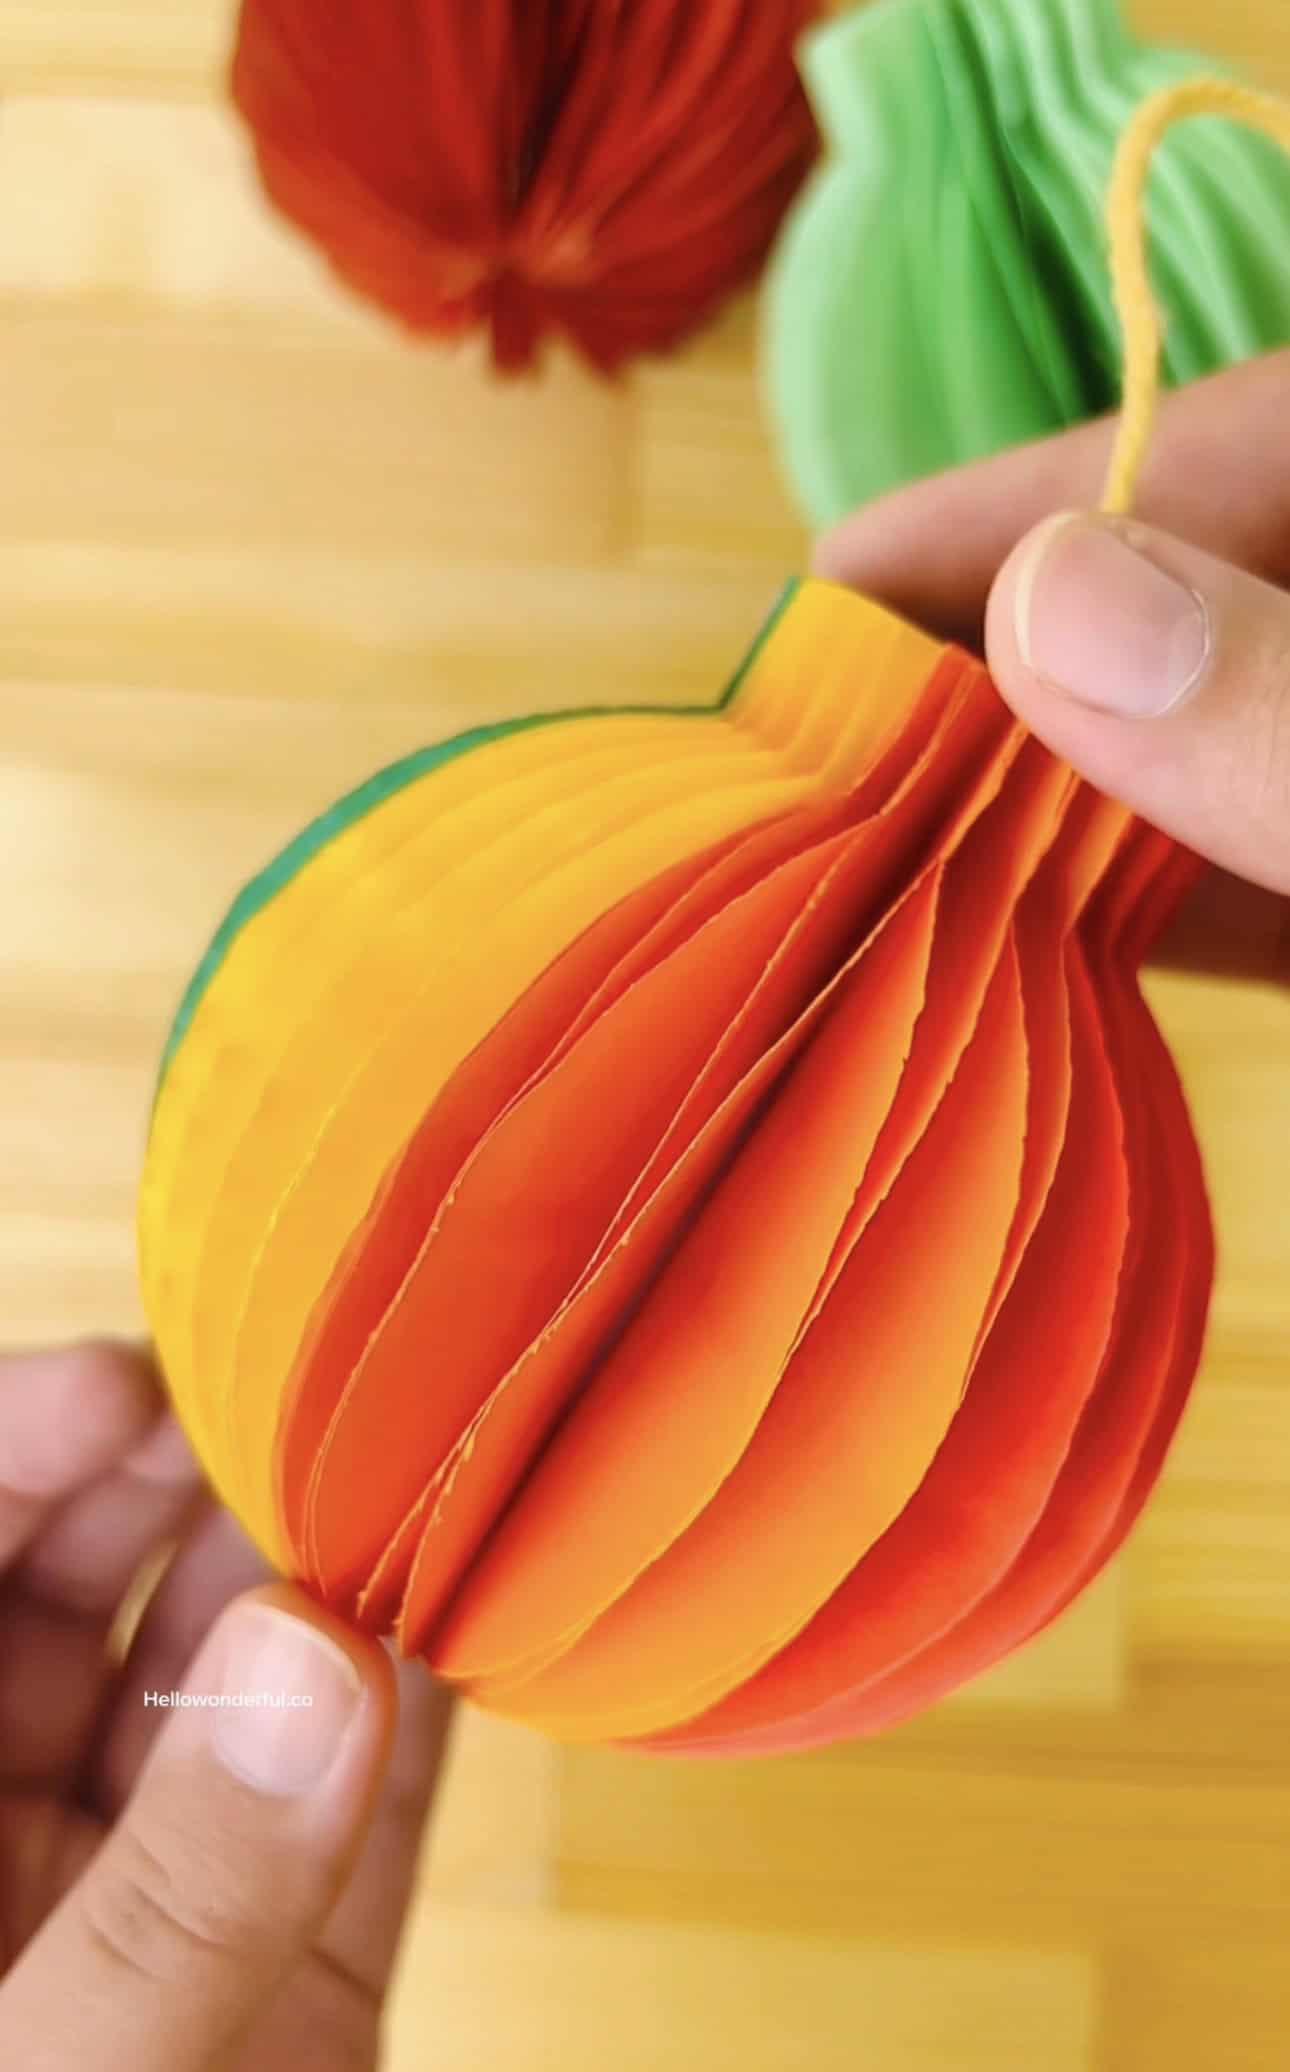
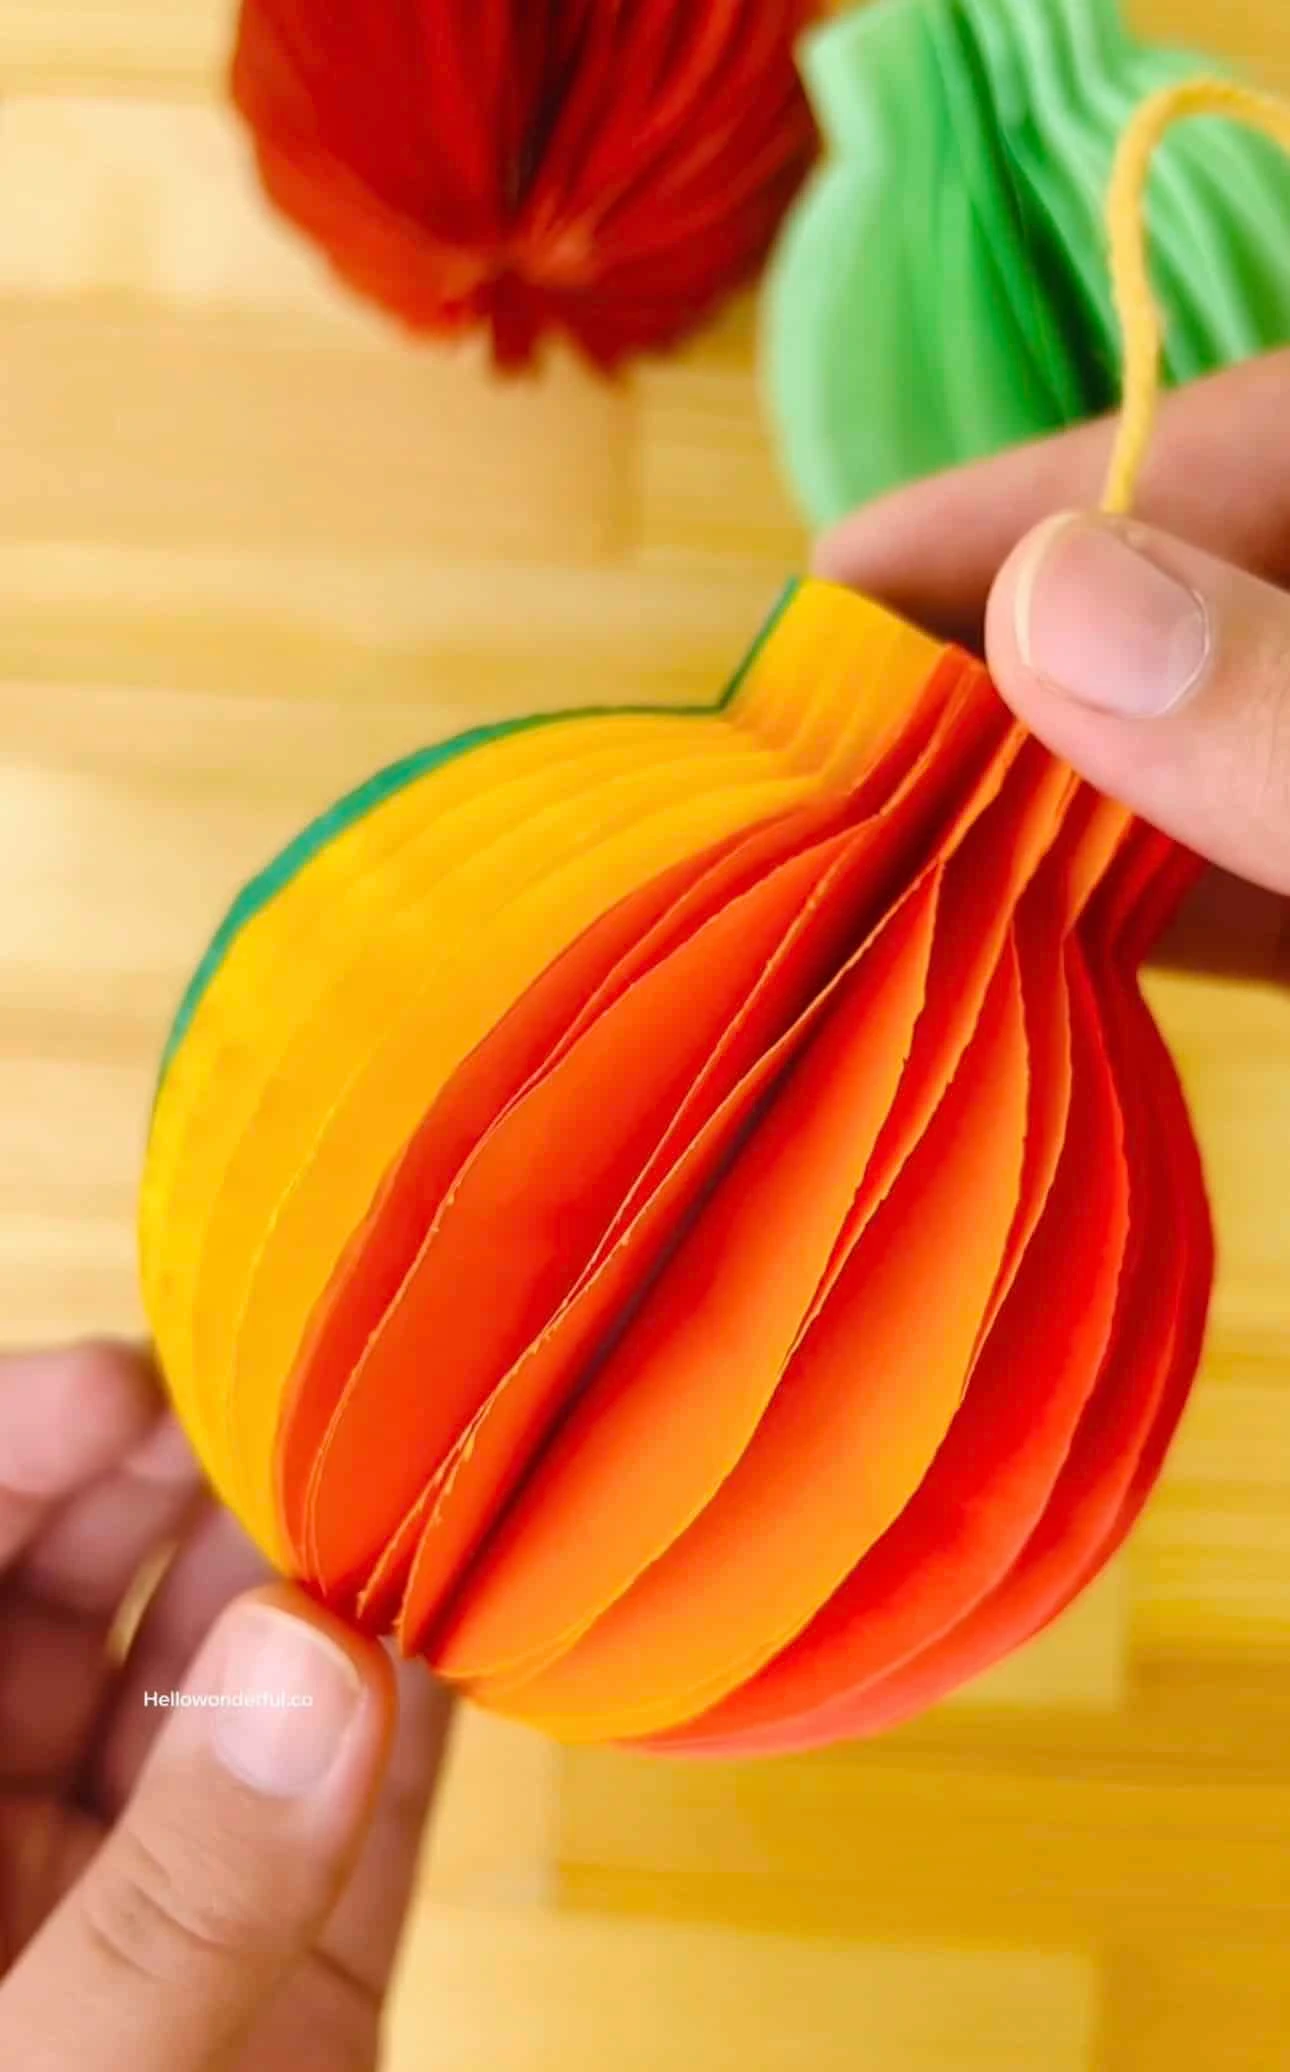
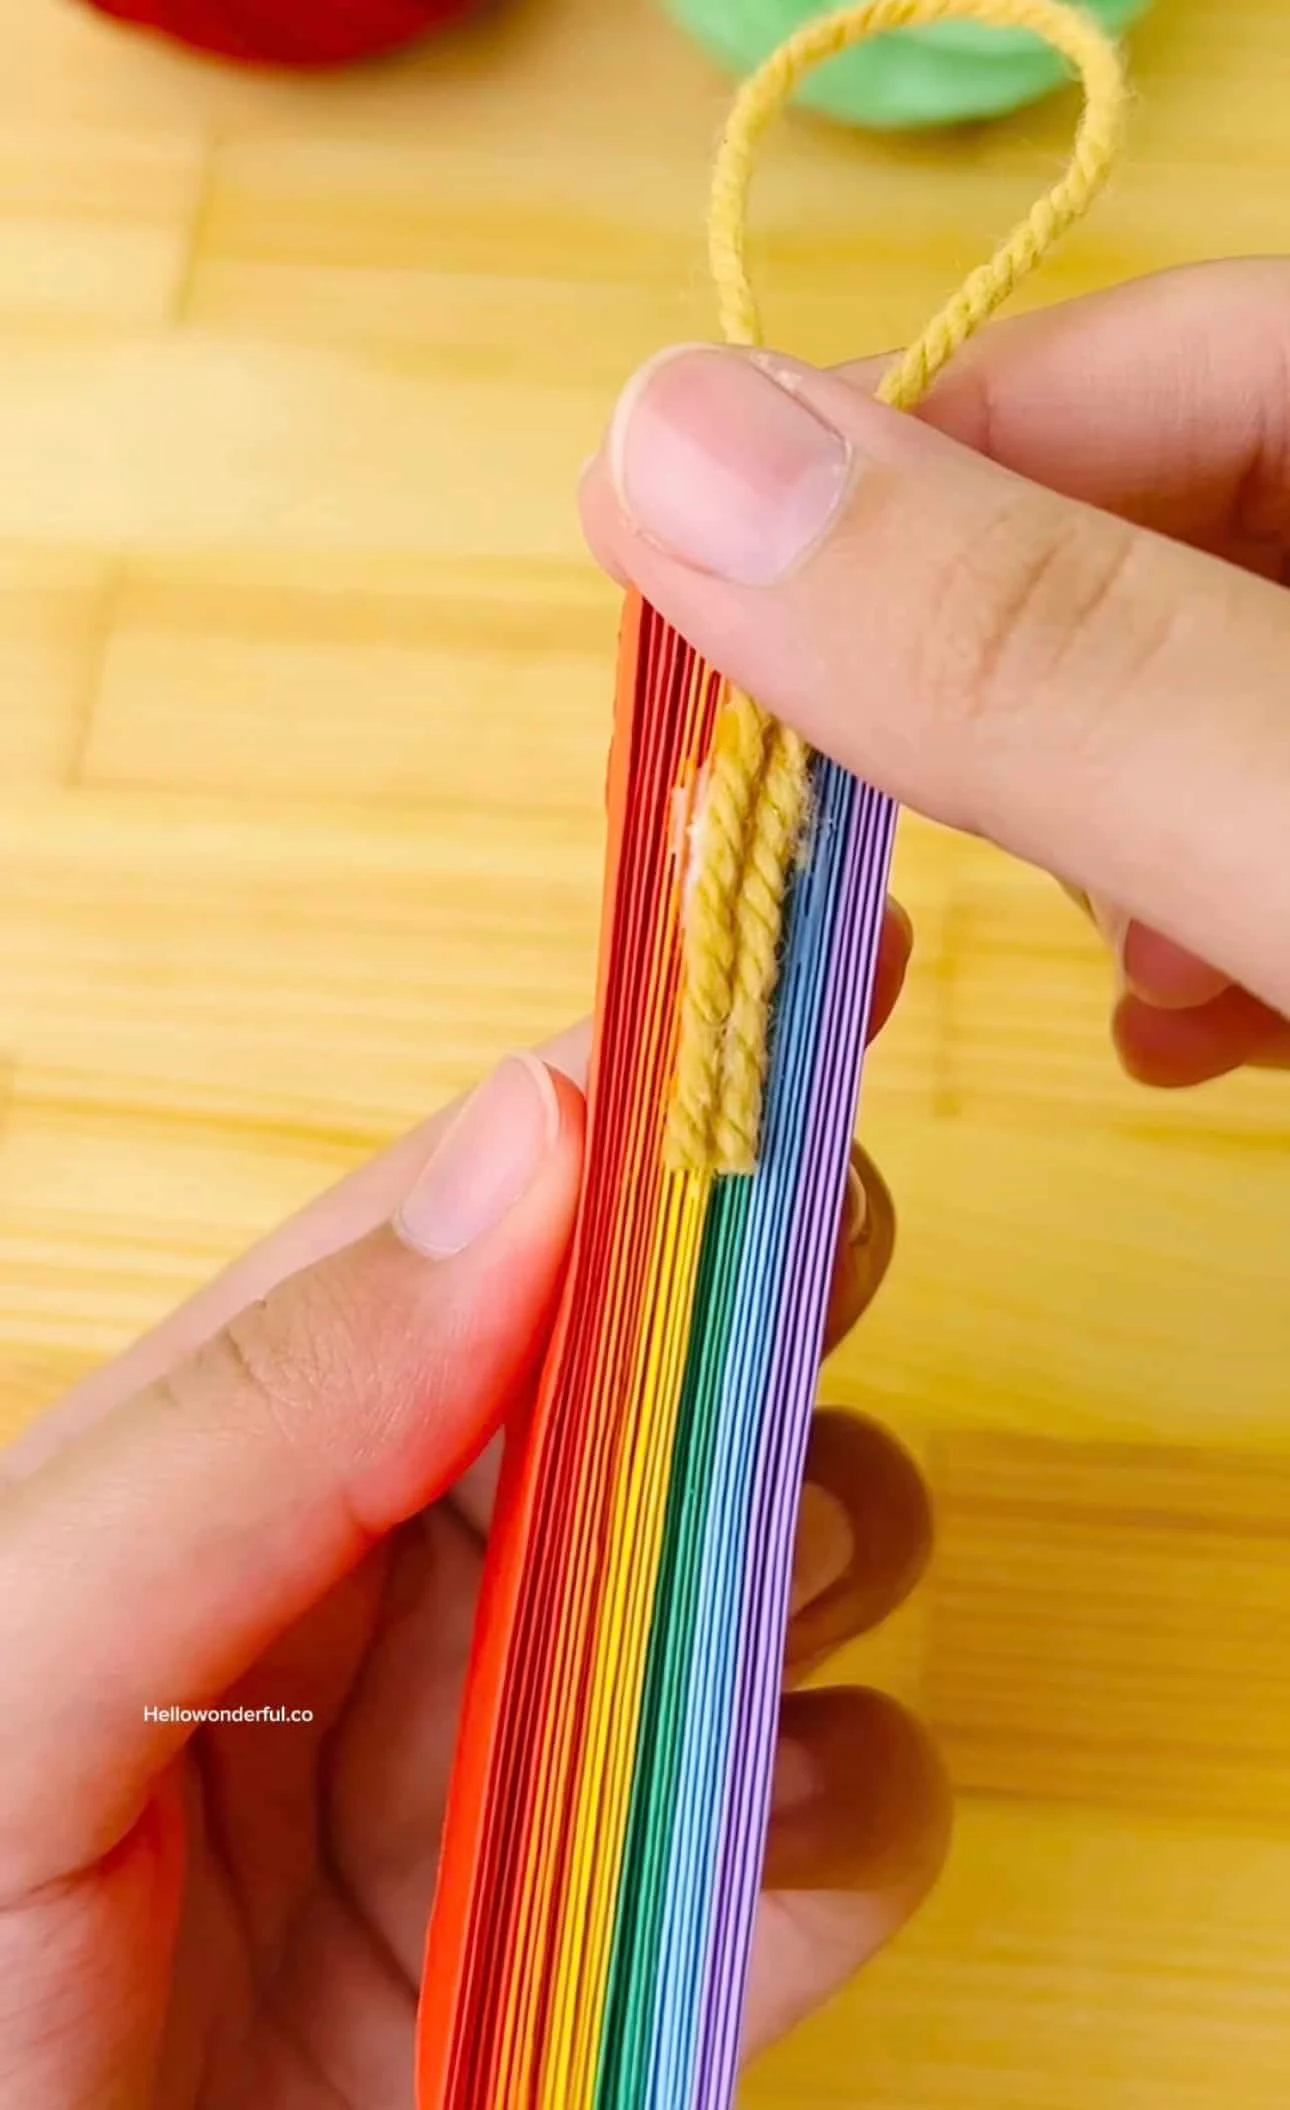
8. Insert the Hanging String
Once the pieces are stacked, run glue along the straight folded edge of the entire stack.
Lay a loop of yarn or string along the glued edge and press it gently so it attaches between the layers.
This becomes the hanger for your ornament.
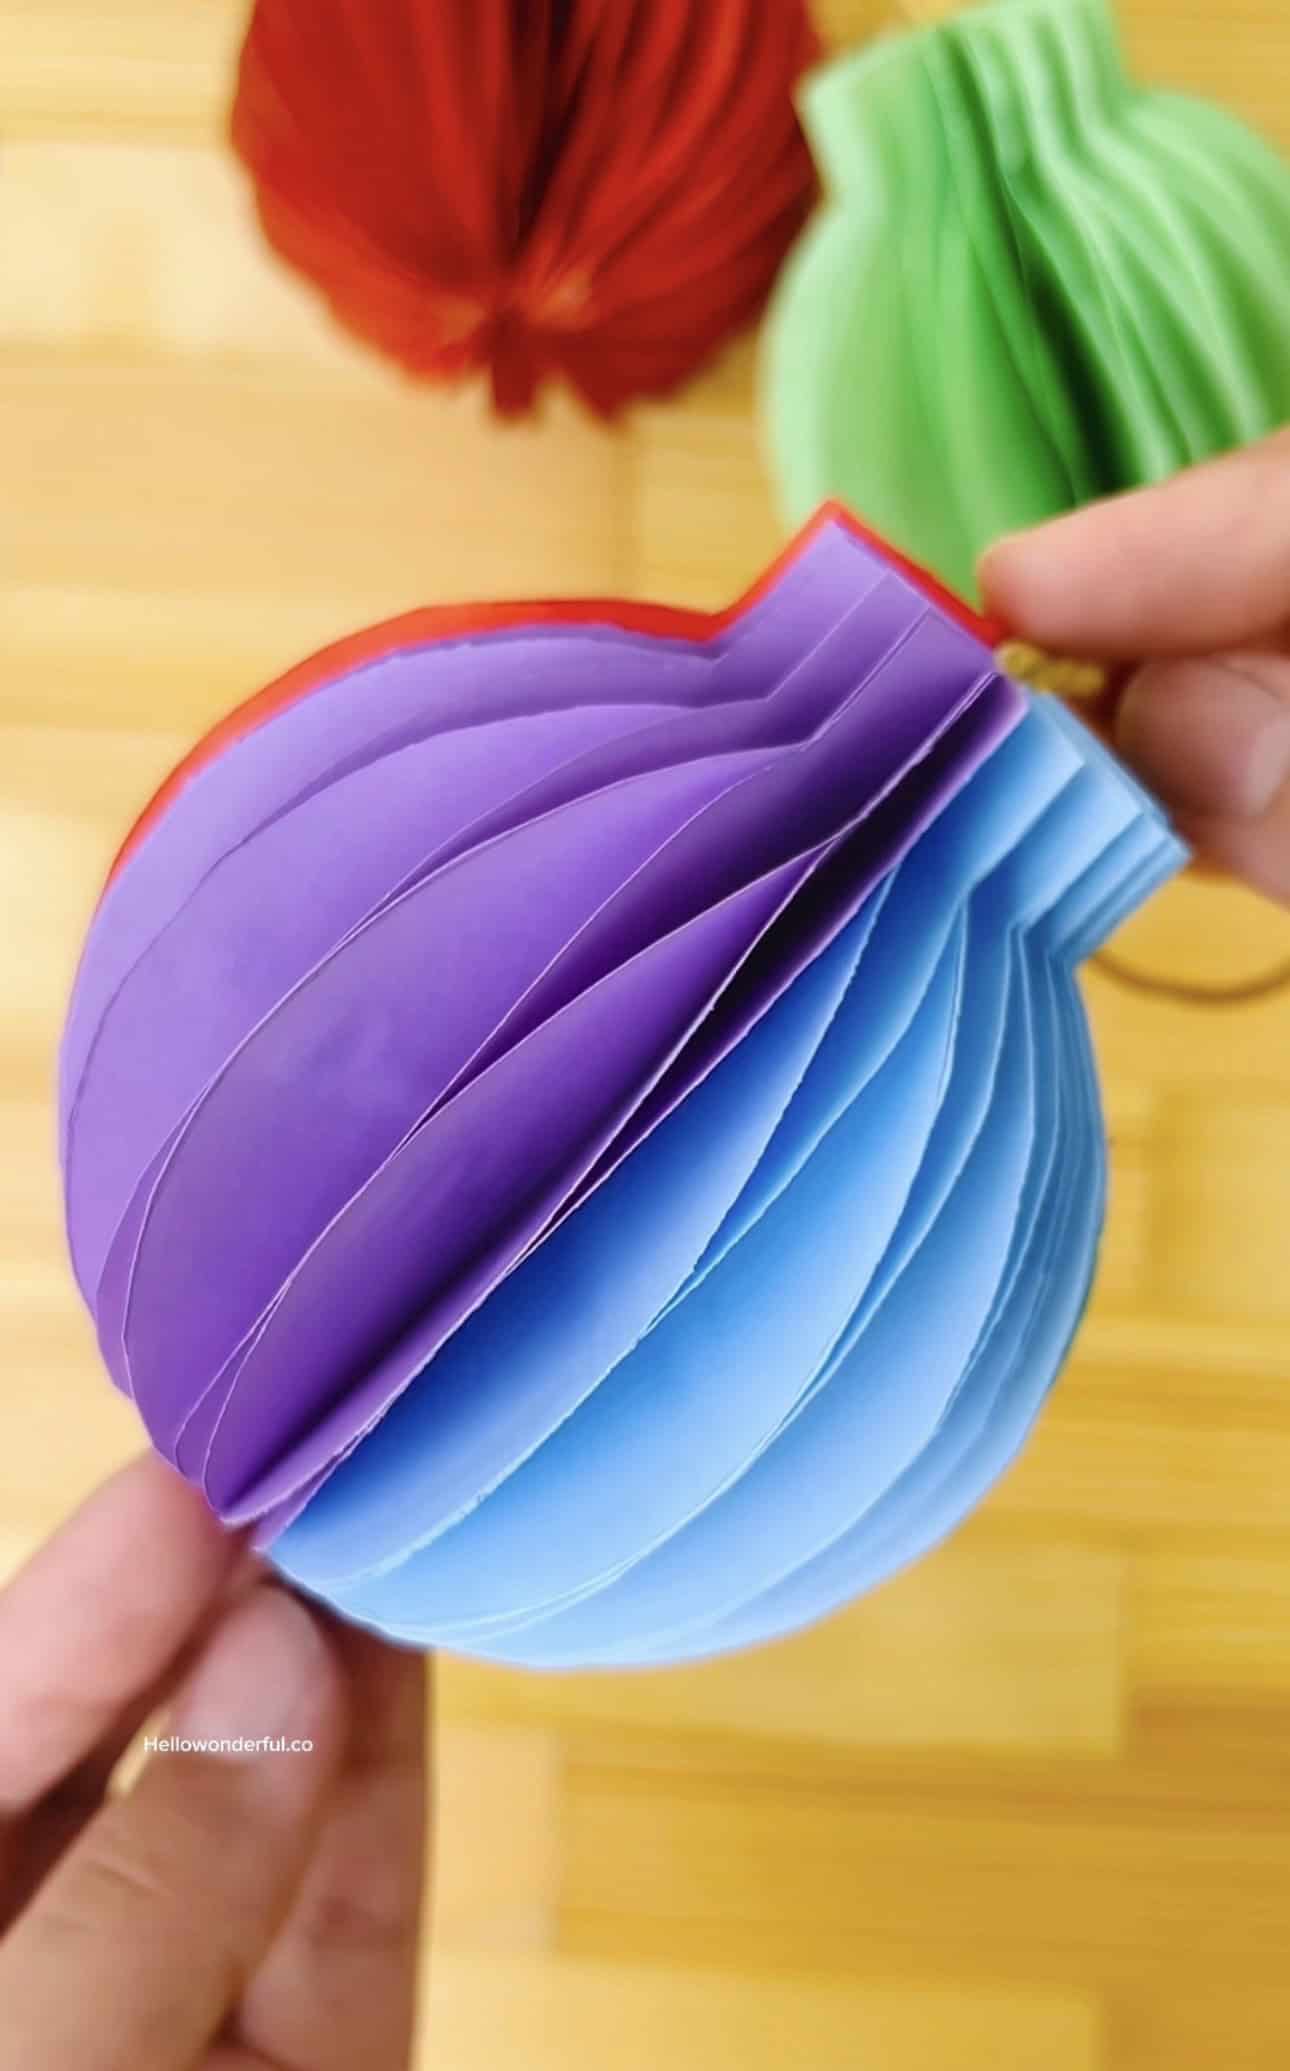
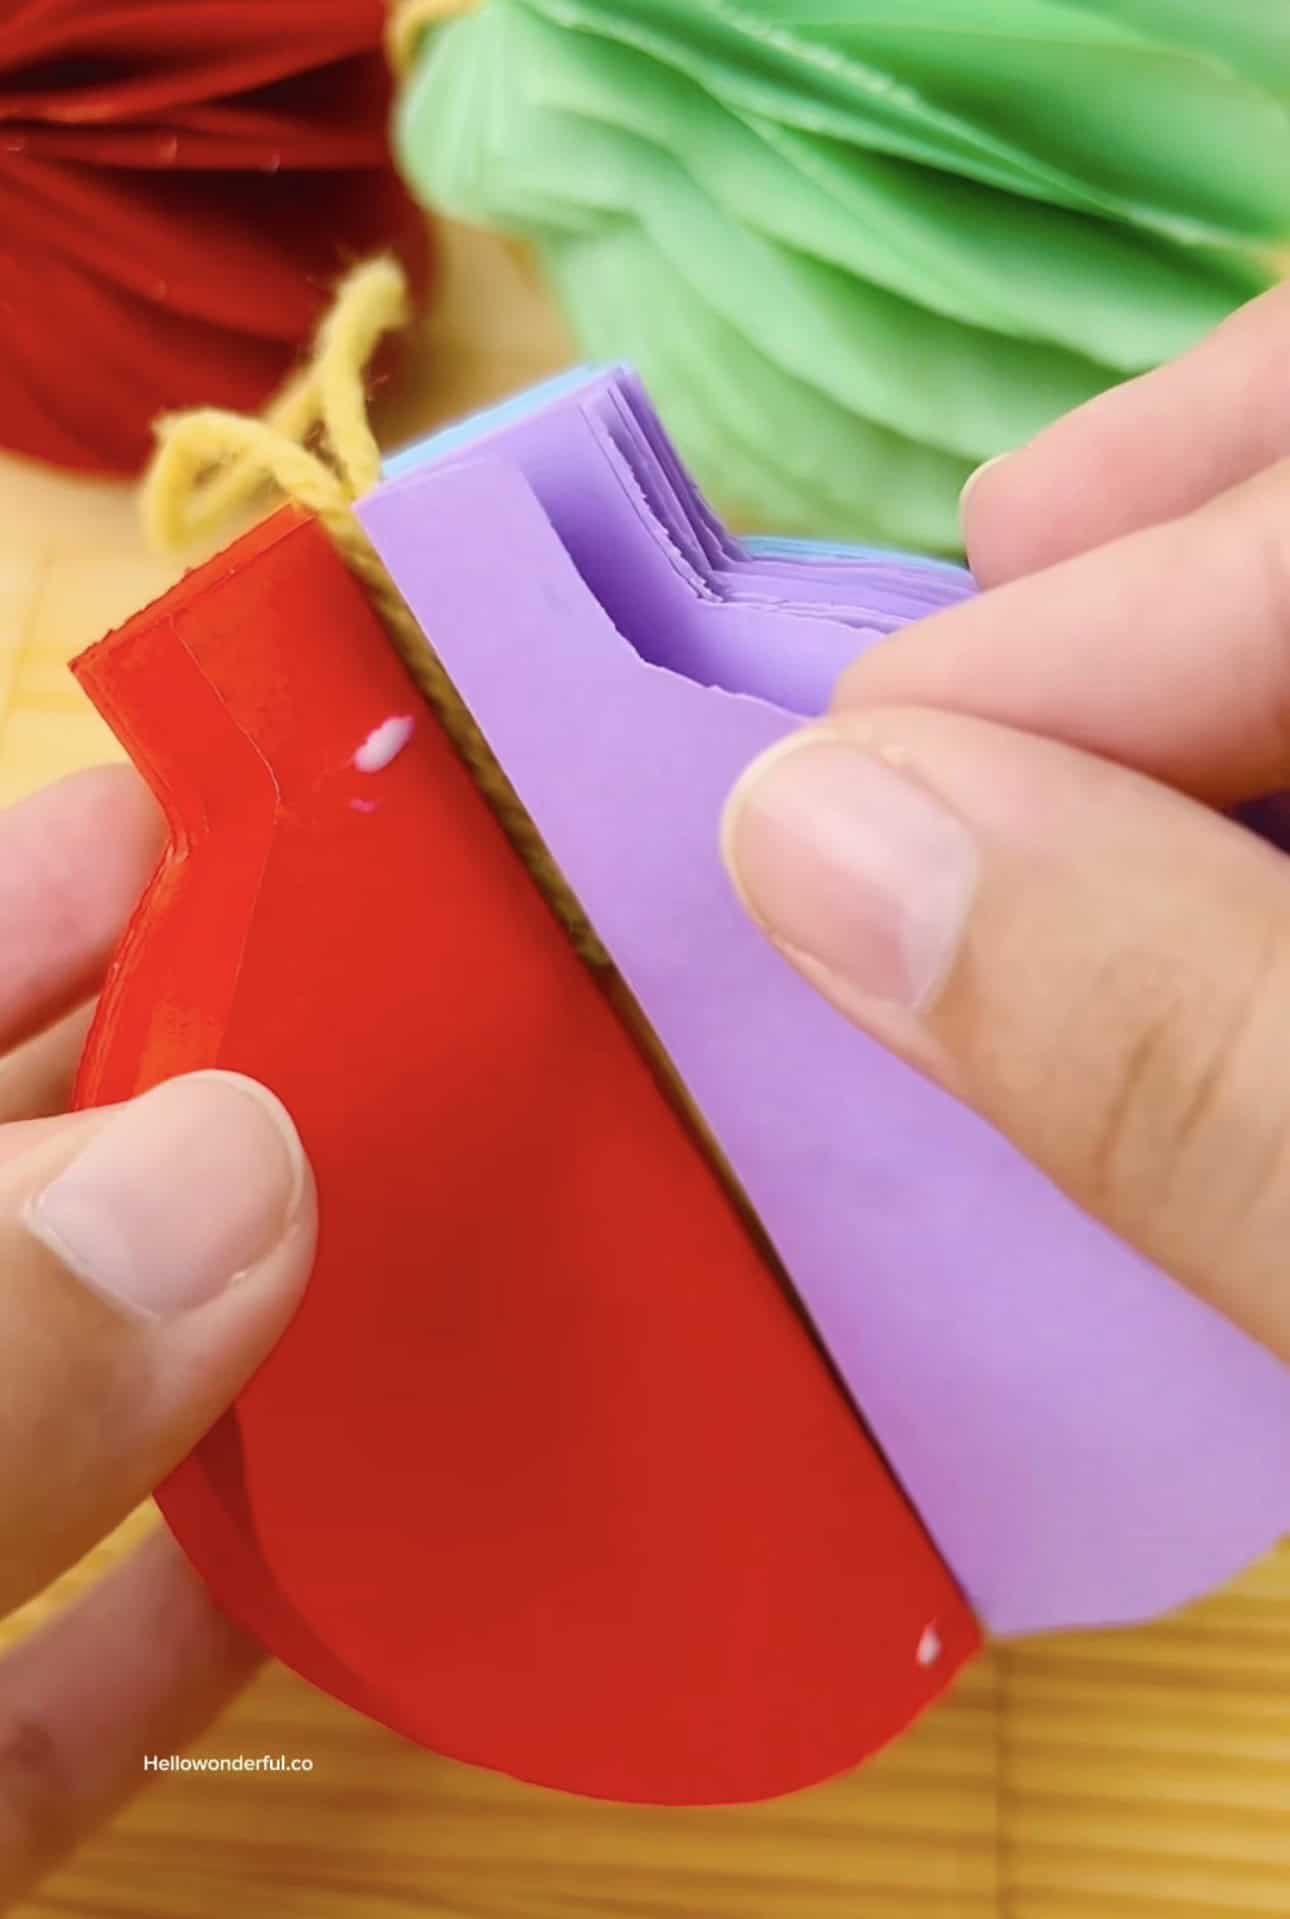
9. Close the Ornament Into a Circle
Add glue to the outer side of the last piece.
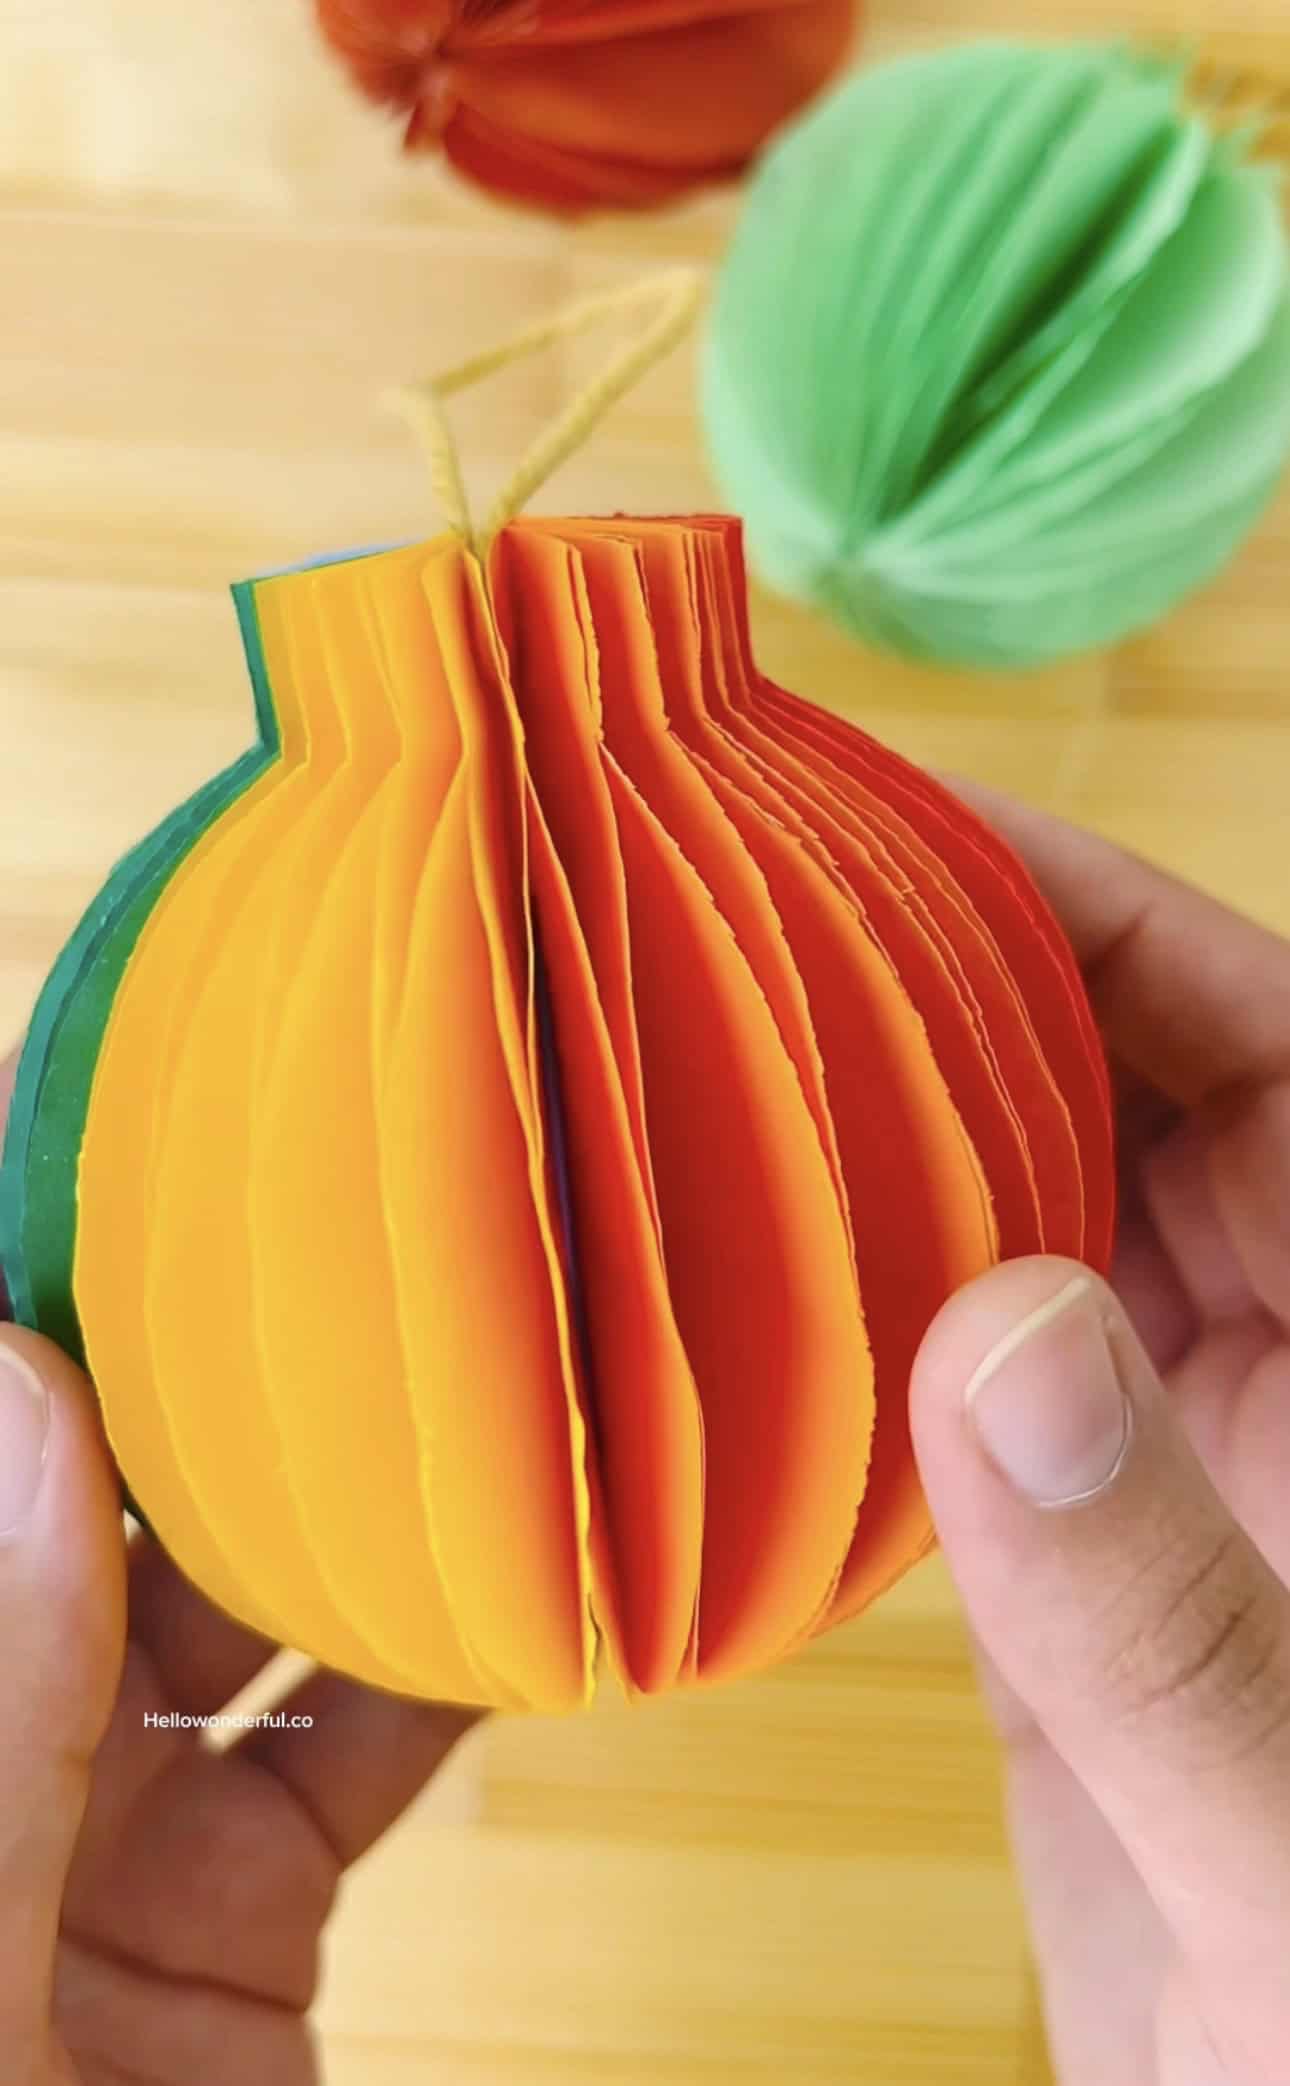
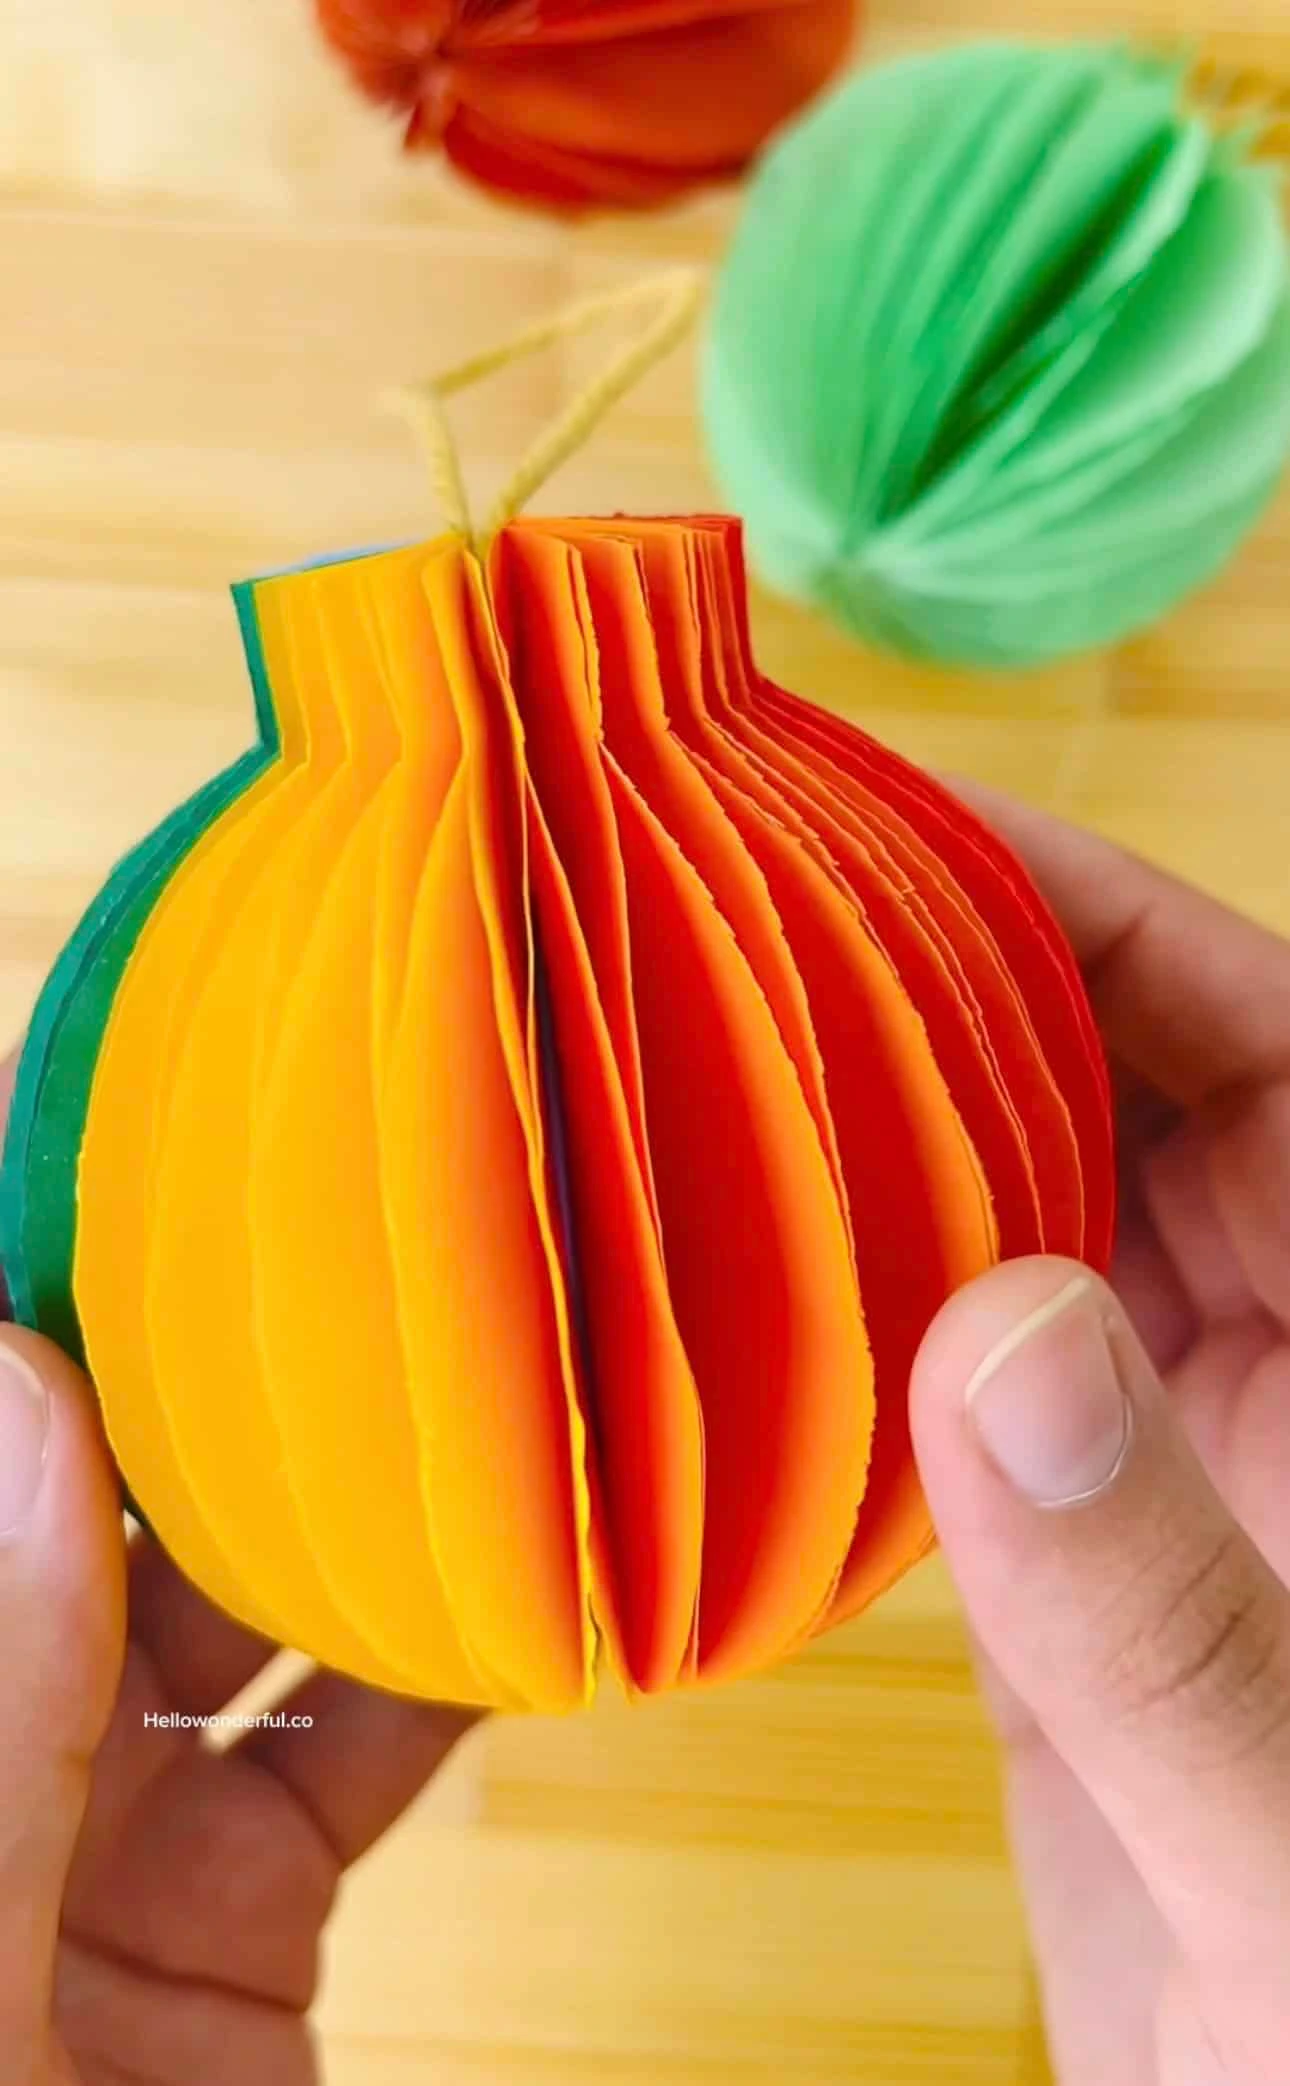
Bring the first and last pieces together and press until they form a full round ball.
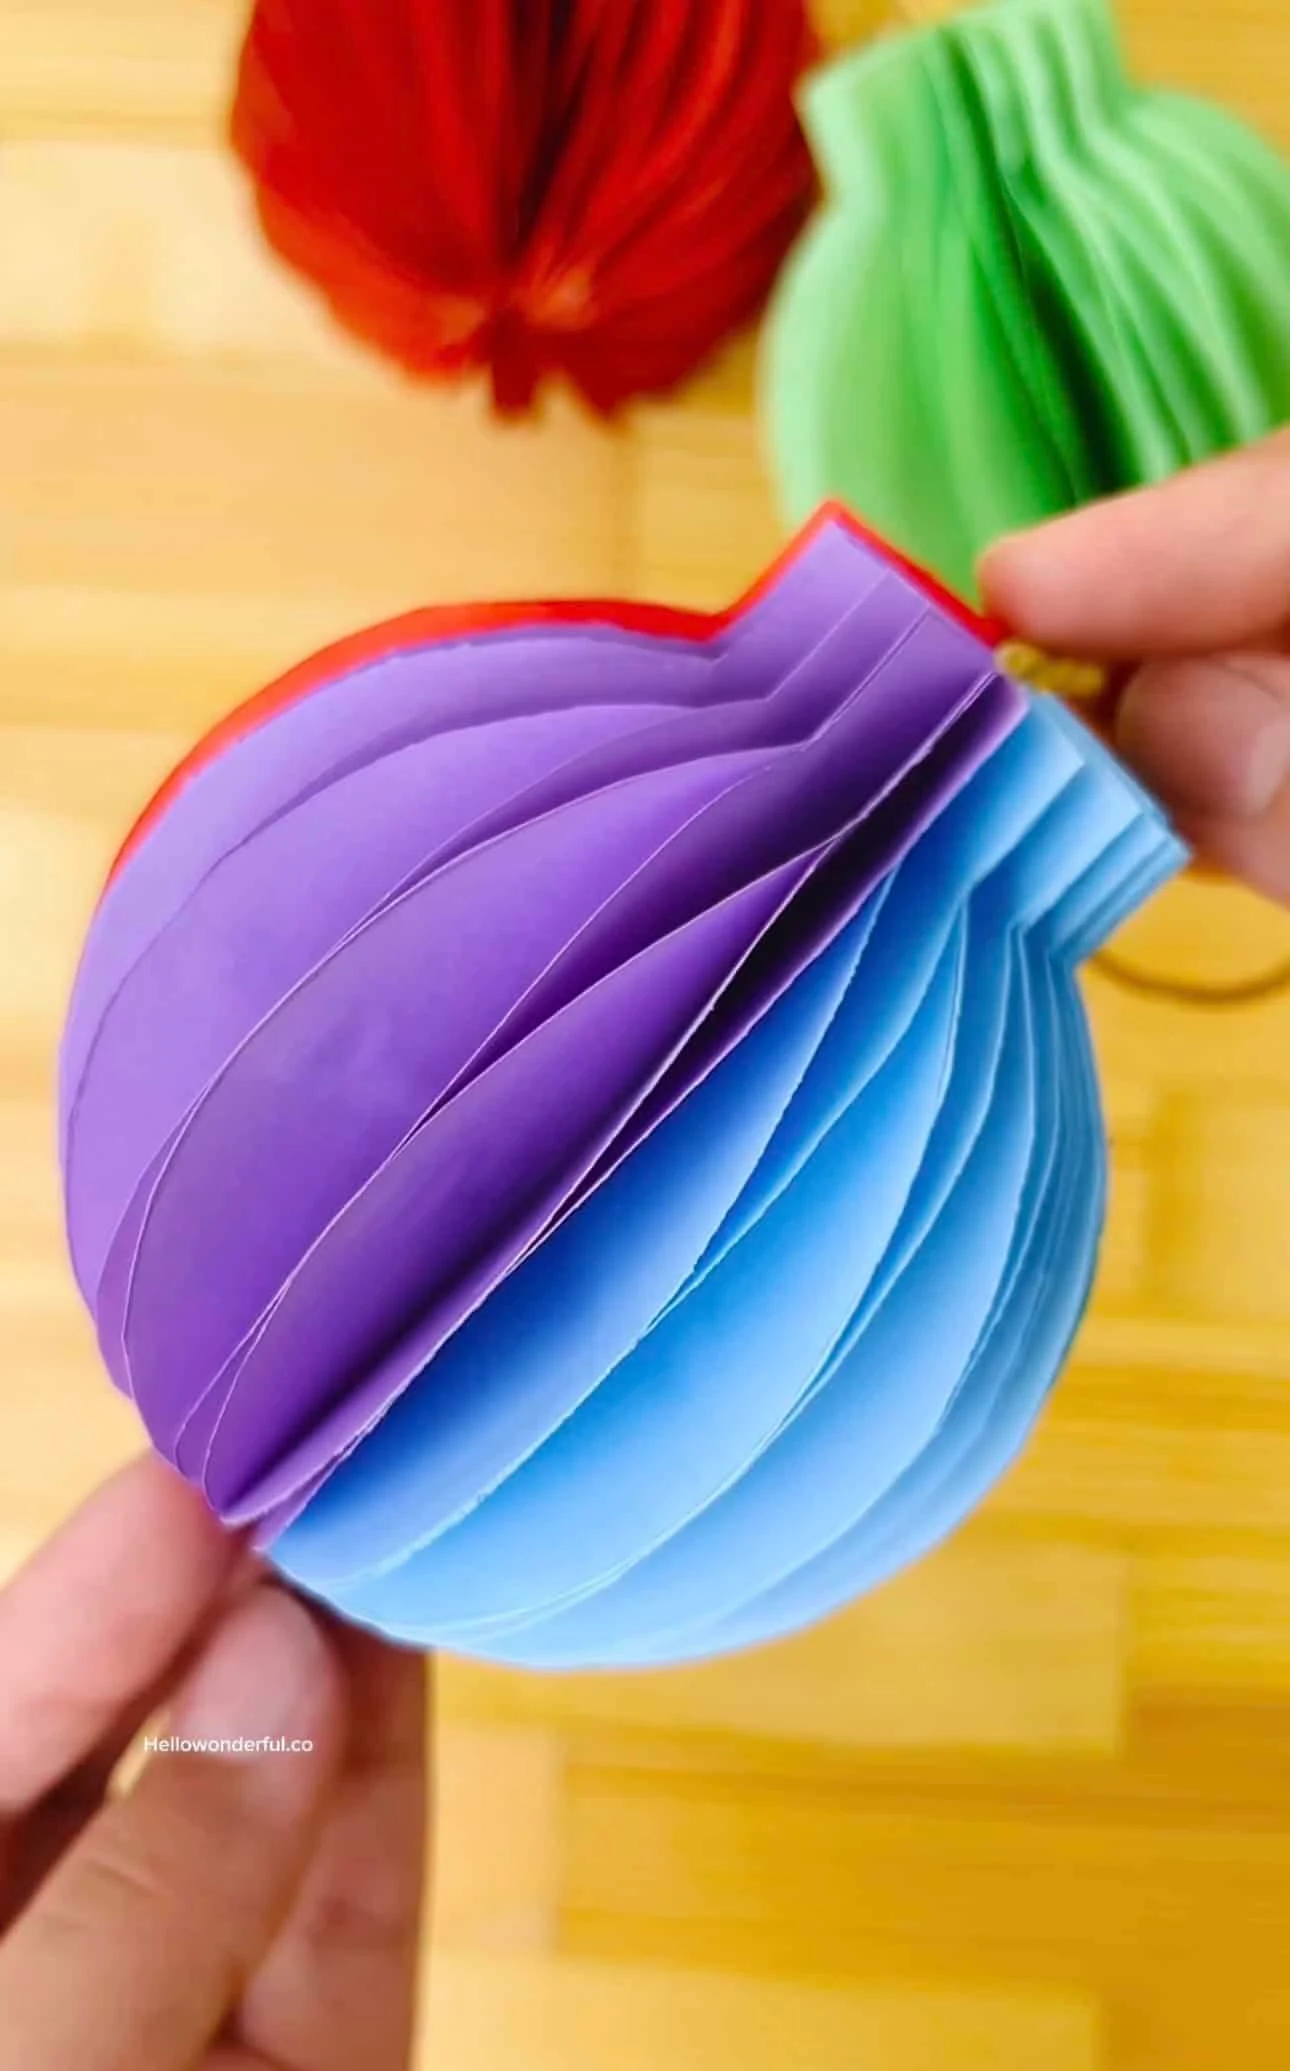
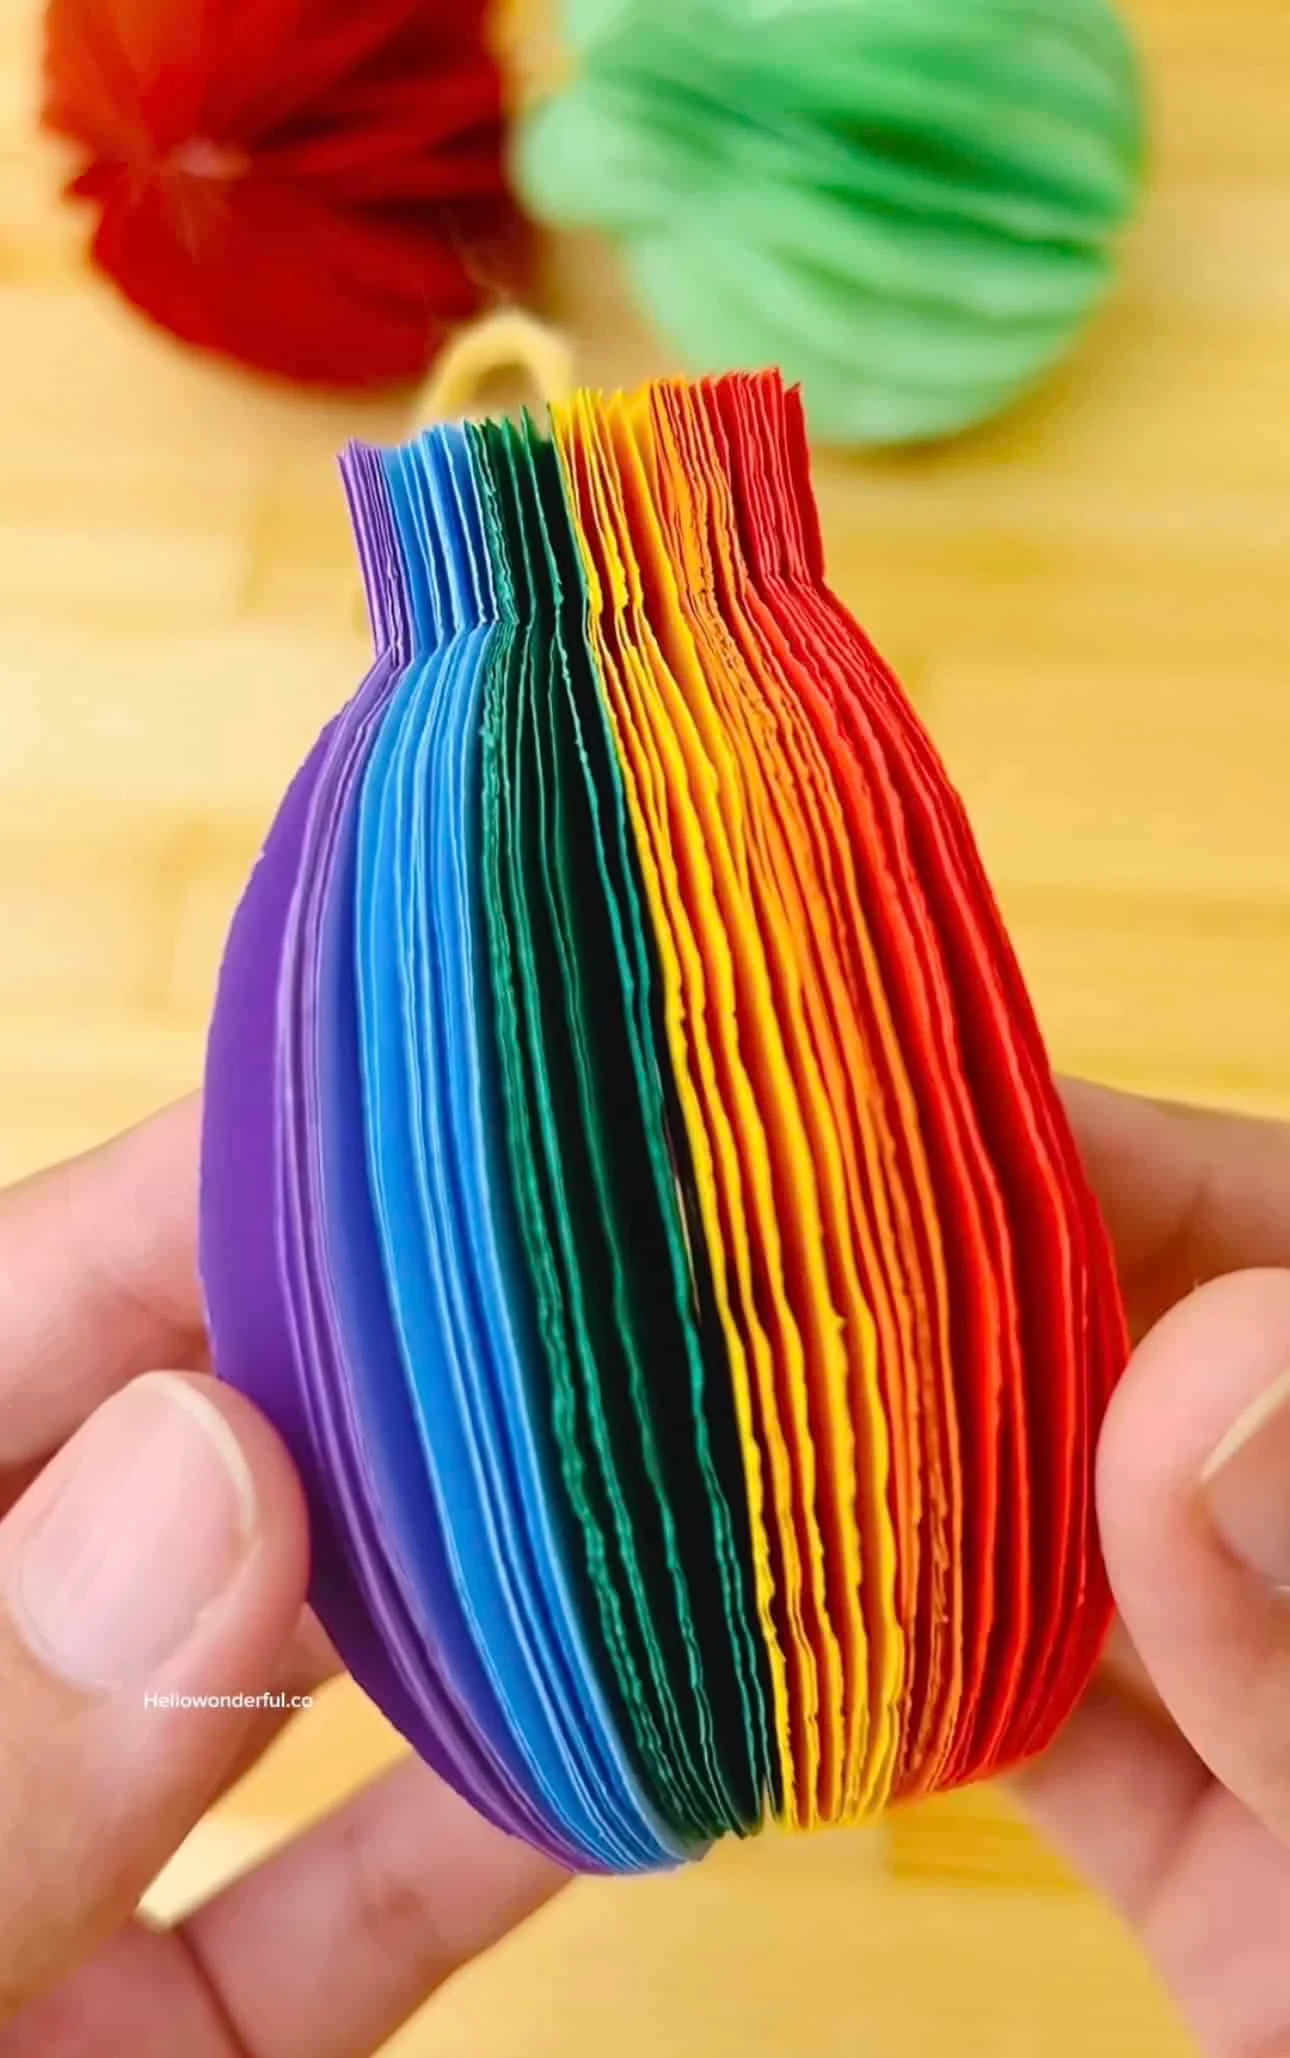
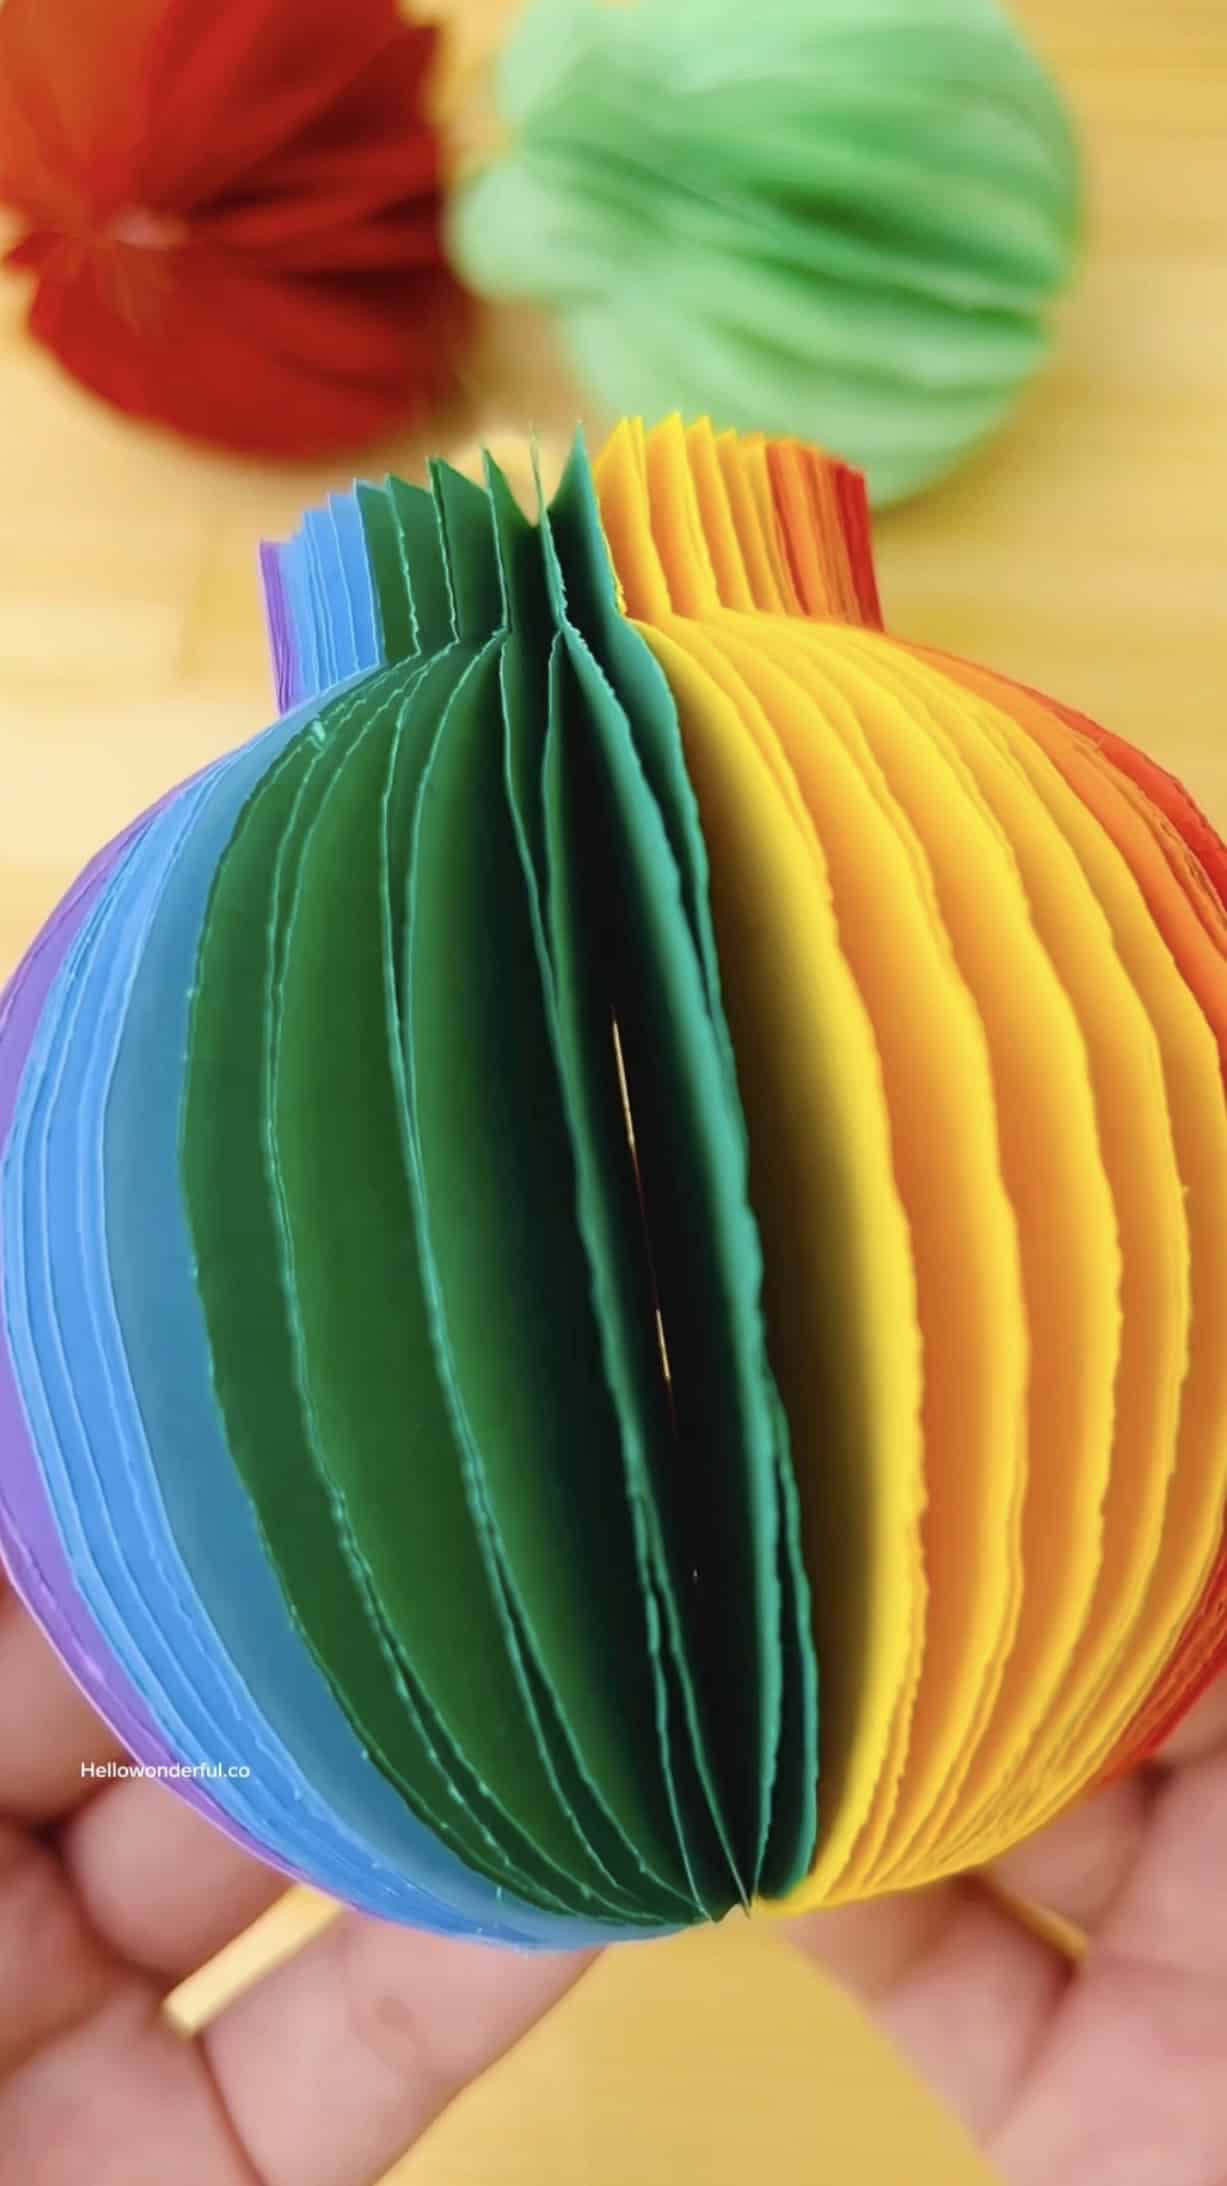
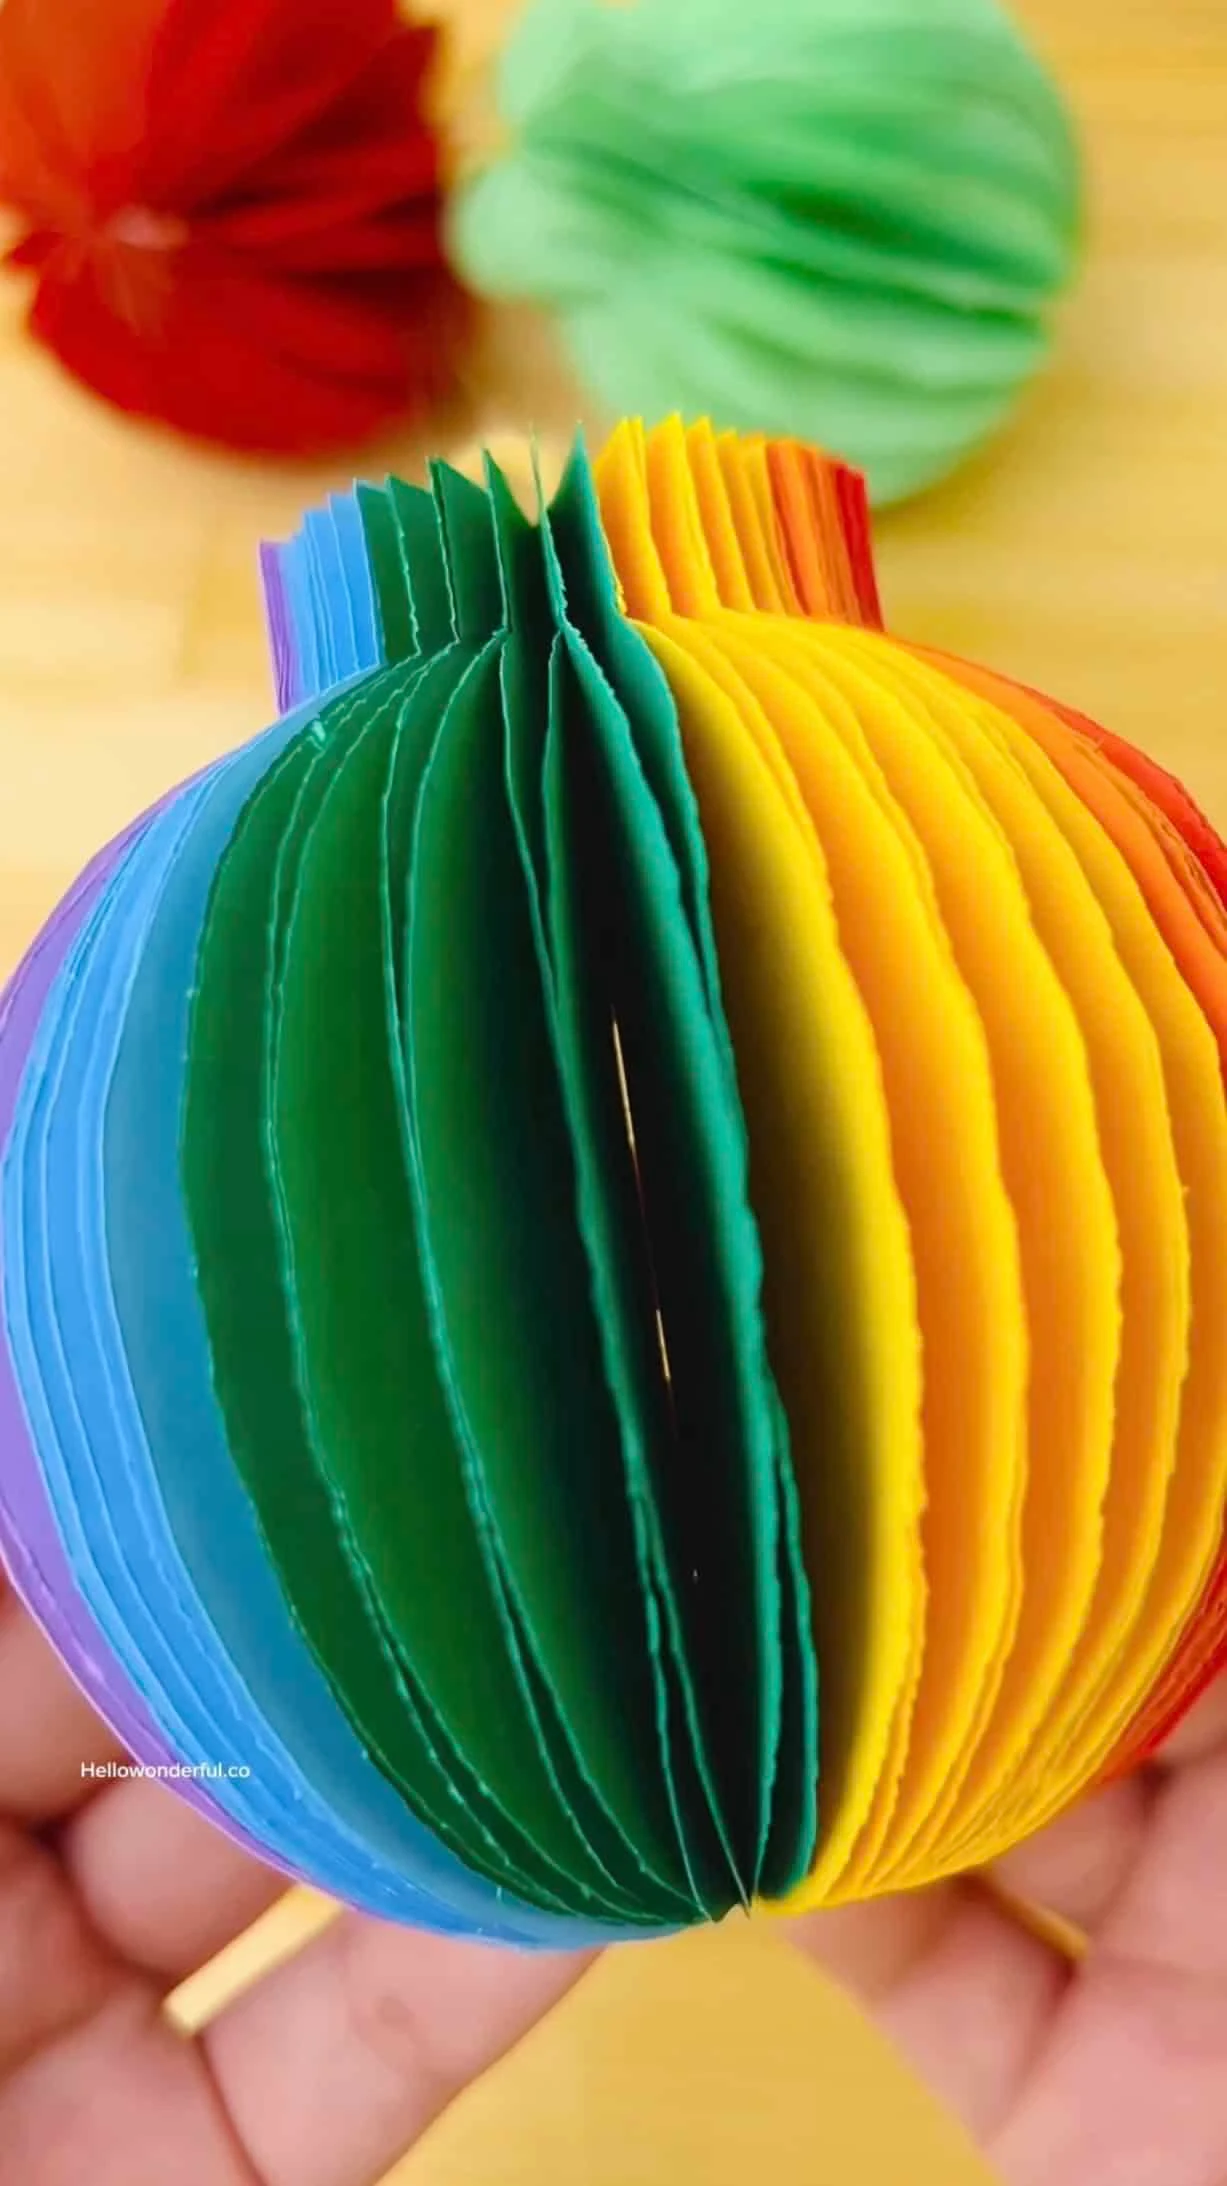
10. Open and Fluff the Layers
Carefully pull open each folded segment to create the round rainbow shape.
Let everything dry fully before hanging.
You’re Done!
Hang your colorful round ornament proudly! These look magical grouped together or displayed in different sizes and color patterns.
Get the printable ornament template

Final Thoughts
Once you get the rhythm of stacking and gluing, these ornaments come together quickly and can be customized endlessly. Try mixing gradients, using pastels or metallics, or sticking to a single color for a modern look. Hang them on a tree, use them as party decor, or create a whole set as a handmade gift. They’re lightweight, affordable, and surprisingly sturdy, making them a go-to craft for any season.
Get the printable ornament template
Check out more holiday paper crafts:


Agnes Hsu is a mom of three and has been inspiring parents and kids to get creative with easy activities and family friendly recipes for over 10 years. She shares her love for creative play and kids food to her 2MM+ followers online. Agnes' commitment to playful learning and kindness has not only raised funds for charity but also earned features in prestigious nationwide publications.