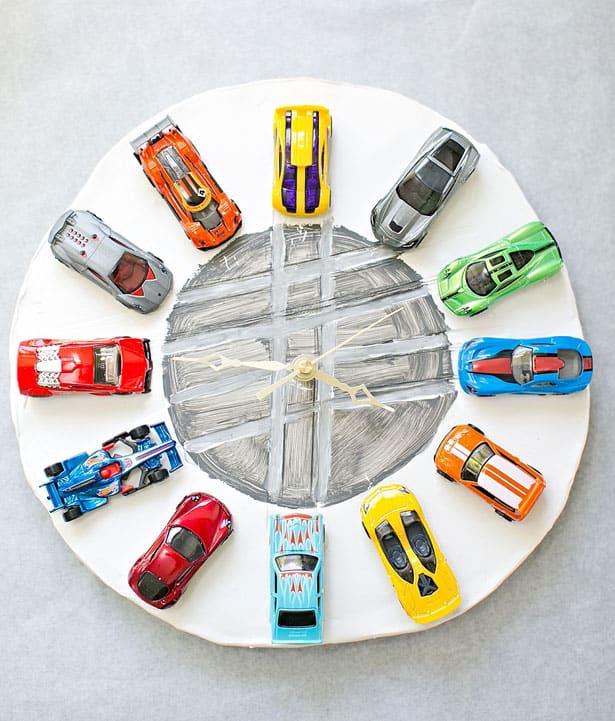
DIY CAR CLOCK MADE OUT OF CLAY
When we featured this amazing clay clock made out of LEGO figurines from our list of top LEGO toys to make I knew I wanted to try a version of my own.
My son's obsessed with cars and anything with wheels right now so I thought it'd be fun to make a car clay clock (whew that's a mouthful). I know how attached he is to his wheels though, so the trick was making it so that he could have his cars back at anytime to switch them out to play.
So, we figured out how to make a car clock that's interchangeable. Read more to find out how fun and easy this car clock is to make with detachable wheels!
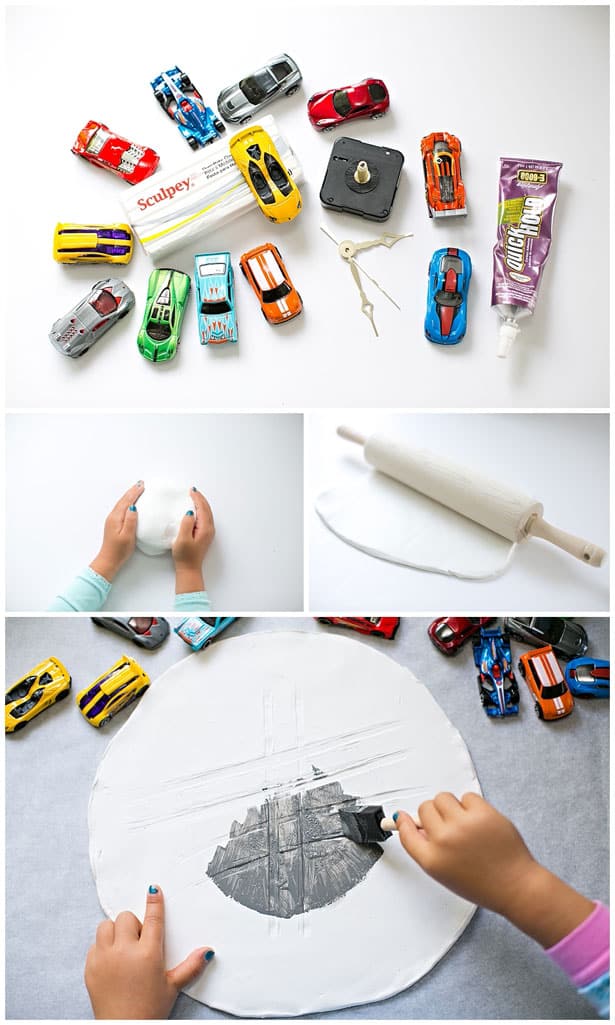
DIY Car Clay Clock With (with detachable wheels) - Supplies:
- Oven bake clay (to make a 14" clock, you will need 24 oz of clay like this)
- 12 toy cars (we used Hot Wheels from my son's collection)
- Clock kit (like this one)
- Gray craft paint and foam brush (optional)
- ⅝" velcro circles
- Drill
- Rolling pin
Steps:
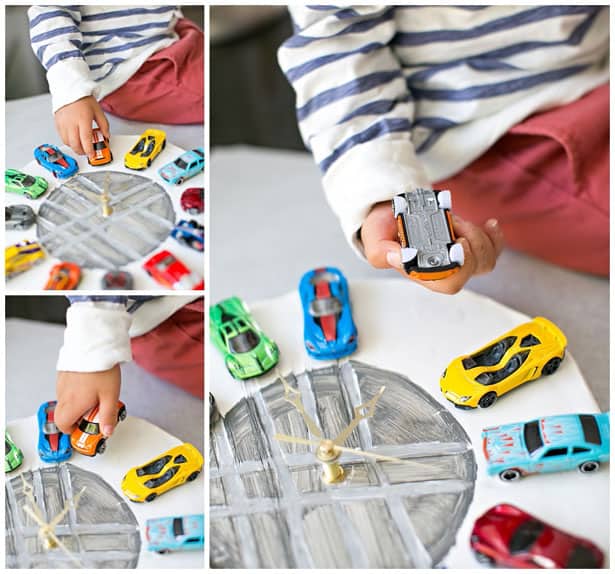
1. Unwrap your oven bake clay and roll into a large ball. The kids had a good time warming the dough into a ball. Using a rolling pin, roll it out like pie crust to make a large circle. Ours was about 14" in diameter. Width was about ⅜" which does not seem that thick, but the clock bakes up surprisingly strong and steady.
2. Optional: once you have your circle rolled out you can make tire marks with your cars before baking it in the oven which is what we did.
3. Bake per instructions on the clay package.
4. Once the clay circle is cooled, paint over the tracks with gray or really whatever color you'd like if you are doing this step. My daughter had a fun time doing this.
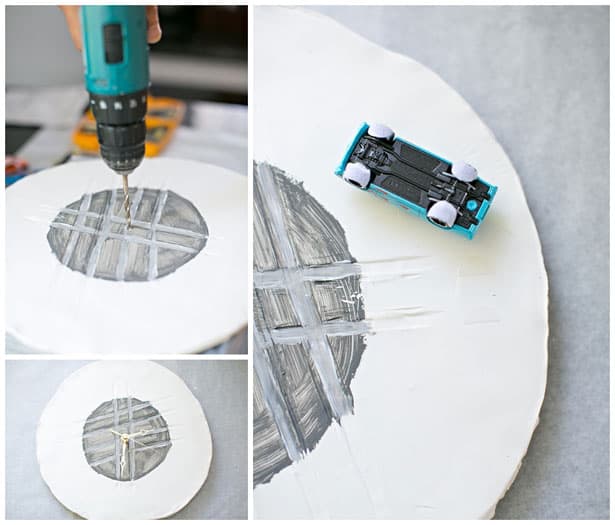
5. Once the paint is dry, drill a hole in the center of the clay clock and attach your clock kit.
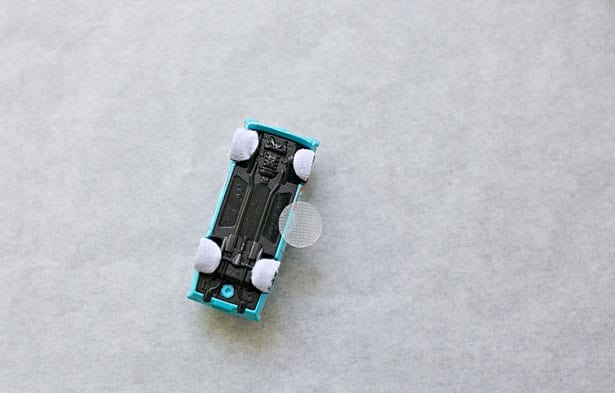
6. Cut each velcro circle in half. For the backing, attach four half circles to each car's position on clock. For the velcro side, do the same. Cut circles in half and attach each half to a wheel.
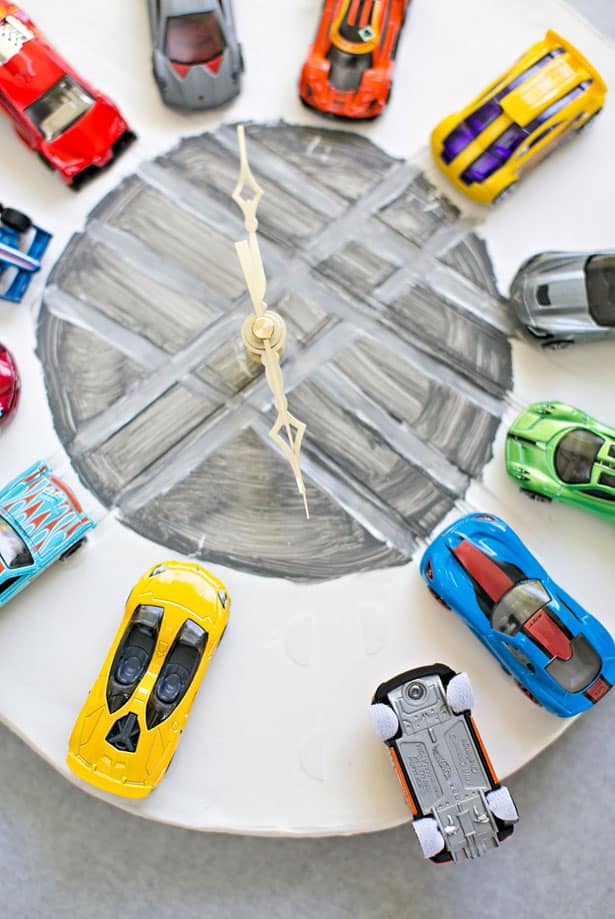
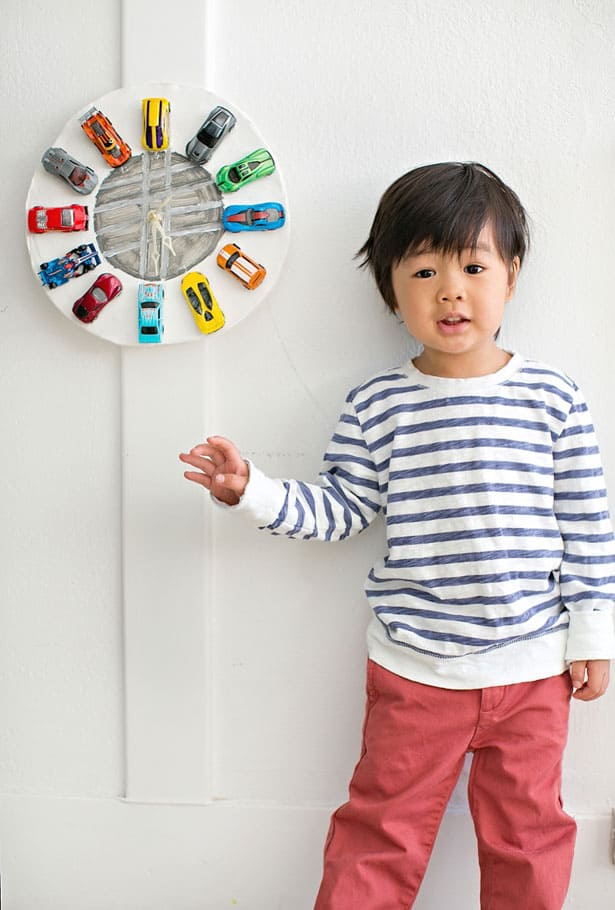
Now you have a working clock with detachable cars!

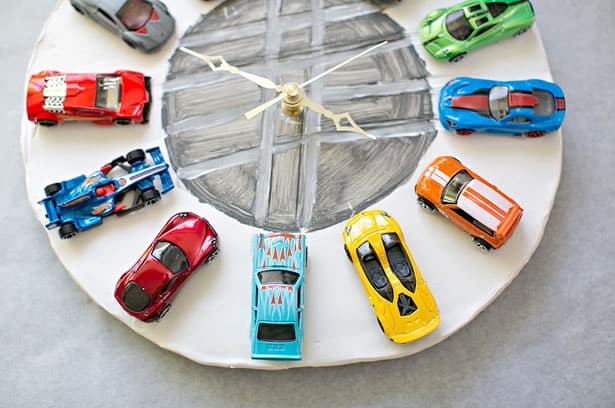
My kids and I love the bright colors on the clock from the cars. They really make the white clay pop. I'm also glad we did the tire tracks to give it a fun look. I'm sure you could do something similar like using washi tape to make a road.
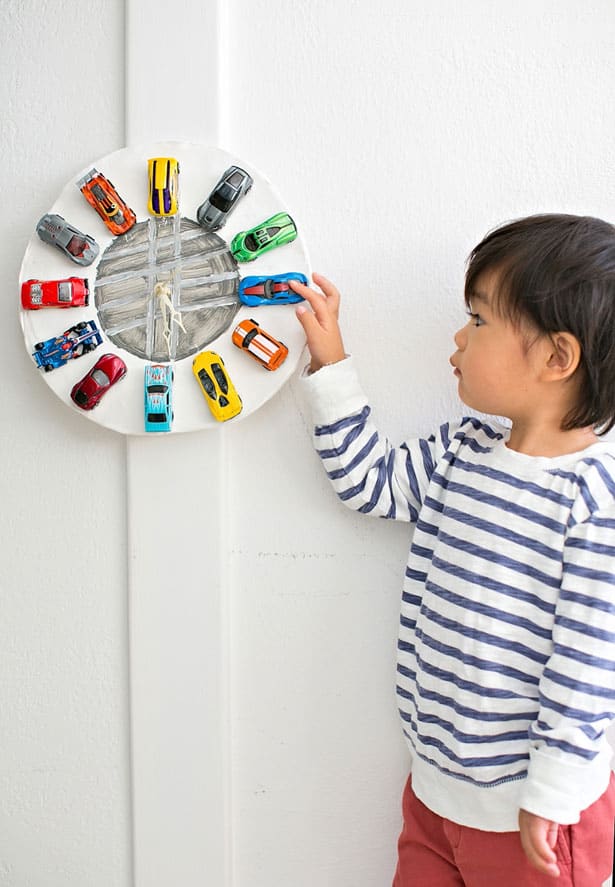
My son thought it was pretty cool to be able to re-arrange the cars around himself.
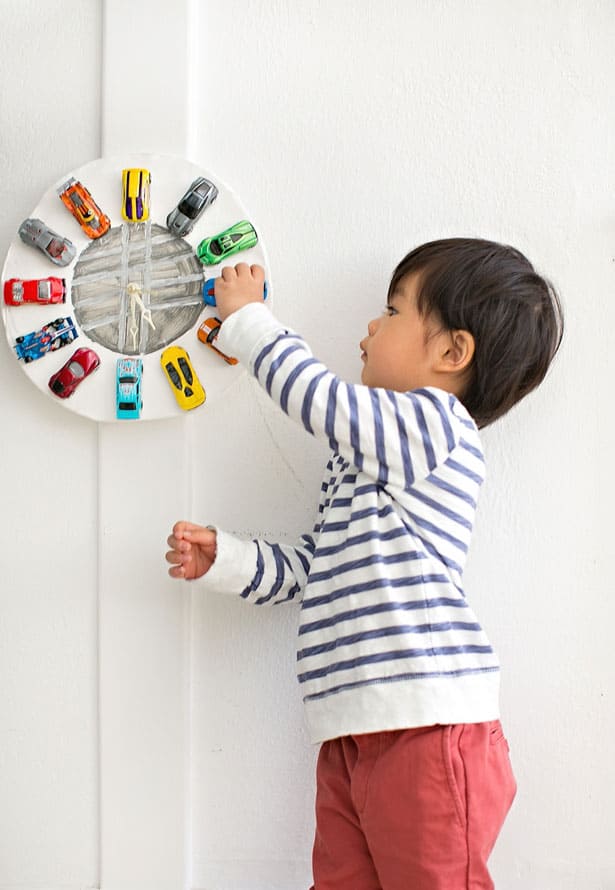
We hung the clock in the kids' room just around their height so they could easily take the cars off and on to switch them out and play with.
The kids had a blast helping make this easy clay clock with colorful cars as numbers. It's a great way to teach your kids how to read time and makes a super vibrant and interesting room decoration!
We just love using oven bake clay for so many fun projects (like these clay pendants).
What are some fun things you've made with clay?
______________________________________________________________________________________________________
Disclosure: Some of the links in the post above are "affiliate links." This means if you click on the link and purchase the item, we will receive a small affiliate commission. Regardless, we give our promise that we only recommend products or services we would use personally and believe will add values to our readers.