
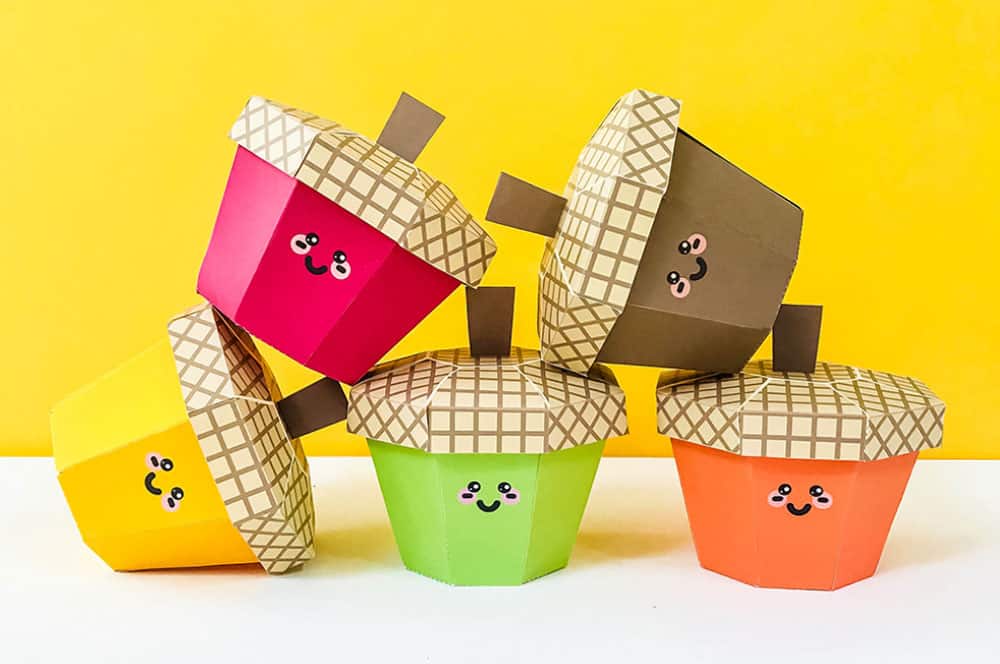
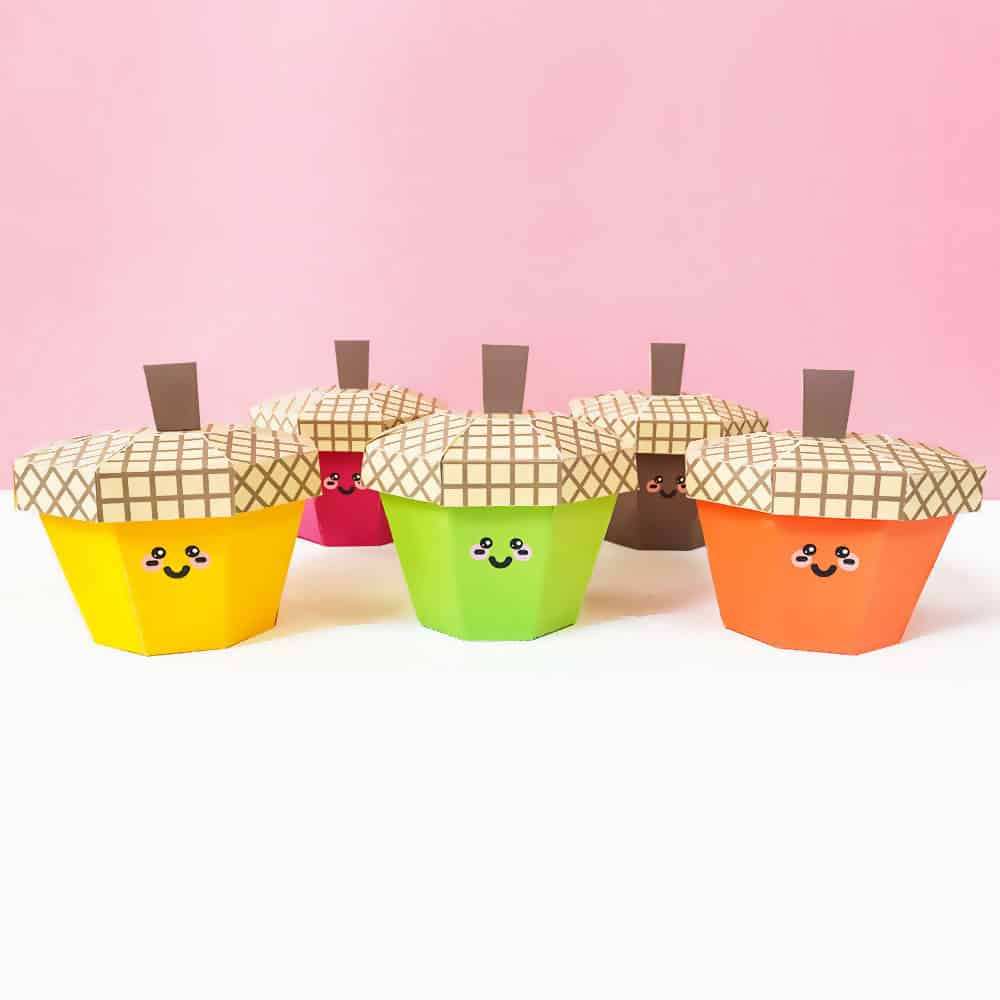
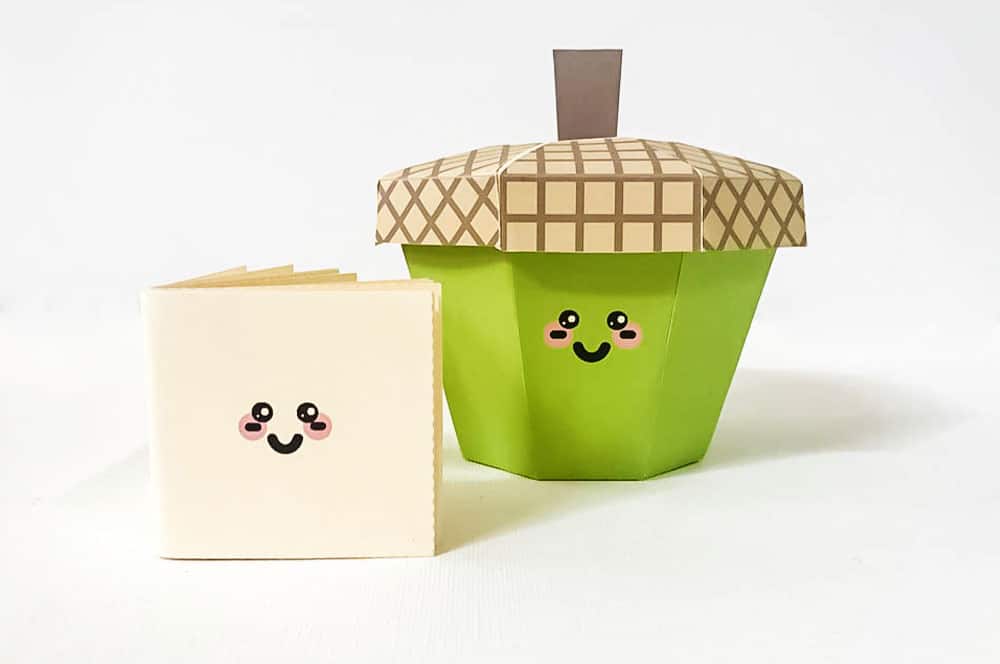
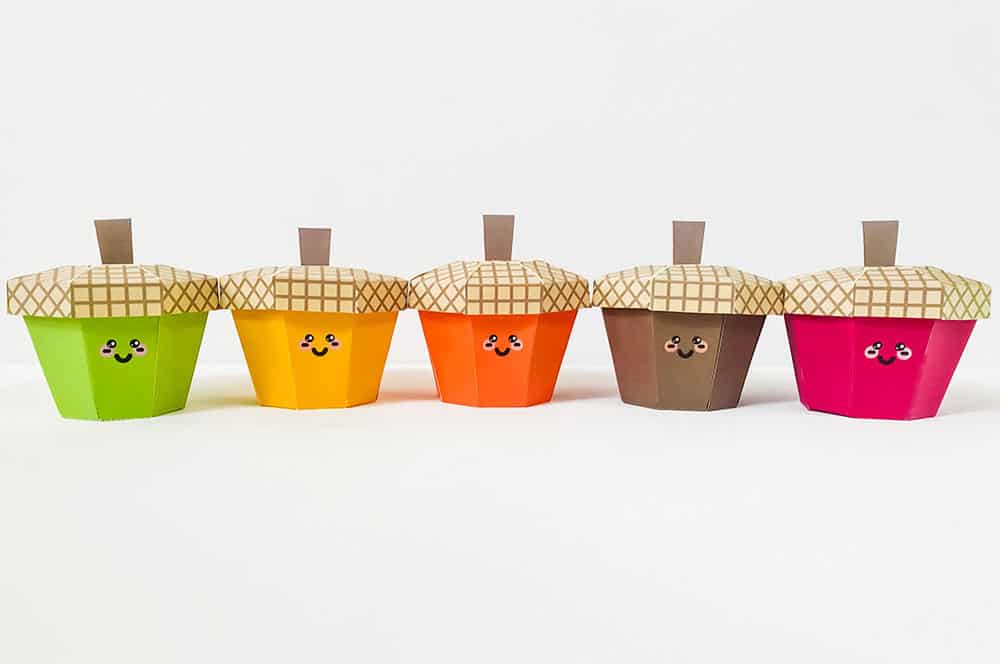
These little paper acorns are adorably festive table decorations that are holding a heartwarming secret inside! The caps lift off the top of these nutty boxes, leaving kids a place to collect and share messages of gratitude and thanks. These little kawaii acorns are a great way to encourage your kids to be mindful of the season, and even include template pages to create their own tiny book of gratitude they can fill up and keep inside. Whether you use them to adorn a holiday table, pack with seasonal favors for gifting, or top off with tiny books of thanks, they’re sure to provide some happy smiles and warm hearts.
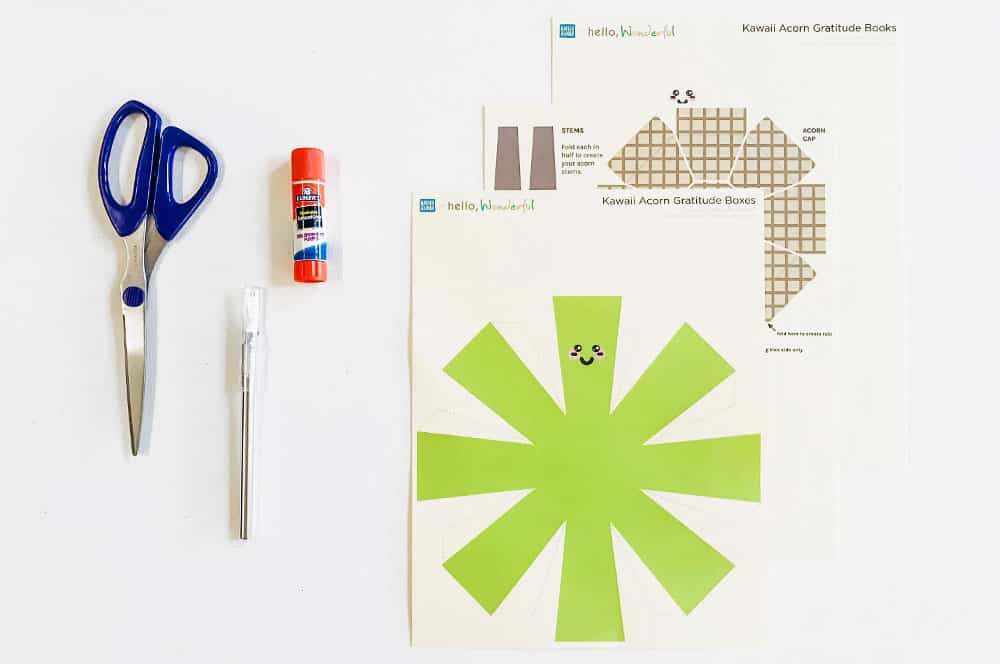
MATERIALS:
– A few sheets of 8.5 x 11 heavy cardstock
– Scissors and/or an X-Acto Knife
– A Glue stick, craft glue or clear tape
– Our Acorn Box Printable (download right below)
Click Here to Get Your Free Printable
OPTIONAL: Stapler or a needle and thread for kawaii gratitude books
INSTRUCTIONS:
Step 1: Print the desired template pages on a heavy cardstock (be sure to choose borderless printing in your printer options).
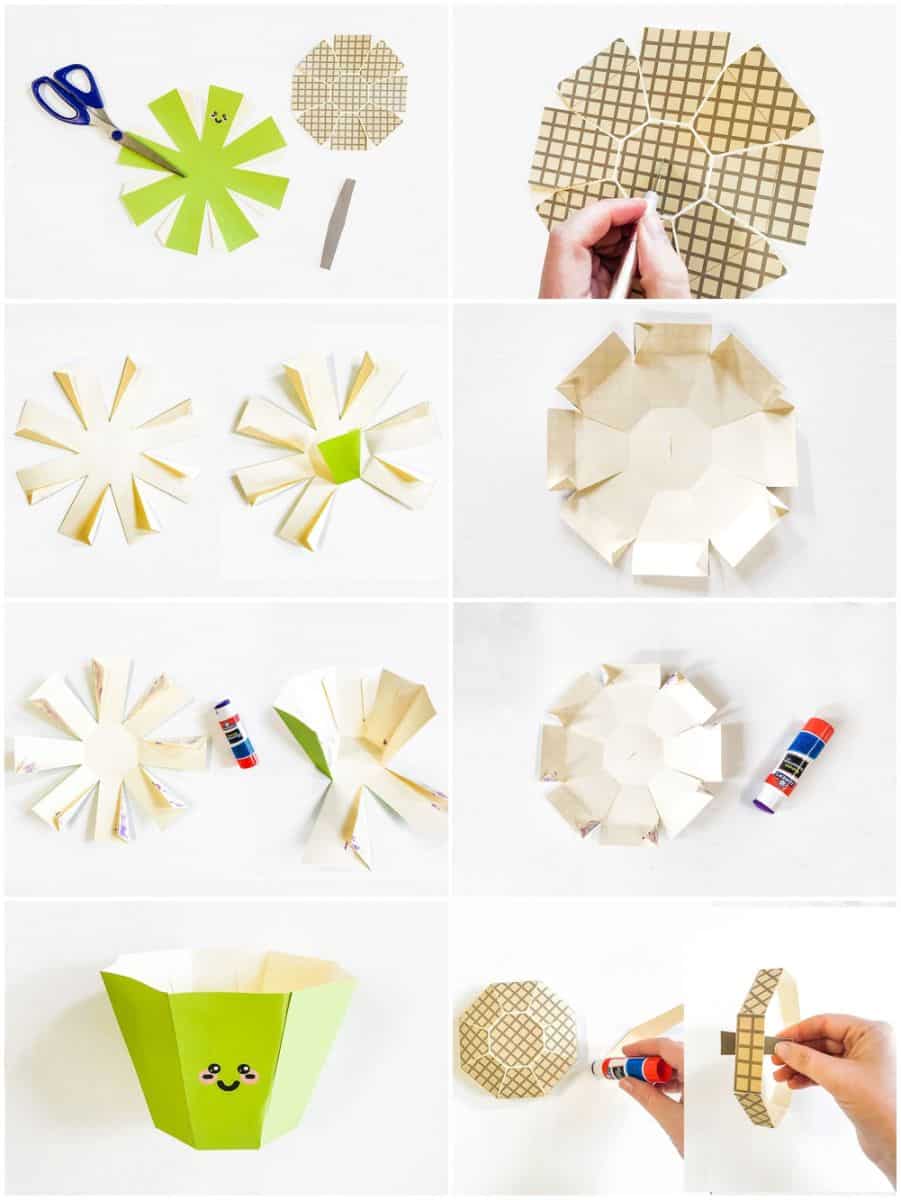
Step 2: Cut out all of your acorn template pieces – bodies, caps and stems.
Step 3: Put the cap and stem pieces aside, and using the dotted guidelines, fold and crease along all 8 sides of the body to create tabs for gluing and assembly. Then fold and crease along the dotted lines where the sides meet the box bottom.
Step 4: Once you’ve made all your creases, apply glue to all tabs. Fold each side up to meet the next, lining the tabs up along the side and top and gluing to the back. Turn your box on it’s side and, applying some gentle pressure, run your finger up and down each tab from the inside – just to make sure your tabs are well-glued!
Step 5: Once fully assembled, set your acorn body aside and let dry for roughly 15-20 minutes.
Step 6: While your acorn body dries, we can assemble the cap using the same process, but with three sets of folds instead of 2.
Step 7: Before you start folding, use an X-Acto knife along the thin dotted line in the middle of your cap. This is where we’ll add the stem!
Step 8: Ready to fold! Fold and crease all 8 pieces where the sides of your cap meet the middle. Next, we’re going to fold and crease along the light brown lines that are about 1/2 an inch from the edges of your cap. Finally, fold and crease the small tab pieces for each cap piece.
Step 9: Once you’ve made all your creases, apply glue on all the tabs. Fold each side up to meet the next, lining the tabs up along the side and top and gluing to the back. If you’ve lined the pieces up correctly, you’ll notice that the cap pushes up toward the middle a bit. Gently turn the cap on it’s side and use the same technique we used for the body to make sure all sides are well-glued. Let dry for 15-20 minuets.
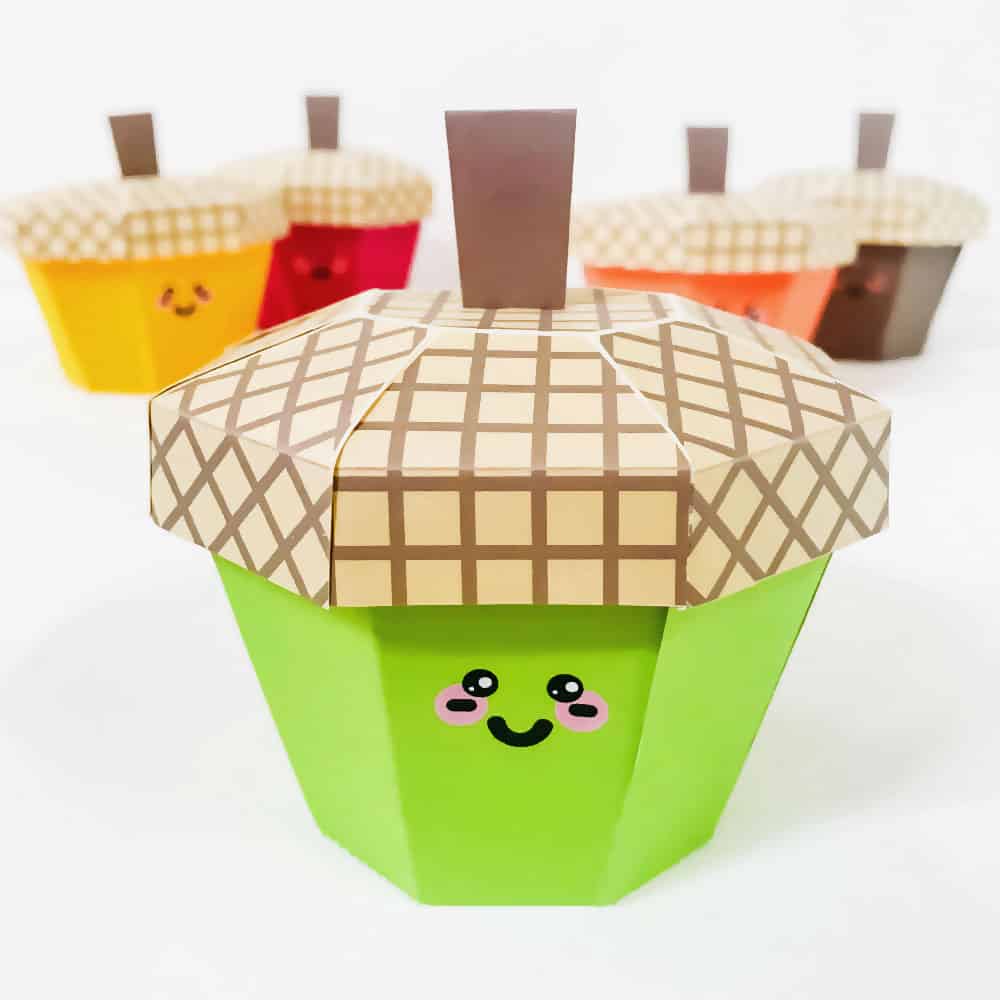
Step 10: Grab your stem piece, fold in half to crease, apply a bit of glue to the inside and push together. Once your cap has completely dried, you can pull your stem piece through the cut you made in the middle of the cap, fold at the inside, and glue into place.
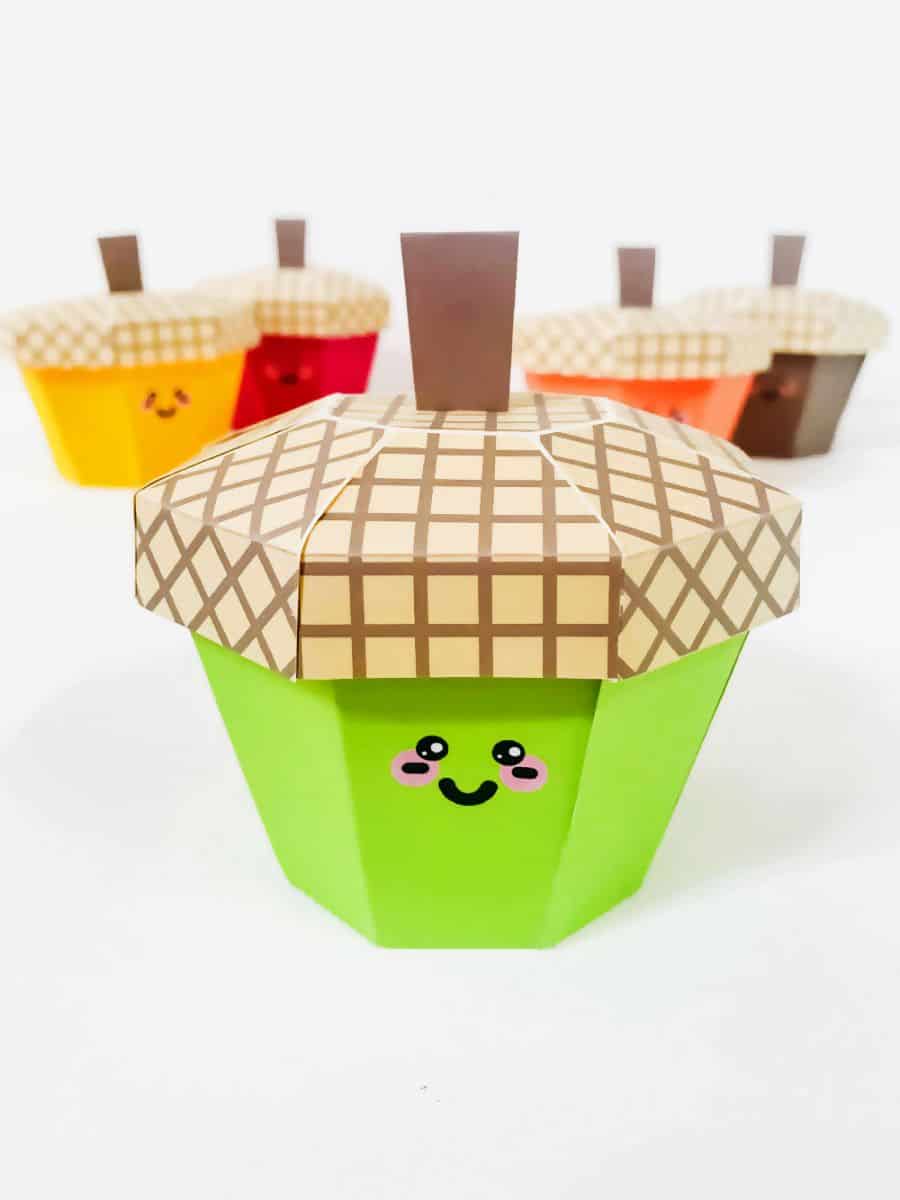
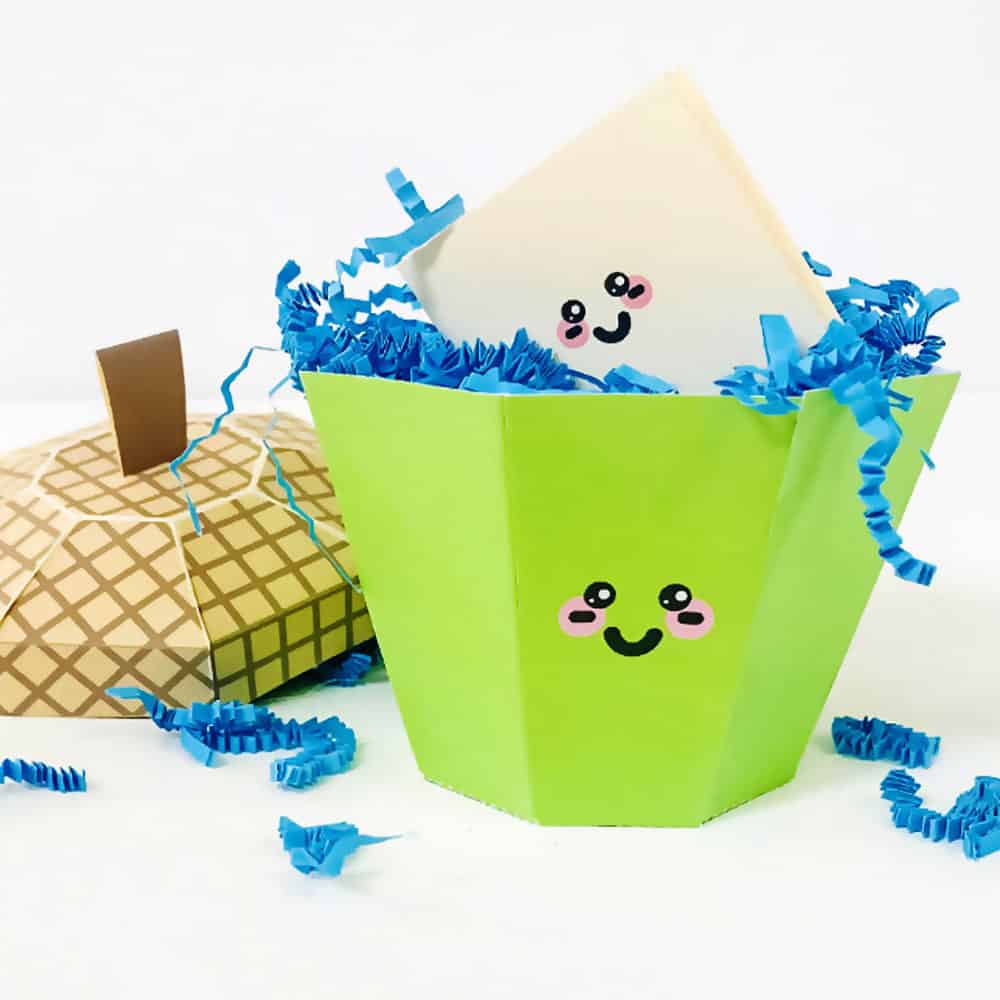
Step 11: Voila! Your adorable acorns are ready to fill! You can use these as favor boxes for treats or surprises OR you can fill them with messages or tiny books of gratitude…
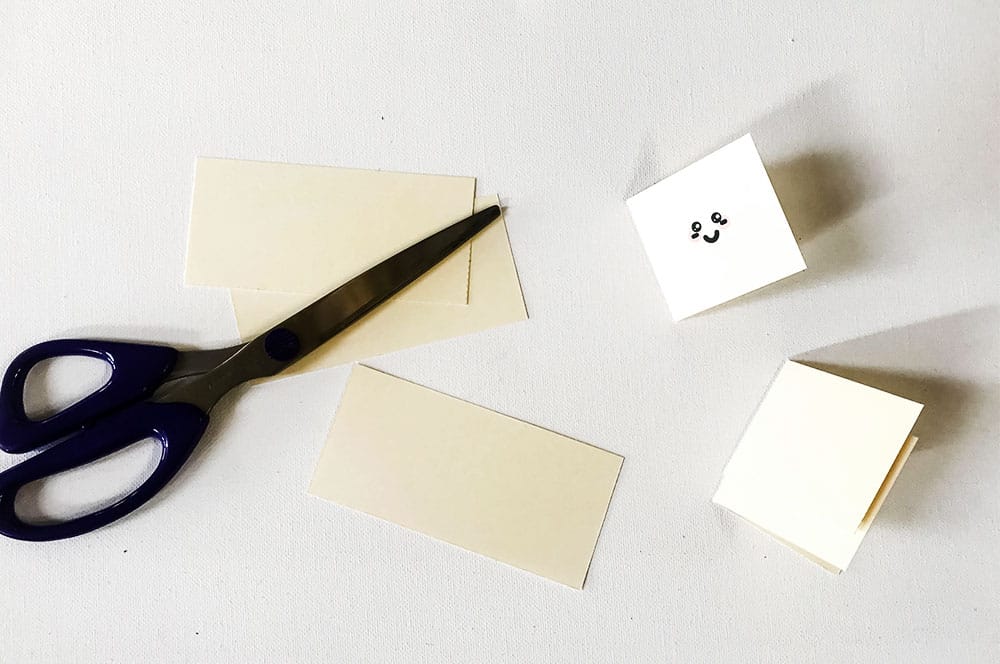
Step 12: If you’ve printed out our kawaii book template page, cut along all the dotted lines.
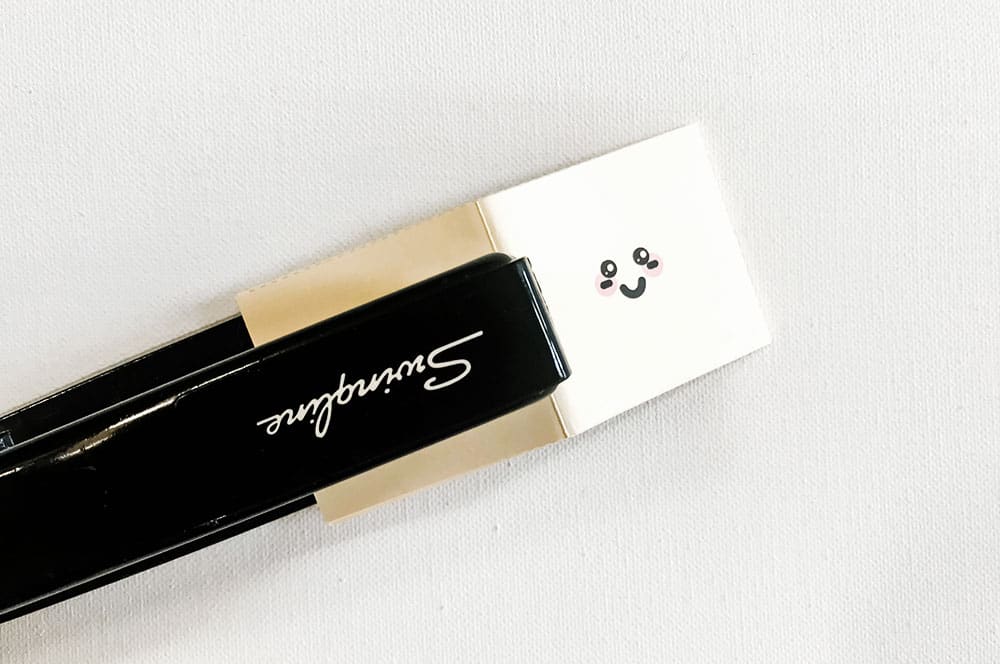
Step 13: Once you have your “pages” cut out, stack (with the kawaii smile page on top) fold in half, then staple along the half-fold to create your tiny kawaii book. You can also just write messages of gratitude on the cut pieces if you’d rather not make a book.
If you’ve decided to make a book, you can fill in the pages with written messages, cut out pictures, or make drawings of all the things you’re thankful for!
How do you practice gratitude with kids?
Check out more creative Thanksgiving projects!
.jpg)
Amanda Eldridge is the Managing Director and Lead Designer at barley & birch. Driven by carbs, coffee and a passion for cultivating imagination, she aims to help families discover their creative potential and be inspired to generally make the world a better place through art, play, adventure, activism, conservancy and community. When not tinkering with ideas, designs and projects for barley & birch, Amanda enjoys working as a modern art curator and managing her own small design business. Beyond work, you’ll likely find her playing mom to Thor – her ginormous Golden Retriever, reading a new book, or traveling anywhere she can. For more fun projects and printables, you can explore the barley & birch blog or follow b&b on Instagram, Facebook and Pinterest.
______________________________________________________________________________________________________
Disclosure: Some of the links in the post above are “affiliate links.” This means if you click on the link and purchase the item, we will receive a small affiliate commission. Regardless, we give our promise that we only recommend products or services we would use personally and believe will add values to our readers.


Agnes Hsu is a mom of three and has been inspiring parents and kids to get creative with easy activities and family friendly recipes for over 10 years. She shares her love for creative play and kids food to her 2MM+ followers online. Agnes' commitment to playful learning and kindness has not only raised funds for charity but also earned features in prestigious nationwide publications.