MAKE AN ICE CREAM STAND
Move over, lemonade stand. An ice cream stand is a cool way for kids to sell their own homemade treats and is just as fun and refreshing!
Here is a simple one we set up when my daughter was 3 and it was amazing fun – from making homemade ice cream to setting up the sprinkles, decorating the sign and stand.
Read on to find out how easy it is to set up your own ice cream stand for a fun twist on the classic lemonade stand.

For the Ice Cream:
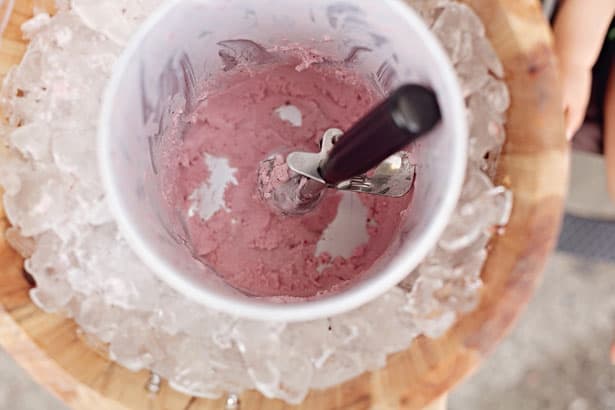
(We decided to make organic strawberry ice cream and used this easy version from All Recipes)
– 2 Cups whole milk
– 2 Cups heavy cream
– 1 Cup sugar
– ¼ teaspoon salt
– 2 teaspoon vanilla extract
– 2 Cups mashed fresh strawberry (we used organic berries)
– Ice cream maker (we love this one which uses rock salt but is also electric)
Steps:
1. Combine all ingredients into your ice cream maker, follow directions and let chill completely.
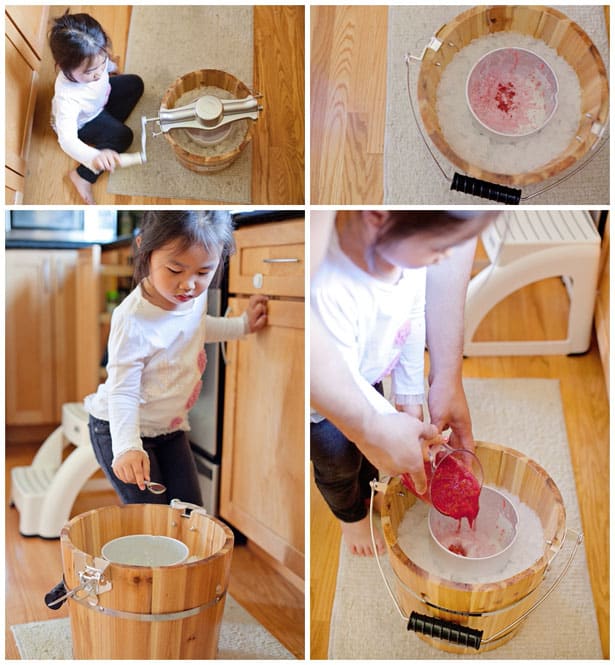
Here is Alia adding the ice cream ingredients. This fresh fruit and egg-less recipe is a super easy one for kids which doesn’t require making a custard.
For the ice cream sign:
– Tissue paper in your favorite colors
– White and various color card stock
– String or ribbon
– Paint or markers
– Glue, scissors
Steps:
1. Cut out circles from your colored card stock, enough for each letter to spell out “ice cream.”
2. Cut a smaller circle in white to glue onto the colored circles.
3. If your child isn’t able to write letters, spell them out in pencil and have her trace over each letter in marker or paint. We used markers.
4. Make tissue tassels. Here is a great detailed tutorial from Linen, Lace and Love which we followed.
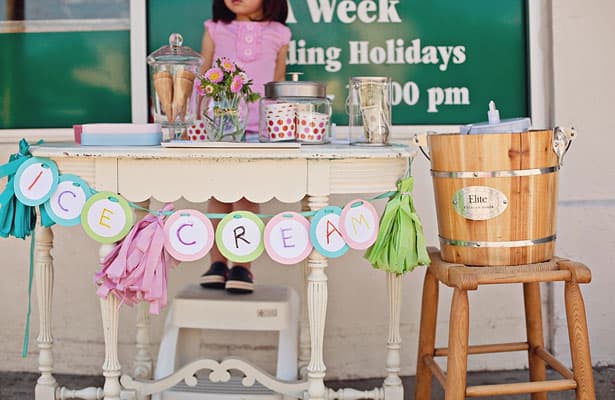
5. Assemble your sign. Punch a hole in the middle of each circle letter, and string your ribbon or string to make a garland. Attach your tissue tassels wherever you’d like on the garland. We placed one on each end and in between the words “ice” and “cream.”
6. Tape your garland to your table or stand.
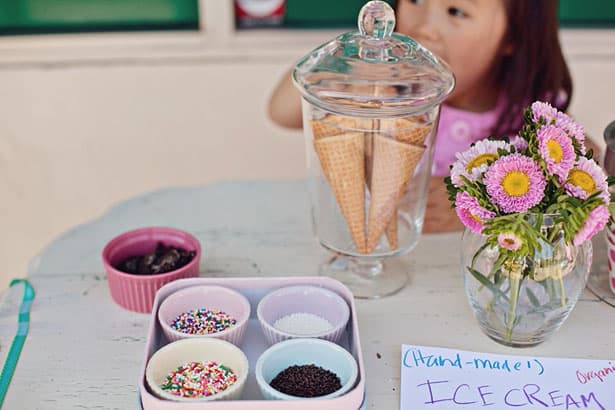
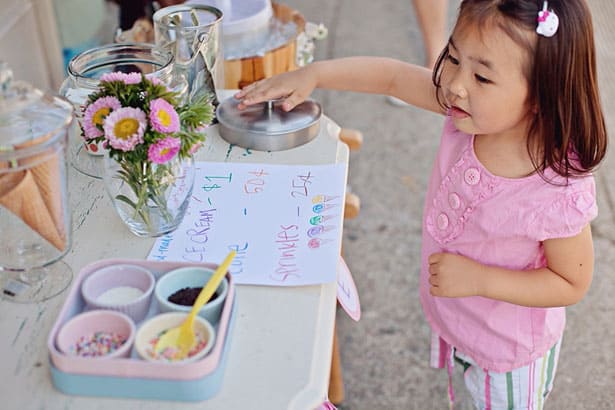
Sprinkles and Details – to accompany your ice cream, you’ll also need:
– Sprinkles
– Cones
– Cups
– Plastic spoons
– Napkins
– Optional (fresh flower, jar to hold the money, sign letting people what you are selling)
.jpg)
And we’re open for business! As any entrepreneur knows, location is key. Since our street tends to be quiet, we asked the local market in our neighborhood if they would agree to us setting up a stand right outside their doors. Of course they couldn’t say no to a 3 year old (and free ice cream samples).
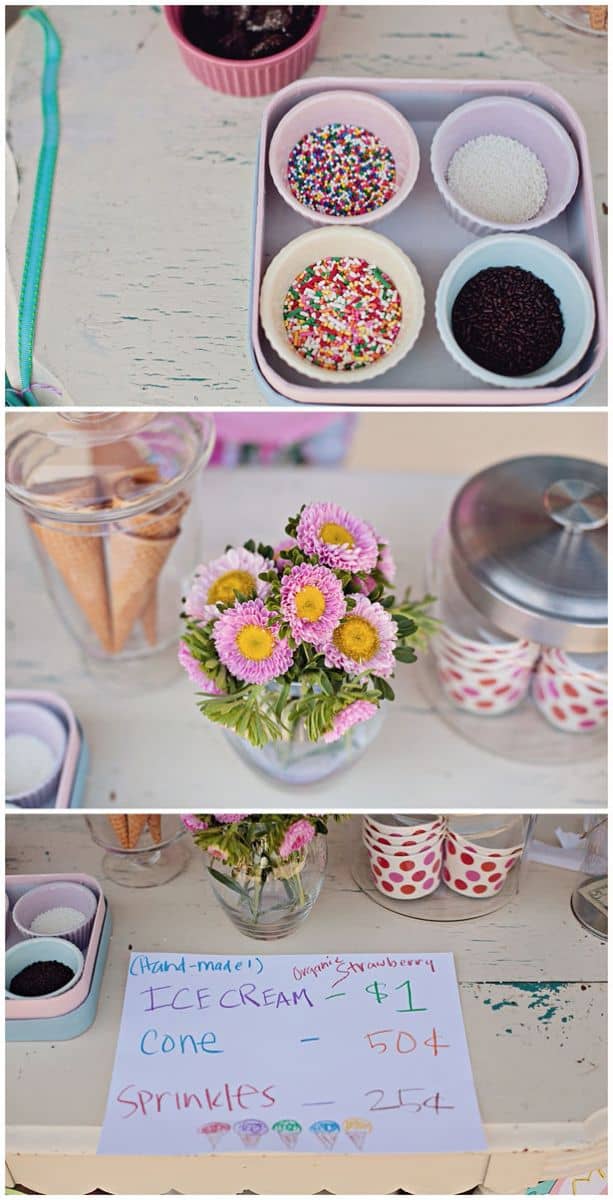
We made a cute sign letting people know what the flavor of the day was and made sure to let them know it was handmade, organic ice cream!
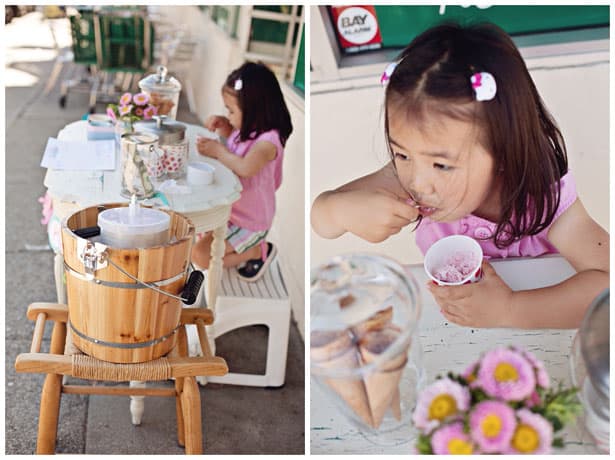
Of course there was lots of ice cream sampling in between waiting for customers.
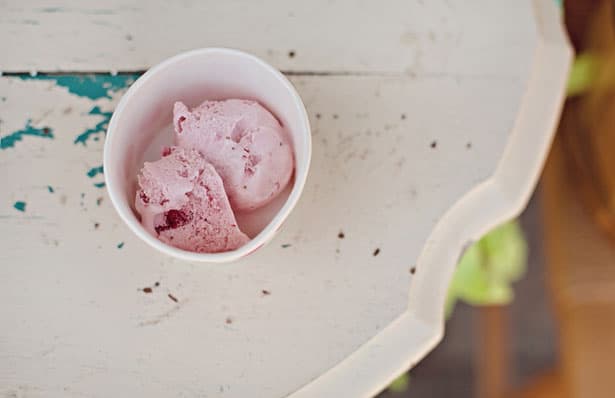
Even if you don’t make an ice cream stand, I would highly recommend making ice cream with your kids. It’s a fun and easy activity and this particular strawberry recipe takes advantage of fresh, seasonal fruit.
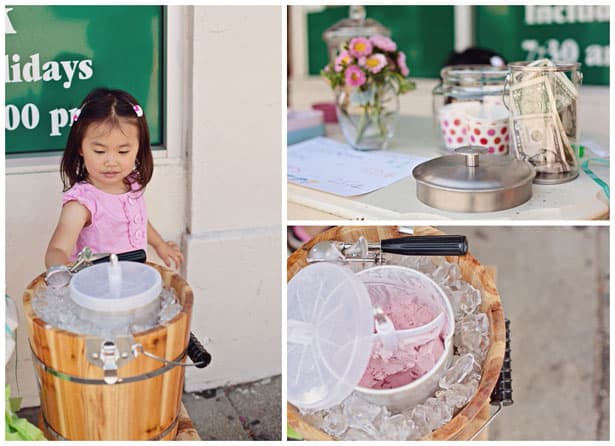
Make sure to bring ice to keep the ice cream cool!
.jpg)
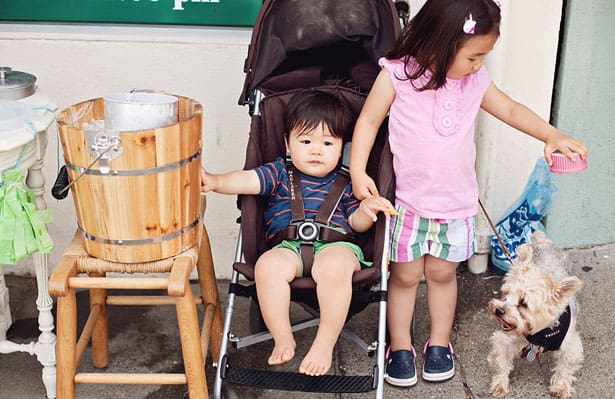
Here are baby brother and our furry pet visiting. (Just make sure to not dump ice cream over the dog!).
In less than an hour, we sold out of ice cream! Time to pack up and go. The response from neighbors was amazing and supportive. This was such a fun outdoor activity to do with the kids and a great lesson in business too! My daughter and I still talk about it all the time and can’t wait to do another stand this summer.
Have you ever set up a lemonade or any type of stand with your kids?