
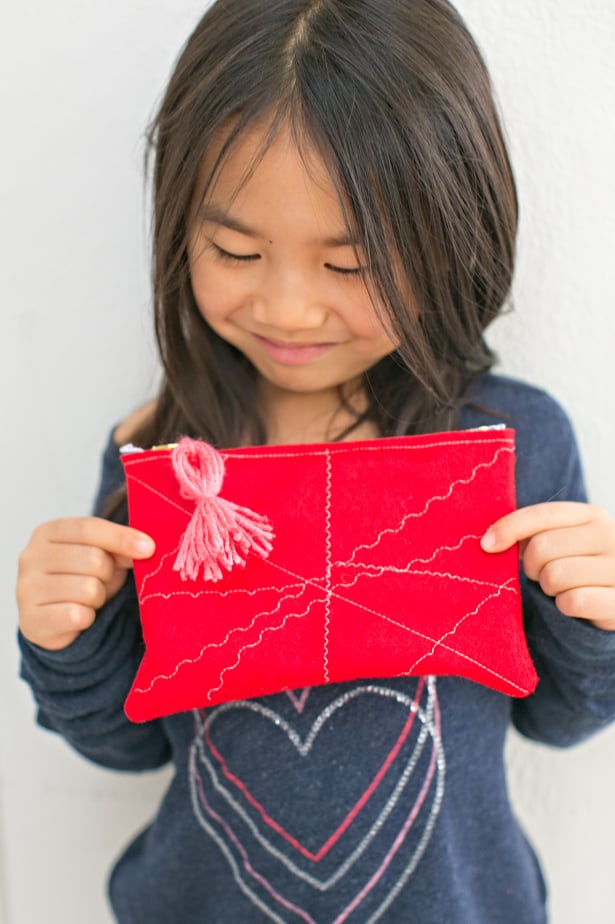
My daughter and I are learning how to sew together and it’s been fun coming up with kid-made sewing projects. Here’s an easy felt zipper pouch kids can make that also lets them experience how different stitches look by designing stitch patterns on the front!
.jpg)
Kid-Made Felt Zipper Pouch – Materials:
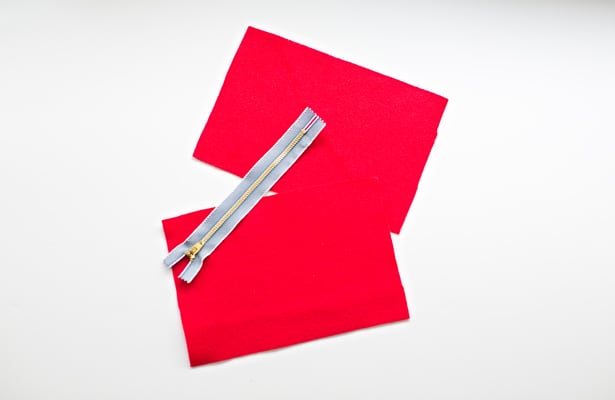
– One 7″ zipper
– Two pieces of felt cut along the width of your zipper. Make it as tall as you’d like. We cut out two pieces that were about 8.5″ wide x 6″ tall.
– Yarn (optional if you want to add a tassel)
*You’ll also need a sewing machine and zipper foot.
Instructions:
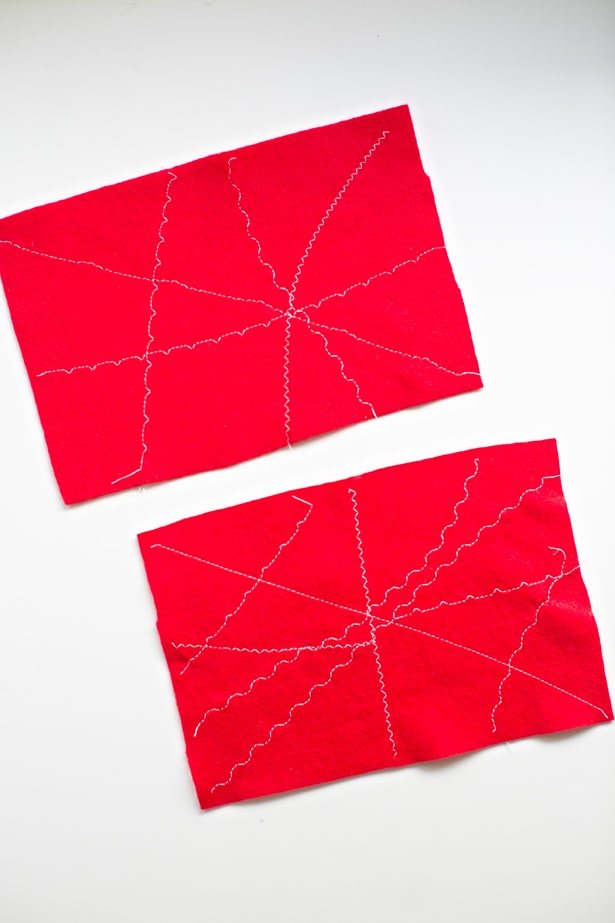
Step 1. Measure and cut out your felt pieces. If your child can handle scissors, allow them to cut. Let your child design “patterns” on the front of each piece with your sewing machine stitches. This is a great way for them to see how different stitches look like. We chose felt since it’s an easier fabric for beginner sewing as it’s stiffer than other fabrics.
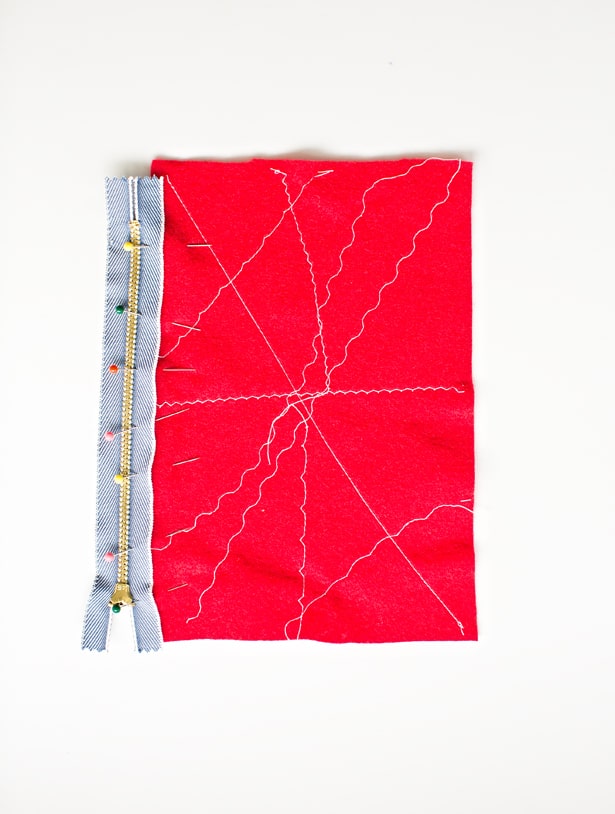
Step 2. Once your child places the stitch patterns on both felt pieces, lay the zipper side down next to the wrong side of one of the felt pieces. Pin and stitch straight down. I was able to do this with my daughter in front of me. She controlled the pedal and I guided her hand down the zipper as the needle was stitching. Make sure when you get to the part where the zipper is that you unzip it so it’s not bulky and hard to sew around. I’m definitely a beginner so here is a great zipper tutorial from MADE if you want to learn more about how to handle zippers.
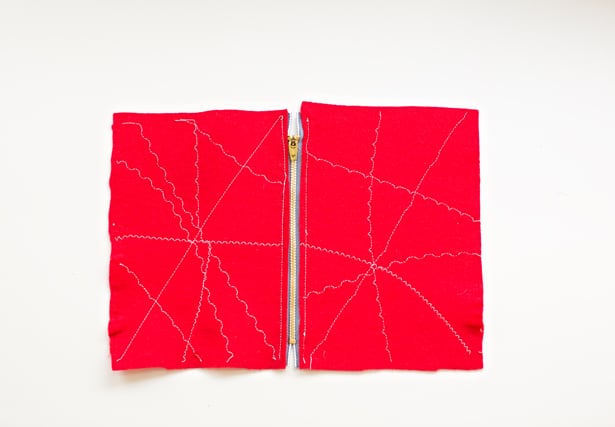
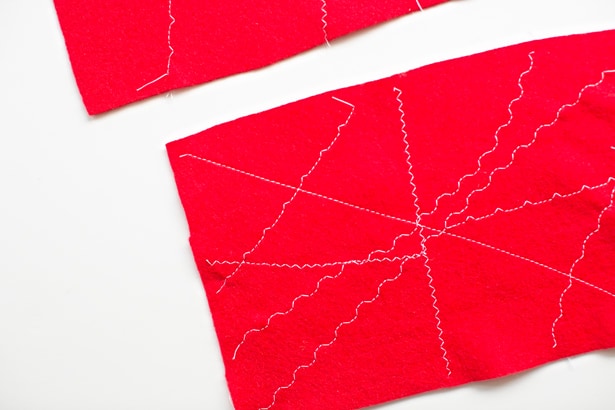
Step 3. Repeat what you did on step 2 with the other piece of felt. You should then have both pieces stitched to the zipper as shown above.
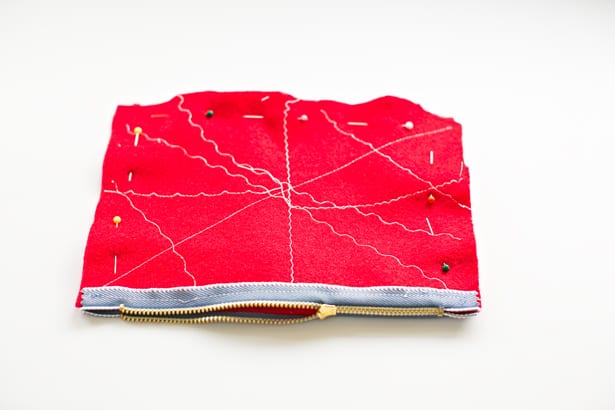
Step 4. Pin the wrong sides together and leave an opening at the zipper pouch (so you can later reverse it). Sew a straight stitch around the edges leaving a 1/4″ seam allowance. This is also something I was able to do with my daughter – her controlling the pedal and both our hands guiding the felt fabric.
Step 5. Trim the edges of excess fabric and clip the corners with scissors, making sure to not cut through the stitches.
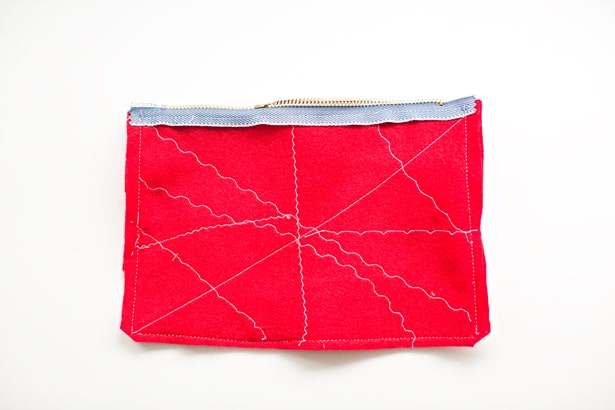
Step 6. Now the fun part. Reverse the fabric and you should have a zipper pouch!
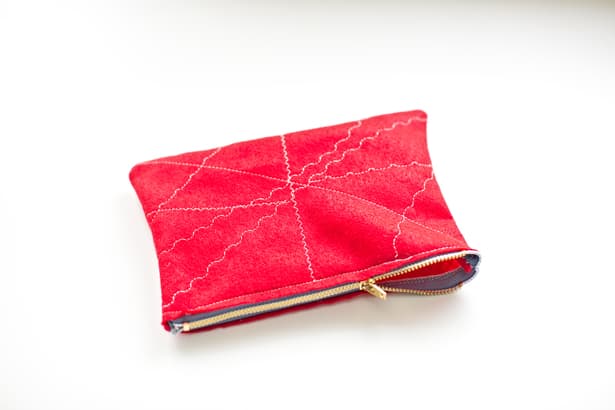
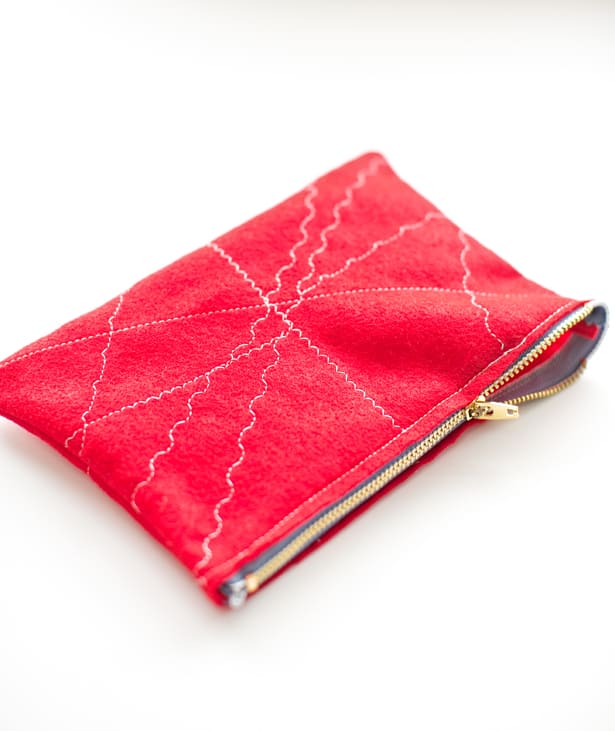
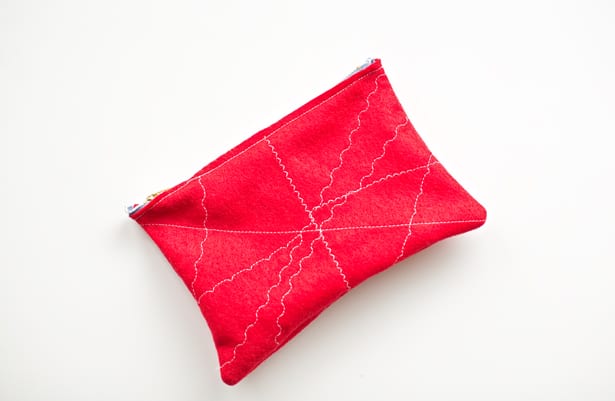
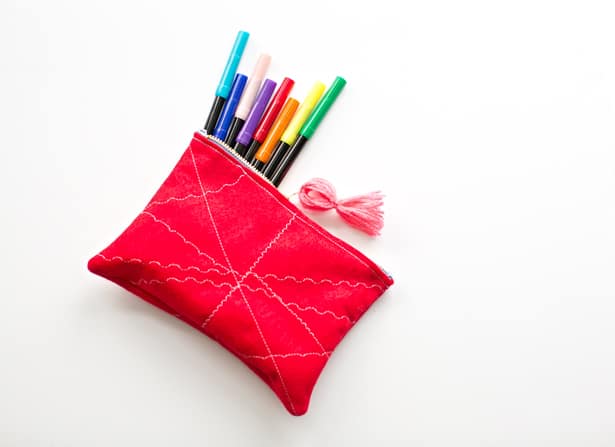
Aren’t the the stitch details pretty? My daughter was excited to see the “patterns” she created on her first zipper pouch.
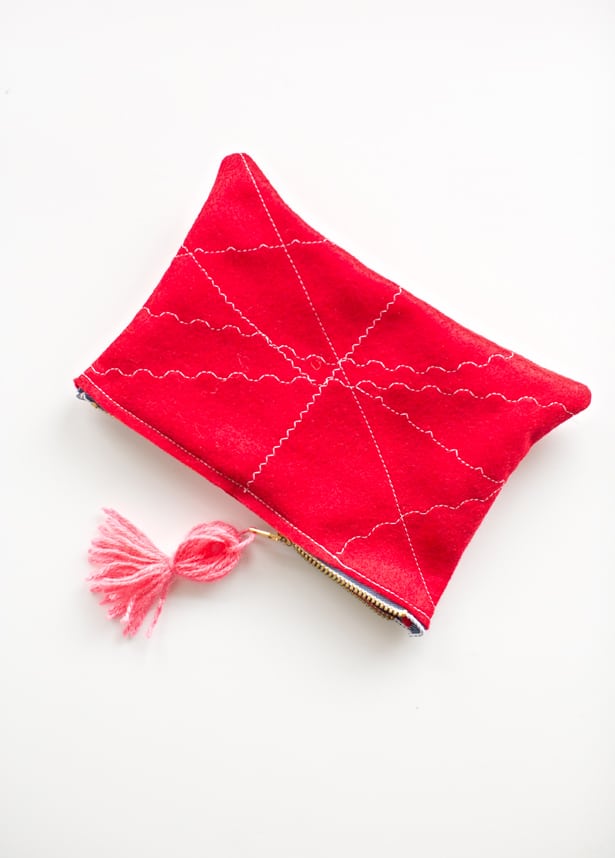
We decided the pouch needed an embellishment so we made a quick yarn tassel to attach to the zipper. This was just the bit of colorful fun the pouch needed.
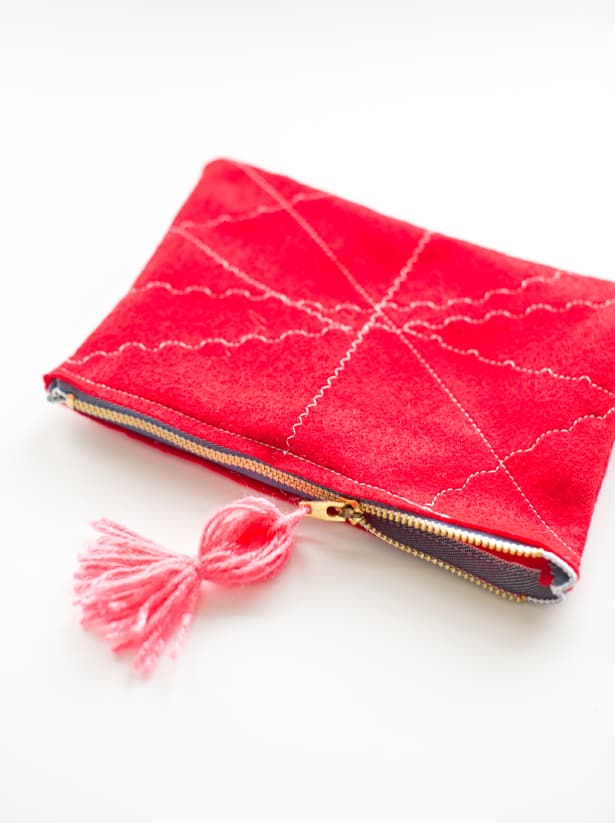
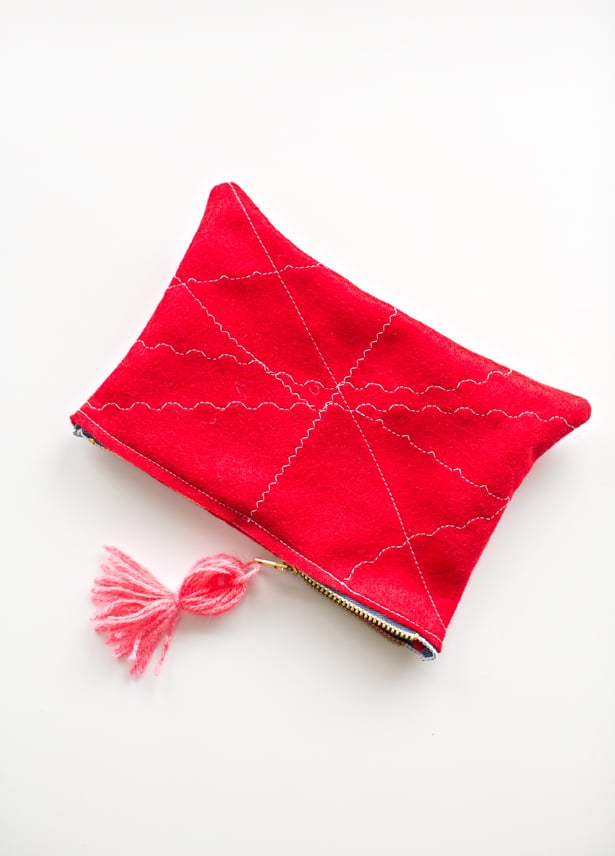
The pouch measures 7″ when finished and is perfect for stuffing with your kid’s many pens, markers and crayons.
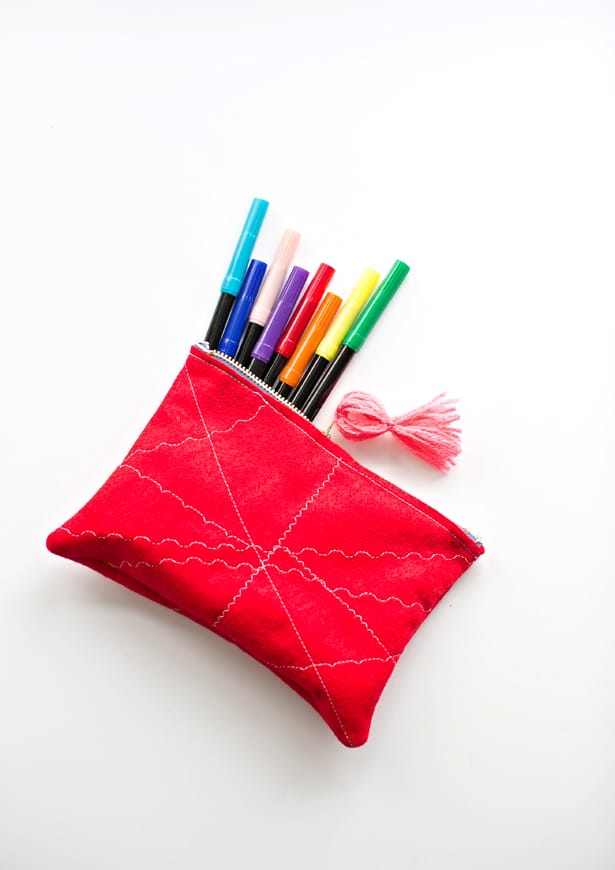
This felt zipper pouch is a fun beginner sewing project for kids. No two will be alike with the endless possibilities of stitched patterns they can create. We can’t wait to make more with other bright felt colors! They would make wonderful handmade gifts from kids.
Do you enjoy sewing with your kids? What are some of your favorite projects to stitch with them?
Take a look here for more creative projects to make with kids.


Agnes Hsu is a mom of three and has been inspiring parents and kids to get creative with easy activities and family friendly recipes for over 10 years. She shares her love for creative play and kids food to her 2MM+ followers online. Agnes' commitment to playful learning and kindness has not only raised funds for charity but also earned features in prestigious nationwide publications.