
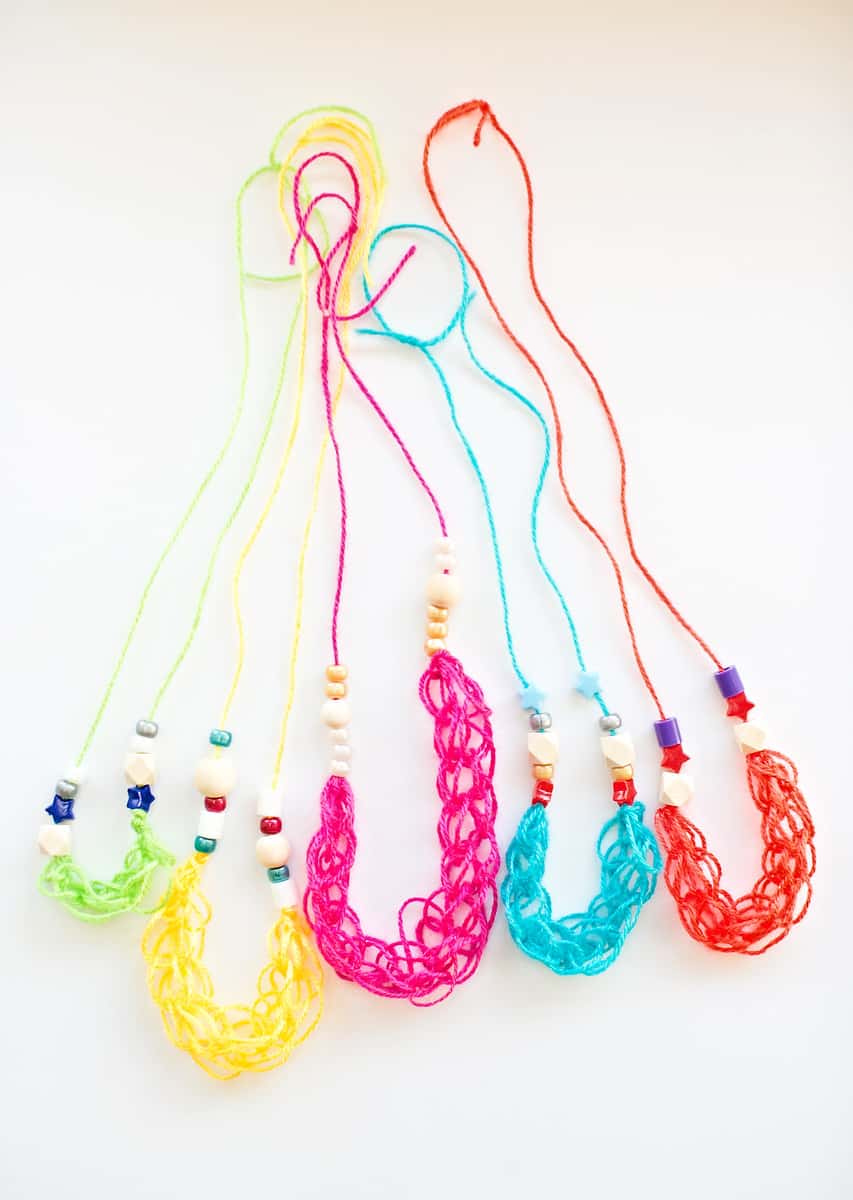
KID-MADE BEADED FINGER KNITTING NECKLACES
My daughter recently came home from school excited to show me something new she learned from her friends – finger knitting! She’s been doing it nonstop with scraps of leftover yarn we have at home. We decided to take her newfound skills and make these bright and colorful beaded finger knitting necklaces. Read more below on how simple and fun these are to make!
Kid-Made Beaded Finger Knitting Necklaces – Materials:
– thin colorful yarn like this
– beads (we used a combination of these colorful beads, stars, and wooden beads)
Instructions:

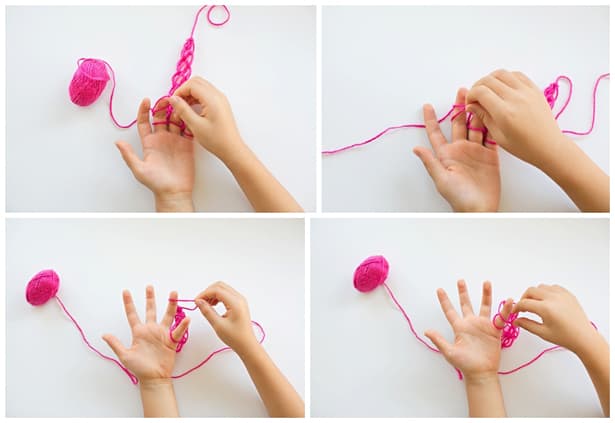
How to Finger Knit – follow the steps below by referencing the photos from left to right:
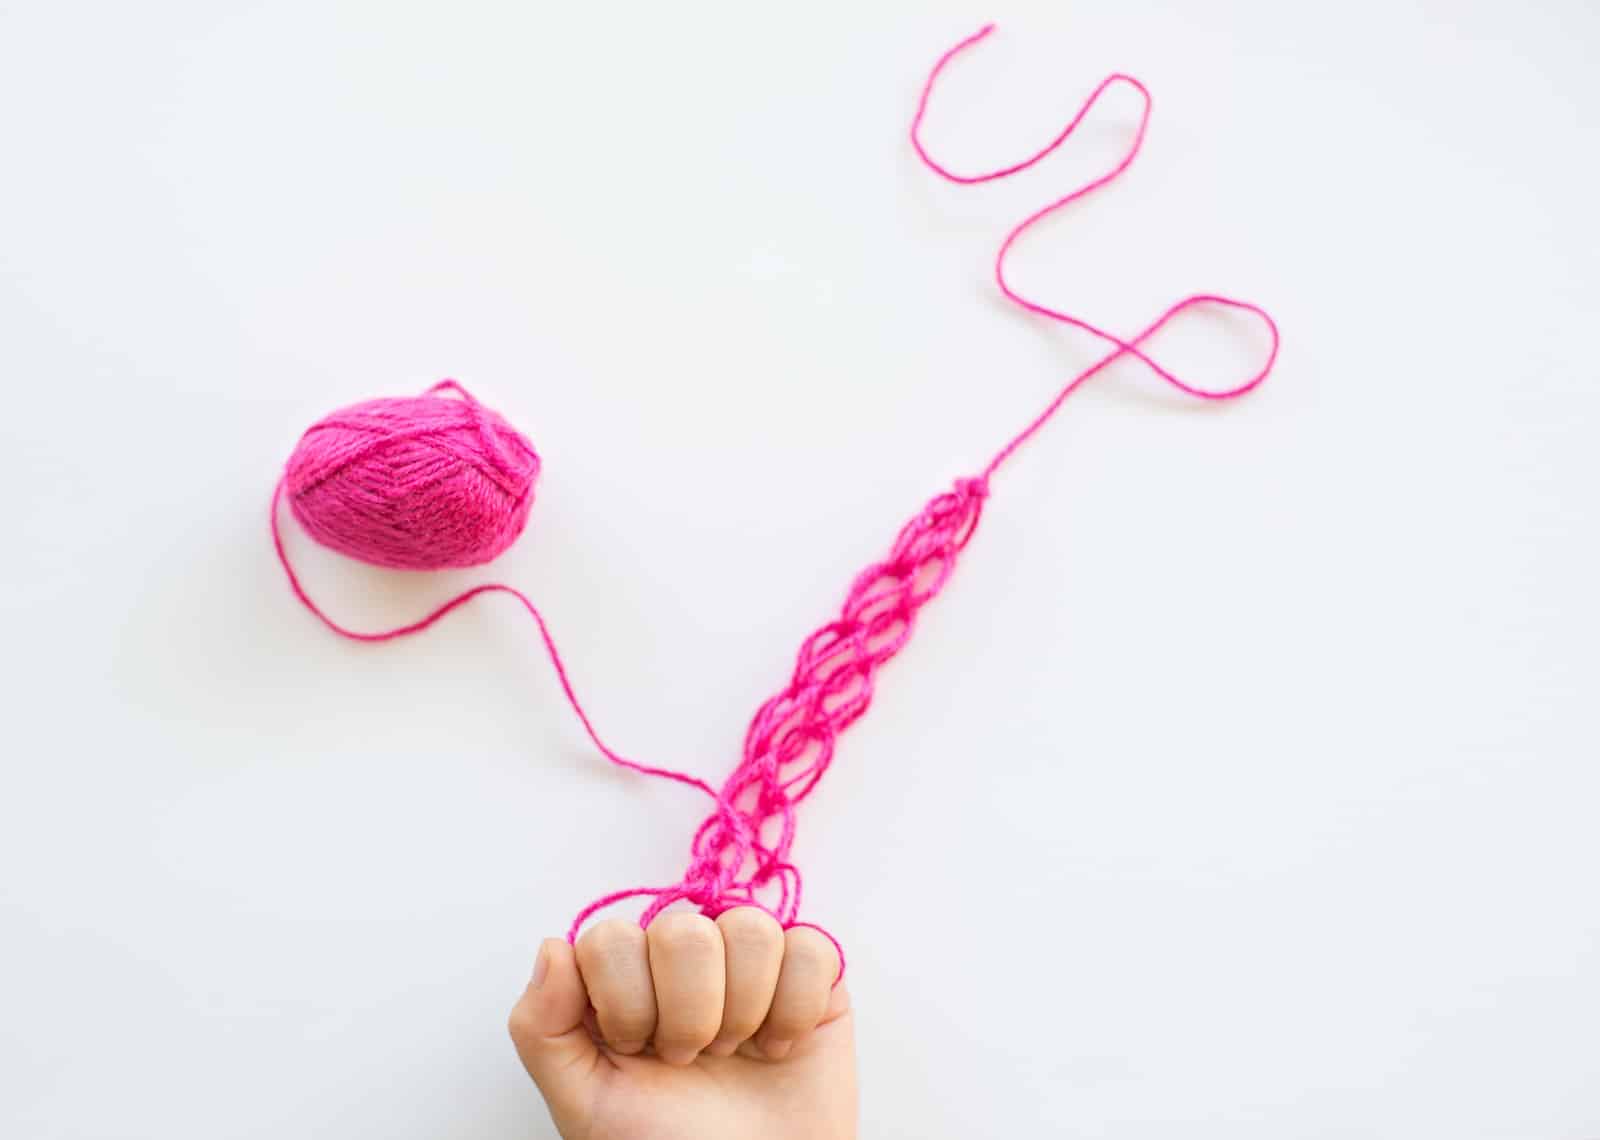
1. Wrap the yarn as shown across one hand from left to right. Leave the tail hanging and keep in mind the tail will dictate how long one end of your necklace will be.
2. Loop the yarn as shown to the other end of your hand – from right to left.
3. Loop the yarn through your fingers again from left to right.
4. And again loop once more from right to left.
5. Starting with your index finger, take the bottom loop and pull it through the second loop.
6. Do this with all remaining fingers.
7. Thread the yarn from left to right through the fingers again, as shown.
8. Go back from right to left again as show.
Repeat what you did on step 5 – starting at the index finger and pulling the bottom loop through the top loop. Repeat steps 6, 7, 8.
You will start to see your knitting pattern as show above. Stop depending on how long you want your knitted pattern to be on the necklace.
How to finish of your finger knitting – follow the steps by referencing the photos above from left to right.
1. Move the loop from your index finger to your middle finger.
2. Then move the bottom loop in your middle finger over the second loop.
3. Move the remaining single loop in your middle finger over to the ring finger. Like you did on step 2 move the bottom loop over the top loop.
4. Move the remaining loop on your ring finger over to your pinky finger. Like the previous steps move the bottom loop over the top one, but this time, hold the loop open, snip off the yarn and thread it through to make a knot (as shown below). Pull tight.
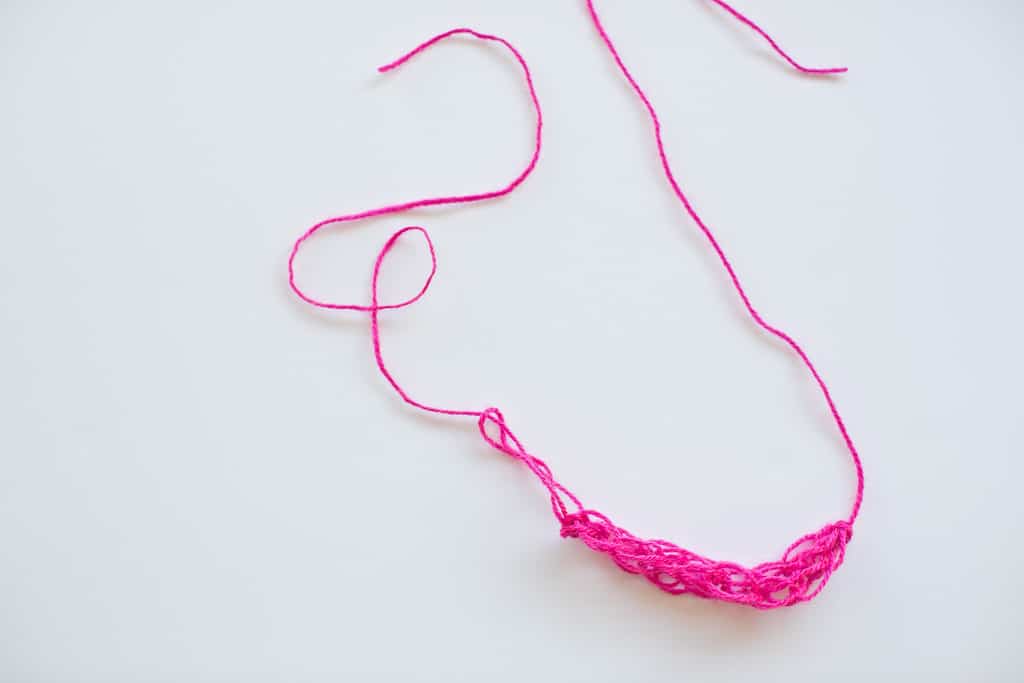
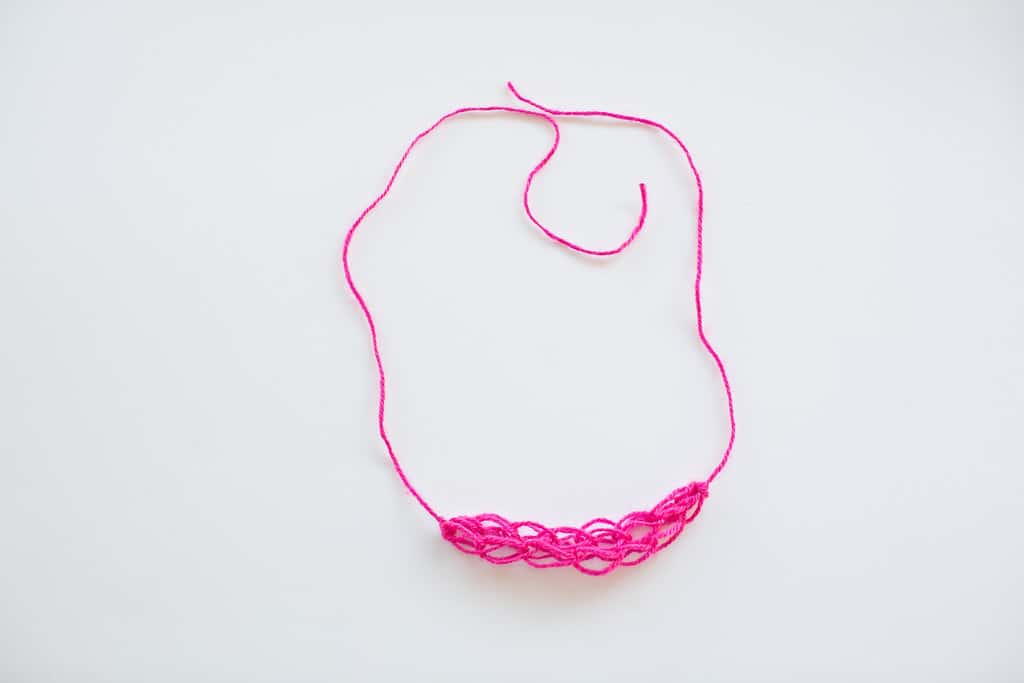
Now you have a finger knitted necklace to start beading!

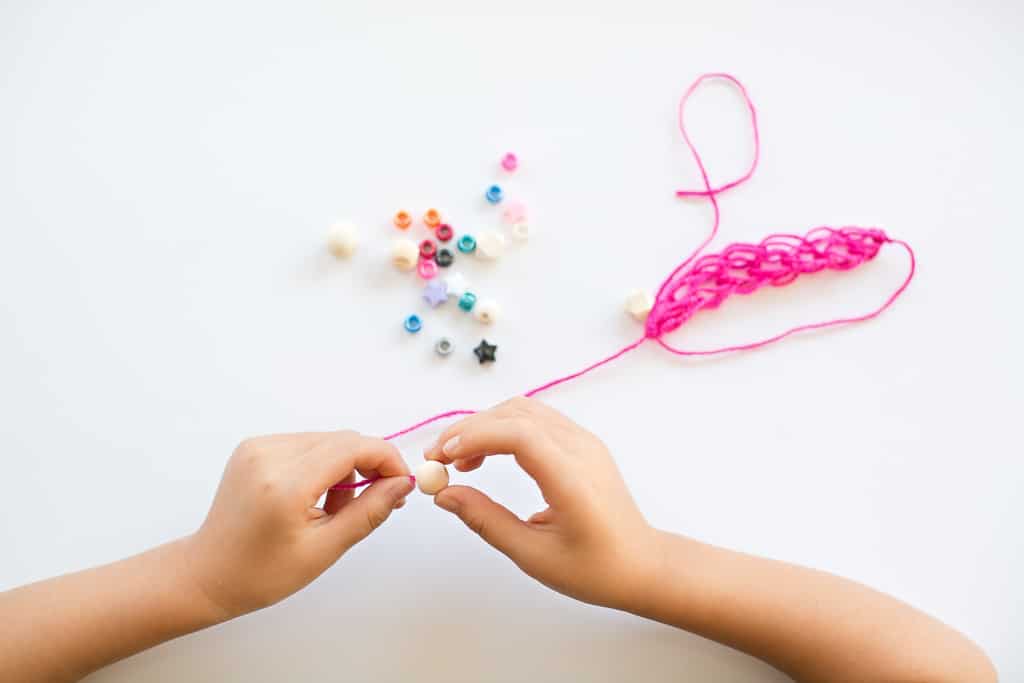
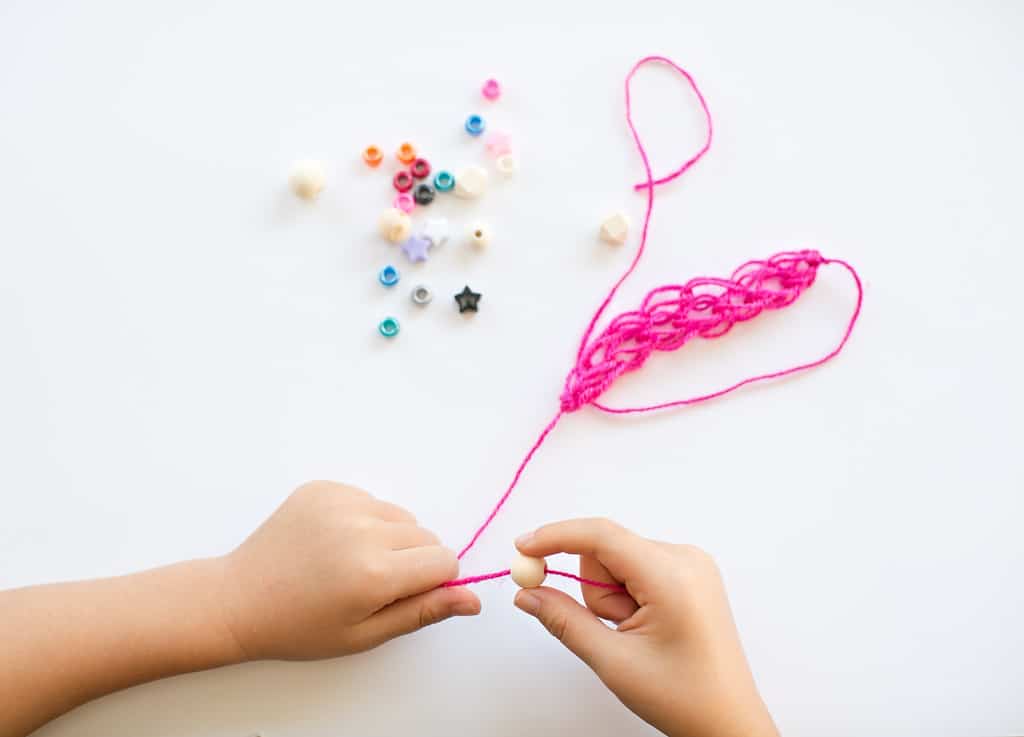
Lay out beads and have your child make fun patterns to thread through.
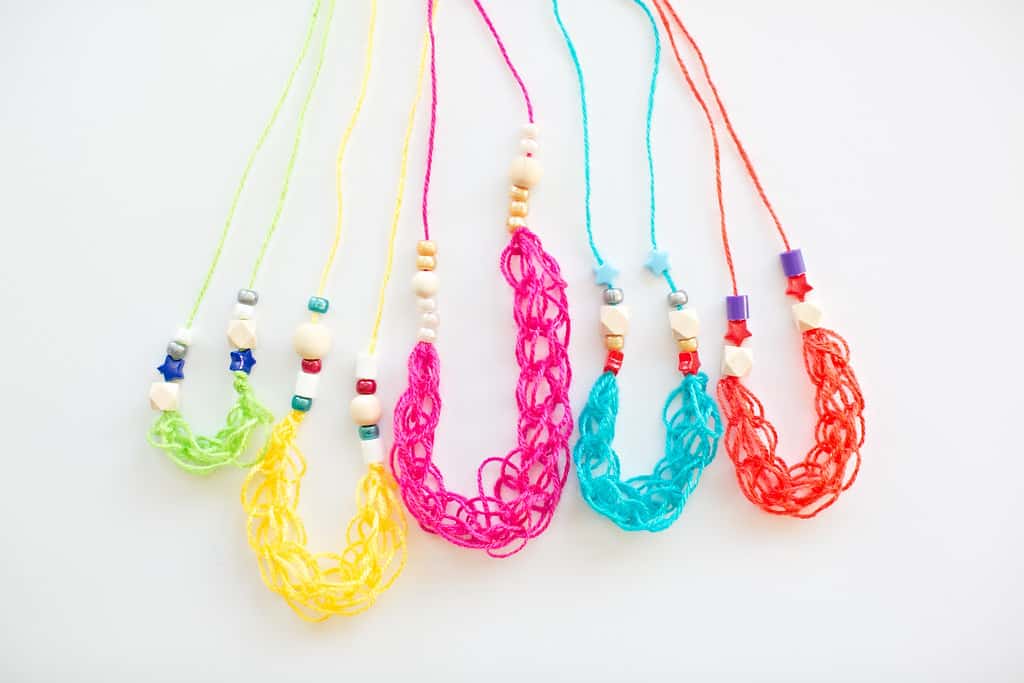
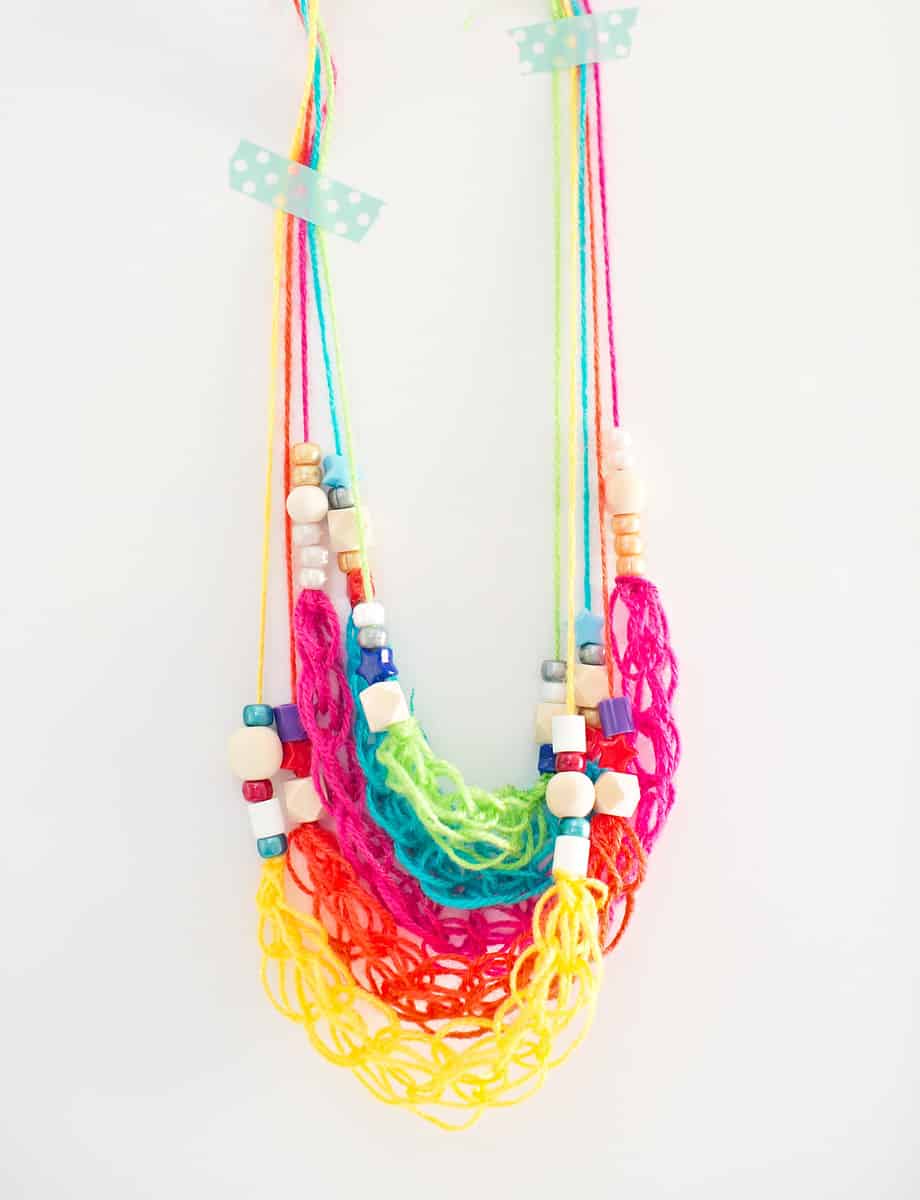
Here are the ones my daughter made. Colorful yarn make these fun necklaces stand out!

Have you ever tried finger knitting? It’s fun, addicting and an easy activity for kids to try!
Check out more colorful jewelry kids can make here or more creative crafts for kids.
______________________________________________________________________________________________________
Disclosure: Some of the links in the post above are “affiliate links.” This means if you click on the link and purchase the item, we will receive a small affiliate commission. Regardless, we give our promise that we only recommend products or services we would use personally and believe will add values to our readers.


