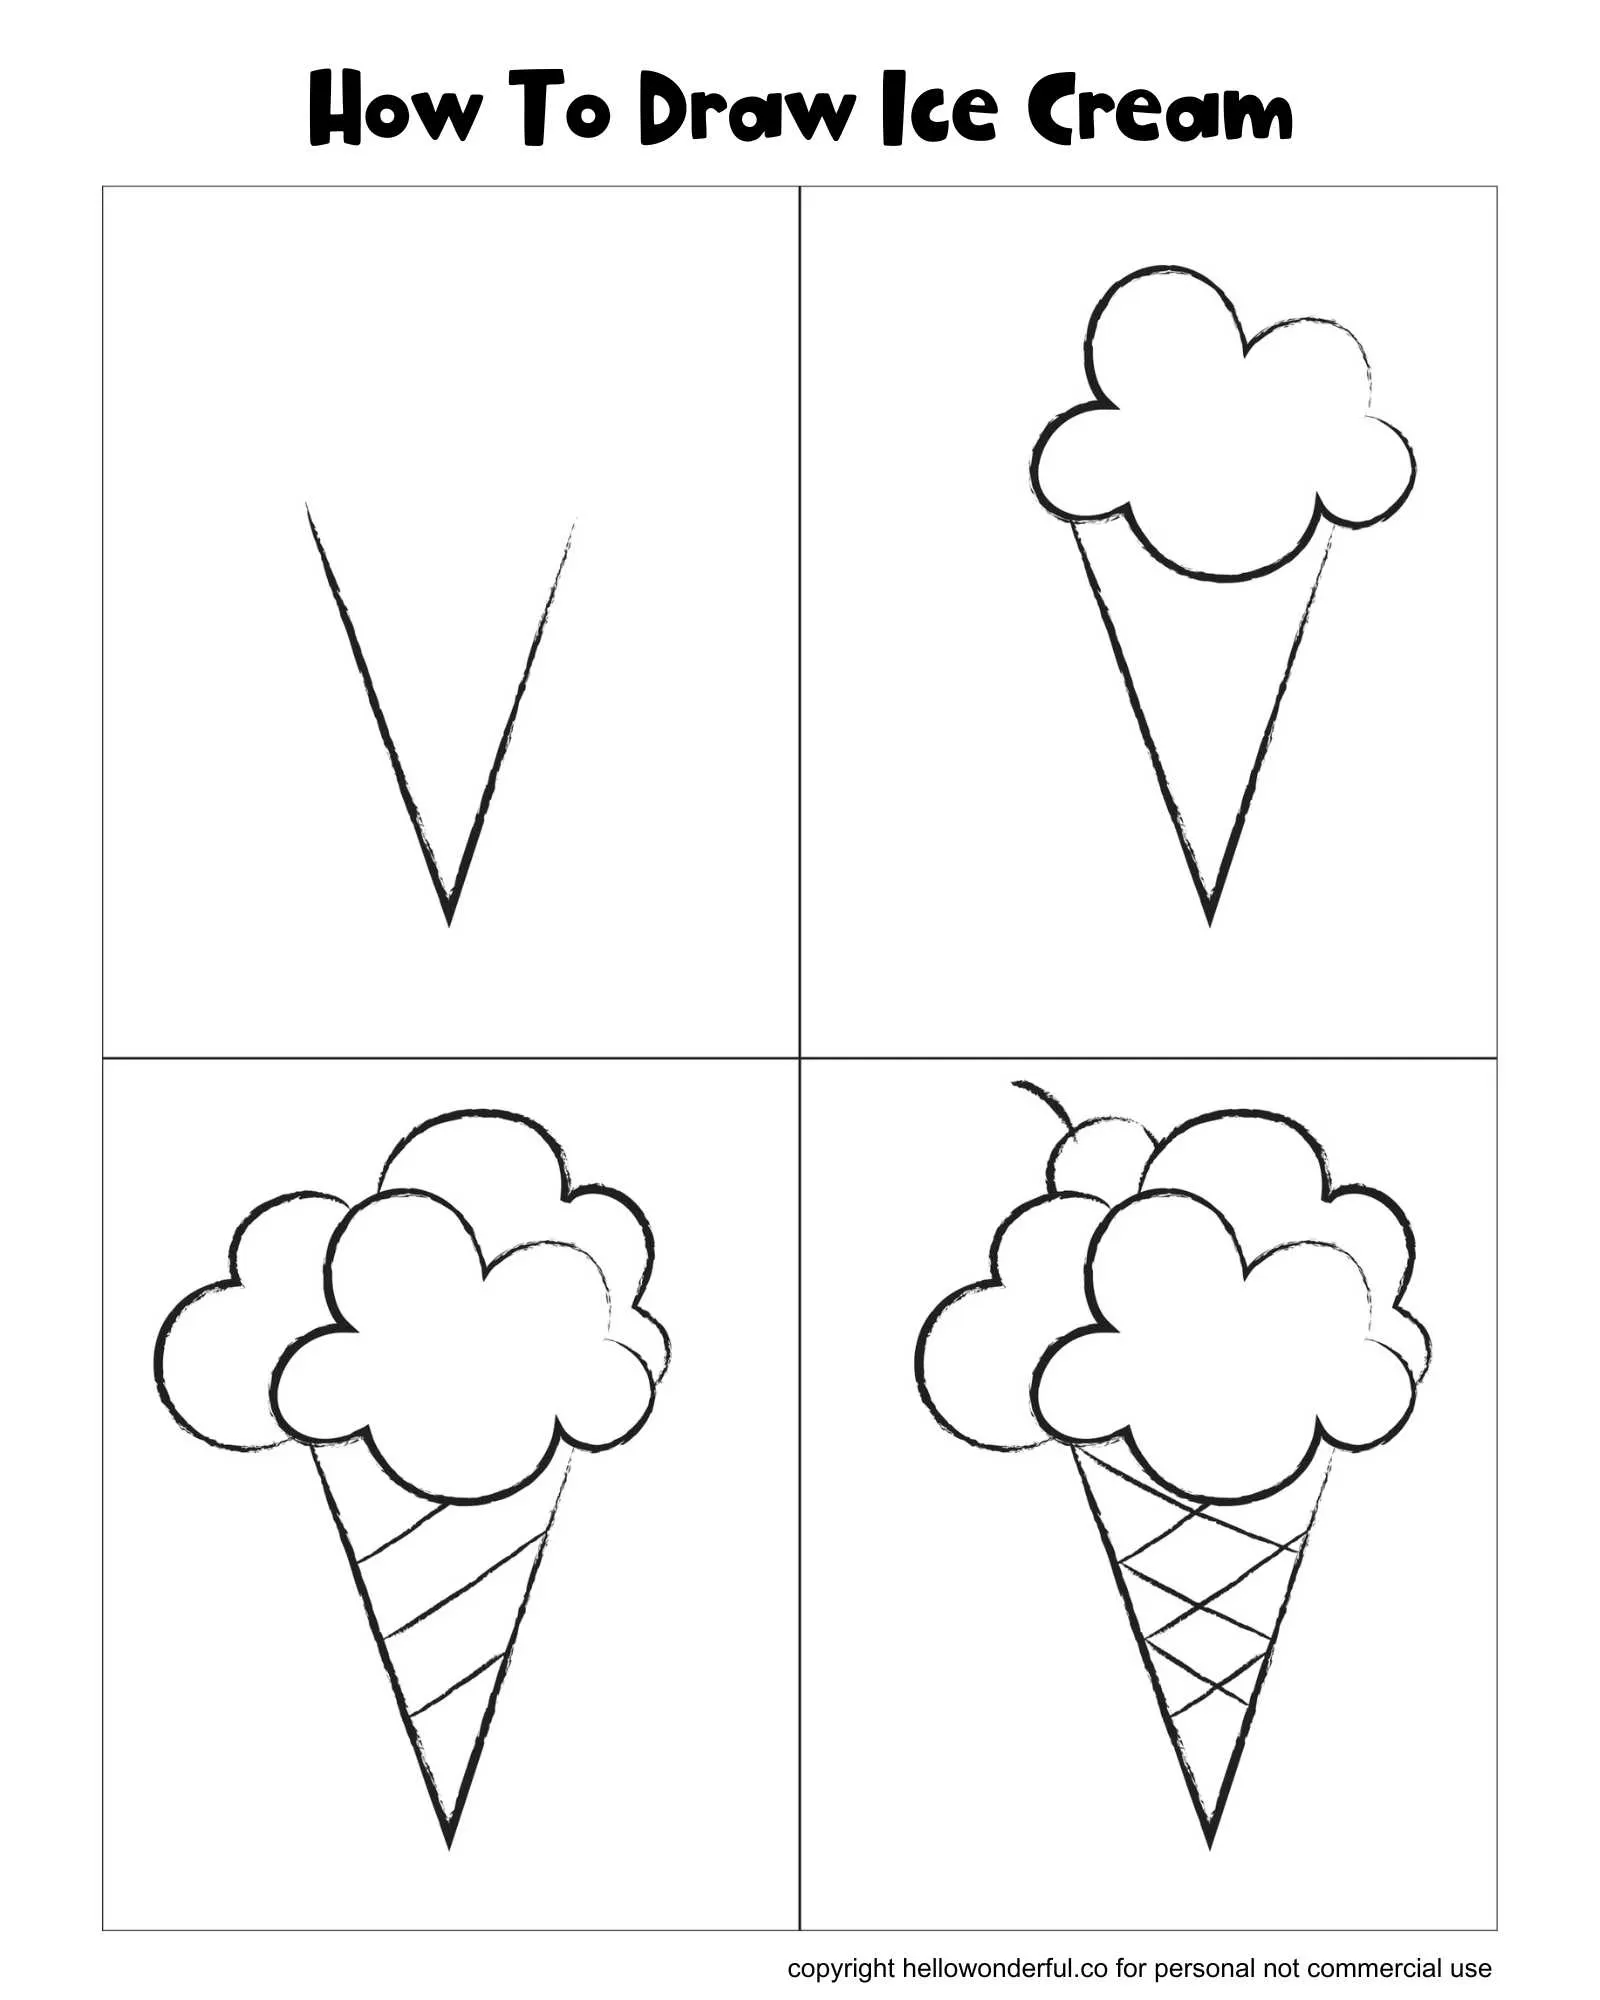
How to Draw an Ice Cream Cone in 4 Easy Steps (Free Printable Included!)
Looking for a fun and simple drawing activity? This step-by-step guide will show you how to draw an adorable ice cream cone — perfect for kids and beginners alike! Grab a pencil, and don’t forget to download our free printable guide you can color in after you’re done!
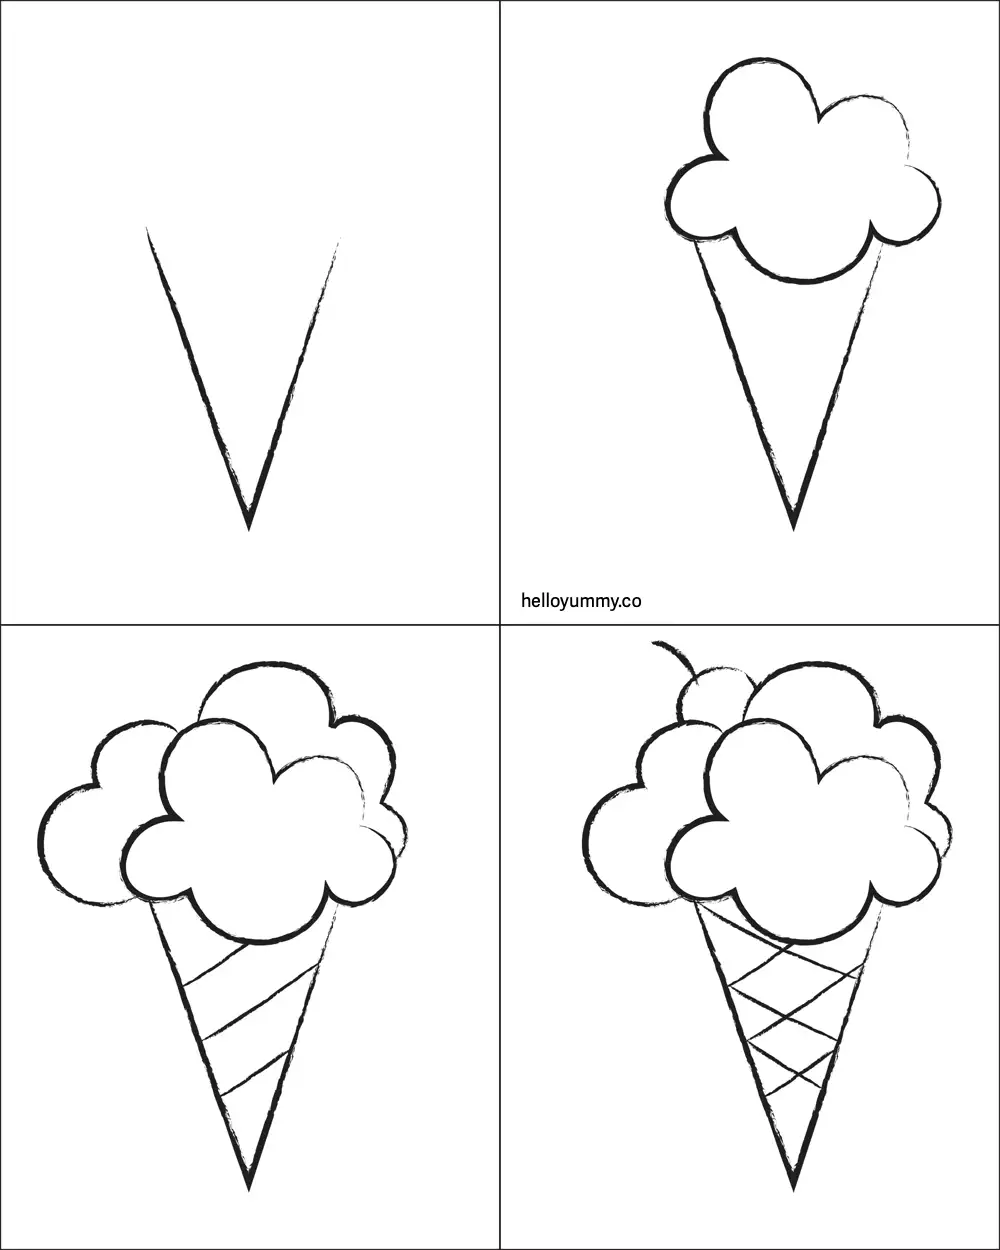
How to draw an ice cream cone – step by step
Step 1: Draw the Cone
Start by drawing a large “V” shape for the cone. This will be the base of your ice cream.
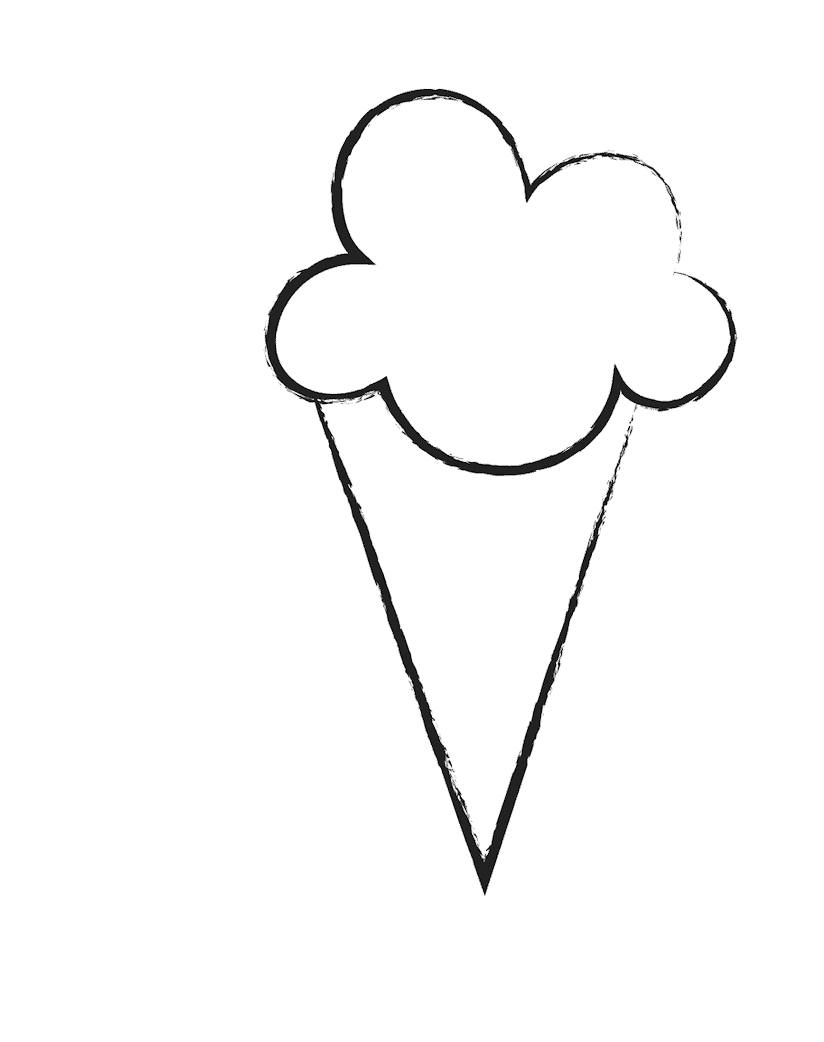
Step 2: Add the Scoop
Draw a fluffy cloud-like shape on top of the cone. This is your first scoop of ice cream!
Step 3: More Scoops + Cone Texture
Add more cloud shapes behind the first one for extra scoops. Then, draw diagonal lines on the cone to create a waffle texture.
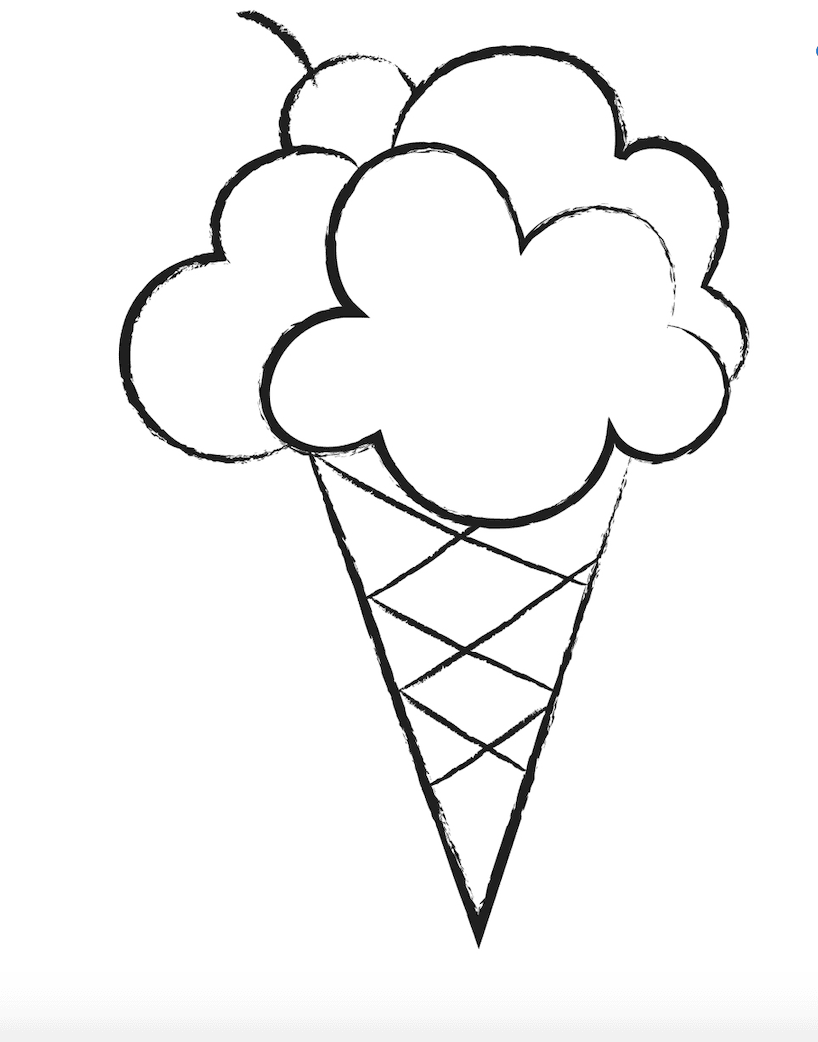
Step 4: Add Details
Finish with a cherry on top and crosshatch the cone for that classic waffle look. You’re done!
Tips for making this drawing extra fun
Want to take this drawing project to the next level? Try using crayons, colored pencils, or watercolor paints once the outline is done. You can also encourage kids to add their favorite toppings like sprinkles, chocolate chips, or candies. This activity is perfect for summer break or a small creative break.
Agnes Hsu is a mom of three and has been inspiring parents and kids to get creative with easy activities and family friendly recipes for over 10 years. She shares her love for creative play and kids food to her 2MM+ followers online. Agnes' commitment to playful learning and kindness has not only raised funds for charity but also earned features in prestigious nationwide publications.