
.jpg)
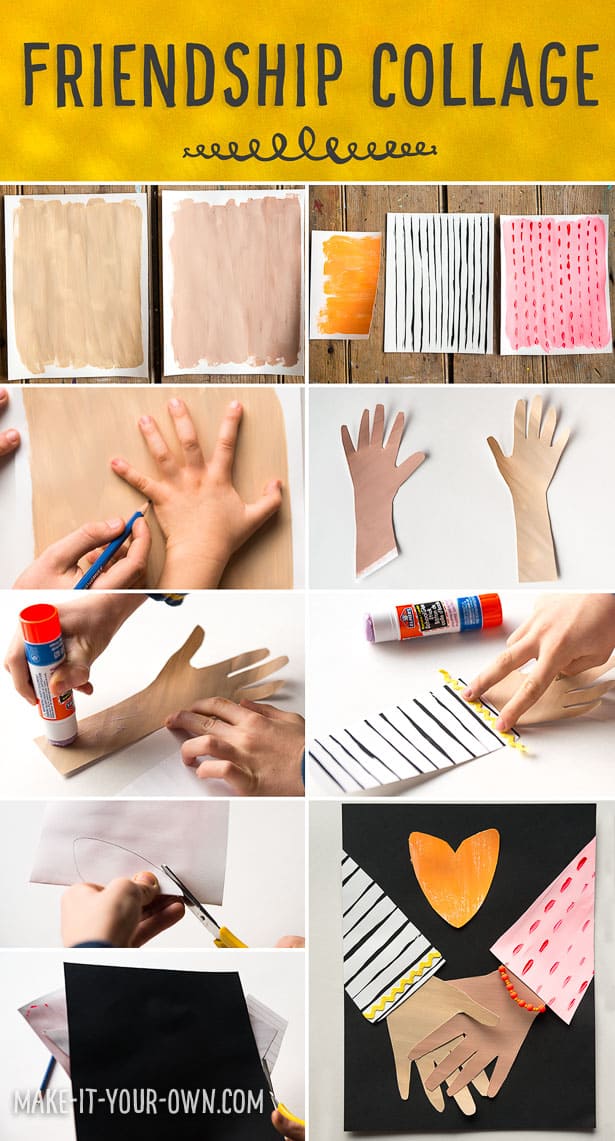
Make a Friendship Collage to celebrate friendship! This makes wonderful collaborative artwork among friends, or a school classroom project idea.
Materials
.jpg)
- Cardstock (We used white and black, but use colours that appeal to you!)
- Pencil/eraser
- Paint (skin tones and colors for the clothing)
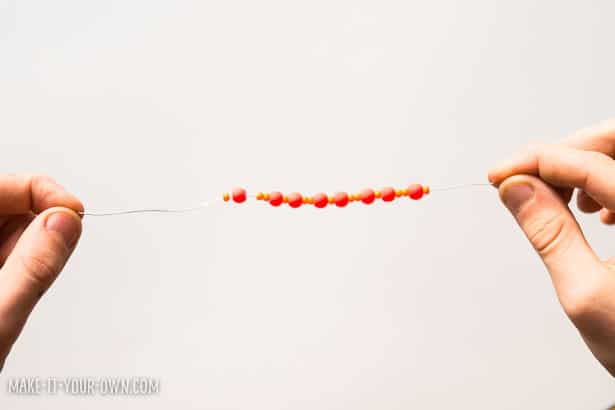
- Embellishments (we used a bit of rick rack and beads on craft wire, but use what you have)
- Glue
- Paint tray
- Paint brushes
We always find these items helpful too:
.jpg)
- Smock
- Craft tray
Directions
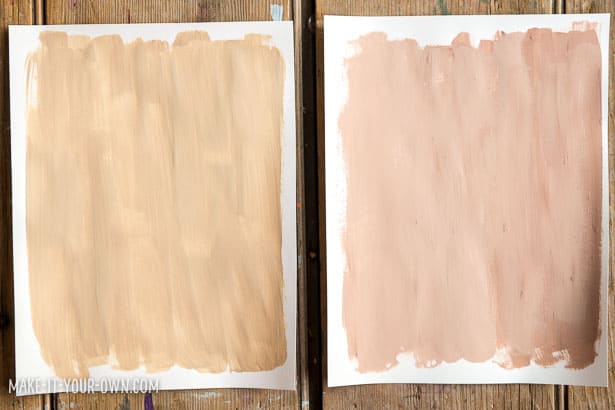
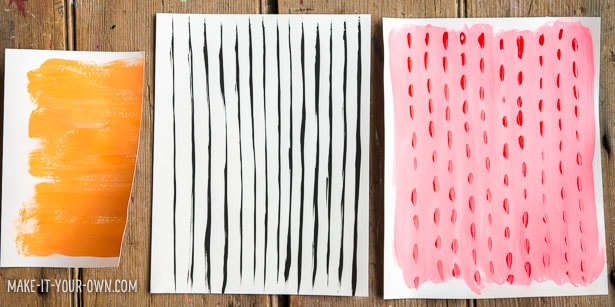
- Don your smock. Paint two pieces of your white cardstock with yours and your friend’s skin tones. Paint your other papers with the colours and patterns for your clothes. My daughter was learning about tints at school so we painted the background of one shirt with a bit of white added and then added the pattern with the same colour, the original tint. (It is easy to sneak in these mini lessons into projects and talk how that they might be used in the design of actual clothing.). This is a time to experiment with different types of lines, patterns and shapes, making your clothing unique. Allow your painted paper to dry overnight.
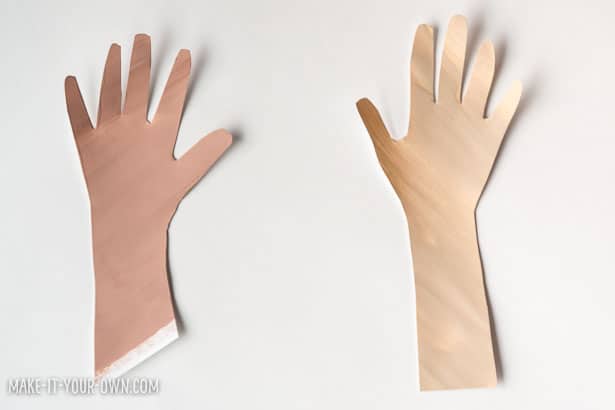
- Trace your friend’s hand on one of the skin tone pieces of paper and have them trace your hand and your arm up to your elbow on the other. Be sure to use light lines and cut inside of them so that they don’t appear on the final piece.

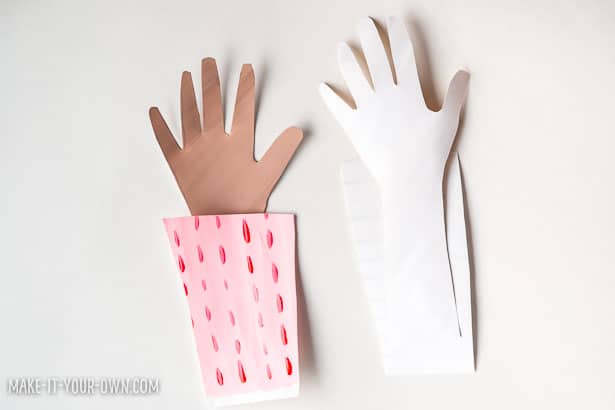
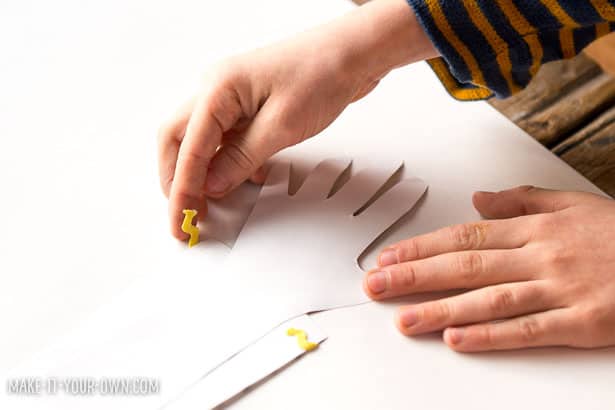
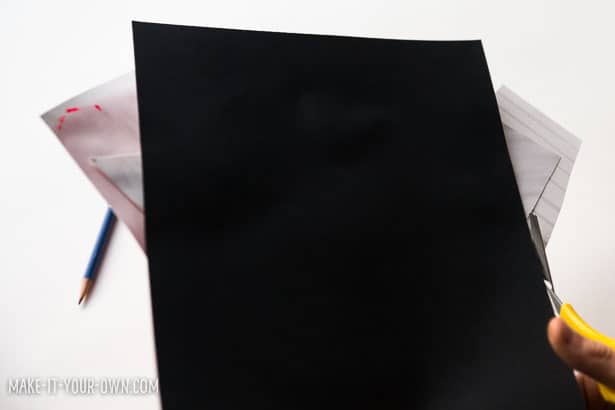
- Flip your hand upside down and create a shirt around it. You will want to have a space of about 2.5 cm/ 1 inch around the edges. Line this up on your final piece of paper making sure it reaches the edges- we chose black to make you and your friend really stand out!
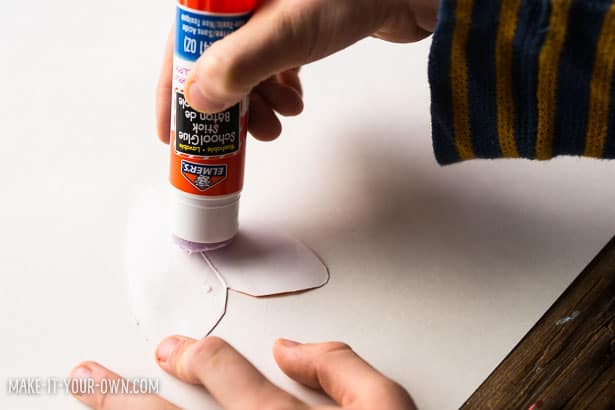
- We decided to add some embellishments- a bracelet made with wire and beads and some rick rack trim. Glue these pieces on and then glue on your arm/shirts. It is good for them to go off the edge and then flip your paper and trim the edges- this makes for a polished finish.
.jpg)
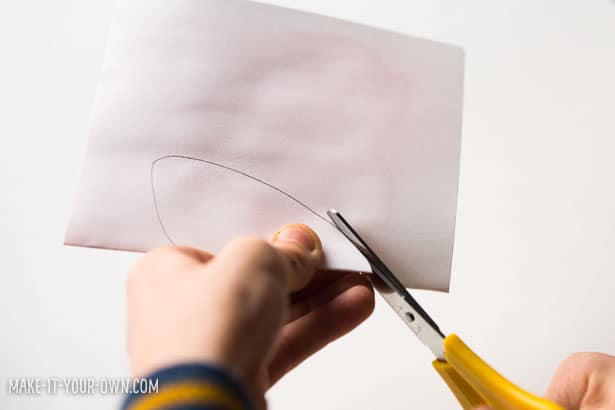
- Cut out a heart if your like. A simple way to do this is to fold it in half and then form half of your heart- when you unfold it, it will be symmetrical! Glue it between your hands. Give it to your friend!
.jpg)

Purpose
- Create using different types of lines and patterns.
- Celebrate friendship.
Safety Notes
- We suggest that you wear a smock and use a craft tray to protect your clothing and surfaces.
- Use scissors with care and adult supervision.
- Cord, yarn, wire etc. can be a strangulation hazard, therefore be sure to use with direct supervision and for its intended purpose.
- Beads can be a choking hazard, therefore be sure to keep them out of the reach of children ages 0-3 years of age or those that tend to put things into their mouths.
(1).jpg)
Make it Your Own is a Canadian children’s website. We hope to inspire educators and families with projects to do together, explorations of various mediums and techniques and to get out into nature to source supplies. We love re-imagining items and thinking of new ways to share children’s artwork. We are often described as “an educational mom, a digital dad and their three mini-makers.
______________________________________________________________________________________________________
Disclosure: Some of the links in the post above are “affiliate links.” This means if you click on the link and purchase the item, we will receive a small affiliate commission. Regardless, we give our promise that we only recommend products or services we would use personally and believe will add values to our readers.


Agnes Hsu is a mom of three and has been inspiring parents and kids to get creative with easy activities and family friendly recipes for over 10 years. She shares her love for creative play and kids food to her 2MM+ followers online. Agnes' commitment to playful learning and kindness has not only raised funds for charity but also earned features in prestigious nationwide publications.