WATERCOLOR DIPPED PAINTED EASTER EGG ART PROJECT
DIPPED PAINTED EGGS
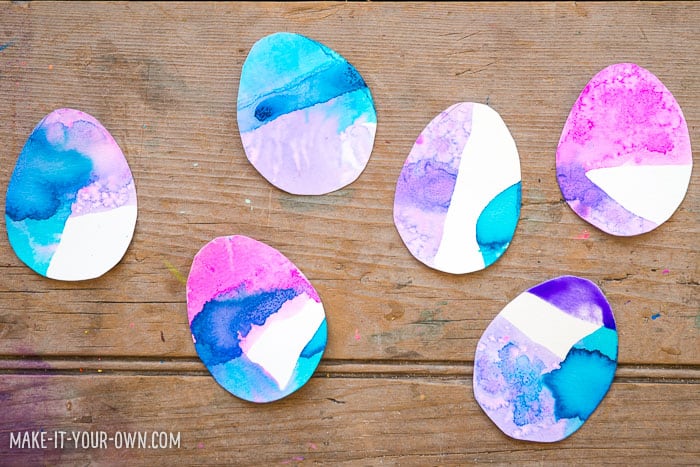
Rather than applying the paint to the paper we dipped the paper into the paint! This is an activity that is accessible to many age groups and who isn’t excited for spring!?
Materials
Painting Supplies
- Liquid watercolours
- Watercolour paper or something a bit thicker like cardstock
- Water
- Egg cookie cutter
- Pencil/eraser
- Scissors
- Salt (Optional, but currently a favourite!)/ Stiff bristled paint brush (to take off any excess salt)
- Gold paint
Lacing Supplies

- Scissors
- Beads
- Twine
- Hole Punch
We always find these items helpful too:
.jpg)
- Smock
- Craft tray
Directions
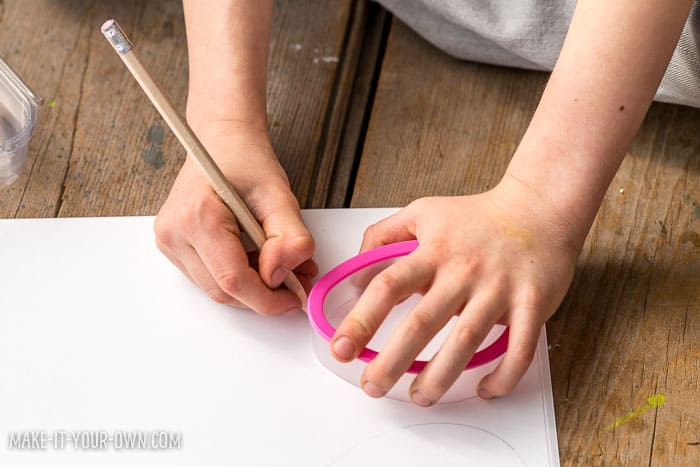
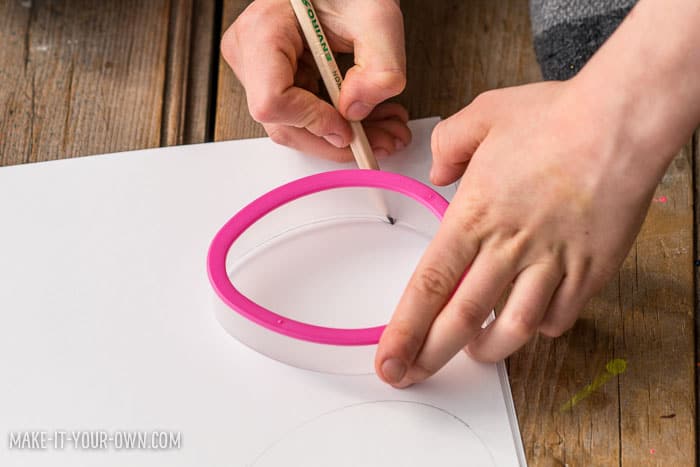
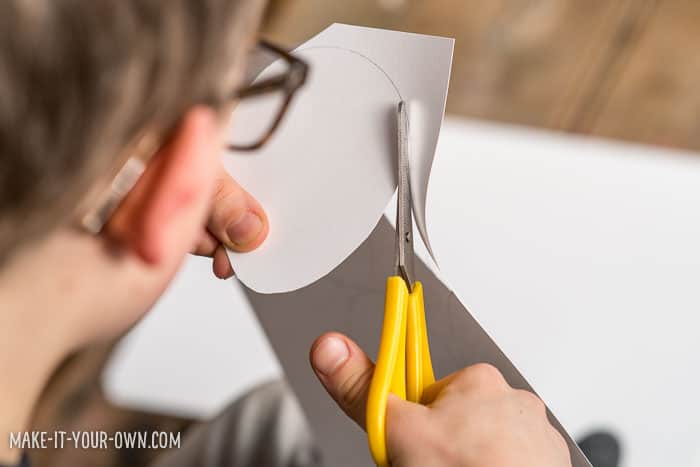
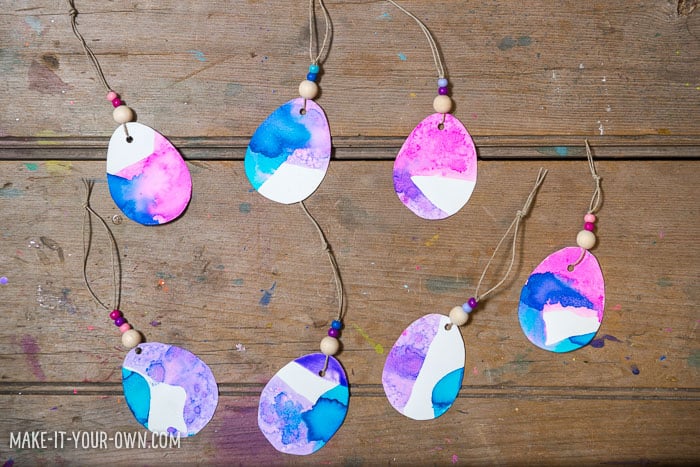
- Trace around the exterior or interior of your cookie cutter to make your egg shapes. Cut them out.
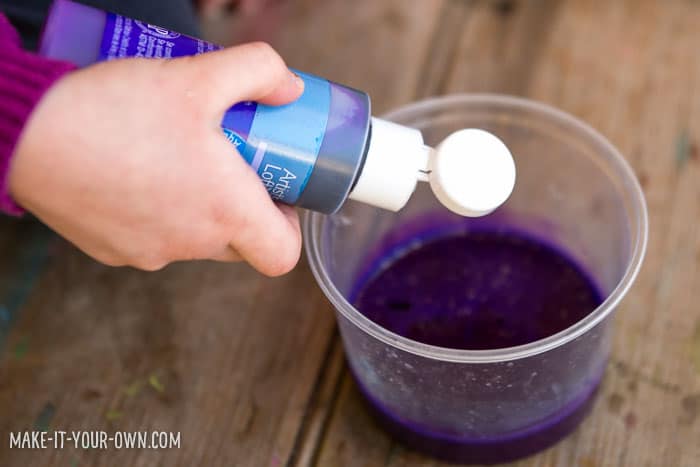
- Don your smock. Dilute your watercolour paints according to the directions, in your containers. We found that between 2.5 cm (½ an inch) and 5 cm (2 inches) was enough for the depth of the paint (To dip into). Our daughter added a bit of glitter paint for a little sparkle!
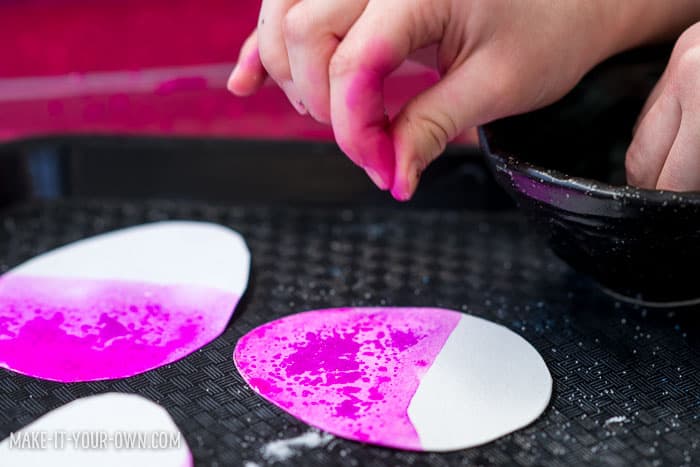
- Dip your paper eggs into the paint. You can either then dip it into other colours in succession or allow them to dry in between each color.
.jpg)
- We then sprinkled a bit of salt onto the wet eggs which leads to a beautiful effect. (You may find that different types and brands of salt work better than others- it is experiment to find out what works best on the type of paper that you used!)
- Allow to dry overnight. Using your paintbrush, brush off the excess salt.
- If you find that your eggs have curled, simply place them under a large pile of books overnight to flatten them out.
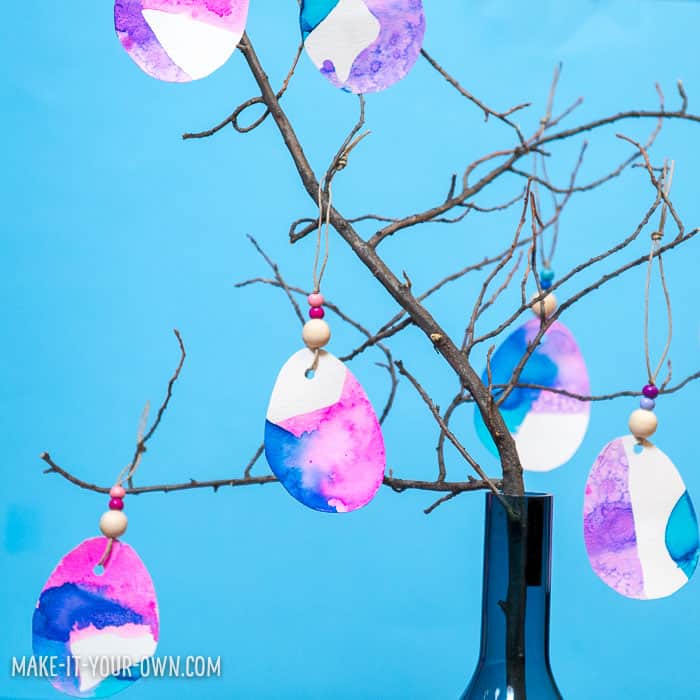
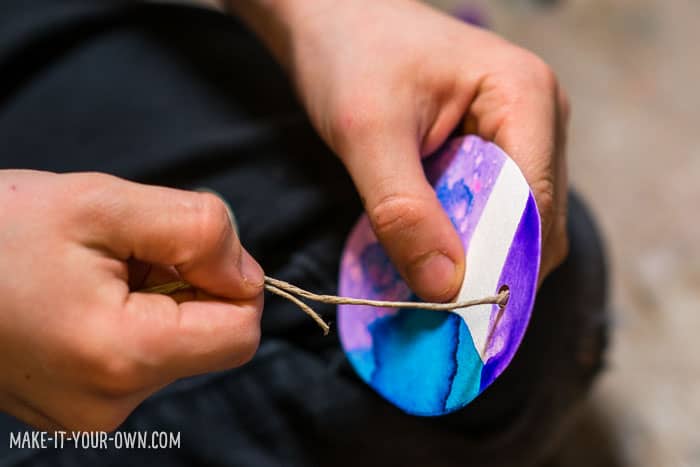
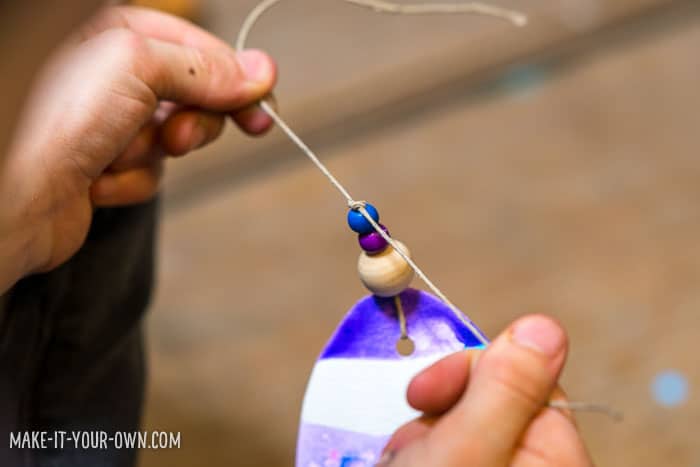
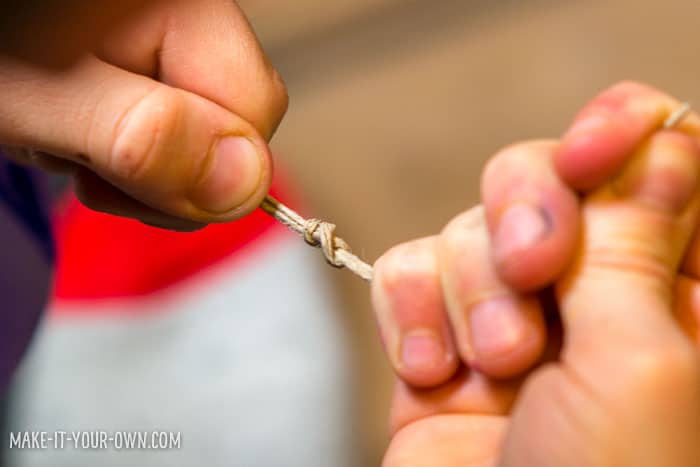
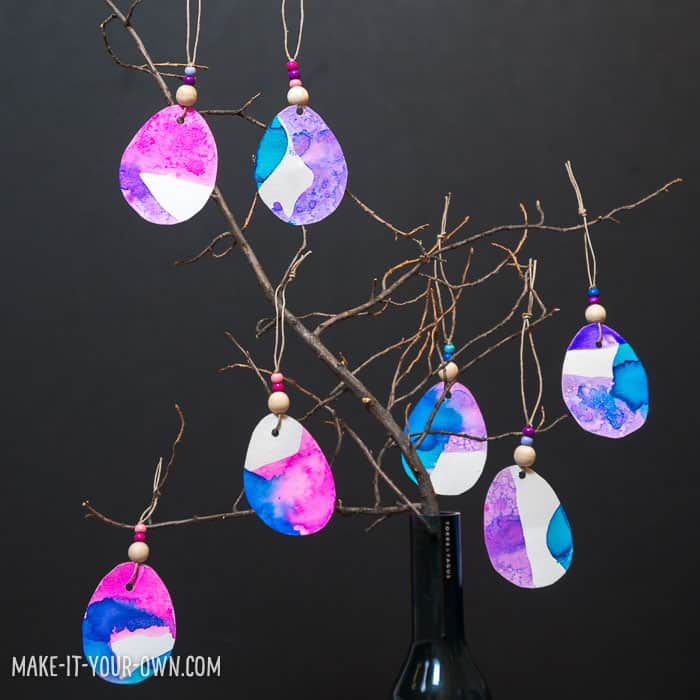
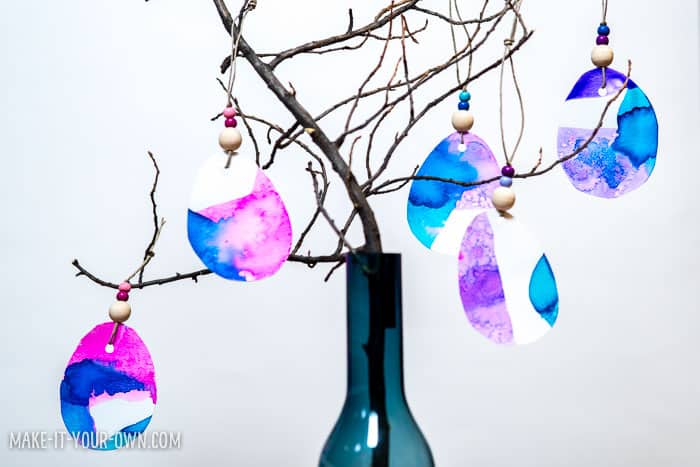
- Punch a hole, lace through some twine and use your eggs as gift tags, string them together to form a garland or hang them on branches in a vase to create an Easter centerpiece!
.jpg)
Purpose
- Exploring different methods of painting (dipping into the paint and applying salt)
- Developing one’s fine motor skills (Tracing around an object, punching a hole, lacing beads etc.)
- Recognizing the symbols of various seasons.
Safety Notes
- We suggest that you wear a smock and use a craft tray to protect your clothing and surfaces.
- Use scissors with care and adult supervision.
- Cord, yarn etc. can be a strangulation hazard, therefore be sure to use with direct supervision and for its intended purpose.
- Beads can be a choking hazard therefore be sure to keep them out of the reach of children ages 0-3 years of age or those that tend to put things into their mouths.
.jpg)
Make it Your Own is a Canadian children’s website. We hope to inspire educators and families with projects to do together, explorations of various mediums and techniques and to get out into nature to source supplies. We love re-imagining items and thinking of new ways to share children’s artwork. We are often described as “an educational mom, a digital dad and their three mini-makers.