

By using this site, you agree to our Terms of Use. This post may contain affiliate links. Read our disclosure policy. As an Amazon Associate I earn from qualifying purchases.
Follow us on Instagram for more fun ideas for kids!
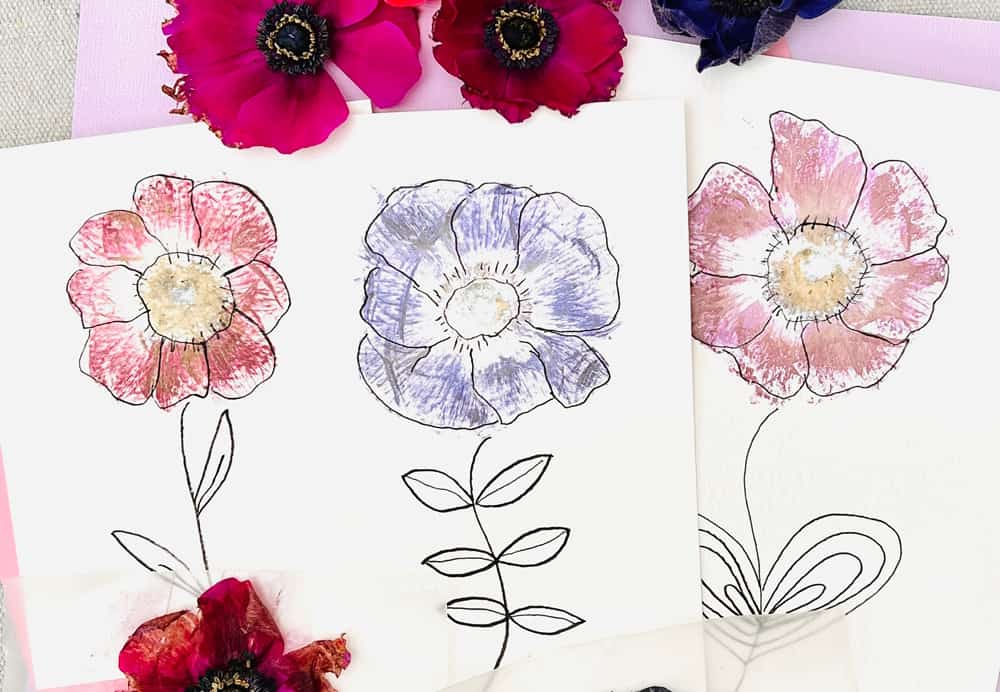
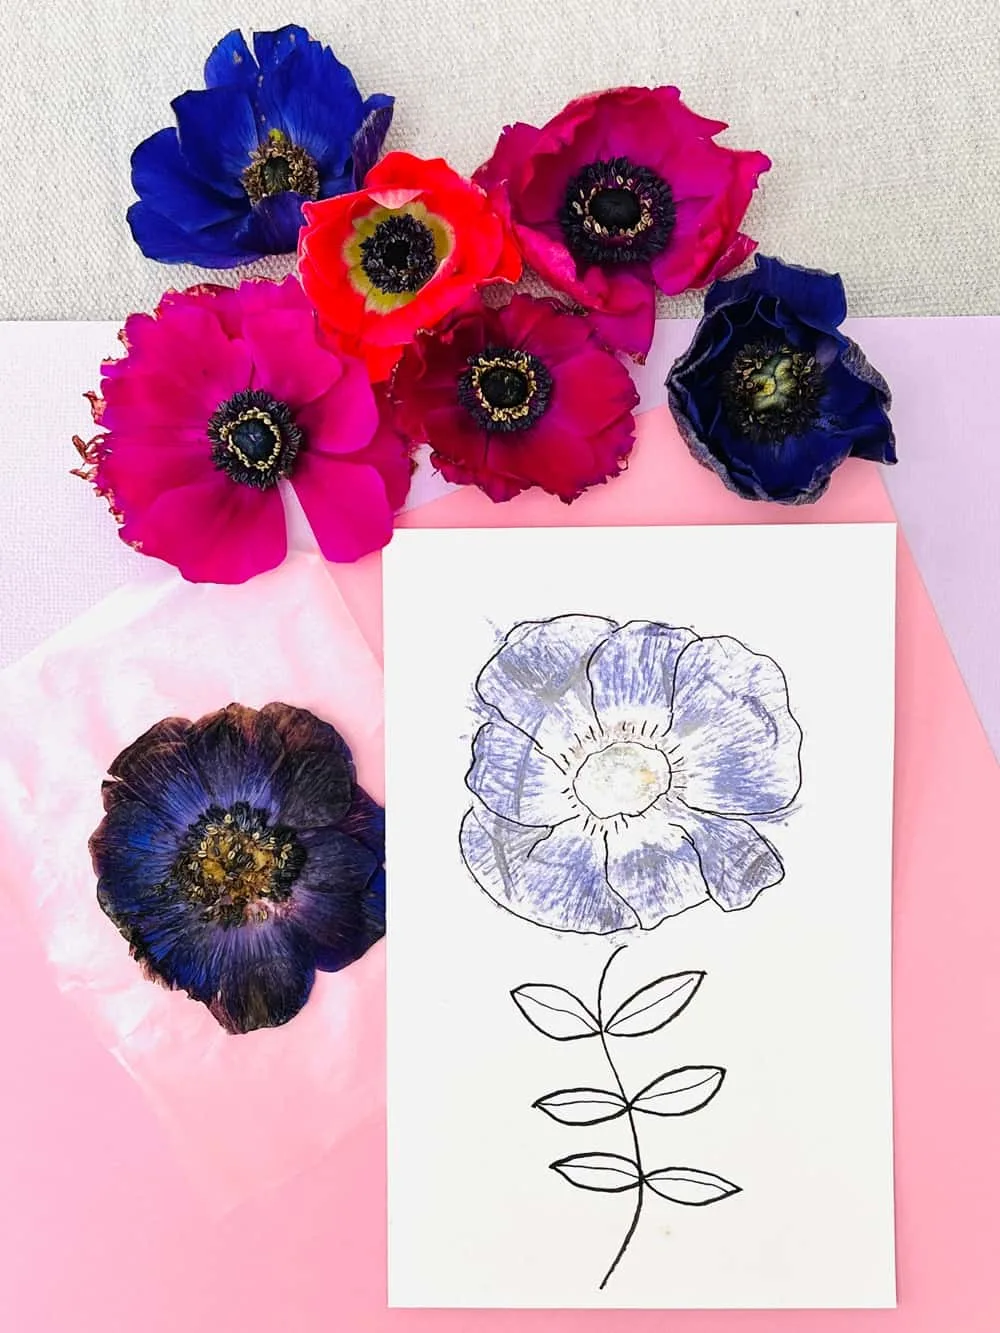
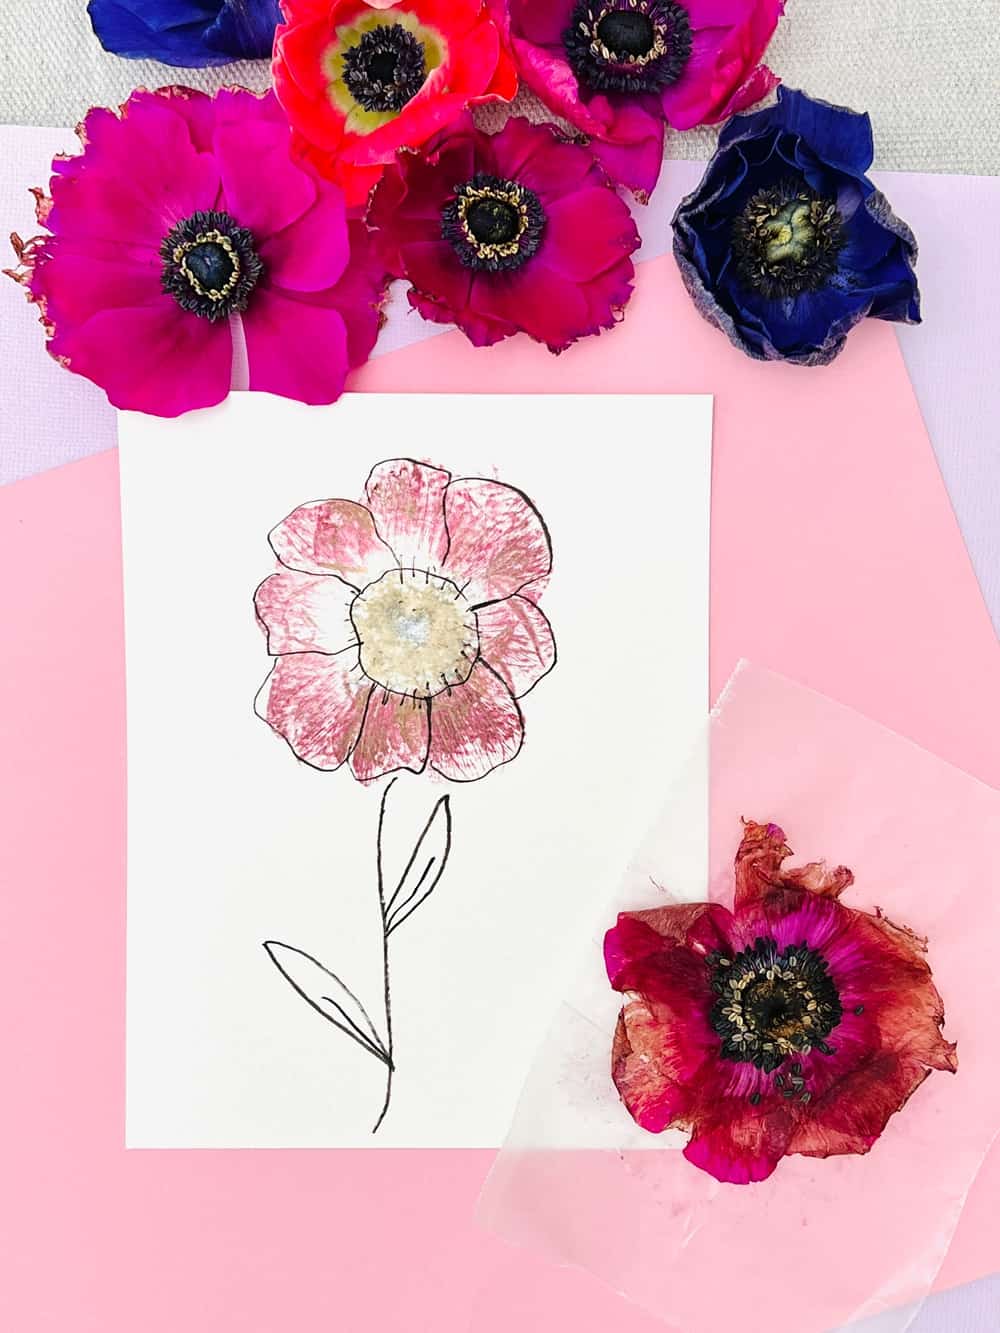
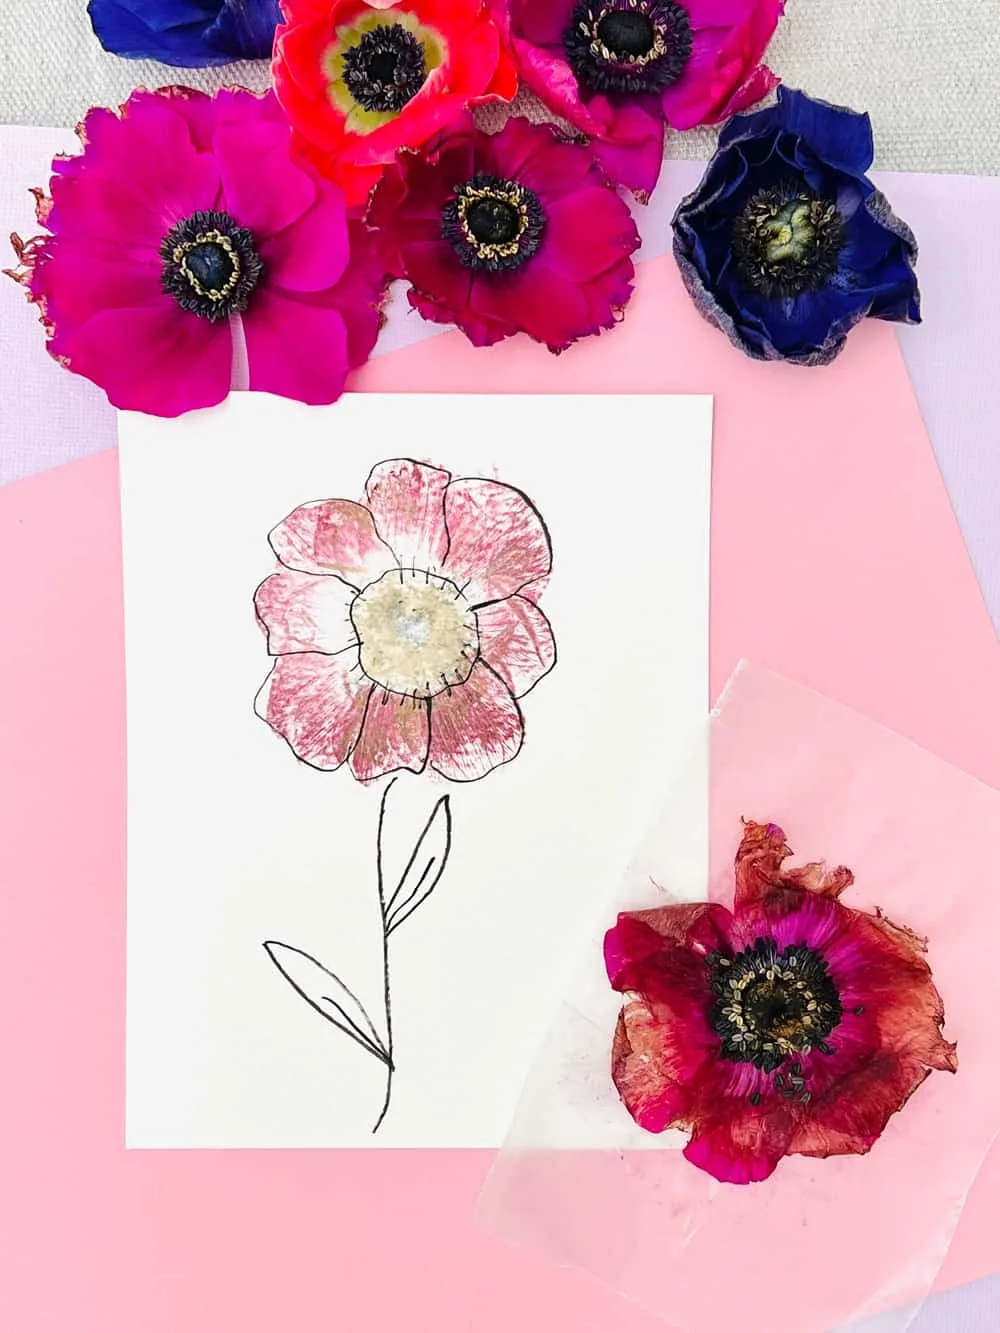
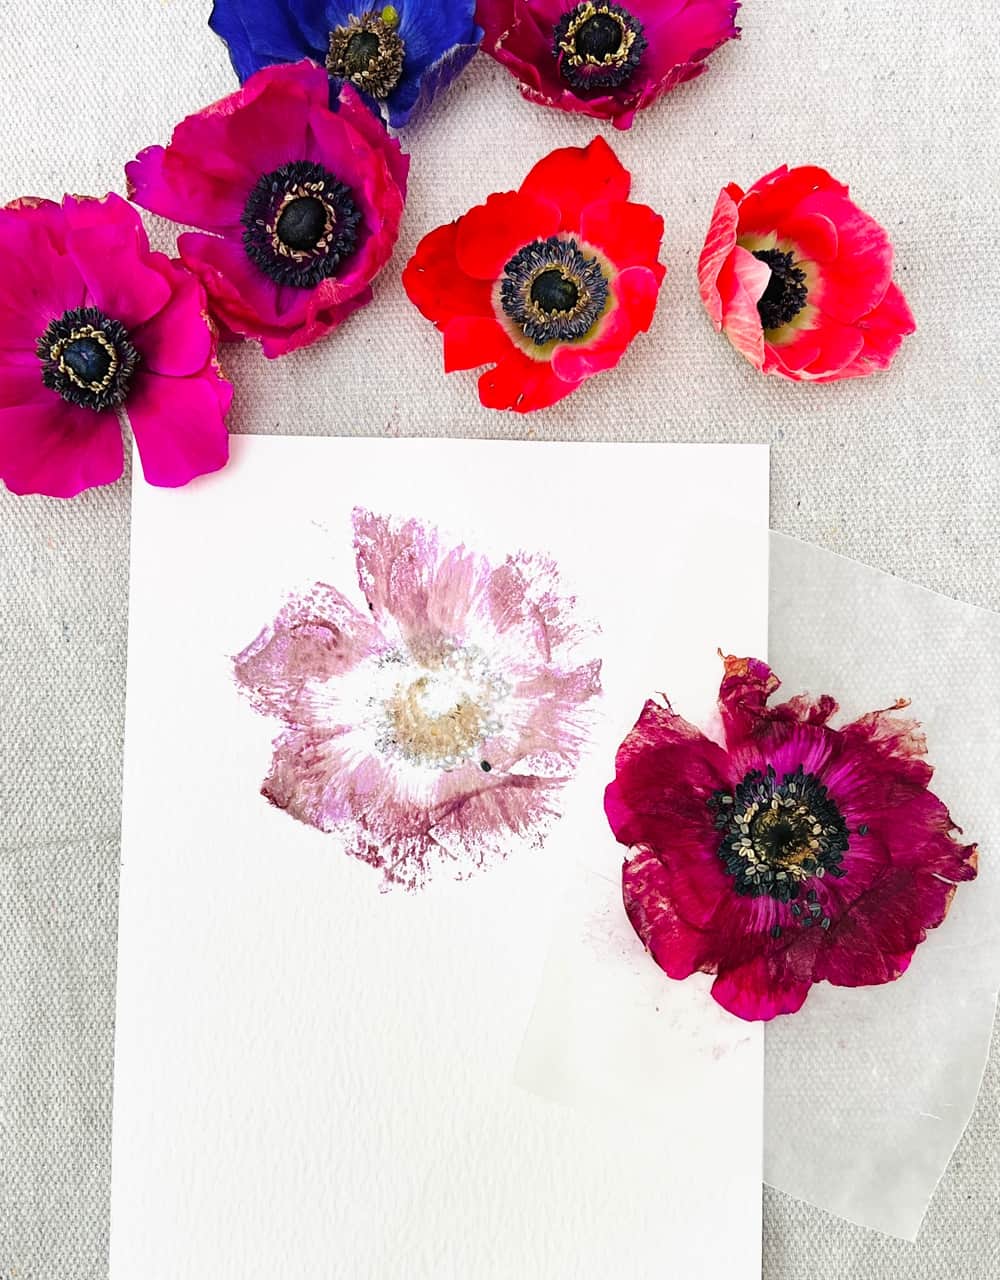
This lovely pressed flower craft is a gorgeous way to make handmade cards or flower art with minimal materials!
Looking for a fun and easy way to make gorgeous flower art? Try making a pressed flower craft! This project is perfect for kids who loves spending time in nature, and it’s a great way to preserve the beauty of flowers.
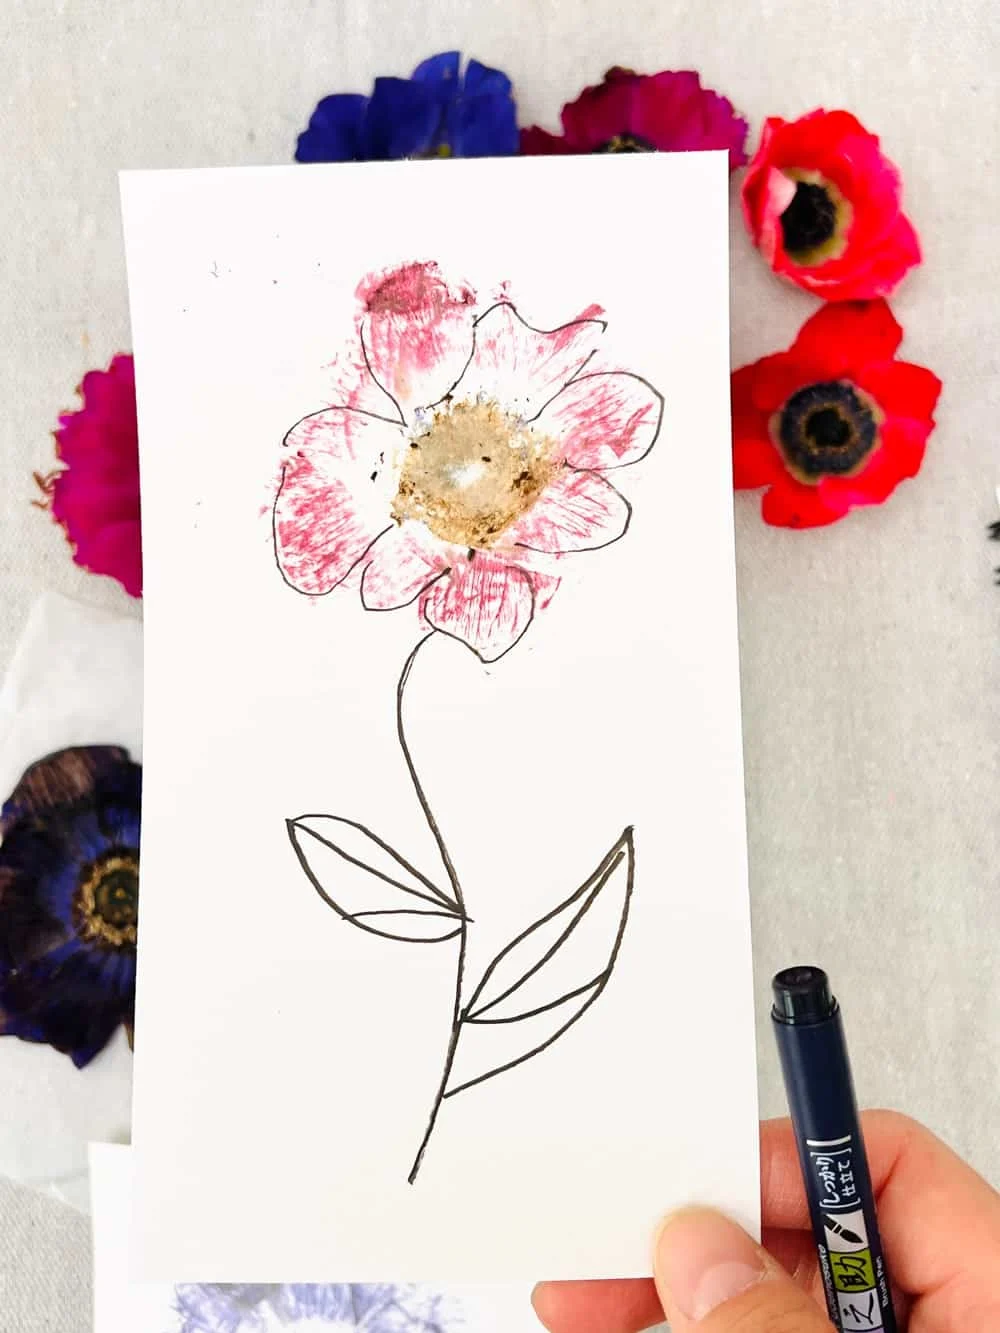
In this post, we will walk you through the steps of creating this lovely flower pounding art. These would make beautiful cards for Mother’s Day as well or a lovely handmade flower card for any occasion!
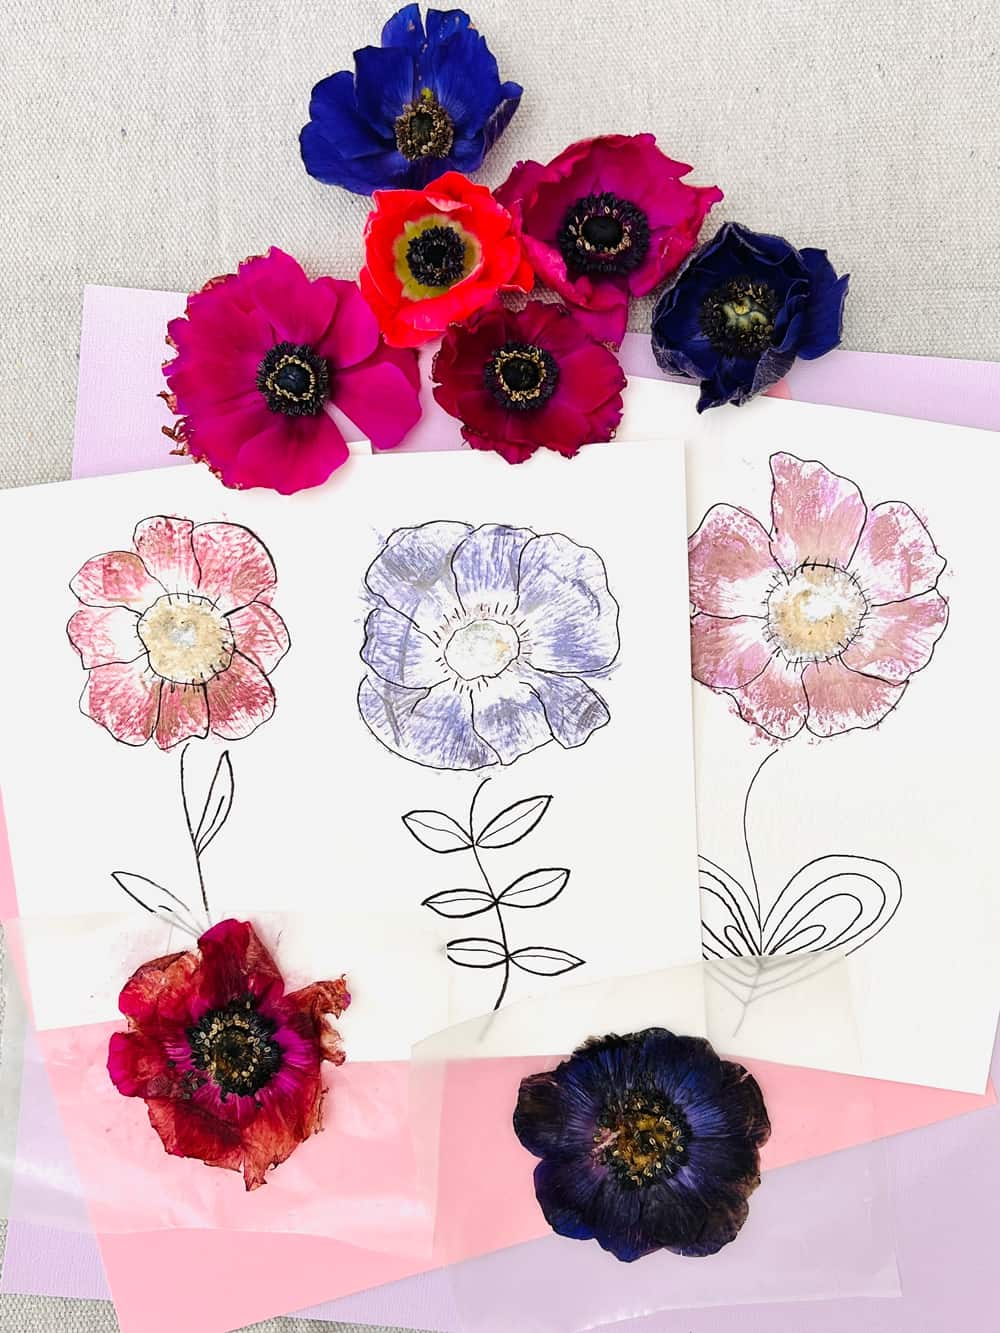
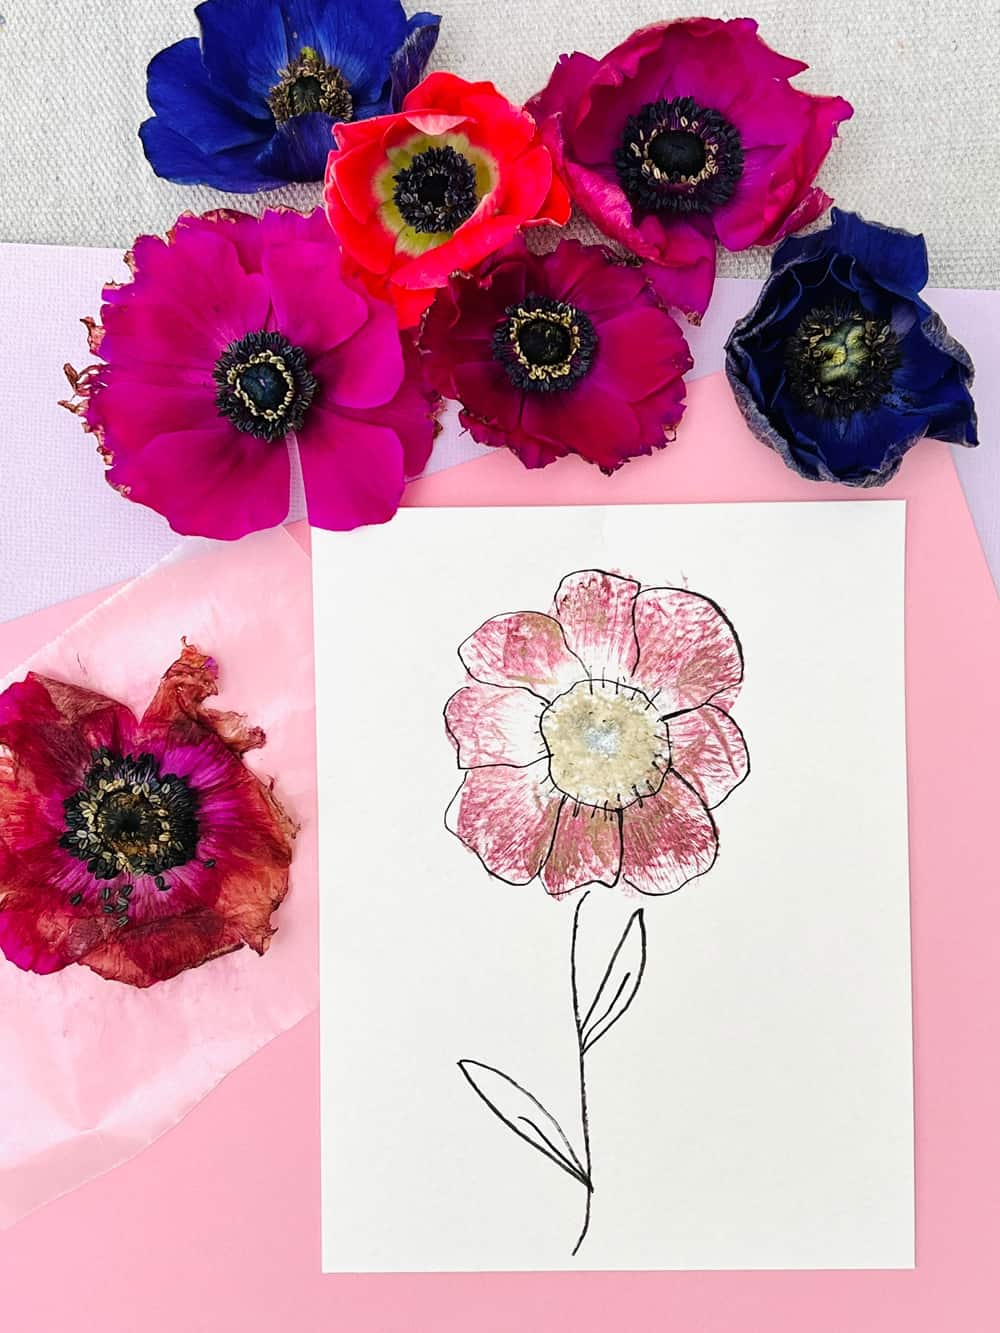
They are also a great way to recycle old flower bouquets where the flowers are at their end cycle but not completely wilted. So gather up some easy supplies and let’s get started!


How do you make pressed flower craft?
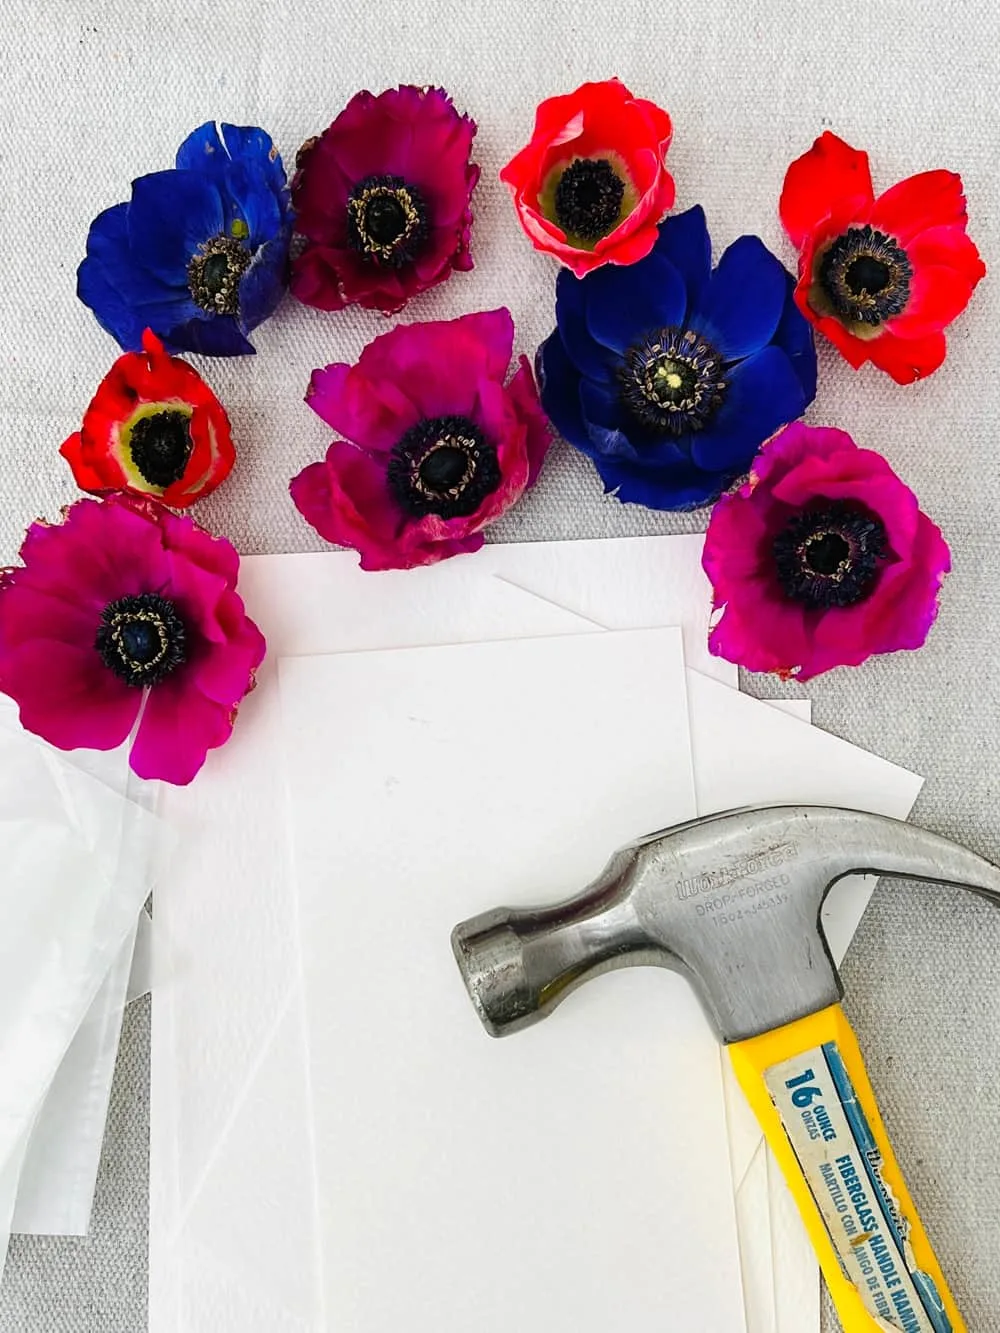
You will need very simple supplies like flowers, watercolor paper, wax paper and a hammer. The type of flowers, hammer and paper matters so read more below on what we tested and what worked best.
Take a flower bloom and cut off the bottom stem so it’ s
What kind of flowers work best for pressed flower art?
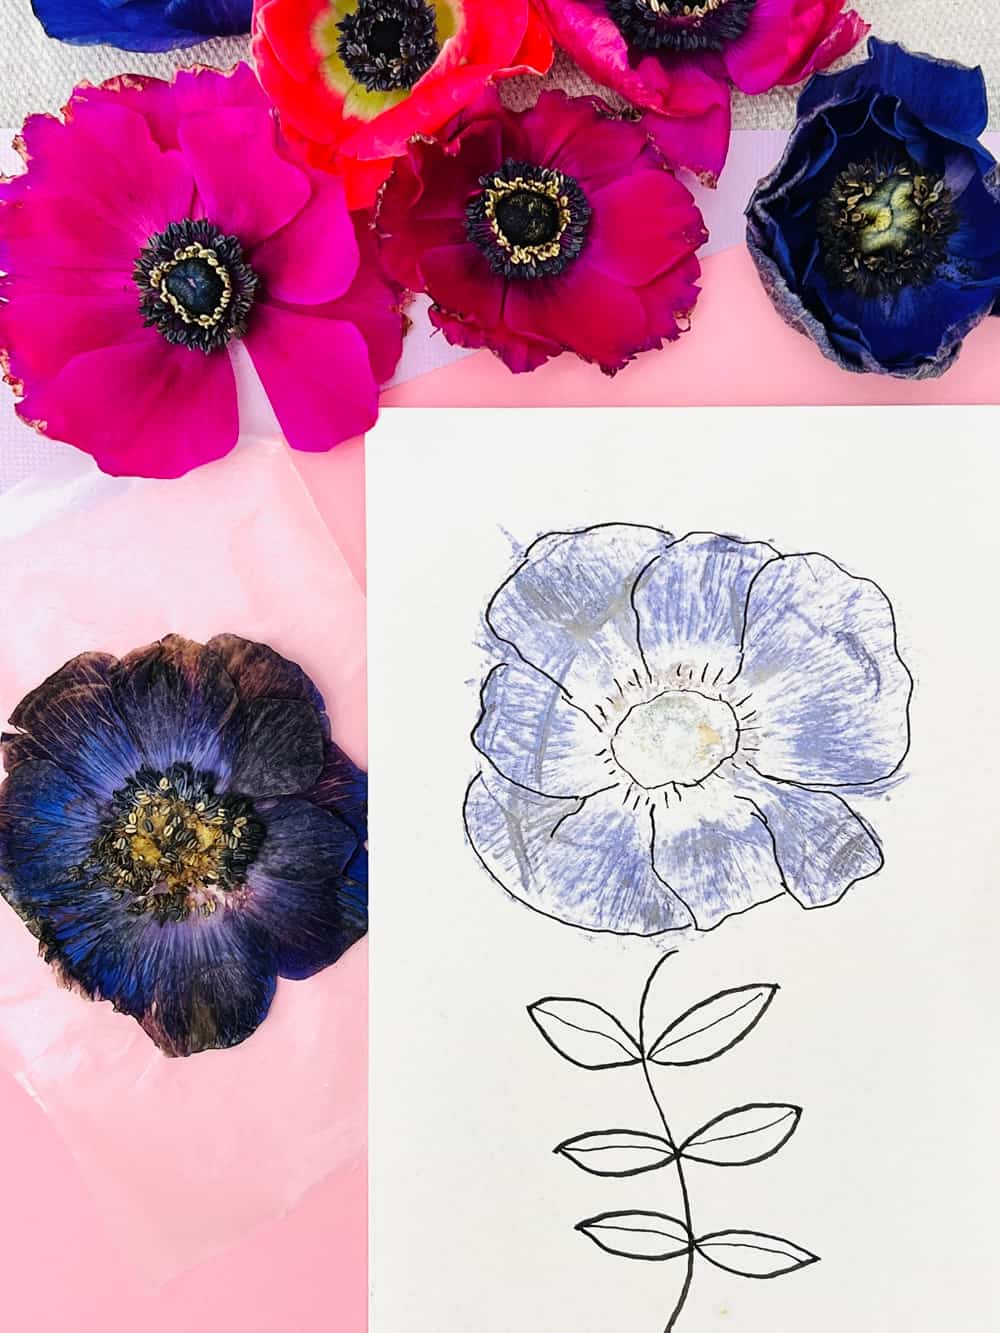
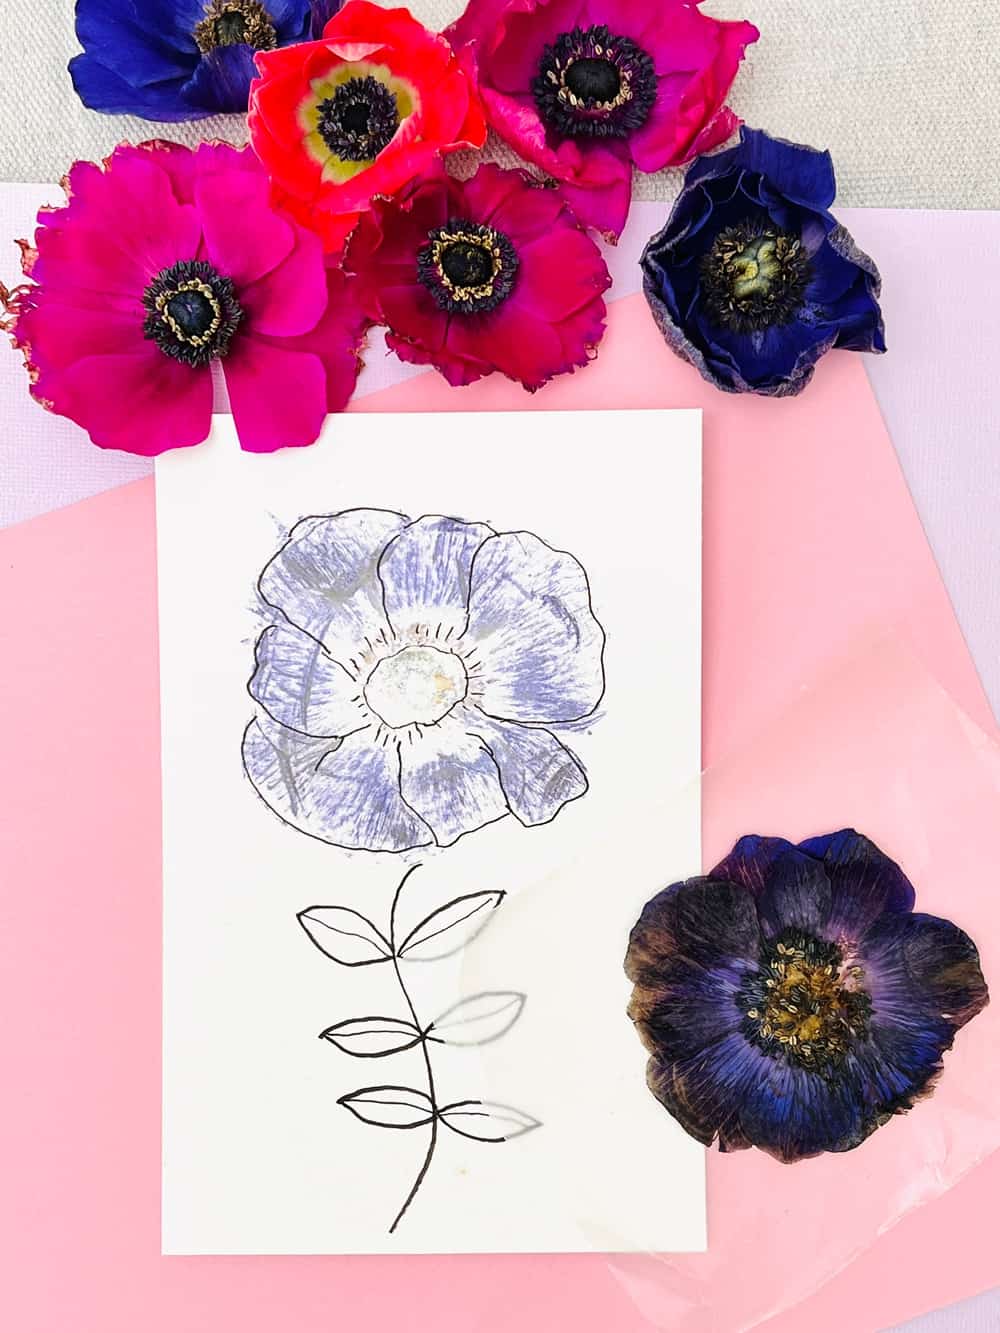
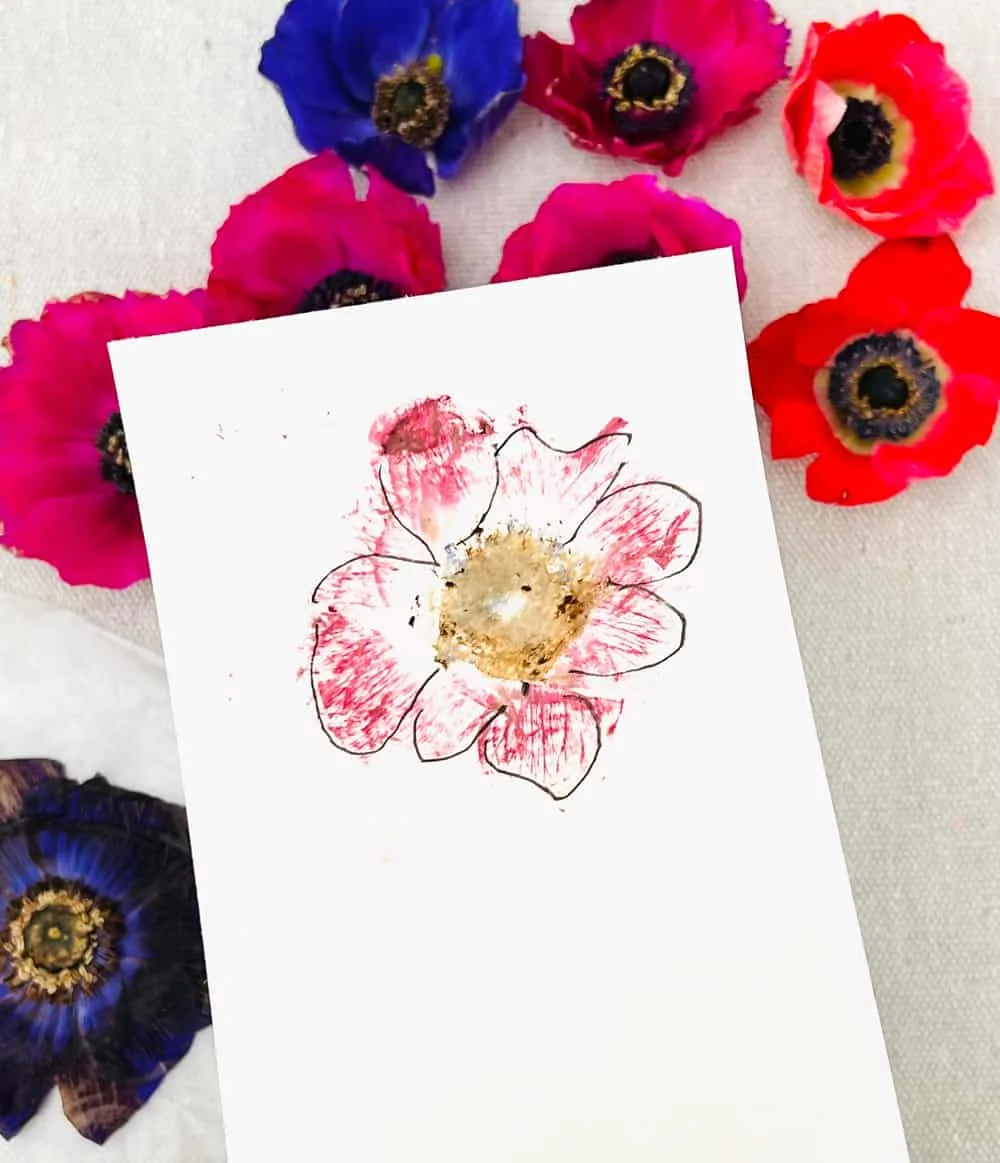
We tried a few different flowers and found that flat flowers similar to ones shaped like pansies or violas work best. The flat petals have enough surface area for the flower “ink” to bleed onto your paper and don’t break off easily when pounded.
Flimsy flowers, big pouffy ones, or ones with a lot of pollen that will smear or lots of tiny petals that tear easily will not work well.
We got our flowers at Trader Joes as part of a mixed bouquet so are not sure of the type but you can try to find something similar to the ones shown on this post.
What paper should you use over the flower?
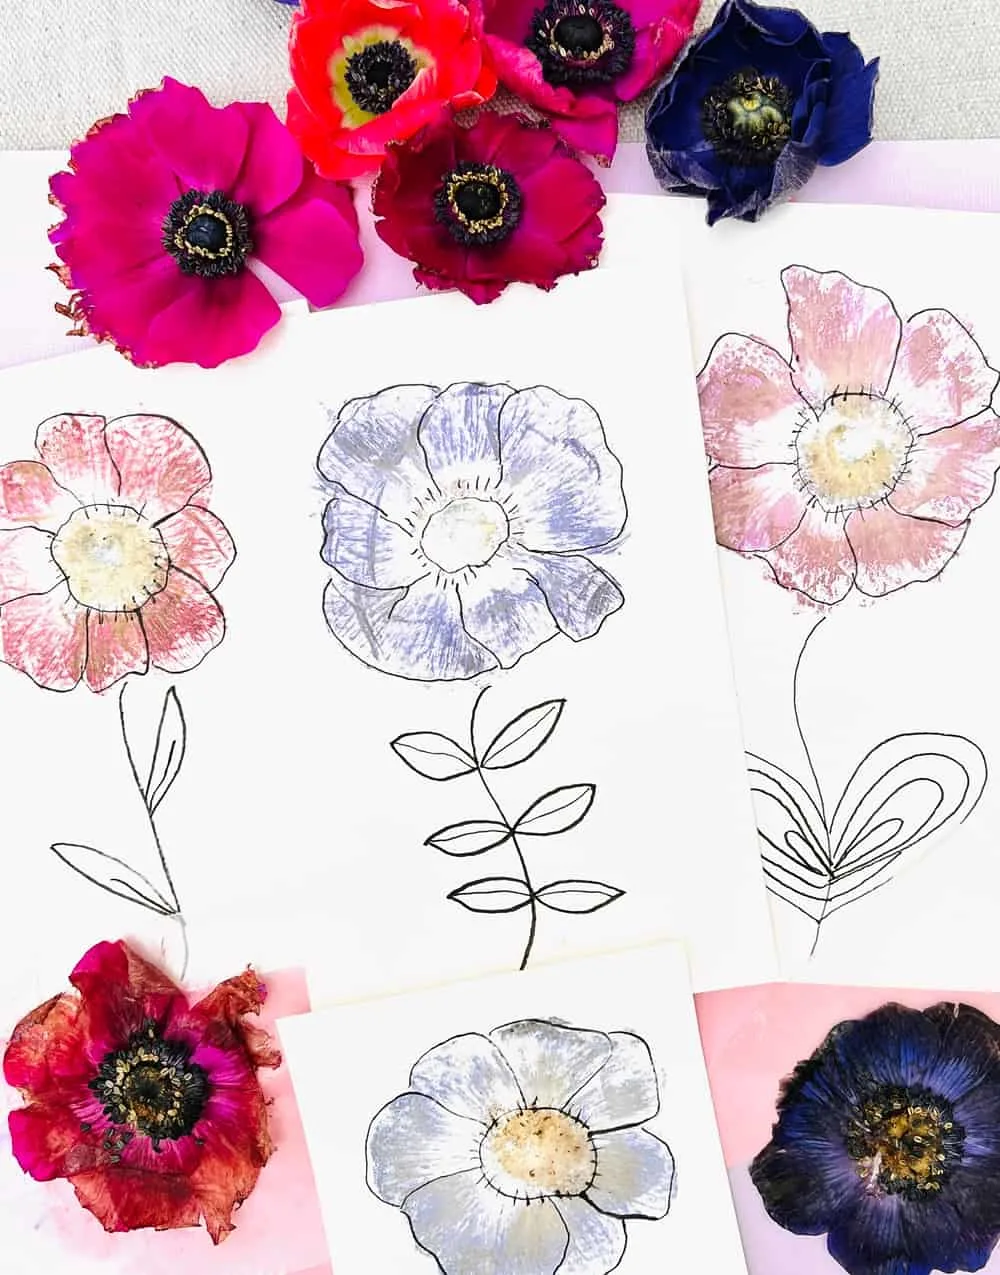
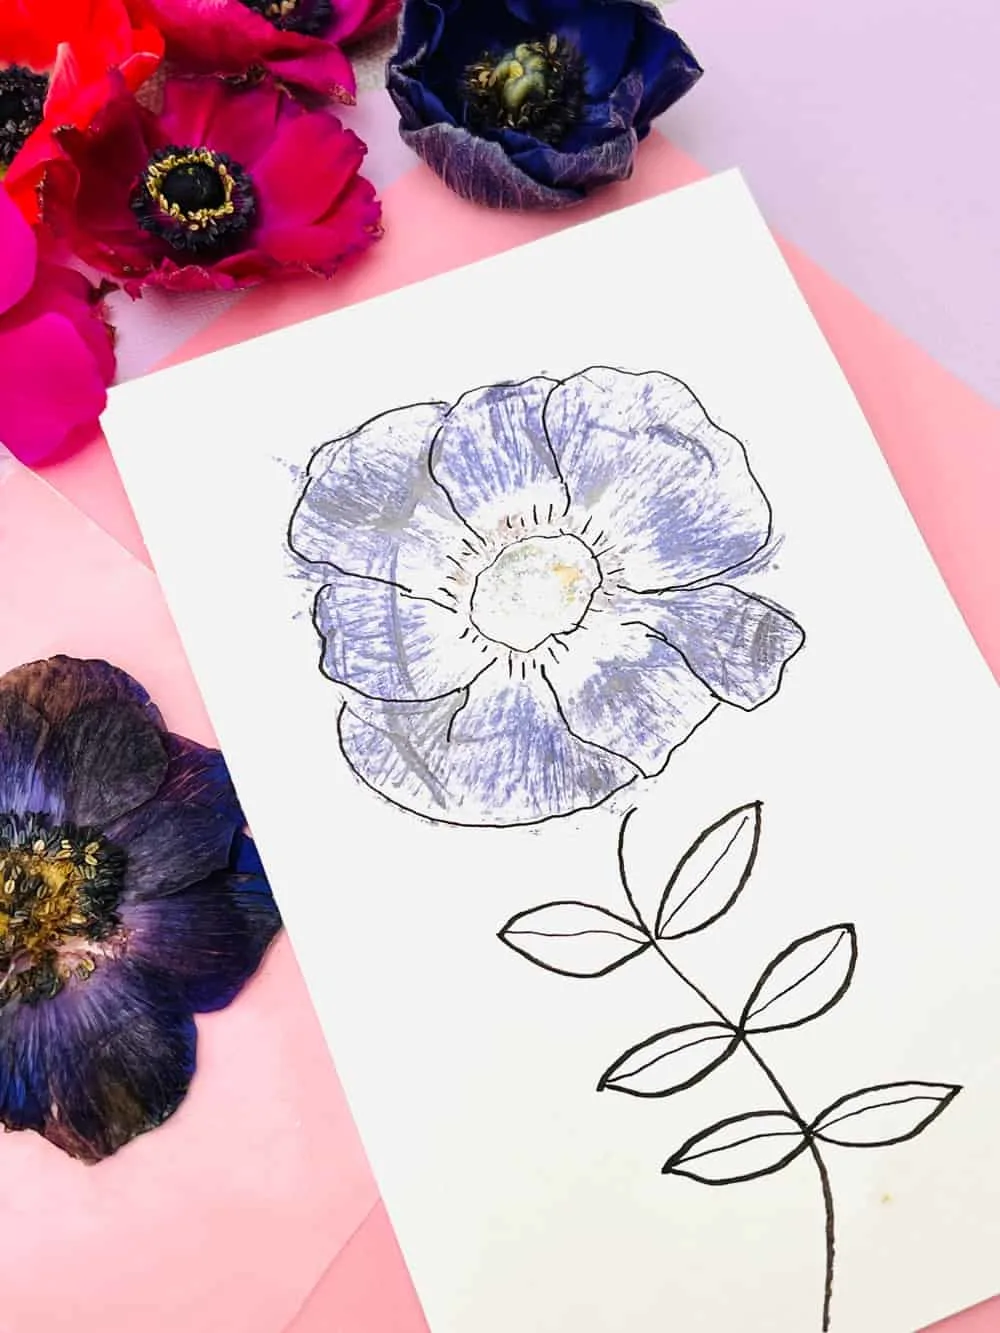
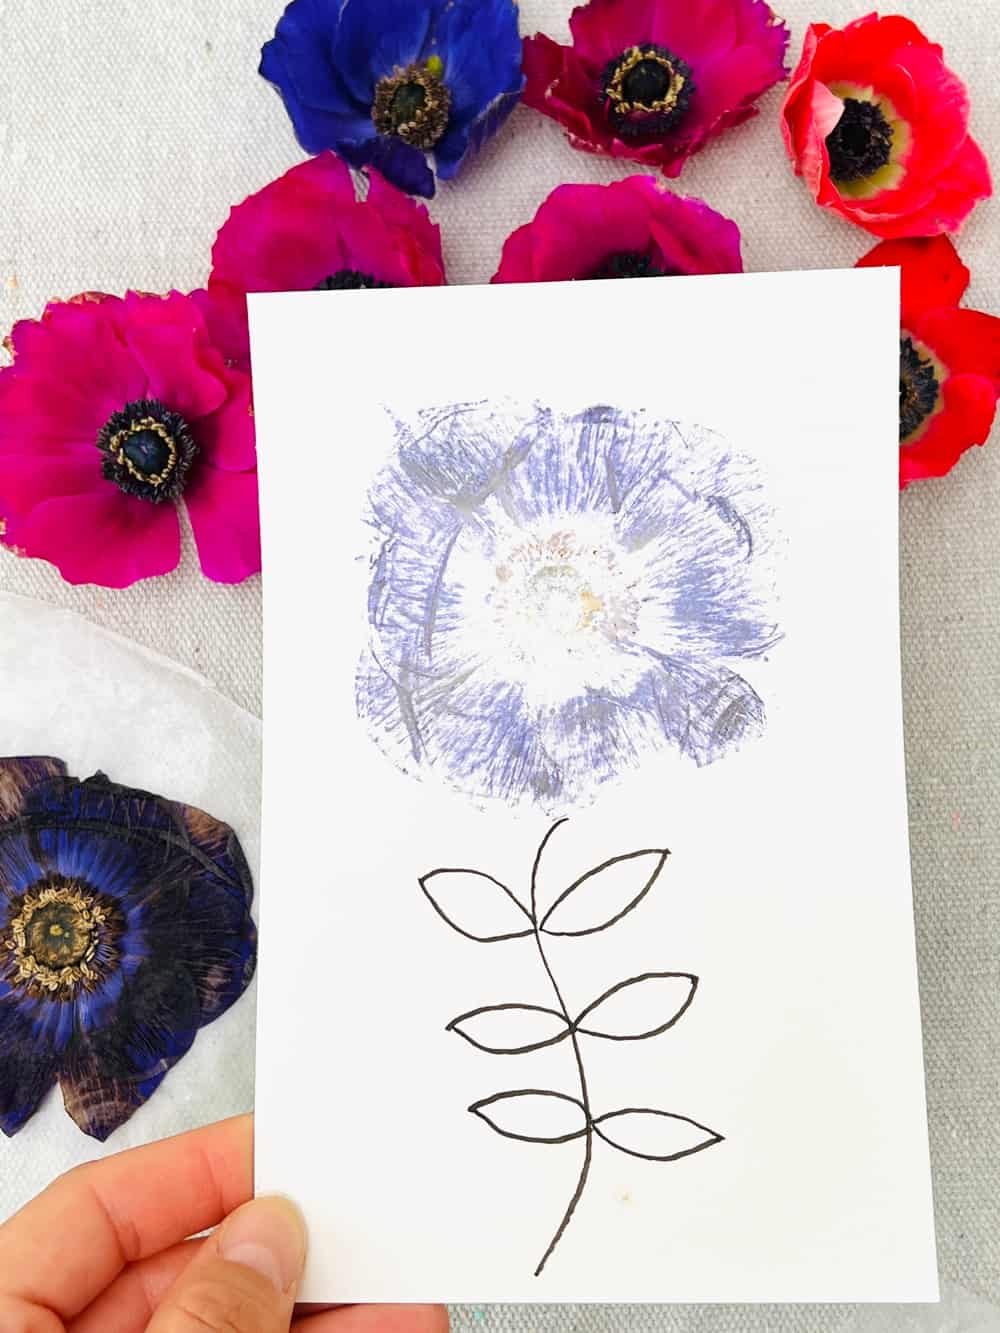
We have seen flower pounding art using paper towels, parchment paper and wax paper and tried all three to test out the best results.
The winner was the wax paper! It gave the smoothes transference of flower ink showing on the paper. Paper towels were too flimsy and tore. Parchment paper did not let the natural flower dyes extract easily onto our paper.

What kind of hammer do you use for flower pounding art?
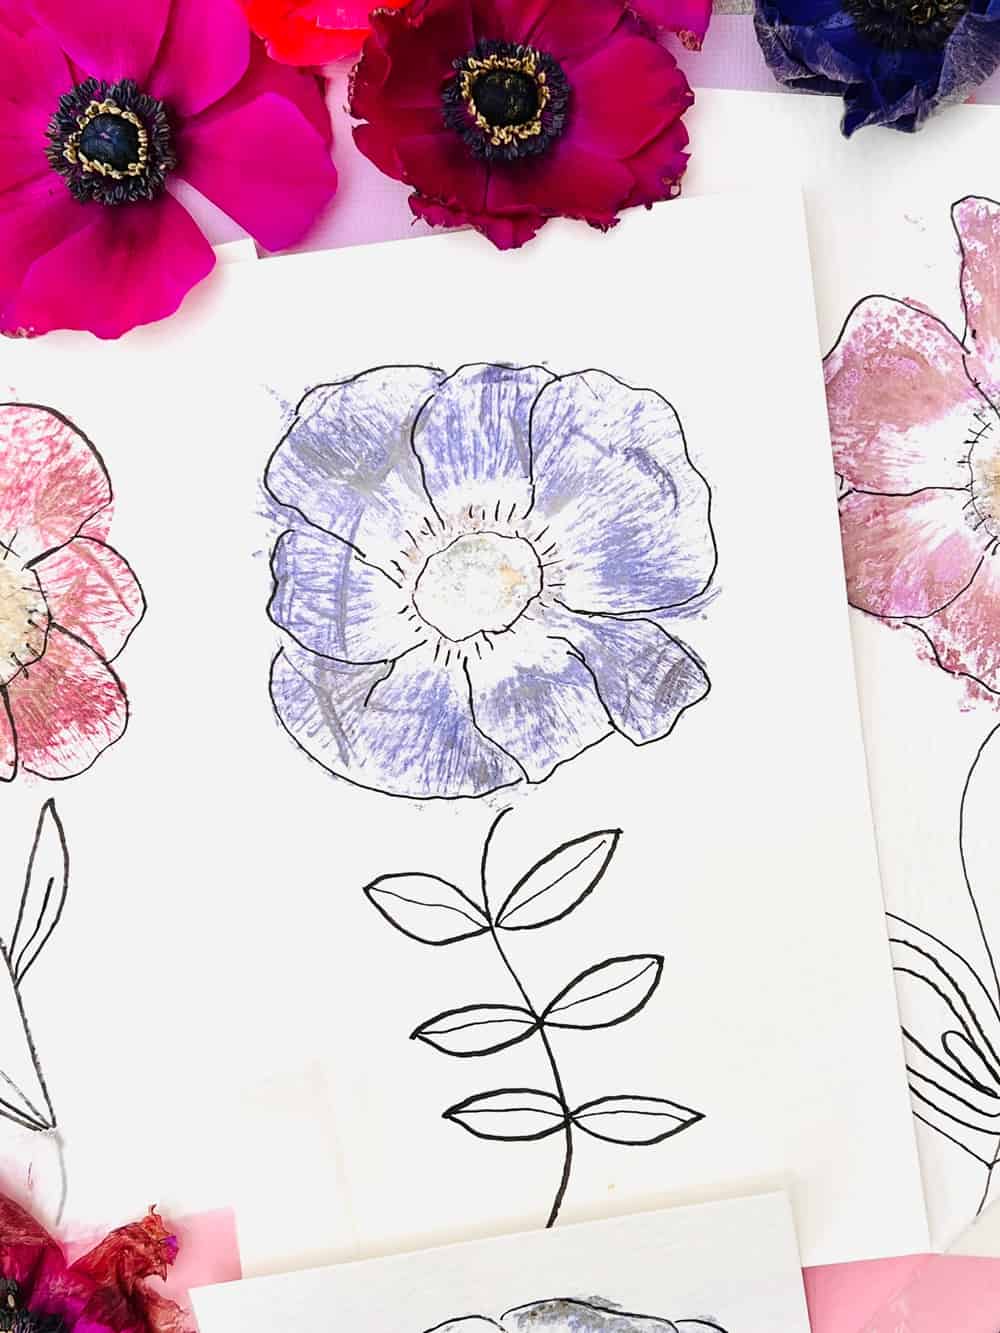
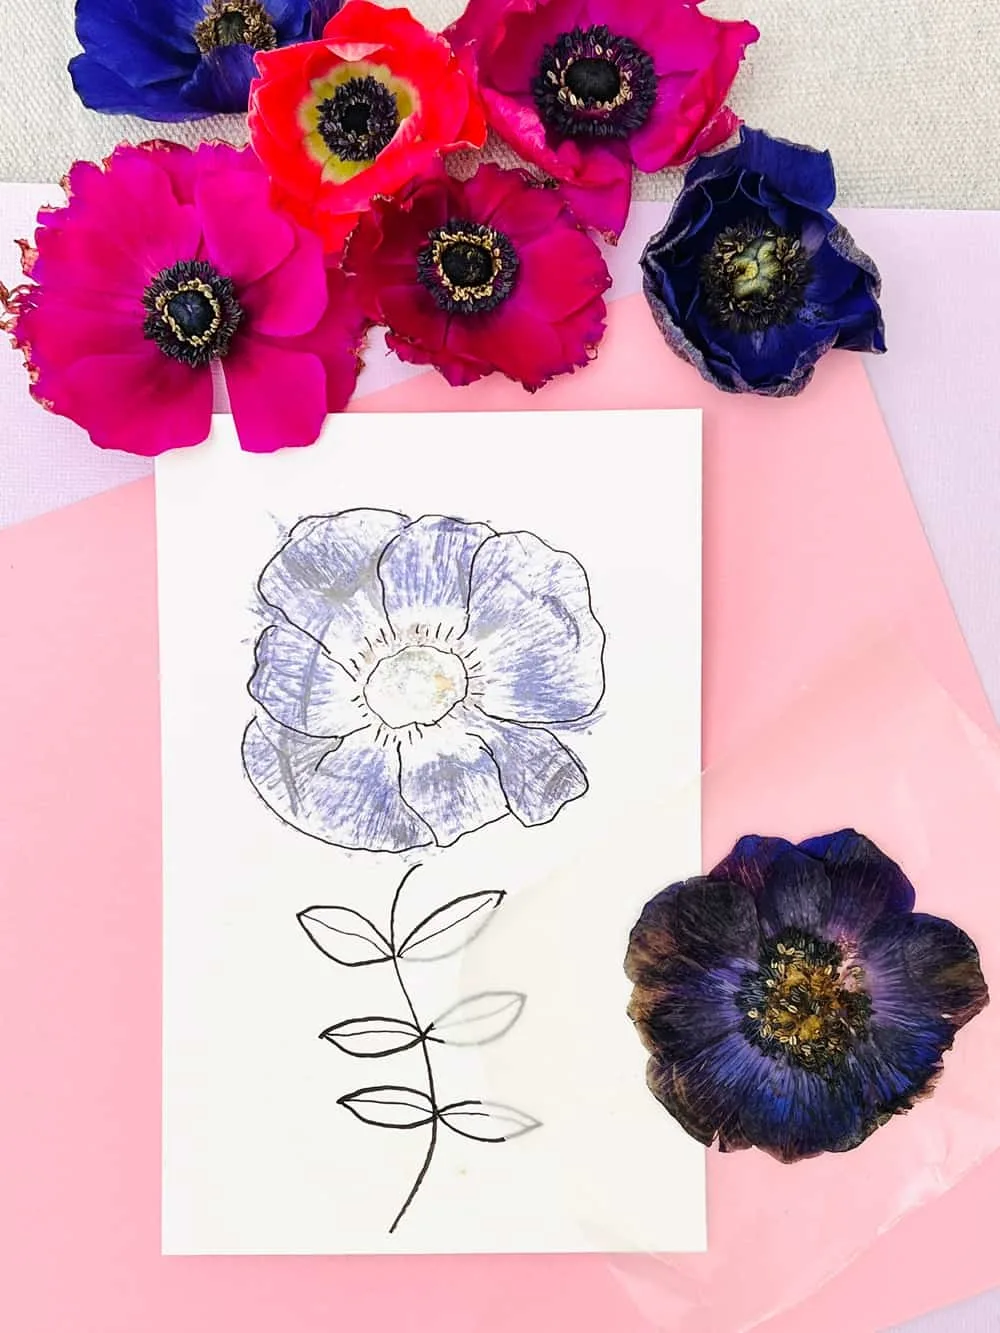
We used both a wooden hammer to test and a metal one. By far the metal hammer worked best to smoothly and evenly press the petals onto the paper. One trick is before you start pounding, use the metal hammer head to smooth each petal firmly onto the paper. As if you are gliding the hammer head slowly over the petals. The other trick is to start pounding firmly but lightly, you don’t want to hammer away in the chances the paper moves. Firm solid taps help as well as keeping your other hand over the wax paper to firmly hold it down in place. Remember if the wax paper moves, it will likely move your flower which will mess up the print.
Pressed Flower Art – Materials:
Flat small flowers like pansies or violas
Fine line black marker (optional)


INSTRUCTIONS
Beautiful Pressed Flower Craft
Materials
Instructions
You Might Also Like
Sunflower Shaving Cream Activity


Agnes Hsu is a mom of three and has been inspiring parents and kids to get creative with easy activities and family friendly recipes for over 10 years. She shares her love for creative play and kids food to her 2MM+ followers online. Agnes' commitment to playful learning and kindness has not only raised funds for charity but also earned features in prestigious nationwide publications.