

By using this site, you agree to our Terms of Use. This post may contain affiliate links. Read our disclosure policy.
Follow us on Instagram for more fun ideas for kids!
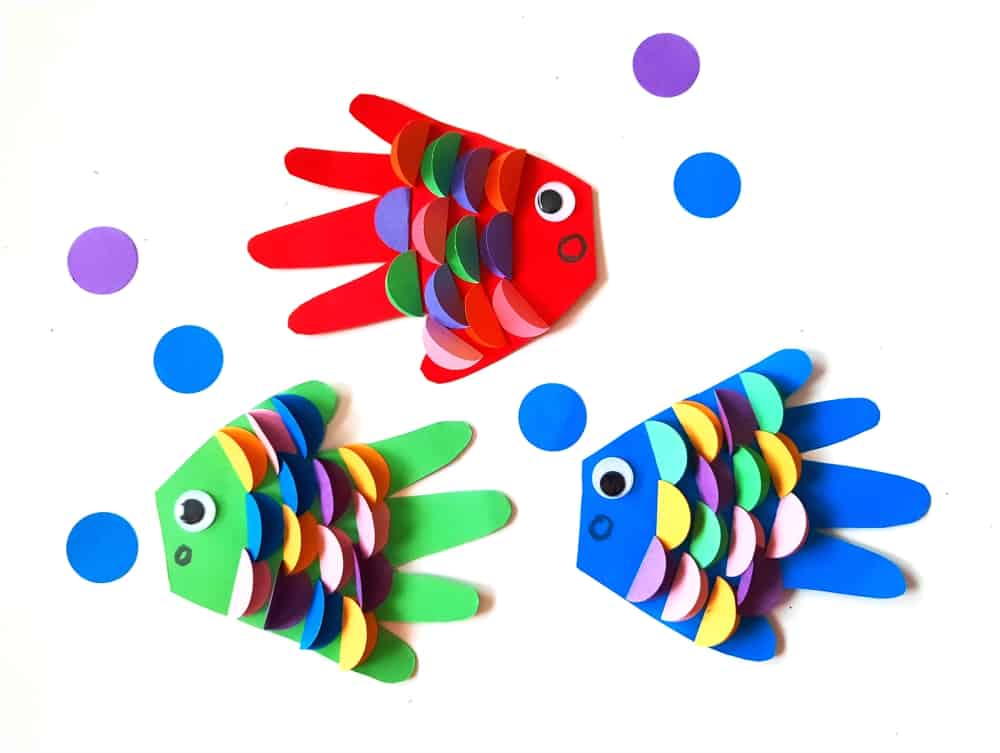
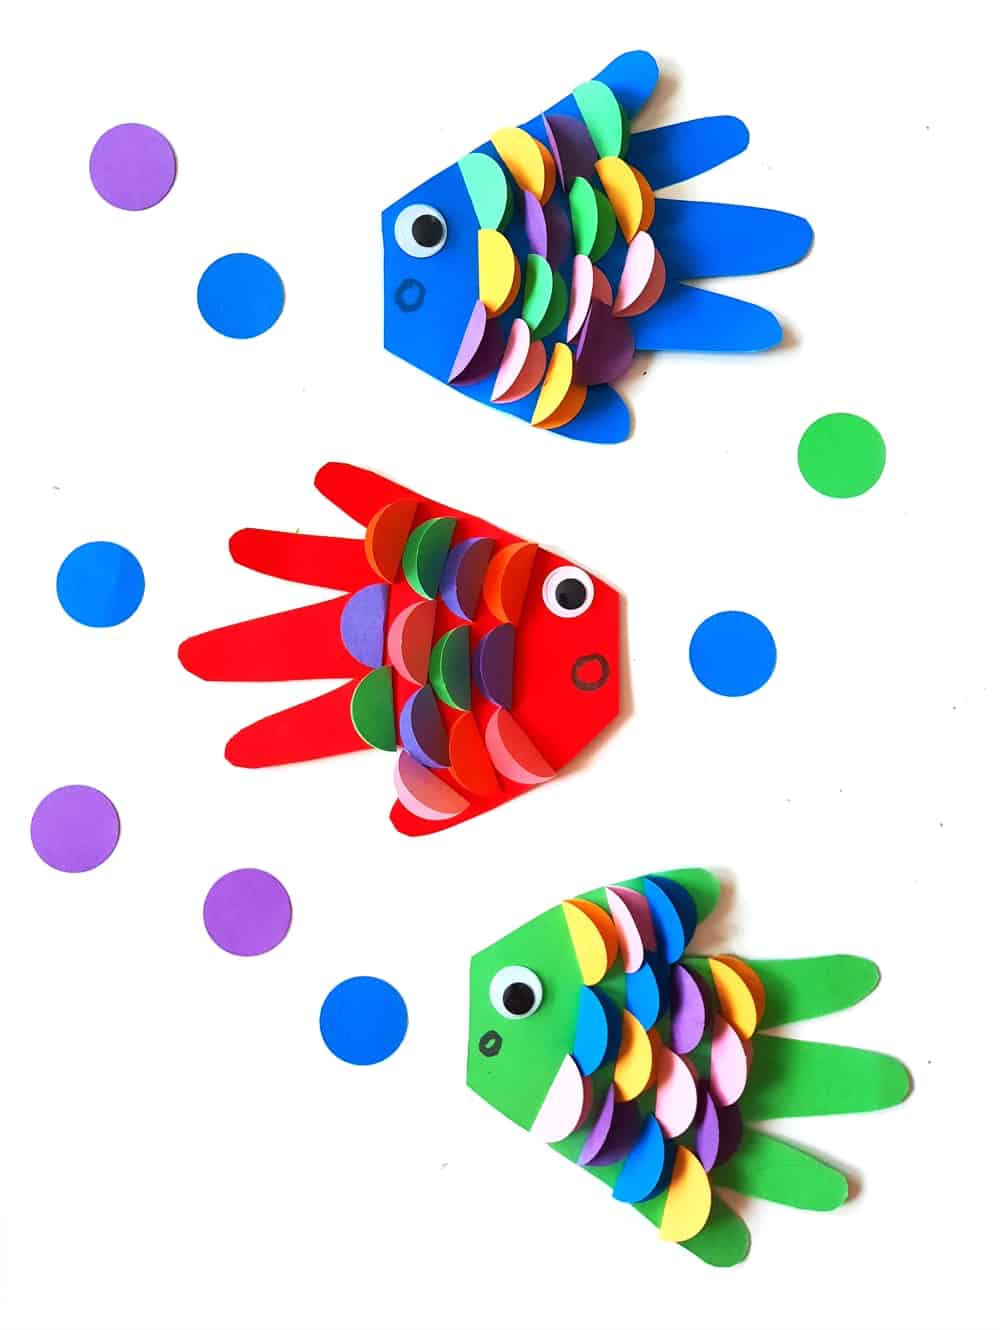
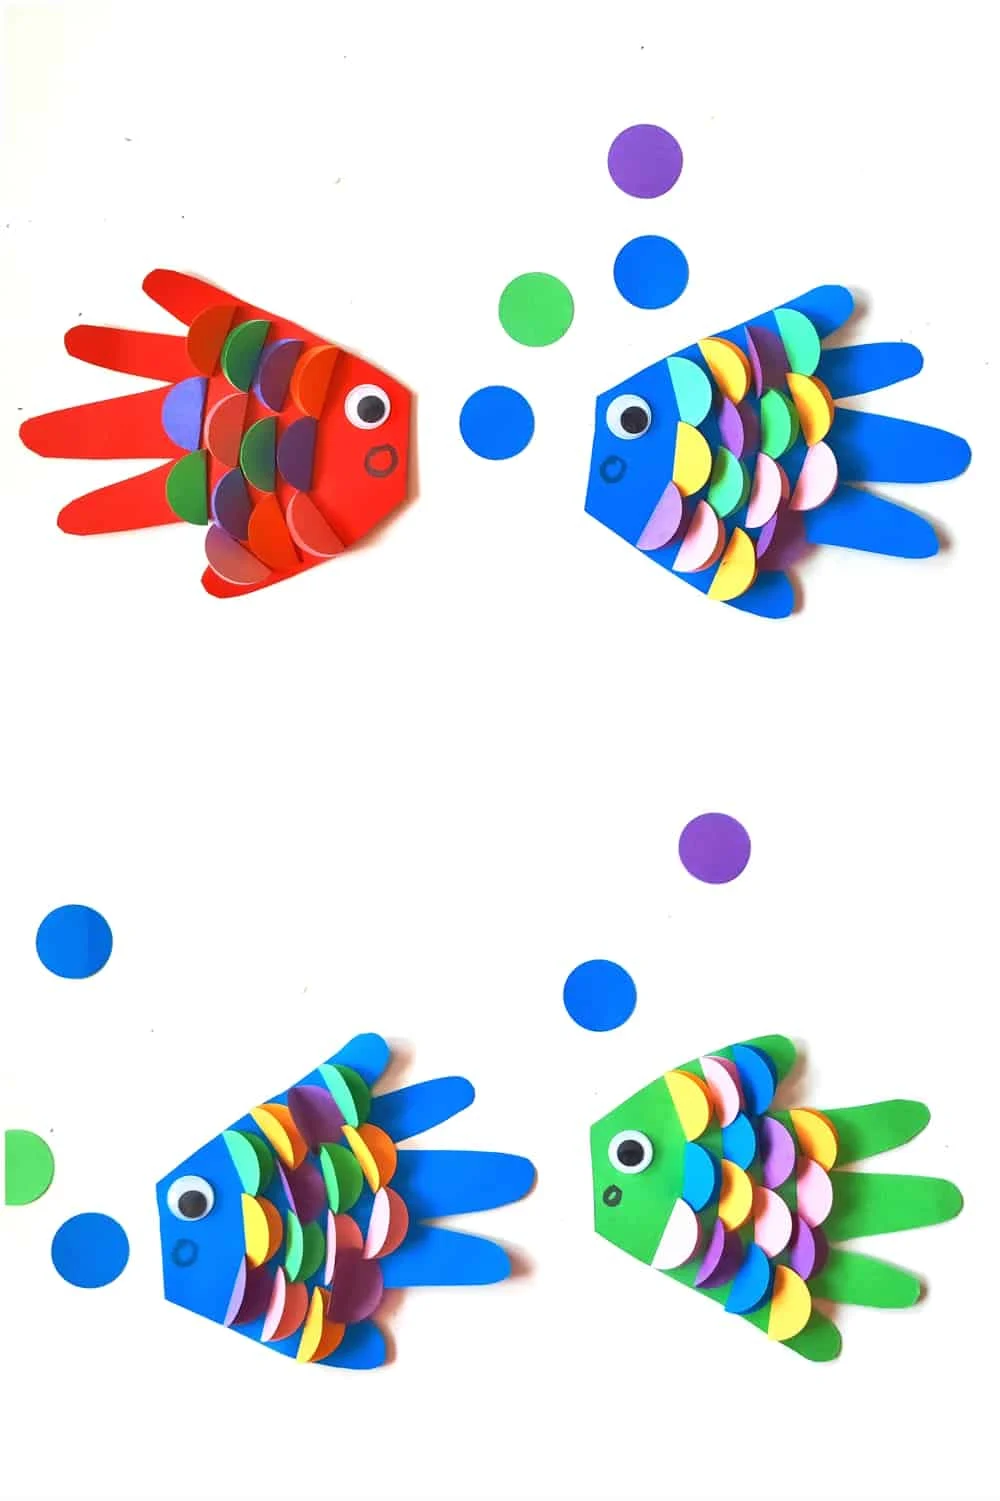
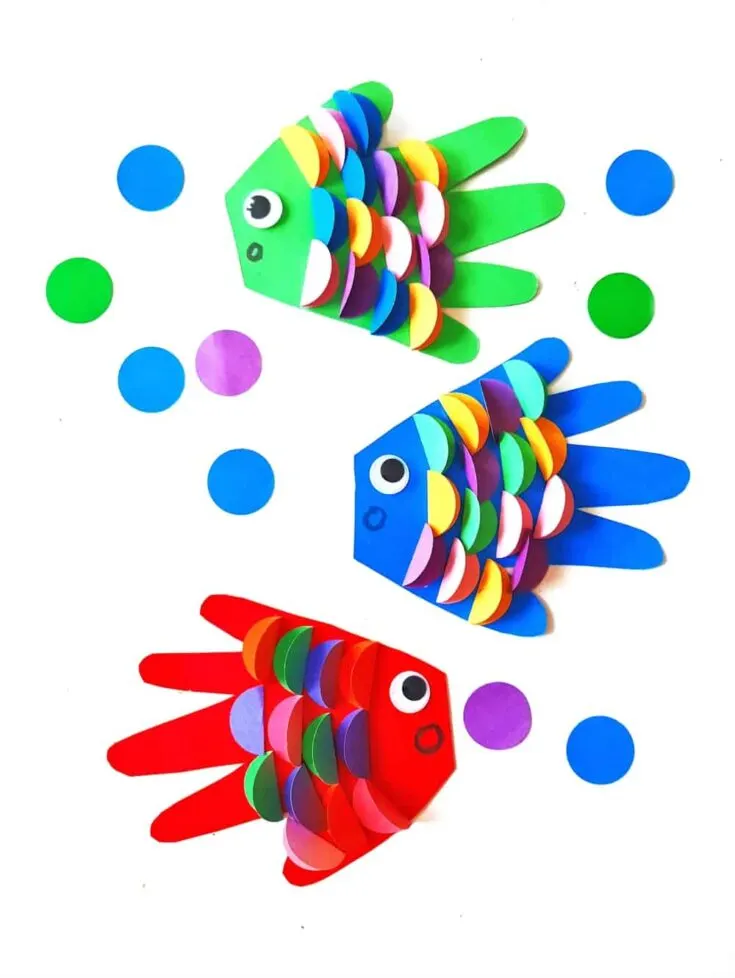
Handprint crafts are a fun way for the kids to be creative! All you need are simple supplies to make this adorable Handprint Fish Craft! The kids will love this activity!
I try to incorporate as many fun and unique handprint art ideas as I possibly can. The kids seem open to them, and I love seeing them be creative for each season with a memorable keepsake!
Having them try new crafts is a really easy way to help them explore all the fun options and activities. They’ll love using their own handprints to make these cute and adorable fish!
Plus, using fine motor skills is a great way to cut with scissors. The kids can learn how to cut out pictures and handprints like pros!

Handprint Fish Craft – Materials
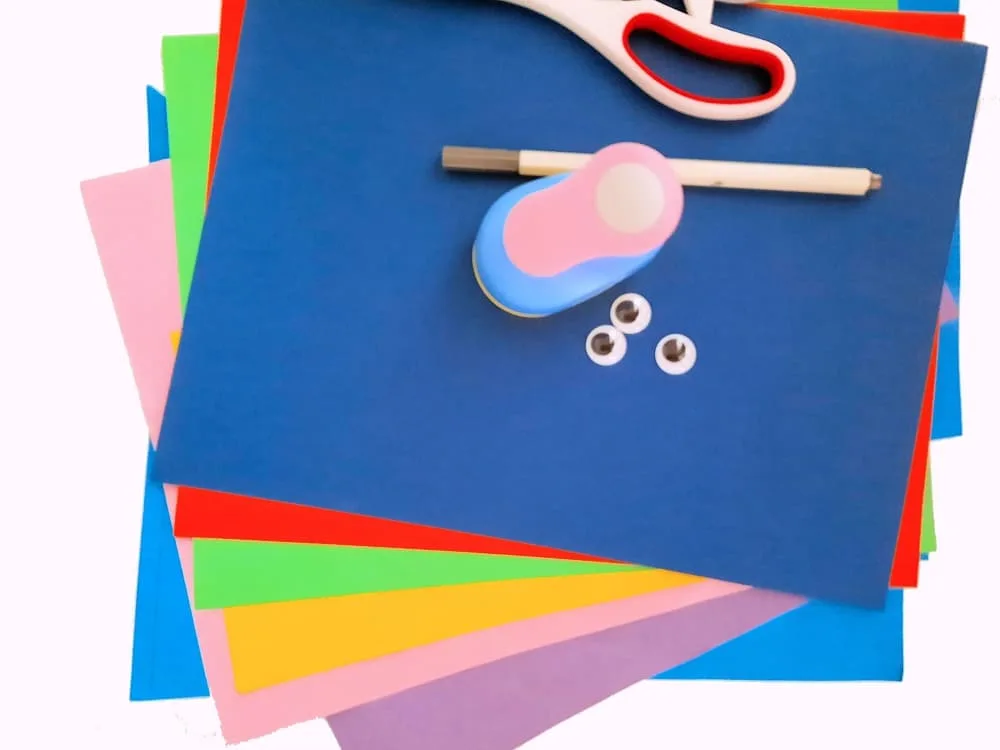
Cardstock – blue, green, red, purple, assorted bright colors
1” circle paper punch
Small googly eyes
Black marker
Glue
Scissors

How to make a Fish Craft using Handprints
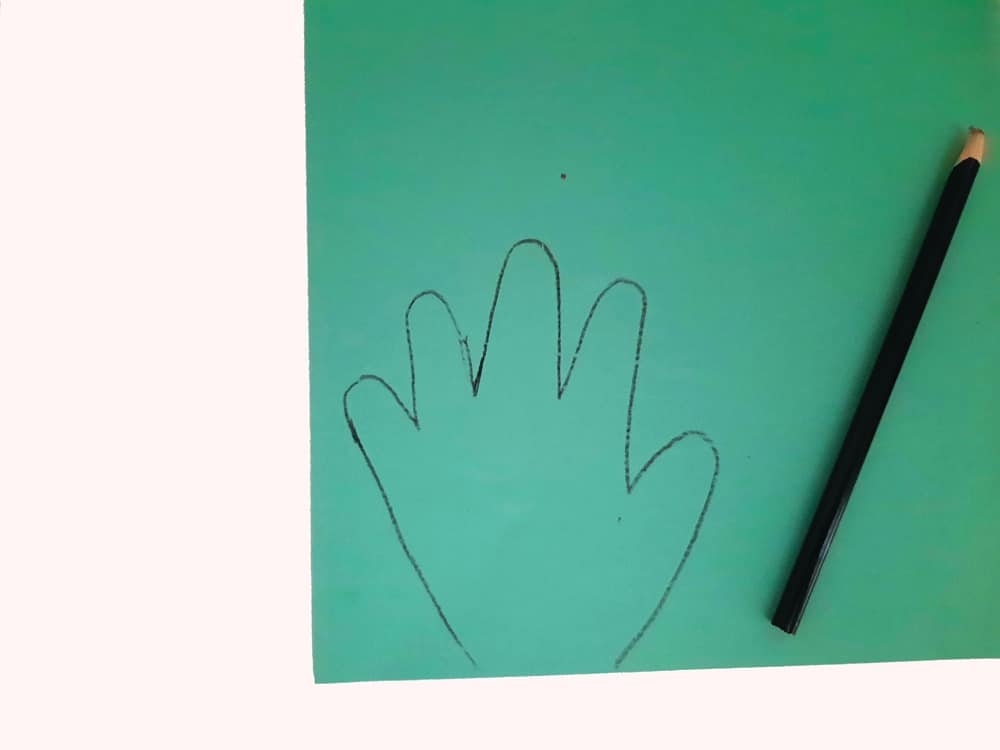
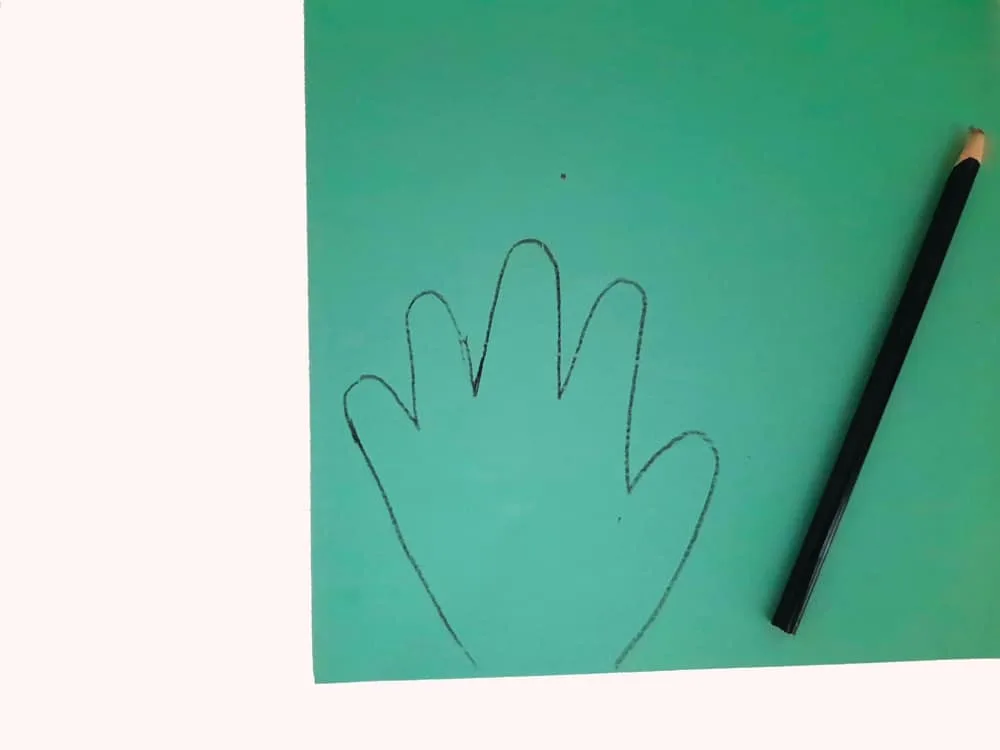
Step One: Trace
Trace your child’s hand on the color of cardstock that they want.
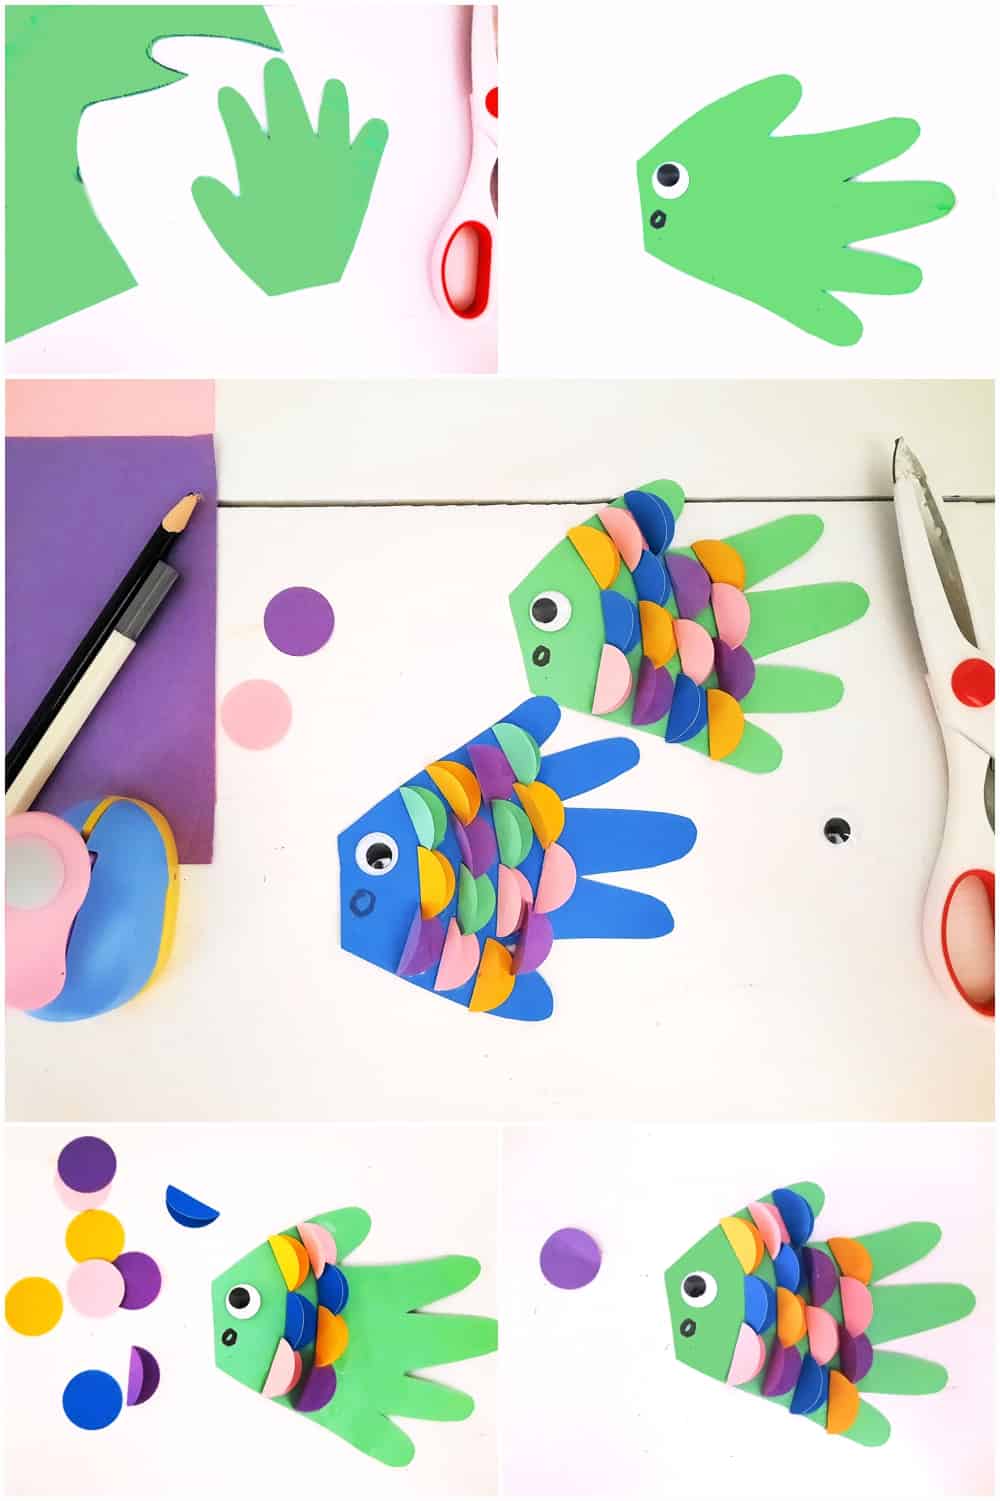
Step Two: Cut
Cut out the handprint. The kids can cut it out or be there to help them.
Step Three: Add a googly eye
Glue the eye near the wrist area of the traced handprint.
Step Four: Add a mouth
Using a black marker, draw the mouth under the eye.
Step Five: Make circles
Make a bunch of circles in all different colors.
Step Six: Fold
Once the circles are cut, fold them in half.
Step Seven: Glue
Glue the circles that are folded behind the fish’s face. Do this until the entire fish is covered.

Variations
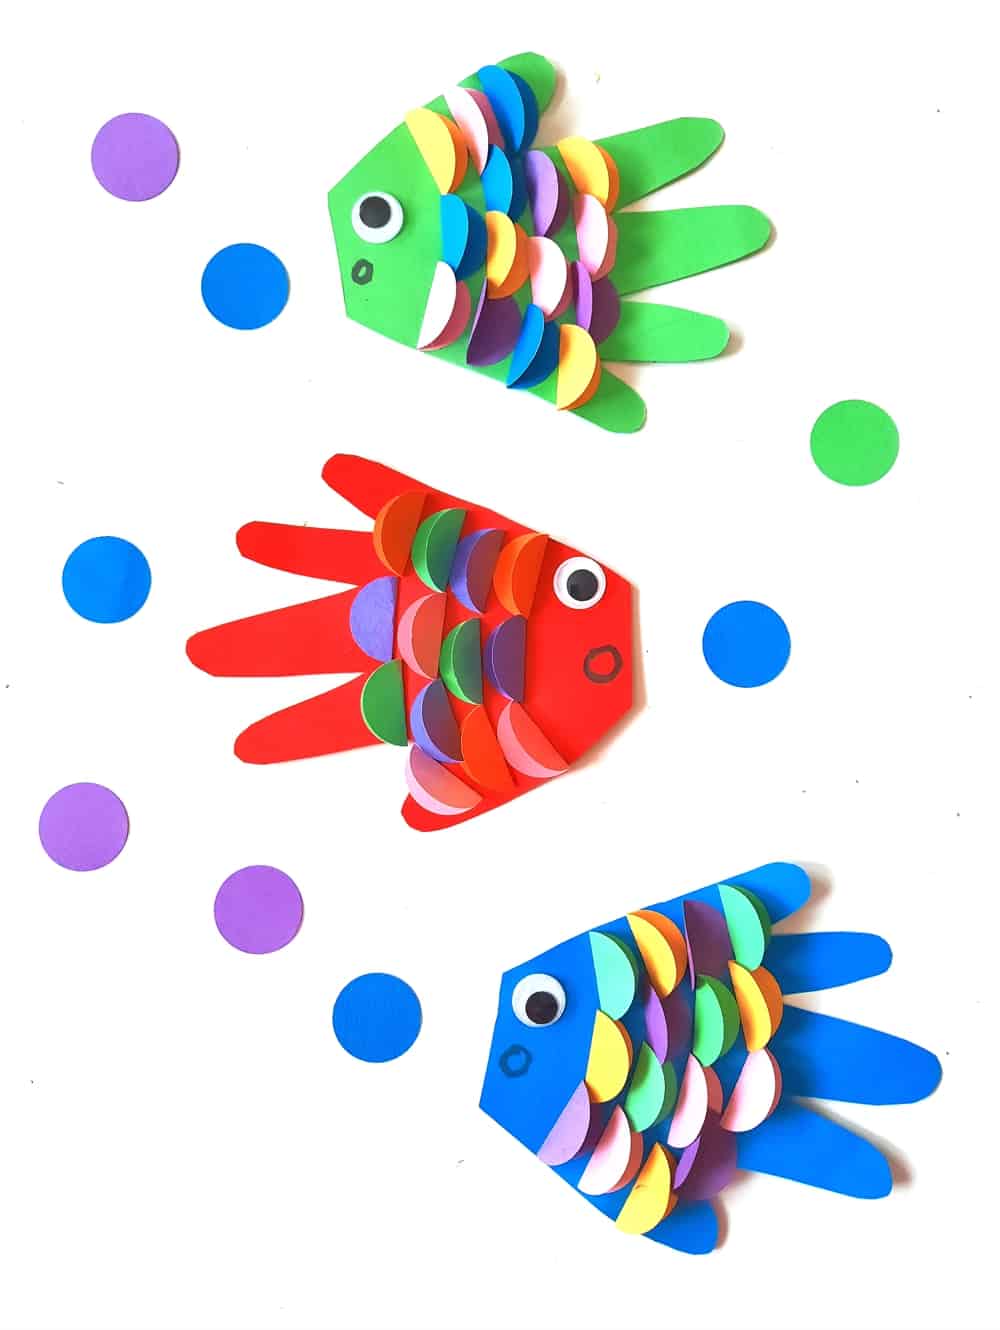
There are so many variations that can be done for this handprint craft. Just remember that the outcome is for the kid’s creativity, so ask them what they would like.
If they are done cutting our circles, let them draw the circles on the fish instead. This is a super simple way that they can still work on their skills in art and make the craft their own.
Also, let the kids have fun with the colors that they choose. They can make a colorful fish or have it all in one color. Whatever works for them is fun!
Why are handprint crafts important?
When it comes to creating art, hand crafts are really good for younger kids. This not only gives them confidence in creating art, but it helps them want to be a part of it as well.
Handcrafts are really easy to put together because all you really need are hands, paper, and scissors. Not only that, but when your little one works on cutting out the hand, it’s so good for their cutting skills and hand-eye coordination.
What is the easiest way to trace a handprint?
Tracing your own handprint can be a challenge, but it can be done! If you are worried that tracing hands is hard, just take your time.
Always trace the opposite hand that isn’t your writing hand so that you will have a firm grip and control of the pencil or pen since you’re used to writing with the hold that is holding the writing utensil.
And if all else fails, remember to just let someone else trace your hand. Younger kids will need to have some help in this department because it’s hard to do if you don’t practice.
Ways to share or display artwork at home
Displaying works of art is always a fun idea! While the fridge might be running out of space to hang up everything on the front, there are other ways that you can display everything easily as well.
Hang up in a frame
Head to the dollar store and get some cheap frames to put the pictures in. Pick an empty space on the wall, and hang the art up. You can easily change the artwork monthly or every time something new gets drawn or made. That way, you can display it in one location and never have to worry about running out of room.
Take a picture and post
Your computer screen or laptop screen is a great way to post a picture of the artwork! You can also save space in your home by taking a picture of the artwork and storing it in a folder.
Since the kids are always crafting and creating, there isn’t any way that we can keep all of it all the time. Taking a picture is the perfect way that we can remember the artwork and forever have it to come back and look at.
Loan it to family and friends
Sometimes, the artwork is just too good to keep at home to yourself! In this instance, you can send it to your family and friends and share it with those that you love.
How much fun would it be to share the crafts and artwork with different people every month?
Give it as a gift
Lastly, don’t forget to share the artwork with others. A great way to make sure that their artwork impacts others is to share it with other people.
Even if it’s a handprint craft, someone might find comfort and happiness in that craft. Make sure that it’s okay with the kids that you are going to share their artwork, and then share it with someone as a gift.
You can include a fun frame with it so that they can either hang it or display it on a desk.

Final Thoughts
As you can see, this simple fish handcraft is a super fun and brightly colored activity for the kids! They’ll love being a part of the creative process every single step of the way. Make sure to talk to them about the steps and the process, and watch their creativity shine bright!
More Fun Crafts
- Fish Threading Activity
- How To Make a Moving Paper Fish Craft Step By Step
- EASY DIY JELLYFISH HALLOWEEN COSTUME FOR KIDS
Handprint Fish Craft

Materials
- Cardstock - blue, green, red, purple, assorted bright colors
- 1” circle paper punch
- Small googly eyes
- Black marker
- Glue
- Scissors
Instructions
- Trace your child's hand on the color of cardstock that they want.
- Cut out the handprint. The kids can cut it out or be there to help them.
- Glue the eye near the wrist area of the traced handprint.
- Using a black marker, draw the mouth under the eye.
- Make a bunch of circles in all different colors.
- Once the circles are cut, fold them in half.
- Glue the circles that are folded behind the fish's face. Do this until the entire fish is covered.