
Thank you Zirrly for sponsoring this post. All opinions are my own.
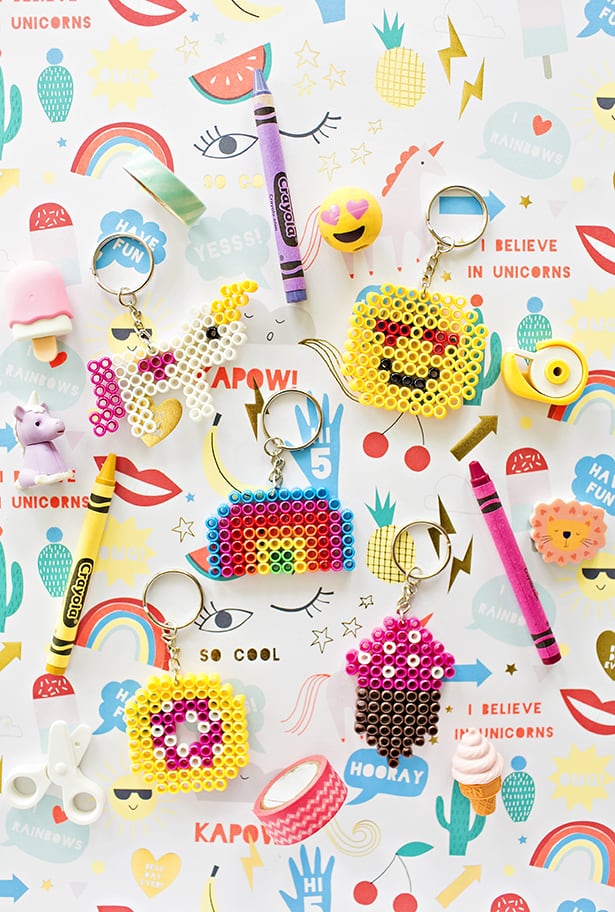
We’re in full back to school mode over here. Have your kids started yet? A fun way to get kids excited about getting back into the swing of learning and homework is a cute backpack to tote. An easy way to decorate and personalize your backpack is by making your own backpack keychains.
My daughter and I had fun making these adorable keychains using Zirrly Super Beads. What’s great about these beads is that they work like traditional fuse beads, except they fuse together using water. No more handling a hot and dangerous iron. I used to always do the ironing step with other fuse bead projects, but now my daughter is able to make her own designs AND make sure the beads stay put. The beads are also safe and non-toxic.
Super Beads come in mega packs (so you can build your own designs like we did) and will soon be available in individual color packs.
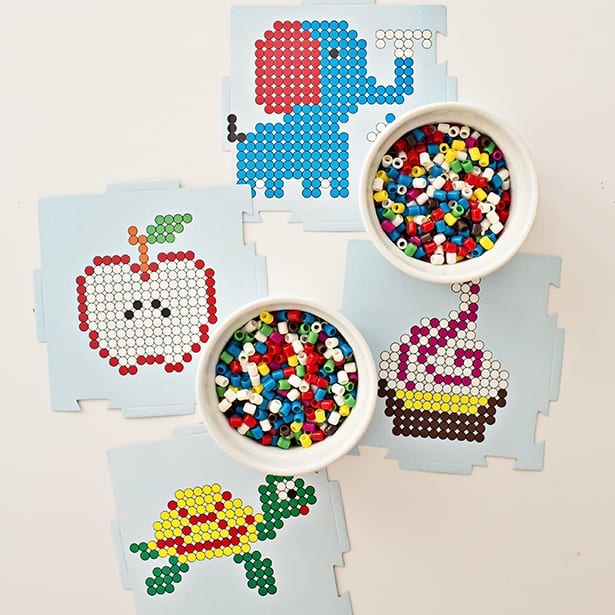
Or you can choose from their many design options (examples shown below).
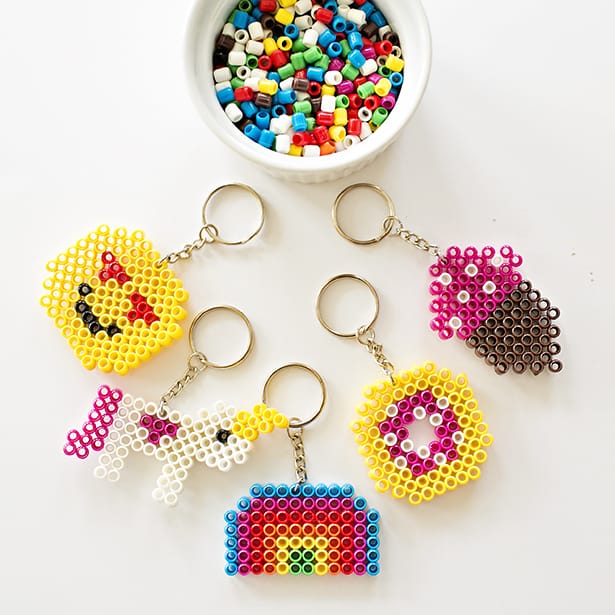
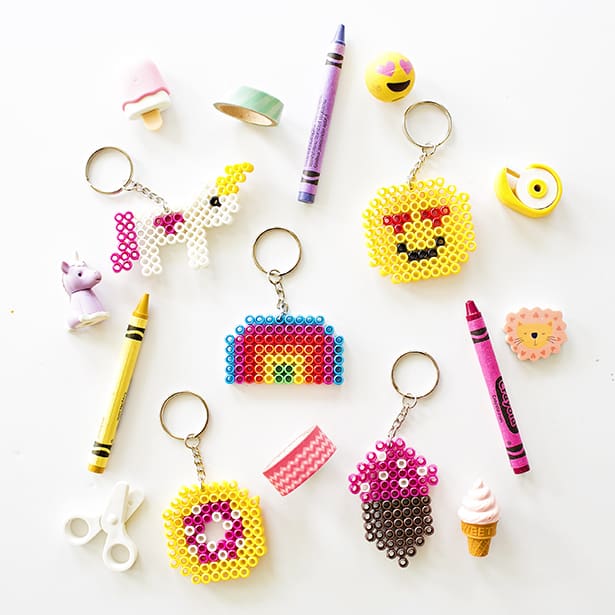
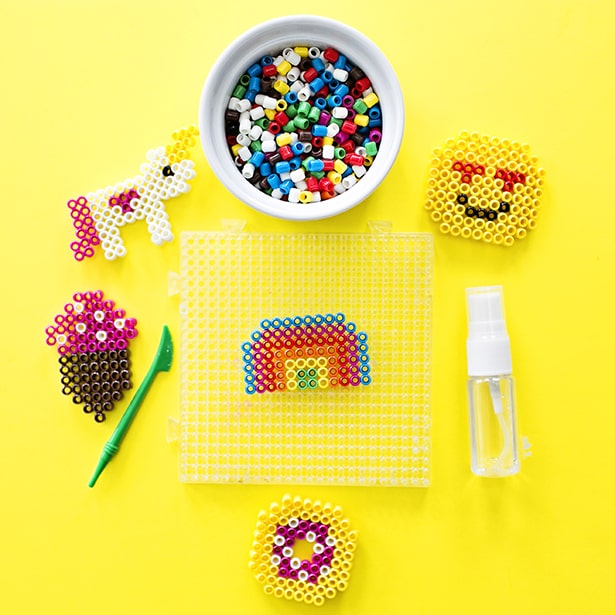
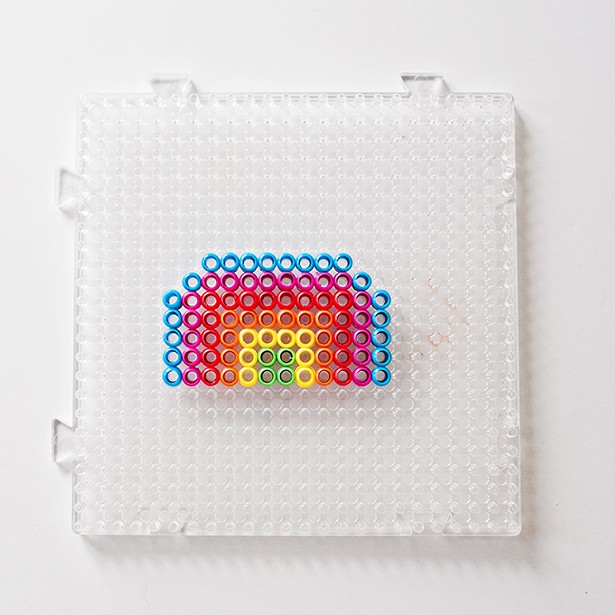
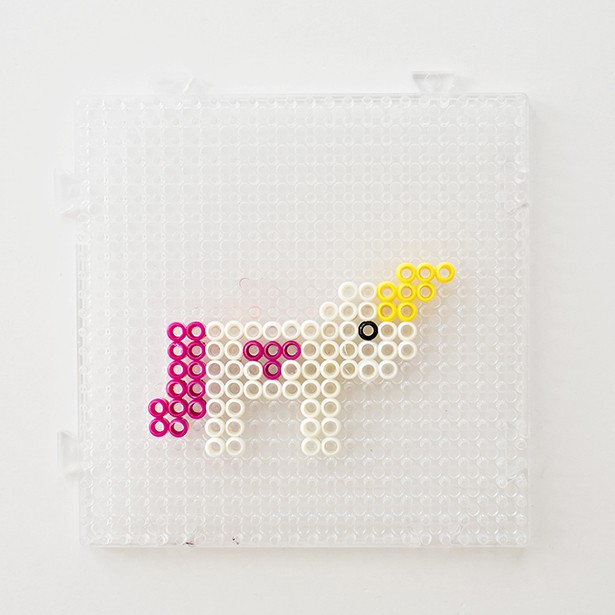
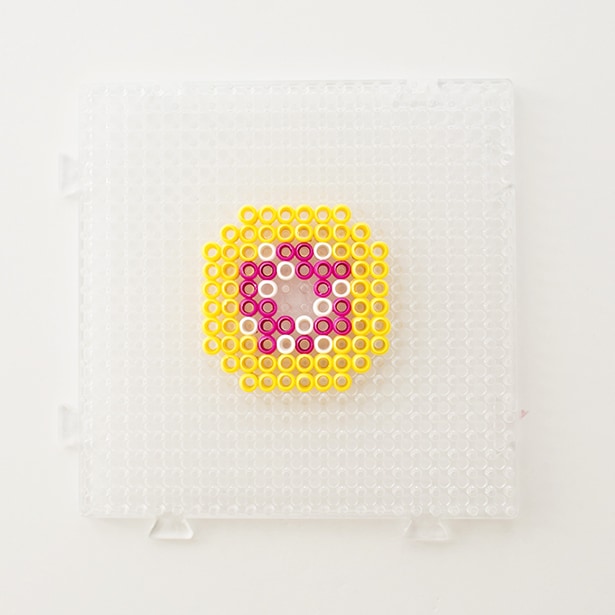
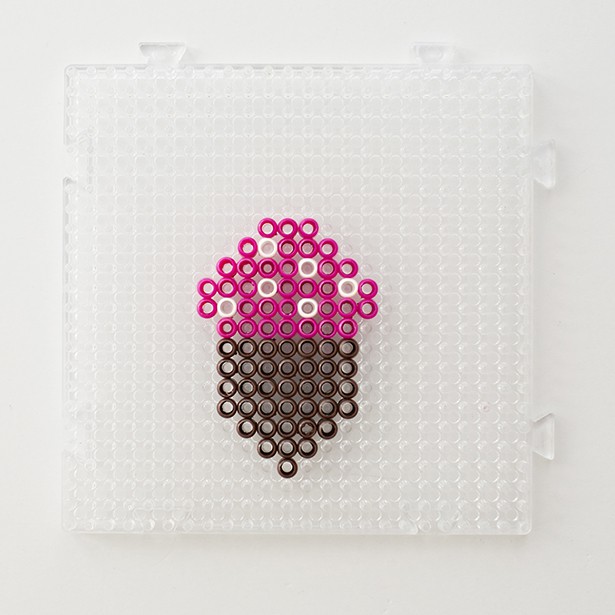
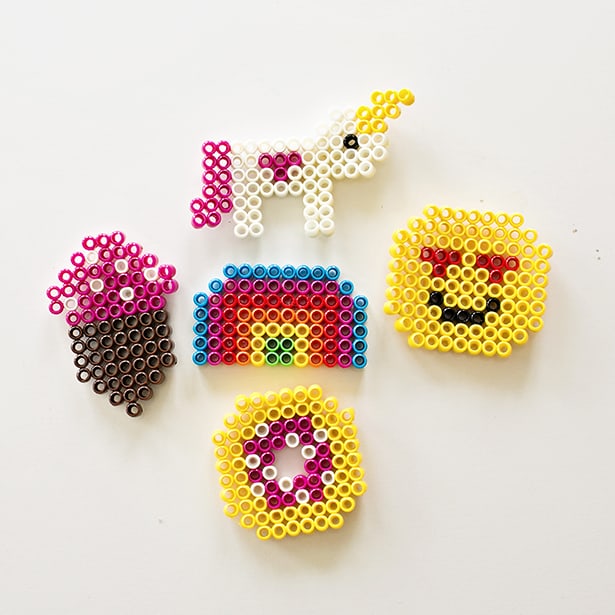
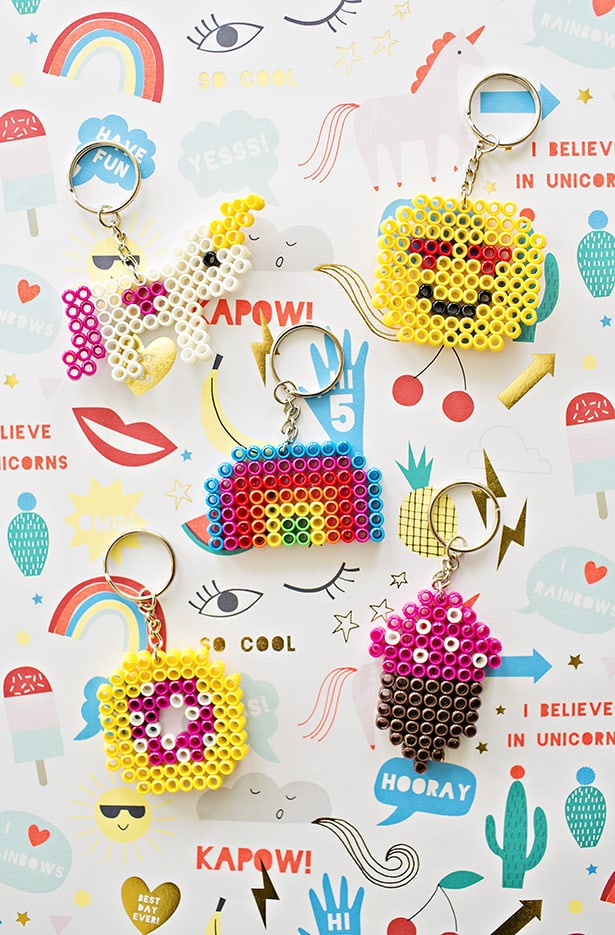
For our designs, we chose to create an emoji, ice cream, unicorn, rainbow, and donut (all things most kids love!)
Check out the photos below to follow along the patterns and instruction to easily make these cute DIY Backpack Beaded Keychains. Make sure you read to the bottom to grab a special coupon code for Zirrly Super Beads.
DIY Backpack Beaded Keychains – Materials:
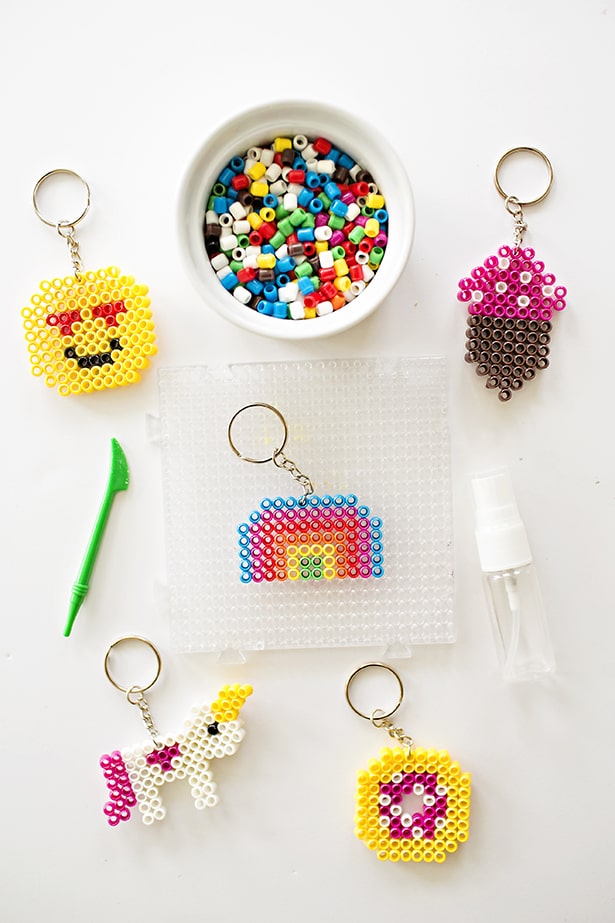
– Zirrly Beads Multi-Pack (comes with 4500 assorted beads, 2 spray bottles, 4 boards, design tool, instructions, and design templates)
– Keychains
– Jump rings
– Pliers

Instruction:
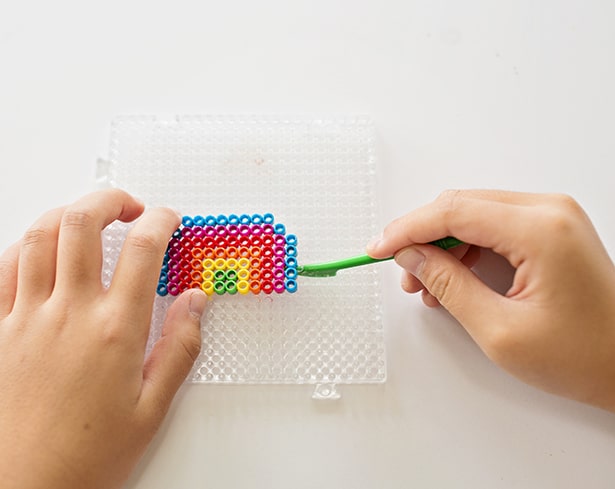
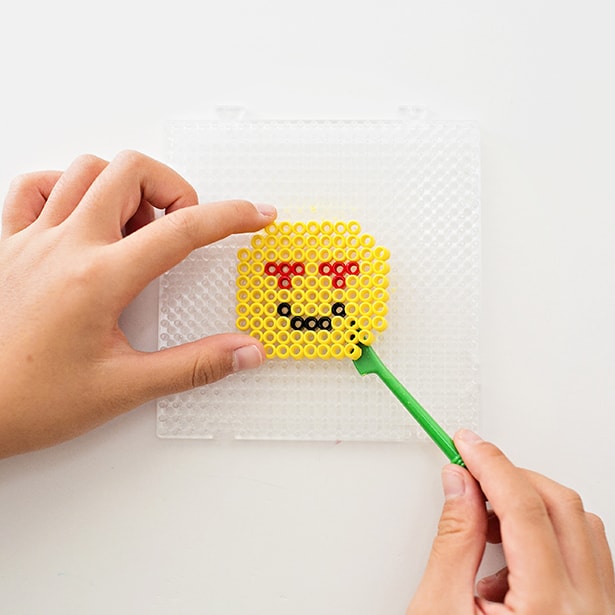
Step 1. You can create your own designs by simply pressing each bead one at a time on the pegs on the board. Firmly press down over your completed design. Follow the photos below to see how we made the emoji, donut, rainbow, ice cream and unicorn.
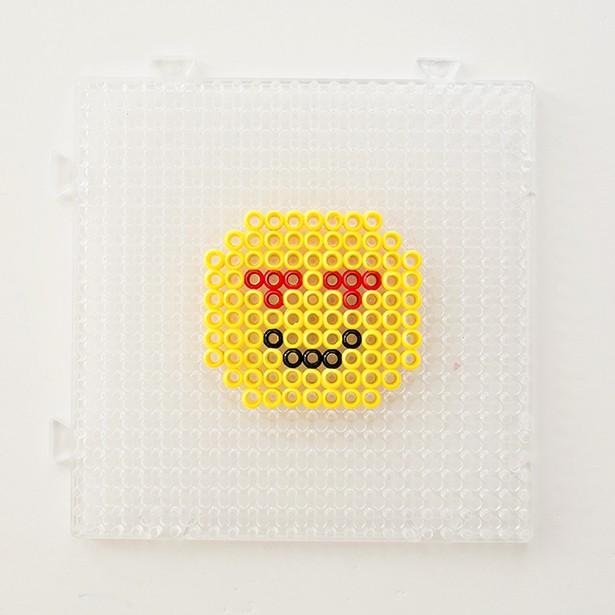
Step 2. Once your beads are firmly in place over the peg board, fill your spray bottle with water and direct nozzle close to the beads (1.5 inches away). Spray the whole area and make sure to not drown the beads in water. Let your design air dry for at least 60 minutes.
Step 3: Once your breads are dry to the touch, gently lift the design using the tool provided. We found it was easier to first lift along the sides of the grooves and then use the flat side to lift the design all the way around gently working towards the center.
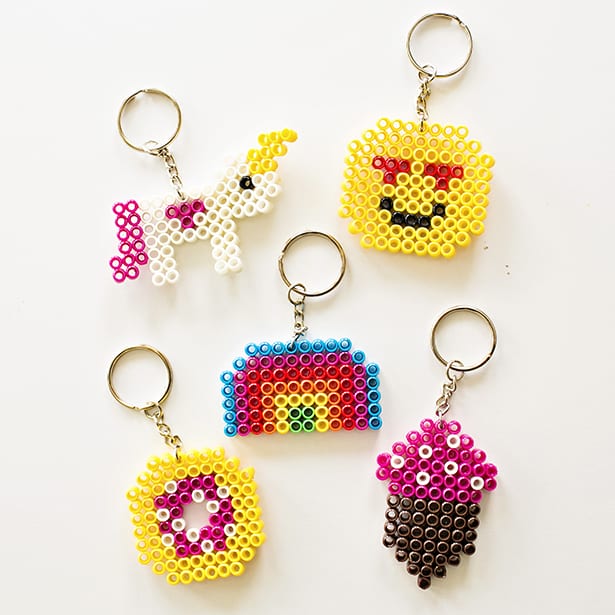
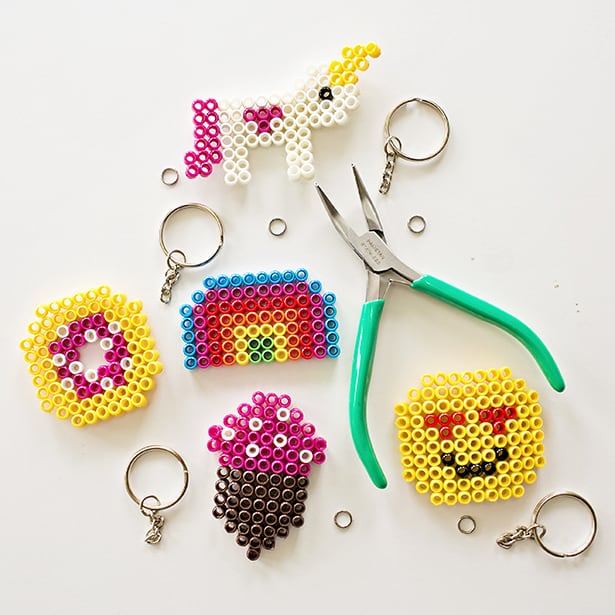
Step 4: To turn your bead designs into keychains, you will need keychains, jump rings and pliers. Simply open up a jump ring with the pliers, hook through the top center bead of your design and hook the ring through the keychain. Make sure to close the jump ring tightly.
Aren’t these adorable? You can make so many fun designs and I love how kids can make these from start to finish without the use of toxic glue or a hot iron.
These keychains aren’t just fun for celebrating back to school, but also for kids to gift as presents for friends. With the upcoming holiday season, they would also make sweet handmade gifts!
Visit Zirrly to get the beads and use promo code “sbd5″ to get $5 off your first order and follow them on Facebook and Instagram.


Agnes Hsu is a mom of three and has been inspiring parents and kids to get creative with easy activities and family friendly recipes for over 10 years. She shares her love for creative play and kids food to her 2MM+ followers online. Agnes' commitment to playful learning and kindness has not only raised funds for charity but also earned features in prestigious nationwide publications.